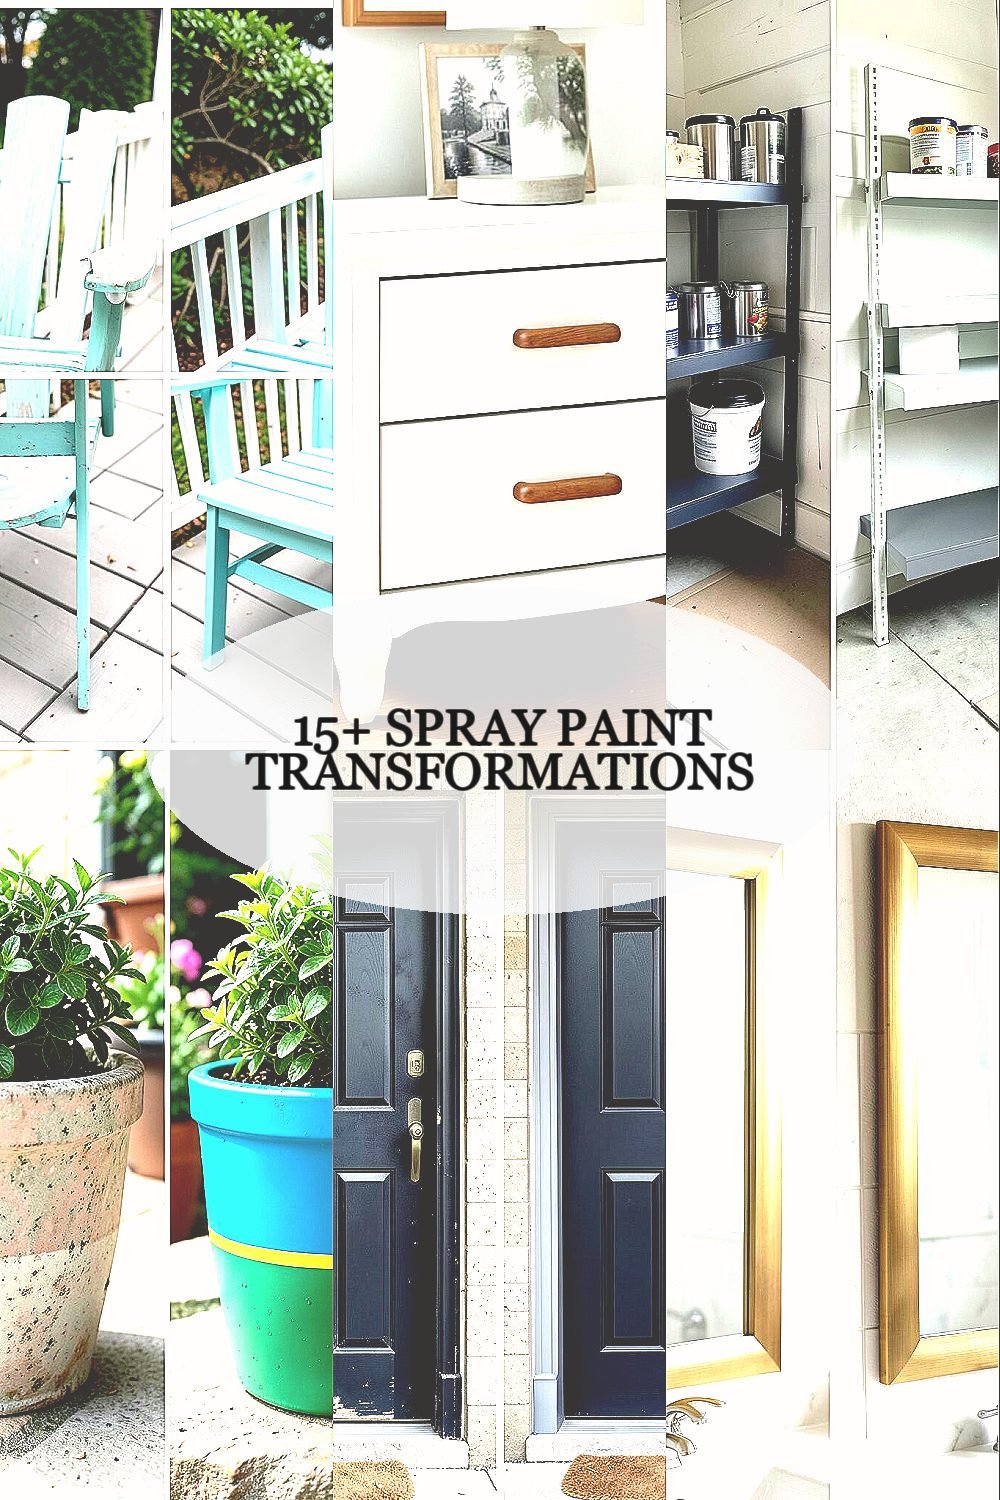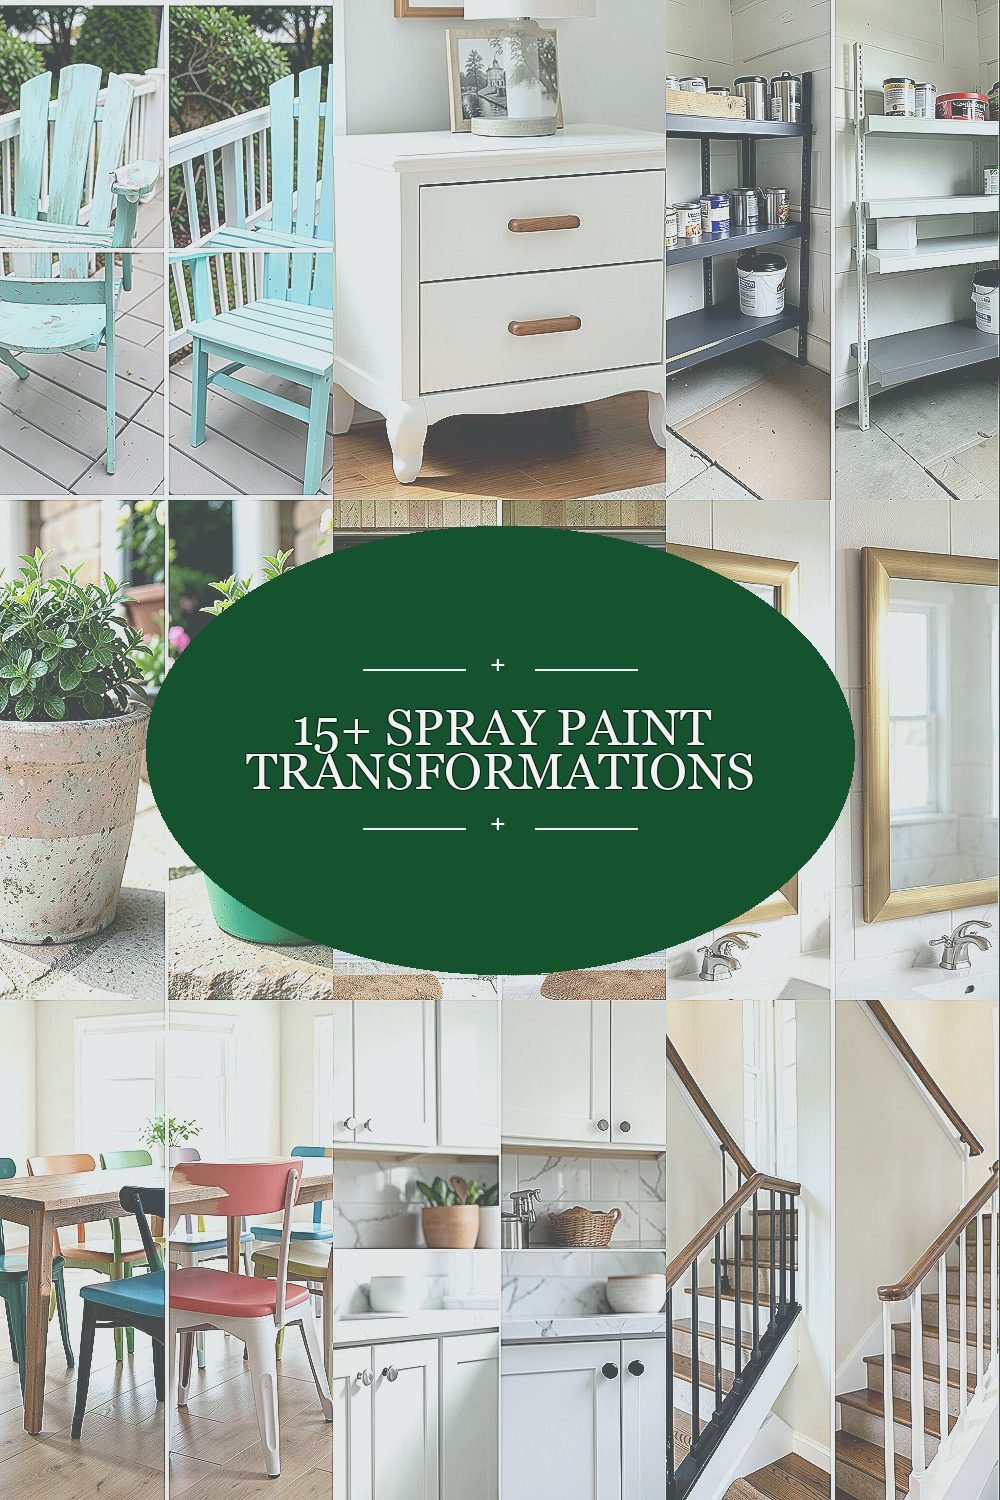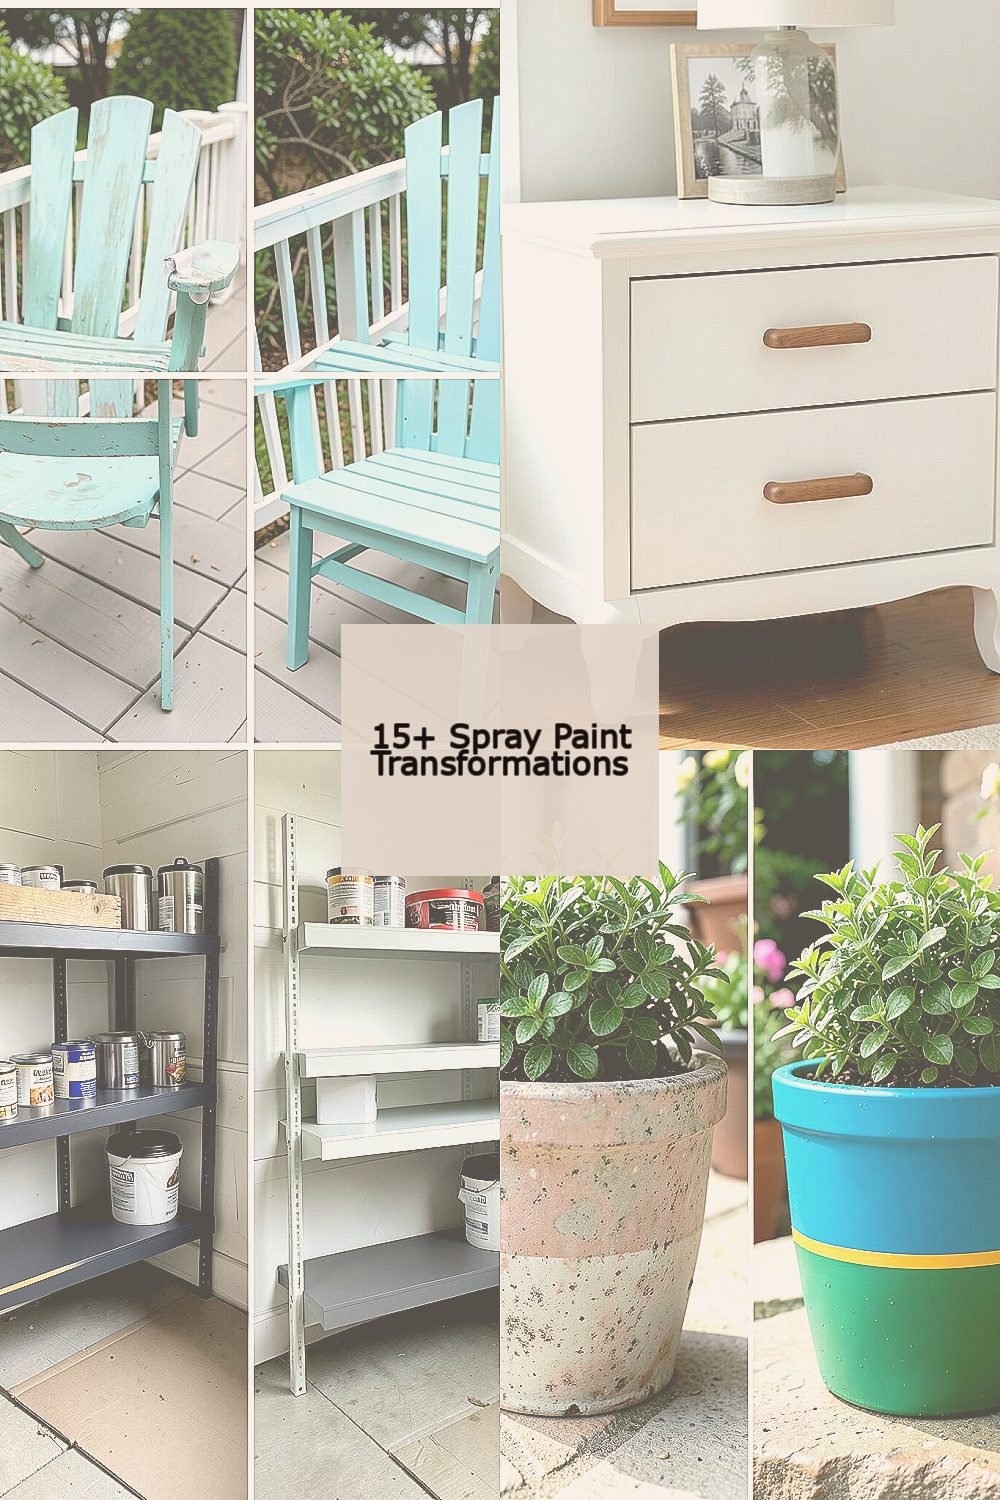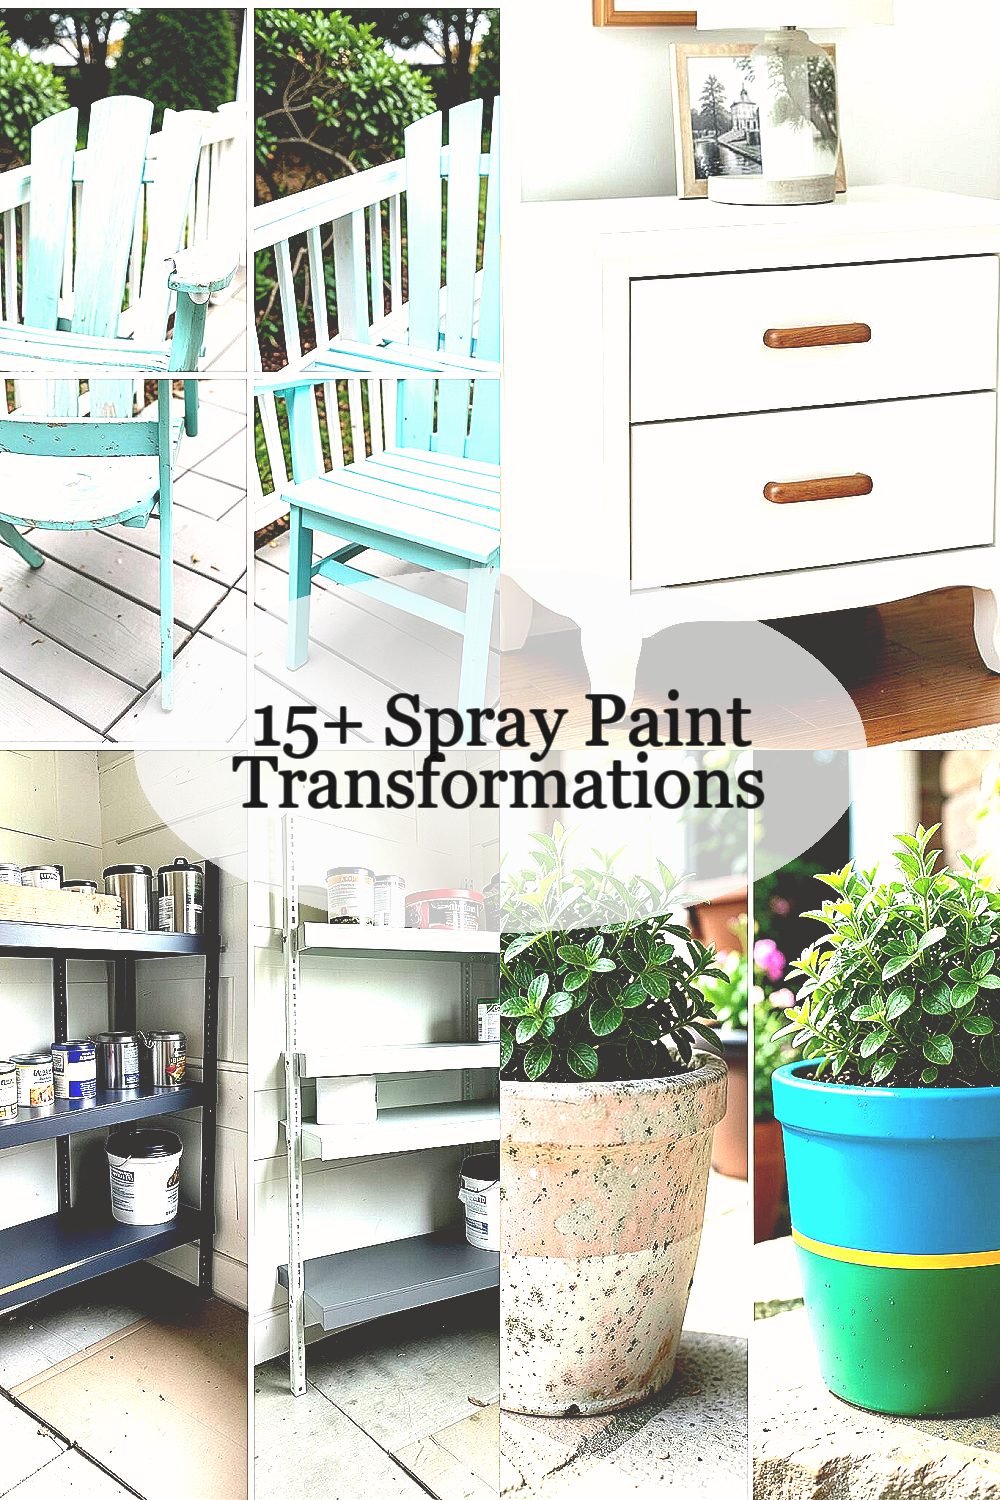
The right coat of spray paint can make ordinary things feel brand new. Small choices in color and prep can change everything, fast.
1. Patio Chair Makeover With Coastal Teal

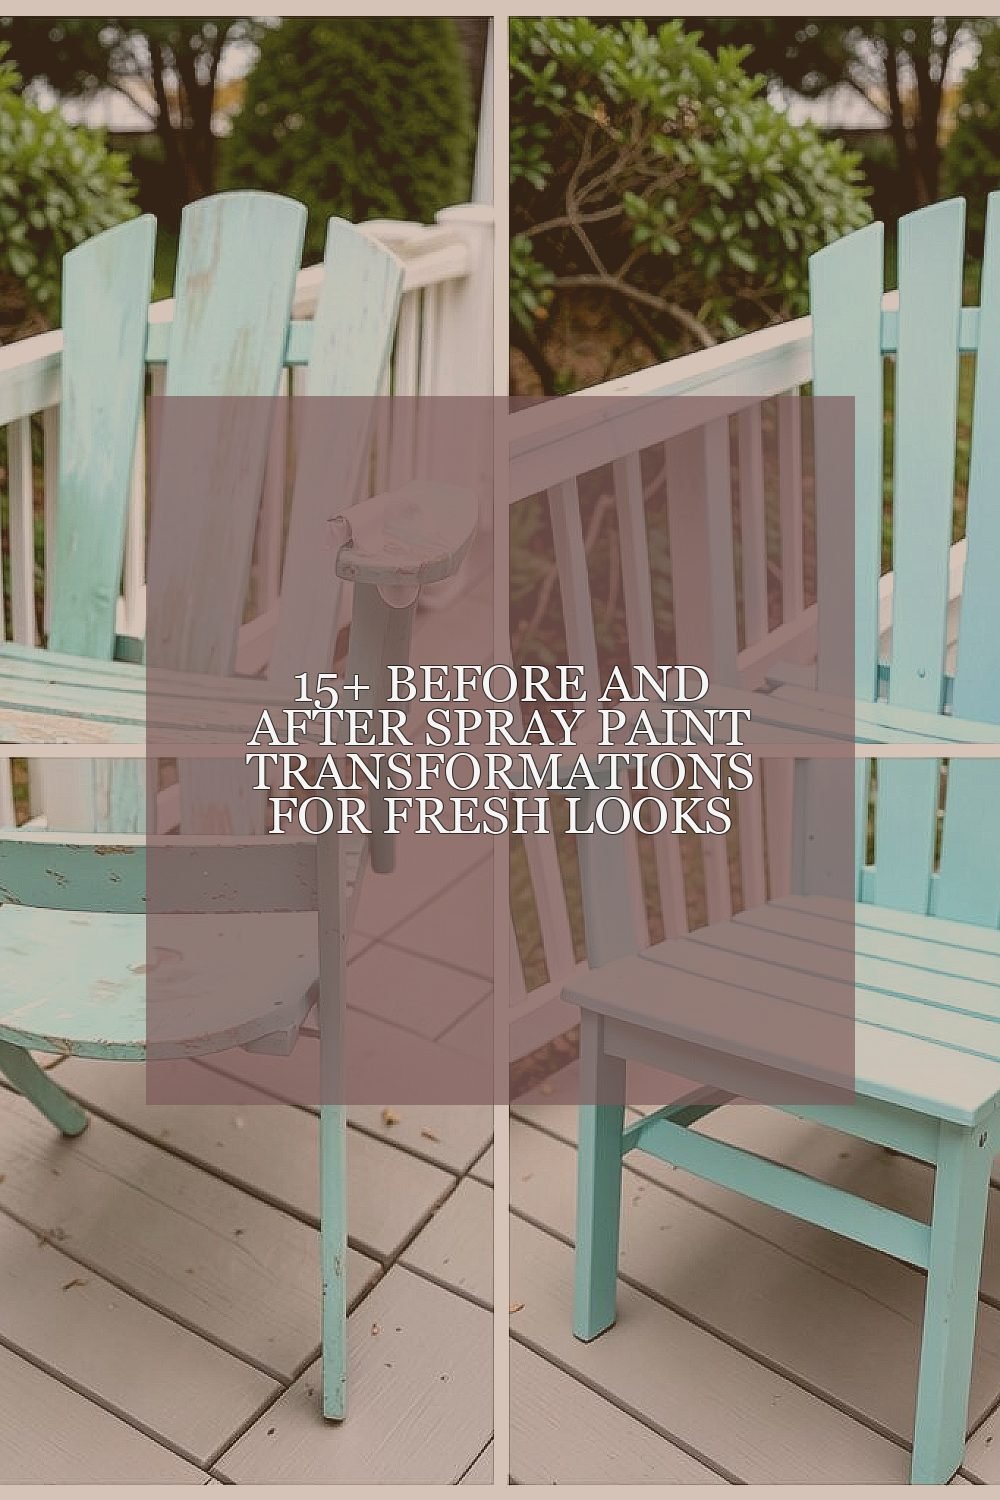
Before, the patio chairs looked tired and faded, with uneven patches where the sun had done its work. After, they show a clean coastal teal finish that looks crisp even from across the deck.
You’ll love how the refreshed color makes the whole outdoor space feel more inviting and put together. Use light, even passes and keep the nozzle moving so the surface doesn’t get drips or rough spots. Finish with a weather-ready clear coat so the look stays bright through real use.
2. Plain Nightstand to Soft-Glow White With Warm Handles

That old nightstand used to blend into the room, mostly because its top had dull scuffs and its legs looked washed out. Now it pops with a gentle white spray finish and rounded handles that add a cozy feel.
White paint is a classic look right now because it pairs easily with many styles, from modern to vintage. Pick a primer meant for the material, especially if it’s glossy wood or laminate, then sand lightly before your first coat. If you want it to feel personal, choose handles that match your lamp base or picture frames so the room looks designed, not random.
For cost, you’re usually paying less than replacing furniture, and a single can of primer plus a couple top coats can cover a small piece. You’ll also avoid the time sink of stripping, because proper sanding and primer help new paint stick well. When the finish dries, place the nightstand in good light and check for missed corners along edges and drawer fronts.
3. Garage Shelf Repainted for Clearer Storage

Before spray paint, the garage shelves were a mix of dull metal tones, scratched wood, and spots where old coatings had failed. After, the shelves look uniform and tidy, with a matte finish that makes labels easier to read.
Better organization is the hidden win here, since paint reduces the visual clutter of mismatched surfaces. Start by cleaning off grease and dust, then apply a bonding primer if the surface is slick or previously coated. Use overlapping strokes and let it cure fully before loading items, because rushing can cause tacky marks.
If you want this to feel unique, add a subtle color stripe along the front edge, or use a darker shade for the bottom shelf. Many people are choosing matte finishes lately because they hide minor scuffs better than shiny coats. Keep spray distance consistent, and protect the floor with cardboard so cleanup stays quick.
Cost wise, painting shelves is usually one of the best budget upgrades, since you reuse the structure you already have. The time you save finding things is real, and a clean look makes the whole garage feel calmer.
4. Weathered Planter Turned Into a Bold Statement

That planter started out faded, with blotchy color and a rough texture that made plants look less cared for. After, it became a bold statement piece with a smooth coat in a saturated color that makes greenery look brighter.
Planters like this are trending because people want more color near patios, porches, and windows. Before painting, lightly sand any peeling areas and wipe away dust so the new layer bonds evenly. For personalization, try a two-tone look by masking off a band and spraying the second color after the first dries. A sealant can help if the planter will stay outdoors and get frequent rain.
5. Old Front Door Refreshed With Deep Charcoal
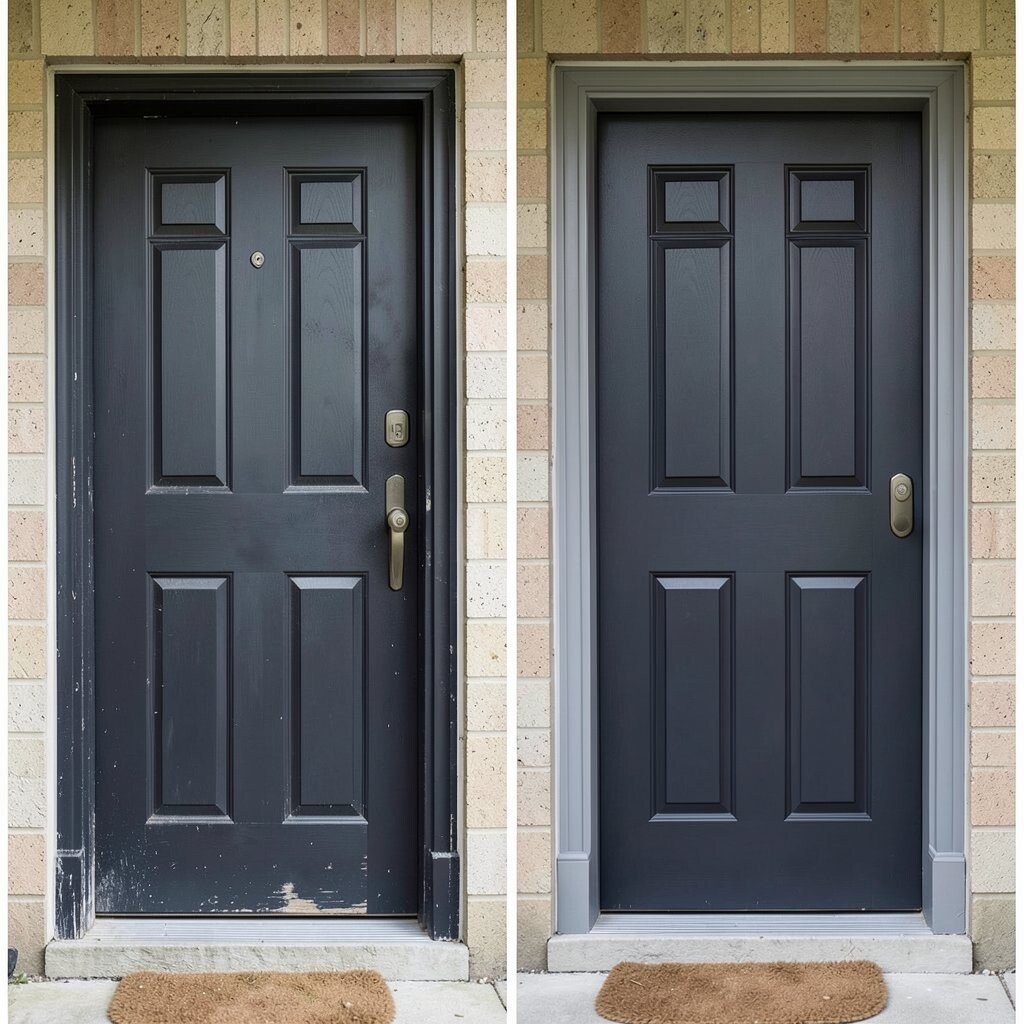
Before, the front door looked flat and dated, with paint worn down around the handle and frame. After, a deep charcoal spray finish adds drama and makes the entryway feel crisp the moment you pull up.
This kind of color upgrade improves curb appeal in a big way without a full renovation. Work in a well-ventilated area and use a primer made for doors so the finish resists chipping. Spray in thin coats and allow time between layers to prevent runs around panels and edges. If you want it to feel more you, add a subtle highlight by spraying the trim in a slightly lighter gray.
You may spend less than you would on a new door, but don’t skip preparation because that’s what keeps the look sharp. The best cost tip is to buy the right primer and top coat one time instead of doing repeat touch-ups later. When it’s dry, reattach hardware carefully so you don’t scratch the fresh finish.
6. Bathroom Mirror Frame With Brushed-Gold Effect

The mirror frame used to look dull and overly plain, and every smudge stood out because the finish felt too flat. Now the frame has a brushed-gold effect that glows softly and makes the bathroom feel warmer.
Metallic spray paint is great for small projects because you get a high-end look without a long build. Use painter’s tape to create clean edges and cover the glass completely so overspray doesn’t stick. Keep coats light and steady, then finish with a clear top coat for extra durability in humid rooms. For personalization, choose a warmer gold tone if your lighting is yellow, or a cooler gold if your fixtures are silver.
7. Dining Chair Set Recolored for a Modern Pop

Before, the chair set looked mismatched and worn, with scuffs on the legs and faded seats. After, the same chairs feel coordinated with a fresh color that adds energy to the dining area.
Color pops are still popular because they make simple rooms feel lively, even when the furniture is basic. If the chairs are metal, sand and prime first for strong adhesion, then spray with even passes. If the chairs are wood, roughen the surface gently and remove all dust so the paint doesn’t cling to grime. To make it unique, pick one accent shade for the seat and keep the legs in a contrasting neutral.
You can often get a full set done within a modest budget by ordering the right amount of cans and planning your order of painting. To avoid wasted paint, line up all chairs and spray them in stages, letting each piece dry while you work on the next. When you see the after photo, you’ll feel proud because it’s the same furniture, just smarter.
Small details matter, like painting the chair backs evenly where hands will touch, so check those areas before curing.
8. Kitchen Cabinet Hardware Swap and Spray Refresh
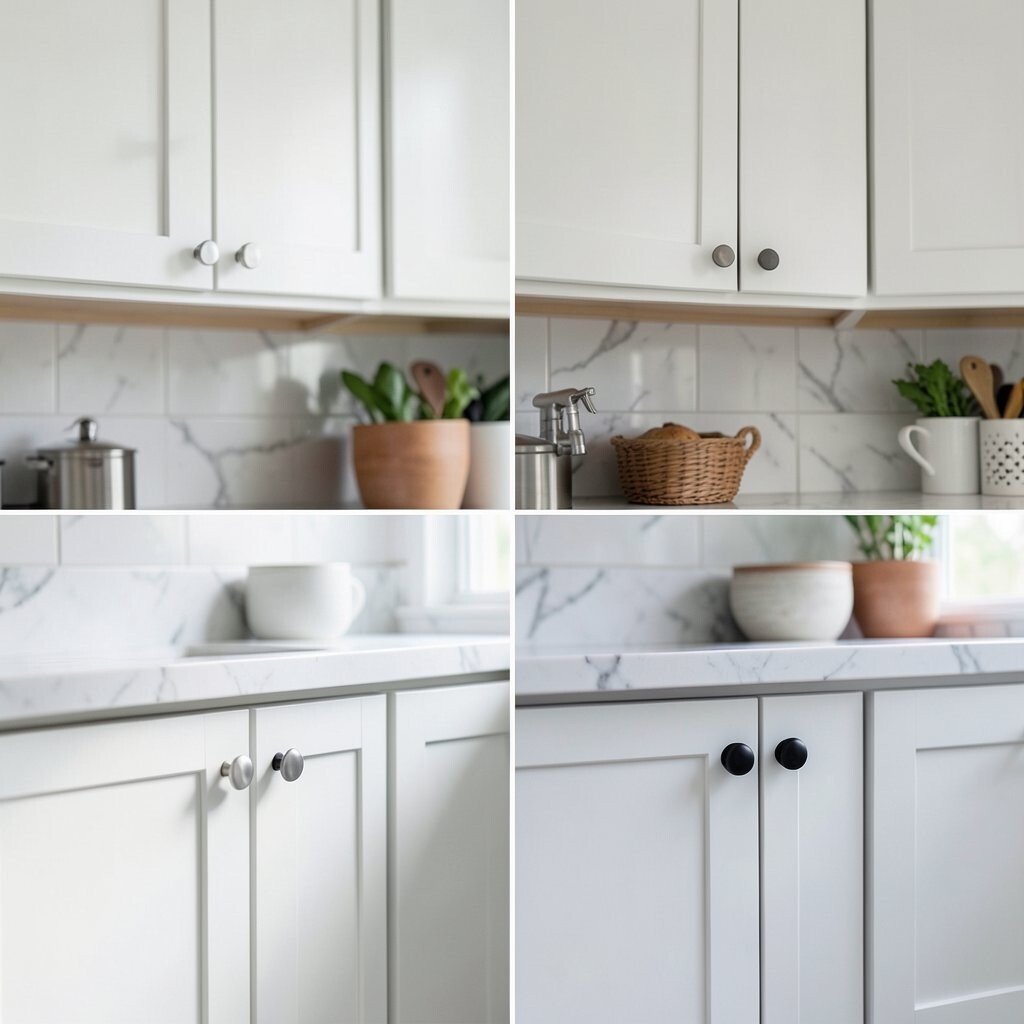
Before, the cabinets looked fine, but the hardware and small wear spots made everything feel a little neglected. After, new spray-painted hardware details and a refreshed finish give the kitchen a cleaner, more polished vibe.
This is a current trend because people want upgrades without fully repainting large cabinet faces. Clean the hardware thoroughly, then spray in a ventilated spot and handle pieces with gloves to avoid fingerprints. Choose a finish that fits your kitchen, like brushed nickel tones for a modern look or a matte black for a bold contrast. Personalize the style by mixing finishes carefully, such as matching knobs to light fixtures while keeping a slightly different shade for drawer pulls.
9. Stair Railing Makeover for Better First Impressions

Before spray paint, the railing had chips and scuffs that caught the eye every time you climbed stairs. After, it looks smooth and intentional, with a fresh coat that makes the whole entry feel brighter.
Railings get used daily, so the benefit of a good spray job is comfort and confidence, not just looks. Choose a spray paint designed for metal or wood, depending on your railing, and use primer for maximum grip. Apply thin coats and let each layer dry enough so it doesn’t feel sticky when you pass by. For personalization, consider a color that matches trim or baseboards so the home feels cohesive.
Cost considerations are friendly here, since a railing refresh uses less paint than bigger projects but delivers a noticeable upgrade. If you’re working around foot traffic, paint in sections and keep people away until it cures. When you take before and after photos, you’ll see how much more welcoming the hallway feels.
10. Old Toy Chest Repainted for Colorful Calm

That toy chest used to look chaotic with faded spots, scuffs, and scratches that made it seem sad even when it was full of fun. After, it looks cheerful with a clean, friendly color that turns storage into decor.
Spray paint is a smart choice for kids’ spaces when you pick products that are made for safer surfaces and allow full curing time. Wipe the chest, sand rough spots, and prime so the paint doesn’t peel in high-use corners. You can personalize with small shapes painted over tape lines, like stars or simple waves, for a playful vibe. Use a matte finish to hide minor marks and make everyday mess less obvious.
This kind of project also helps you avoid buying a new storage box, which is usually much more expensive. It’s easier than refilling clutter because you’re making the thing you already have work better for your home. Let it dry fully before putting toys back, since rushing can cause dents and fingerprints.
Pick colors that match the room’s theme, like soft blues for calm or bright reds for energy, and keep the palette simple so it stays soothing.
11. Outdoor Bench With Rust-Resistant Revival

Before, the bench looked worn with rusty specks and peeling spots that suggested it wouldn’t last much longer outdoors. After, it has a fresh coat that looks sturdy, with a color that blends nicely with greenery instead of fighting it.
Rust-resistant coatings are a practical trend because patios face real weather every season. Use a wire brush or sanding to remove loose rust, then apply a rust-inhibiting primer before your color coat. Spray in controlled bursts and rotate the bench if you can, so you reach the underside without uneven buildup. For personalization, choose a color that matches your outdoor cushions, or add a lighter shade to the slats for visual rhythm.
12. Coffee Table Makeover With Two-Tone Modern Lines

Before, the coffee table looked bland, with scratches on top and dull edges that made it feel older than it was. After, a two-tone spray finish adds modern lines and makes the table look styled, not accidental.
Two-tone looks are popular because they create depth without buying new furniture. Mask clean edges with painter’s tape, then spray the base color first and let it dry fully before the second color. Keep the paint coats thin and consistent so the border stays sharp and smooth. For personalization, try a warm wood-toned color paired with a deep accent shade to match your couch or rug.
This is also budget-friendly because you’re updating one key piece that people notice every day. Plan your color choices by looking at what you already own, like pillows, curtains, or art frames. To avoid waste, test spray on cardboard first and adjust your color if the lighting changes how it looks.
13. Flower Pot Display Stand Rebuilt With Fresh Color Coating

Before, the pot display stand looked uneven and faded, with metal spots that dulled the entire corner. After, it looks like a purposeful display system, with a clean coat that makes flowers stand out.
Garden displays are trending because people want mini outdoor “rooms” that feel styled, not just functional. Clean the stand thoroughly, then prime metal areas so your paint doesn’t chip from tiny gaps. Spray from a steady distance and use a second coat only after the first has set so you get smooth coverage. Personalization can be as simple as picking a color that matches your house trim or choosing a fun accent shade for a sunny nook.
14. Bathroom Vanity Base Repaint for a Clean, Airy Look

Before, the vanity base had visible wear and the finish looked tired next to bright bathroom fixtures. After, it looks fresh and airy with a smooth coating that pairs well with everyday light.
This type of refresh is appealing because it can make your bathroom feel updated without the big stress of a full remodel. Use a bonding primer designed for surfaces like sealed wood or laminate so the paint sticks through humidity. Spray in thin layers and give it enough cure time before you put the doors back in heavy use. For personalization, choose a soft neutral and add a slightly darker tint on edges to create subtle dimension.
Cost considerations are helpful here since you’re upgrading a central piece of the room. Buying the right primer and top coat can feel like extra at first, but it often saves money by reducing chips later. If you want the look to last, keep water off the finish during the first weeks while it fully hardens.
15. Garden Fence Accent With Stenciled Charm

Before, the fence was just a solid stretch of color that looked plain beside plants and stepping stones. After, stenciled accents add charm, and the whole yard looks more curated without feeling too busy.
Stencil art is a current favorite because it lets you add personality without freehand skills. Secure the stencil firmly and spray lightly so the edges stay crisp and don’t bleed. Practice on scrap wood or cardboard first so your coverage matches what you want. Personalize your fence by choosing a repeating pattern that fits your plants, like leaf shapes for a garden theme or simple geometric marks for a modern yard.
This method can be budget-friendly because you’re using small amounts of paint for a big visual effect. To keep it looking neat, plan your spacing and align patterns carefully with the fence slats so the lines feel intentional. When you step back and take an after photo, you’ll see how much more “finished” the yard feels.
Remember to seal over your stencil work if the area gets heavy rain, so the charm stays sharp.
16. Headboard Refresh With Soft Velvet-Like Texture

Before, the headboard looked flat and dated, and small spots on the surface made it feel less cozy in the bedroom. After, a fresh spray finish creates a soft, textured look that feels inviting and stylish.
Textured spray finishes are popular because they mimic fabric vibes and hide minor imperfections better than smooth paint. Prepare the surface carefully, including cleaning and light sanding, so the texture adheres without clumps. Spray in controlled layers and maintain consistent distance, then allow full drying time before bedding touches the surface. For personalization, pick a warm neutral like taupe or a deep shade that matches your curtains to make the room feel calmer.
Cost considerations are great here because you’re upgrading the focal point of the bed without replacing furniture. If you want a higher-end look, paint only the headboard and leave other elements in place so the new finish stands out. Take time to mask edges and protect the wall so cleanup is quick and the lines stay clean.
Once it’s cured, wipe it gently and check the texture under different lighting, because color can appear richer in morning sun and softer at night.