Some tiny buttons can hold big personality. When you arrange them with care, plain surfaces start telling stories.
They’re small, affordable, and full of shapes and colors. With a little patience, you can turn everyday crafting supplies into eye-catching art.
1. Button Mosaic Wall Charm
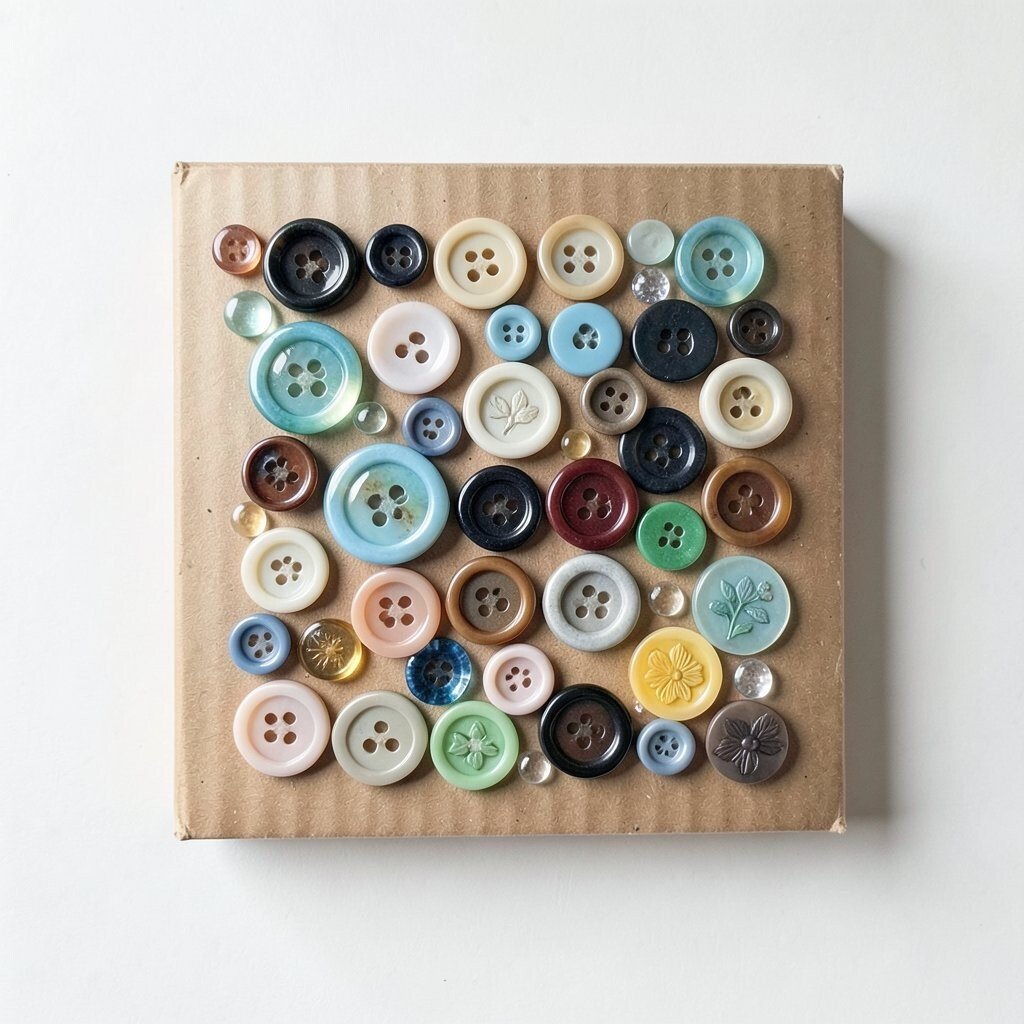
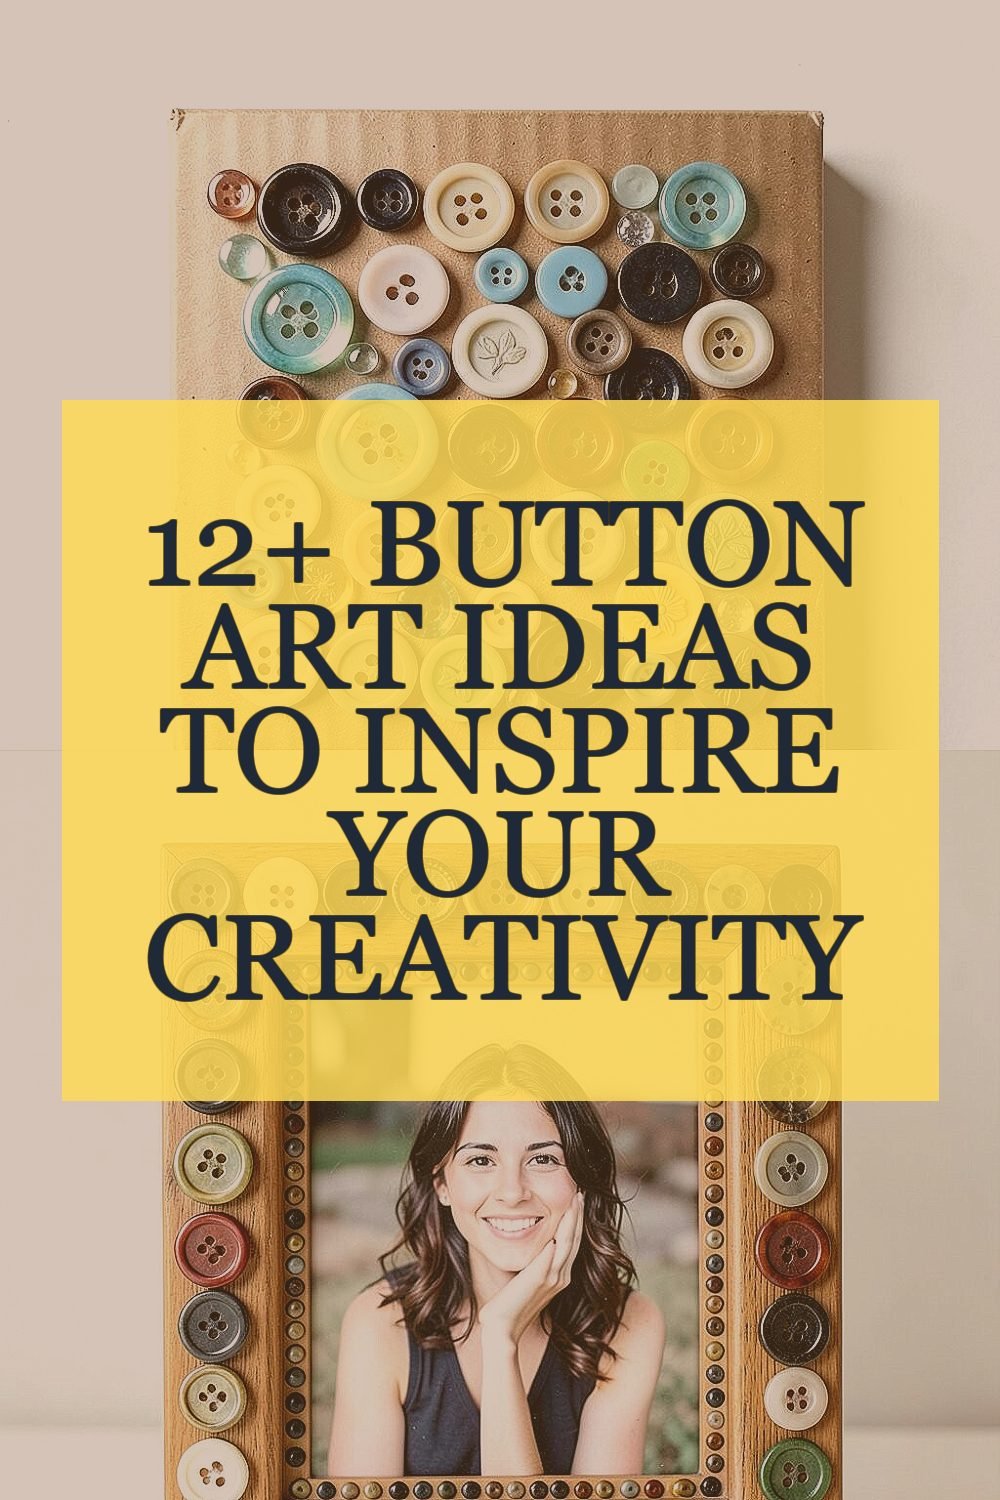
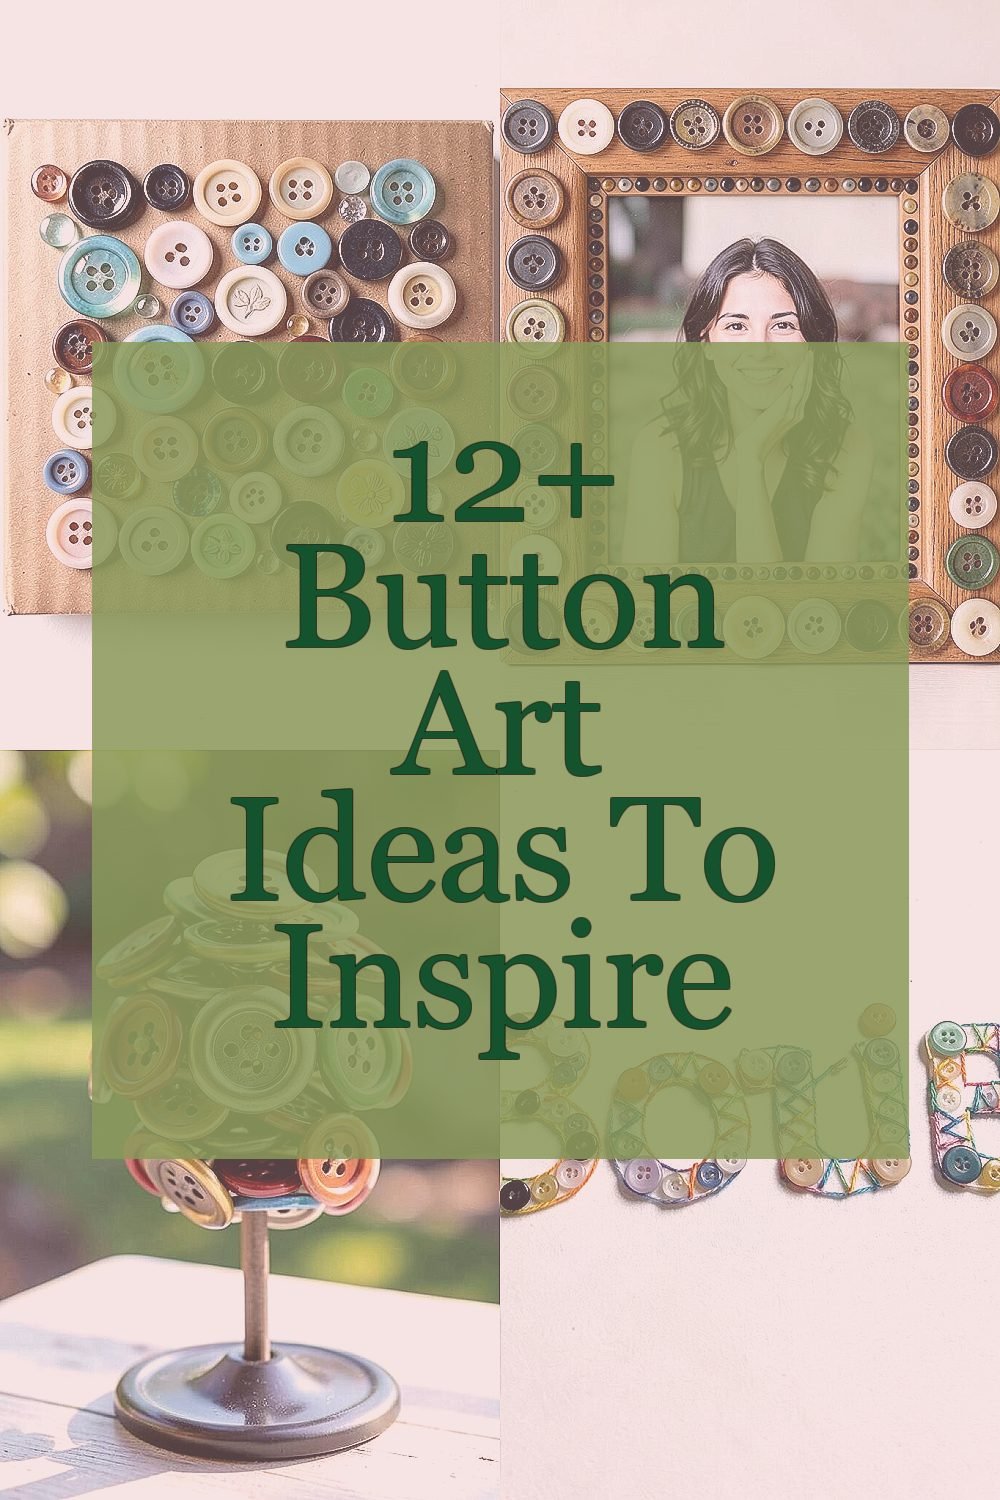
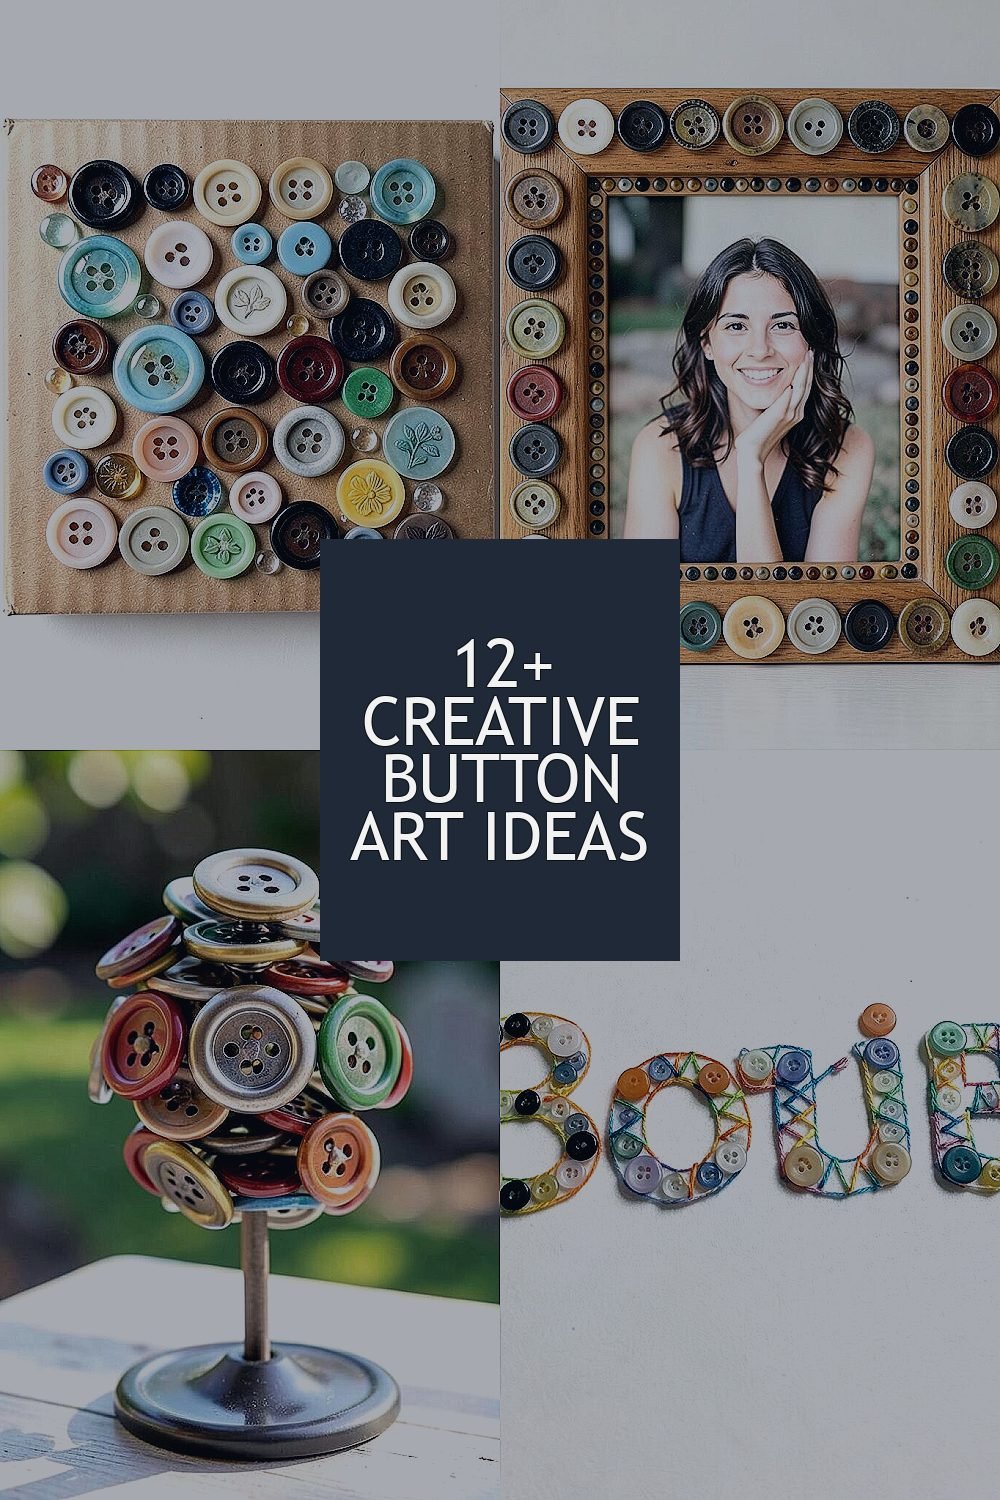
Pick a small board or a sturdy cardboard square, then start laying buttons like tiles. Mix glossy, matte, and carved buttons so the surface catches light in different ways.
Use a simple glue plan by placing larger pieces first and then filling gaps with smaller ones. Try a theme like morning coffee, ocean bubbles, or garden flowers so the layout feels intentional.
2. Button-Covered Photo Frame
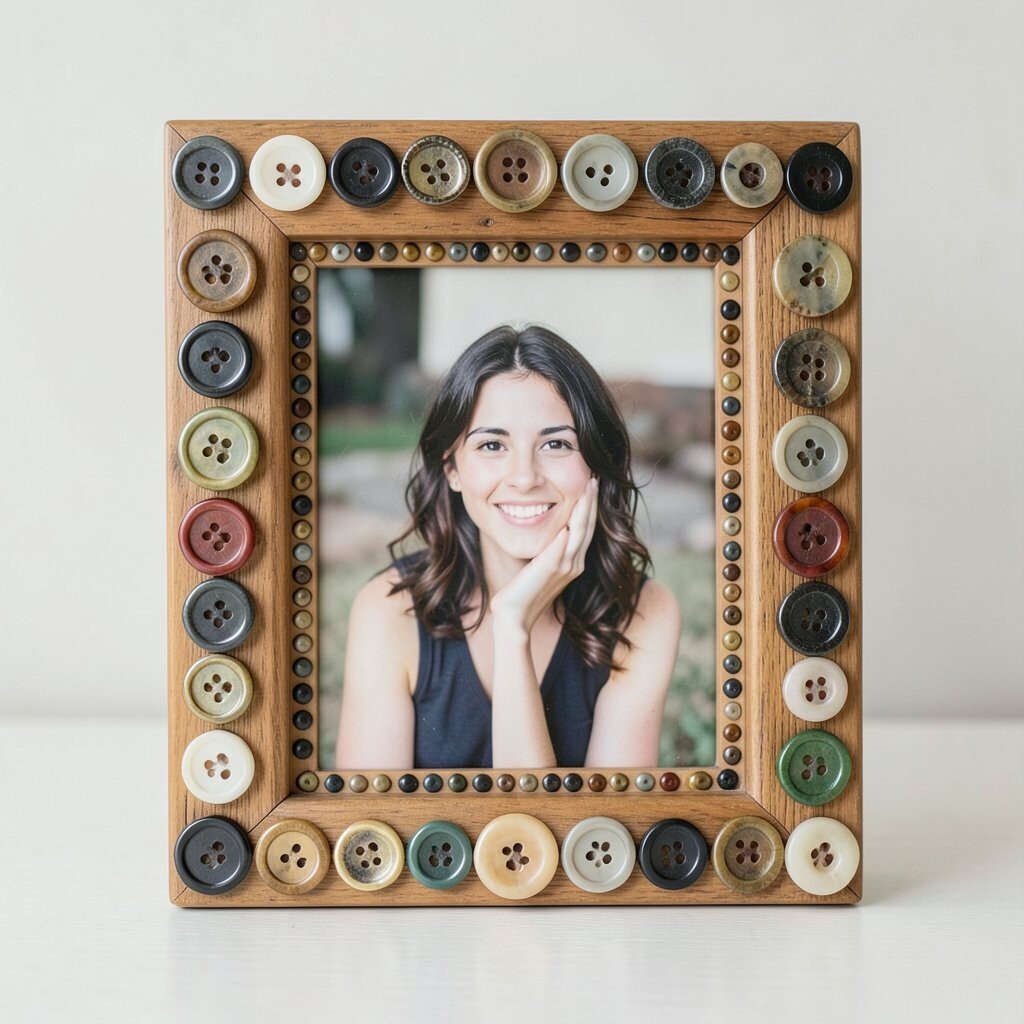
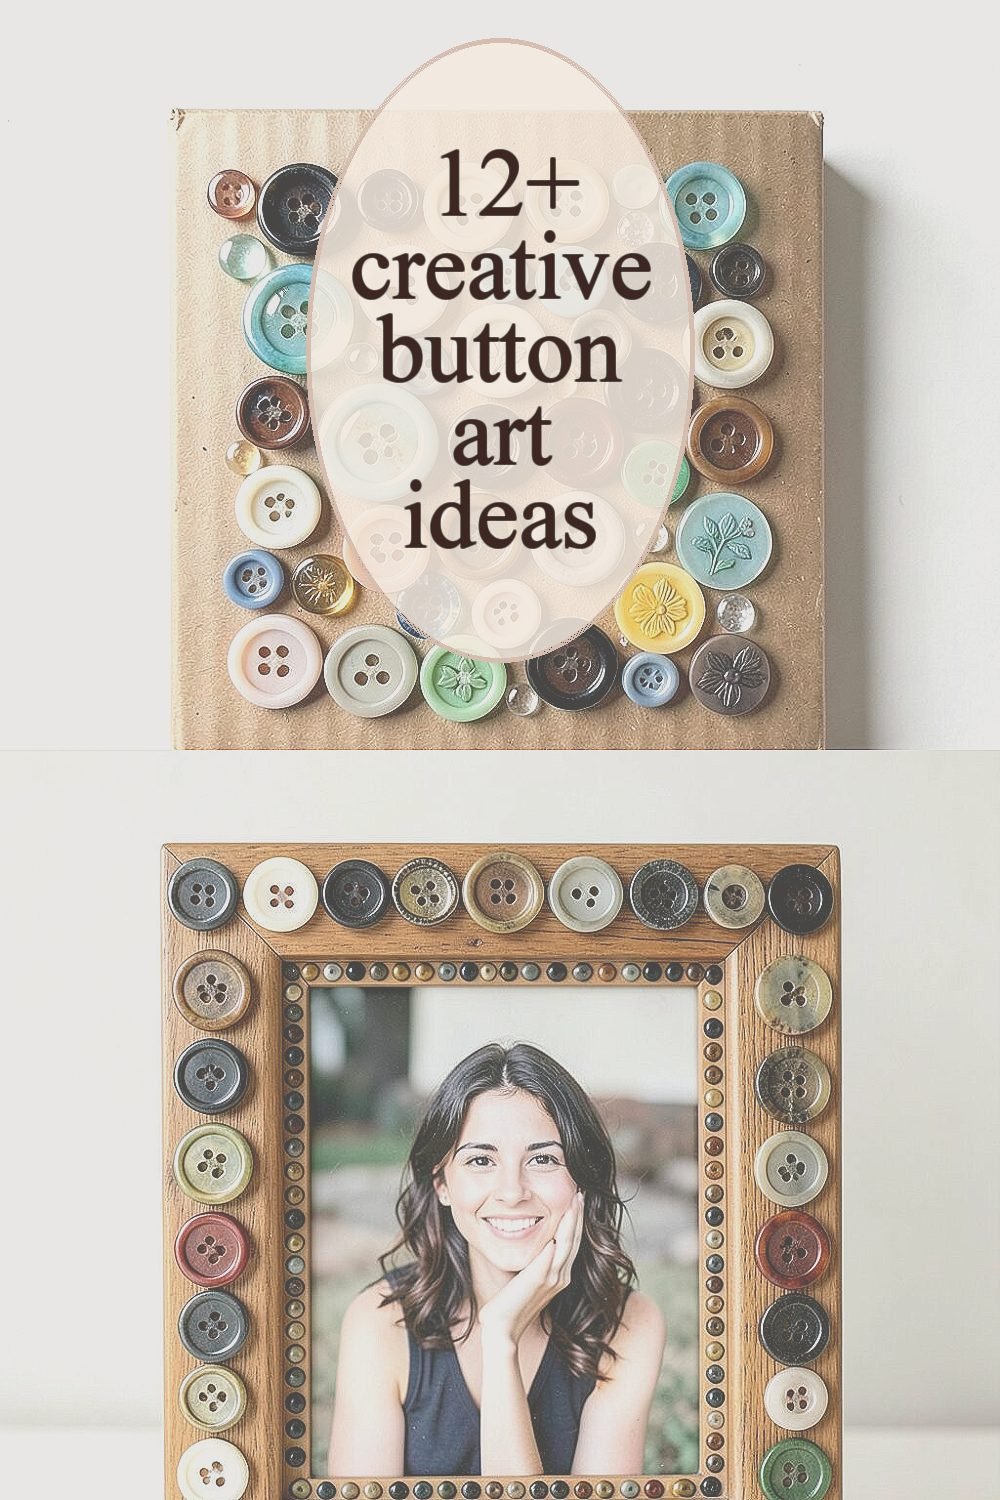
Find a plain frame and cover the edges with buttons in neat rows. Let a few odd buttons stick out on purpose for a fun, handmade look.
Choose colors that match the photo and keep the background simple so the picture stays the star. If you have mixed sizes, group them by size so the pattern looks balanced.
For extra charm, add a thin line of buttons around the inner border where the eye naturally lands. This project works well with thrifted frames, and you can keep costs low by using buttons you already own.
3. Button Wind Spinner for Your Porch
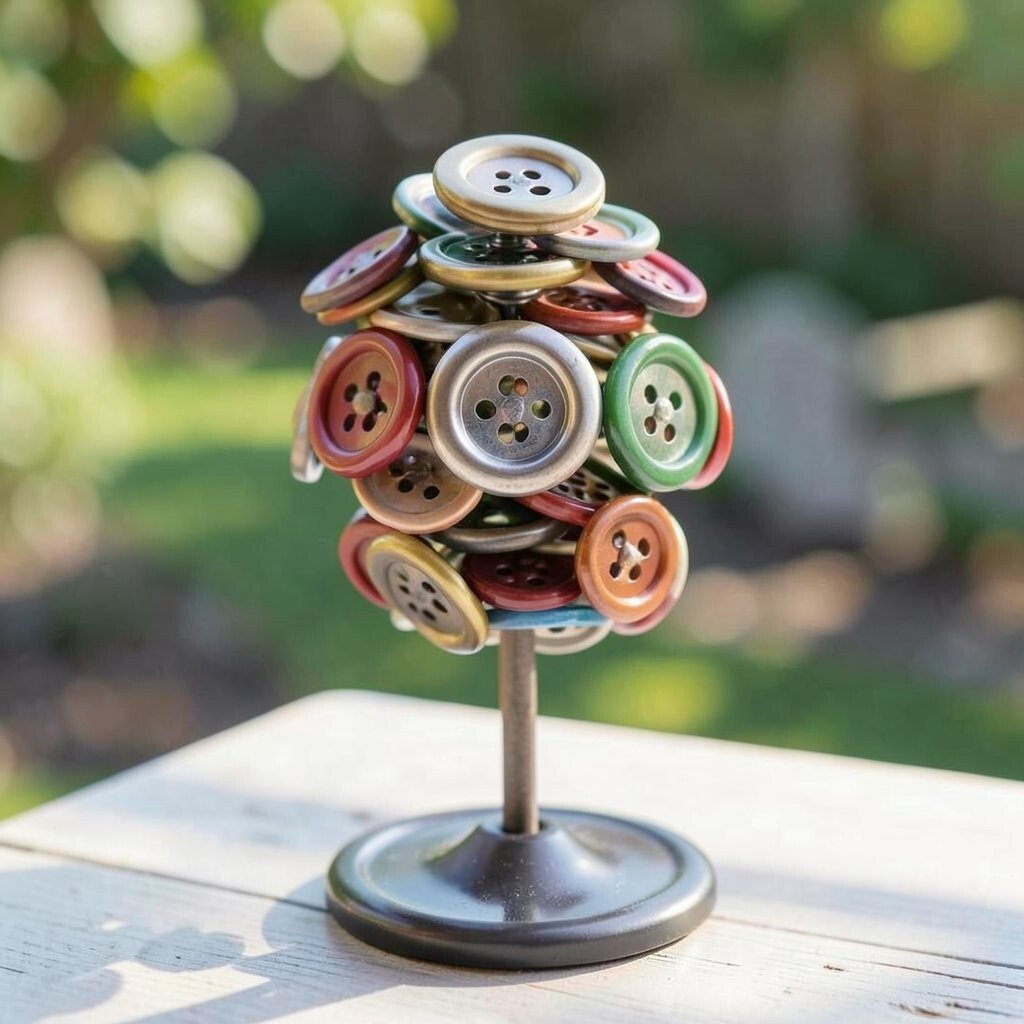
Stack two or three layers of buttons on a sturdy pin, then attach them to a small spinner base. As the wind moves it, the buttons clink softly and flash colors as they rotate.
Use a mix of metal and plastic buttons for contrast, and consider adding a larger button near the center to anchor the design. To make it last outside, use weather-friendly glue and seal the back with a clear coat.
Personalize it with a color story, like spring pastels or deep autumn tones, so it feels like it belongs where you hang it. Current porch styling often leans into small tactile details, and this kind of sound and shine fits right in.
4. Button Lettering With Thread Highlights
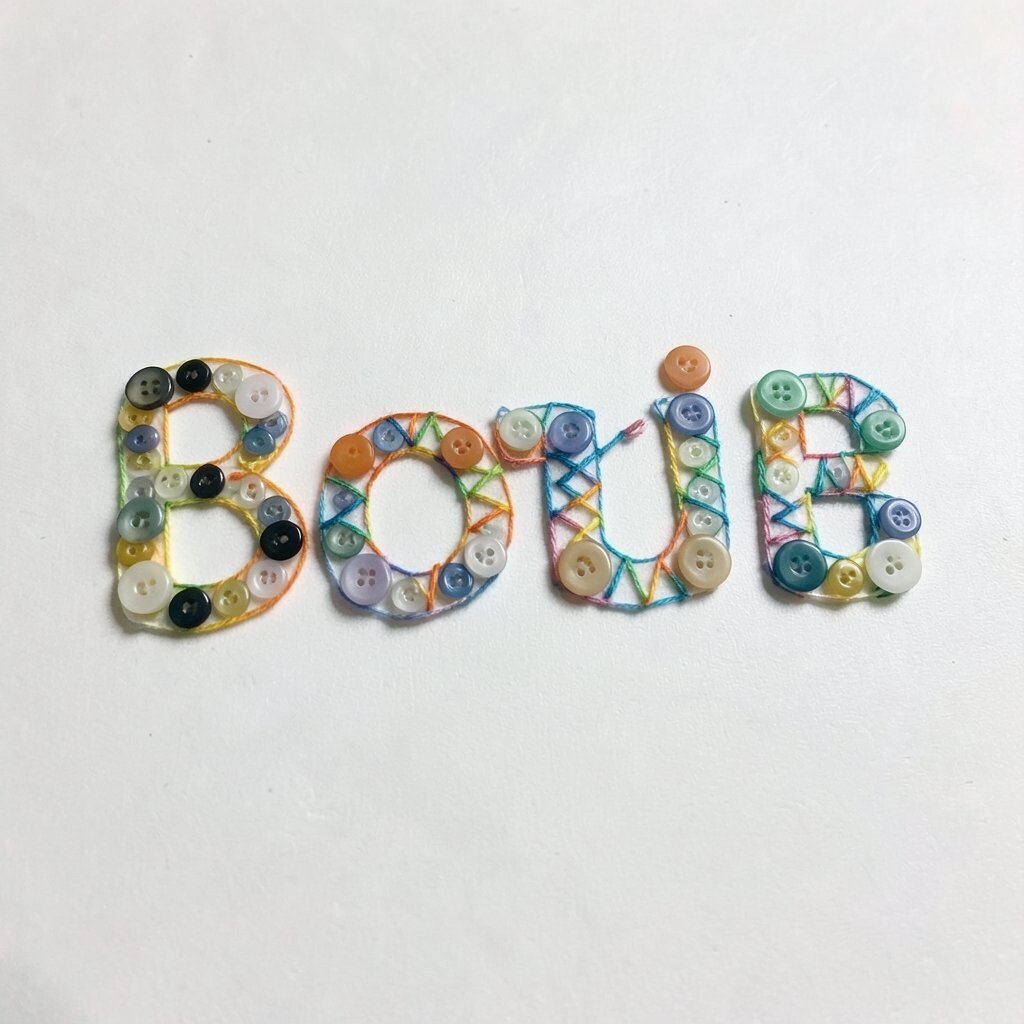
Write a name or a short word on a board, then outline the letters with buttons. Leave open spaces inside the strokes so you can stitch across them with bright thread.
Vary the button sizes along curves and corners so the letterforms feel lively. A simple thread zigzag can make the whole piece look crisp even if your button arrangement is playful.
5. Button and Fabric Garden Patch
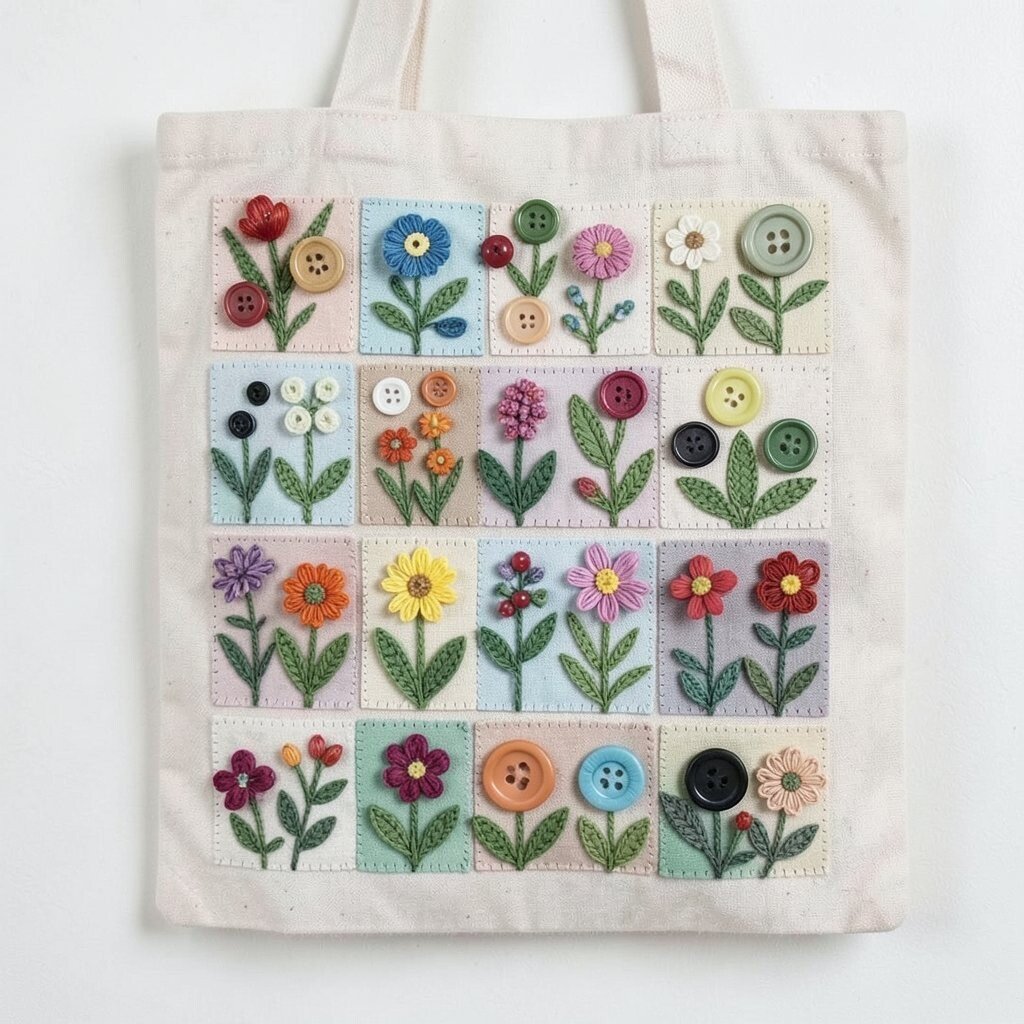
Cut small fabric squares, then sew or glue buttons onto them like mini plants. Think of petals, leaves, and tiny flowers made from button shapes and thread loops.
Arrange the patchwork into a wall hanging or pin it onto a tote bag for everyday use. When you blend patterns with plain fabric, your buttons stand out without overwhelming the design.
For a budget-friendly approach, pull scraps from old shirts and curtains and use leftover buttons from mismatched pairs. Personalize the patch by matching button colors to a favorite outfit or seasonal palette you already own.
6. Button Mandala Coaster Set
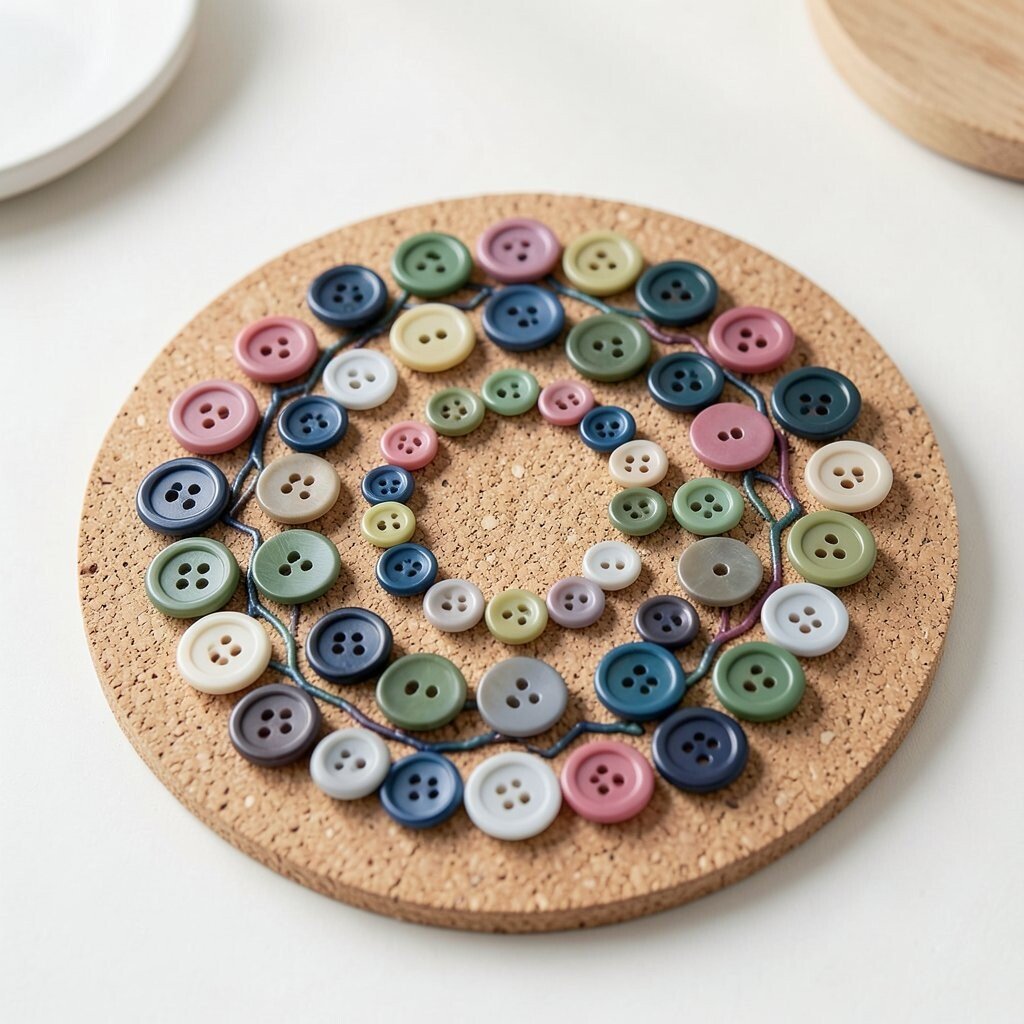
Lay out circles of buttons on cork coasters so they form a mandala pattern. Start with a ring of medium buttons, then layer smaller ones inside to create a gentle swirl effect.
Keep the colors limited so the coasters look classy rather than busy. If you want a current, modern vibe, choose one main color family and add a few contrasting “spark” buttons for depth.
7. Button Storyboard With Found Objects
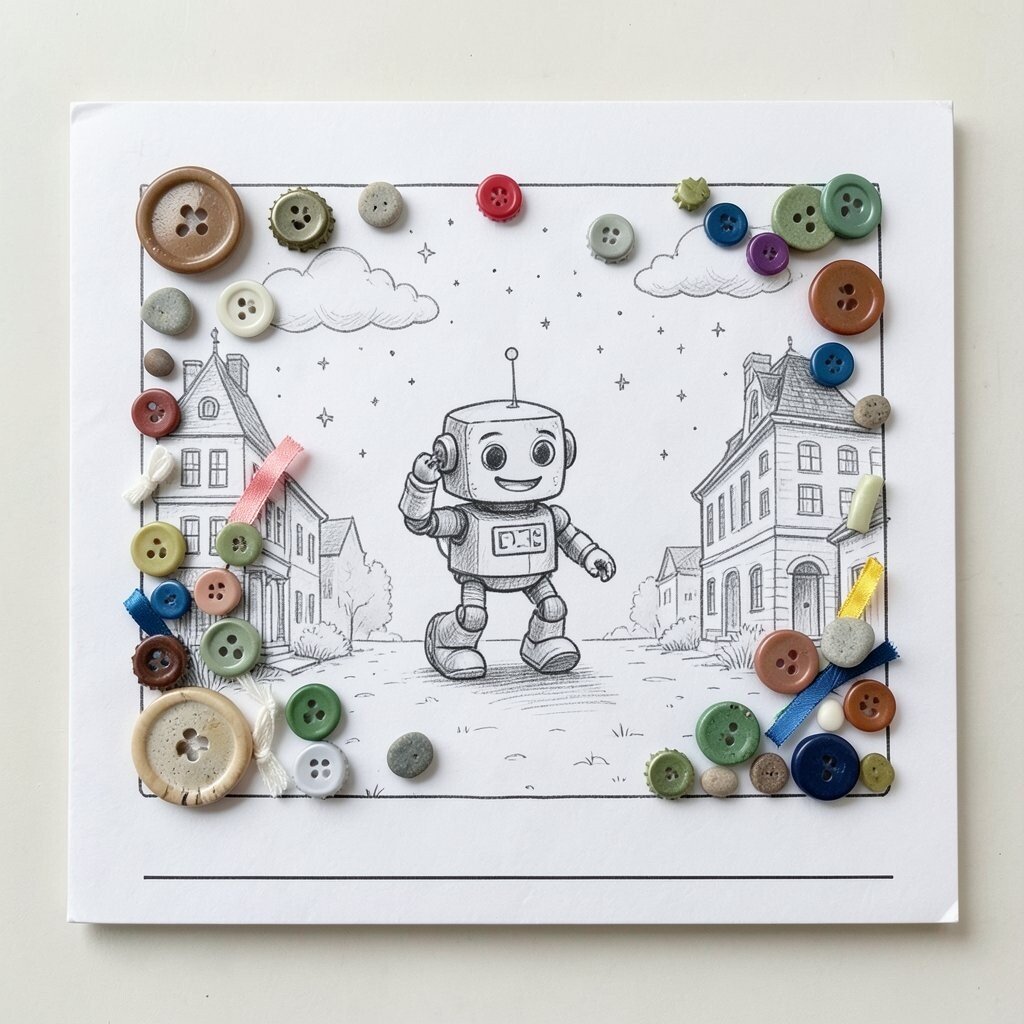
Choose a flat board and sketch a simple scene in pencil, like a little robot walking through a star field. Then fill the scene with buttons as characters, buildings, and even tiny clouds.
Use found items like bottle caps, pebbles, or bits of ribbon alongside buttons to add texture. The benefit is that each piece becomes more than just button art because you get layers of meaning and surprise.
Keep it practical by testing glue strength on spare buttons first, especially if you’re using heavier pieces. Personalize the storyboard by using buttons that remind you of a place, a person, or a memory, so the scene feels personal.
8. Button Serpent or Caterpillar Line
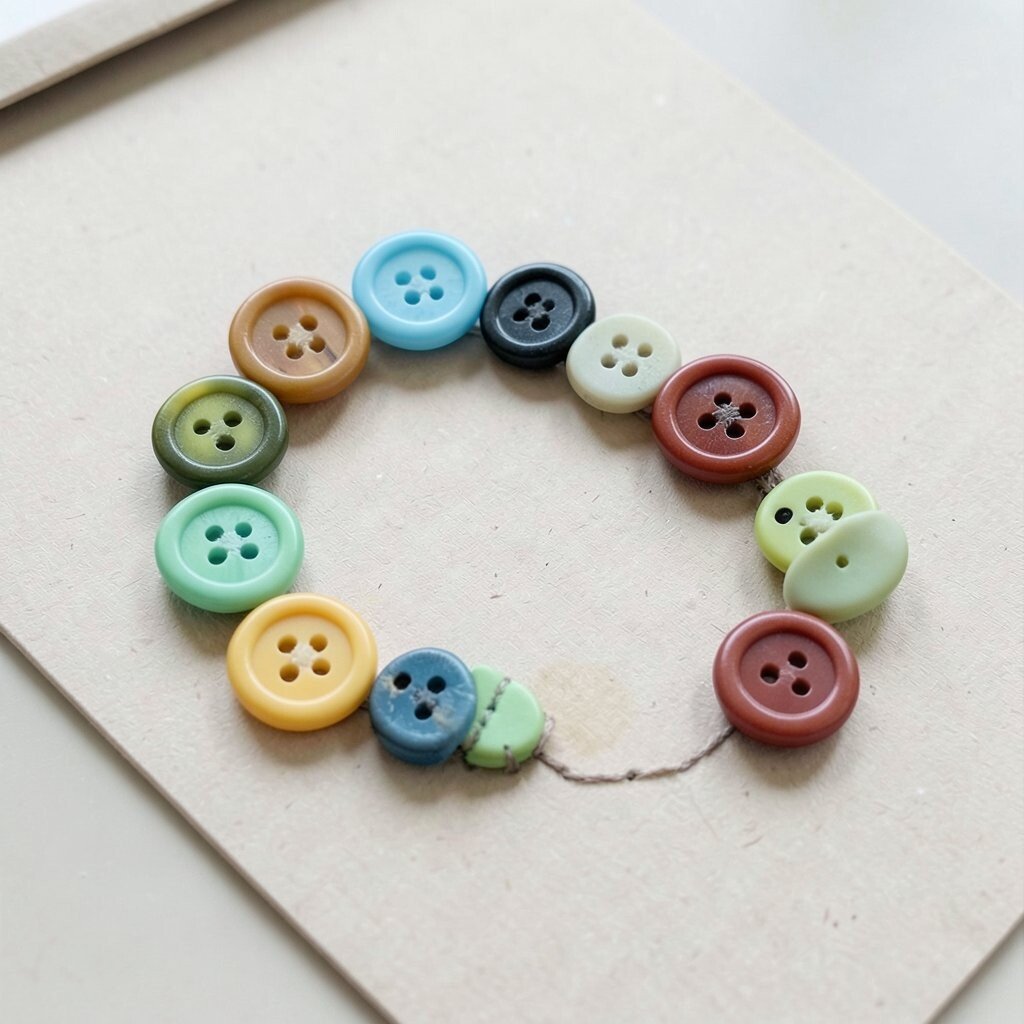
Roll a string of buttons into a playful curve on a board or cardstock. Add small stitched sections between the buttons to show movement like segments on a caterpillar.
Choose two or three colors for the main body and use a different color for the eyes, so the shape reads clearly. This is a great craft for beginners because the design stays flexible while you work.
9. Button Clock Face Wall Accent
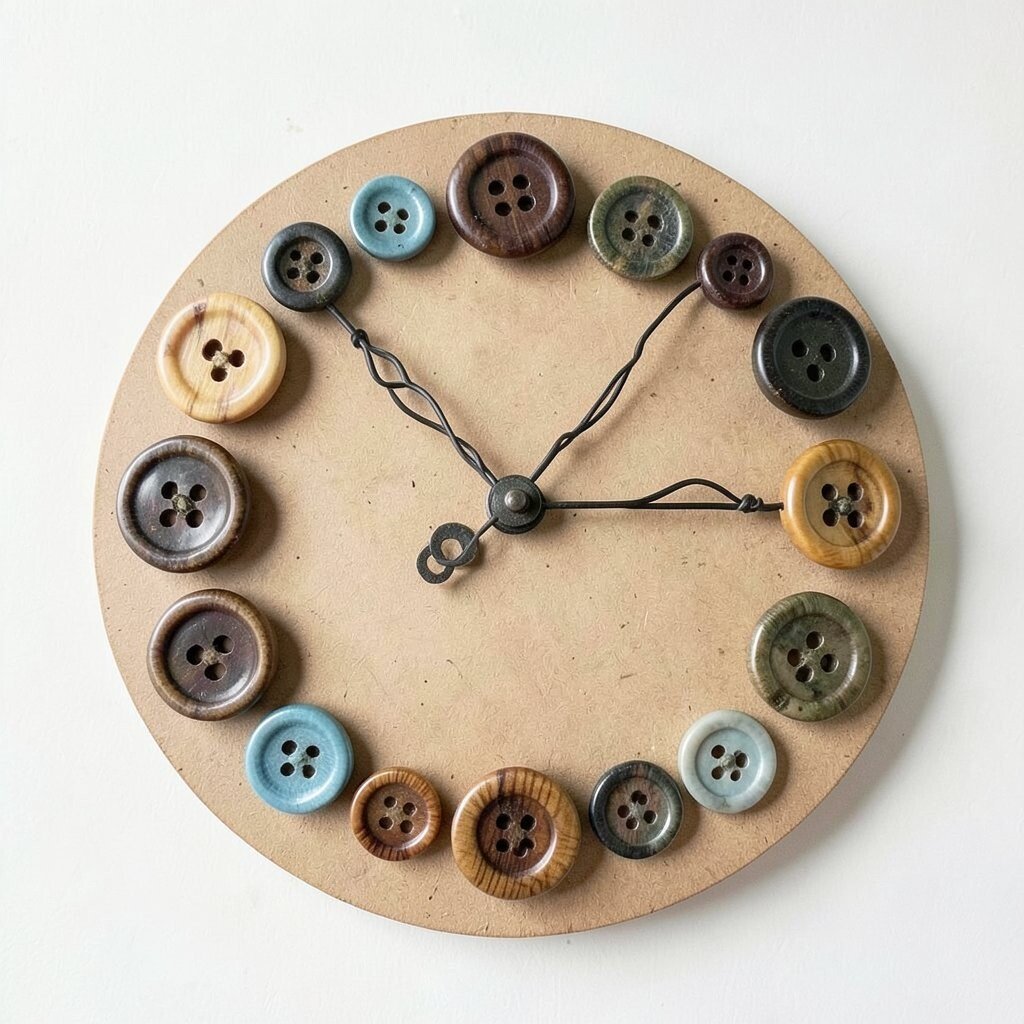
Use an old clock mechanism or a simple circular template, then place buttons around the edge like a ring of hours. If you don’t have a mechanism, you can still create a “pretend time” look with a decorative hand made from wire.
Try arranging button sizes by rhythm, with larger buttons at the “markers” and smaller ones in-between. The unique charm comes from how the materials reflect light, so the piece looks lively even when it’s not moving.
For a low-cost option, repurpose supplies from thrift stores and use a scrap board as the base. Personalize it by using buttons in the colors of your room, like warm wood tones or cool blues.
10. Button-Studded Boho Keychain
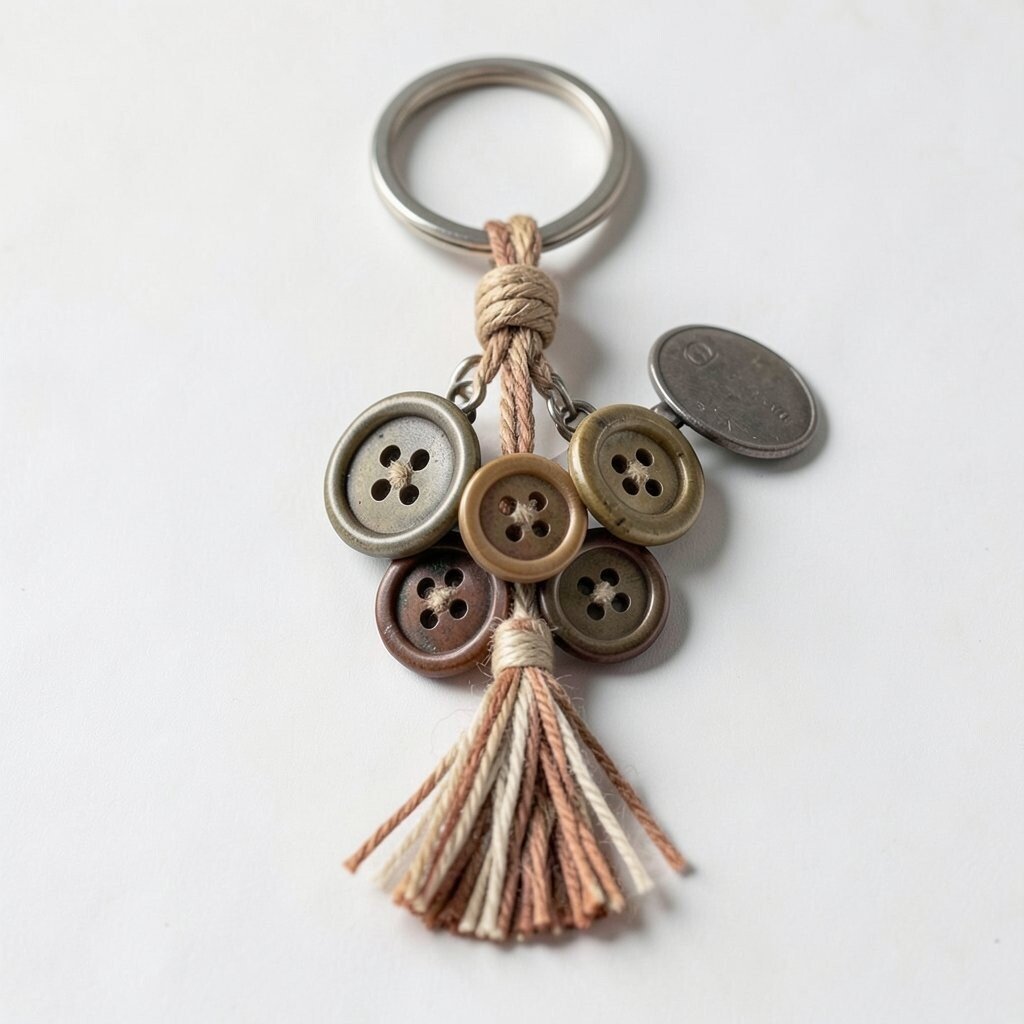
String buttons onto a sturdy cord and attach it to a keychain ring with a knot that feels secure. Mix sizes so some buttons sit close together while others dangle like little charms.
Add a tiny tassel made from thread or yarn, then finish with a metal charm you already own. This project is easy to carry out and shows off your style every day.
11. Button-Embellished Greeting Card Fronts
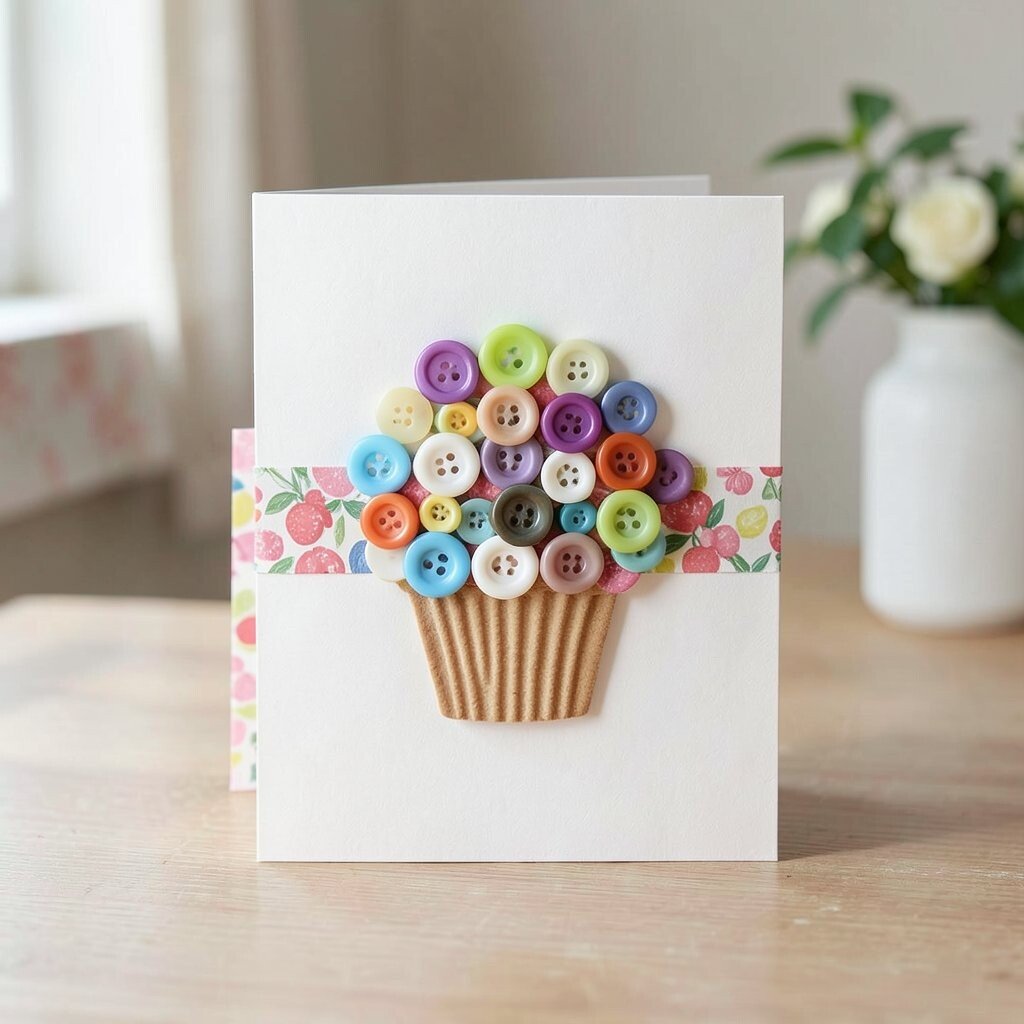
Make card fronts by gluing small clusters of buttons onto thick paper, like a bouquet or a cupcake. Keep the placement near the center so it feels balanced when the card opens.
Use slim strips of patterned paper behind the buttons to make colors pop without extra cost. The benefit is that your message becomes part of the design, and the recipient gets a texture they can feel.
Personalize each card by using buttons that match the celebration, like bright tones for birthdays or soft neutrals for thank-you notes. This also fits current trends in tactile crafts, where simple materials create a handmade look quickly.
12. Button Seashell Treasure Art
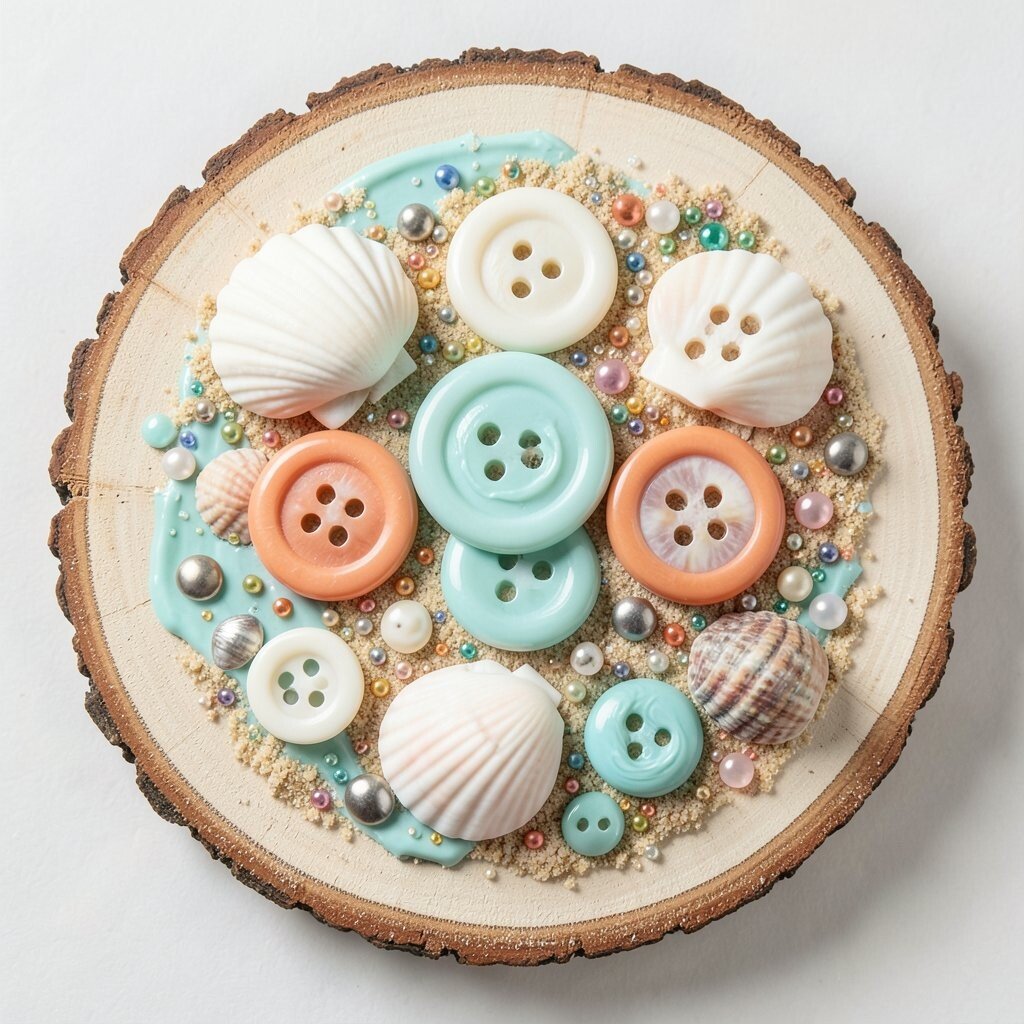
Start with a canvas or wood slice, then create “sand” using textured paint or glued paper strips. Place larger buttons like shells and surround them with tiny seed buttons for sparkle.
Blend in a few real shells if you have them, but keep the button pieces as the main focus so the craft still feels unified. For practical durability, seal everything with a clear finish, especially if you plan to display it outdoors or in a sunny spot.
Choose colors that fit a beach theme, like cream, seafoam, and warm coral, and include a few metallic buttons for waves. This is an affordable way to make something that looks like a store-bought decorative piece, but with your own memories inside.
13. Button Shadow-Puppet Display on Cardboard
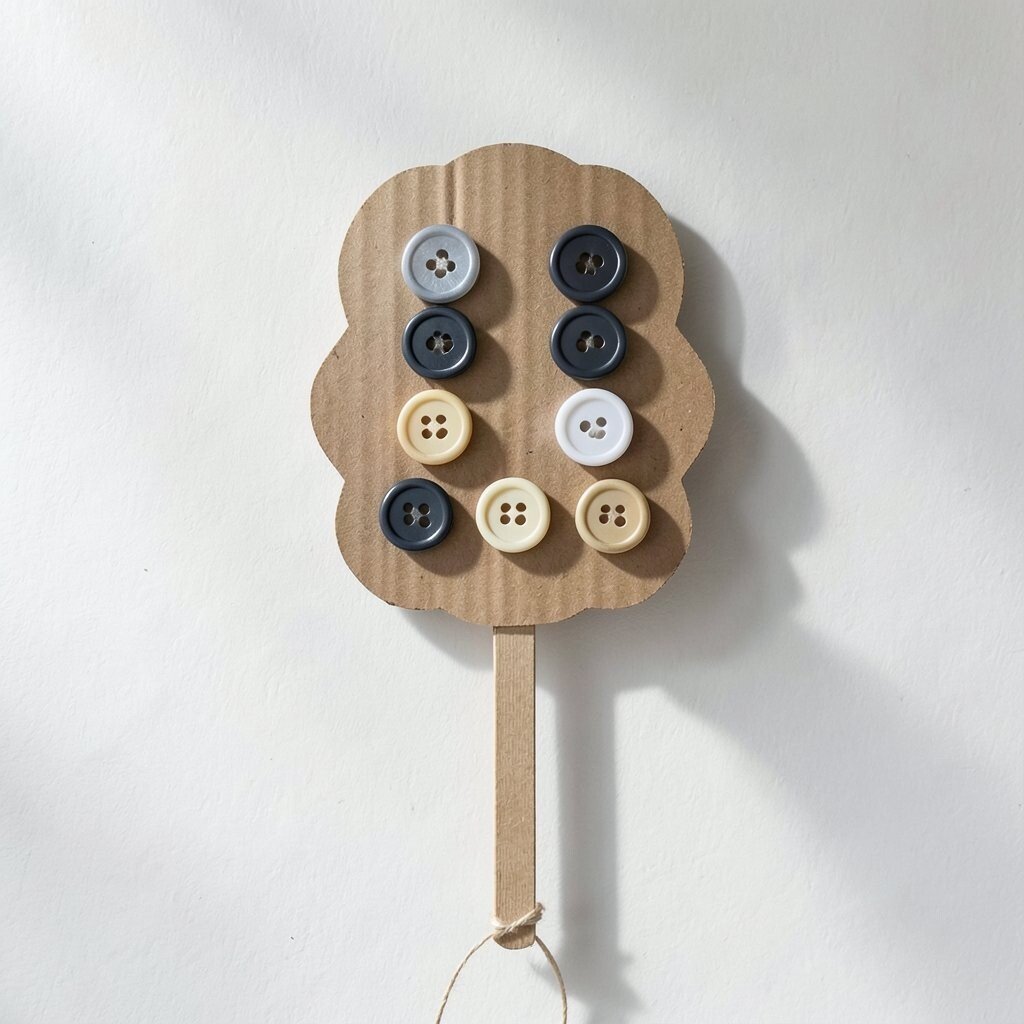
Cut simple shapes from cardboard, then glue buttons to form the “puppet” features like eyes, cheeks, and patterns. Add a thin handle so you can move the shape and create playful shadows on a wall.
Use matte buttons for soft shadow edges and shiny ones if you want tiny flashes when you move it under light. The uniqueness comes from how the button texture shows up even when the puppet isn’t directly in front of you.
Personalize it by building characters from your favorite stories, pets, or inside jokes. If you’re watching costs, this idea is great because cardboard and buttons are often already around, and you can finish it with just a basic glue and thread or wire for the handle.