Paper can feel like a playground when you give it a job. Grab a few sheets and watch everyday supplies turn into something you want to keep.
Craft paper is friendly, cheap, and perfect for hands-on fun. It also looks great in tons of styles, from neat and tidy to bold and messy.
1. Gradient Tea-Filter Lanterns

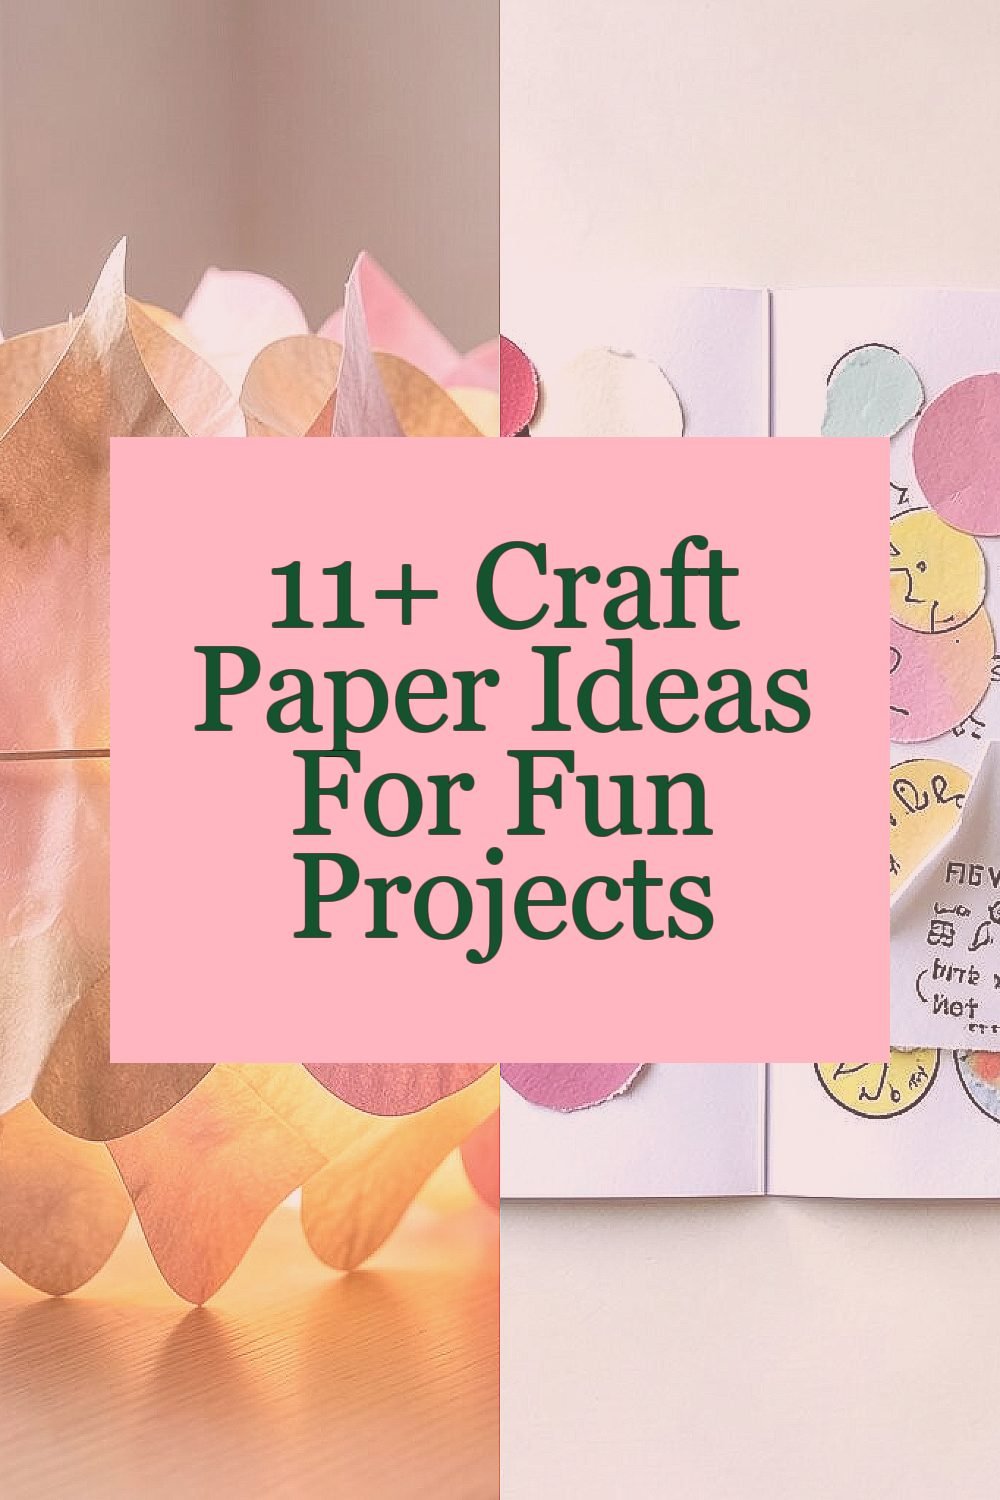
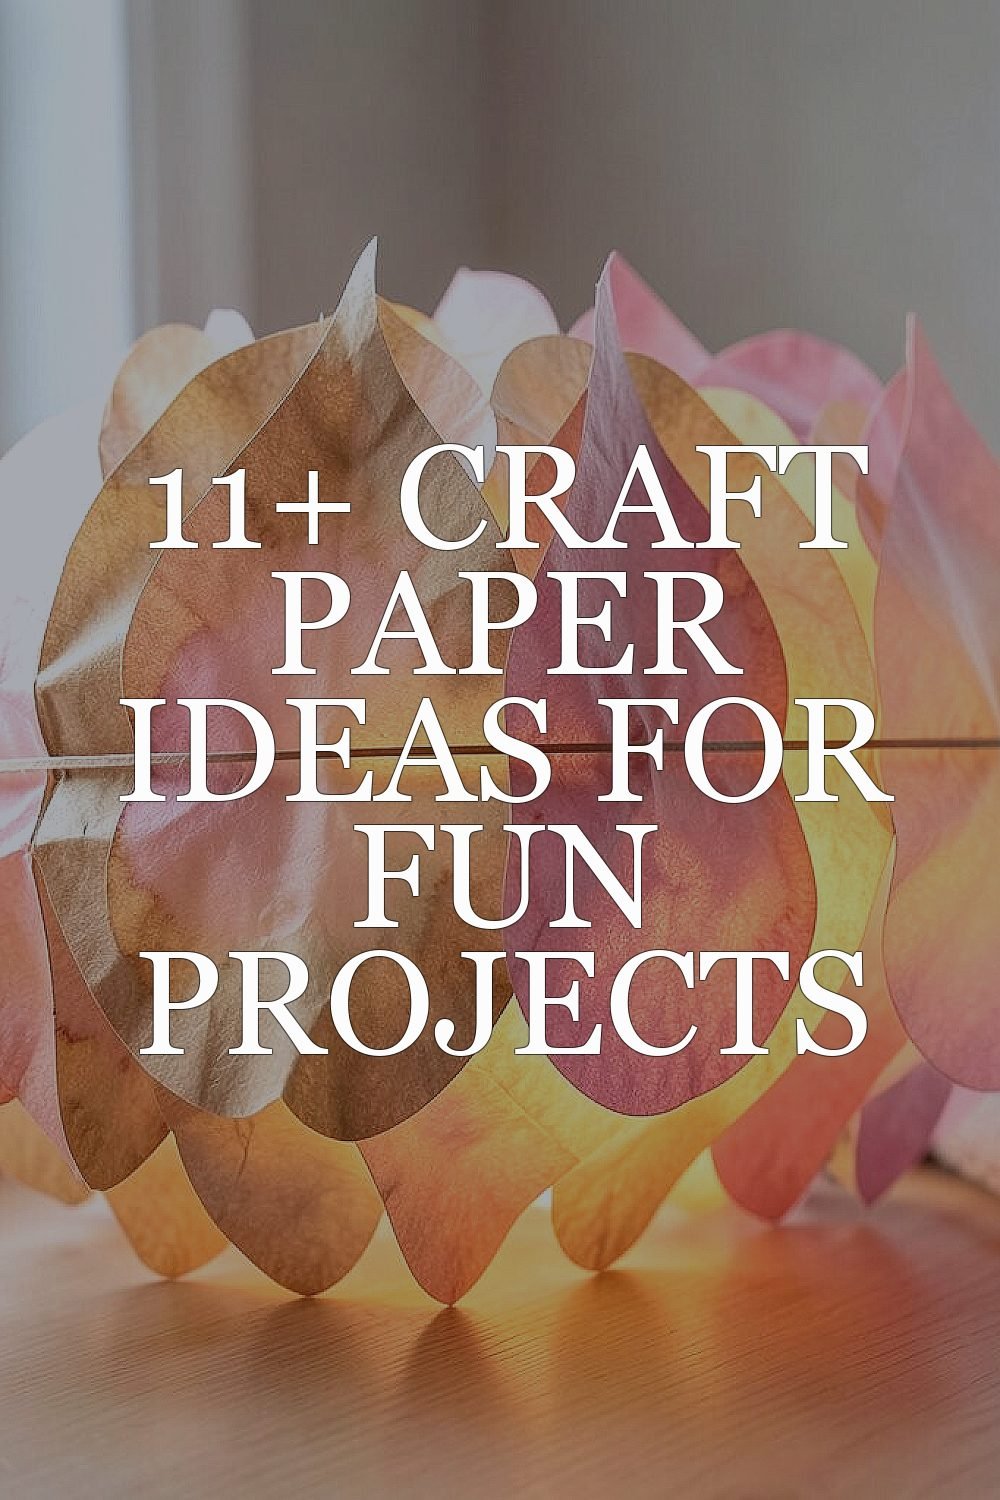
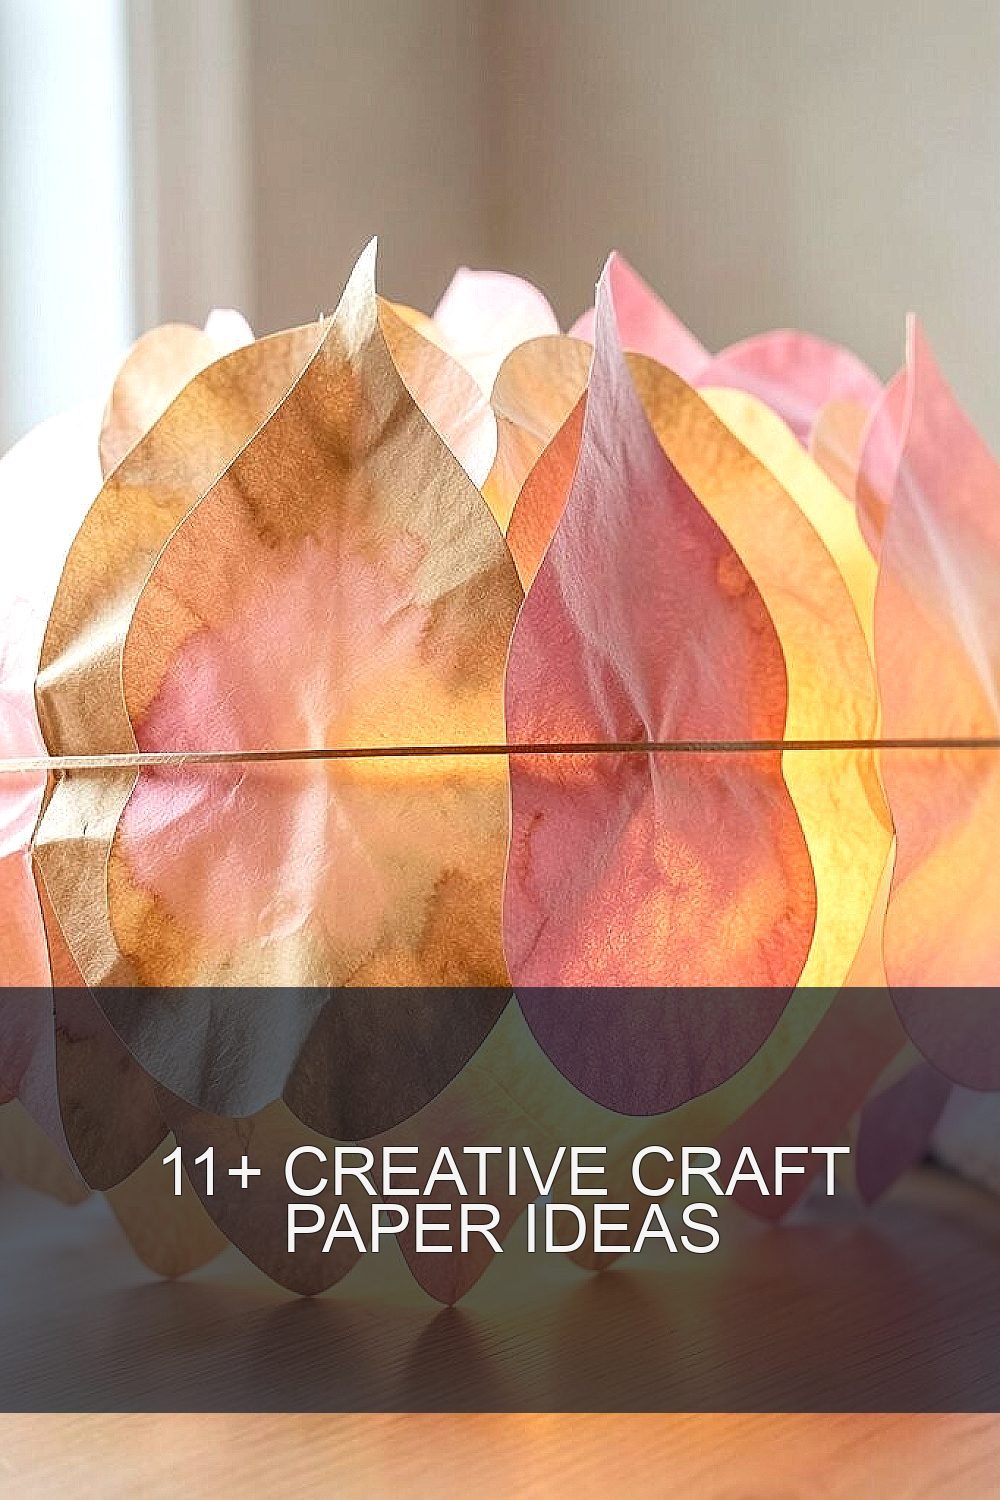
These lanterns start as soft circles and end as glowing pieces that look like sunset watercolor. Imagine warm light moving through delicate paper layers while your room feels cozy and calm.
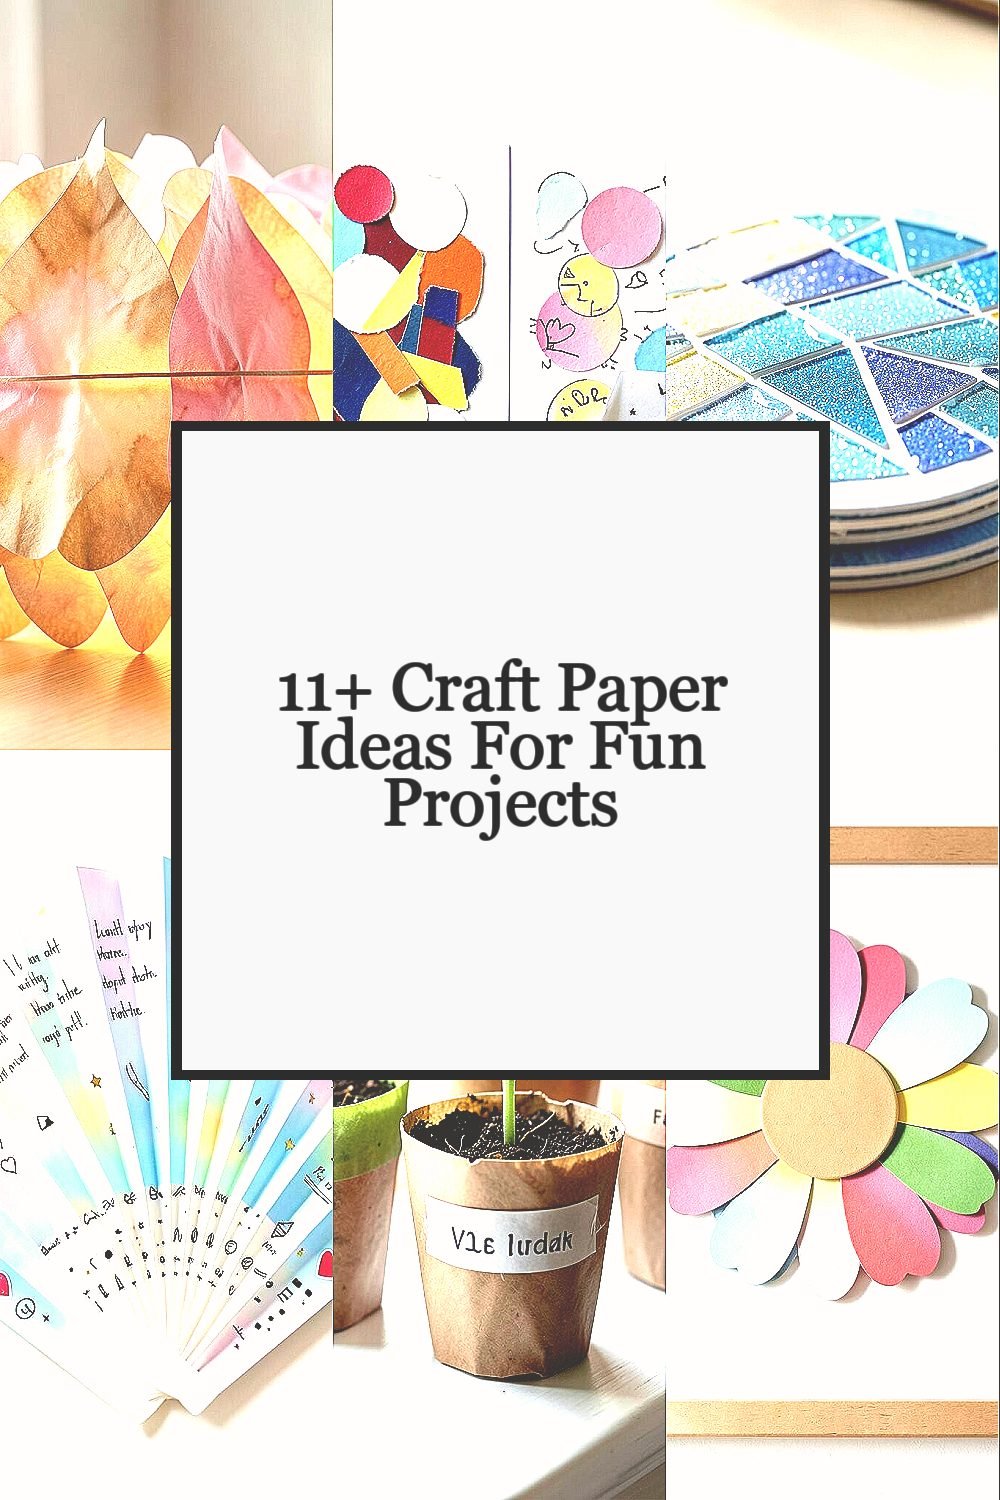
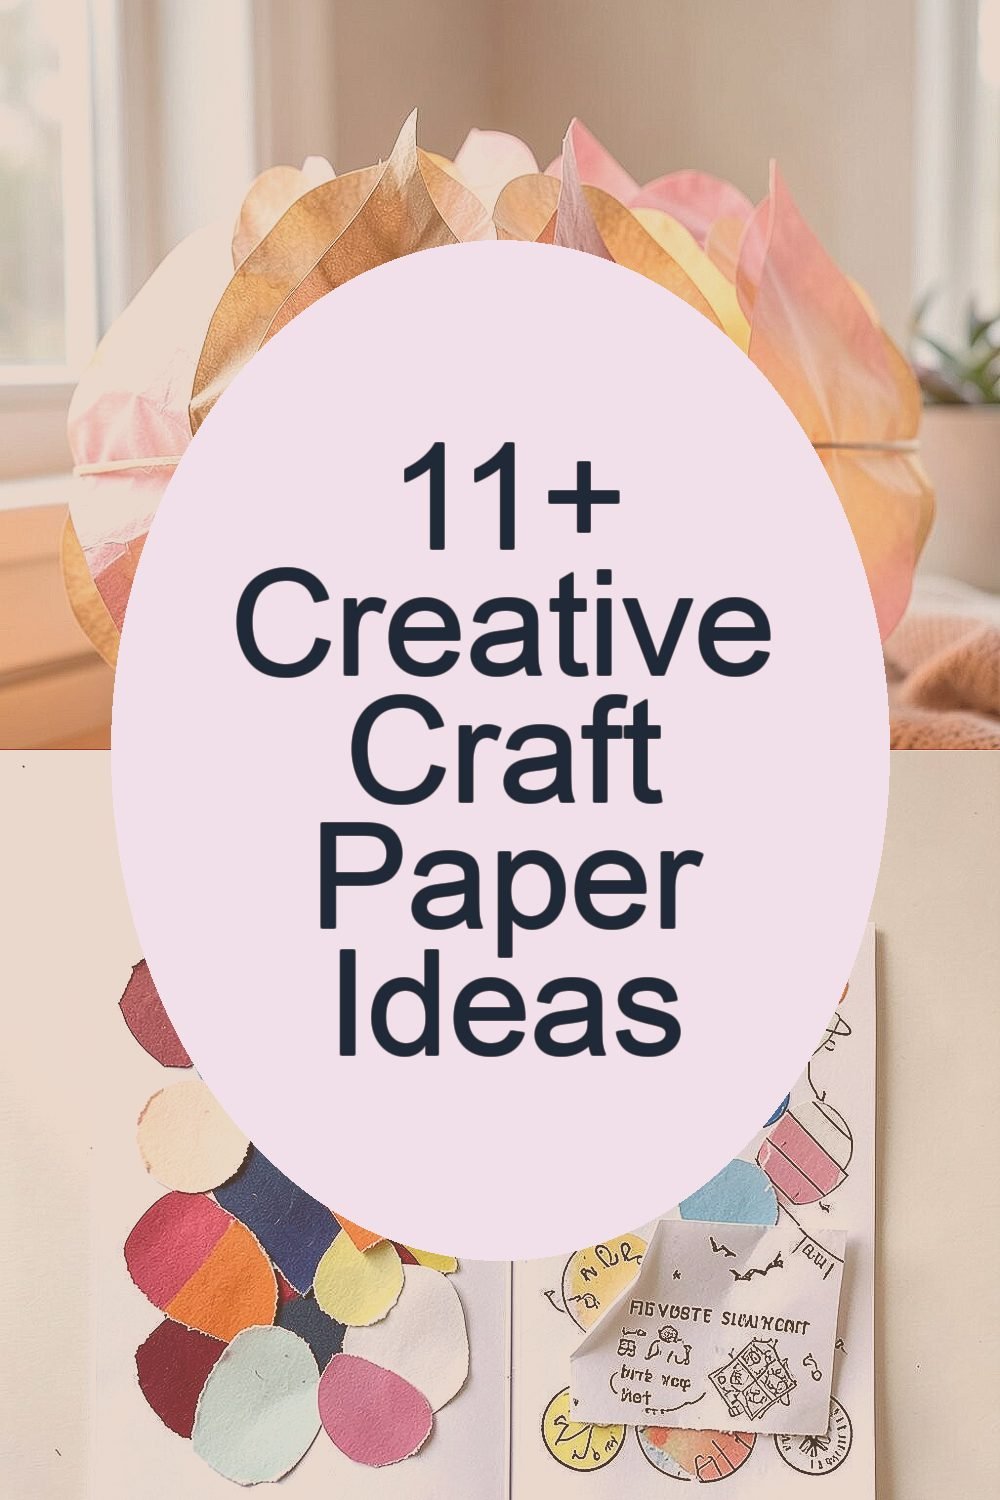
Use craft paper in light browns, pinks, and peachy tones, then cut teardrop shapes or scalloped rounds. Layer them like petals and secure with a simple wrap of tape so the paper holds its shape. For extra magic, lightly crinkle one side so light scatters instead of reflecting flat.
2. Collage Postcards With Secret Layers
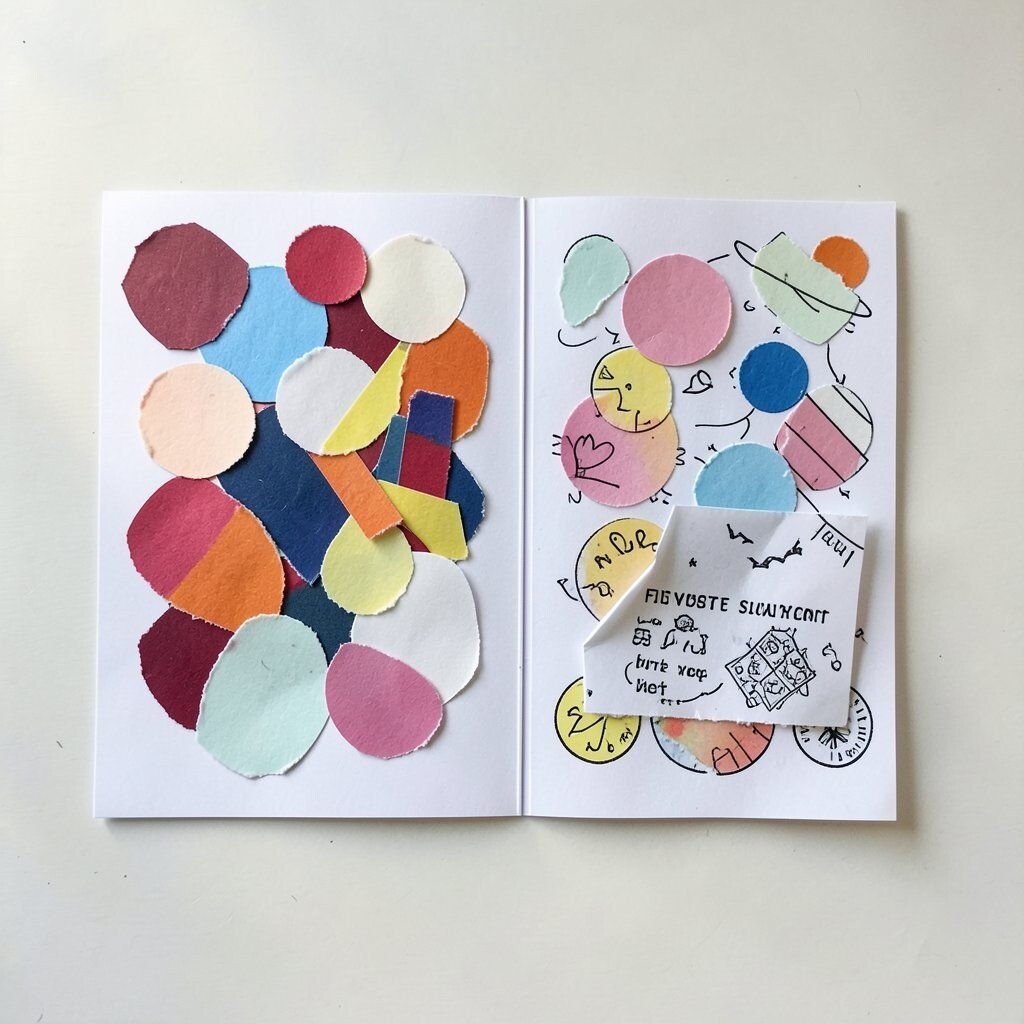
Make postcards that feel like little stories you can peel back and read again. The front can show bold shapes, while the inside hides tiny bits of paper collage behind a flap.
Cut paper scraps into circles, torn edges, and strips, then glue them in a playful layout. Tuck a small folded paper pocket under one corner and place a surprise message inside. Use markers to add matching doodles so every layer looks intentional, not random.
For personalization, stamp a name, favorite color, or a mini map-like design on the hidden layer. This kind of project is great when you want a handmade gift that still ships easily. Since craft paper is often inexpensive, you can use up leftover sheets without worrying about wasting money.
3. Paper Mosaic Coasters That Catch the Light

These coasters look like tiny stained-glass windows when the pieces are arranged closely. The surface can show sparkly highlights if you use glitter craft paper or metallic scraps.
Cut small squares and triangles, then lay them out on a round base like you are building a mosaic puzzle. Press each piece down with glue and leave thin gaps on purpose for contrast. Seal the finished coaster with a clear matte glue or thin varnish so it handles everyday tabletop life.
To make them unique, use a color theme like “ocean blues” or “sunny kitchen.” You can also add a border using a single contrasting sheet so the design looks framed. A stack of coasters can be built over time, which makes it a budget-friendly way to refresh a room.
4. Folded Paper Fortune Fans
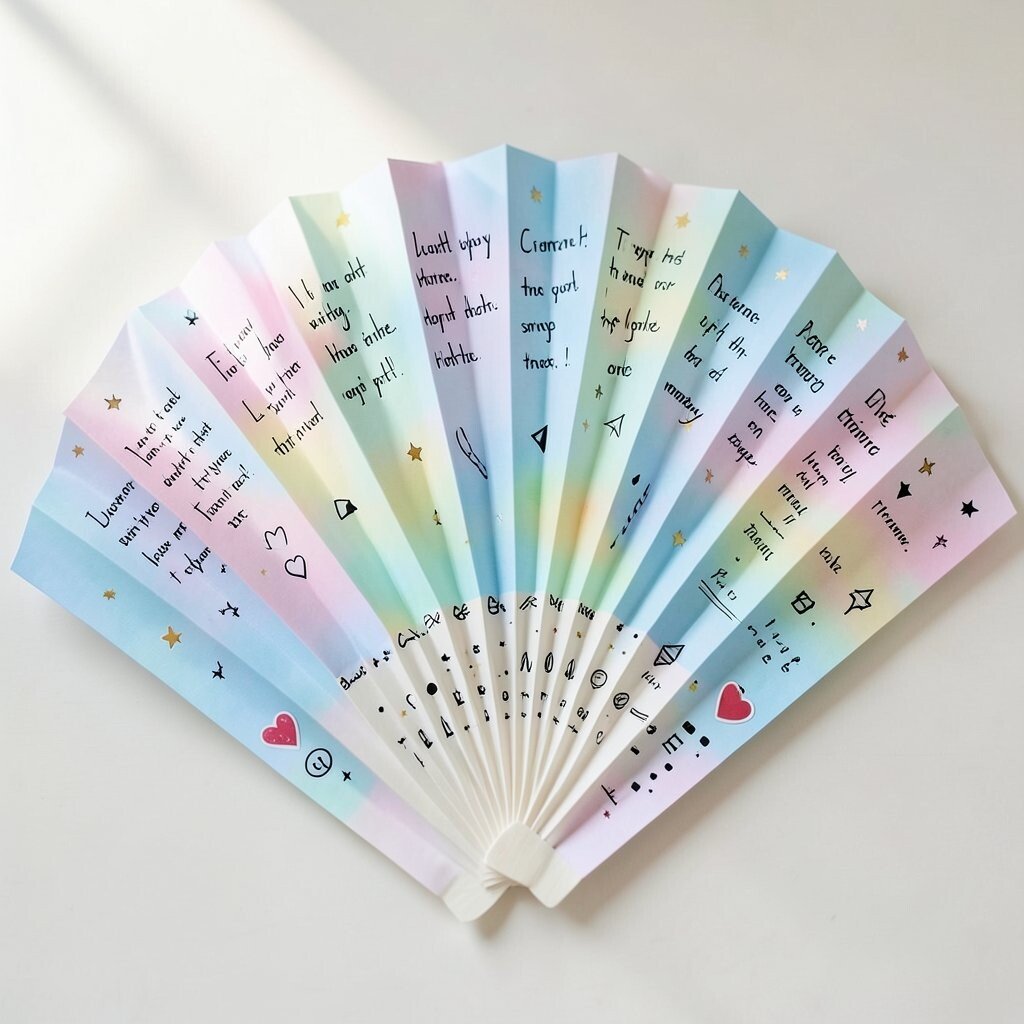
Folded fans are fun because they move, click, and flutter when you show them off. Each ribbed fold creates little highlights that make the craft paper look lively.
Start with a strip of paper and fold it back and forth like a concertina. Write short fortunes or sweet notes on the panels, then glue the ends to form a hand-held fan. For a clean finish, trim the edges after folding so they line up nicely.
Choose patterns that match current trends, like soft pastel gradients or minimal black-and-white shapes. Personalize by adding tiny stickers on each panel, such as stars or hearts, for a themed set. Craft paper fans are usually low cost because you only need one strip at a time.
5. Seed-Starting Pot Wraps From Paper Strips
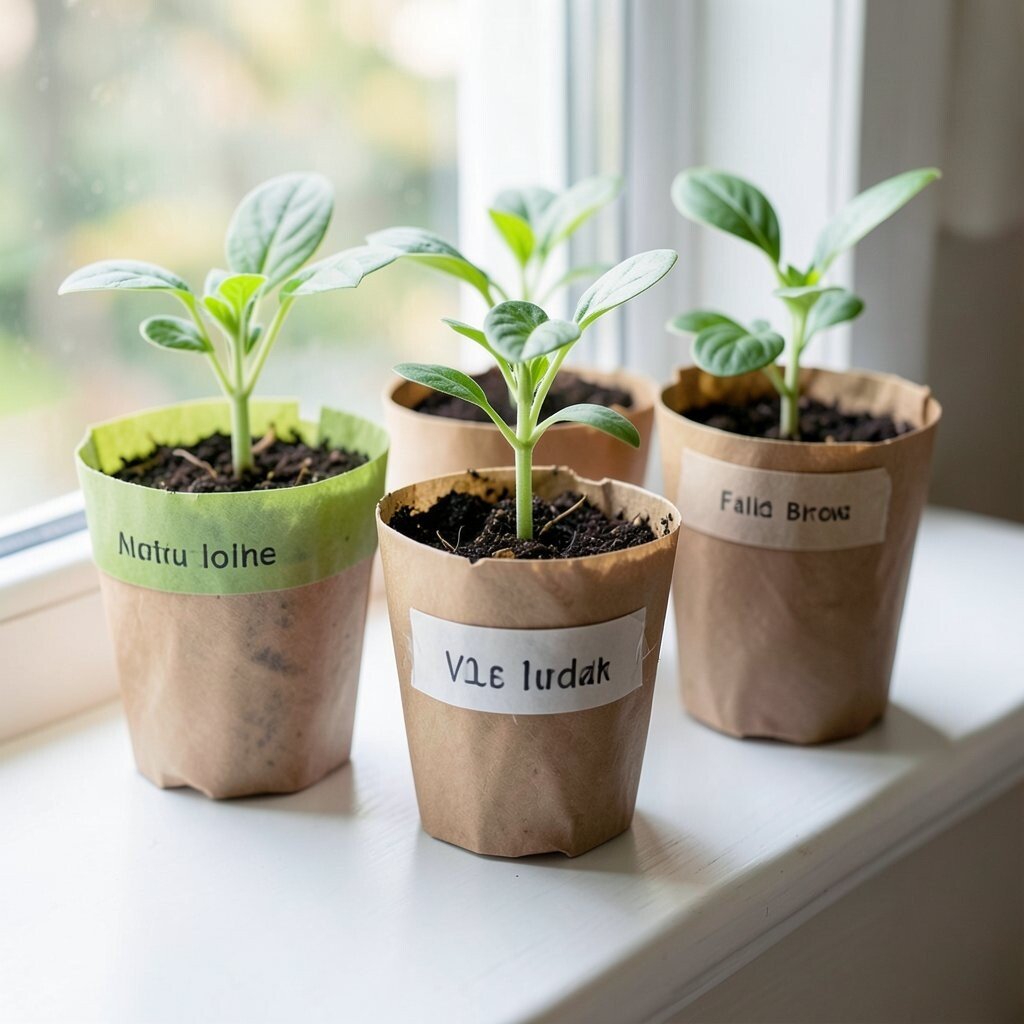
Yes, paper can help plants when you use it in the right way. Wrapping seedlings with thin, sturdy paper can create a simple starter system that looks charming on a windowsill.
Cut narrow strips and wrap them around small seedling pots, then secure with a little tape or glue. Add a label using a waterproof pen and cover it with a thin clear layer so it stays readable when watered. For practical results, keep the paper breathable and avoid soaking it too heavily.
Make it unique by matching wraps to seasons, like spring greens or fall browns. It’s also a smart way to use craft paper that might otherwise sit in a drawer. Since you can often use scraps, this project can be one of the most budget-friendly ideas on the list.
6. 3D Paper Flower Frames
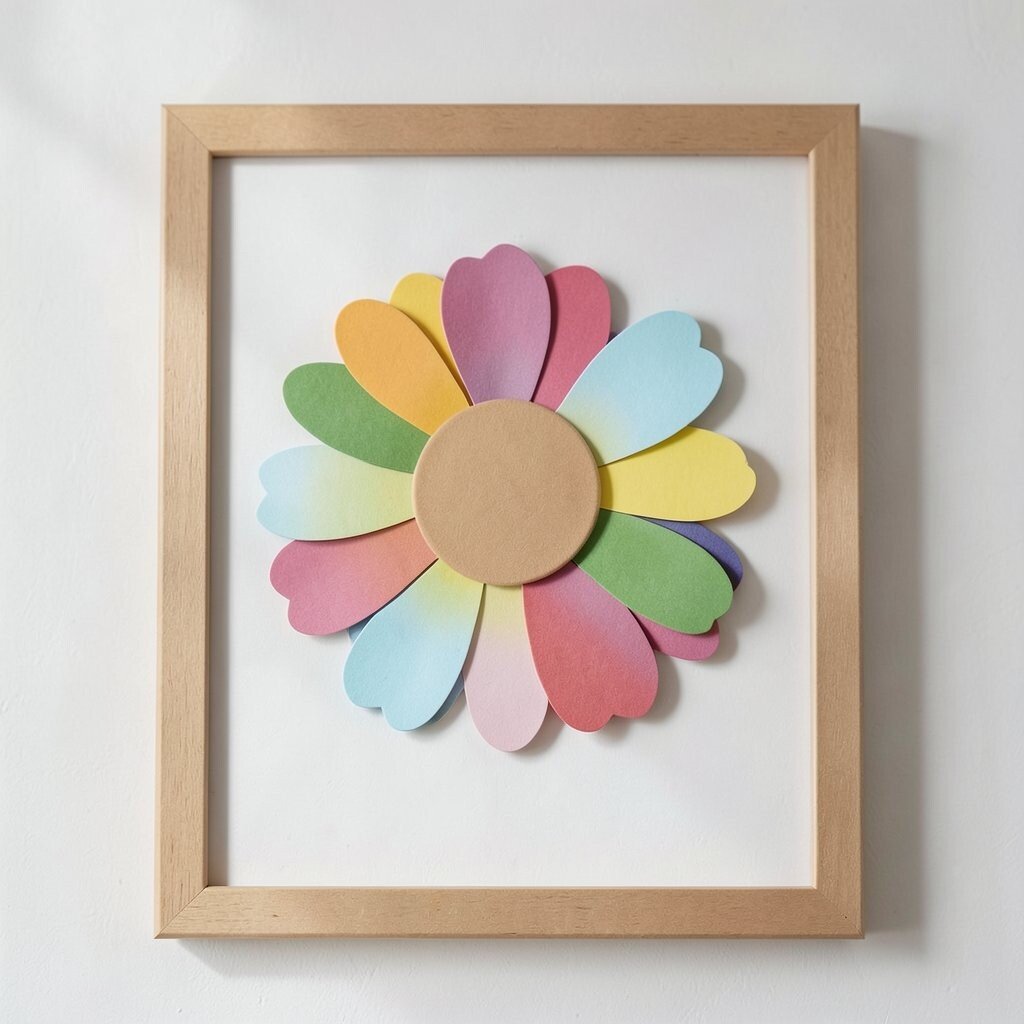
Think of these frames as mini gardens that never wilt. The craft paper petals pop forward and cast gentle shadows, which makes the whole piece feel more expensive than it really is.
Cut layered petal shapes from different shades, then glue them to a backing in a slightly off-center way. Add a paper circle center and glue it last so it anchors the flower like a sunflower core. Put the flower onto cardstock and finish with a simple frame made from thicker paper.
To personalize, choose colors that match your room or pick a favorite flower shape like daisies or tulips. A nice trend right now is clean, layered “paper bouquet” looks with soft gradients and simple outlines. You can keep costs low by using just a few sheets and re-cutting petal sizes from the same paper.
7. Storybook Corner Bookmarks

These bookmarks fit into the page corner like a tiny paper helper. They also look adorable because the folded design creates crisp angles and a clean border.
Create a corner bookmark by cutting a small square, then folding the paper into a triangle that slides under the page. Decorate the outside with drawings, patterns, or layered cutouts like a little character face. Use glue sparingly so the bookmark stays flexible and won’t feel stiff.
Try personalization by making a set for different books, each with a theme such as mystery, fantasy, or poetry. It’s a practical project for using leftover patterned craft paper because even small scraps work. Since you can make many bookmarks from one sheet, it’s a great choice when you want lots of fun for the price of a little paper.
8. Paper Weather Wheel Wall Decor

A weather wheel is a playful way to show changing vibes in your space. When you spin it, the paper symbols rotate in a satisfying, smooth motion.
Cut a circle from craft paper and add a simple background, then draw icons like sun, cloud, and raindrops around the edge. Punch holes where the spinner will connect, then fasten with a brad or paper fastener. Make a pointer and secure it so it can rotate over the icons.
To make it unique, use colors that match current home decor trends such as warm neutrals with one bright accent. Personalize with a small message like “today’s mood” on the center circle. Cost-wise, you only need one circle’s worth of paper plus a fastener, so it stays very affordable.
For best results, test the spinner before decorating heavily so it doesn’t catch. If you want it extra sturdy, back it with thicker cardstock. You can also make mini versions for drawers, notebooks, or kids’ study spaces.
9. Floating Paper Candle Magnets

These magnets look like little floating candles on your fridge or metal cabinet. The layered paper gives the design depth, so it feels lively even in plain lighting.
Cut small “candle” shapes and glue a base layer, then add a second layer for the flame glow. Attach a magnet strip to the back using strong glue and let it dry flat. Seal the surface with a thin clear coat if you want extra protection from daily smudges.
For personalization, match the flames to holidays or seasons, like orange flames for autumn vibes or cool blues for a calm theme. This project is great when you want something useful and decorative at the same time. Craft paper costs little, and magnets can be reused or salvaged from old items if you have them.
10. Faux Marbled Paper With Shaving Cream

Marbled paper looks fancy, like you bought it from an art store, but it’s easier than you might think. The swirling patterns create a dreamy surface that makes any project feel special.
Cover a tray with shaving cream, add a few drops of craft ink or food-coloring, then swirl gently with a stick. Lay craft paper on top, press lightly, and lift to reveal patterns that look like clouds or waves. Scrape off excess cream and let the paper dry flat.
Use the marbled sheets to make envelopes, labels, or small gift wraps. For personalization, repeat the swirl with different colors until you find your favorite combo, then keep a small “signature palette” for future crafts. While shaving cream can add a little cost, it often uses items you already have, and the results are worth it for the wow-factor.
To avoid waste, test on one scrap first so you can adjust how strong your colors are. This technique also fits current trends toward handmade texture and custom stationery. Once you see the patterns, it’s hard not to want to create more.
11. Paper Crown Place Cards
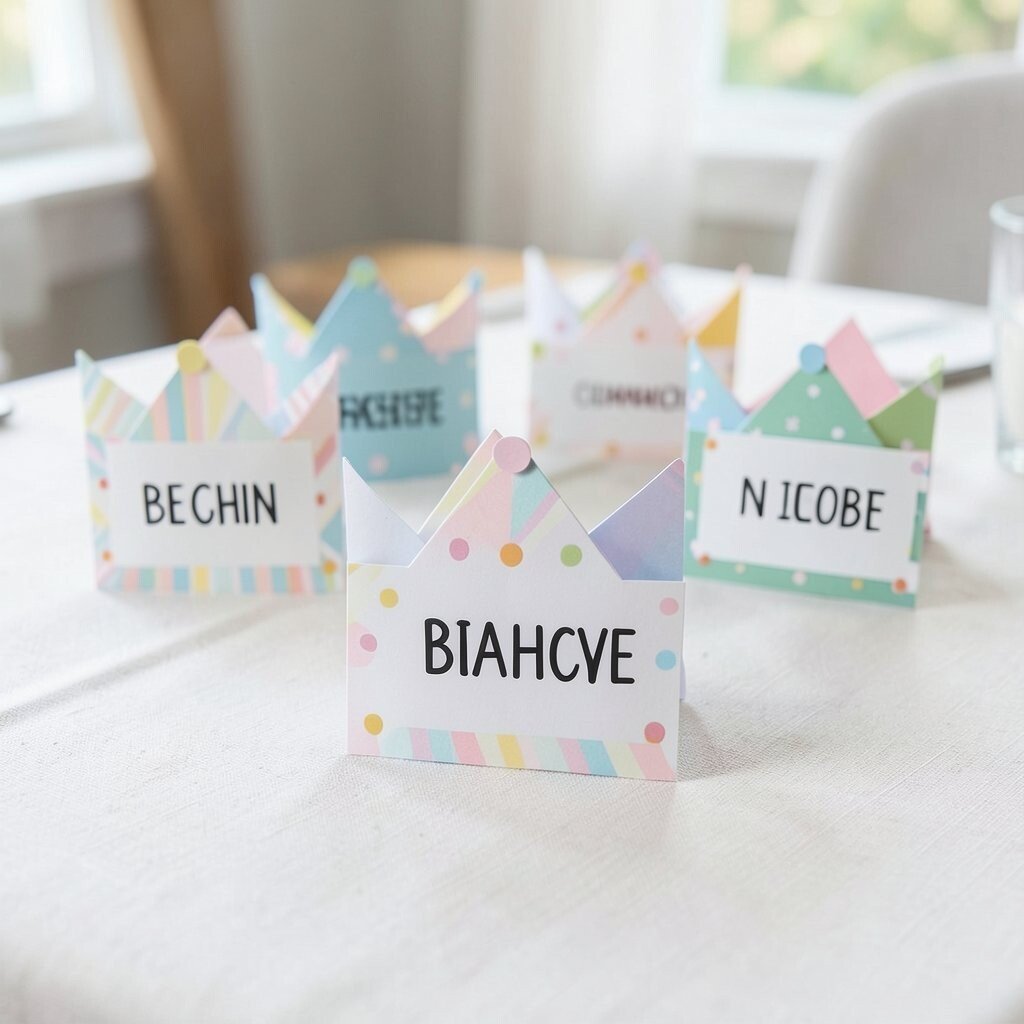
These tiny crowns make any table feel like a celebration. The peak shape frames a name and turns plain place cards into cheerful mini accessories.
Cut crown bases from craft paper strips, then form the points by folding or layering thin triangles. Glue the ends to create a small stand or flat card shape, and write a name in bold, readable letters. Add a little decoration with dots, stripes, or simple stickers that match the event theme.
For personalization, use color themes like pastel birthdays or sports team colors, and mix solid paper with patterned paper for variety. This is a practical idea because you can tailor it for kids, dinner parties, or classroom events without buying fancy supplies. Cost stays low since each crown uses only small paper pieces and you can reuse leftover sheets.
If you want extra durability, back the crown with thicker cardstock or laminate with clear tape. Keep edges neat by trimming with scissors after folding. Guests love picking up place cards that look like fun props, not just labels.
12. Paper Rope Baskets From Coiled Strips

Coiled paper rope turns flat sheets into sturdy baskets that look woven. The spiral texture is visually satisfying, and it adds warmth to shelves and desks.
Cut long strips, then twist each strip lightly and coil it into a ring shape. Use glue as you go to keep the coils from unraveling, then build the base and walls layer by layer. For a cleaner finish, smooth the top edge and tuck any loose ends inside.
To make it unique, use two colors and alternate rows for a bold “woven” look. Current trends often favor earthy textures, so try kraft tones with a bright accent band for contrast. Cost considerations are usually great because you can use scrap paper and even thin packing paper if it twists well.
Personalize the basket by adding a paper handle or a small label patch on the side. Make sizes for different uses like holding pens, storing hair ties, or organizing craft supplies. For best results, use stronger glue and let each layer set before adding the next coil.
When you finish, lightly press the sides so it holds its shape. If you plan to store heavier items, coil tighter and build thicker walls. These baskets feel like real handmade decor, and they only keep getting better the more you use them.