The right supply can make a blank page feel alive. Pick a tool that matches your mood and your hands will follow.
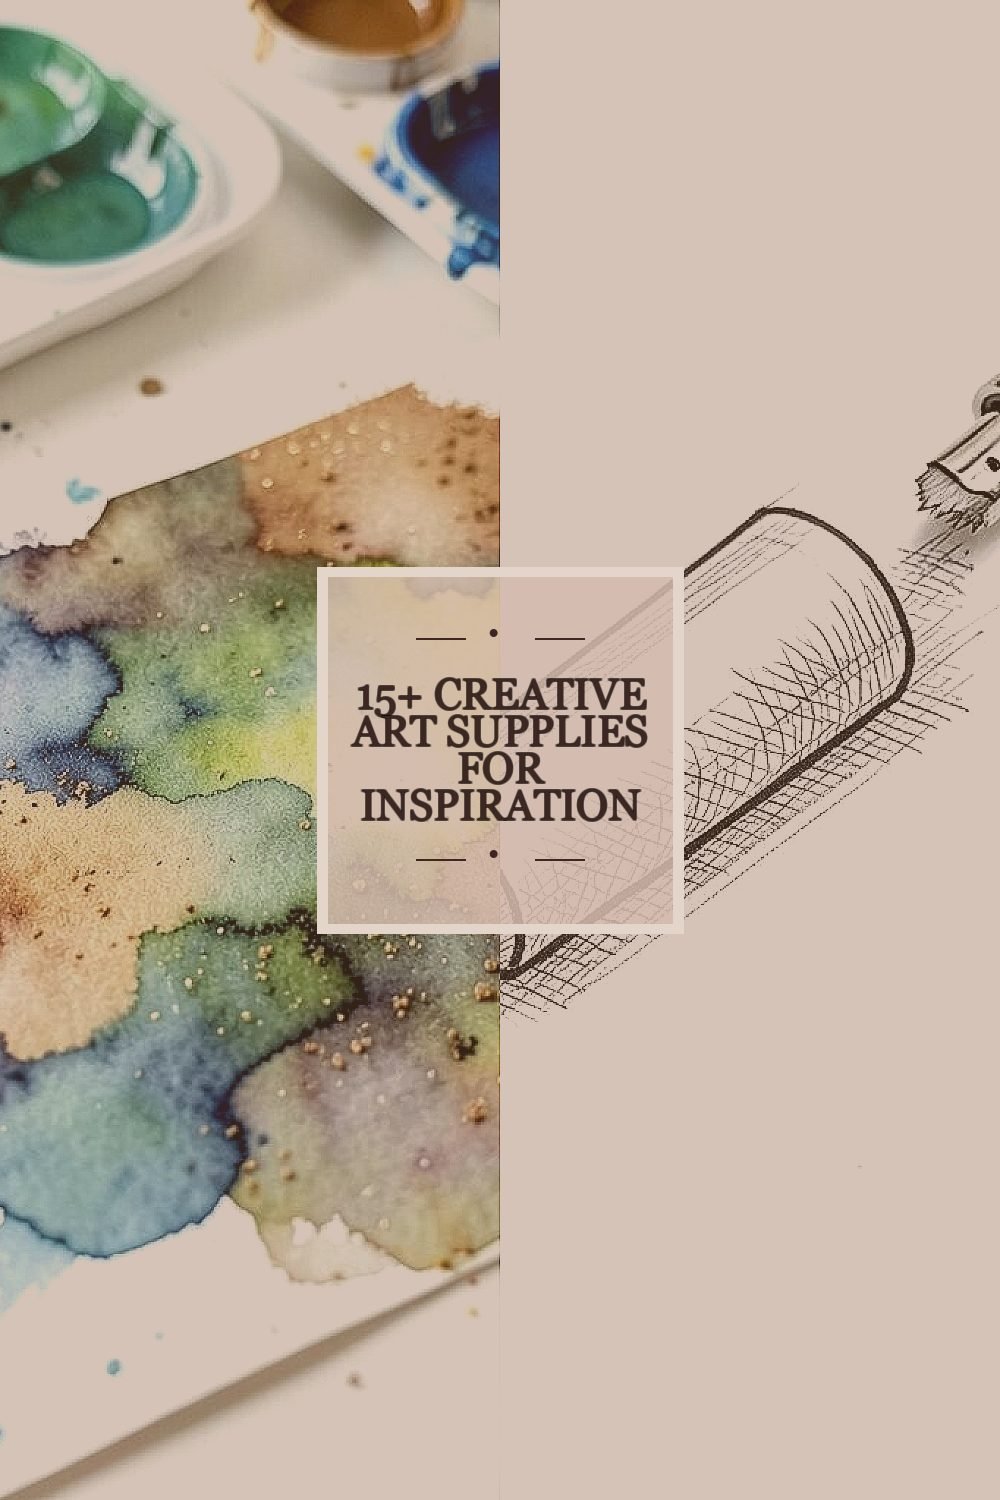
1. Watercolor Paints With a Granulating Finish
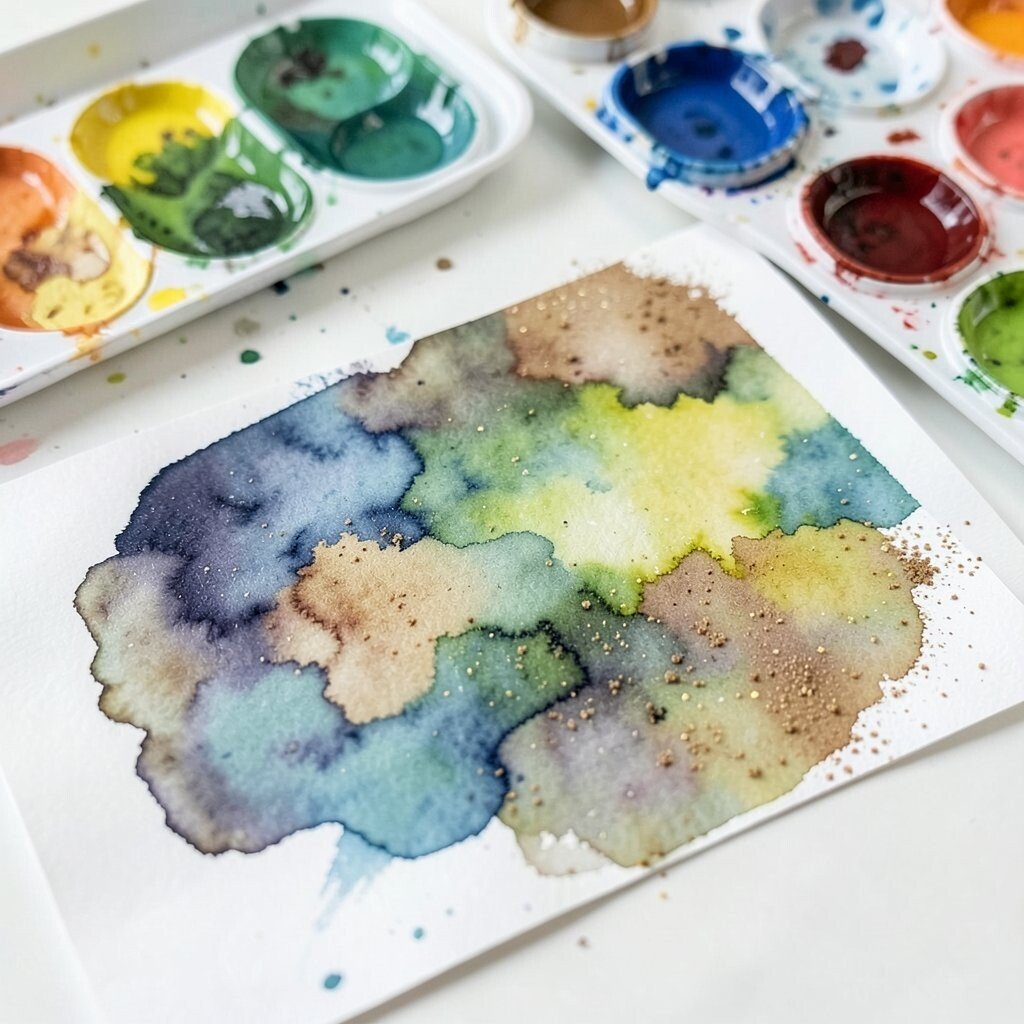
Granulating watercolor paints dry with sandy, speckled edges that look like weathered rocks or old skies. You’ll notice the texture even before you touch it with water, which makes the first layer feel exciting.
Use wet-on-wet for soft blooms, then switch to drier pigment to pull crisp details from the same color family. This kind of finish helps you build depth without overworking the surface, so beginners can get a “real painter” look faster.
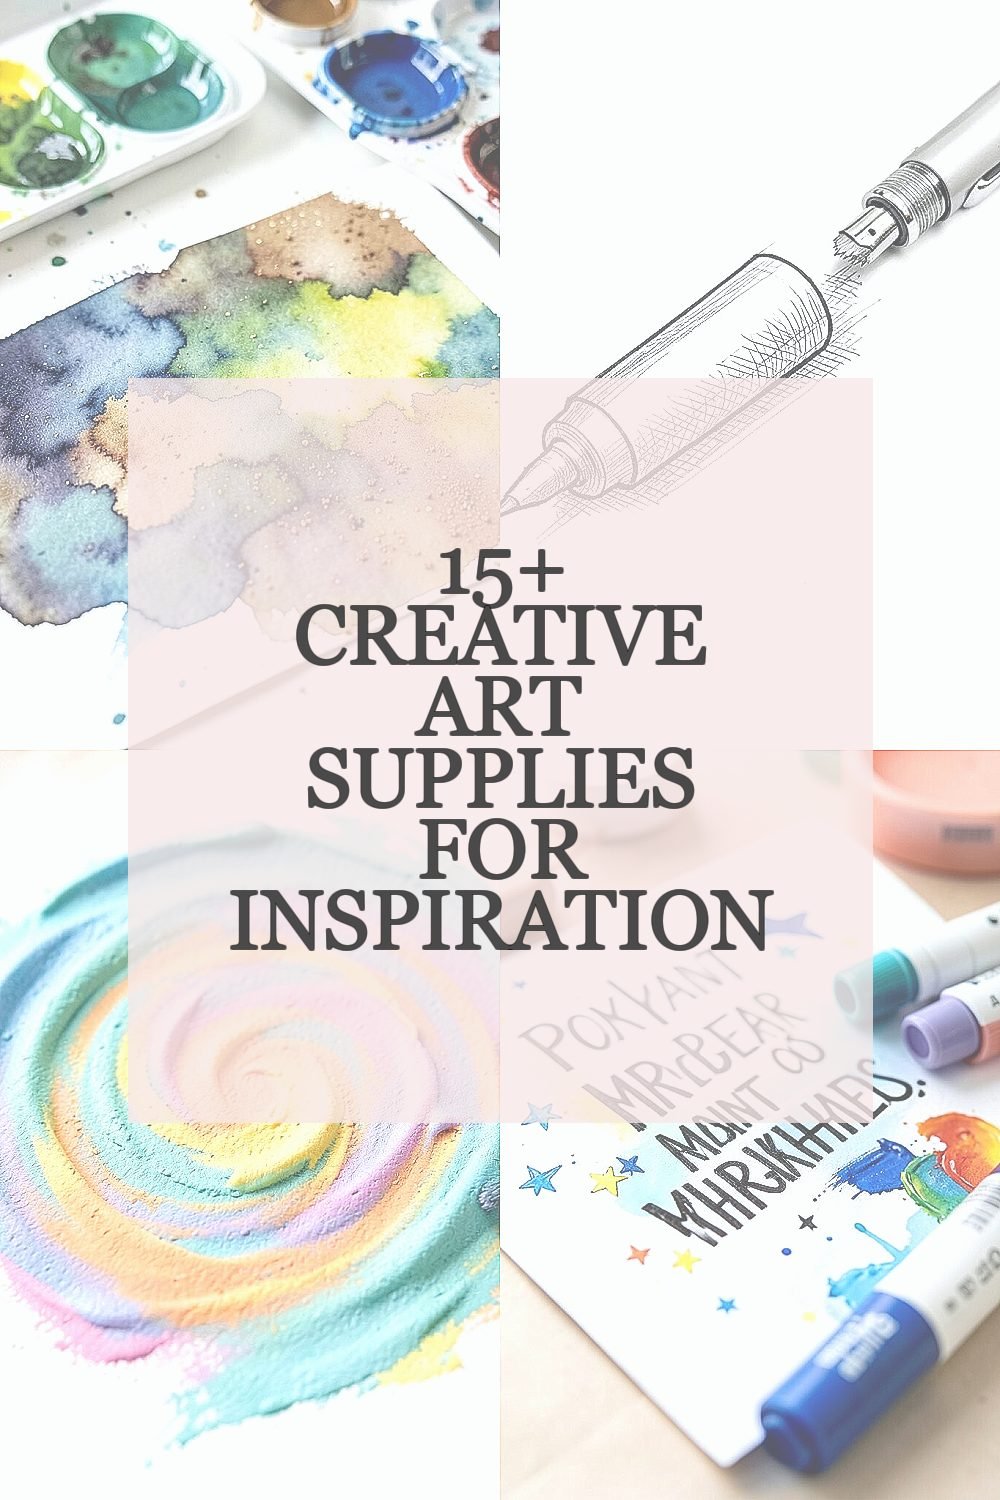
2. Micron Pens for Clean Line Art
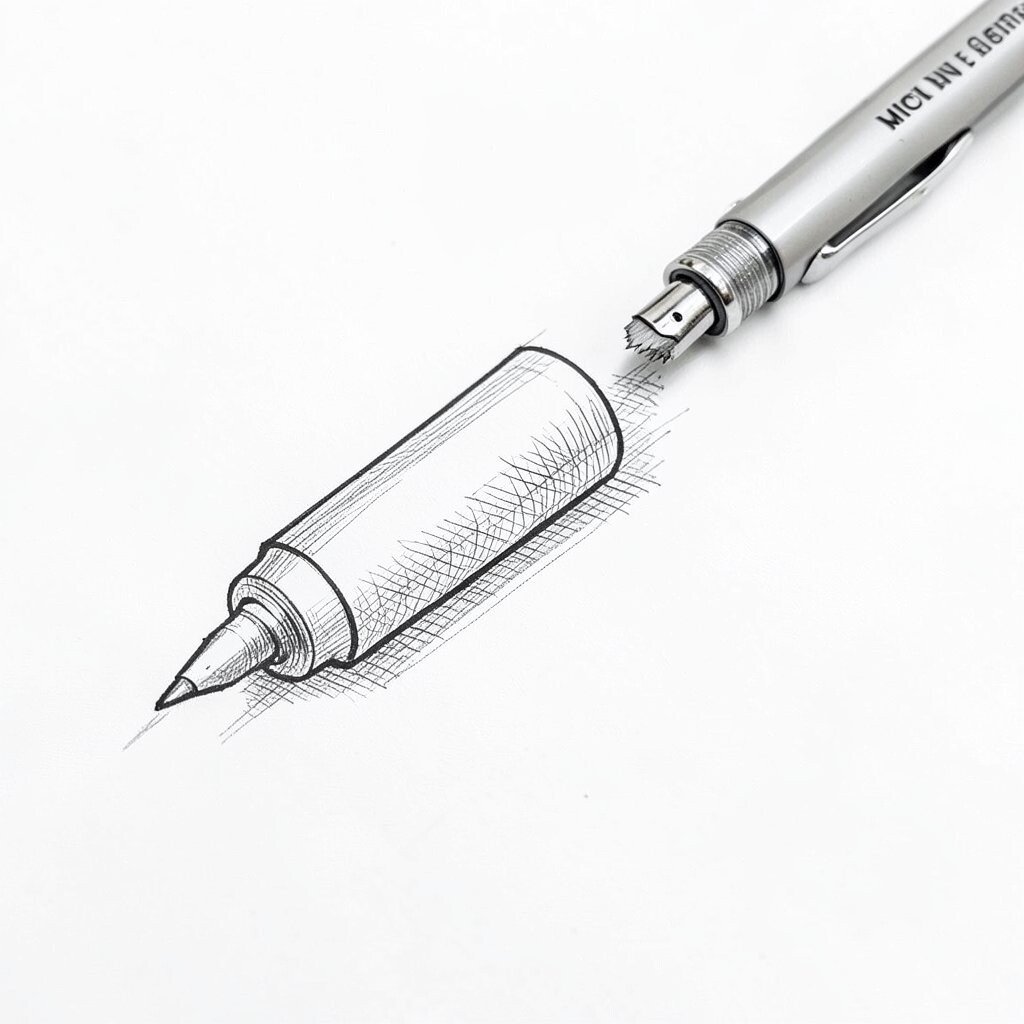
Micron pens create sharp lines that stay steady, even when your hand shakes a little. The ink lays down smoothly, so sketches turn into confident outlines.
Try drawing a simple object first, then add hatching to show shadow. If you plan to add color later, use lighter pressure for under-sketch lines and keep the darkest marks for the final pass.
For personalization, pick one pen that you always start with, like a brand-new fine tip for daily doodles. A solid set can be more cost-friendly than buying many single pens, especially if you choose a couple of widths you truly use.
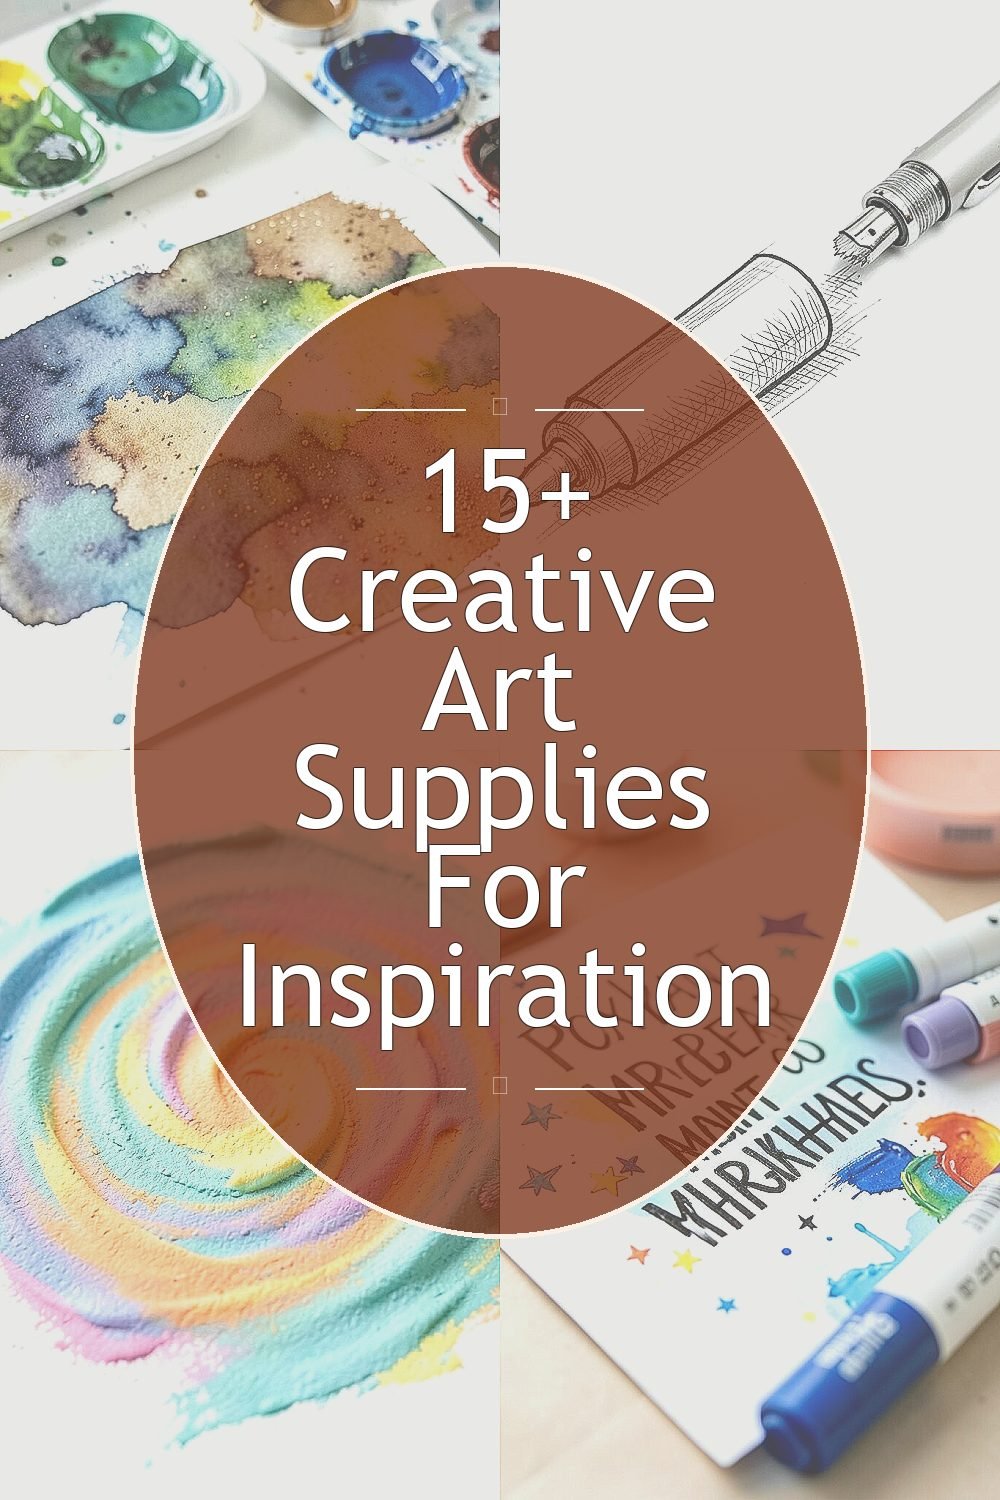
3. Soft Pastels for Dreamy Color Swirls
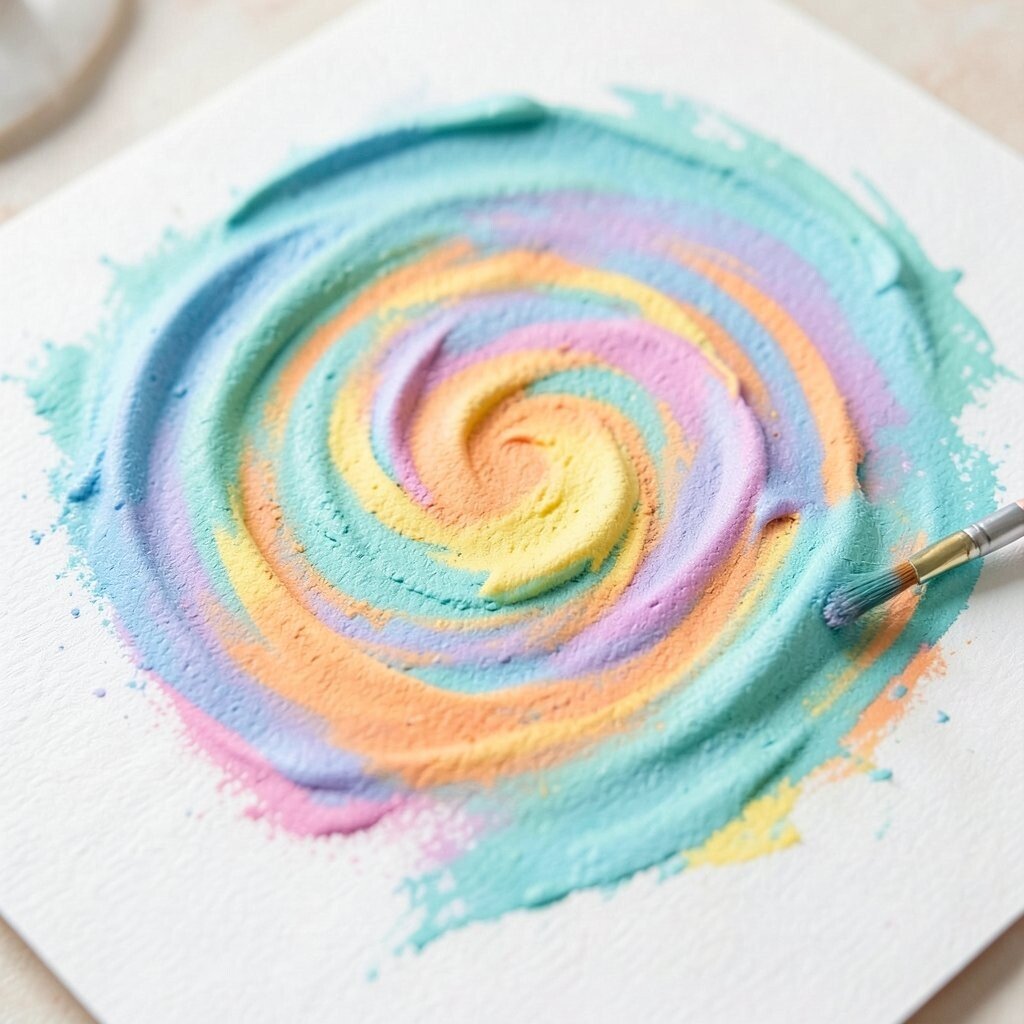
Soft pastels smear beautifully and look like color clouds when you blend with your fingertip. You can layer them quickly, and the texture feels both gentle and bold.
To keep your surface tidy, work on pastel paper and use a brush or blending stump instead of only your hands. Fixing spray can help, but test it first because some brands change how pastel layers shine.
Personalize the look by blending two unexpected colors together, like teal with warm orange, for a surprise glow. If cost matters, buy a small starter set and focus on the shades you reach for most.
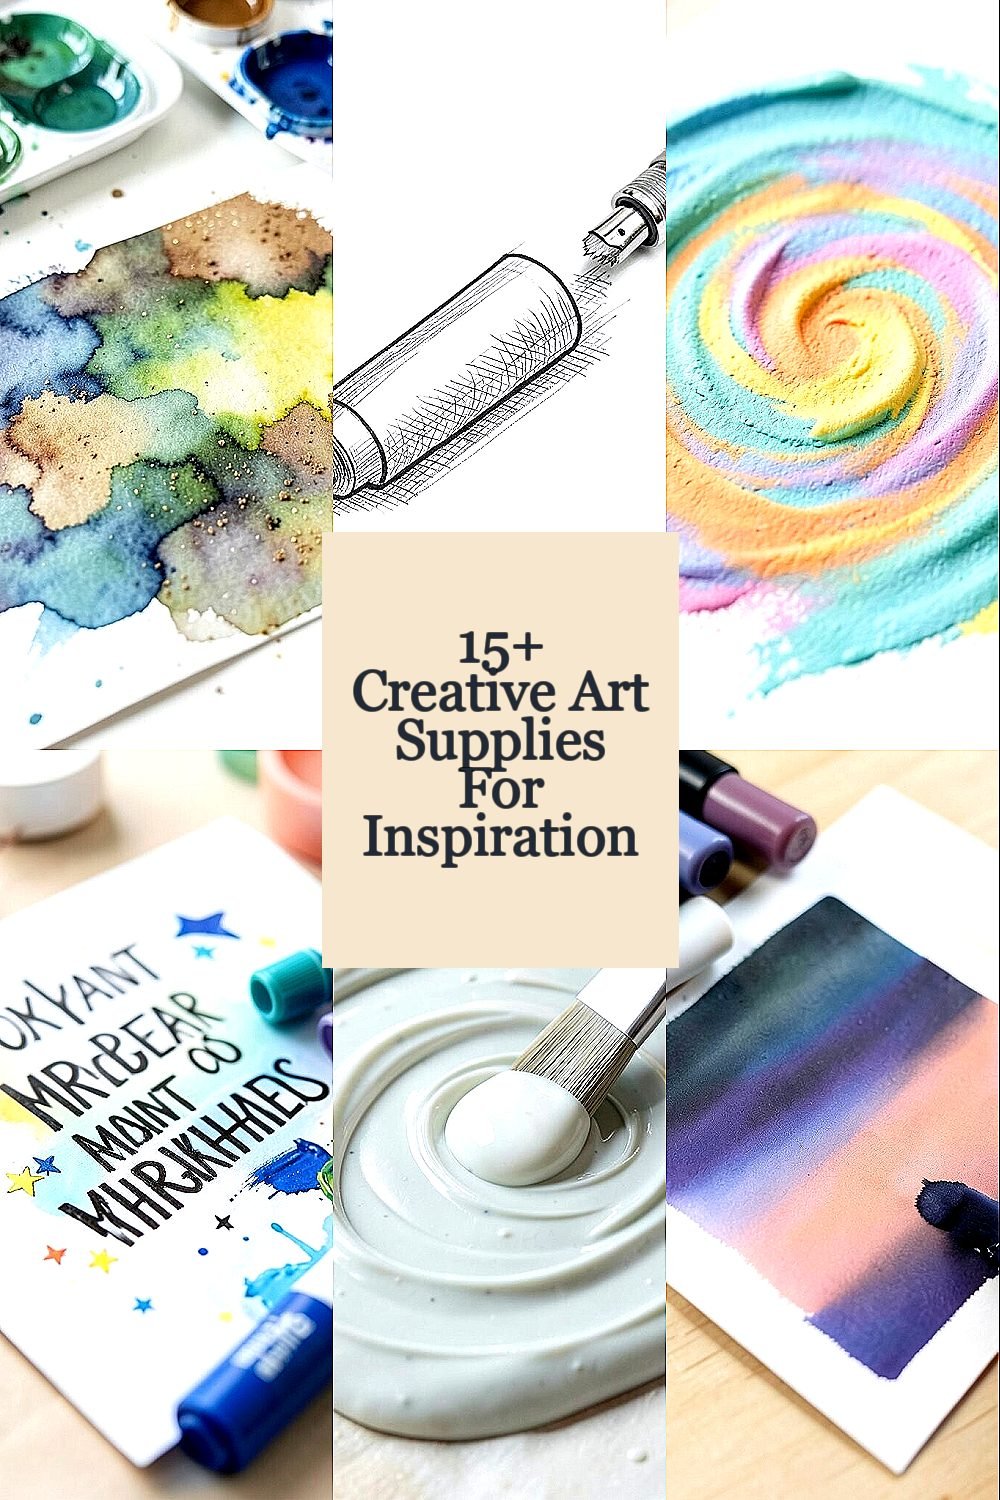
4. Acrylic Paint Markers for Quick Highlights
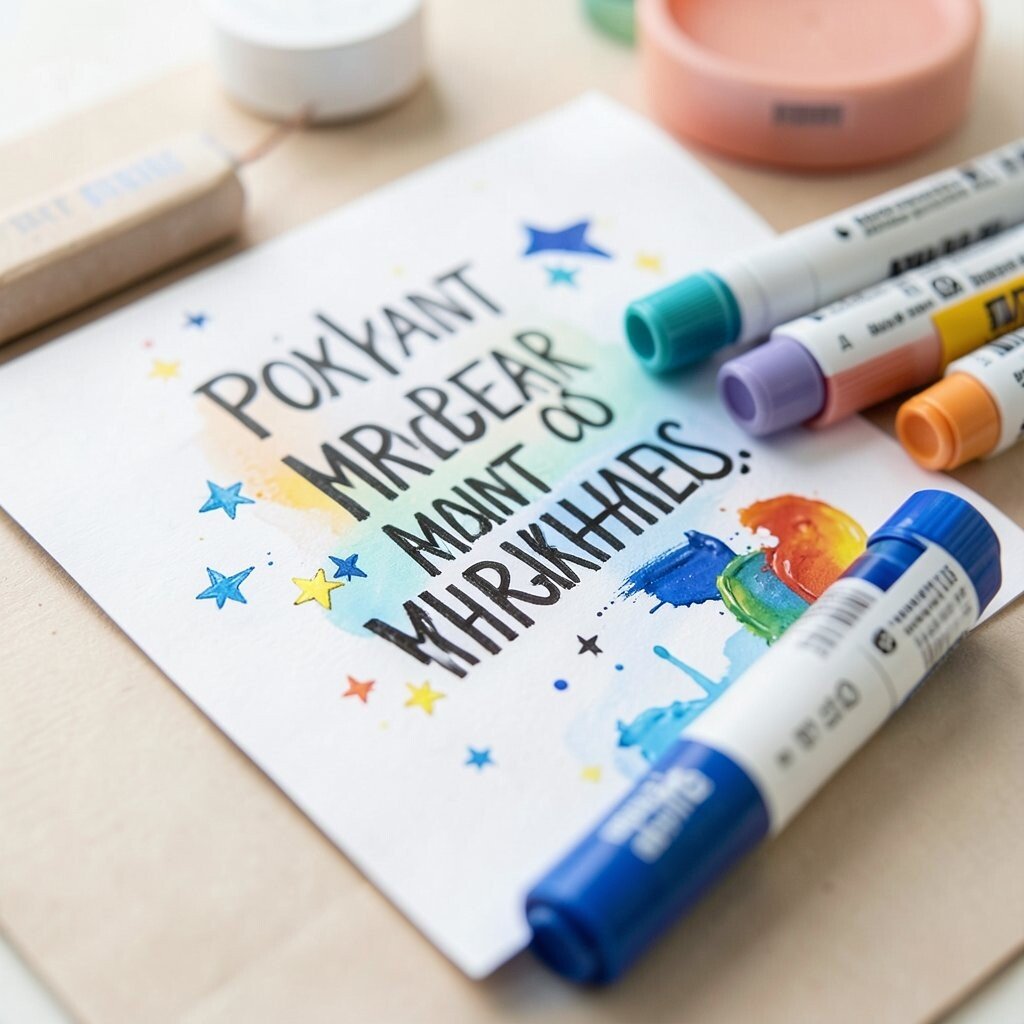
Acrylic paint markers are like cheat codes for adding crisp accents. They hold color well and write on many surfaces, including paper, cardboard, and small crafts.
Use them for sign-like lettering, tiny stars, and sharp highlights on painted pieces. Let the marker dry fully before you cover it with another medium, since some inks react with wet paint.
5. Gel Medium for Layered Texture
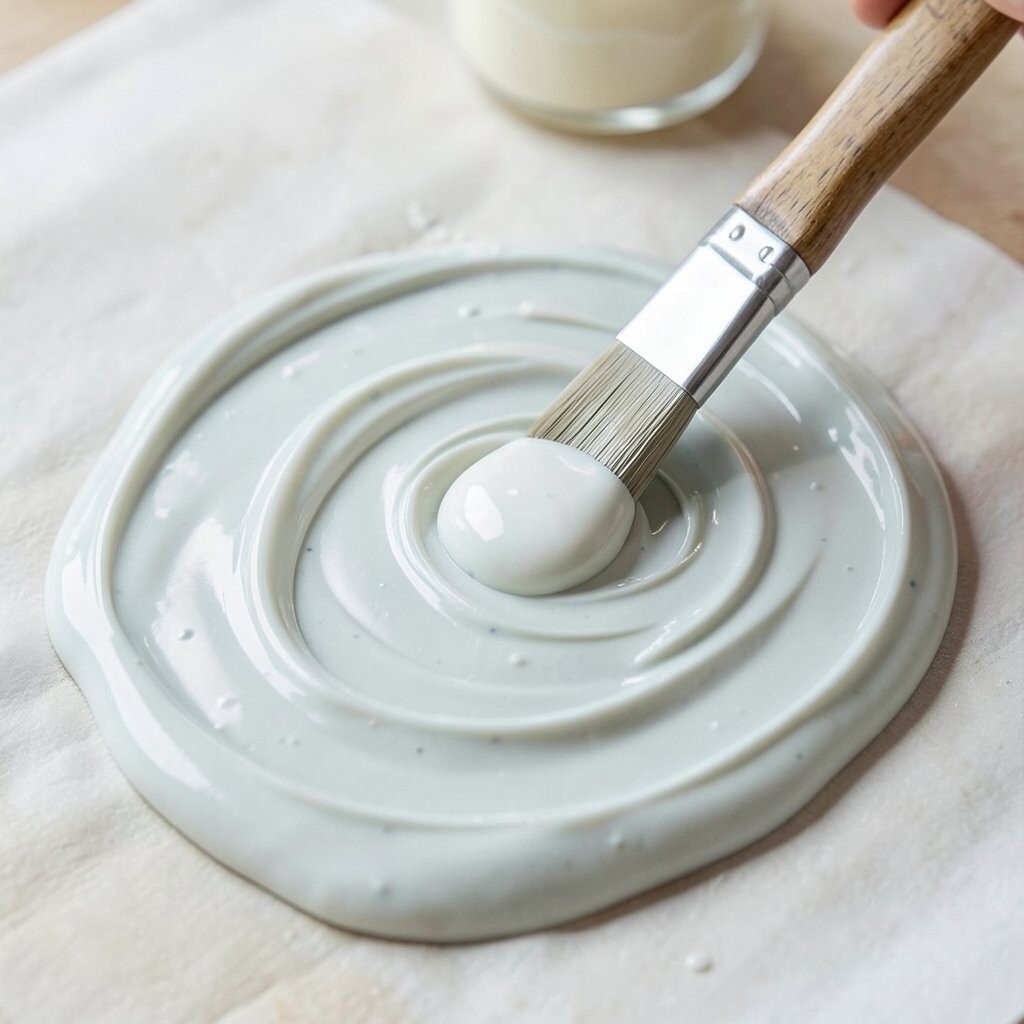
Gel medium turns flat paint into something you can almost feel, with raised swirls and subtle gloss. When you mix it into acrylic, it spreads smoothly and helps layers stay in place.
Apply it with a palette knife for ridges, or brush it on for a silky, slightly transparent layer. This makes it great for collage backgrounds, abstract textures, and even realistic effects like water or wet stones.
Personalize your results by mixing gel medium with modeling paste for thicker structures. Start with a small jar if you’re unsure, because a little goes a long way and you can stretch it across many projects.
6. Alcohol Markers for Smooth Gradients
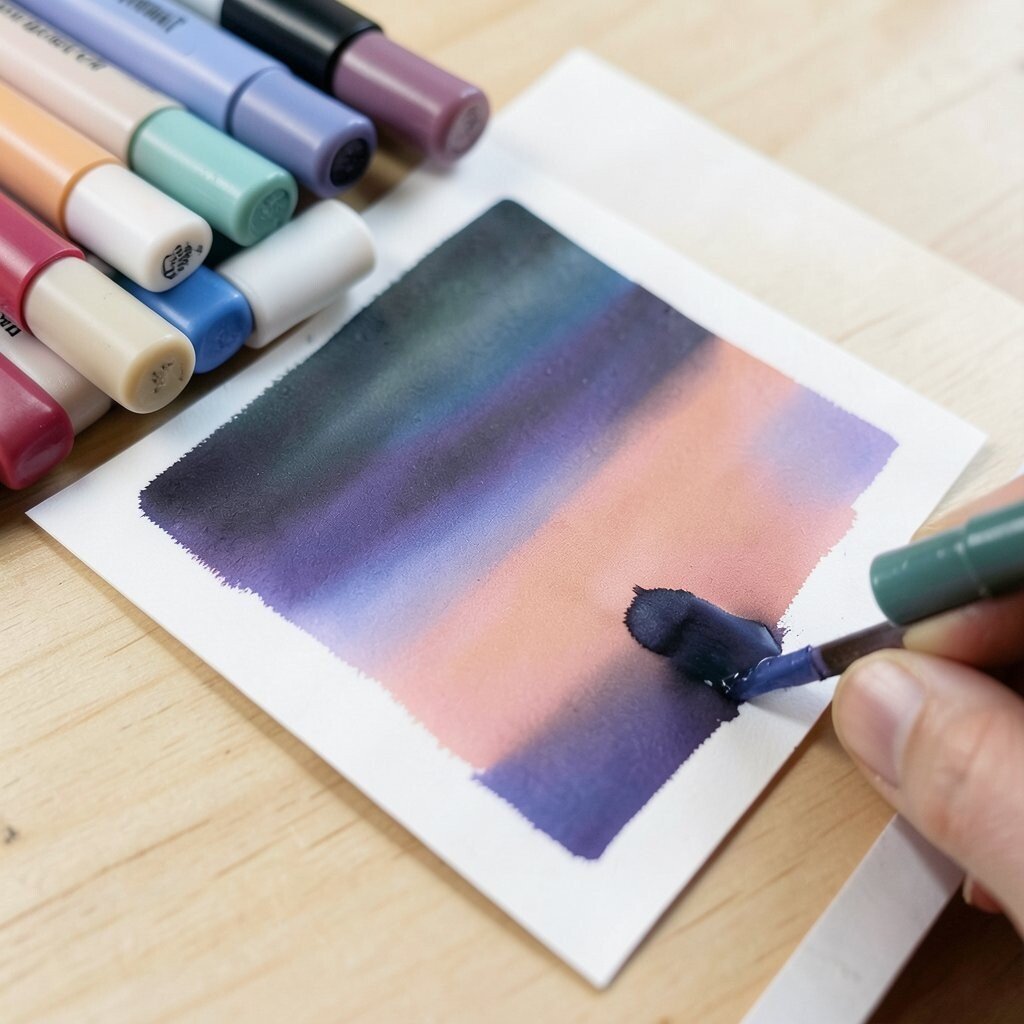
Alcohol markers blend into each other with soft transitions that feel like airbrushed color. They’re especially satisfying for skin tones, skies, and smooth shapes that need calm shading.
Use light passes first, then build depth gradually with darker tones. Keep a scrap paper under your hand and practice on one corner, so you learn how quickly your colors set.
For personalization, try a “limited palette” plan where you use only a few marker colors and mix them in different orders. Many people find starter marker sets are enough to begin, and you can add single colors later based on what your art actually needs.
7. Stencil Set for Repeat Patterns
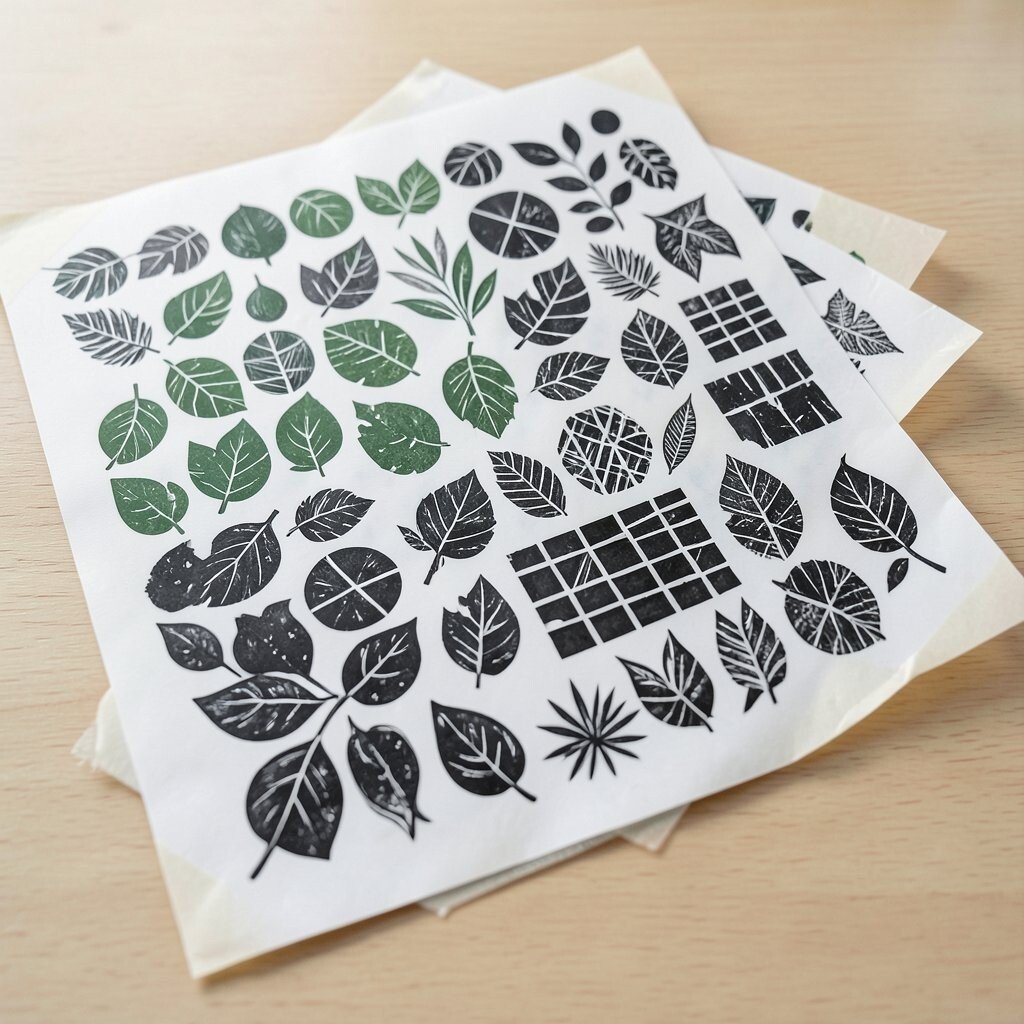
Stencils create repeat patterns that look neat without feeling boring. When you use them with paint, ink, or paste, your background can take on a whole new personality.
Choose stencils with shapes you enjoy, like circles, leaves, or geometric grids, and practice placing them on scrap first. Secure the stencil with painter’s tape so the edges stay crisp and your pattern looks intentional.
To personalize, rotate the stencil like a kaleidoscope or layer two stencils with different colors. If you want to stay on budget, consider cutting your own simple shapes from plastic sleeves or packaging for unique custom patterns.
Today’s trend is mixing stencil textures with hand-drawn details, so don’t be afraid to draw over the pattern afterward. The contrast between controlled shapes and loose marks can make a piece feel modern and alive.
8. Craft Paper From a Variety Pack
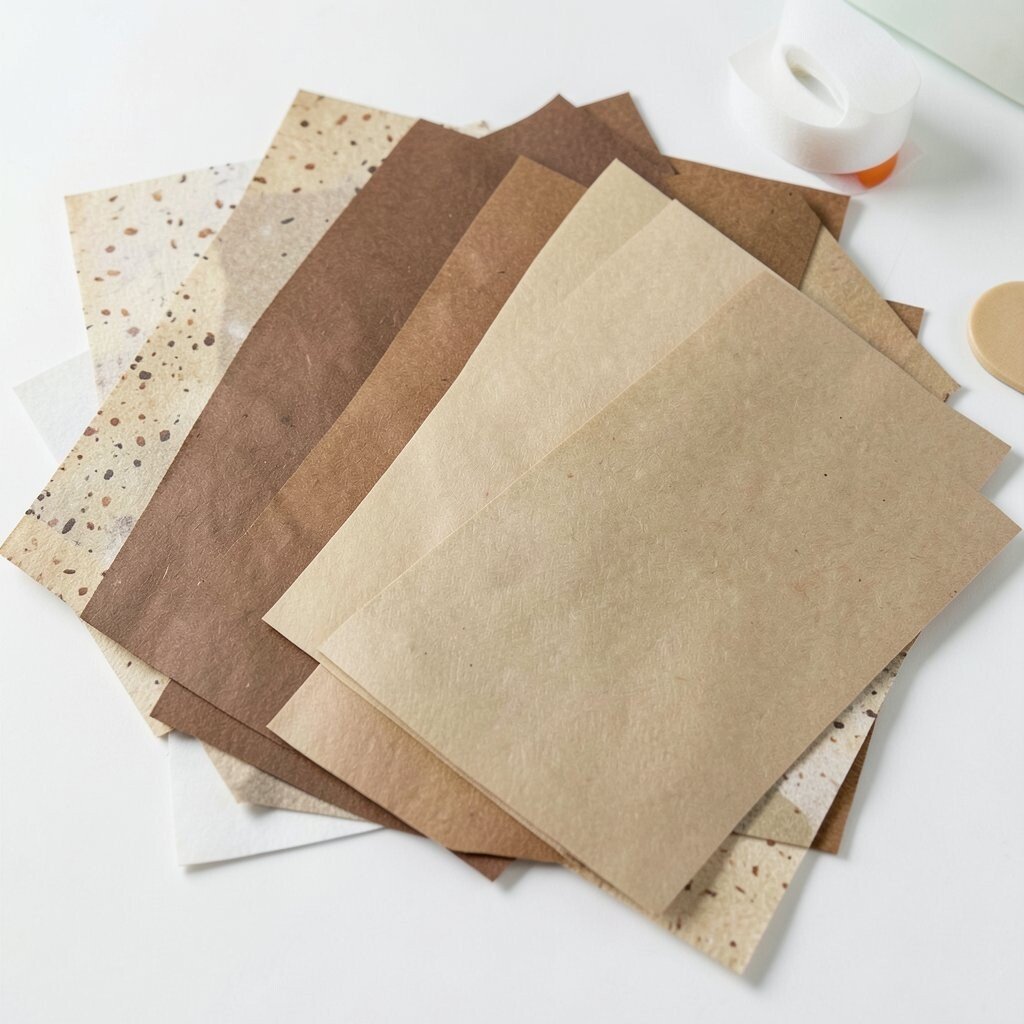
Craft paper gives you instant variety in tone and texture, even before you add any ink or paint. From speckled sheets to warm browns, it can set the mood of your whole project.
Use heavier craft paper for collage so your layers don’t buckle, and lighter sheets for quick cut-and-paste designs. Pair it with a glue stick for clean edges or with double-sided tape for crisp stacking.
9. Modeling Paste for Raised Effects
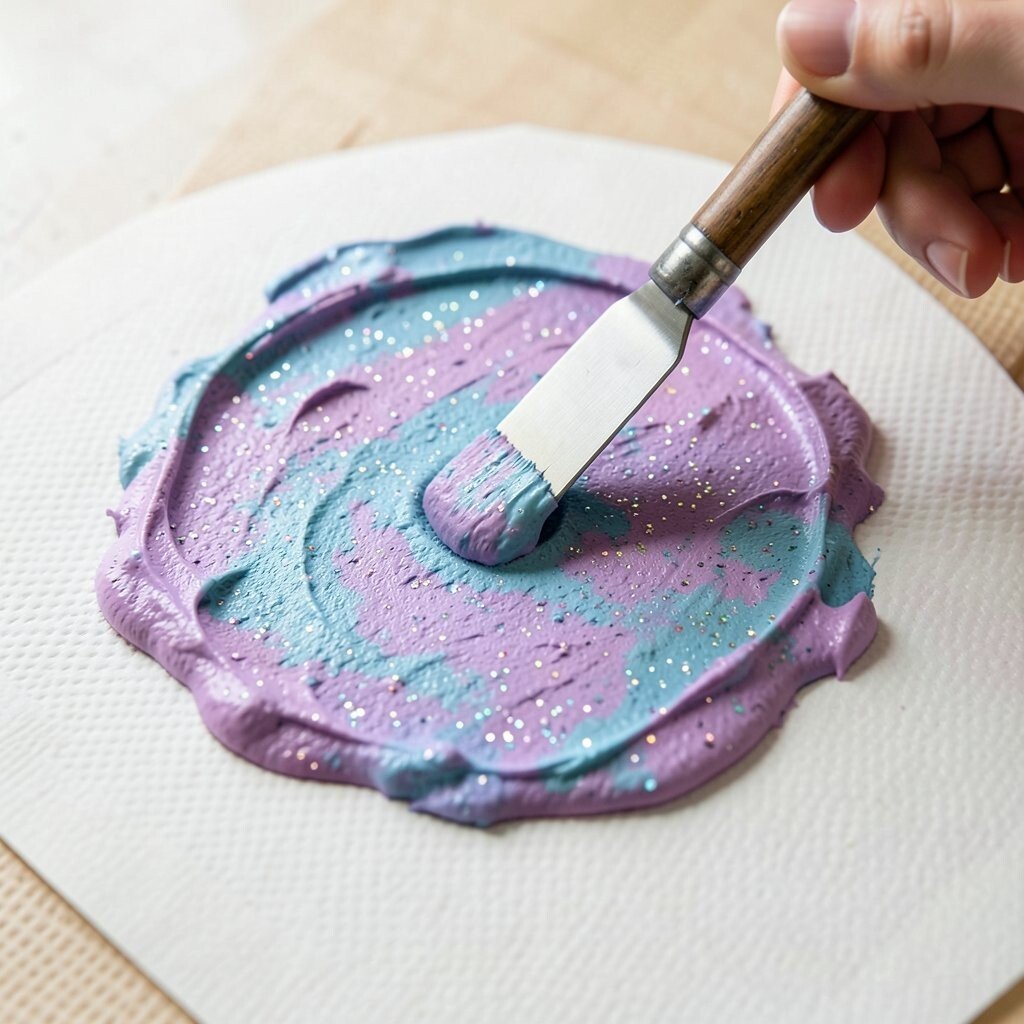
Modeling paste dries hard enough to cast small shadows, which makes art look more three-dimensional. You’ll see tiny ridges and peaks that feel sculpted, even on a flat page.
Apply it with a palette knife through a stencil or directly onto a texture mat. After it dries, you can paint over it, add glitter, or rub pastel on top to make the raised areas pop.
Personalize the effect by tinting paste with acrylic before applying, so the color lives in the texture. If you’re watching spending, use modeling paste only where you want the strongest shadow zones rather than covering the whole surface.
10. Sheet Stickers and Decorative Tape Rolls
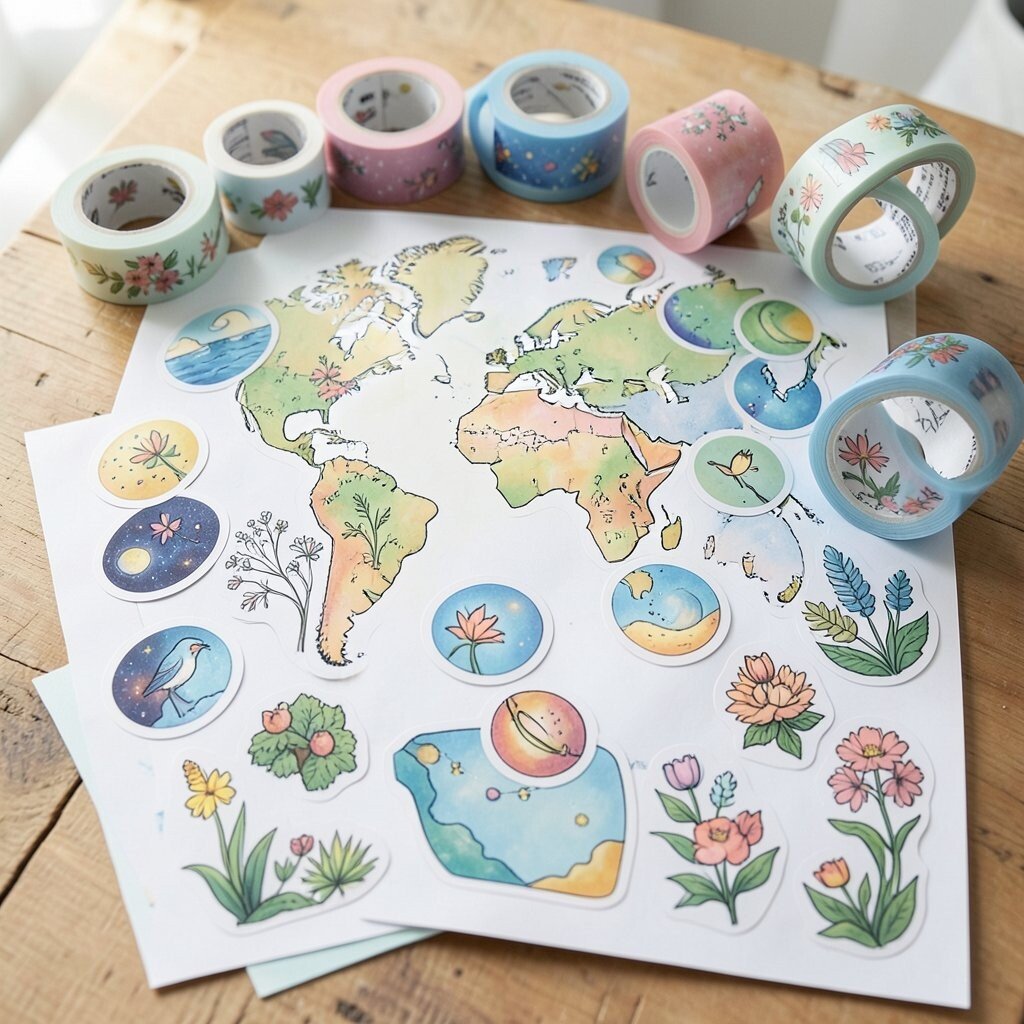
Decorative tapes and sticker sheets add instant charm and help you build borders, frames, and pathways in your layout. The colors look playful, and you can reposition many tapes without damaging your paper.
Layer tape like you’re making a collage map, then draw a few lines or doodles on top to connect the parts. These supplies are also great for journaling and card-making when you want something beautiful fast.
For personalization, pick a theme like ocean, garden, or space, and choose tapes that match that vibe. Many crafters find they save money by using tape scraps across many projects instead of buying full sets of single-use embellishments.
11. Color Pencils With Thick, Soft Cores
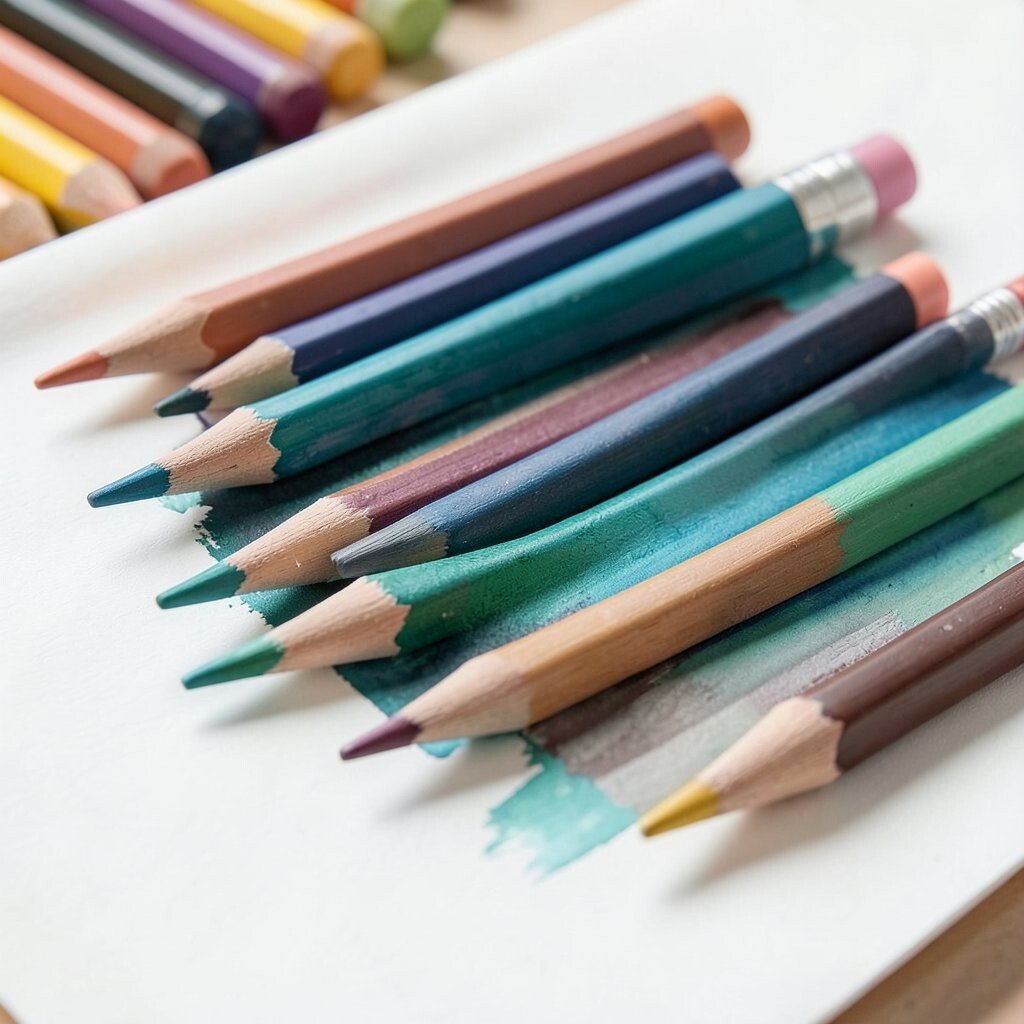
Soft-core colored pencils glide easily and blend well, creating rich color that still looks controlled. They’re perfect for detailed work, but they also shade smoothly like paint when you use gentle pressure.
Start with light layers, then add darker tones gradually so your paper stays clean. Try blending with a light pencil first, then switch to a darker pencil for the edges and shadows.
Personalize your palette by using one “signature” color in several places, like a consistent teal accent. If cost matters, prioritize quality over quantity and buy a few pencils you’ll actually use often.
This year’s common trend is mixing pencil texture with small painted areas, so you can keep details sharp while adding soft color blocks. It gives your art a handmade look without feeling complicated.
12. Acrylic Pouring Medium for Flowy Cells
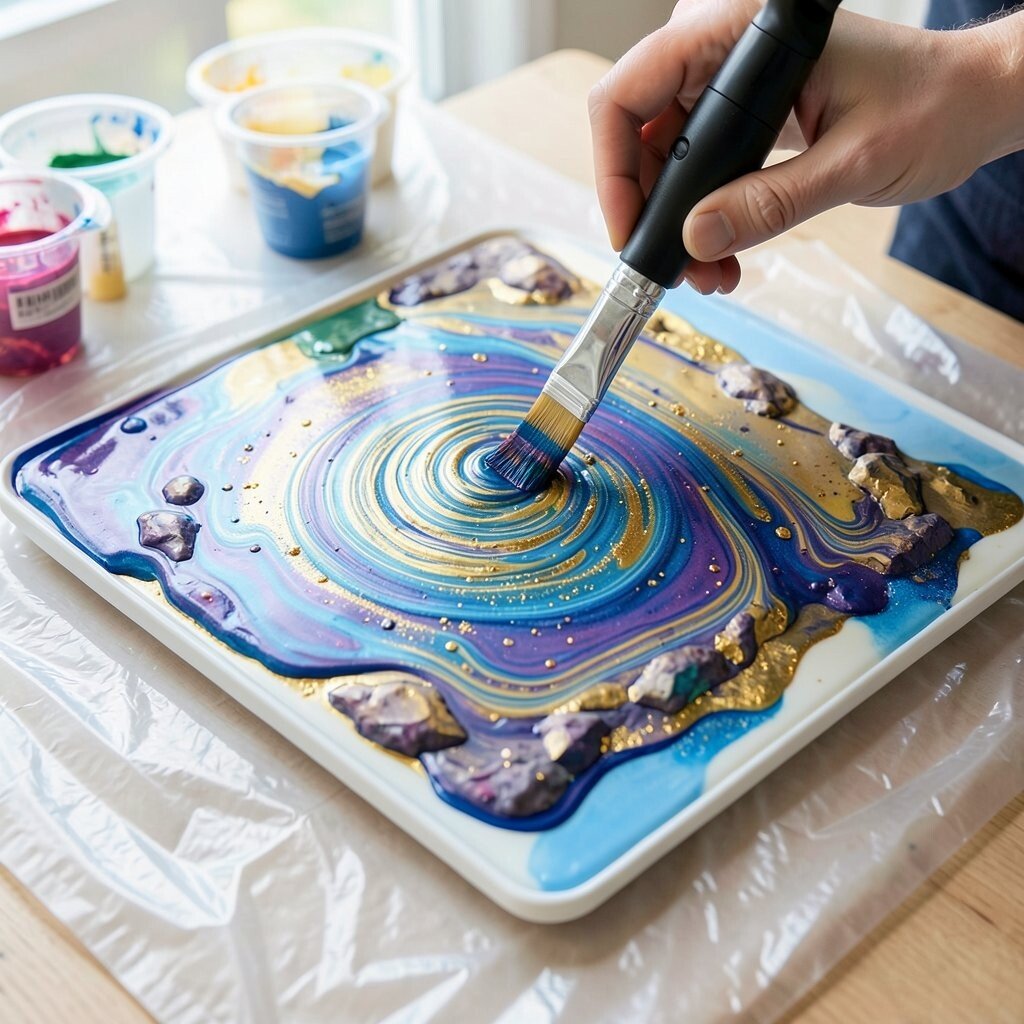
Acrylic pouring medium helps your paint move like liquid, creating dramatic swirls and cell patterns. When the paint settles, it can look like marbled clouds or rocky landscapes.
Mix carefully using a consistent ratio, then pour onto a level surface so the layers flow evenly. Protect your workspace with plastic and keep a heat gun at a distance, since rushing can scorch or overwork the surface.
Personalize by adding fluid art pigments, mica powders, or small amounts of gold for highlights. For cost considerations, test with smaller cups first because experimenting early prevents wasted materials.
13. Woven Brushes for Textured Acrylic and Gel
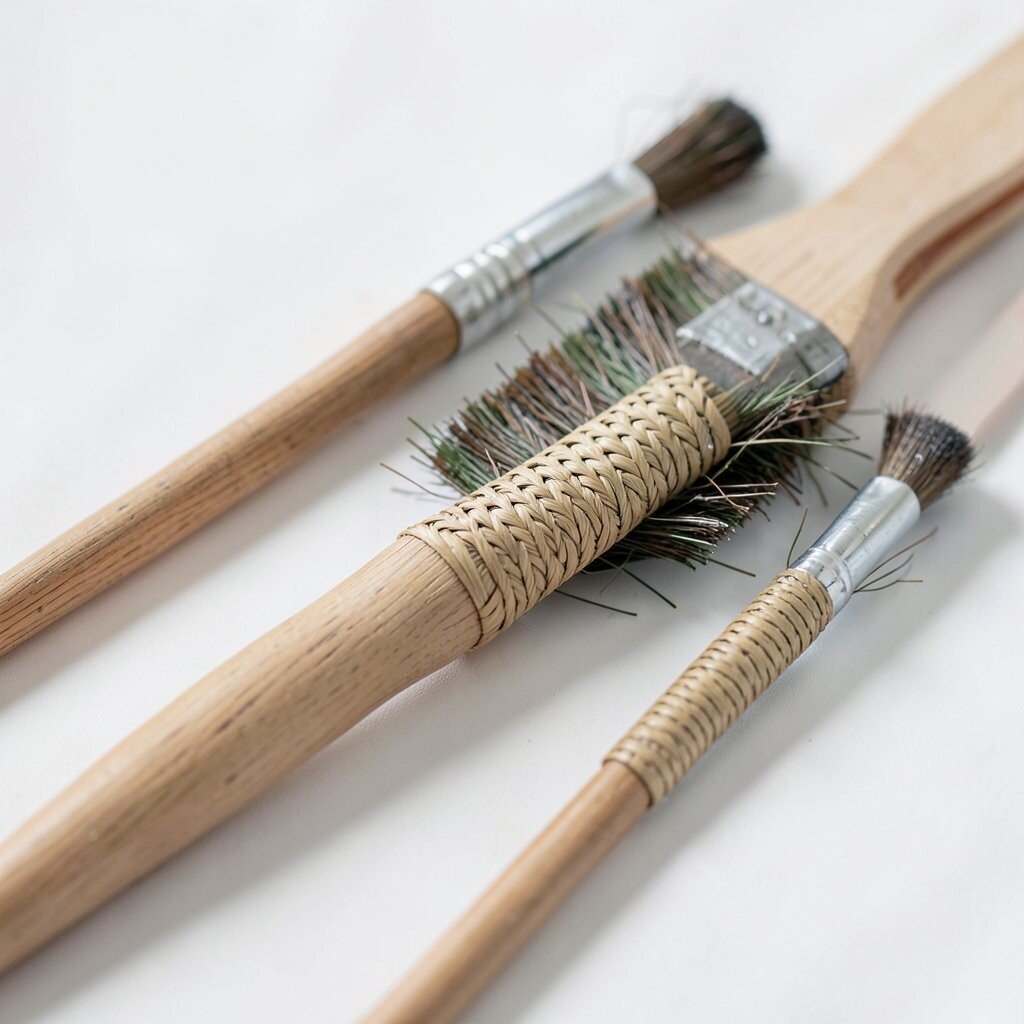
Woven brushes pick up paint in a patterned way, leaving tiny lines and natural streaks. The result can look like hair, grass, fabric, or water ripples depending on how you pull the brush.
Use them for background textures or to add movement without drawing each detail. Clean the bristles gently right away, because dried glue-like medium can ruin the brush’s shape.
14. Clay Tools for Carving and Shaping Details
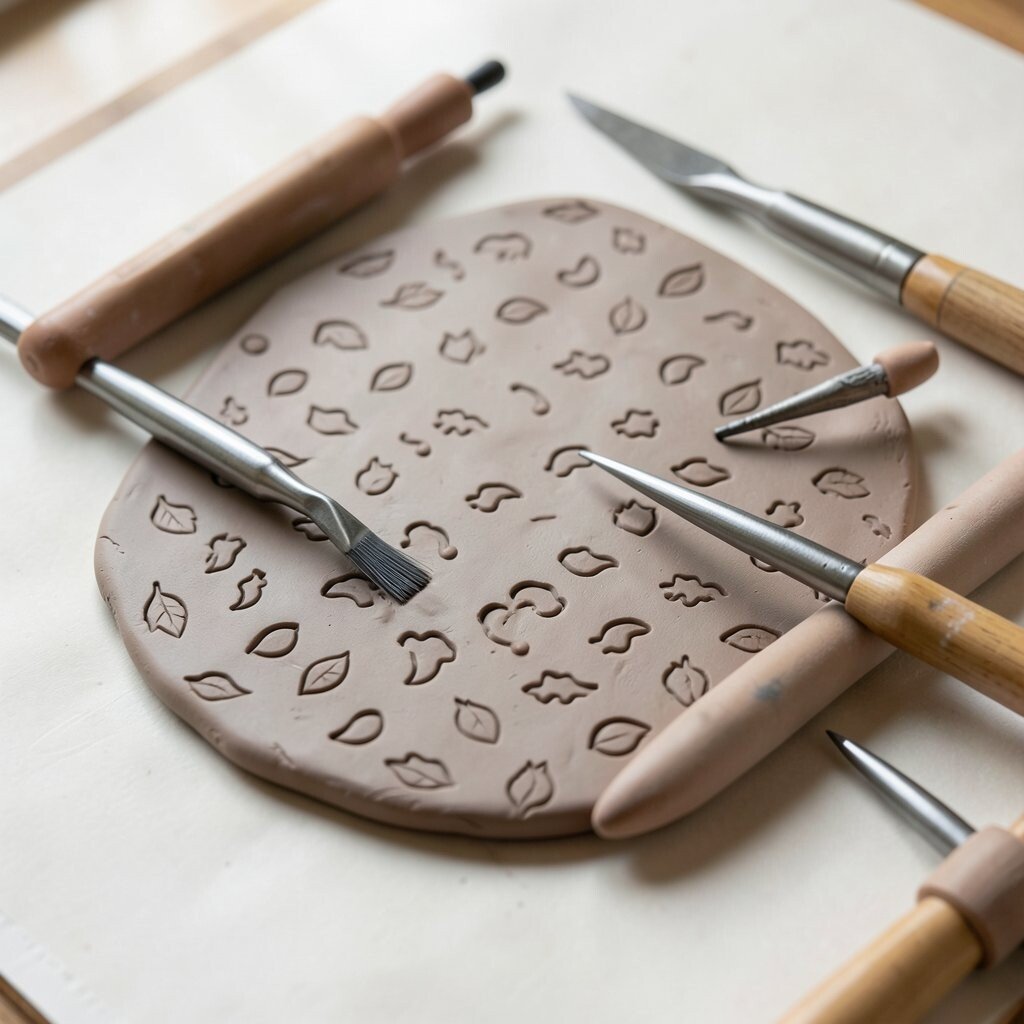
Clay tools can be surprisingly useful for paper art, polymer clay, and even texture stamping. With hooked tips, loop tools, and fine cutters, you can carve lines that feel precise but still handmade.
Try using a loop tool to scrape highlights or to press patterns into soft mediums. For personalization, carve small shapes that repeat across your design, like tiny leaves or waves.
Many tool sets are affordable compared to specialty art gadgets, especially if you choose a multipurpose set. Keep your most precise tool clean and dry so it stays sharp for fine details later.
15. Digital Drawing Stylus for Tablet Sketches
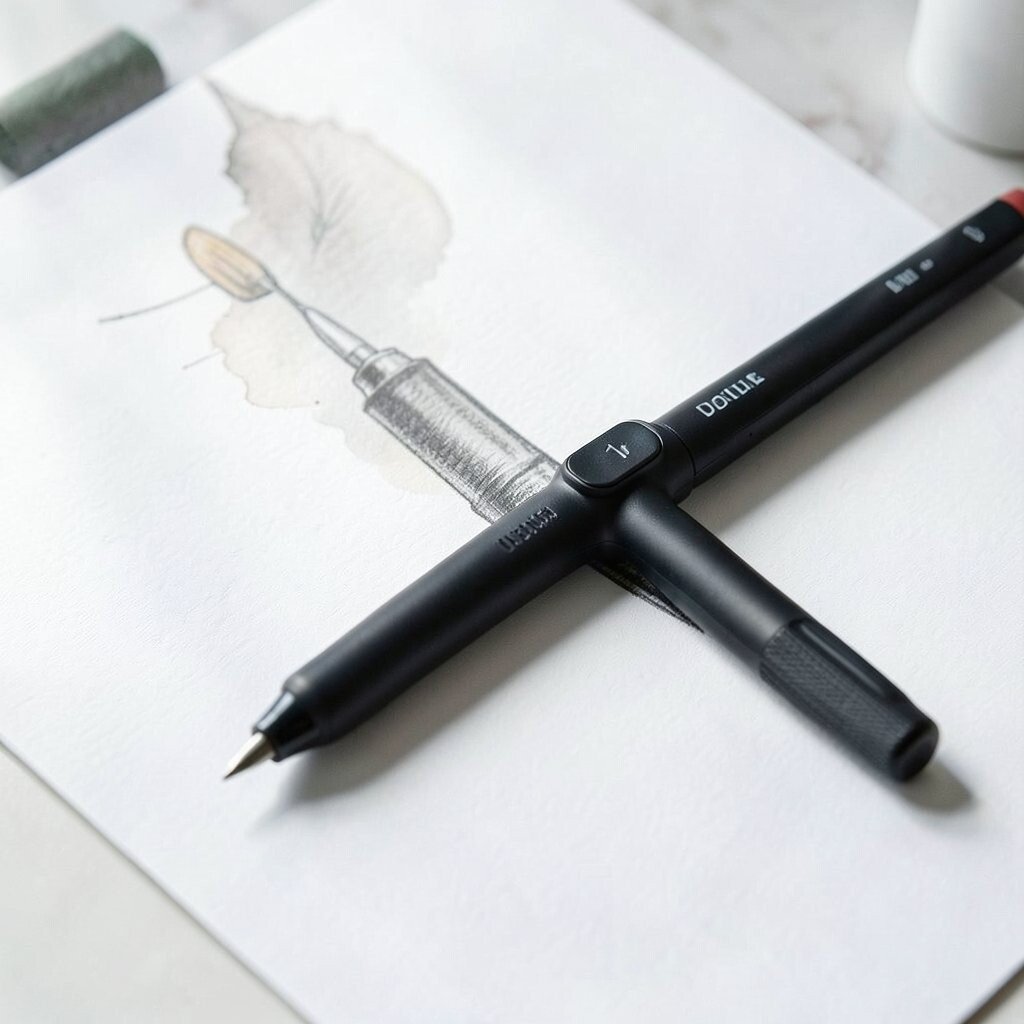
A stylus lets you sketch with the same kind of freedom you get on paper, but with an undo button that feels like magic. You can zoom in for detail, then pull back for big composition changes without smudging.
Use textured brushes to mimic pencil grain or watercolor edges, so your work still feels organic. Exporting your art also opens practical paths like printing stickers, making posters, or sharing progress with friends.
Personalize your workflow by setting a custom brush pack for your favorite styles, like soft shading or clean inks. Cost can vary a lot, so start by using what you already have and then add only one paid app or brush pack if you truly need it.
16. Handmade Stamp Blocks for One-of-a-Kind Prints
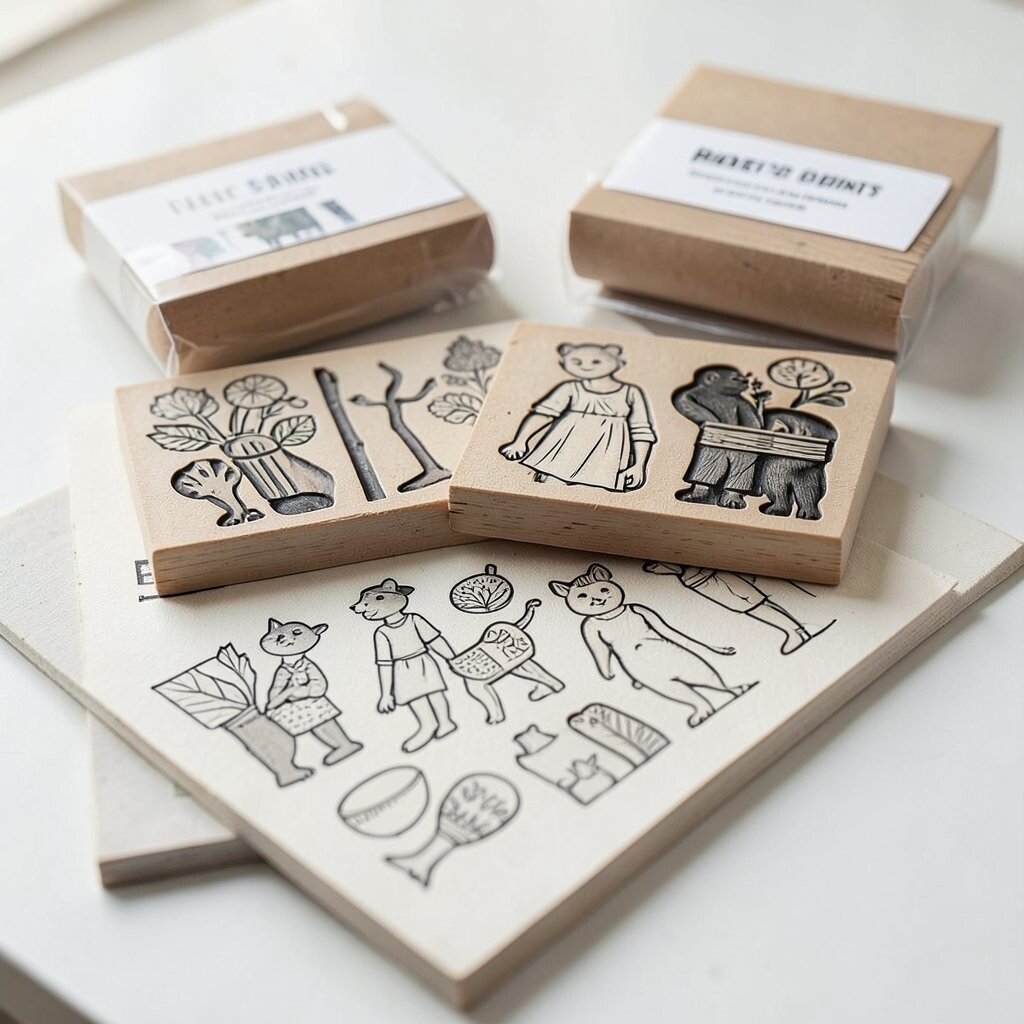
Handmade stamp blocks add a bold, repeatable mark that still looks unique. Carving simple patterns into foam or rubber can create textures that store well in your memory and show up again and again in your art.
Press evenly, use a roller for consistent ink coverage, and test on scrap before the final sheet. For personalization, carve different depth levels so some lines print crisp while others print softly.
If cost matters, make a small stamp set from inexpensive materials, then keep them safe in labeled bags. Current trends often mix stamp textures with bold typography and clean line drawings, so combine your prints with a few confident marks for a stylish finish.