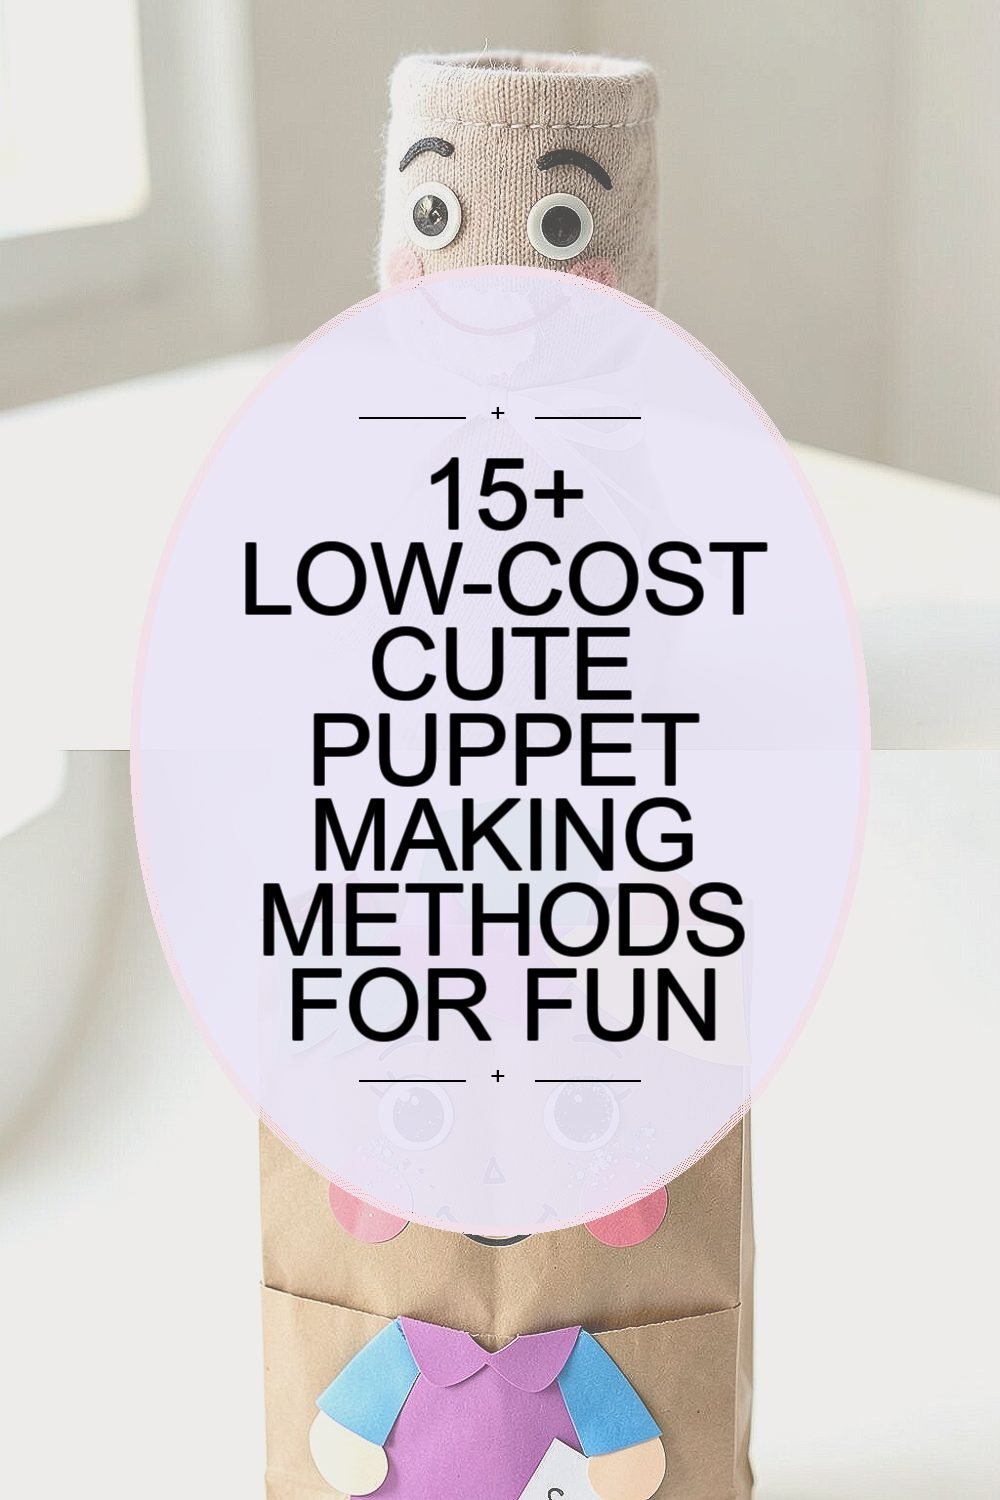
Soft characters bring big smiles to ordinary days. With a few simple supplies, you can craft puppets that feel like tiny best friends.
You can make them at home, in classrooms, or during a rainy afternoon. Every method below keeps costs low and fun high, while still leaving room for your own style.
1. Sock Silhouette Puppets

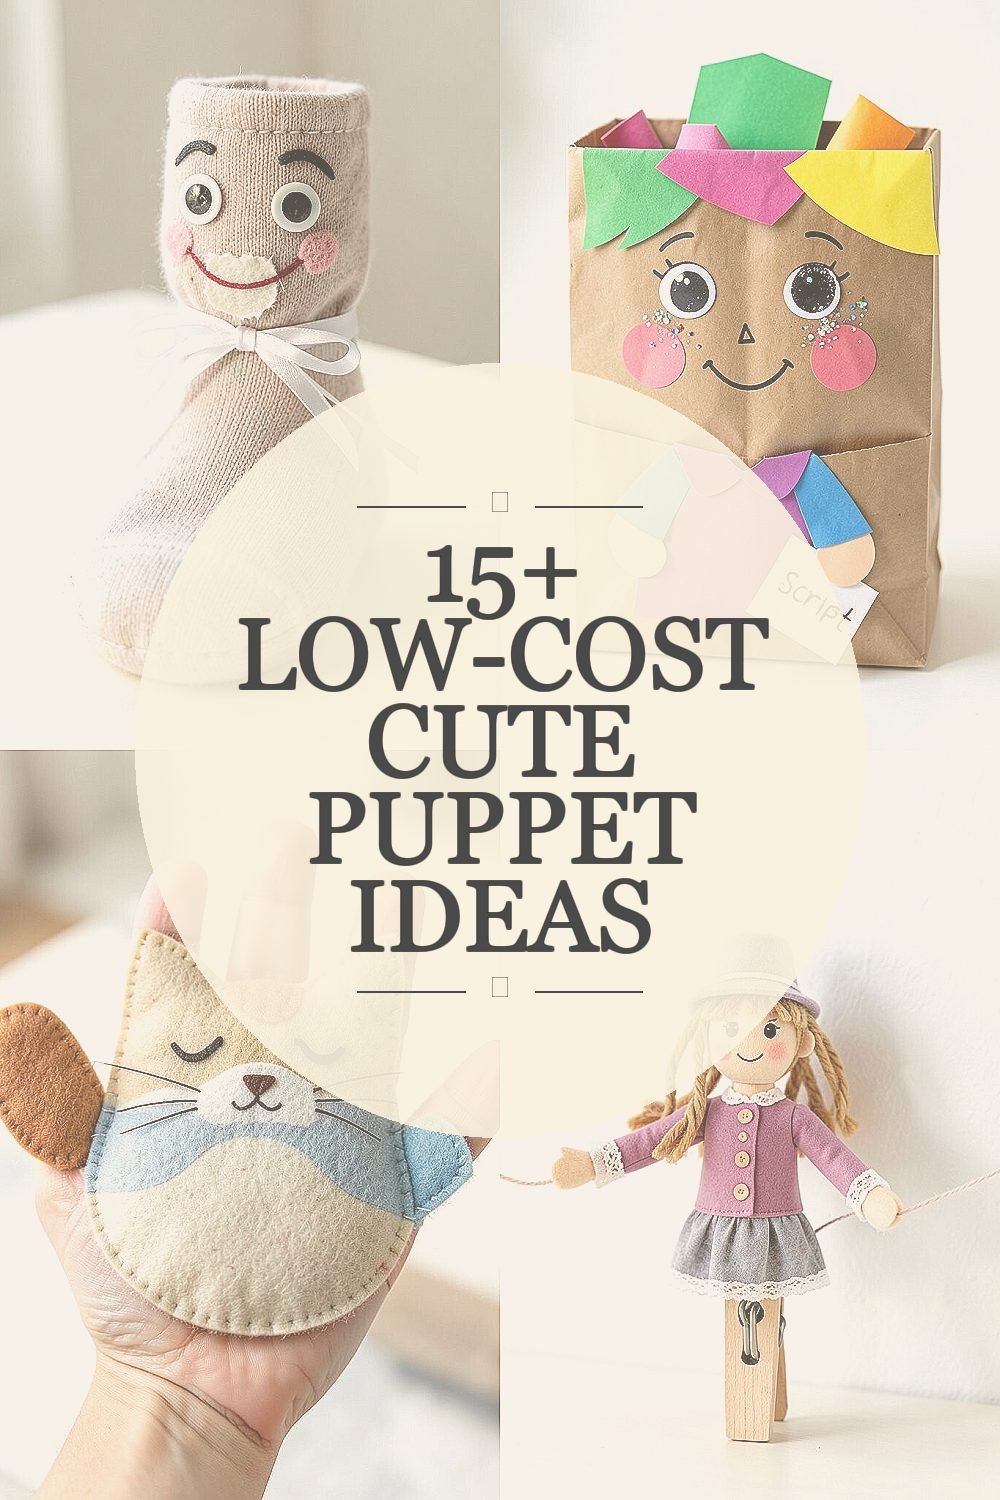
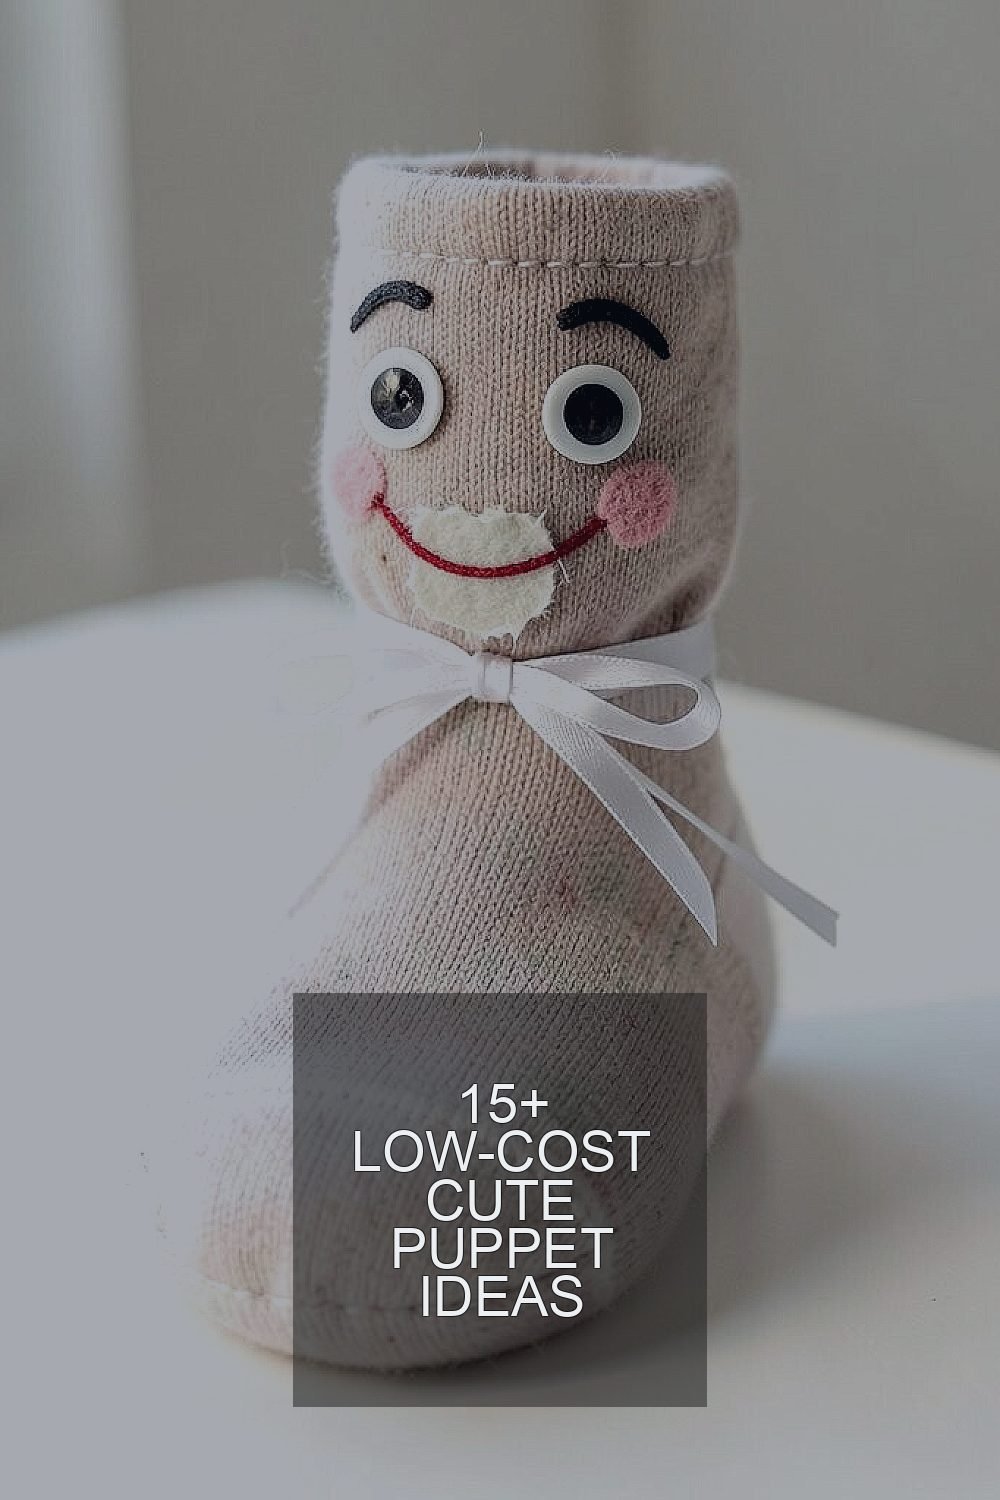
A mismatched sock already has personality, so it feels instantly cute. Slide in a small stuffing bundle and shape it into a face that sits just above the toe.
Use fabric scraps for a mouth and eyebrows, then stitch or glue them down. Add buttons, felt circles, or drawn eyes with a marker for fast expression. For extra charm, tie a ribbon around the “neck” so your puppet looks ready for a little show.
2. Paper Bag Storybook Friends

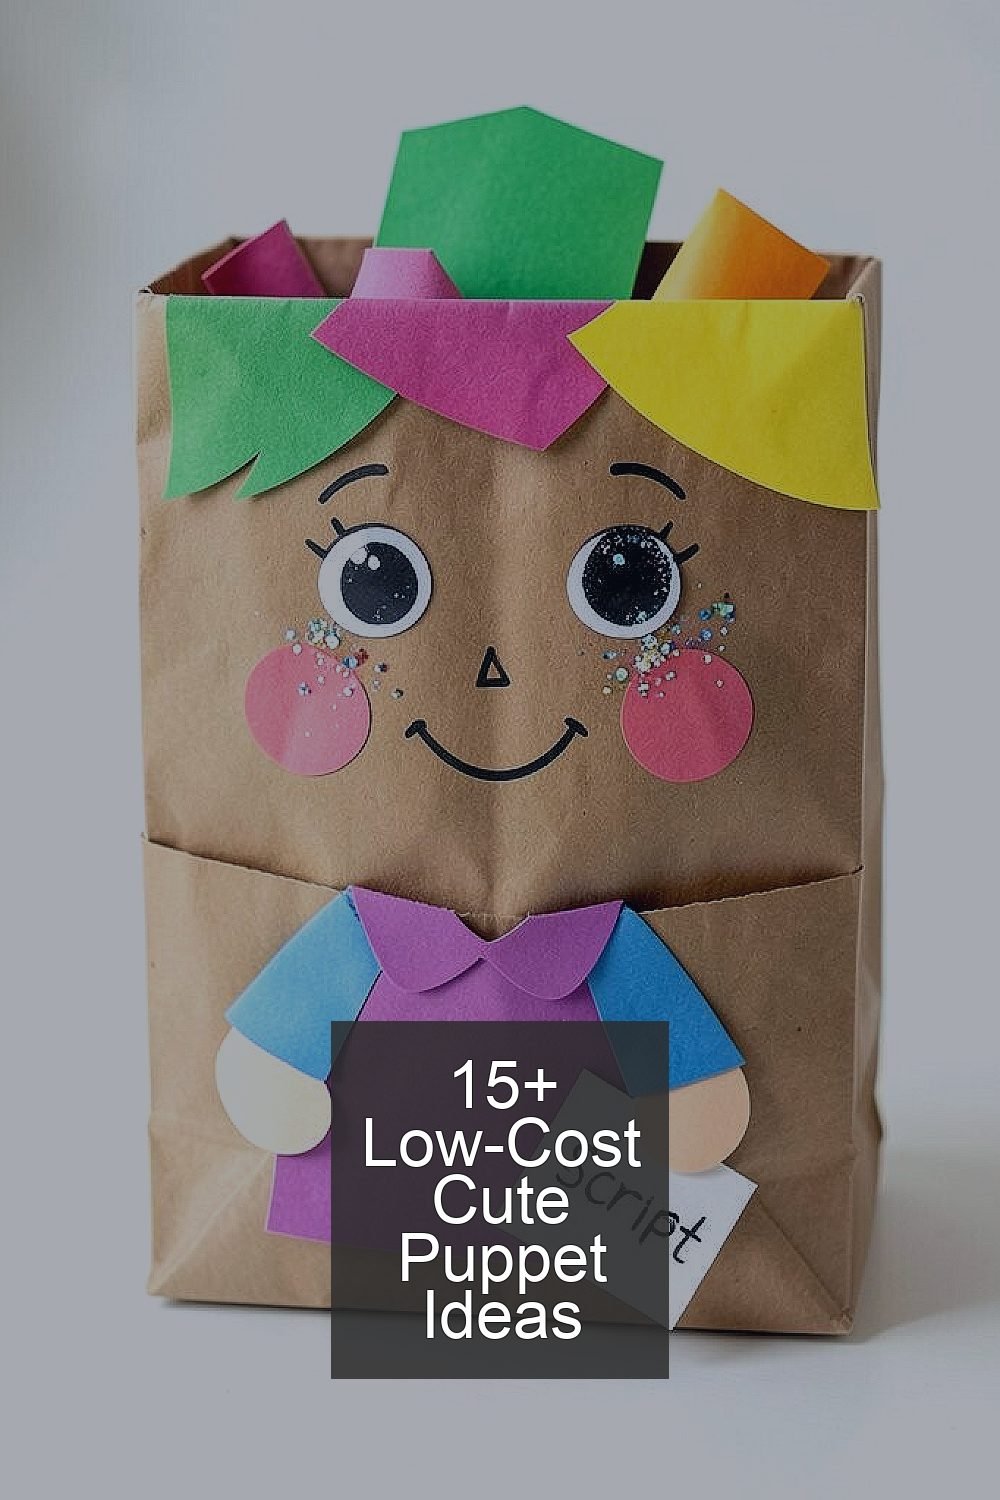
Take a plain paper bag and fold it gently to create a stable puppet base. When you flatten the front, you can draw big cheeks and a friendly smile that pops.
Cut simple shapes from colored paper for eyes, hair, and clothing, then attach them with glue sticks. Create a pocket fold at the back so you can tuck in a voice prop like a small folded card for sound effects. Keep everything layered and bold, since bright shapes are easiest to see during performances.
If you use recycled paper bags, the cost stays near zero and the puppets feel extra eco-friendly. Personalize faces with doodles, glitter glue, or tiny paper hats. Try adding a removable paper “script” you can hold inside the bag as you act.
3. Felt Hand-Palm Characters

Felt is forgiving and soft, which makes it great for beginner puppetry. Cut a hand-sized base piece, then wrap or stitch it so it fits over your palm comfortably.
Add simple facial features using contrasting felt colors, like a sleepy cat with beige eyelids. Stitch details like whiskers with thin thread, or use fabric glue for a faster finish.
For movement, attach a small felt flap on one side so you can wiggle it like a wave. This method is gentle on materials, so it keeps costs low even when you add extra accessories. Personalize by matching your puppet’s outfit to your favorite colors from a shirt you already own.
You can also make a whole “cast” by repeating the same hand pattern with different faces. If you follow current trends, try making themed characters like space buddies or cozy winter friends. Those themes look great in photos because felt holds shape and color.
4. Clothespin Marionettes

A wooden clothespin becomes a ready-made body in seconds. Paint it a solid color, then let it dry so you start with a clean look.
Glue or sew felt for a tiny head hat, and draw a face right on the wood. Add yarn hair by looping strands around the top so it hangs like bangs.
To make arms, tie two small strings to the clothespin springs and attach paper hands at the ends. When you lift and lower the string, the puppet looks like it’s dancing. This is surprisingly fun for small groups and costs very little because you can reuse old yarn and scrap fabric.
Personalize by giving each puppet a different outfit using leftover socks, buttons, and lace. Keep a small paint set for cost control and use quick-dry options. For performance, test poses against a wall so your motions look bigger on stage.
5. Crayon Box Mini Puppets

Repurpose an empty crayon box as a sturdy puppet stand. Cover the outside with paper or paint it, then draw a stage window on the front panel.
Build a small character face from cardstock and attach it behind the window so it peeks out. Use brads or a folded paper hinge so you can move a mouth flap when you talk.
That little “pop” effect makes your puppet feel alive without expensive parts. Try adding textural details like fuzzy yarn cheeks or paper confetti freckles. Personalize each box with a different theme, such as animals, robots, or made-up monsters with silly names.
This method is great when you want a puppet that looks polished for photos. Keep costs low by using scraps from old crafts and reusing packaging. If you want current trend vibes, add a small “sticker gallery” with mini shapes inspired by social media styles.
6. Spoon Character Liners

A plastic or wooden spoon already looks like a head and body combined. Add paint to create your puppet’s skin tone, then sketch a face that matches the spoon shape.
Wrap a small circle of felt around the back of the spoon like a collar, then glue it into place. Use thin paper strips or yarn for hair, and let it flare slightly so it feels playful.
To hold your puppet, use a stick handle or keep it as a hand puppet by gripping the bowl. This is a budget-friendly craft because spoons are common and scrap materials do the rest. Personalize by adding a tiny “signature” accessory like a star-shaped earring or a miniature bow.
7. Egg Carton Creature Squad

Egg carton cups are soft, sturdy, and easy to shape. Cut out individual cups, rinse and dry them, then choose a color palette that feels cheerful to you.
Paint the cups, then add eyes using paper circles, bottle caps, or even marker dots. For texture, glue on torn paper, fabric bits, or pom-poms to make unique patterns.
Glue a small cardboard strip behind each head as a stand, or attach a strip of elastic so it can be held like a hand puppet. This method supports a whole crew at low cost since one carton can make many characters. Personalize by giving each puppet a different “job,” like a librarian bug or a mail-carrying snail.
For a modern look, try adding metallic accents using leftover foil or shiny tape. When you stage the group, use bright backgrounds so the creatures pop in pictures.
8. T-shirt Yarn Puppet Bodies

Cut strips from an old t-shirt to form a soft yarn-like braid. Wrap the strips around your hand to make loops, then tie the bundle at the top to create a head.
Shape the loops into a round face, then tie extra strips for arms and a body. Add eyes with felt circles or buttons, and use fabric glue to secure everything in place.
Because you are recycling fabric, cost stays extremely low while the puppet feels cozy and unique. You can also make different “species” by changing colors, like making a rainbow character or a moody night creature. Personalize with stitched-on patches from old clothing for a trendy upcycled vibe.
9. Board Game Pawn Makeovers

Old board game pieces are fun to repurpose because they already have cute shapes. Choose a pawn or token, clean it, and paint it with craft acrylic so colors look strong.
Draw a face on the piece, then add a tiny costume using felt scraps. You can glue on a cape from ribbon or wrap yarn around the top like hair.
For movement, attach the pawn to a popsicle stick so it becomes a controllable puppet. This gives you a quick performance tool without buying new supplies. Cost stays low because you reuse what you already own, and uniqueness is baked in by the original game design.
Try matching your characters to current trends by making “cute villain” styles or building tiny superhero teams. For personalization, add small symbols like hearts, moons, or lightning bolts so each one has its own identity.
10. Plastic Bottle Head Friends

A clean plastic bottle can become a light puppet head with lots of room for creativity. Paint it with washable craft paint, then let it dry before adding details.
Make hair using yarn, pipe cleaners, or even strips cut from an old bag. Glue on felt ears or paper shapes for the face, and add a mouth with marker lines or cardstock.
For hands, attach lightweight fabric sleeves from scraps, then connect them with brads so they move a little. This method can be surprisingly budget-friendly because bottles are easy to find and paint is reusable. Personalize with themed accessories like sunglasses, a crown, or tiny goggles for a science look.
11. Masking Tape Face Puppets

Masking tape is simple, flexible, and great for making bold facial features. Press tape onto paper to build a face shape, then layer colors by adding more tape strips.
Use small tape pieces to create eyes, eyebrows, and a mouth, then reinforce key areas so the face stays solid. For a puppet body, attach the tape face to a cardboard base or a folded paper hand.
The look feels modern and graphic, which is popular in craft trends because it looks clean and bold in photos. Keep costs low by using what you already have and using small tape amounts. Personalize by mixing patterns like stripes and polka dots, then adding a ribbon “collar” for character.
12. Cardboard Circle Portal Puppets

Cut two cardboard circles and turn one into the puppet head. The second circle can act like a backer, helping the head stand upright and look neat.
Draw a face with thick markers, then add a layered hairstyle using paper strips. For movement, attach a small cardboard mouth flap with a brad so it can open and close when you talk.
Use recycled shipping cardboard for a strong, low-cost base. This method also supports personalization because circle faces are perfect for bold expressions like goofy grins and surprised eyes. Try making a whole set of “portal” characters by adding different backgrounds behind each face, like tiny star fields made from scraps.
For extra cuteness, outline features with a second color so the puppet looks crisp. Current trends favor high-contrast art, and cardboard circles naturally make that style easy.
13. Balloon and Paper Mache Lite

Inflate a small balloon and coat it lightly with paper strips mixed with glue and water. Keep it thin so it dries faster and stays light for puppetry.
Once it’s dry, pop the balloon and cut a simple opening for your fingers or attach a handle. Paint the surface, then add facial features with paper and felt for a soft, friendly look.
This method is low-cost because paper scraps go a long way, and the puppet feels unique due to the texture patterns. Personalize with different themes, like ocean bubbles, cloud creatures, or space helmets. If you want trends, try a “speckled” look using leftover paint on your fingertips.
Because it’s lightweight, it’s great for group play where kids can take turns being the puppet. Just remember to smooth rough edges so hands stay comfortable.
14. DIY Popsicle Stick Parade Friends

Popsicle sticks are classic for puppet making because you can build characters quickly. Paint or color the sticks, then decide if your puppet needs one stick for body and one for arms.
Glue two sticks side by side for height, then attach smaller strips for hands and legs. Add a face using paper circles or felt scraps, and reinforce with a little extra glue around corners.
To make it interactive, attach arms with a simple fold or elastic band so you can wave. This is a budget-friendly way to create a whole “parade” of characters with matching styles. Personalize by giving each one a different accessory, like a tiny sword from cardboard or a scarf from ribbon.
15. Old Glove Talking Puppets

An old glove is already shaped like a hand, which makes puppets feel natural to control. Clean it, then add a simple face right on the glove fingertips.
Use felt scraps for eyes and a mouth, then add eyebrows with stitched thread or marker. If you want extra personality, create a hat using leftover fabric and secure it at the wrist area.
This method feels uniquely cozy because it matches the way your hand moves. It also helps keep costs low since you reuse a worn item instead of buying new. Personalize with themes based on your wardrobe, like making a puppet that looks like your favorite sweater.
For current trends, try making animal characters with big cartoon eyes and bright patterns. During performances, stand near a window so the colors look vivid and the glove texture shows.
16. Origami Flap Puppets With Yarn Hair

Origami-style folds can form a simple head that opens and closes. Start with a folded paper shape, then add a flap that moves like a mouth when you press it.
Decorate with markers for quick facial features, and glue on felt or paper cheeks for a softer look. Add yarn hair by wrapping strands around a small paper strip, then attaching it at the top.
This method feels unique because it blends clean paper art with fuzzy, cozy yarn. It keeps costs low since paper and yarn are often easy to find and easy to reuse. Personalize the character by choosing colors that match your mood, like sunny yellow or deep teal for a dramatic vibe.
For performance tips, make a simple stage from a shoebox and keep your puppet face turned toward the audience. When you practice, focus on timing your mouth flap to your words for extra cuteness.