The first time you fling paint onto a surface, it feels a little like magic. Shapes appear where you didn’t plan them, and that’s the point.
You can turn that playful mess into art for cards, walls, journals, and gifts. Below are ideas that help you make splatters on purpose, so your creativity keeps moving even when you think you’re “out of ideas.”
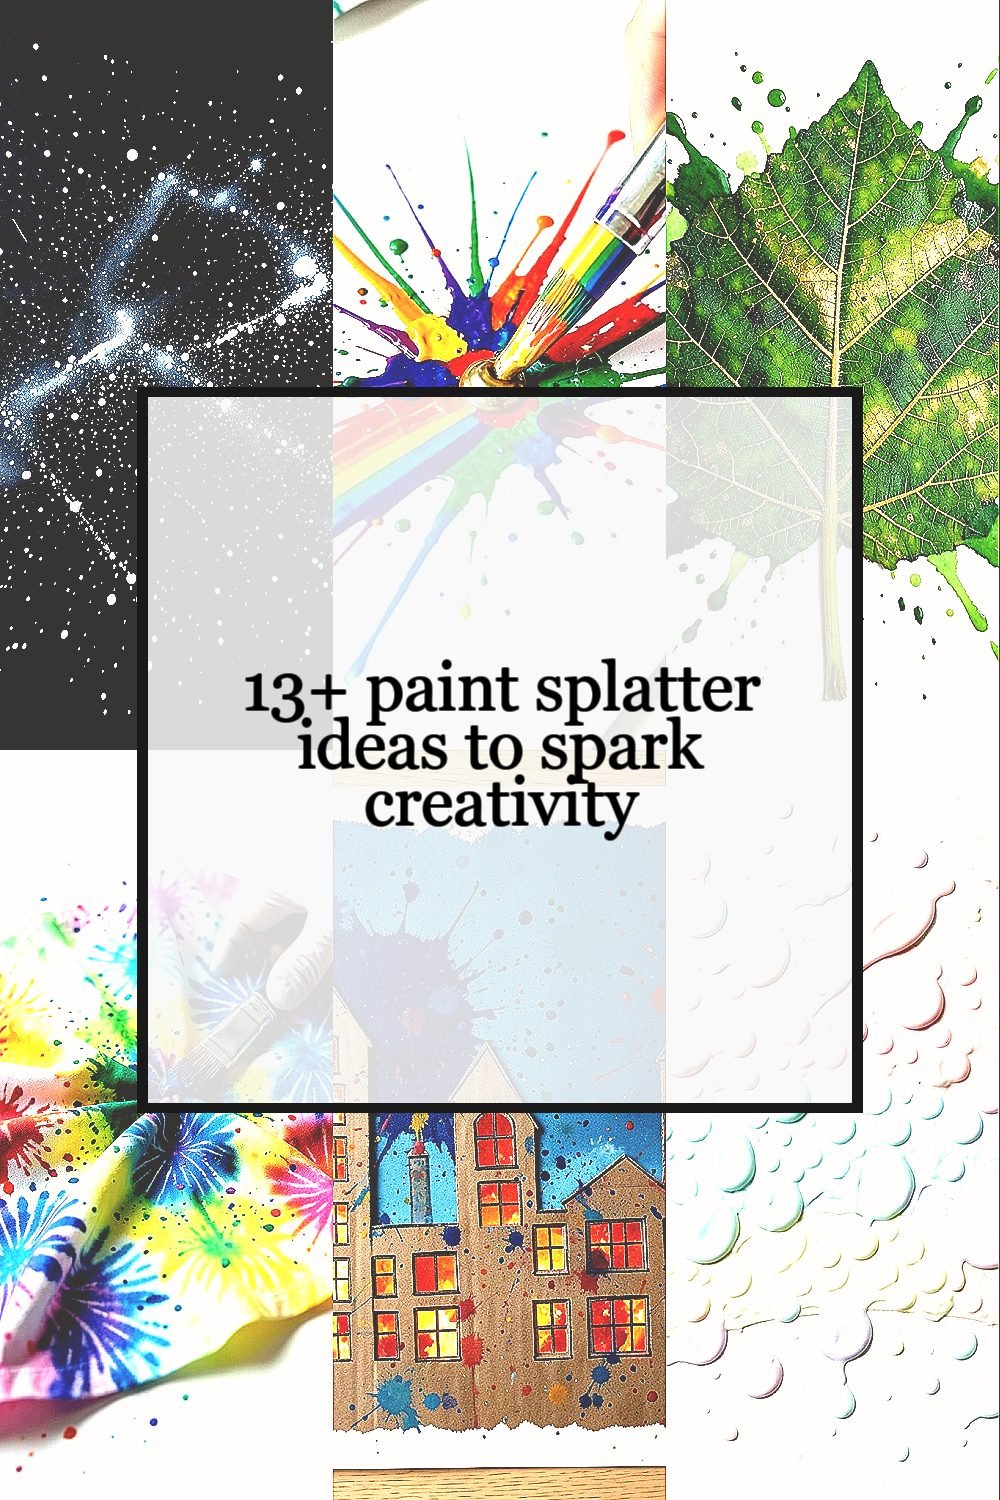
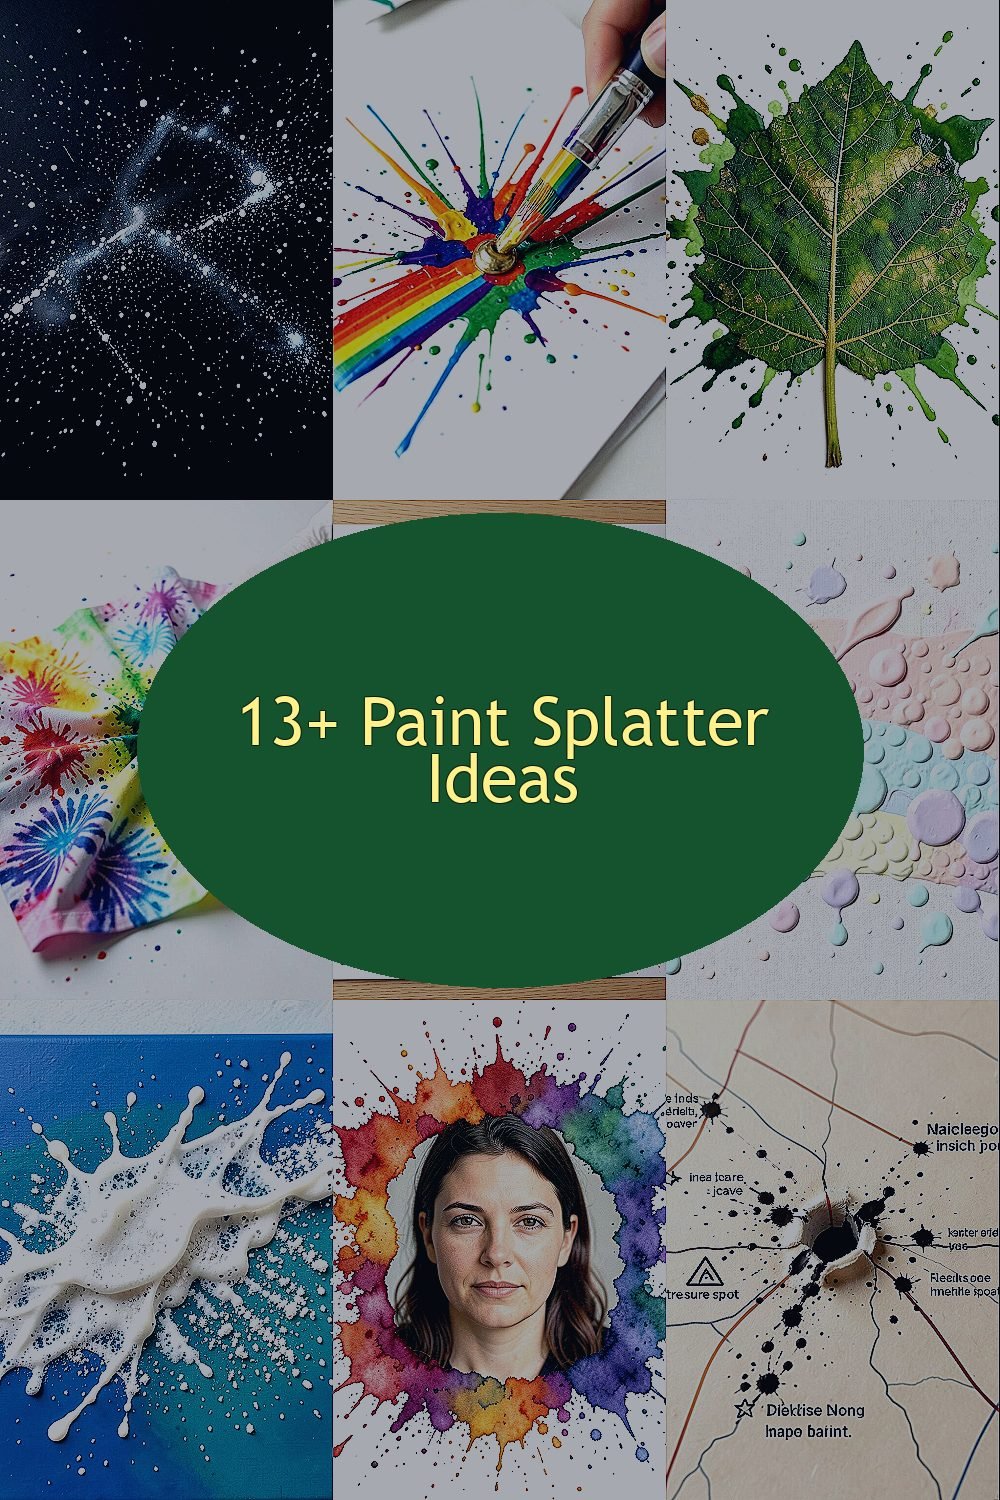
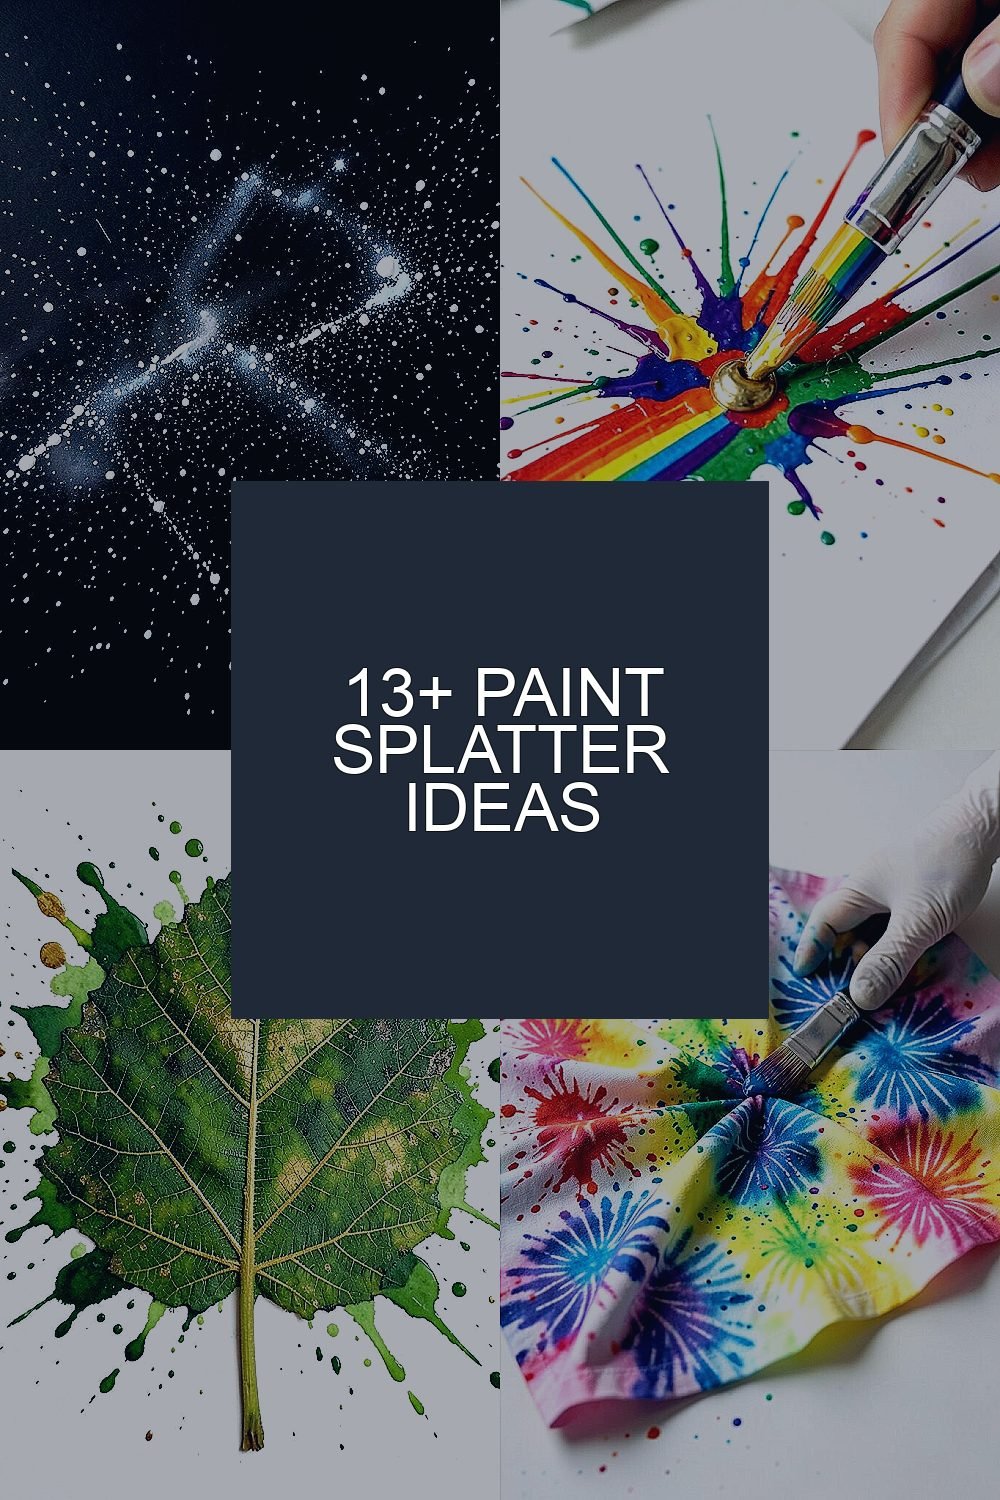
1. Constellation Sprays From Starry Black

Start with a deep black or navy background, then flick tiny paint drops to mimic distant stars. Use a stiff brush or an old toothbrush so the splatters land like pinpricks across the sky.
Choose white, silver, or pale blue paint for a crisp, night-sky look. Try moving your hand slower for bigger dots and faster for tiny specks.
Let the surface dry fully, then add a few soft smudges with a dry brush for haze. This idea feels unique because your “star map” changes every time, and you can match it to a favorite date, place, or memory.
2. Rainbow Meteor Lines Over White

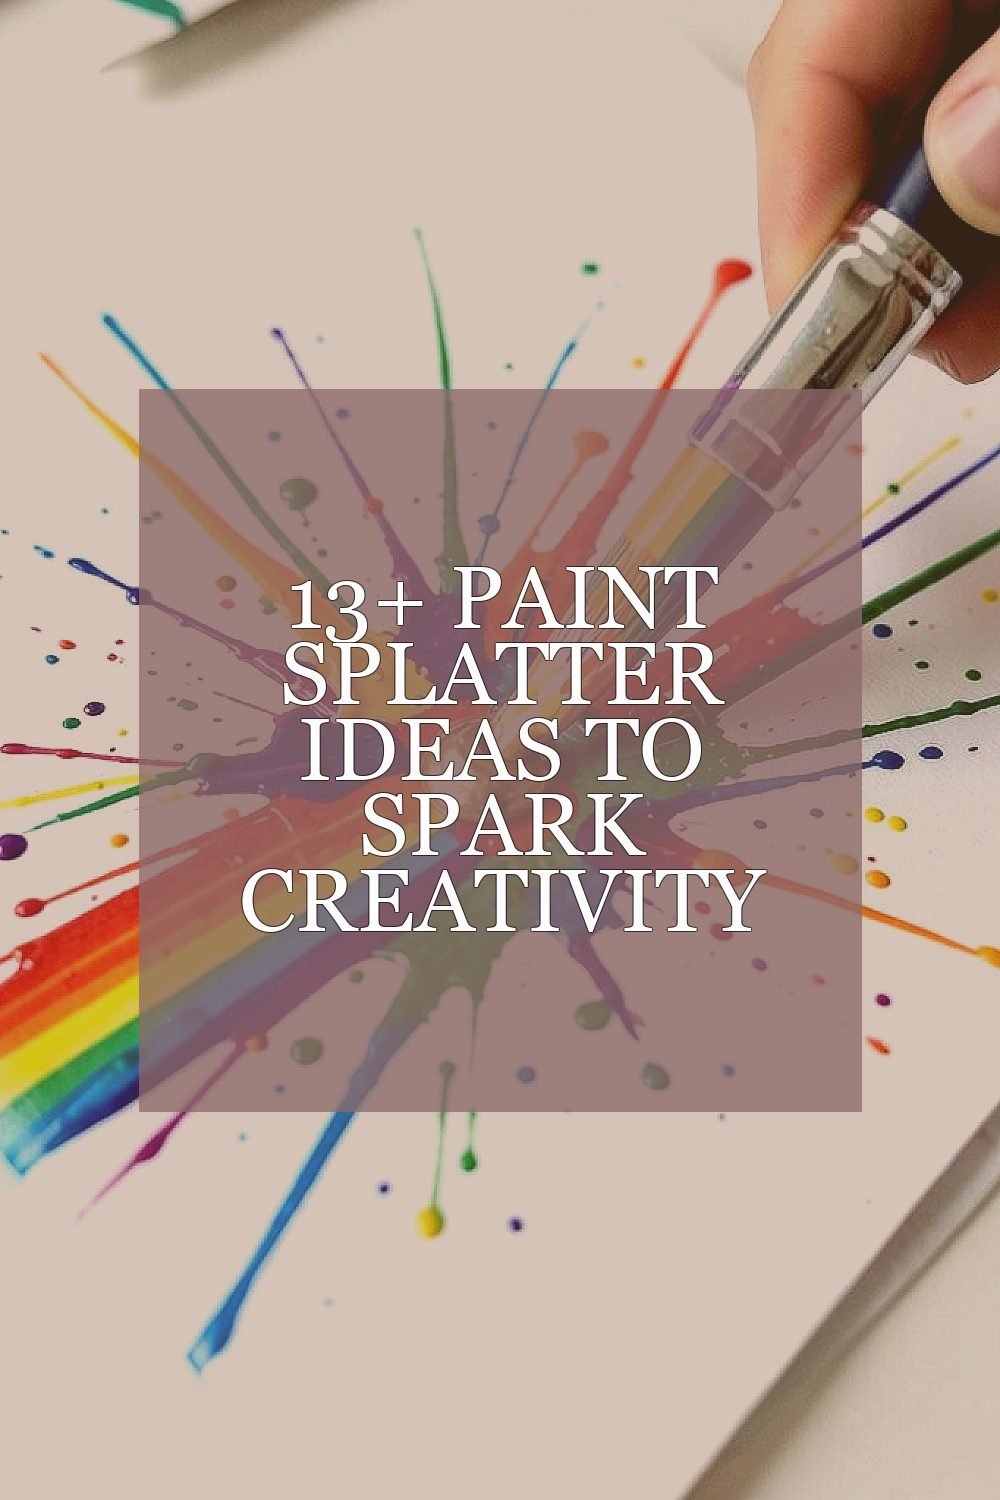
Pour bright paint onto a small card, then tap it so streaks and splatters arc outward like falling meteors. Keep your workspace clean by setting down scrap paper under your art.
Pick a rainbow set of colors, and aim each tap from the same height so the direction looks intentional. The benefit is that the motion creates energy while still staying beginner-friendly.
Personalize the scene by adding a single “core” color that stands out, like gold in the center of the impact. For cost, you can use inexpensive craft acrylics and thin them slightly with water for smooth splatter.
3. Leaf Veins Made With Green and Gold

Place a leaf on a page, then splatter diluted green paint around it. When you lift the leaf away, the negative space shows veins like a living drawing.
Try mixing one darker green with a lighter shade so the splatters feel layered. This is practical because you don’t need precise drawing skills, just steady placement.
Uniqueness comes from the leaf shape itself, so every print looks different even with the same colors. Add a few gold flecks with a small paintbrush at the end for a sunlit finish.
If you’re making multiple pieces, use leaves from your yard or dried herb sprigs. Drying time is usually short with acrylic, which helps you keep momentum.
4. Tie-Dye Splatter Effects With Folded Fabric

Fold a piece of plain cotton fabric into small pleats, then flick splatters of bright dye onto the folds. Open it slowly to reveal burst-like patterns that look like fireworks and storms together.
Wear gloves and work on protected surfaces, because dye can stain quickly. For practical tips, squeeze the paint lightly onto the bristles before you flick so the splatter is controlled.
5. City Night Windows From Masked Cardboard

Cut simple window shapes from cardboard and lay them on a poster board. Splatter paint through the cutouts, then remove the masks to reveal glowing “buildings” in layers.
Use warm colors like orange and red for windows, then add cool blues in the background for contrast. This approach is unique because the splatters become structured, so it feels both playful and organized.
Personalize your skyline by adding a tall tower shape or a crooked row of windows. Keep cost low by using leftover paint and masking tape instead of buying special stencils.
After it dries, outline a few windows with a fine marker so the scene pops even more.
6. Pastel Bubble Texture With Thick Creamy Paint

Thicken acrylic paint slightly with a gel medium so the splatters land as rounded blobs. Flick the brush over a light-colored canvas to create a bubble-like texture.
Choose soft pastels such as blush pink, mint, and pale lavender for a gentle look. This is beneficial when you want art that feels calming and friendly, not loud.
Uniqueness shows up in how each drop spreads, so don’t worry if the pattern looks uneven. Personalize by placing colors in repeating bands like a soft rainbow underlayer.
If you want a cleaner finish, aim for one color at a time and let it set between layers. For cost, gel mediums are optional, and thicker paint alone can still work beautifully.
7. Ocean Foam Splash With Salt and White Paint

Paint a blue base, then splatter white paint as if waves are breaking. While the paint is still wet, sprinkle salt onto the splatters so it catches texture as it dries.
Rinse off extra salt after it dries so only the best gritty specks remain. The visual result is foam that looks like it’s moving, which is a big creative payoff.
Personalize by adding a thin teal wash underneath for deeper water. This idea also fits current trends toward tactile mixed-media looks, especially in journal pages and small canvases.
8. Portrait Aura Splatter Around a Photo

Print a small photo and tape it to watercolor paper. Splatter paint around the edges so it forms an “aura” frame without covering the face.
Use colors that match the mood, like warm reds and oranges for cozy energy or cool purples and greens for calm vibes. The benefit is that you get an emotional look without having to draw hands or facial features.
Uniqueness comes from your color choices and the amount of splatter you let escape the taped area. For personalization, add a few matching dots across the top to connect the composition.
Cost stays friendly because you can use a small paint set and cheap paper, and the photo does most of the heavy lifting.
9. Map Legends With Symbols From Flicked Paint

Draw a simple background like a light tan “paper map,” then add tiny splatters that act as landmarks. Flick a darker paint through a small hole in a torn paper piece to make consistent clusters.
Turn the dots into your own legend by creating symbols nearby, like a triangle for a “cave” and a star for a “treasure spot.” This helps you feel in control even though the splatter creates the texture.
Personalize by naming places after friends, pets, or inside jokes. A practical tip is to keep one splatter color for landmarks and another for roads made with thin lines.
If you want to match current design trends, use clean lettering and a limited palette for a modern, organized feel.
10. Music Rhythm Splatter on Lined Paper

Lay lined paper flat and play a song while you splatter paint to the beat. Use brighter colors for louder moments and calmer tones for quiet sections.
The lines help you keep splatters flowing in a way that feels rhythmic instead of random. This is useful because it gives your hand an automatic guide, even if you’re not sure what to do.
Uniqueness appears in how your rhythm turns into pattern, almost like visual audio. Personalize by matching specific instruments to colors, such as blue for bass and yellow for strings.
For cost, you only need a few colors and a paper pad, which makes it great for quick creative sessions.
11. Candlelit Glow With Gold and Amber Over Black
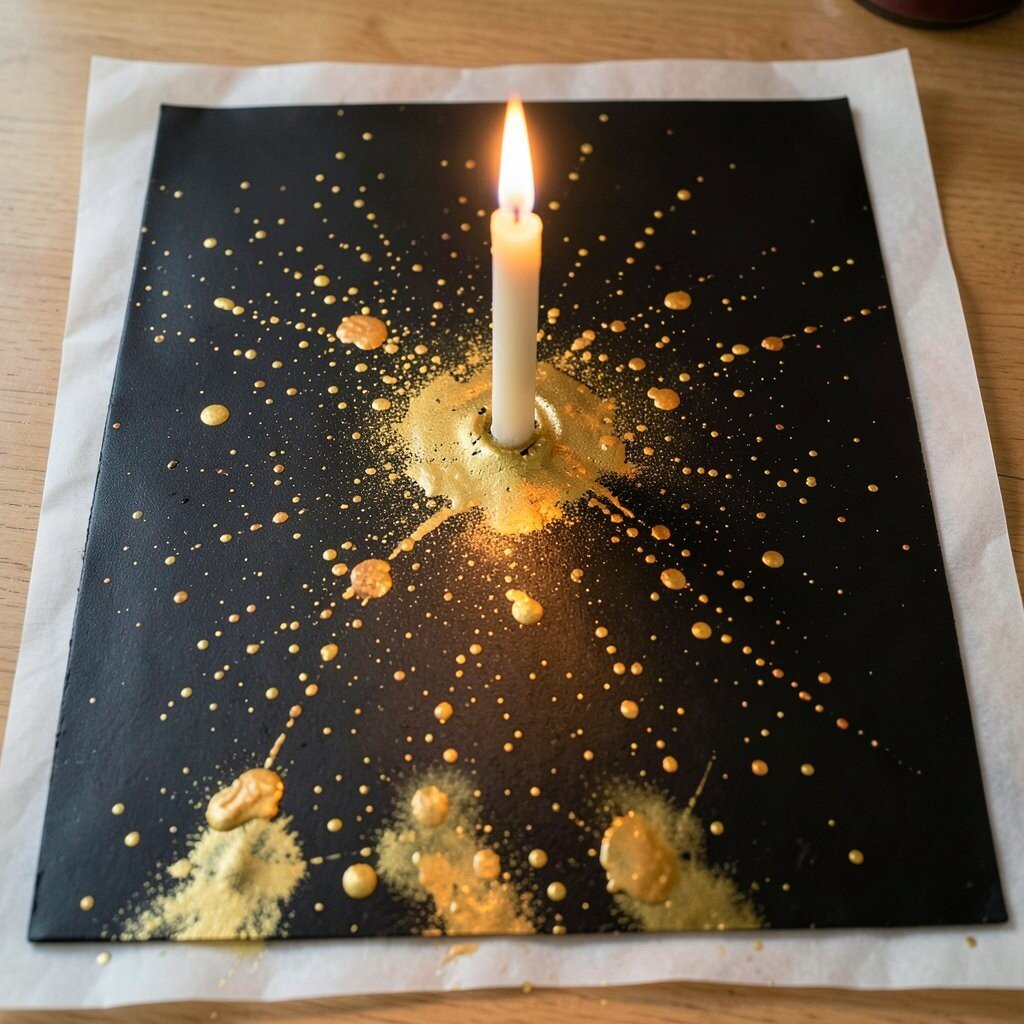
Paint the surface black, then splatter gold and amber paint in small bursts to mimic candlelight. Add a few larger splats near the bottom to suggest reflections on a table.
To keep the glow believable, dilute the paint for misty edges and use thicker paint for the brightest highlights. This idea benefits from simple layering, because each pass adds depth without complex tools.
Uniqueness feels natural here because the splatters create organic light spots that no brushstroke can copy. Personalize by choosing colors linked to a holiday, like warm golds for celebrations you love.
For a practical finish, place a sheet of wax paper under your work so cleanup is quick and paint stays controlled.
12. Geometric Garden From Stencil Windows

Cut squares, circles, or triangles from cardboard and arrange them like garden beds. Hold the stencils in place and splatter green, pink, and yellow paint through the gaps.
The benefit is that your splatters stay inside clear shapes, so the final piece looks tidy and modern. It’s also practical for beginners because stencils reduce the chance of messy spillovers.
Uniqueness shows up when you vary the stencil spacing, like planting clusters close together. Personalize the “flowers” by adding tiny dot splatters in two shades for a multi-petal feel.
Cost considerations are easy here since cardboard scraps and tape are free, and you can reuse the stencils for future projects.
13. Botanical Bloom Pages With Dried Herb Printing

Press dried herbs on paper and splatter colored paint over them like a stamp made of leaves. When you lift the herbs, you’ll see delicate speckled silhouettes with crisp outlines.
Choose colors that feel like real life, such as rose pink, deep teal, and soft sage. This approach is beneficial because the texture comes from the natural materials, not from expensive tools.
Uniqueness is built in since every herb sprig has its own shape and thickness. For personalization, arrange herbs into letter-like forms or frame the center with a ring of tiny fragments.
14. Monogram Splash Cards With Controlled Flicks
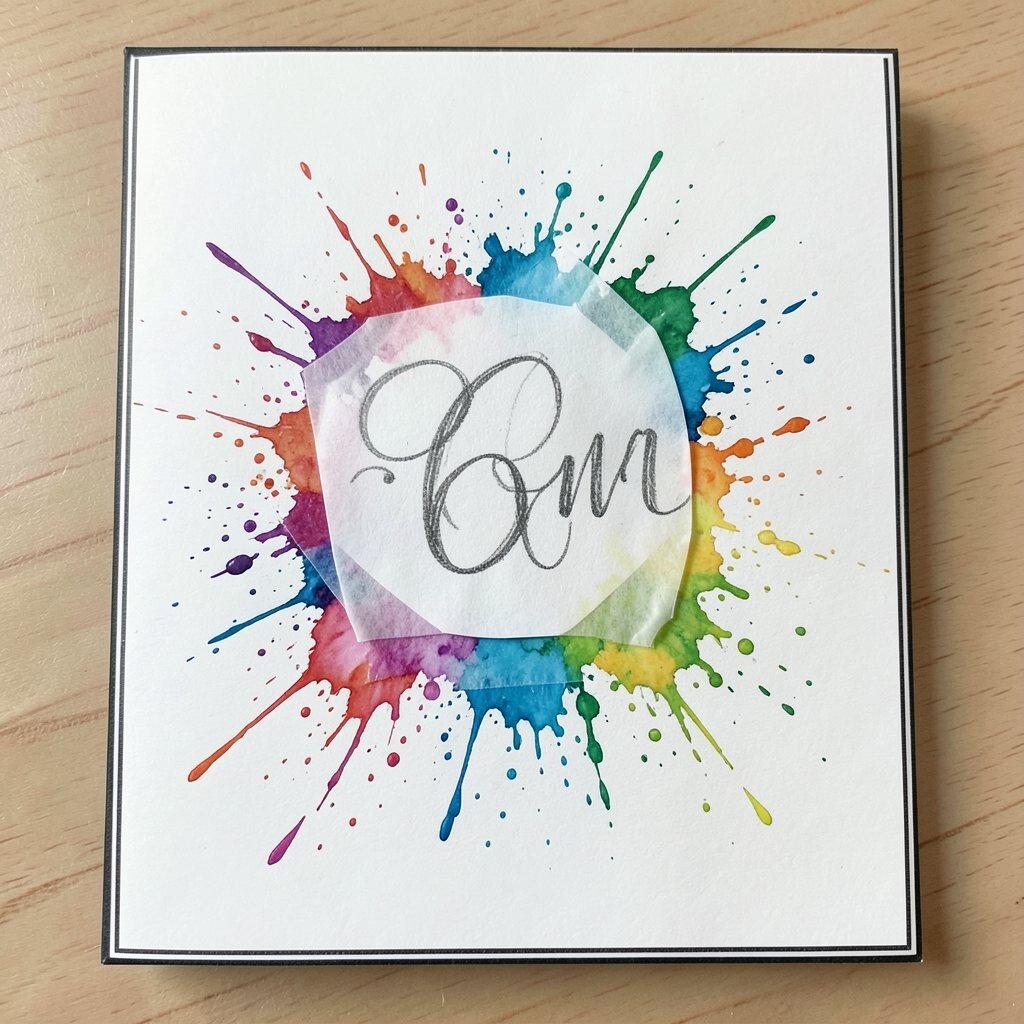
Write a monogram lightly in pencil on cardstock, then cover it with a masking method like tape or a thin paper cutout. Splatter paint around the letter so the monogram stays clean and sharp.
Use two or three matching colors for a stylish, modern look that feels current in handmade card trends. This is a great benefit because it turns a simple card into something that looks designed, not accidental.
Personalize by matching the color palette to the recipient’s favorite shades or the season’s theme. For cost, you can use small leftover paint tubes, and the stencils can be reused for multiple cards.
After drying, remove the masks carefully and add a thin line border with a marker for extra polish.