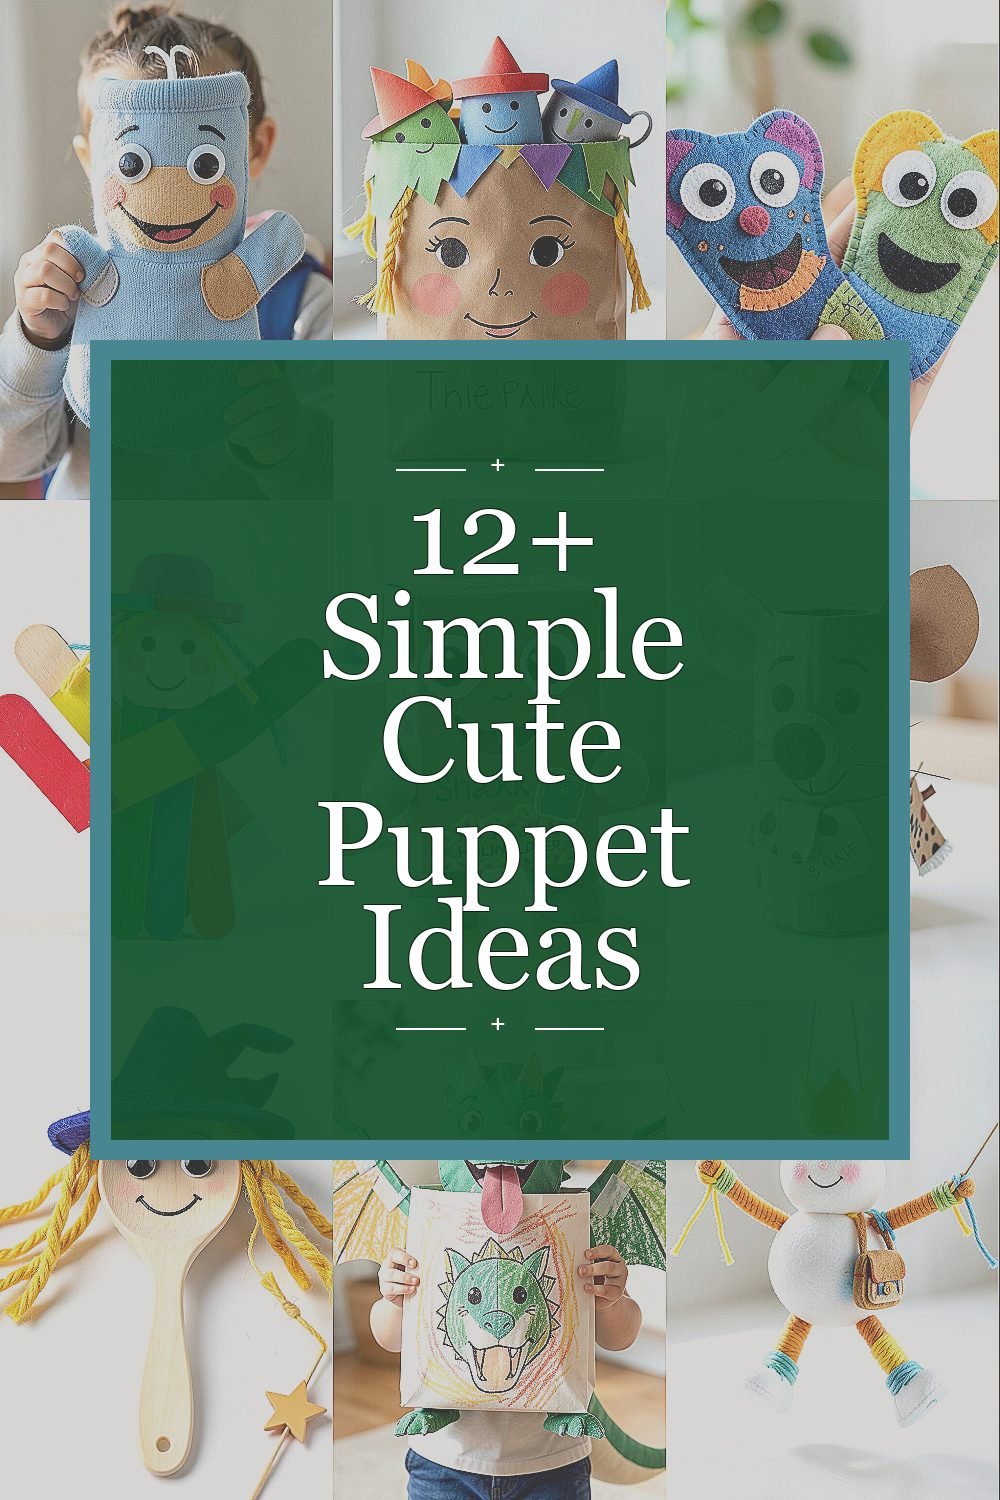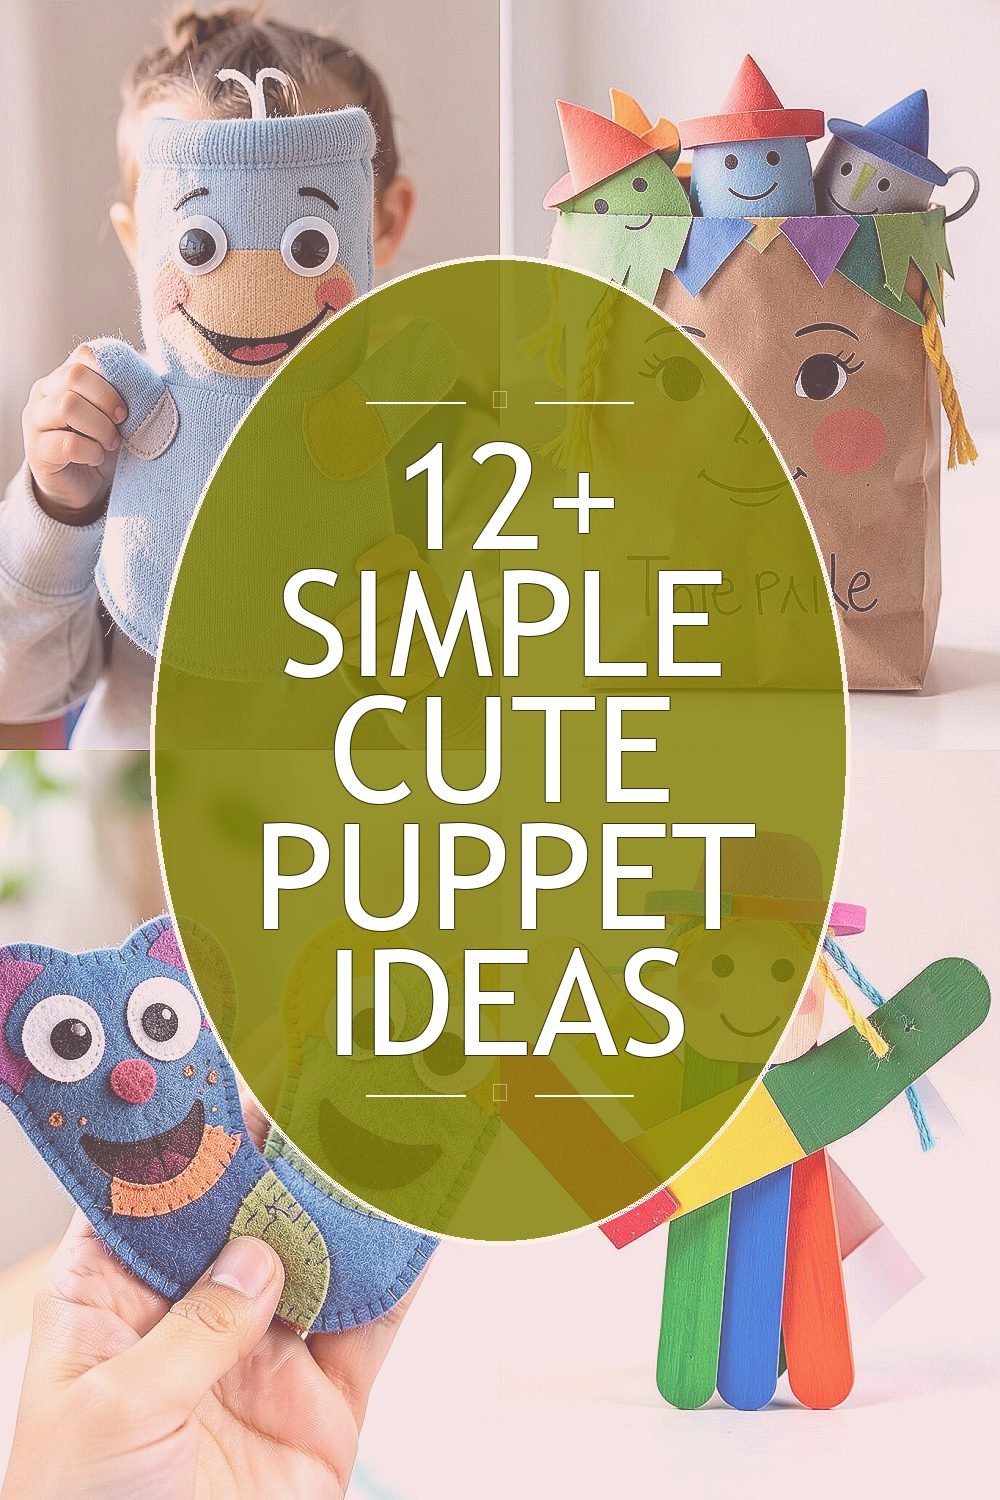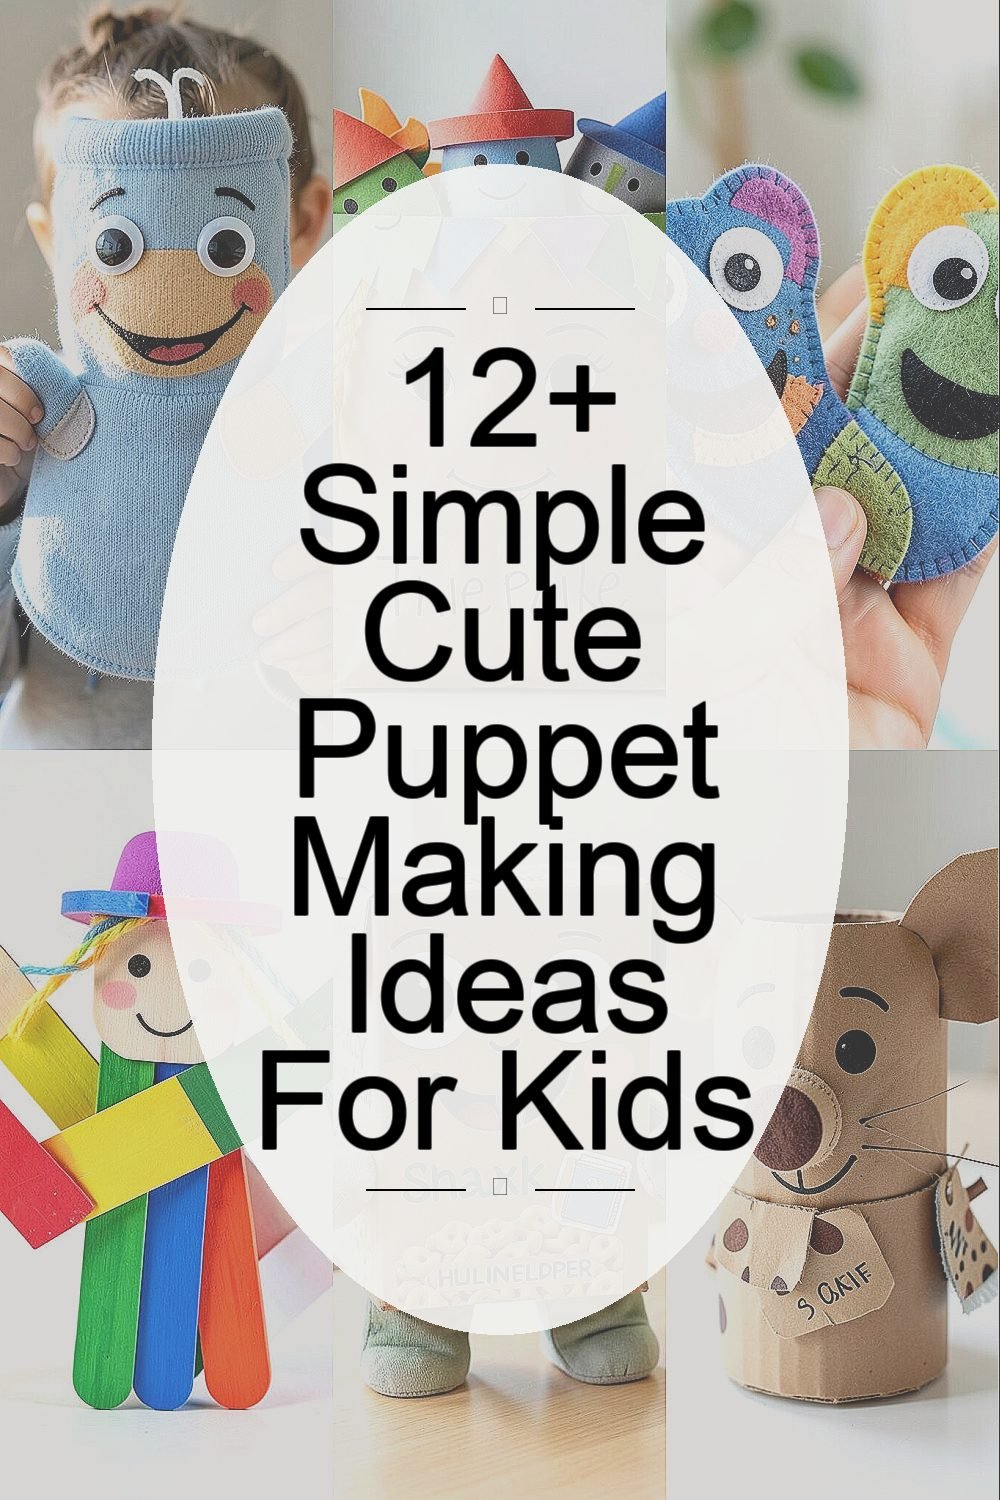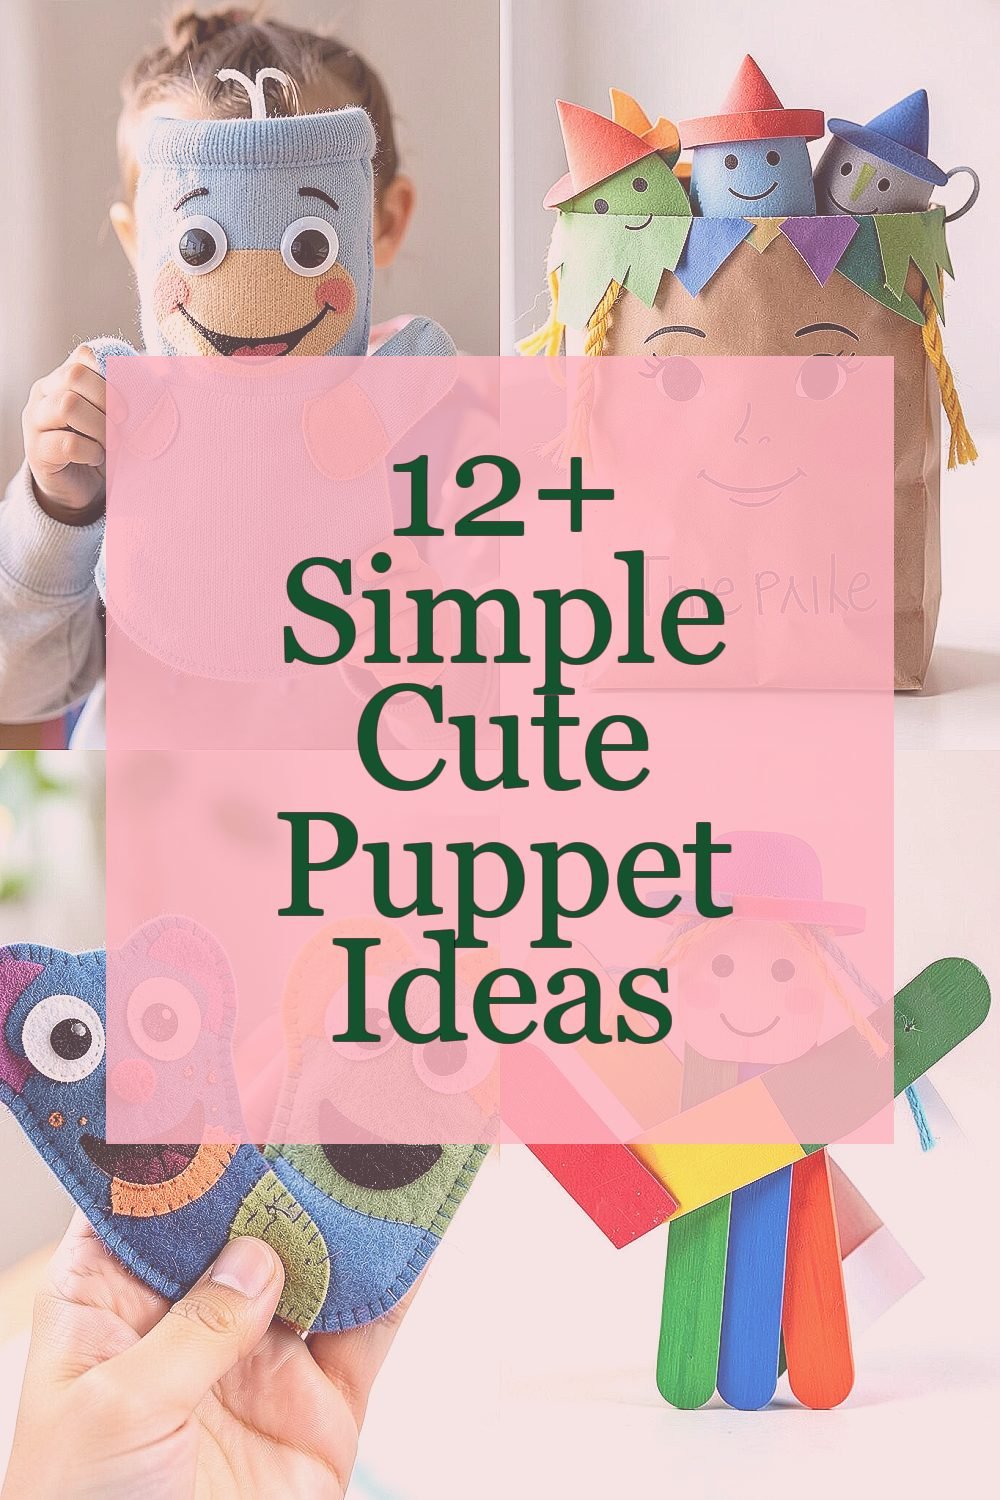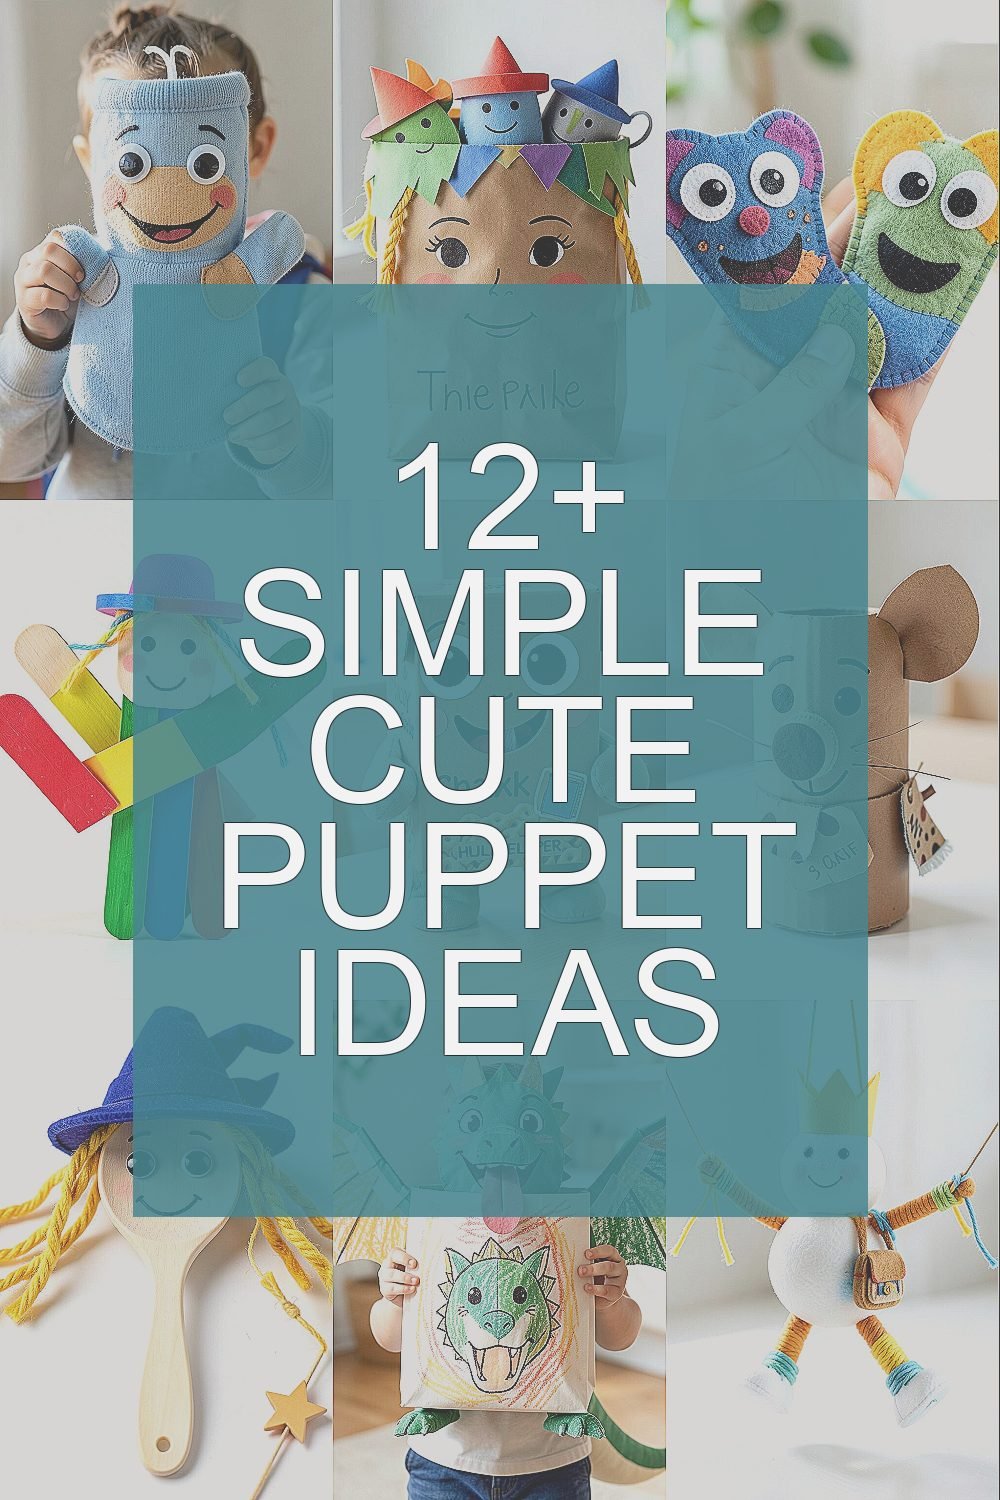
These tiny puppets can turn an ordinary afternoon into a stage show. With a few easy materials, kids can make characters that feel like their own.
Each idea below includes simple steps, fun design choices, and ways to personalize the final puppet.
1. Sock Buddy Puppets

Pick a clean, comfy sock and imagine what kind of buddy it wants to be. You can see the shape immediately when you hold it up like a little character and decide on a personality.
Cut felt for a smile, add googly eyes, and glue or sew them on. For moving magic, stitch a simple finger hole at the back so the sock can “talk” when the child moves their hand. Choose colors that match the kid’s favorite hoodie or backpack, and the puppet will feel special right away.
2. Paper Bag Theater Friends
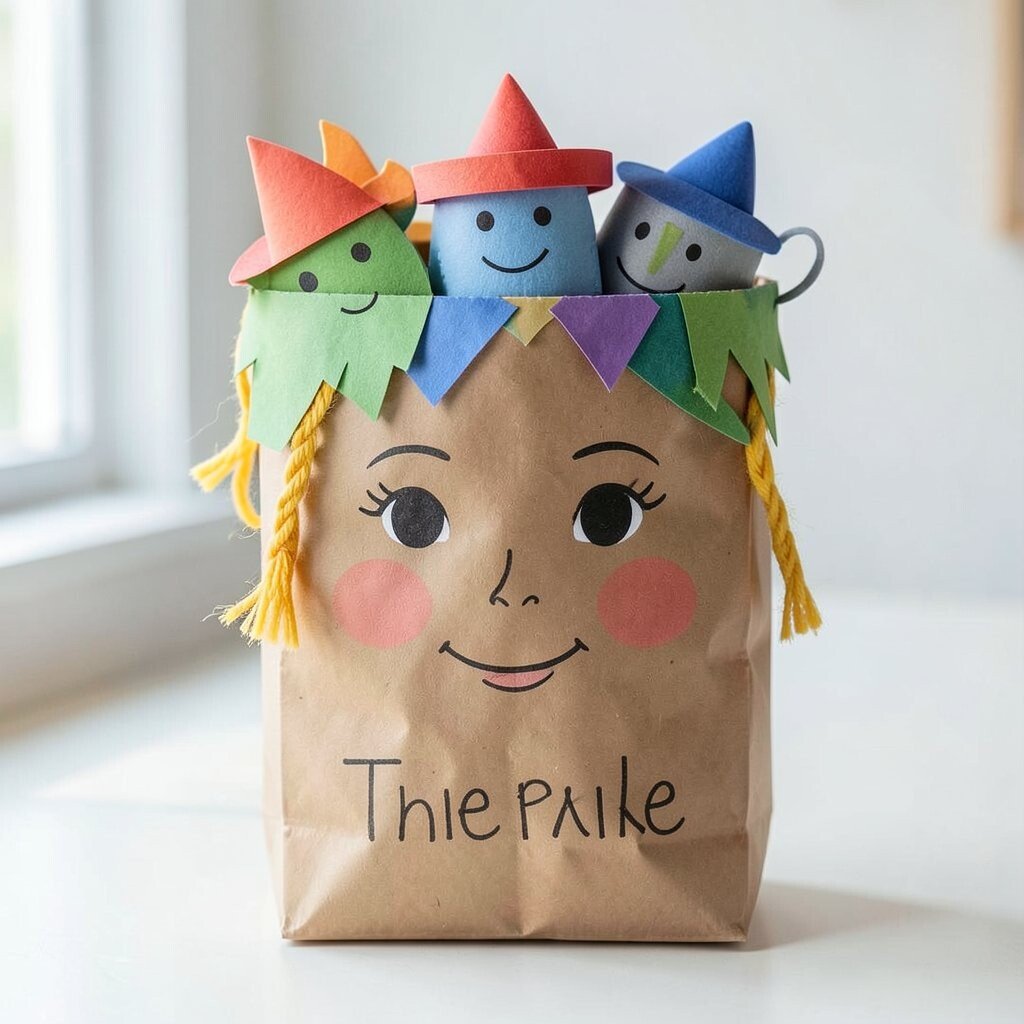
Use a brown paper bag as the body and press it flat to sketch a face. When you open the bag, it creates a surprising pop-up stage look that feels like real theater.
Cut simple shapes for hair from colored paper and glue them on the top. Add yarn for braids, draw rosy cheeks, and tape a small paper handle inside so kids can swing the puppet gently. Try a “theme bag” with one kid as a dragon helper and another as a brave knight, which matches current school play projects and makes group stories easy.
Personalization is simple, since names can be written on the bag and each puppet can wear a different hat. For cost, most supplies come from what families already keep for crafts, like paper scraps, glue sticks, and markers.
3. Felt Finger Puppets With Big Expressions

Felt is soft, colorful, and easy to cut into shapes. Slide it onto a finger to test size before gluing so the eyes and mouth sit where kids can see them clearly.
Make two ear shapes, two eye circles, and a mouth curve, then stitch or glue them onto the felt base. Add a tiny button nose or a fabric scrap for a freckle pattern so the puppet looks full of character. Kids love swapping designs mid-session, which helps them practice creativity without needing new supplies every time.
To keep things practical, use fabric glue for faster assembly and let it set while kids pick out story lines. Personalize by matching the puppet’s colors to sports teams, pets, or favorite cartoon shades, and the puppet will feel like it belongs in their world.
4. Popsicle Stick Puppet Parade
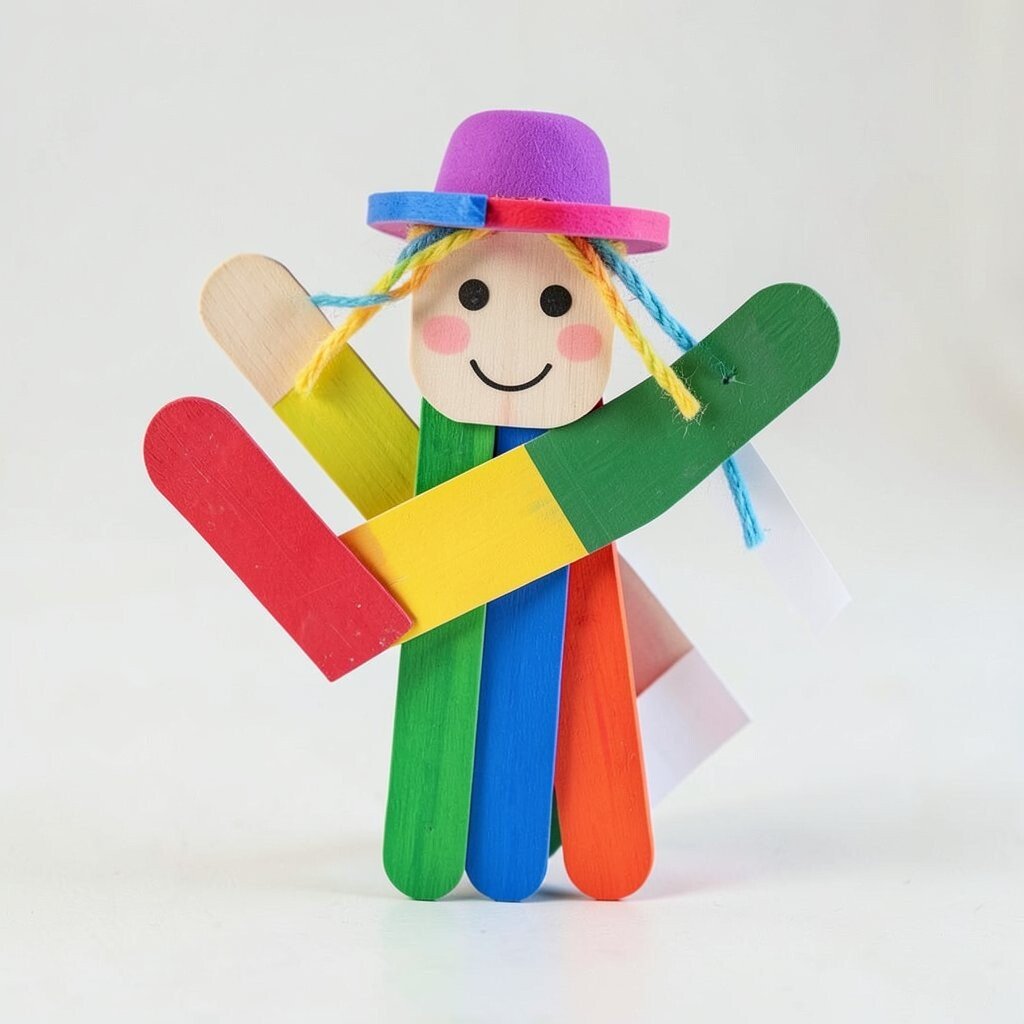
Start with two or three popsicle sticks for the body and glue them in a stacked frame. Paint or color them bright so they look like little parade floats that want to wave.
Attach a paper face on the front and add yarn hair or craft-foam hats. For simple movement, glue a small paper strip behind the sticks so the puppet can tilt when held. This idea is great for group activities because many puppets can be made quickly from the same basic set of sticks.
5. Cereal Box Character Creatures

Use a small cereal box panel as a sturdy puppet head and cut a rounded shape that fits a kid’s hand. When it stands up like a chunky character, it feels durable enough for lots of pretend play.
Decorate it with markers, sticker eyes, and cut-out shapes for ears and cheeks. Add a slit on the side for fingers, and glue a fabric strip inside so the puppet stays comfortable. Keep costs low by using leftovers from old packaging and letting kids recycle rather than buy new craft items.
Personalization can be playful, like turning the puppet into a “space snack” alien or a “library helper” with a tiny book badge. Current trends like classroom “maker” projects make this a fun choice for kids who enjoy building things that last.
6. Cardboard Roll Animals

Turn a paper towel roll into a puppet by cutting it into a smaller cylinder and rounding one end for a snout. When you draw the face and press in the features, the animal shape comes alive right away.
Make ears from folded paper or felt scraps and attach whiskers with thin string. For movement, cut a hinged flap on the front that opens when the roll is squeezed, like a friendly mouth. This style is unique because it looks bold and 3D, and kids can enjoy different animal types with the same base.
Try personalization by adding a name tag and a costume pattern, like spots, stripes, or a tiny cape made from old fabric. Cost stays friendly because cardboard rolls are usually free, and kids can use safe glue or tape they already have.
7. Plastic Spoon Witches and Heroes

Use a large plastic spoon as the puppet’s face and build a character around it. The curved bowl naturally becomes a smile, so you can sketch expressions that look adorable in seconds.
Add felt for a hat, glue on eyes, and twist yarn into hair that spills over the sides. Keep it practical by using a hot glue helper if needed, or choose craft glue that dries clear for a kid-safe finish. This idea feels current because spoon crafts match popular “upcycle” content online and encourage kids to reuse everyday items.
To personalize, let each child pick a role such as wizard, firefighter, or superhero, then add a small accessory like a mini star wand from paper.
8. Lunch Bag Dragon With Flap Wings

Start with a lunch bag and draw a dragon face on the front panel. The bag’s opening creates a natural stage, so when kids hold it up, it looks like the dragon is “ready to roar.”
Cut wing shapes from construction paper and attach them with tape so the wings can flap. Add scales using crayon scribbles or tiny paper triangles, then glue on a paper tongue for a silly grin. The benefit of this puppet is that it encourages storytelling, because kids can time their character’s “roar” with the wing motion.
Personalize with a color palette inspired by seasons, like autumn orange and green, or by pets the child likes. Cost considerations are simple since lunch bags and paper scraps are usually easy to find.
9. Shoelace String Puppet Friends

Make a small puppet body from a foam ball, felt scraps, or a folded paper shape. Add a face with markers and then punch holes for string or shoelaces to hang arms.
Use yarn or shoelace pieces as arms and legs, then secure them with knots or tape on the back. When kids swing the puppet gently, the loose strings create a fun bouncing motion that feels different from flat puppets. This is unique because it can be used as a marionette-style buddy, even with basic supplies.
For practical steps, choose lightweight materials so the puppet doesn’t feel heavy in small hands. Personalize by using the kid’s favorite colors and adding tiny charms, like a paper crown or a mini backpack, taped to the front.
10. Origami-Style Paper Puppet Masks

Use a sheet of paper and fold a simple mask shape, then cut openings for the eyes. When the mask wraps the face area, the kid immediately looks like a new character ready for pretend play.
Decorate with crayons, markers, or sticker eyes, then add a strap using paper tabs so it stays in place. For a puppet effect, glue a handle stick to the back so kids can hold the mask up like a character portrait that can “speak.” The benefit here is that it’s light, fast, and great for quick performances.
Personalize by making a variety of roles, like a fairy helper or a friendly monster, and use current trends such as “character profile” drawings inspired by social media art styles. Cost is very low because paper and markers are usually already available.
11. Egg Carton Party Cast

Cut individual cups from an empty egg carton to form heads, then clean and dry it well. The ridges give a naturally cute texture, so the puppet looks textured even before decorations.
Paint or color the cups, then glue on felt for ears and craft-foam for hats. Add faces with googly eyes, marker smiles, and small paper accessories for a full look. Kids enjoy this idea because each cup becomes a different character, making it easy to build a whole cast for a play.
For practical tips, keep paint thin so it dries fast, and use one color per puppet so the process stays simple. Personalize by matching the characters to a family story, like “the three friends who go to the park,” which makes each puppet feel meaningful.
12. Monopoly-Style Felt Coin Minion Helpers
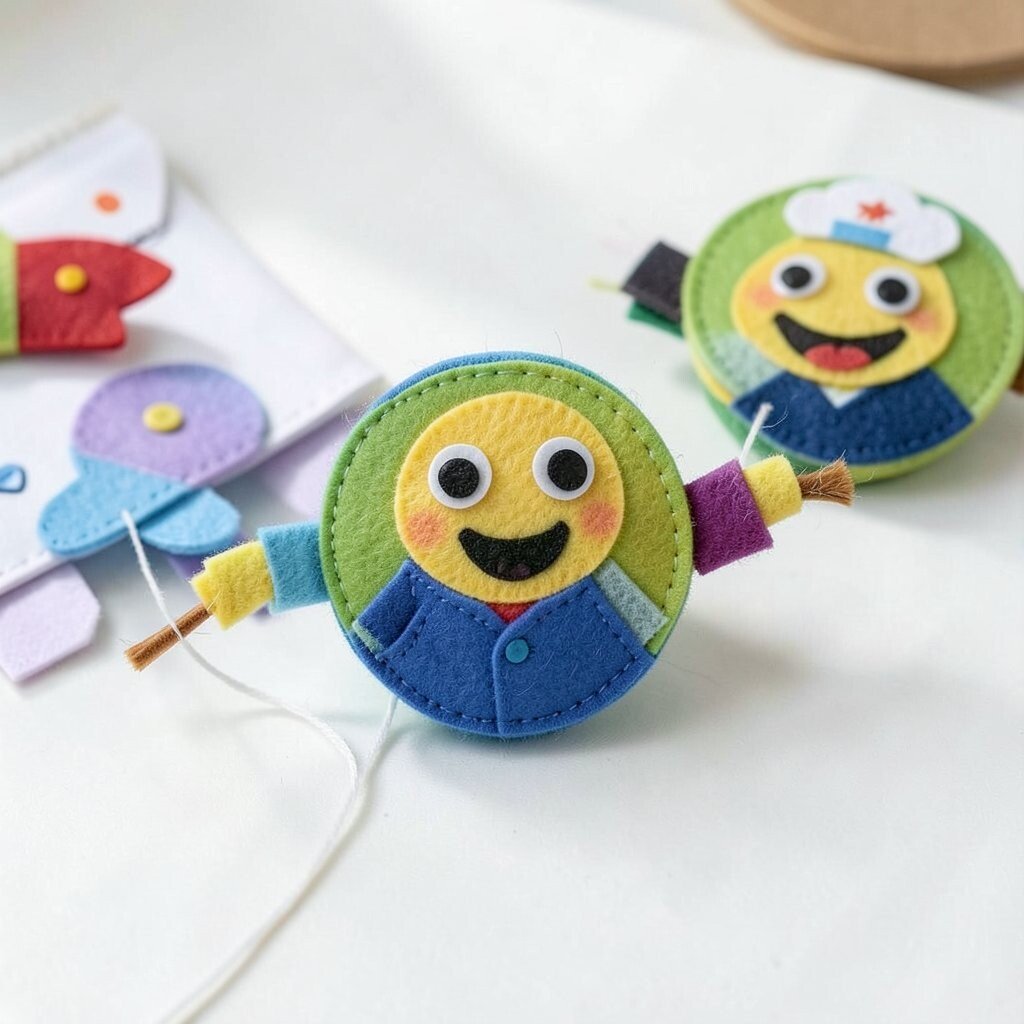
Cut small circles from felt and layer them to create a round puppet body that looks like a tiny character. The circle shape makes it easy to spot faces and decorate quickly, which helps kids feel successful.
Glue on two small eyes, then add a mouth with felt or marker. For arms, attach tiny felt strips or pipe cleaner bits, and for movement, tie a string so the arms can wiggle when pulled gently. This idea is unique because it turns simple felt scraps into pocket-sized helpers, perfect for short skits.
To personalize, create “jobs” for each circle puppet, like mail carrier, chef, or weather reporter, and match the outfits using different felt colors. Cost stays low since felt scraps, glue, and pipe cleaners are often inexpensive and easy to reuse.
13. Clay and Paper Mashup Characters

Use air-dry clay or play dough to shape a head, then press a flat paper sheet behind it to make a stable backing. When the clay face dries, it becomes slightly textured, like a real character you can hold proudly.
Add details with toothpick marks for hair lines, then attach paper ears and a felt collar. For personalization, kids can create a “favorite memory” character by molding a tiny accessory like a cookie, a flower, or a toy rocket that matches the story they want to tell.
Practical tips matter here, so make small features first and let the clay fully dry before adding paper. Cost considerations are manageable because clay can be used to make several characters from one batch, and kids can reuse paper scraps for outfits and captions.