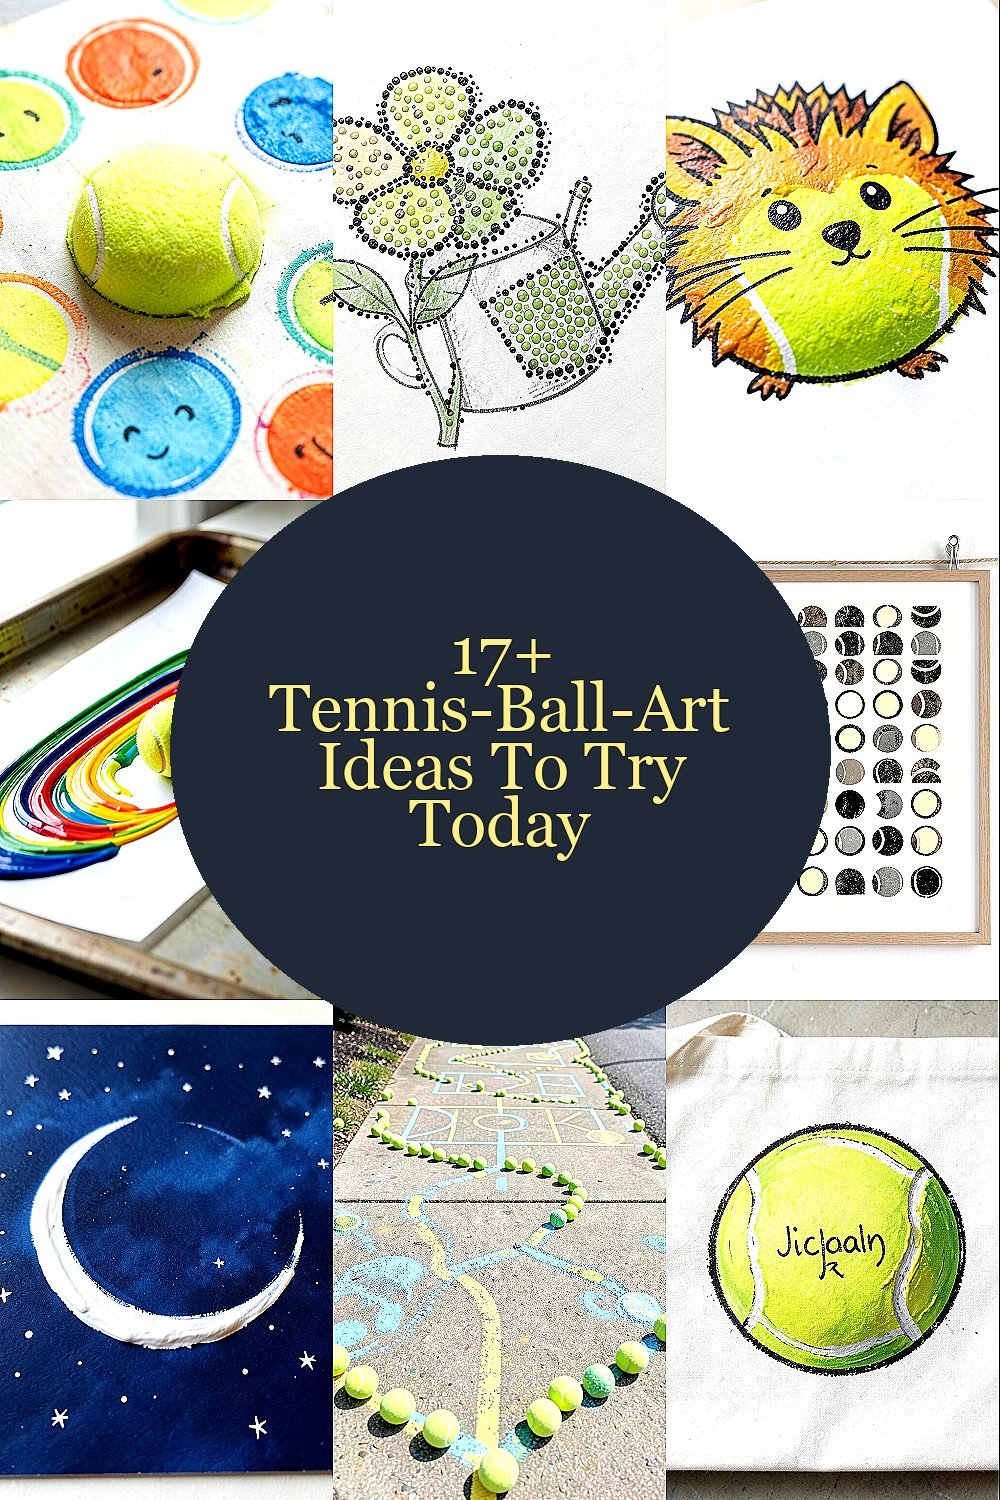
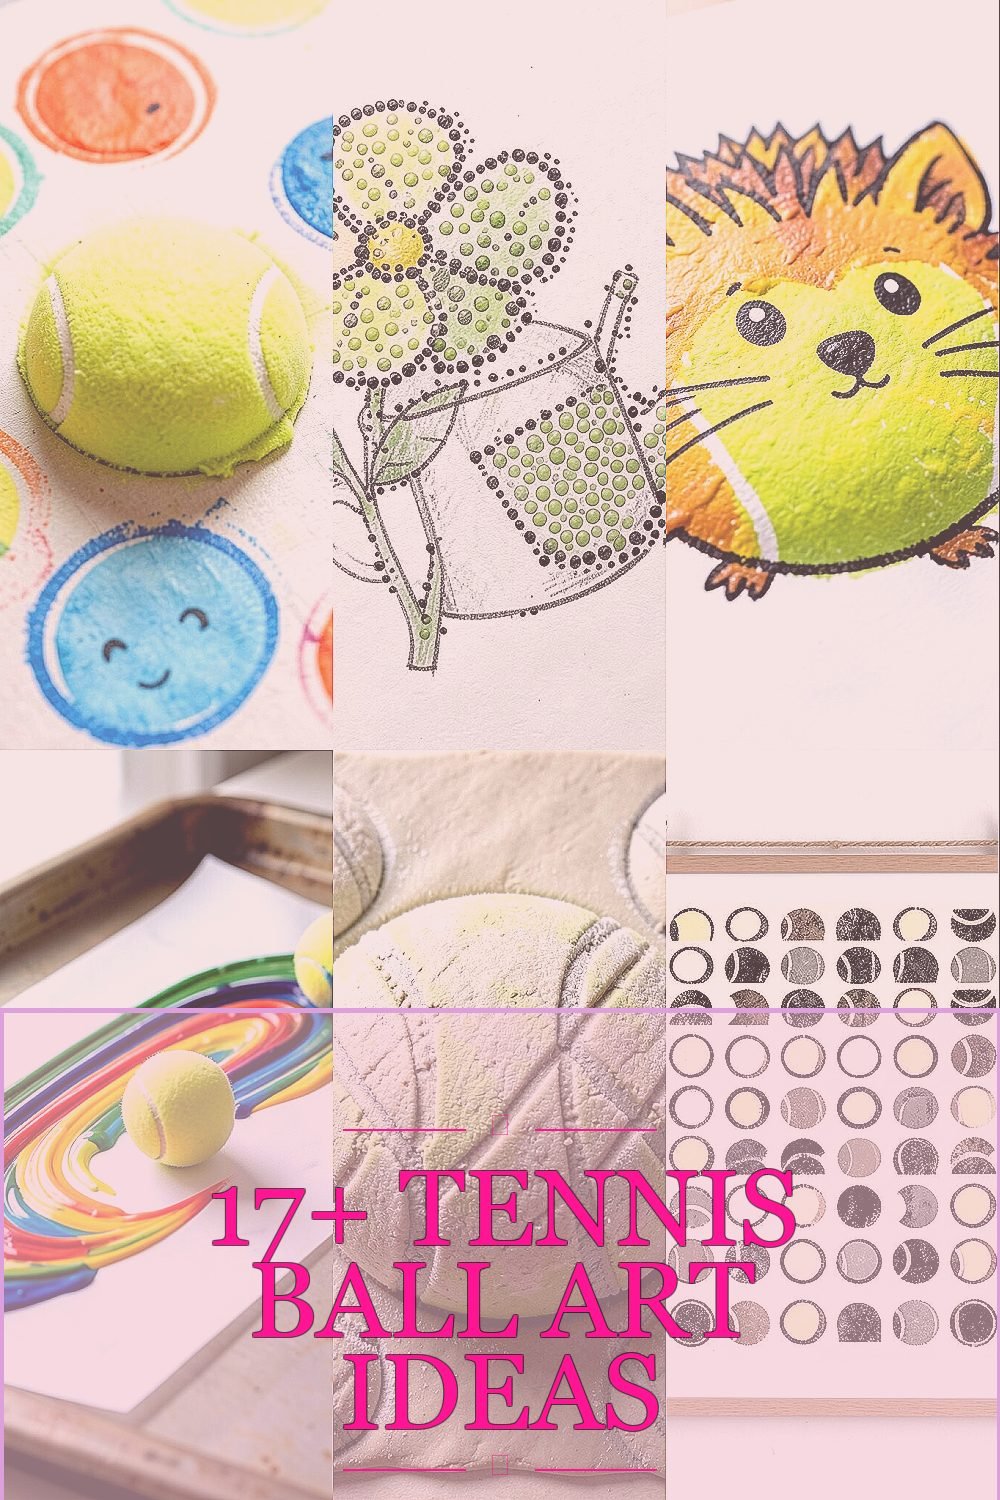
The most ordinary craft tool can make surprisingly playful art. Grab a few tennis balls and see what your hands can do.
These ideas range from quick doodles to layered textures that look like they belong in a gallery. You’ll also find plenty of ways to match the style to your home, your mood, and your supplies.
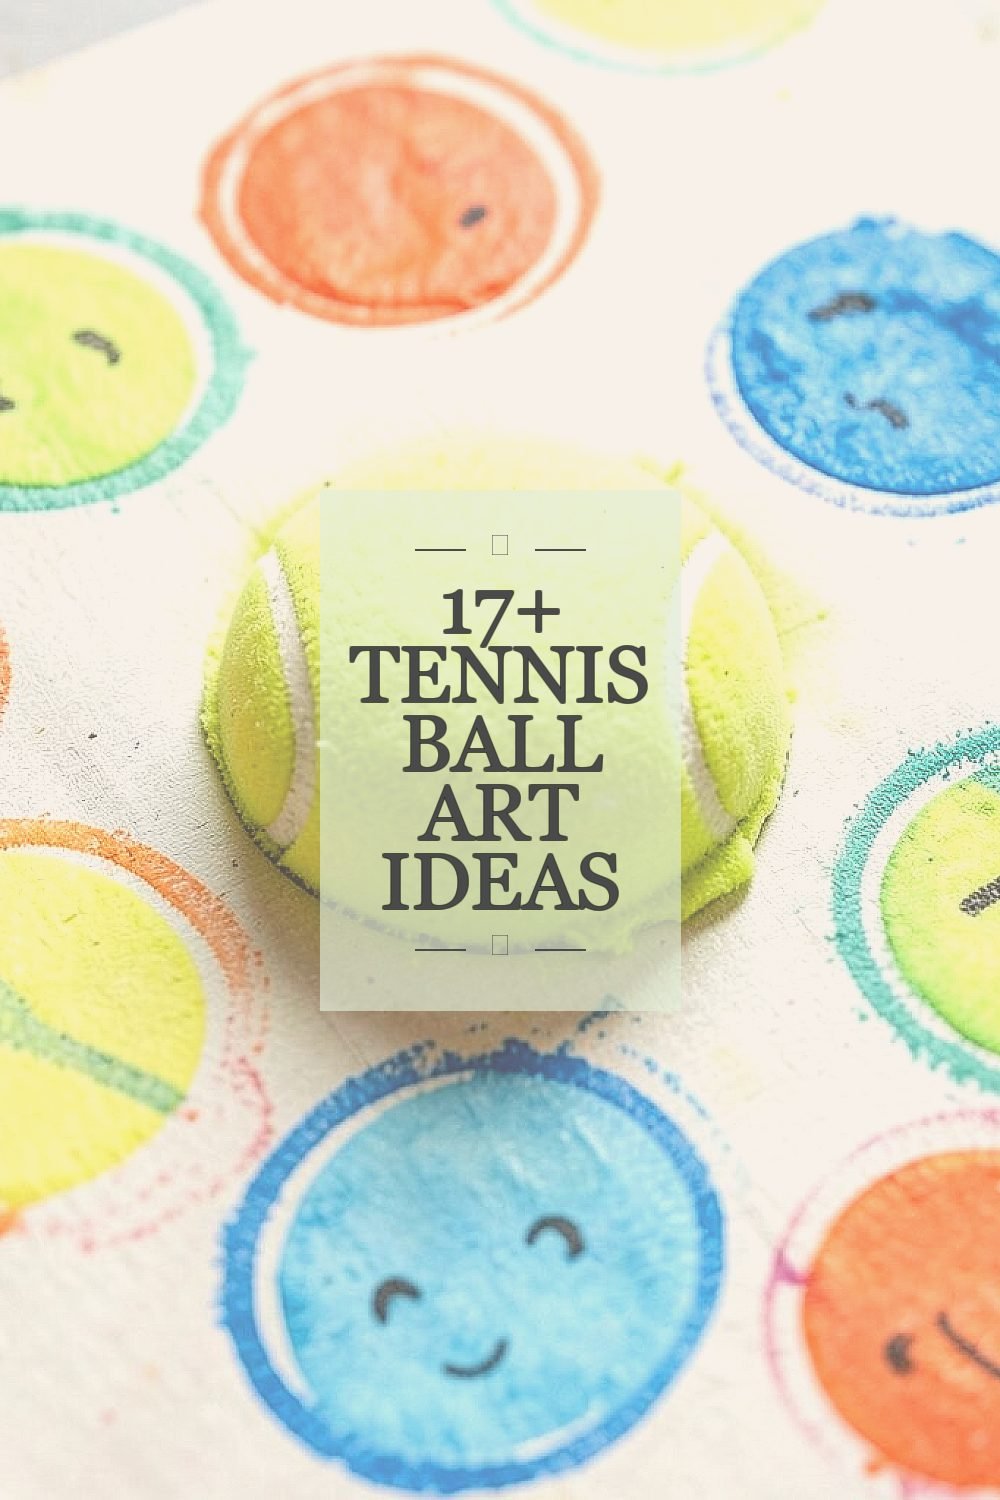
1. Sponge-Paint Stamp Pals
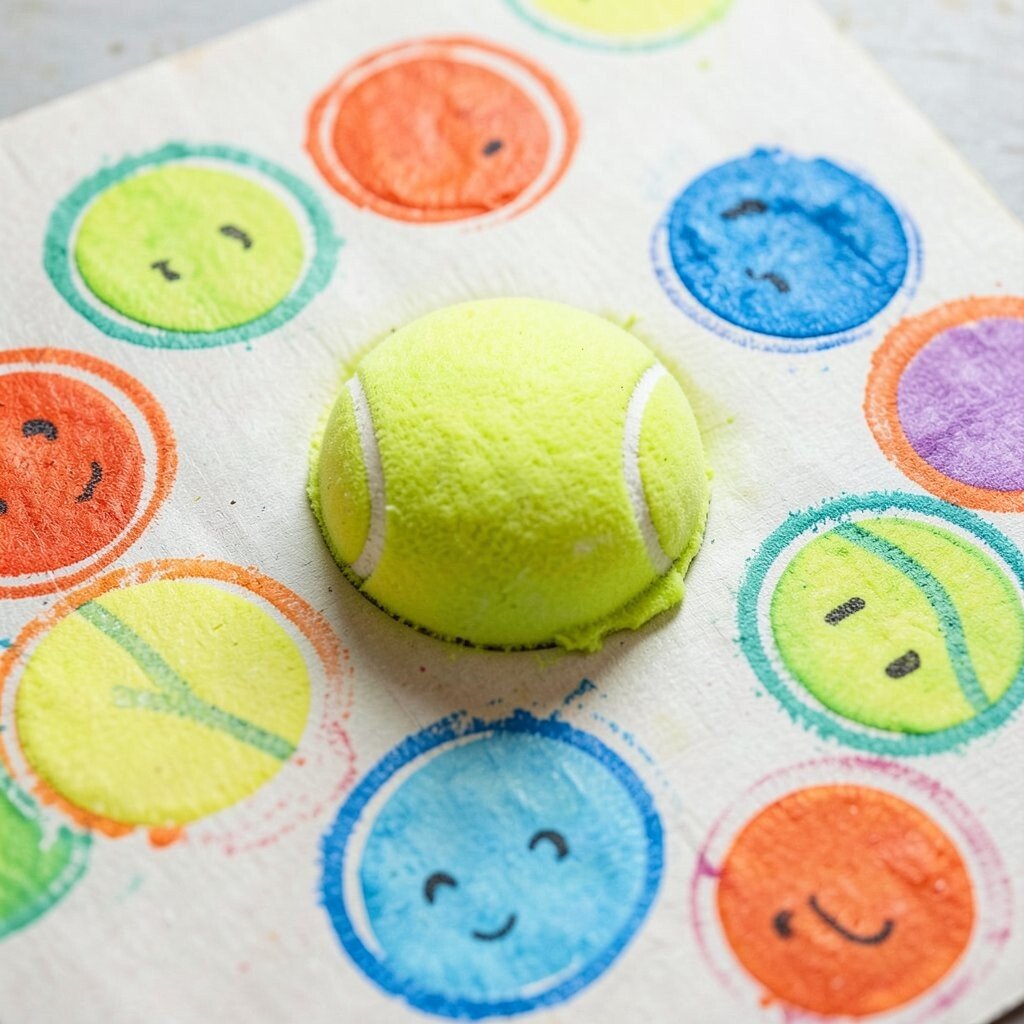
Cut a tennis ball in half so you get a clean dome and a squishy edge. Press it into paint and stamp big circles onto paper or cardboard.
The round prints look soft and friendly, especially when you use bright colors. Let each stamp overlap slightly so the pattern looks intentional, not random.
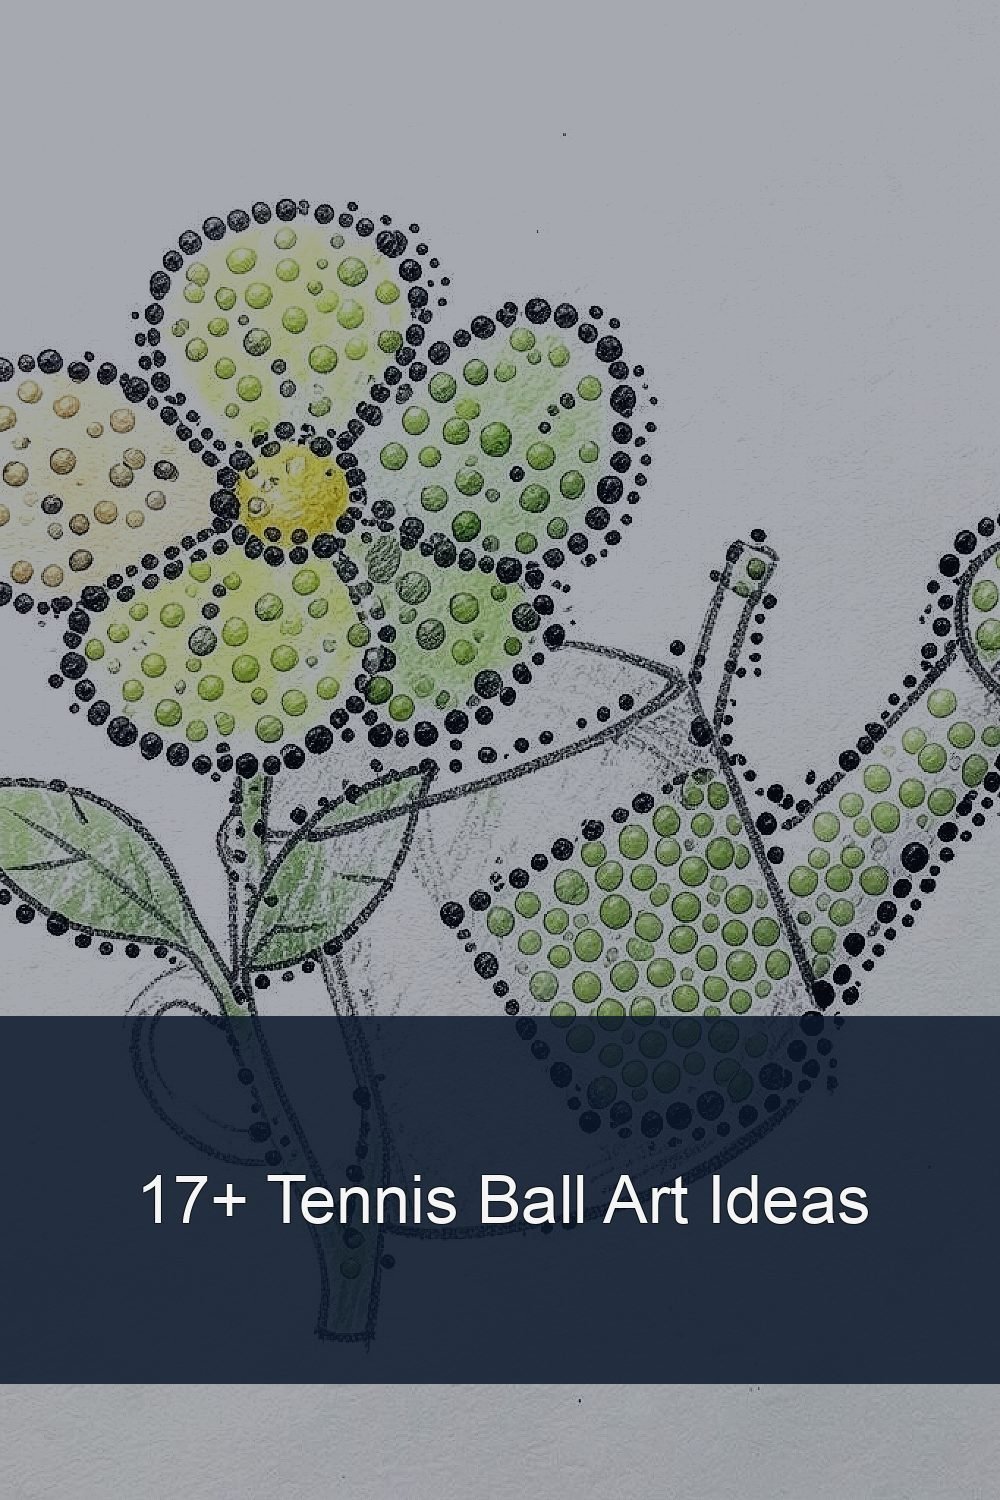
2. Dot-Mosaic Garden
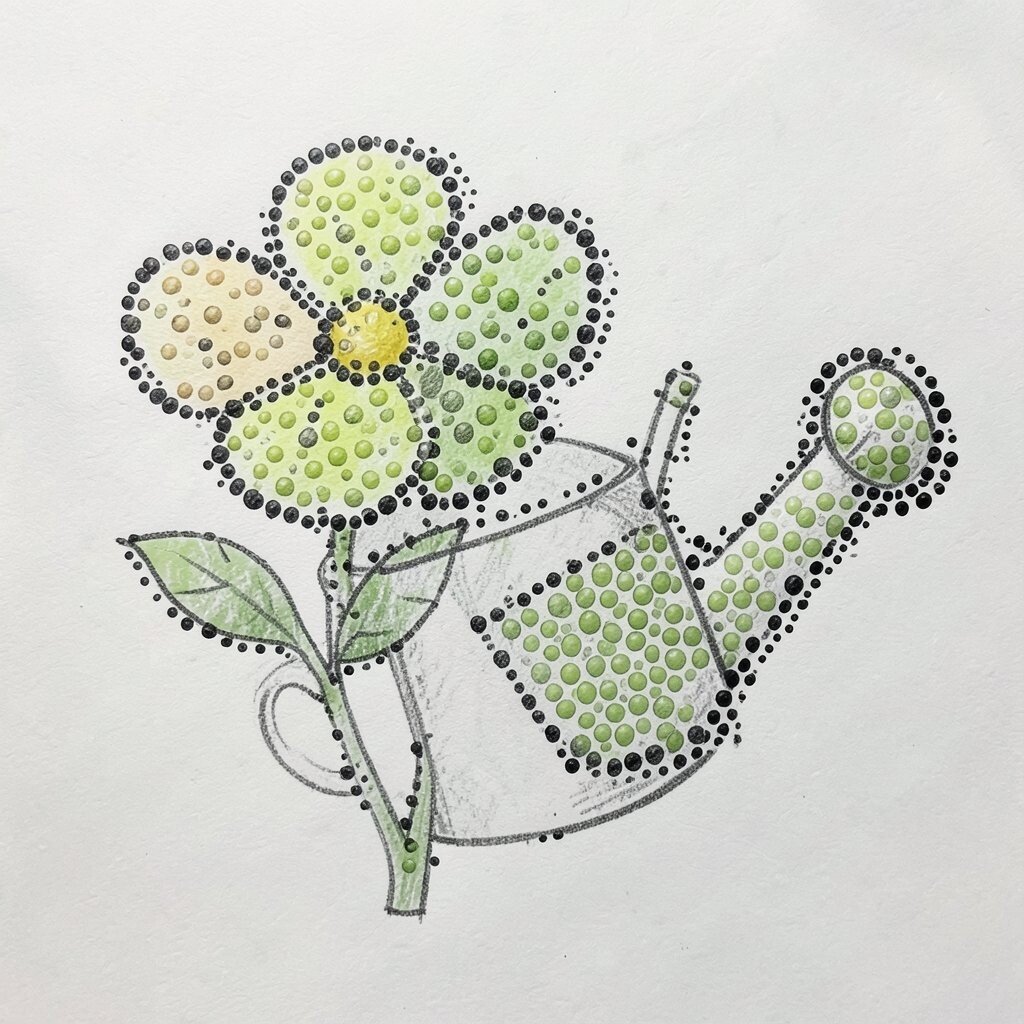
Use a tennis ball as a rotating stamp, tapping it to create tiny dots like seeds. Outline a simple flower, leaf, or watering can first with a pencil, then fill it in with dot clusters.
Switch between two or three paint shades so the garden has depth instead of looking flat. When the dots dry, add a darker dot ring around the edges to make the shapes pop.
This is a great choice when you want something that feels tidy even if your painting is messy. If you’re working with kids, pre-plan the color combos so cleanup stays easy.
3. Tennis-Ball-Print Animal Friends
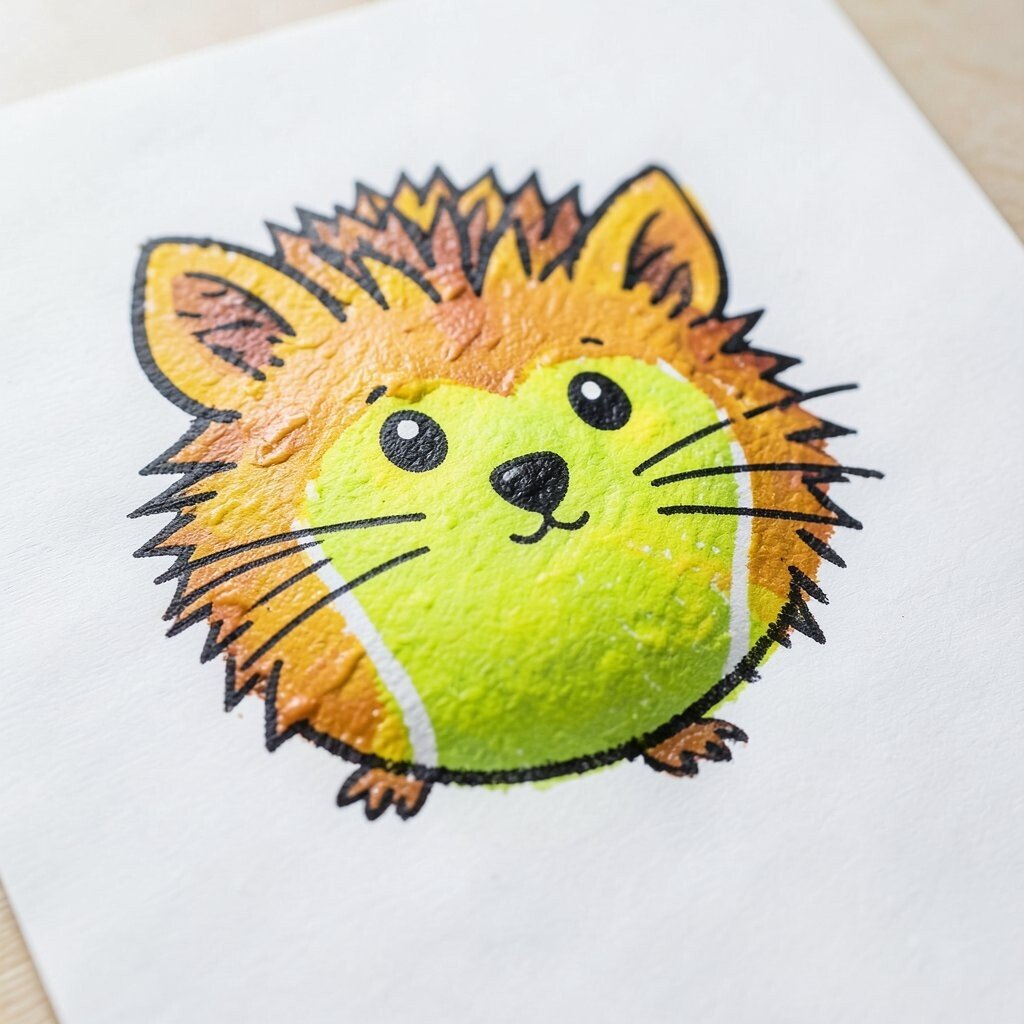
Roll the ball across a thin layer of paint, then press it on paper to make one main body shape. Use markers or a small brush to add ears, eyes, and whiskers.
Because tennis balls leave a textured mark, animals naturally look fuzzy and cute. Try a dog face, a hedgehog pattern, or a bird body with wing dots.
Make it personal by using your favorite color for the “fur” and matching the eyes to your pet or a character you love. For cost savings, use leftover craft paint and thick paper so the paint doesn’t bleed through.
If you want this to match current art trends, lean into bold outlines and simple shapes, then let the texture do the extra work. It’s an easy style that looks modern without buying new supplies.
4. Marble-Roll Color Trails
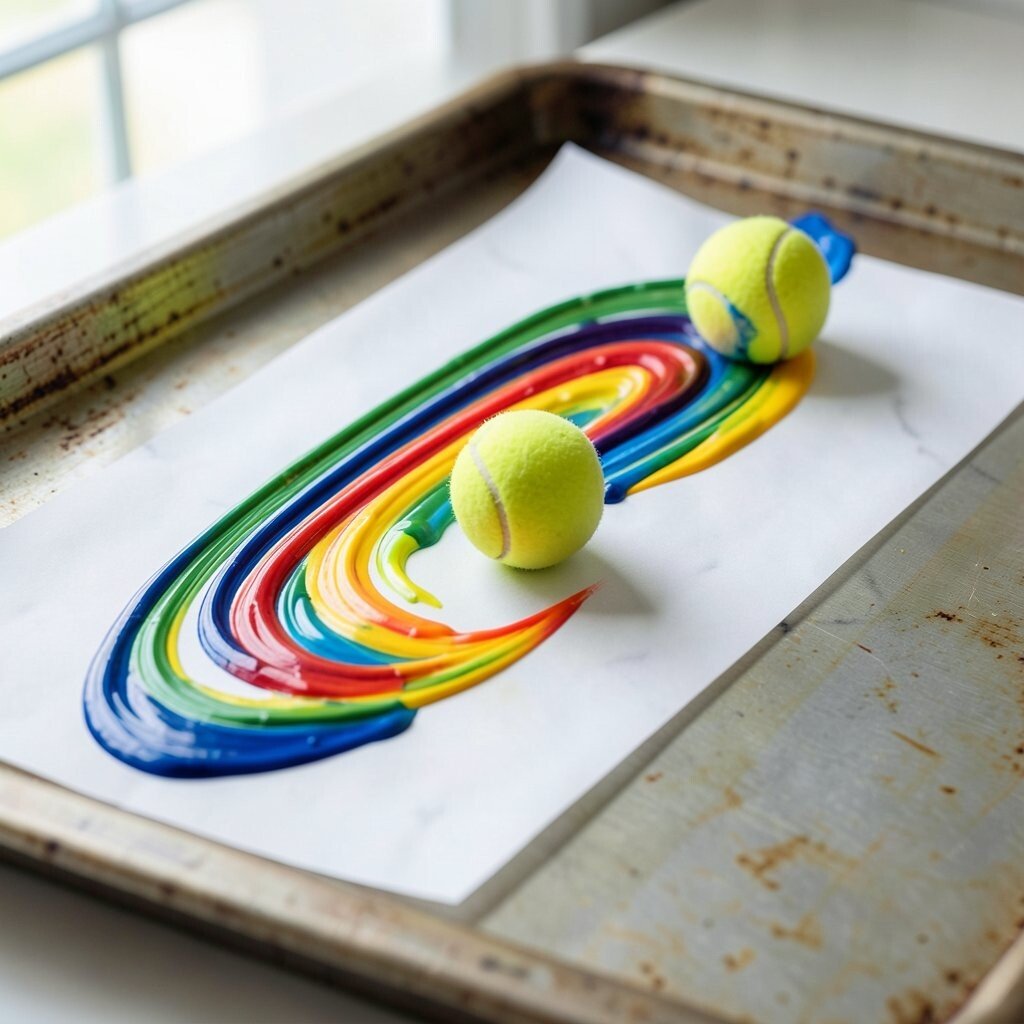
Stretch a strip of paper across a tray or baking sheet. Add a few colors of watered-down paint, then roll a tennis ball through them to drag colorful trails.
The ball creates curved streaks, and the swirl looks like you made it with expensive tools. Move slowly and lift carefully so the lines don’t smear too much.
5. Texture-Only Relief Patterns
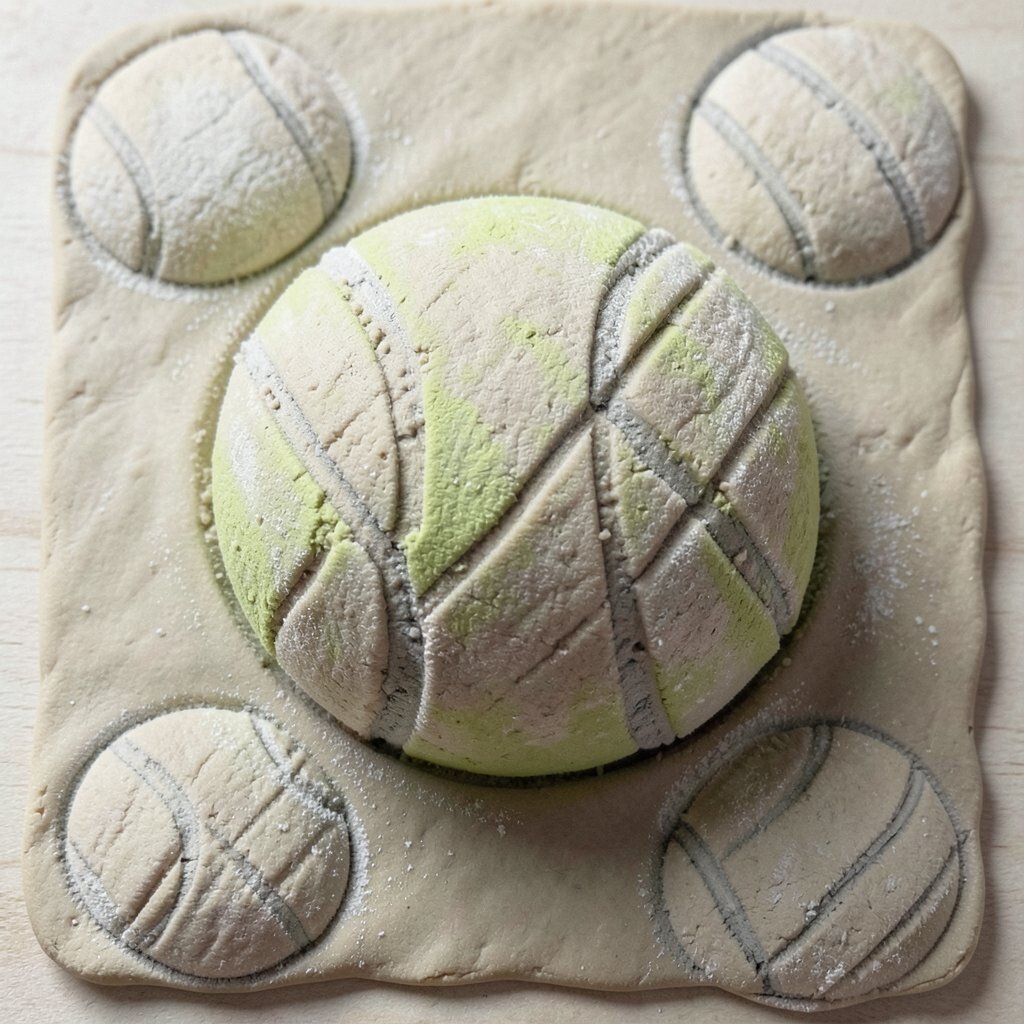
Skip paint and focus on texture by pressing a tennis ball into clay, dough, or thick paper. Press, lift, and twist slightly each time to create repeating ridges and crisscross marks.
Once it dries, you can rub a little chalk pastel or graphite over the surface so the pattern shows up. This gives a tactile look even when you keep the colors simple.
For personalization, use different pressure levels so some lines look bold and others stay subtle. It’s also a budget-friendly craft since you can use materials you already have around the house.
6. Framed “Ball-Spot” Abstract
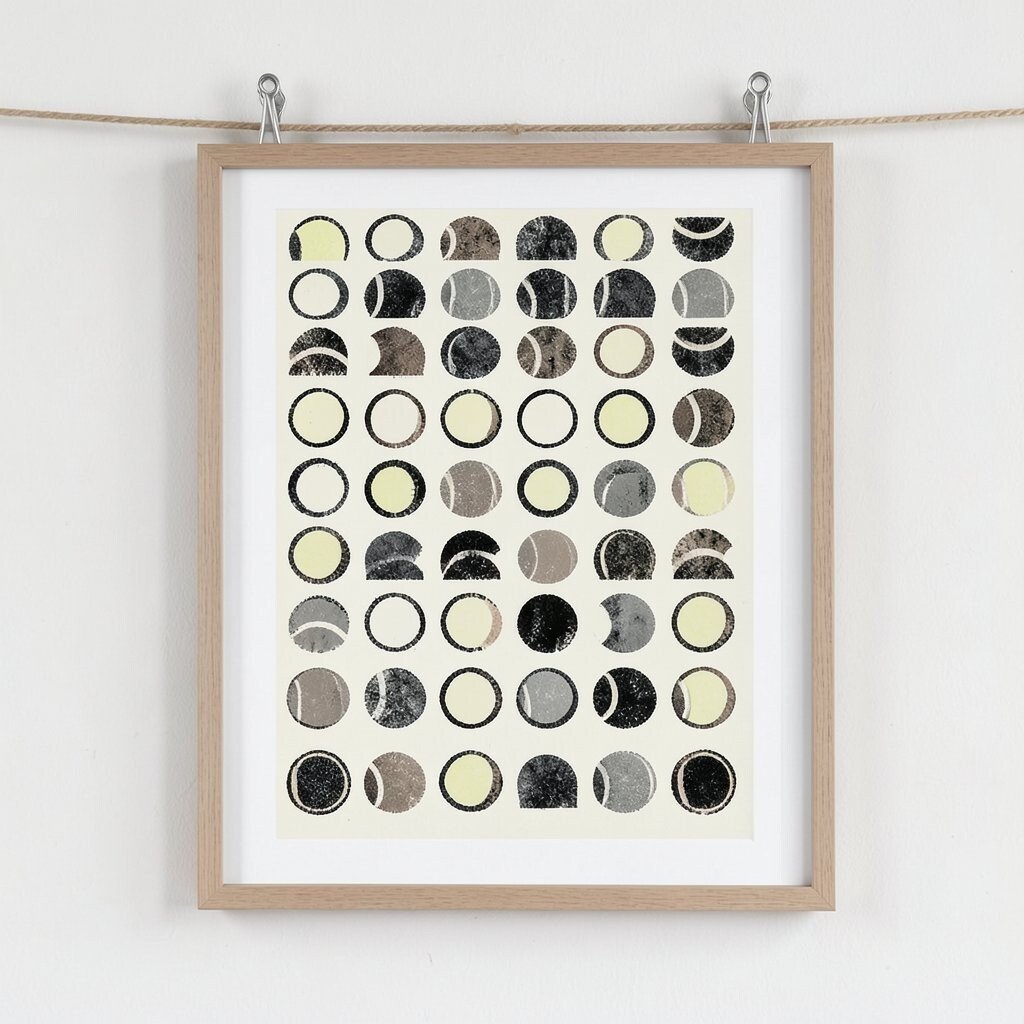
Stamp dozens of half-moon prints in a loose grid, then stop before it gets too perfect. Choose one main color plus two matching neutrals like black, cream, or gray.
Mount the finished piece in a simple frame or clip it to a string like a gallery wall. The textured dots and arcs create a modern abstract vibe that feels current and clean.
7. Tennis-Ball Moons and Stars Night Sky
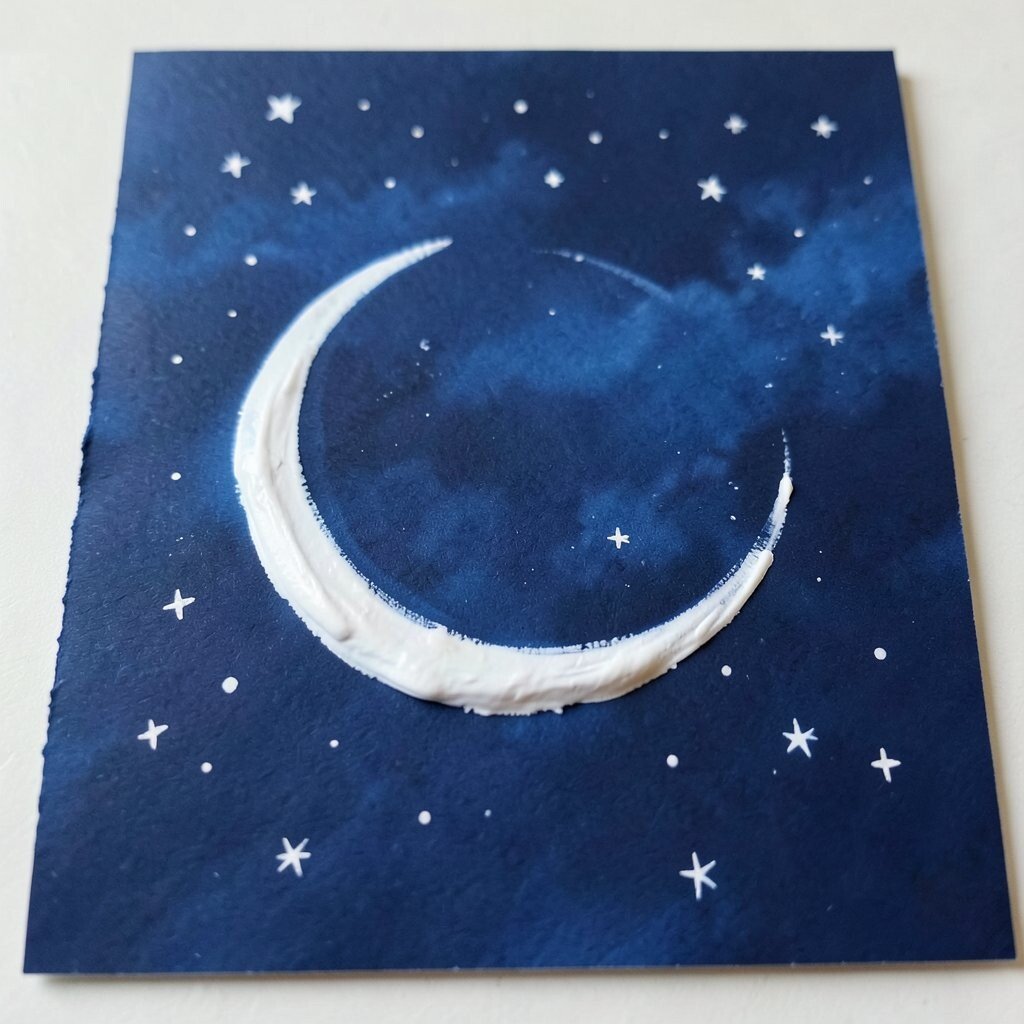
Dip a tennis ball corner into white paint, then tap it onto dark blue paper for glowing moon shapes. Add star dots using a small brush or the same ball with minimal paint.
The slight uneven edges give the sky a dreamy, dreamy look, like night light. For extra charm, flick a tiny amount of diluted paint with a toothbrush to scatter faint stars.
Personalize it by using your favorite night theme, like a winter sky or a cozy bedtime palette. If you want to keep costs down, use inexpensive acrylics and reuse old cardboard instead of buying new paper.
This style fits the trend of “night journaling art,” where simple shapes plus texture become the highlight. Even a small piece looks like it belongs in a set.
8. Painted Sidewalk “Ball Doodles”
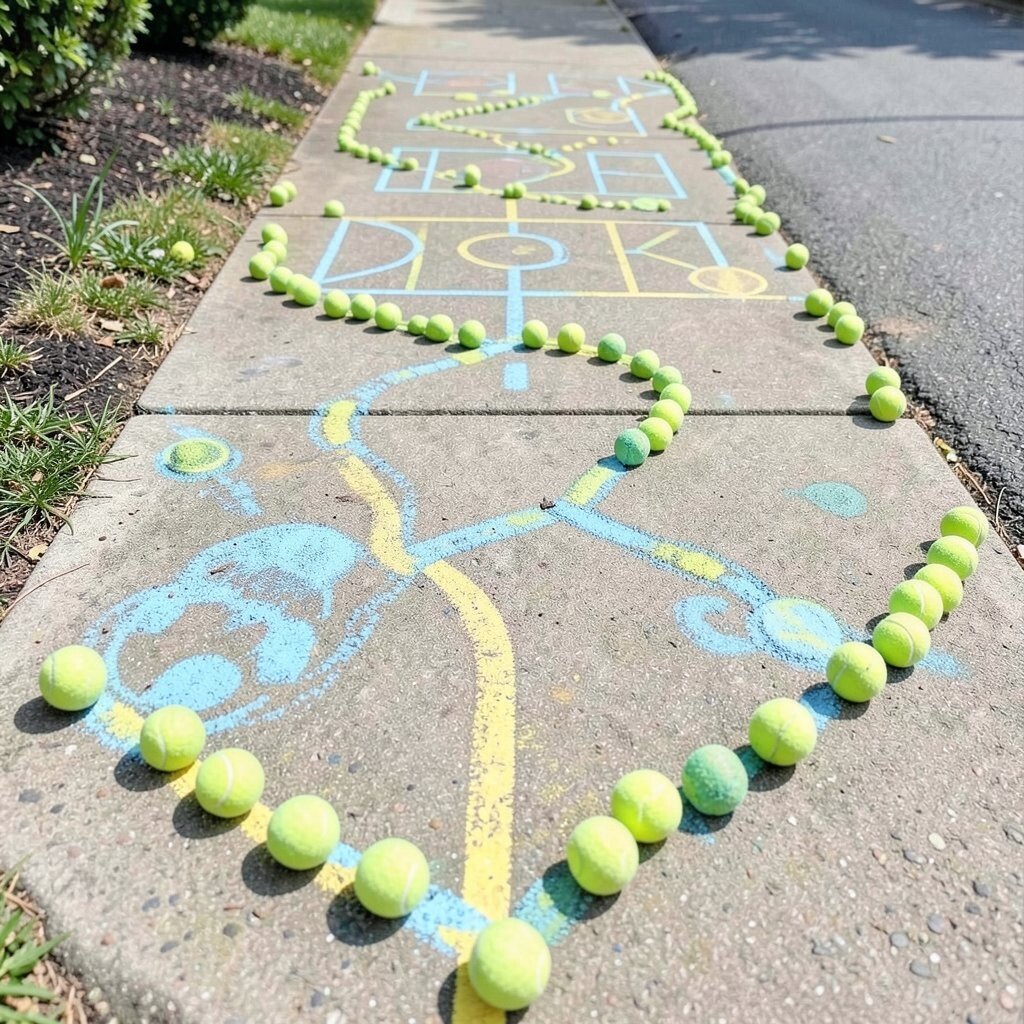
If you have outdoor space, try stamping with tennis balls using washable paint made for pavement. Use a flat stretch of sidewalk or a driveway and press firmly for clear shapes.
Make paths or playful borders, like a game board layout or a winding ribbon of prints. The benefit is that it’s quick, fun, and it can be cleaned easily when you’re done.
9. Tennis-Ball Printing on Fabric
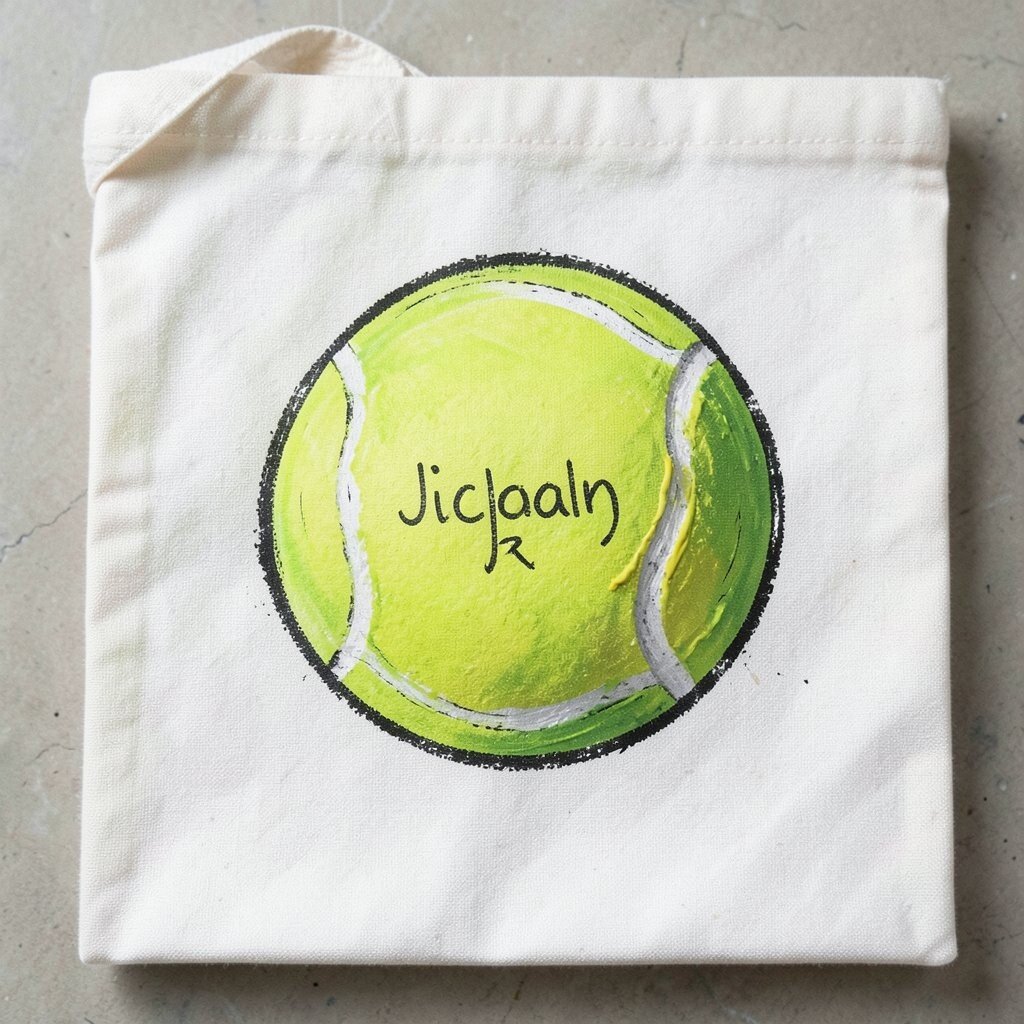
Wrap the tennis ball in a thin cloth or tape off parts, then stamp onto fabric like a canvas bag or pillowcase. Use fabric paint or acrylic paint mixed with a fabric medium so it holds up to washing.
The curved texture makes patterns look lively, even on plain fabric. After it dries, heat-set it according to the paint directions so your art lasts.
To personalize, write a name or small message in simple marker lines over the stamped background. This is also a practical way to refresh old items without spending much money.
If you’re chasing a current look, try limited colors and bold placement, like centered motifs and clean margins. It will feel modern rather than overly busy.
10. “Fingerprint” Keychain Charms
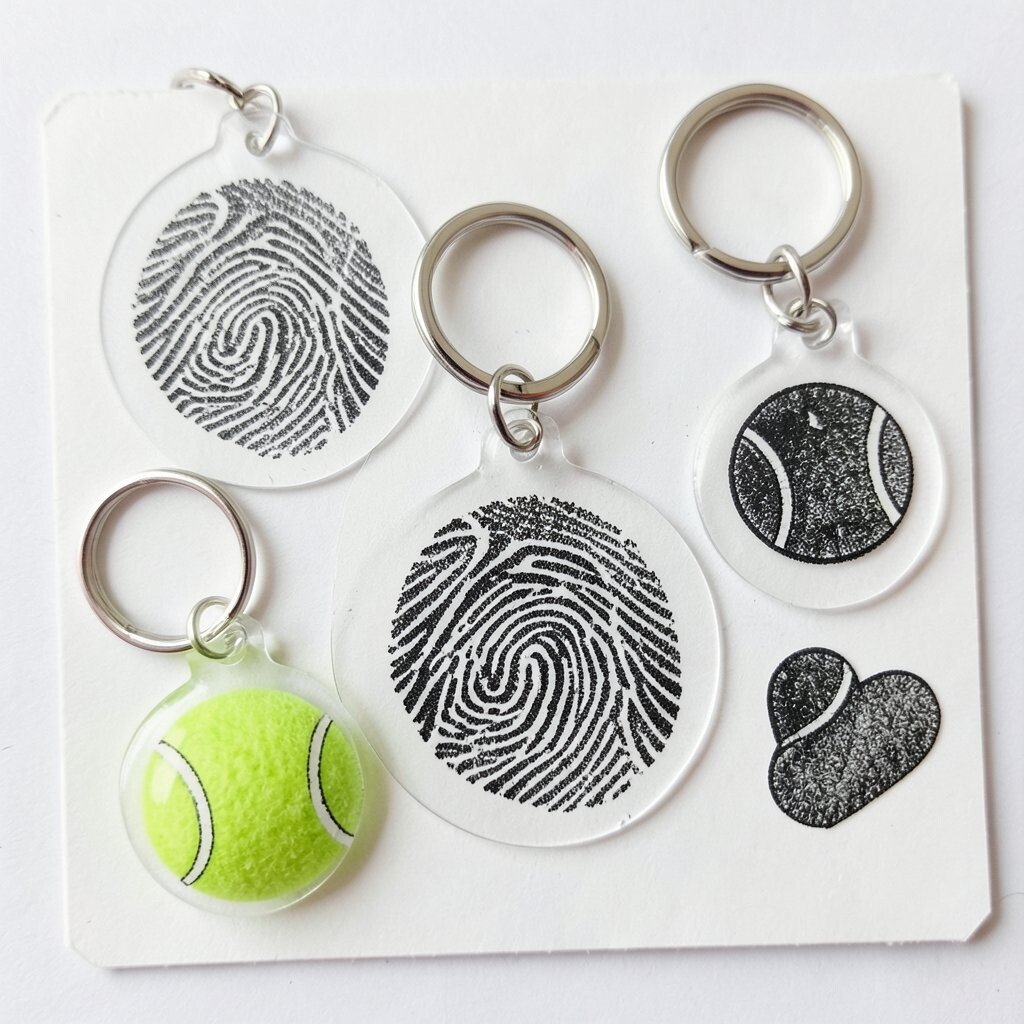
Press a tennis ball into ink, then stamp onto cardstock to create tiny repeated patterns. Punch out shapes like circles, stars, or hearts and glue on a clear keychain backing.
You get a neat mini artwork that looks intentional, and the textured circles feel special. Make several at once, and you’ll have quick gifts ready for birthdays or small surprises.
11. Bubble-Like Print Texture with Dish Soap
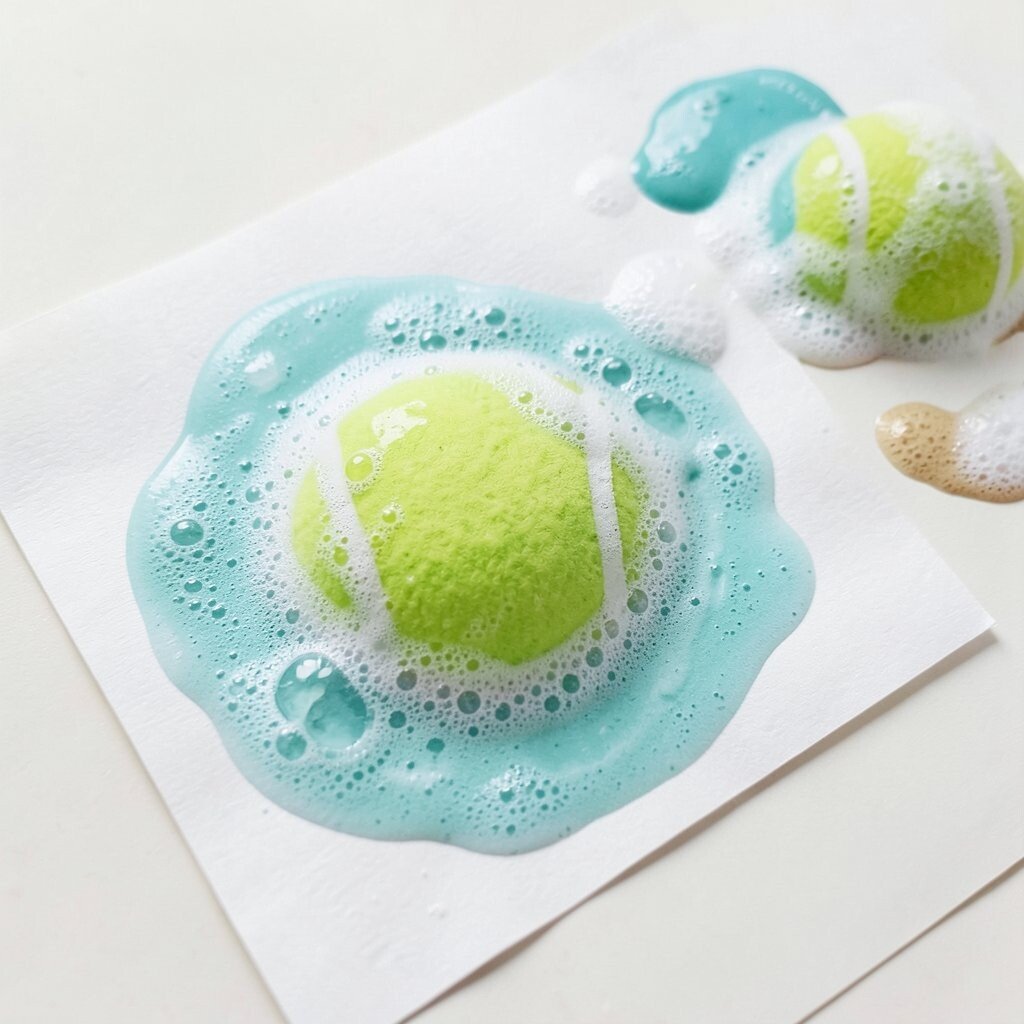
Mix paint with a little dish soap and water so it becomes slightly foamy. Dip the tennis ball lightly and press it onto paper, then lift and let the bubbles create soft edges.
The result looks like bubbles trapped in time, with a gentle, airy texture. This technique works well when you want something soothing instead of sharp.
Personalize it by matching the color to a room theme, like teal and sand for a beach vibe. If you want cost control, use small paint amounts since the soap stretches the mixture.
For a trendy feel, keep the background mostly clean and let the foam-prints cluster in one corner. Minimal composition makes the texture look even better.
12. Patterned Gift Wrap With Random Charm
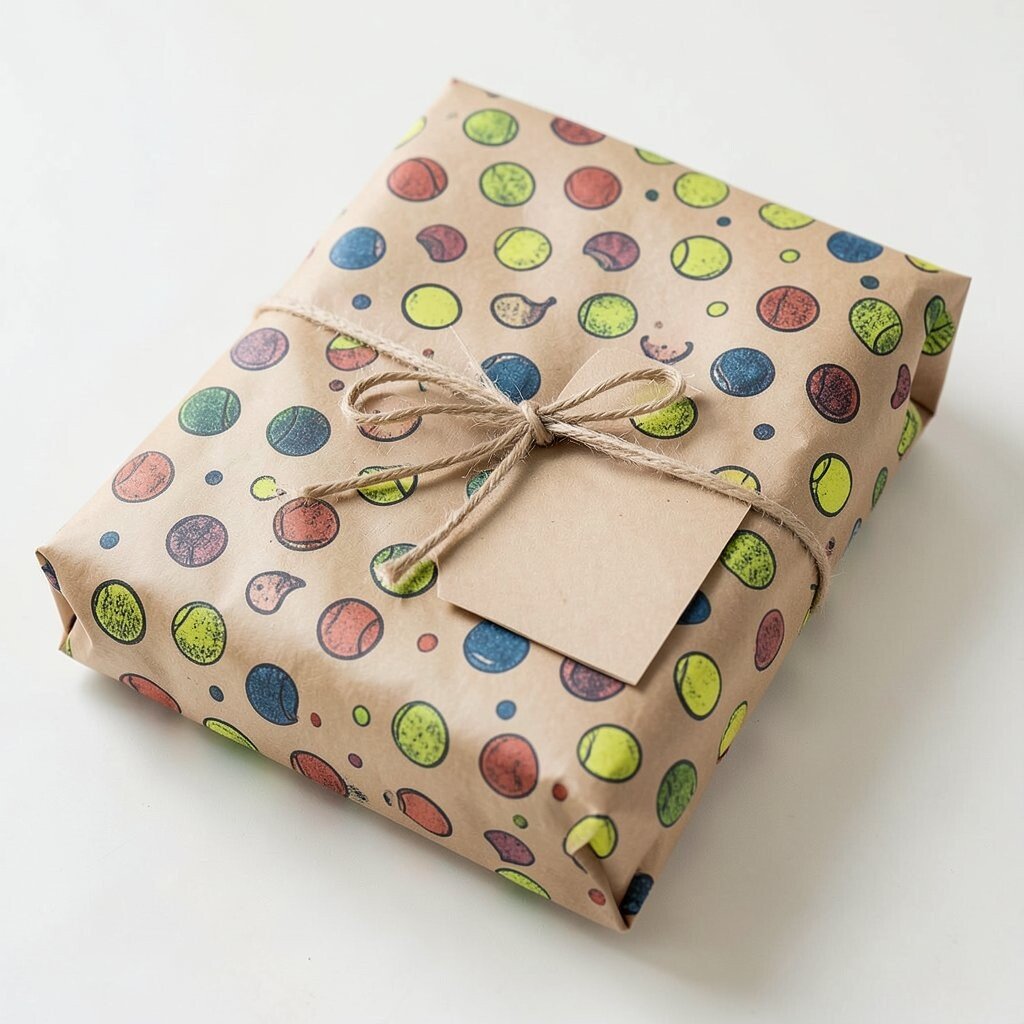
Stamp tennis-ball prints onto plain kraft paper to make your own wrapping. Use a repeating shape, like half-circle moons or dots, and vary color by using two ink or paint pads.
The stamp method is fast, and it gives each gift a handmade look. Add a simple bow or a tag over a blank spot so the wrapping still feels organized.
13. Tennis-Ball “Color Wheel” Study
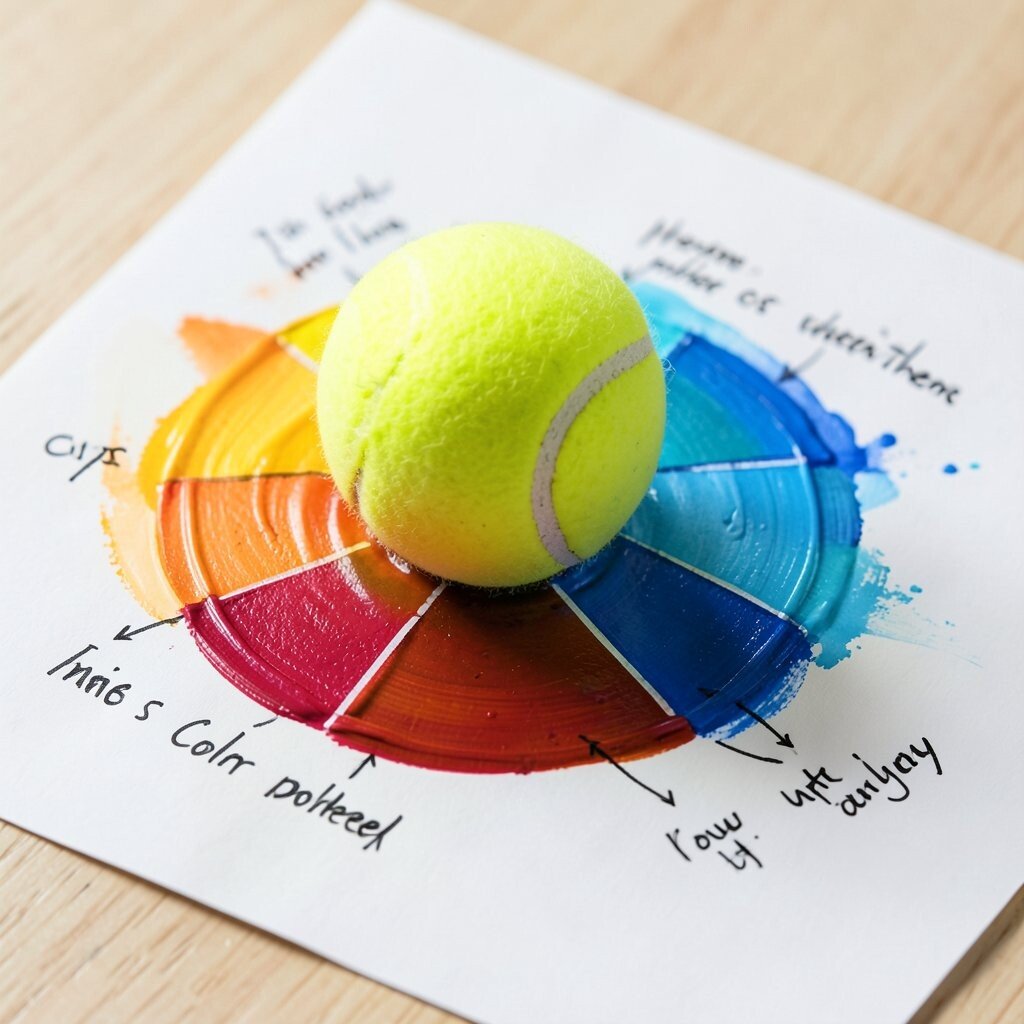
Paint wedges in different colors around a tennis ball and roll it onto paper to show smooth mixing. As the ball moves, you’ll see the colors blend at the edges.
This is a fun art-and-science moment that helps you see how pigments interact. It also helps you plan future color combos since you’ll notice which colors look lively together.
Personalize the wheel using your own palette, like warm sunset tones or cool ocean tones. You can even label the blends with simple handwriting if you like journaling.
14. Shadow-Puppet Print Portraits
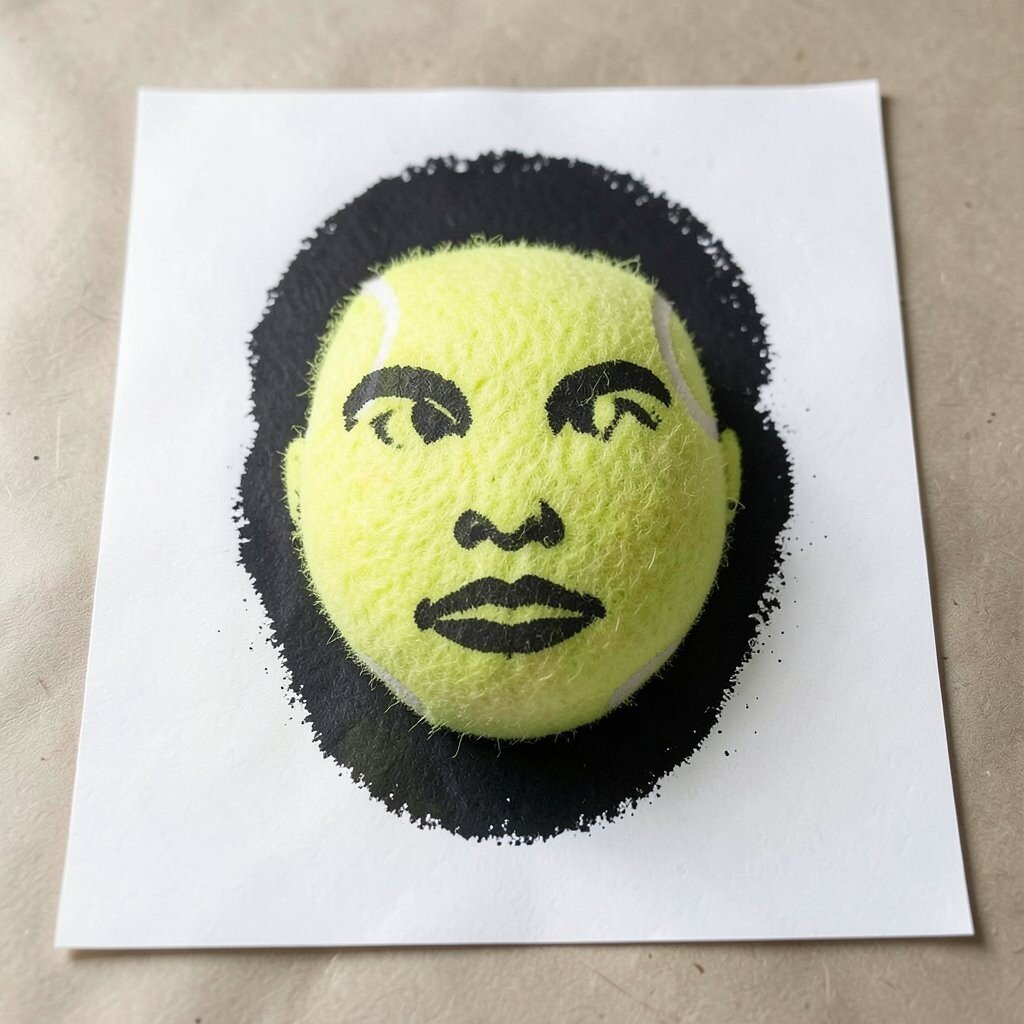
Cut a basic face silhouette from paper, then place it on top of another sheet. Dip the tennis ball in paint and stamp around the edges so the “shadow” becomes the artwork.
When you remove the stencil, the face shape stands out like a graphic poster. This method is great if you like clean edges but still want a textured center.
15. Rolling Confetti Circles on Cardboard
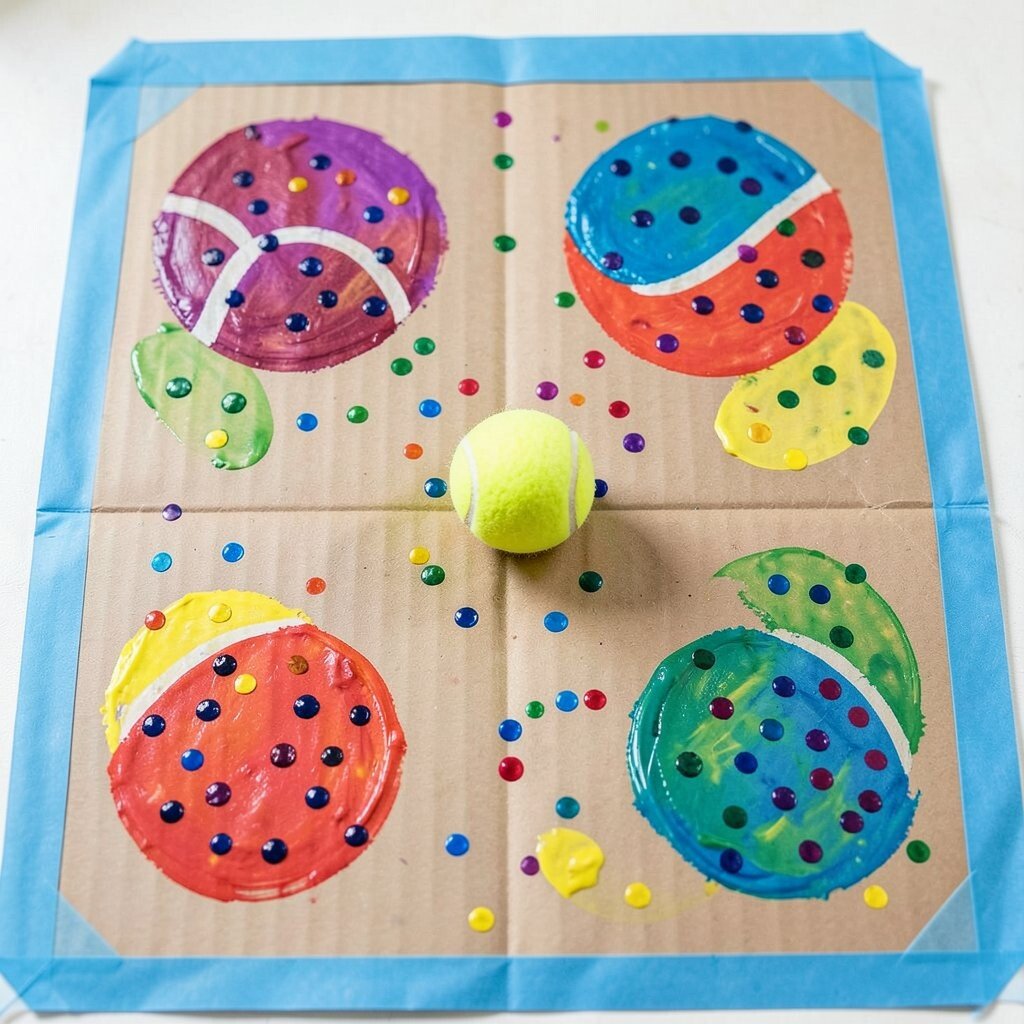
Place small dots of paint on cardboard and roll a tennis ball through them like a confetti maker. Keep the paint spots spaced so the ball hits them in different orders.
The circles look celebratory, and you can build a whole layout by changing the direction of your rolling. If you want it more controlled, use painter’s tape to create borders.
For personalization, add a theme like “sports day” or “party night” by choosing matching colors. This also works as a low-cost activity because cardboard is easy to find and paint can be reused or thinned.
Current trends often favor bold color fields and playful textures, and this fits right in. It looks energetic without needing fancy tools.
16. Mini Stamp Tiles for a Color-Blocked Collage
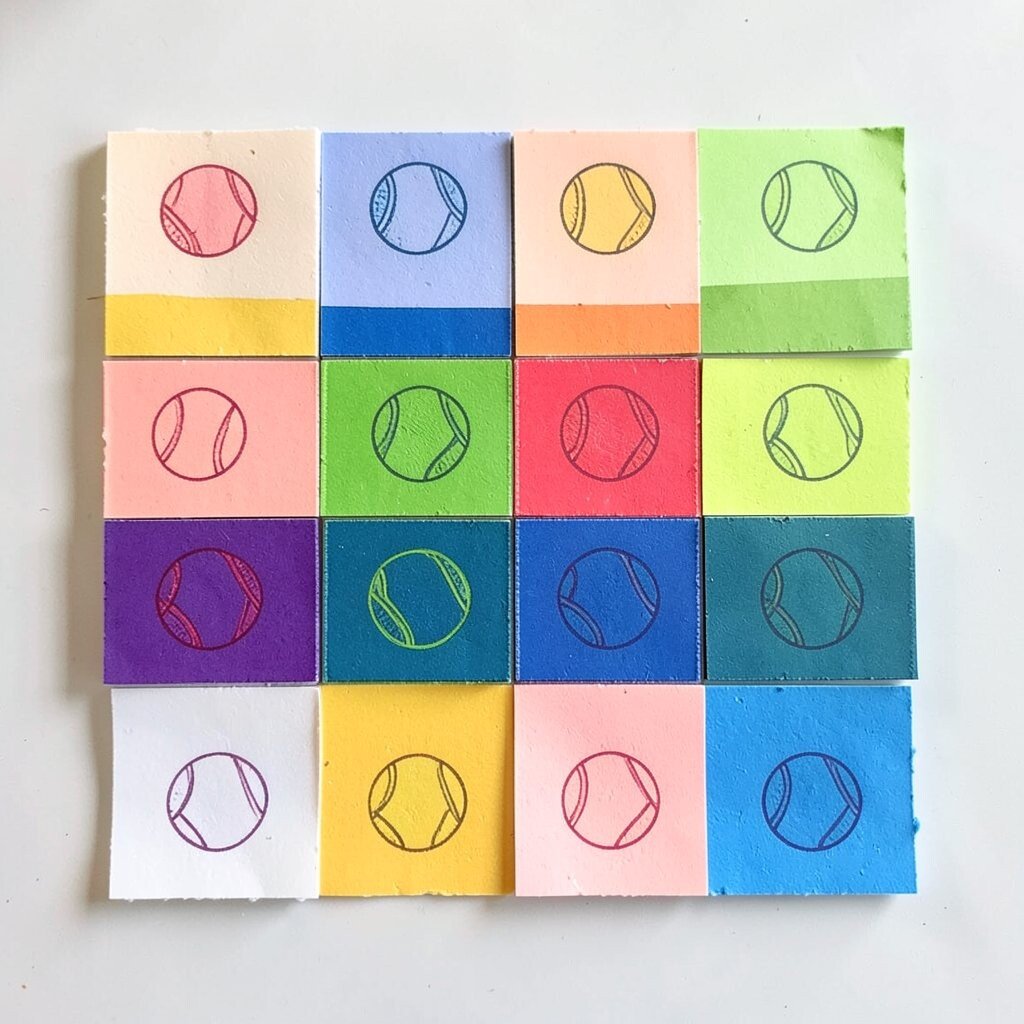
Press tennis-ball stamps onto separate small pieces of paper like tiles. After they dry, cut them into rectangles and arrange them into a color-block collage.
The benefit of using tiles is that you can rearrange until it feels just right. It’s a simple way to get a layered look without complicated drawing skills.
17. Wrapped-Ball Spiral Patterns
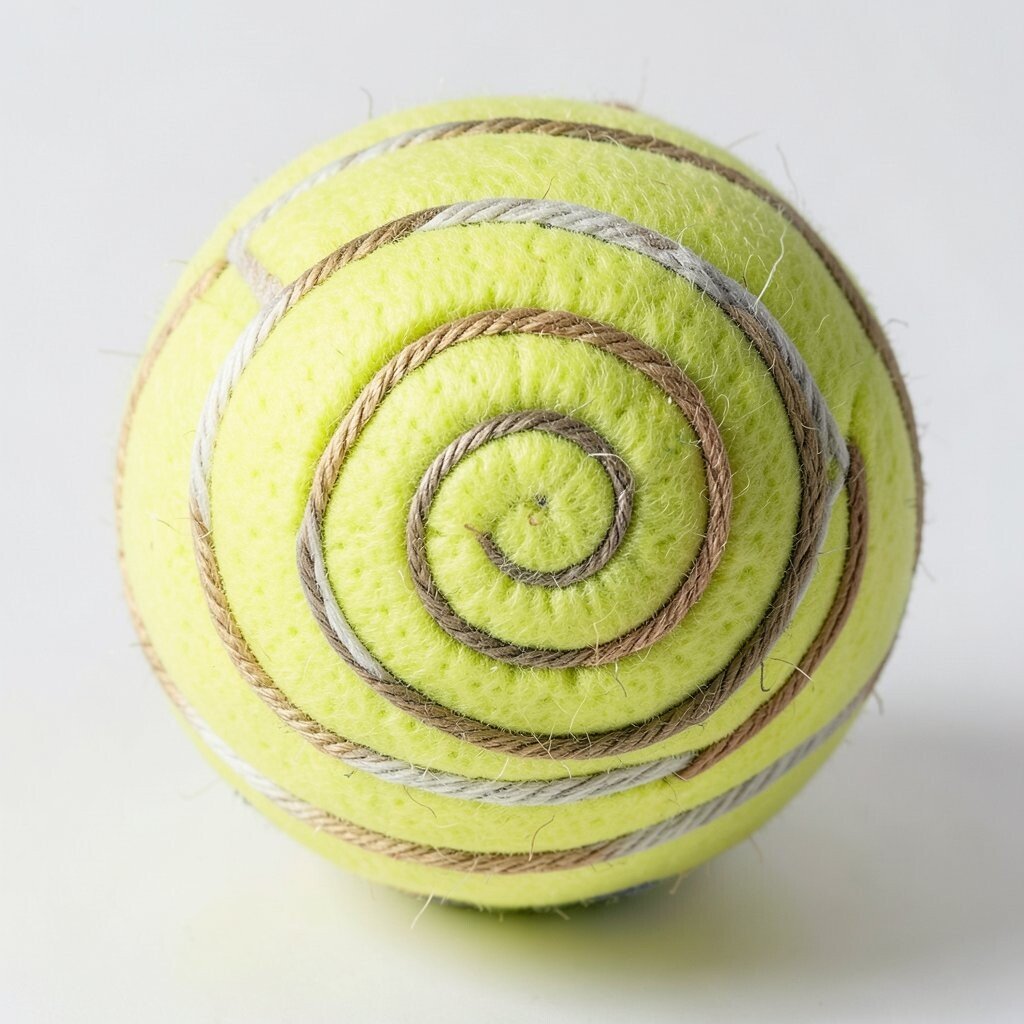
Wrap twine, strips of fabric, or rubber bands around a tennis ball to create raised lines. Dip or paint the ball, then press it down and roll it in a spiral so the wrap creates a ridged swirl.
The spiral texture makes the art feel more dynamic and slightly sculptural. Personalize it by using wraps of different widths so each spiral has its own rhythm.
If you want to keep costs down, use leftover yarn and old fabric scraps. This is also a fun way to use items you might otherwise throw away.
To match what people are liking in today’s crafts, aim for simple backgrounds and let one big spiral be the star. Centering the design makes it look confident and gallery-ready.
18. Tennis-Ball “Print” Typography for Messages
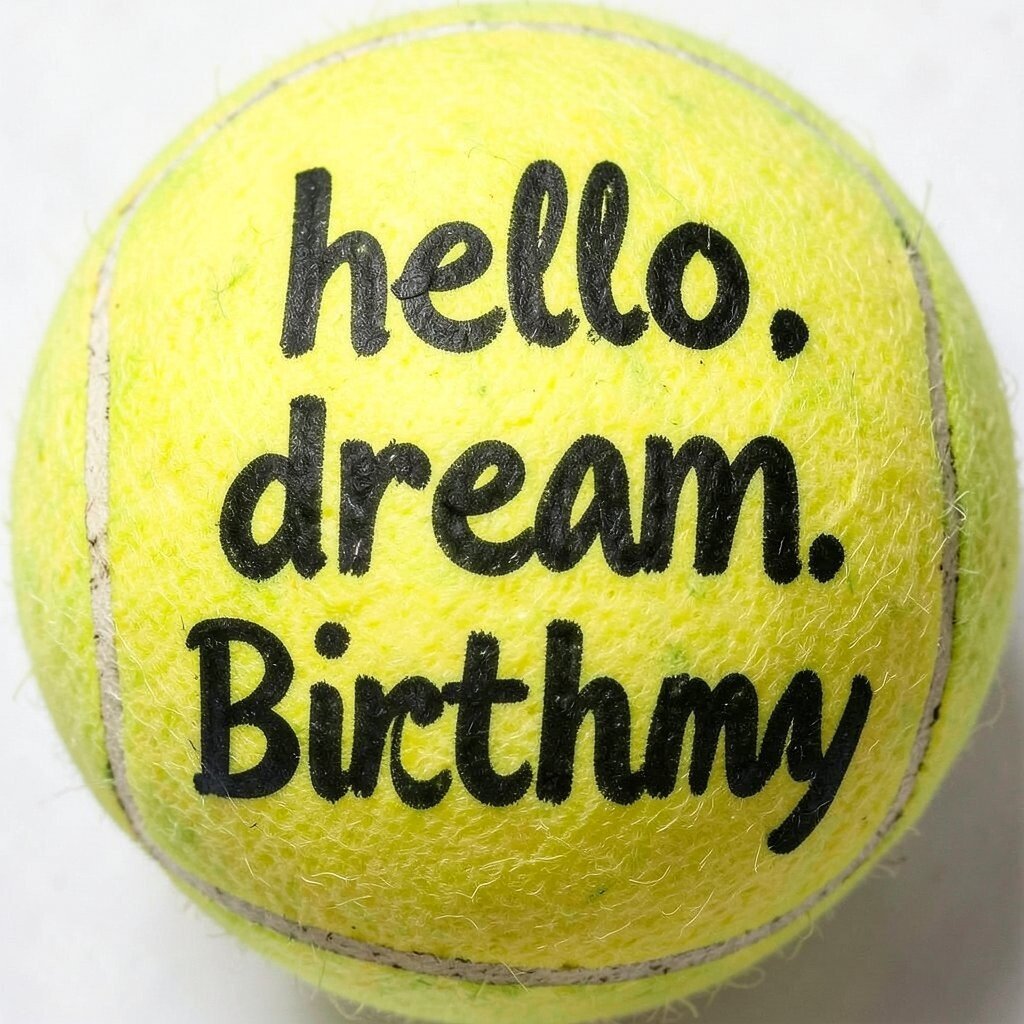
Stamp a tennis-ball pattern background first, then write a message on top with a bold marker. Choose short phrases like “hello,” “dream,” or a birthday name so the design stays readable.
The texture behind the lettering adds warmth and personality, and the message keeps the whole piece meaningful. For best results, wait until the background is fully dry so your marker doesn’t smudge.
Personalize it for seasonal themes by switching colors and lettering style. If you’re working on a budget, this is one of the easiest ways to make thoughtful cards without buying expensive paper.
This style also echoes modern social-media art trends where textured backgrounds pair with strong, simple typography. It looks sharp, yet still handmade.