You can turn a tennis ball into something useful, cozy, and surprisingly fun. The trick is knowing what to try first and what to avoid when you start.
1. Tennis Balls Already Think Like Engineers

They are springy, grippy, and built to absorb repeated hits. That bouncy material makes them great for projects that need shock help, steady traction, or gentle cushioning.
When you hold one, you can feel how it compresses and bounces back. That means you can build supports, covers, and small grips that stay resilient. It is also why many people choose tennis balls for DIY stands, sliding pads, and protective bumpers.
2. The Cut Line Matters More Than You’d Expect
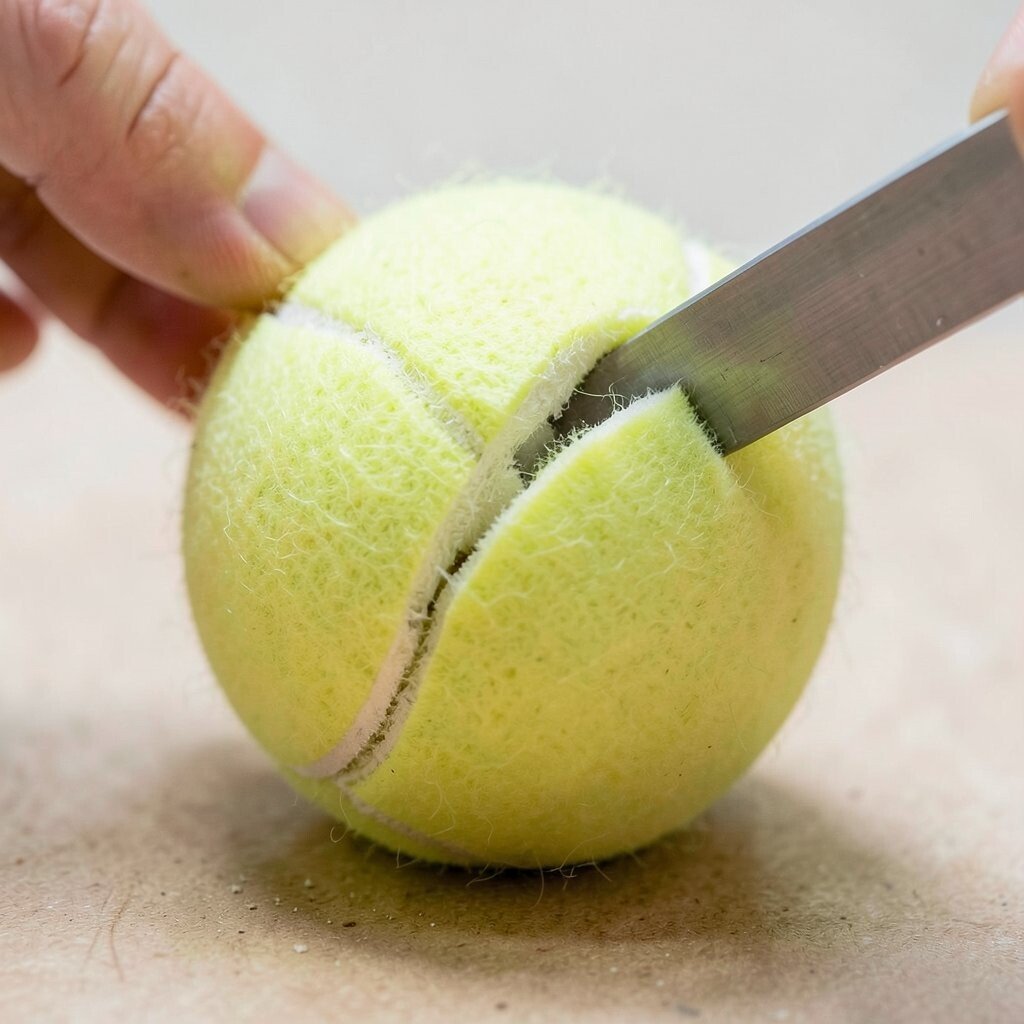
A tennis ball surface looks smooth, but it is really layered and a bit tricky to slice. If you cut too fast, the edge can tear and create fuzzy spots.
Use a sharp craft knife and make slow passes, then clean up the edge with a little sandpaper. Press the ball firmly on a stable surface so it does not wobble. For neat openings like covers or insert holes, start with a small slit and widen gradually.
For a visual cue, look for the moment the rubber gives way and the cut looks even inside. That is the best time to stop and check your shape. Keeping the rim smooth helps glue and paint stick better later.
3. Painting Works Best When You Prep the Surface

Paint seems like it should stick right away, but tennis ball rubber can resist it. Without prep, colors can peel and look dull after a few days.
Wash the ball lightly and let it dry fully, then lightly roughen the surface with fine sandpaper. After that, use a paint meant for rubber or outdoor surfaces if the project will get handled a lot. You will notice the color looks deeper and more even when the texture is ready.
If you want a fun look, add tape stripes before painting so the bands stay crisp. For personalization, use your favorite team colors, school colors, or bright patterns that match your room. You can even add simple hand-drawn icons to make each ball feel like it has a story.
4. Gluing Tennis Balls Isn’t One-Size-Fits-All

Some glues grab fast, but tennis ball rubber can be stubborn. If you use the wrong type, you may see edges lift after a while.
Try a strong craft adhesive, and for bigger parts use contact cement for a more lasting bond. Make sure you press firmly and keep the pieces still during drying. You can also rough up both surfaces slightly so the glue has tiny places to grip.
5. One Ball Can Be Many Pieces, If You Plan the Shape

A single tennis ball holds more possibilities than most people realize at first. You can slice it into caps, wedges, rings, and small pads depending on the project idea.
Take a minute to sketch your plan, even with messy lines, because it saves time later. If you need multiple sizes, mark them on the ball with a washable marker before cutting. The result looks intentional and professional instead of random.
For a visual approach, think of the ball like a clock face and decide which slice you want. That helps you keep symmetry and makes stacking parts easier. It also helps you estimate how many balls you need, which matters for cost.
6. Your Layout Saves Money and Time

If you treat each ball like it is precious, you waste less and build more. A simple workstation setup keeps glue, tools, and scraps in reach.
Lay out a sheet or tray so offcuts do not roll away, then group pieces by size while they dry. Measure twice on paper and cut once in real life, especially when you are making matching pairs. Buying fewer balls because you planned better is one of the quiet wins of good prep.
7. Heat Can Help, But It Can Also Ruin the Rubber
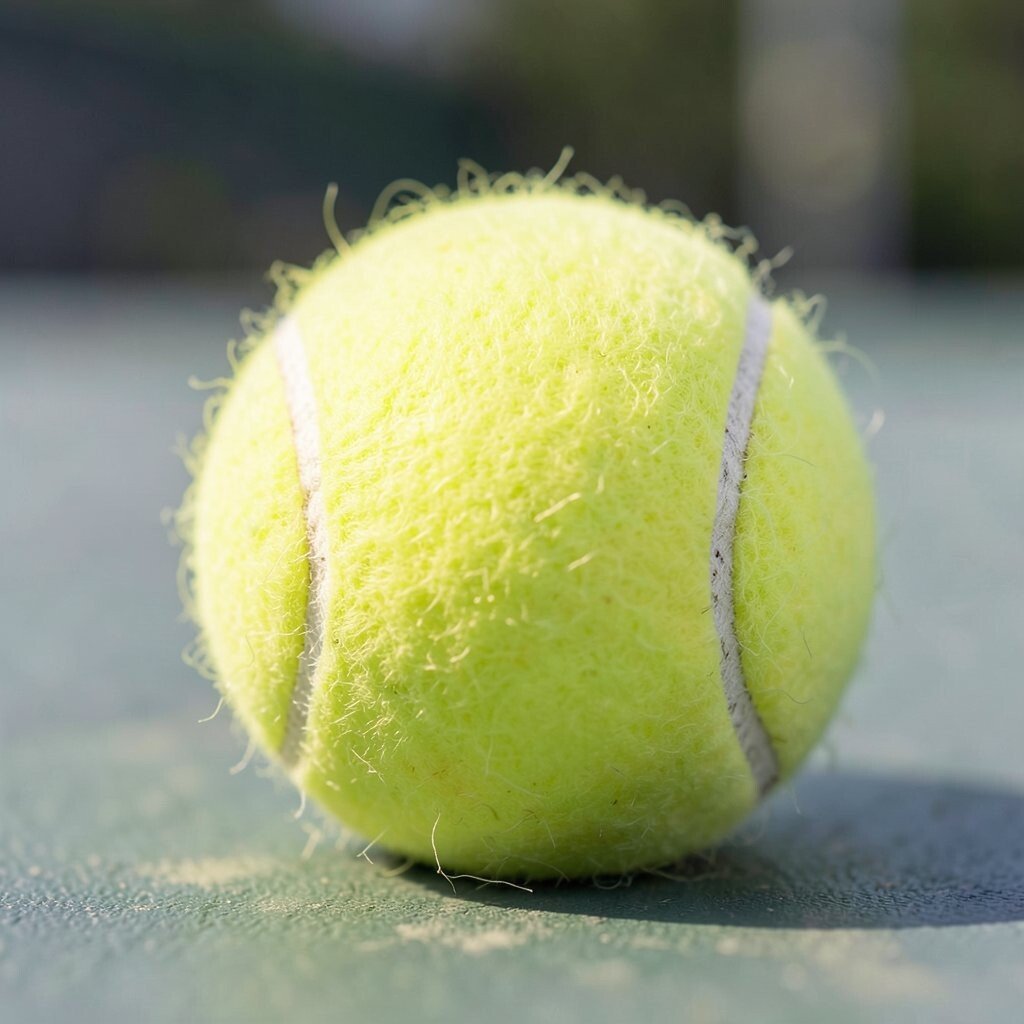
Some makers soften tennis balls with gentle warmth so they can shape them. It can help you bend or stretch slightly, especially for cases and covers.
Use low heat and short bursts, and stop as soon as the rubber becomes workable. Too much heat can make the ball go shiny or weak, and that can ruin the bounce. A safer path is to shape by cutting and trimming, then test fit often.
8. Texture Is a Feature, Not Just a Look

The fuzzy dimpled surface gives tennis balls grip and a soft feel. That makes them great for items you touch often, like handles, sleeves, and craft props.
If you want a smoother finish, you can trim the surface carefully or sand it lightly for a gentler texture. Keeping some grip is useful for a pet toy, a drawer stopper, or a rolling pointer for kids. The best projects often choose the texture on purpose instead of trying to remove it completely.
Visually, you can spot the difference between areas you sand and areas you keep. A good mix looks interesting, like a pattern made by your own hands. That uniqueness makes the item feel more yours.
9. Tennis Balls Make Great Quiet Helpers at Home

People use them for noise and impact control, and it is easy to see why. When a tennis ball contacts the floor, it cushions footsteps and reduces scraping.
You can place them on chair legs, under plant pots, or along the bottom of a small cabinet. For practical tips, check fit often and trim if the ball shifts too much. Choosing the right size reduces slipping and keeps the look tidy.
If you paint them to match furniture, the project looks clean instead of messy. This is a current style too, because many homes now lean toward simple DIY upgrades that still look neat. It also saves money compared to store-bought pads.
10. Storage Solutions Feel Instantly Smarter

Tennis balls can turn clutter into neat collections when you use them as organizers. Their round shape makes them easy to stack in buckets or nest into containers.
Try making a small caddy where balls hold cords, markers, or tiny tools. Cut a few shallow grooves so items sit securely and do not roll away. Personalize with color bands so you can tell what is inside without opening everything.
11. Pets Love Projects That Keep Their Minds Busy
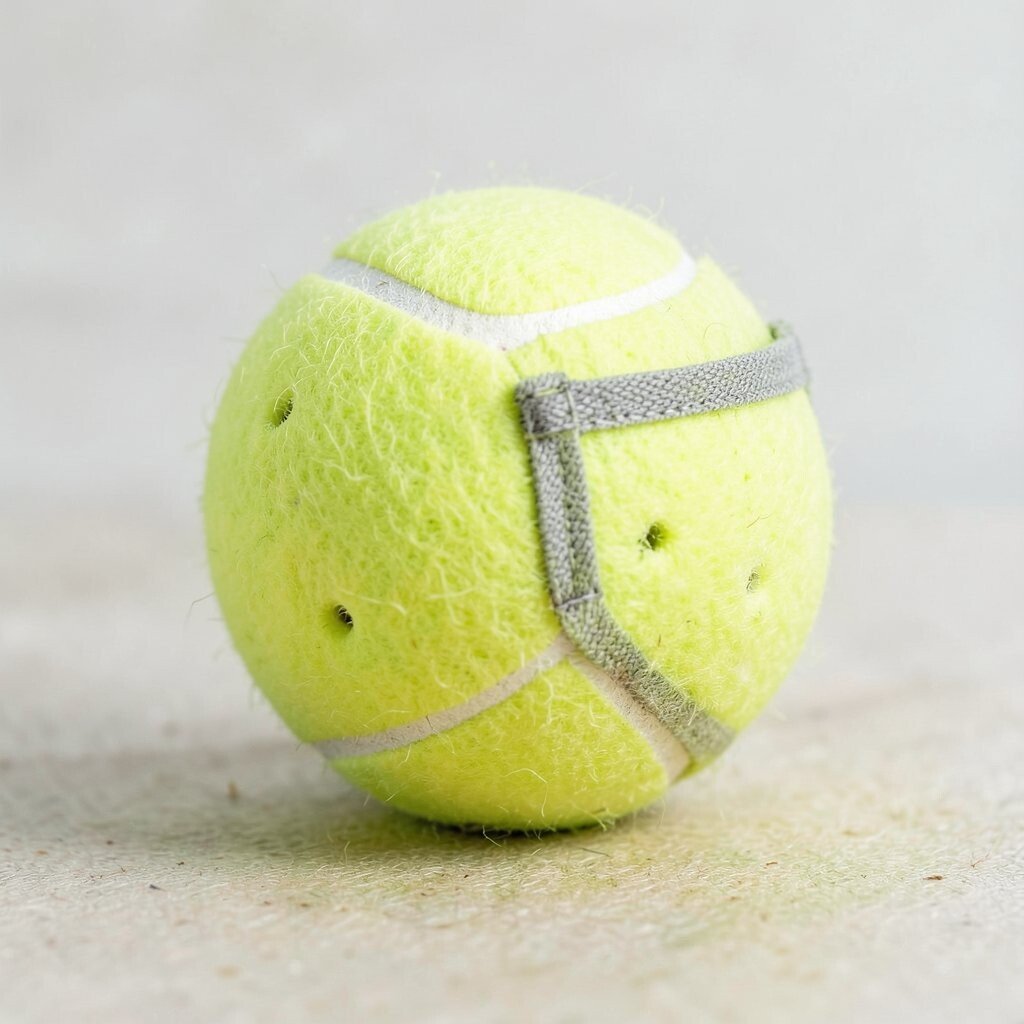
A tennis ball is already a toy shape for many animals, and that makes it a natural starting point. Add a twist like a simple pocket for treats or a textured handle so it is easier to grab.
For a safe, practical approach, use non-toxic materials and double-check that any extra parts are firmly attached. You can also add small holes for scent, which many pets seem to enjoy. Visual satisfaction matters here too, because a bright ball with clear chew-friendly texture looks inviting.
If you want trends, many pet creators are moving toward DIY enrichment, not just store toys. You can save money by using the same ball across multiple games and refreshing the stuffing idea. Just keep it simple, test durability, and replace parts when they look worn.
12. Classroom-Ready Ideas Still Need Durability Testing
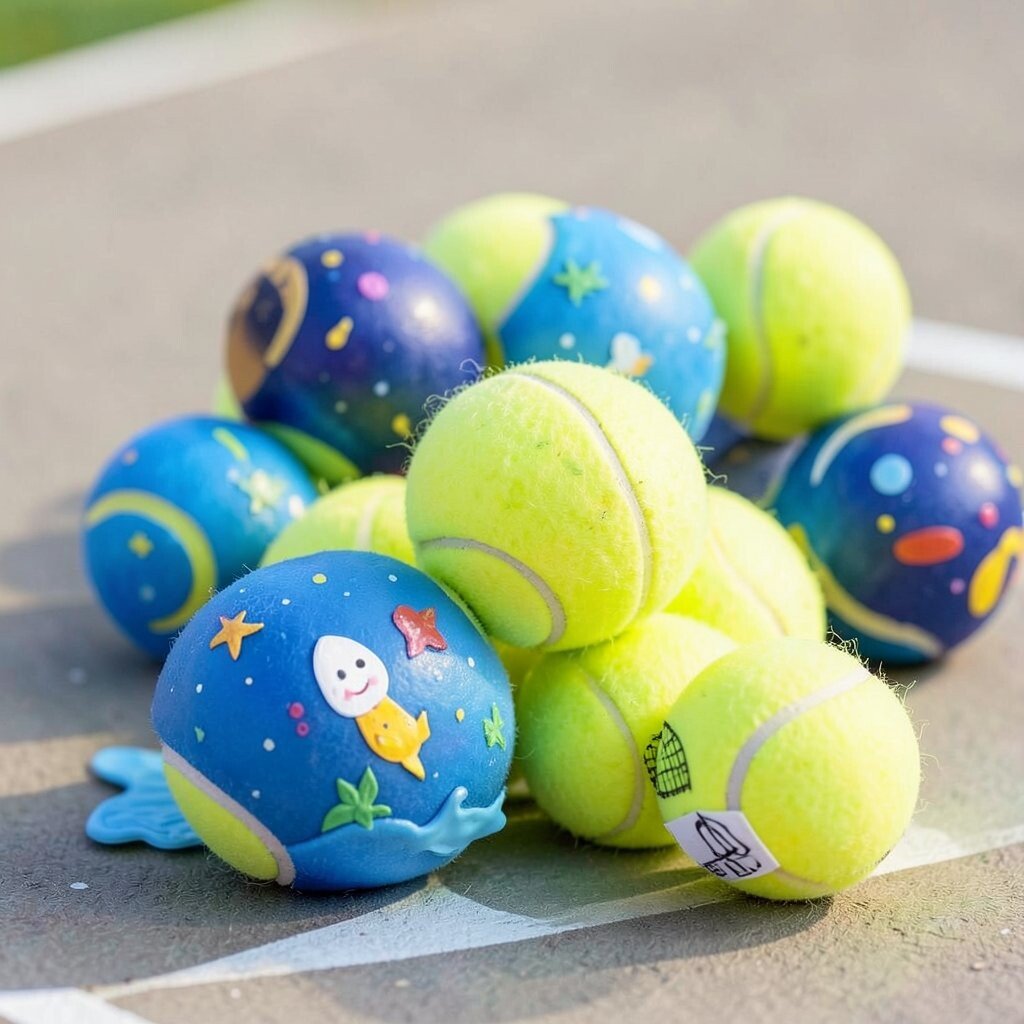
When you make projects for kids, you want them to last through lots of use. Tennis balls are tough, but glued parts or painted edges can be tested fast.
Before handing anything out, shake it gently, tug on seams, and check for loose pieces. If you add decorations, choose items that can handle daily handling and accidental drops. This kind of quick test keeps the project fun instead of frustrating.
For personalization, you can match themes like space, ocean, or sports so the materials feel connected to learning. Cost stays reasonable because tennis balls are usually affordable and you can reuse the parts for different activities. A durable project also reduces waste.
13. The Best Results Come from Small, Repeated Tests
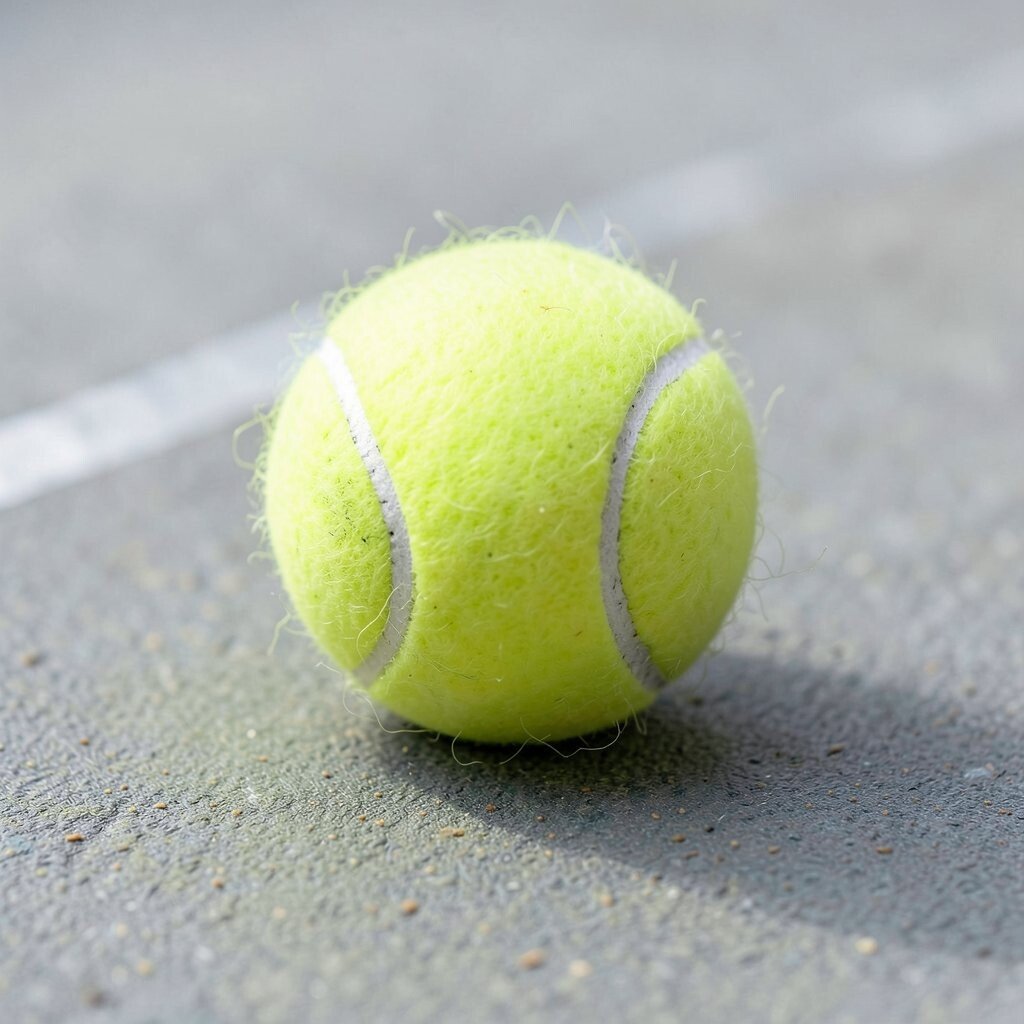
Instead of committing to one big cut, try making a small trial piece first. You learn how the rubber reacts, and it helps you adjust your approach.
Test fit your cover, then check how it moves and holds shape. If you add paint or glue, make a sample scrap and let it dry fully before using it. That way, you avoid surprises like peeling or gaps.
14. You Can Make Tennis Balls Look Like Art, Not Just Supplies

With the right colors, a tennis ball becomes a bold little canvas. A plain green ball can turn into a character, a pattern, or a mini sculpture.
Try stenciling simple shapes or using fabric scraps for a collage style that still feels soft. Sealing matters if the project gets handled often, so pick a safe sealant that will not feel sticky. The visual effect is immediate, because the ball’s rounded shape makes designs look playful and dimensional.
For uniqueness, add tiny details like stitched lines made with paint markers or small faux “eyes” for creatures. Personalize gifts by using a recipient’s favorite colors and initials. This is also a popular trend since more people like maker-style decor that looks handcrafted.
15. Cost Planning Changes How Ambitious You Feel

It is easier to aim big when you understand what drives cost in tennis ball projects. Tools, glue, paint, and extra materials often matter more than the balls themselves.
Consider using what you already have, like old paint tubes, scrap fabric, or leftover foam. Buying in small amounts works well for prototypes, and you can save by mixing one color theme across several balls. When you plan carefully, you get more finished items and less unused supply.
Also think about longevity, because a more durable design can cost less over time. If the project stays intact longer, you will replace fewer parts. That practical mindset makes DIY feel more rewarding.
16. Label-Free Customization Lets Your Personality Show

People often think personalization requires complicated steps, but simple choices can do the job. Your style can show through color choices, patterns, and the way pieces connect.
Try matching the project to a hobby like music, sports, or gardening by using colors and tiny icons. You can also choose a consistent texture plan, like sanding some areas and leaving others fuzzy for contrast. The result looks thoughtful and unique without needing extra clutter.
When you share your work, you get compliments because the details feel intentional. That is the fun part of tennis ball projects, they are small but expressive. Keep it conversational, make it yours, and adjust as you learn.