Modern bright decor can feel expensive, but it does not have to be. A hot-glue upcycled wreath can look bold, personal, and totally you.
In this list, you will find practical ways to reuse everyday materials and turn them into eye-catching wall art. Each idea leans into color, texture, and quick build steps.
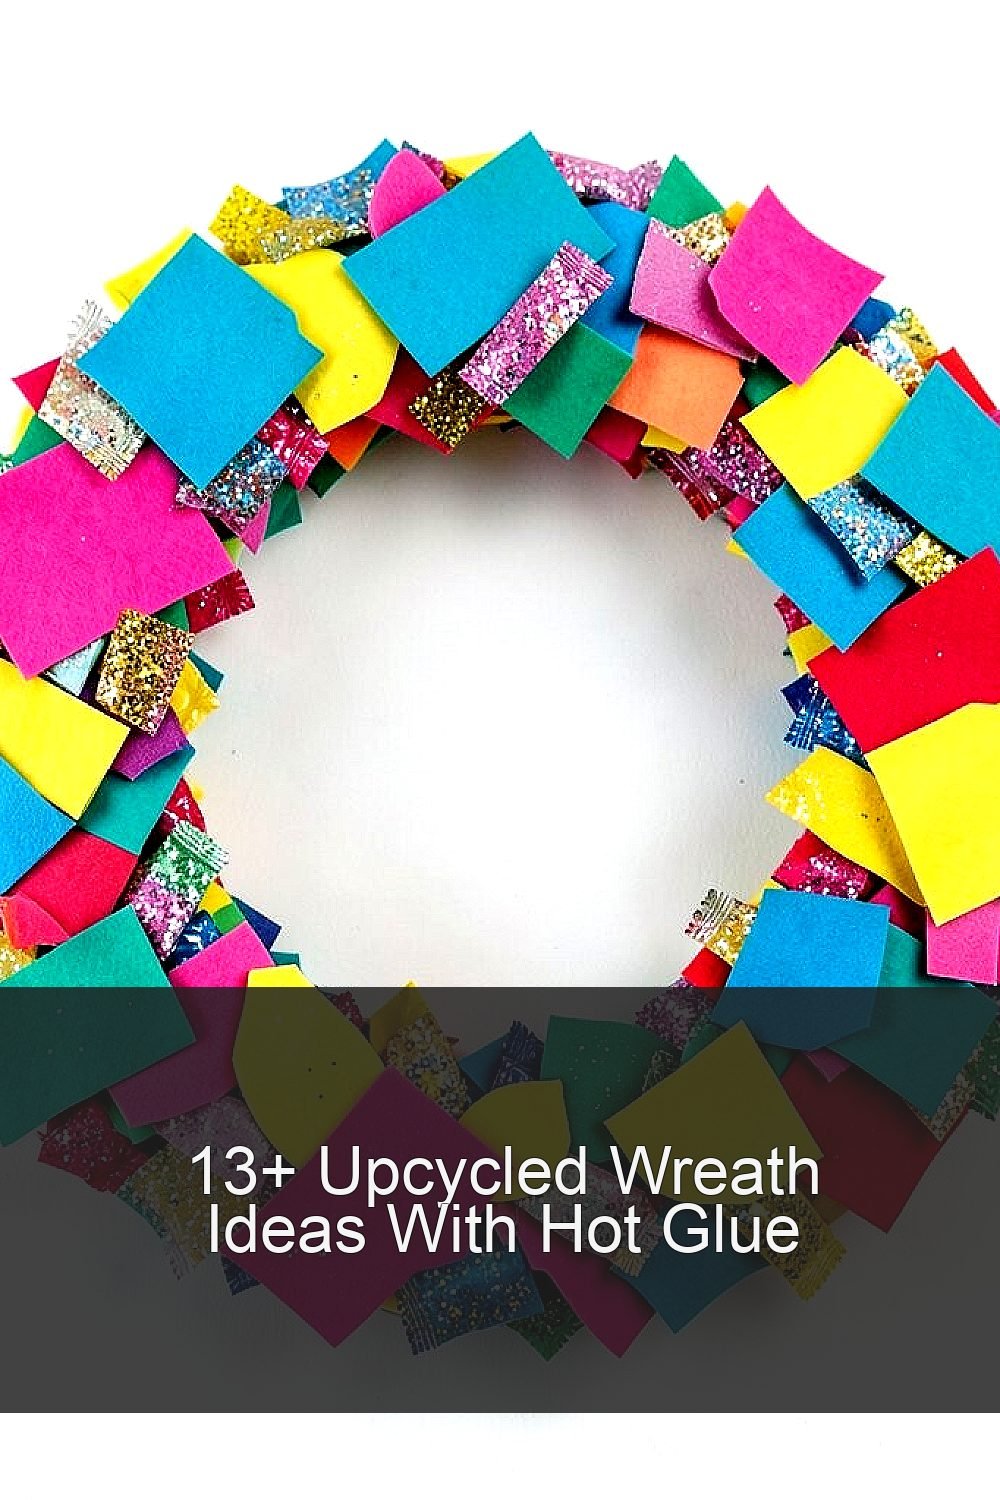
1. Scraps-and-Sparkle Candy Wreath
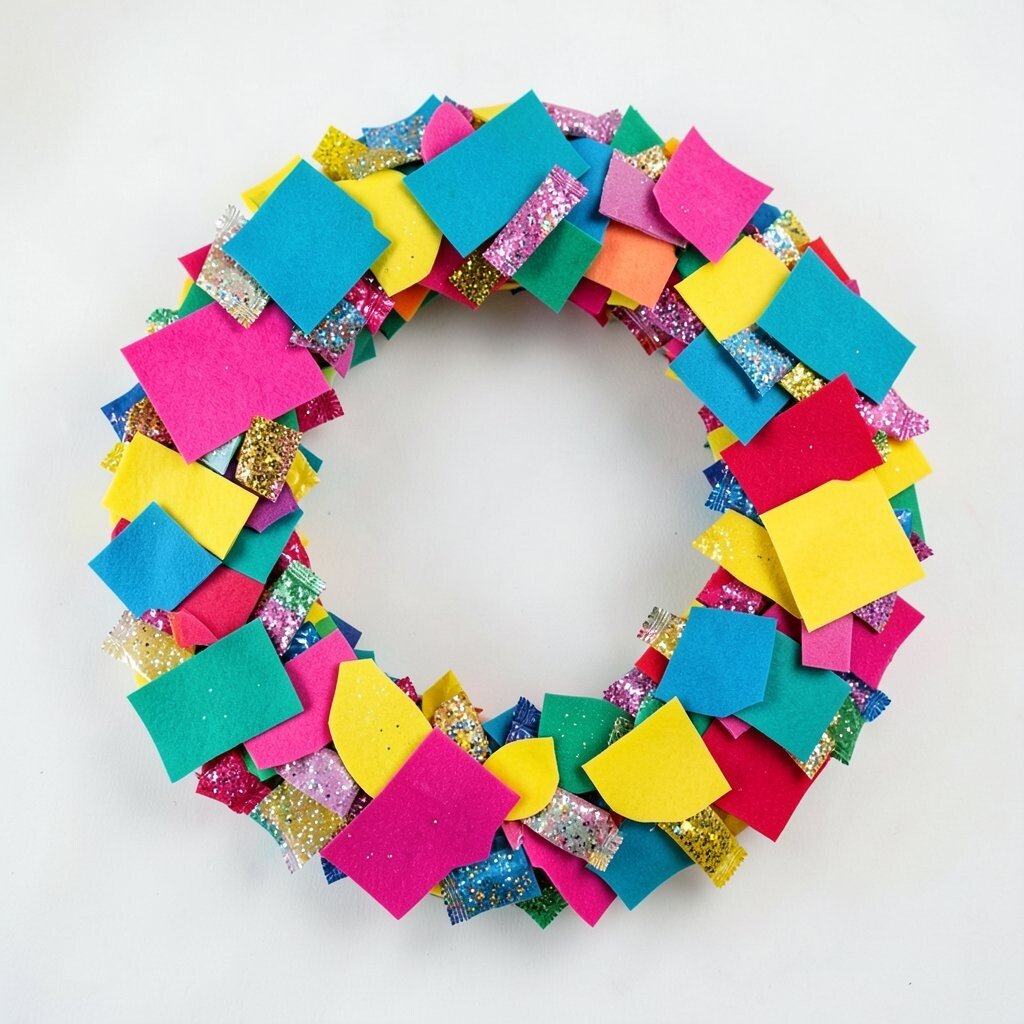
Start by sorting small scraps of colorful felt, foam sheets, or leftover craft fabric. Cut them into tiny shapes that look like candy wrappers and tuck them into a simple wreath base.
Use a hot-glue gun to attach pieces in uneven clusters so the wreath feels lively. For a modern bright look, mix saturated shades like teal, hot pink, and sunny yellow, then add a few metallic flecks with glitter paper. Keep glue spots small and press each piece for a few seconds so nothing droops later.
2. Gift-Wrap-Flower Burst Wreath
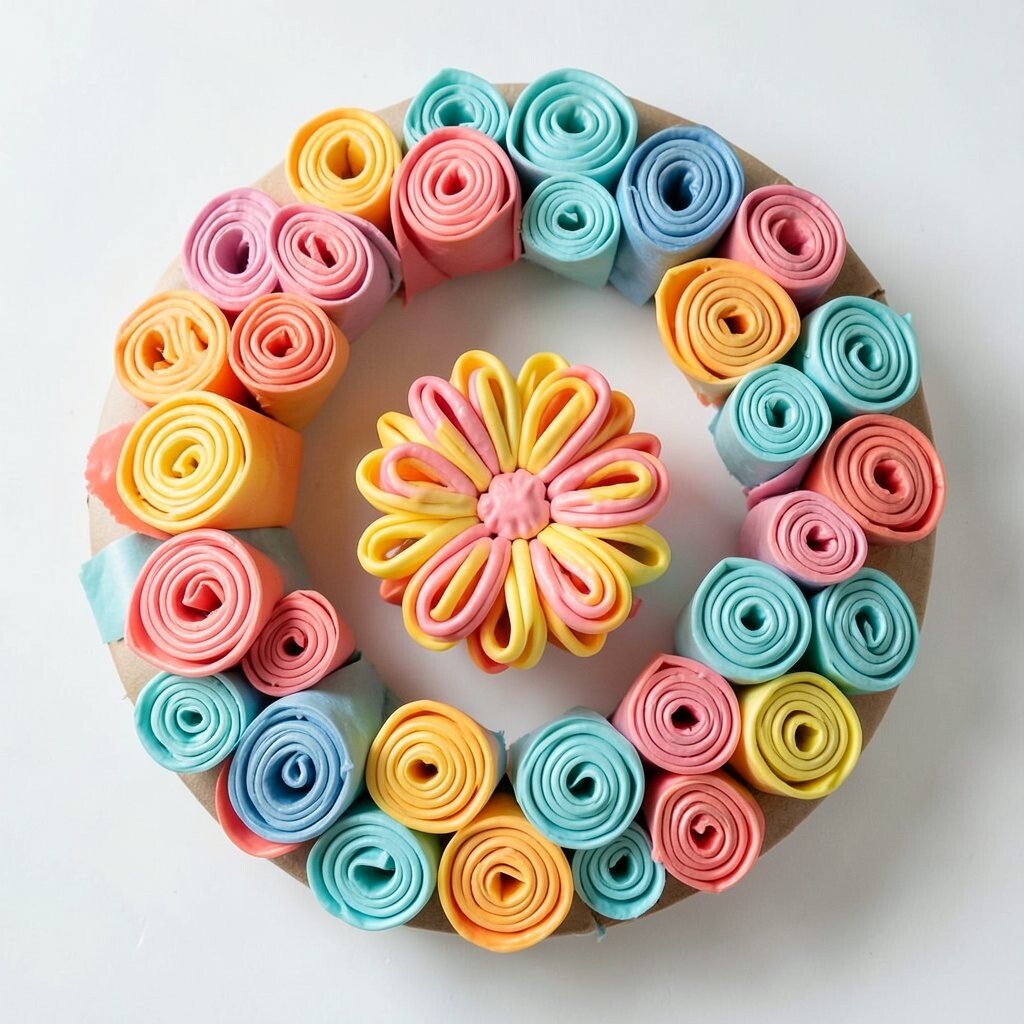
Grab wrapping paper you cannot keep, plus a few cardboard scraps from packaging. Tear or cut long strips, then roll them into tight “petal” coils with a bend in the middle.
Hot-glue the coils onto a lightweight ring in a burst pattern, leaving some negative space so the bright colors stand out. Add one thicker center cluster for a focal point that looks like a flower opening in mid-air.
To personalize, choose a color story that matches your room, like coral and aqua for cozy modern spaces. If the paper has a glossy finish, it will catch light and make the wreath look extra fresh without heavy styling. This idea is budget-friendly because most of what you need comes straight from packaging piles.
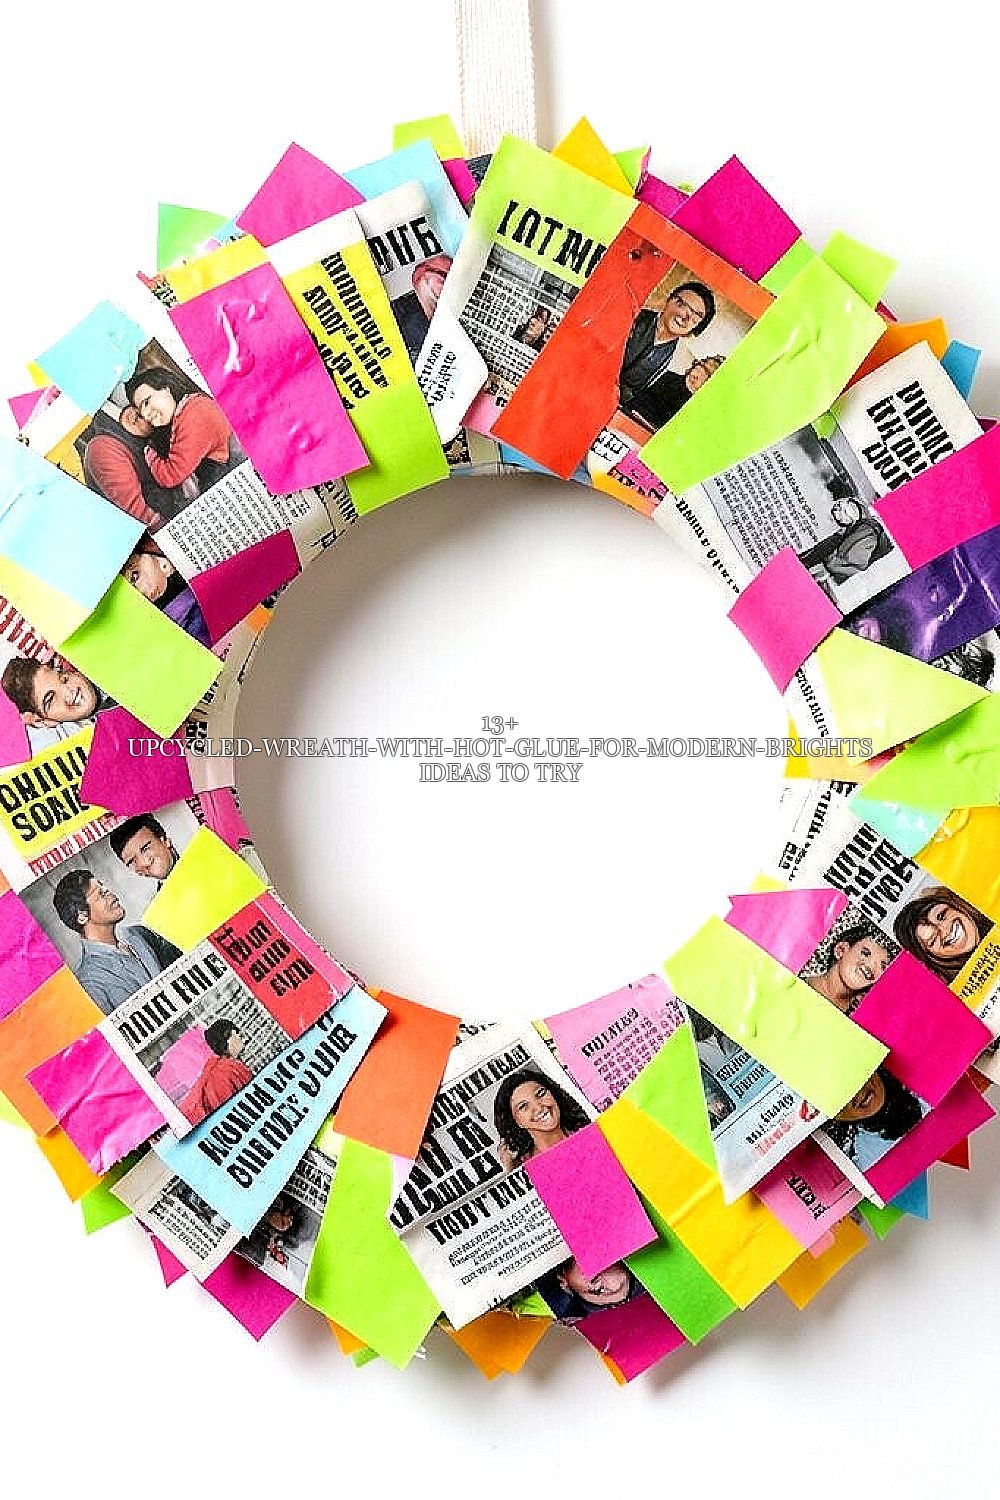
3. Magazine-Page Neon Confetti Wreath
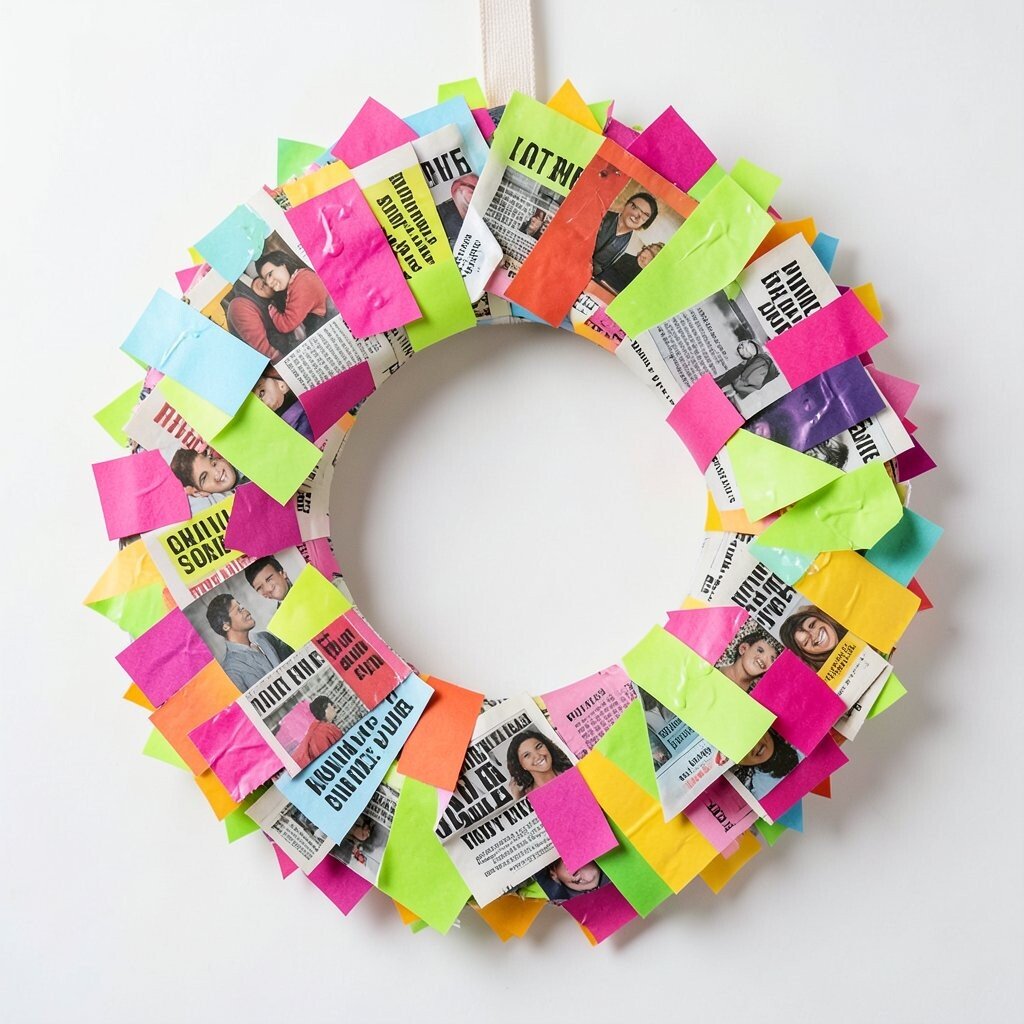
Collect old magazines, flyers, or catalogs and pick pages with bold headings or photo-heavy layouts. Cut them into small squares, triangles, and thin strips so you can arrange a confetti field around the ring.
Crinkle each piece lightly, then attach with hot glue using quick dots at the back. The visual effect is a bright mosaic, especially when you alternate warm and cool colors like magenta with lime green.
Press pieces firmly so they stay put through bumps and seasonal hanging. For personalization, swap the main color set and match a school color theme or a holiday palette. Keep cost low by using what you already have and buying only a base ring if you do not have one.
When the wreath is done, lightly fluff curled edges with your fingers to create movement. If you want it cleaner, use a glue seal over the back only, not the front, so the paper texture stays crisp.
4. Bottle-Cap Rainbow Grid Wreath
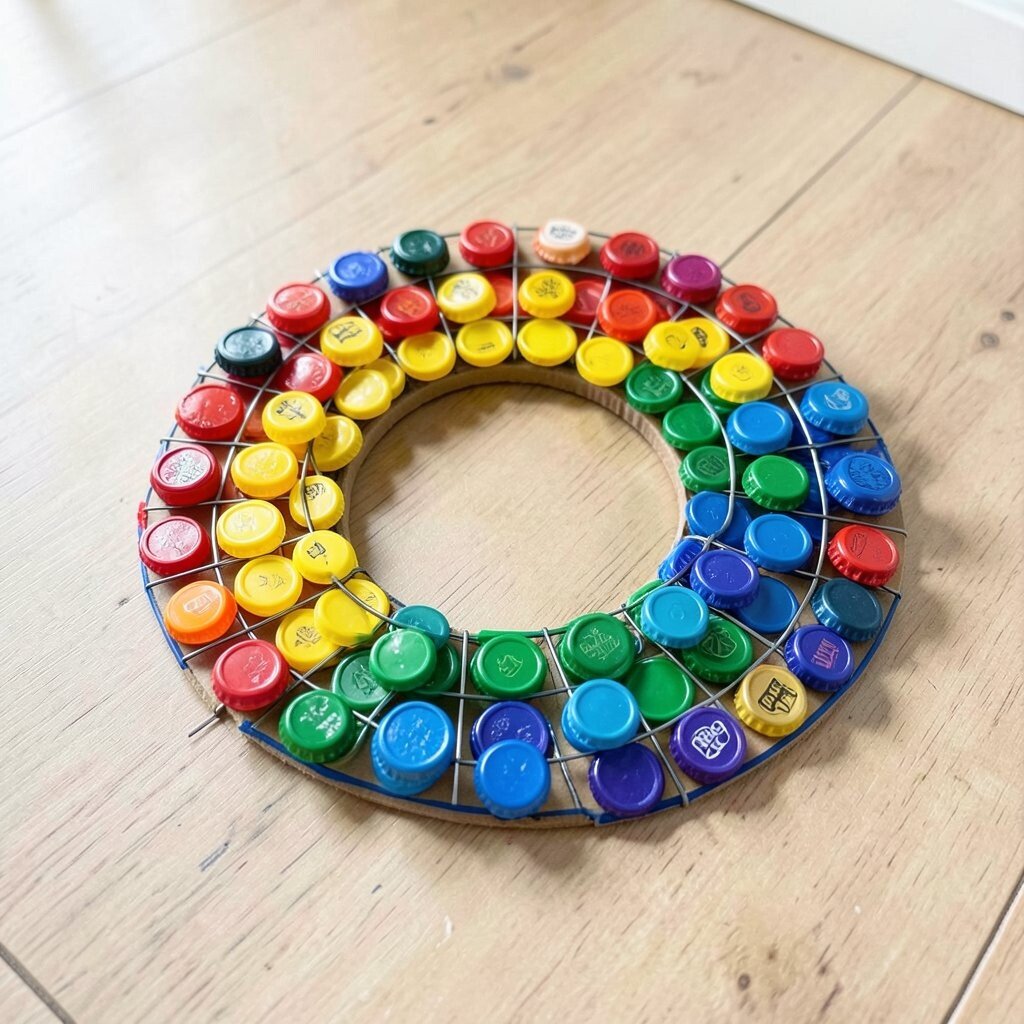
Save bottle caps from soda, sparkling water, or flavored beverages, and rinse them so the shine looks fresh. Lay out a simple rainbow plan on the floor, then group caps by color before gluing.
Hot-glue caps onto a wire or cardboard ring in neat rows, forming a grid that looks modern and fun. Leave a thin border of the base visible for contrast, which helps the rainbow pop even more.
For personalization, add a few “accent” caps that have a logo or different finish, so the wreath feels curated. This method is unique because caps bring real shine and a durable surface that handles everyday life well. If you want a cleaner finish, paint the ring first so glue lines blend in.
5. Tea-Bag-Tag Color-Block Wreath
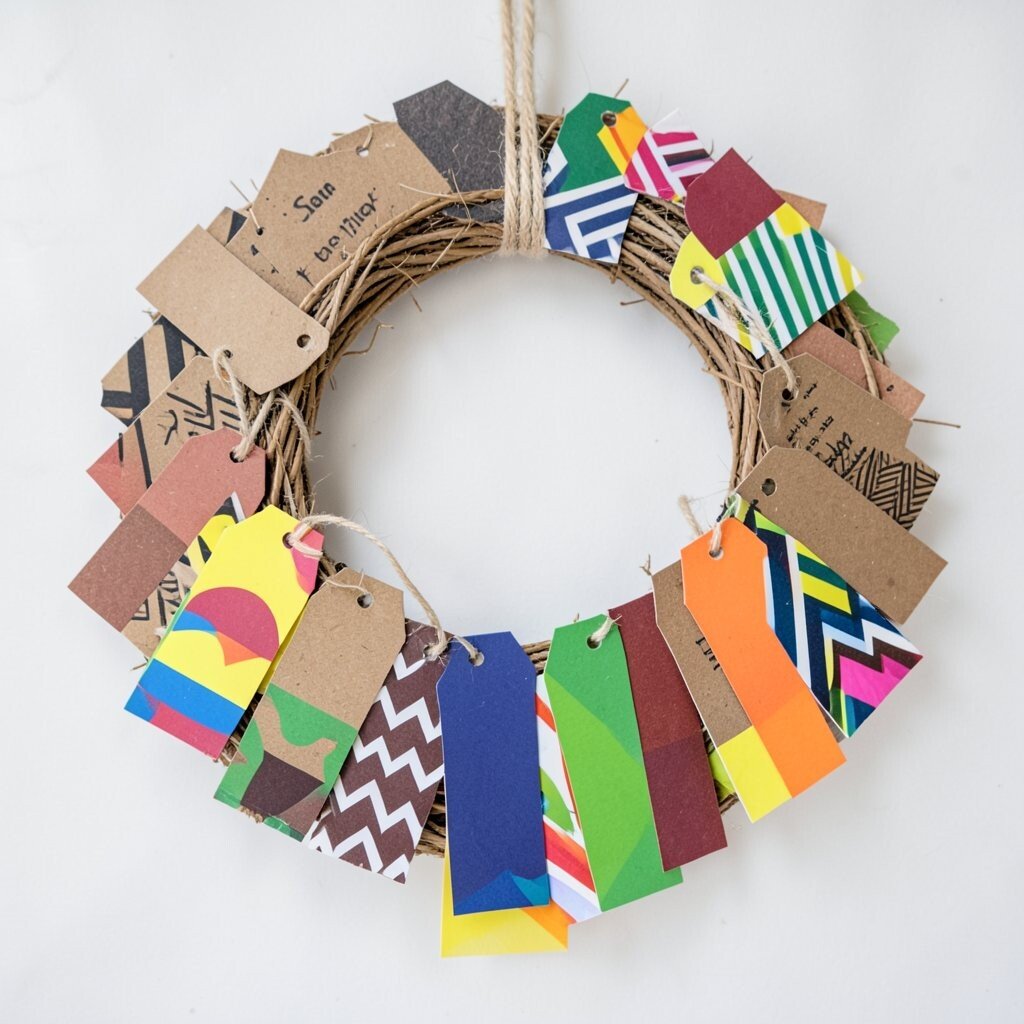
Collect string tags and cardboard from tea boxes, plus any extra stiff paper scraps. Cut tag strips into blocks of different heights, then arrange them around the ring like a color-block skyline.
Hot-glue each strip at the bottom edge so the pieces stand slightly angled. Use bright marker accents or cut out colored shapes to keep the palette modern and bold.
To personalize, pick patterns that match your decor, such as repeating chevrons or bold stripes. This wreath works well in entryways because the stacked look adds depth even from far away. Since many parts are already in your pantry, your cost stays low and your materials get a second life.
6. Scrunched-Tissue Pop Art Wreath
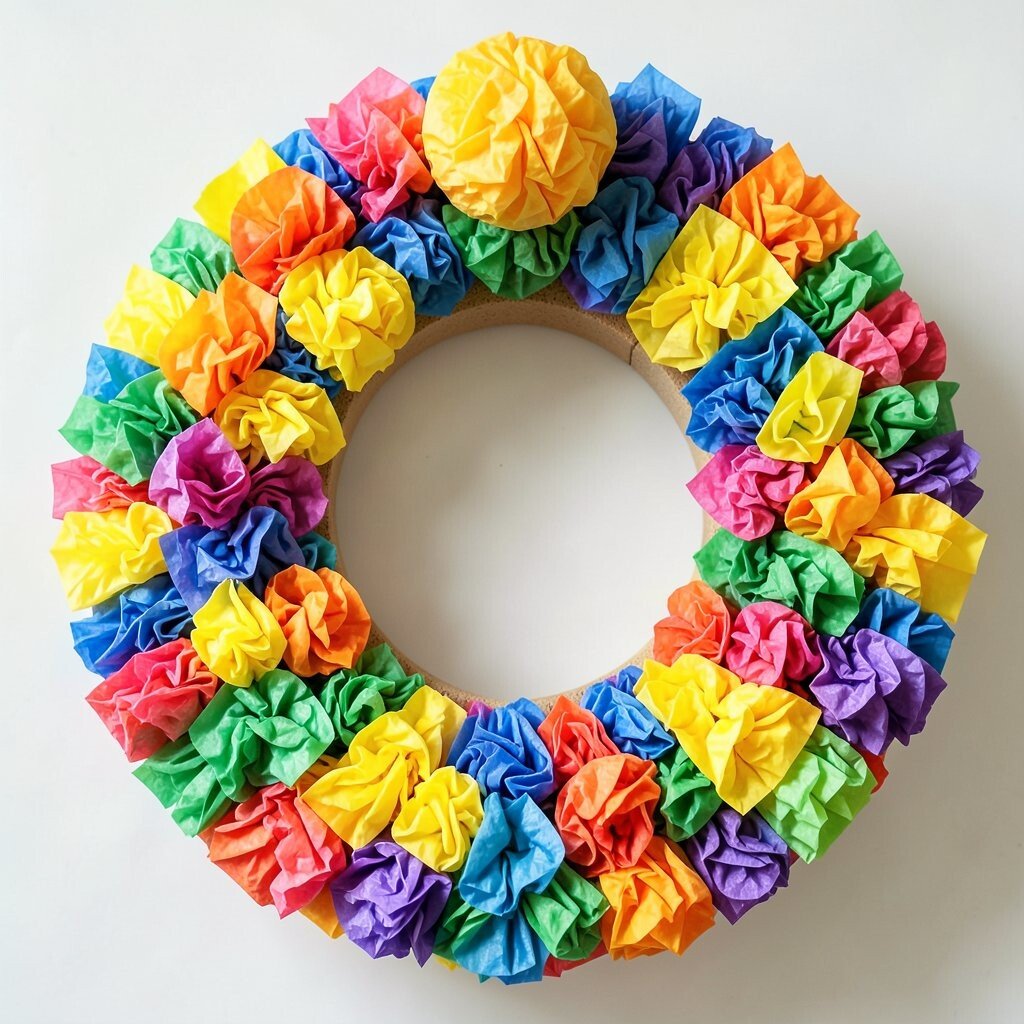
Use leftover tissue paper in bright shades, plus a foam ring or thick paper ring. Cut tissue into squares, then scrunch lightly so each piece becomes a soft “pom” texture.
Hot-glue scrunched tissue clusters close together, then build outward until the wreath looks full. Keep a few gaps for punchy contrast, and consider mixing one high-energy color as a main theme.
For personalization, add a few thicker accents by gluing larger tissue balls at the top or center. The wreath becomes playful and modern without needing expensive embellishments. If some tissue tears, it actually adds a handmade edge that looks authentic.
Let the glue cool between sections so you do not melt the tissue too much. This approach feels light and fun, and it is a great way to reuse tissue from gifts or events.
7. Spool-Thread Strands Bright Halo
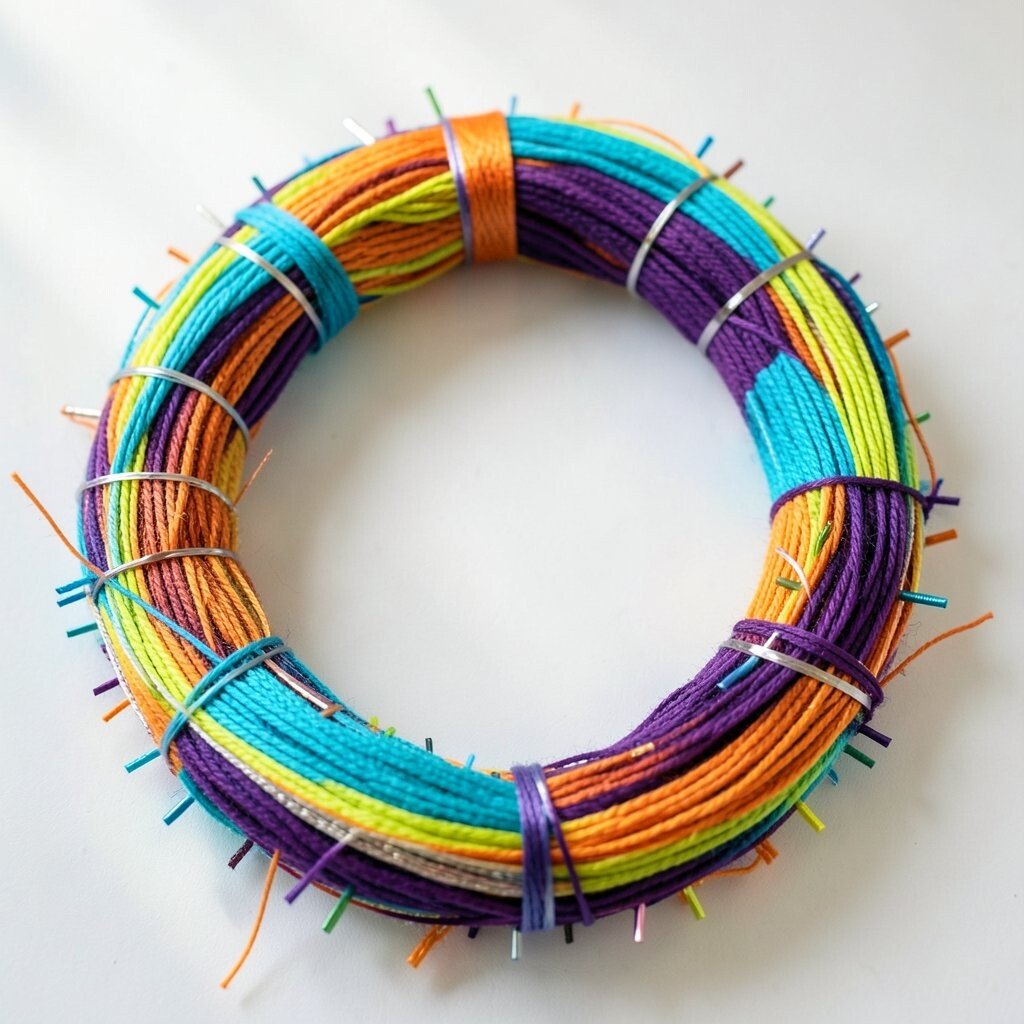
Wrap leftover embroidery thread, yarn, or craft string around your fingers and cut short lengths. Mix colors that feel bold together, like turquoise, lime, orange, and deep purple.
Hot-glue the strands in small sections around the ring, then layer them until the wreath forms a halo. Add a few metallic or shiny threads for a modern glint that catches room light.
To personalize, vary strand thickness by combining thin floss with thicker yarn bits. This gives a textured look that feels intentional, not random. If you want a tidy finish, glue the loose ends on the back first, then move to the front so everything looks smooth.
Cost considerations are simple here because thread is usually already in your craft stash. If you need more, buy a small multi-pack and reuse everything for future projects.
8. Safety-Pin Statement Charm Wreath
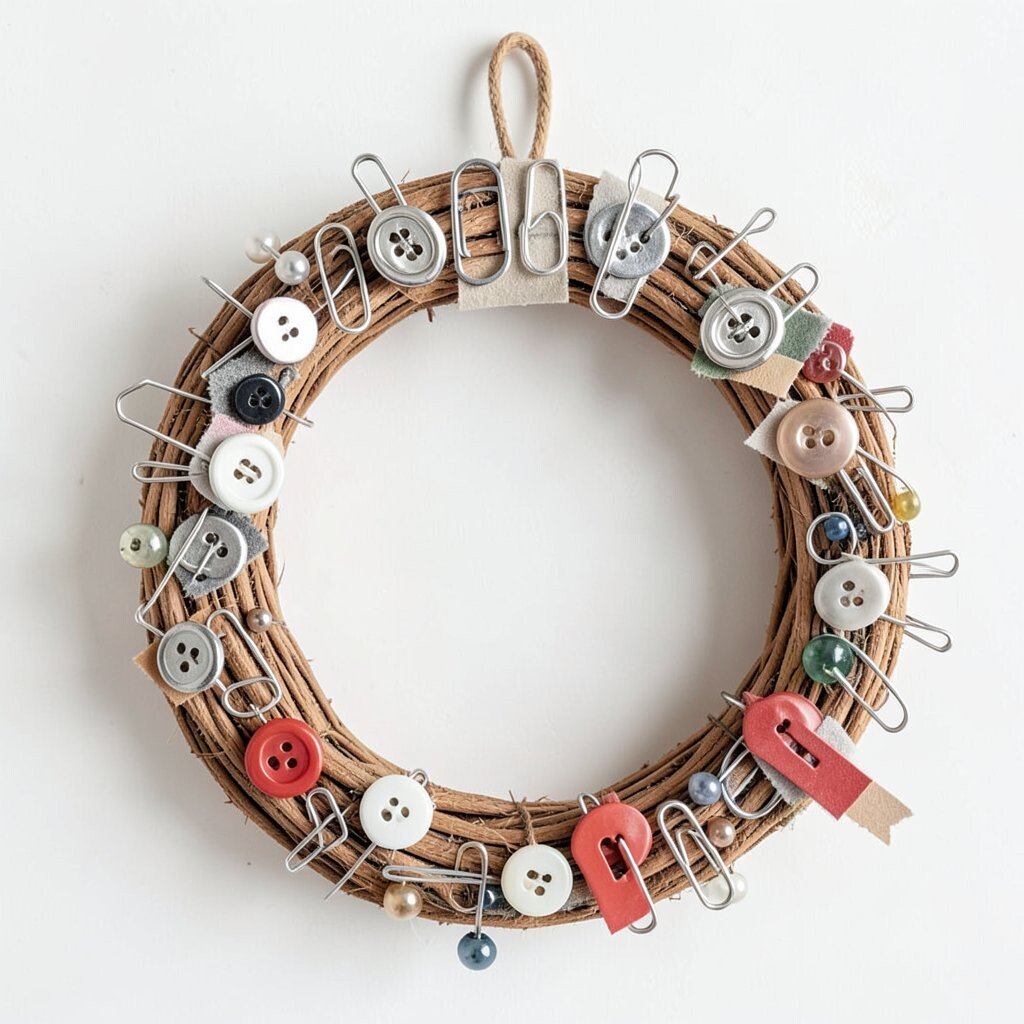
Gather safety pins, paper clips, and small lightweight charms like buttons or tiny plastic beads. Create a base ring and decide how you want the “statement” to sit, like around the top third for a diagonal vibe.
Hot-glue small fabric scraps or cardboard cutouts onto the ring, then use safety pins to attach charms on top. The visual effect is bold and modern because shiny metal elements reflect light, and the wreath feels interactive.
For personalization, match the charms to your life, like travel tags, sports pins, or handmade button pieces from older clothes. This wreath is unique because it uses hardware as decor, which feels fresh compared to typical glue-only wreaths. Make sure pin sharp ends stay covered by glue-backed fabric so you do not snag fingers while hanging it.
To keep it practical, use a simple hanging loop that can take the weight without stretching the base. You can also swap charms for different seasons without remaking the whole wreath.
9. Sticker-and-Foil Subway Accent Wreath
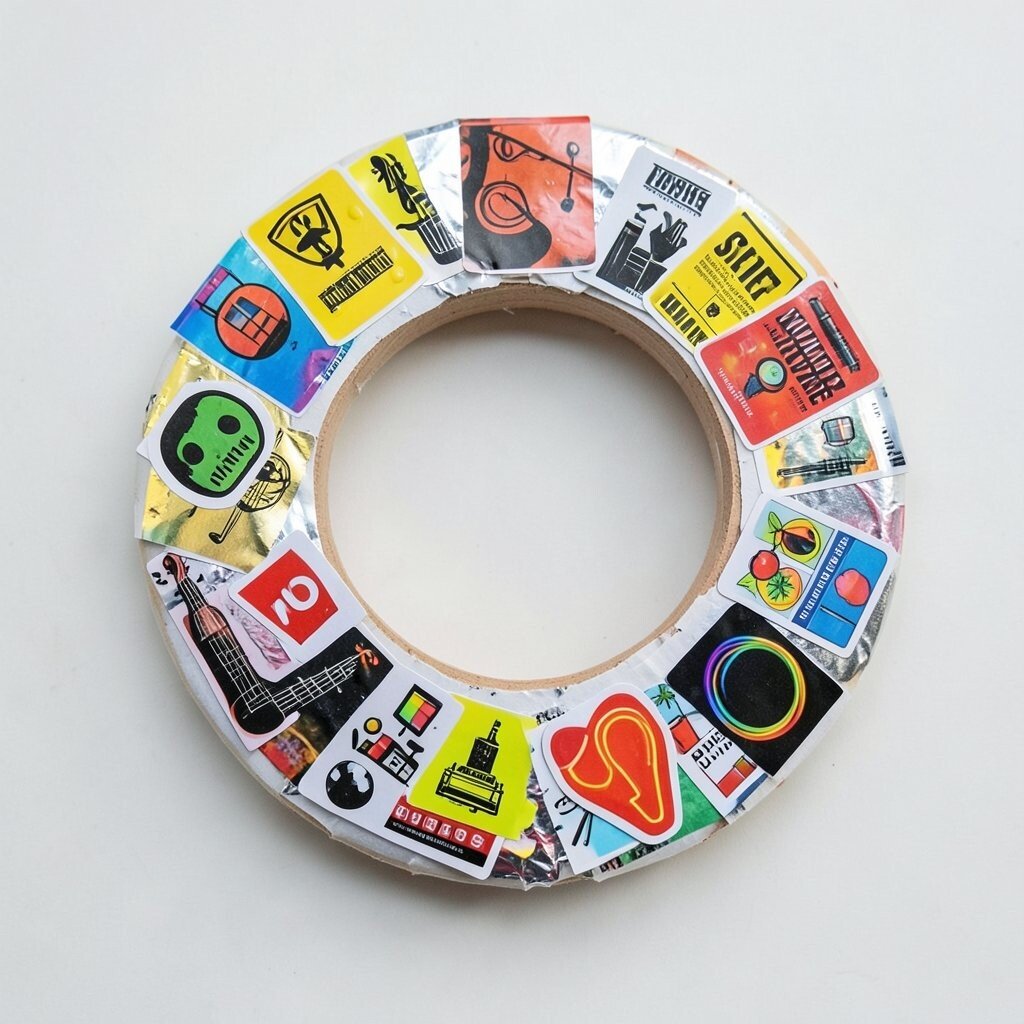
Grab any leftover stickers, label pieces, and foil packaging that already has bright patterns. Cut a plain ring base and cover it with a thin layer of leftover paper so glue holds better.
Hot-glue foil pieces and paper scraps first, then layer stickers on top for a punchy “street poster” vibe. Choose a few dominant color blocks, then scatter smaller sticker bits to fill the gaps.
For personalization, organize stickers into a theme like music, art supplies, or neon shapes. This is a fun way to use materials that usually end up in a drawer. It also stays budget-friendly because you are not buying new decor, just arranging what you already collected.
Keep the front surface smooth by pressing stickers firmly and wiping away stray glue strings while still warm. The wreath will look crisp from a distance and full of surprises up close.
10. Plastic-Bag-Strip Twirl Wreath
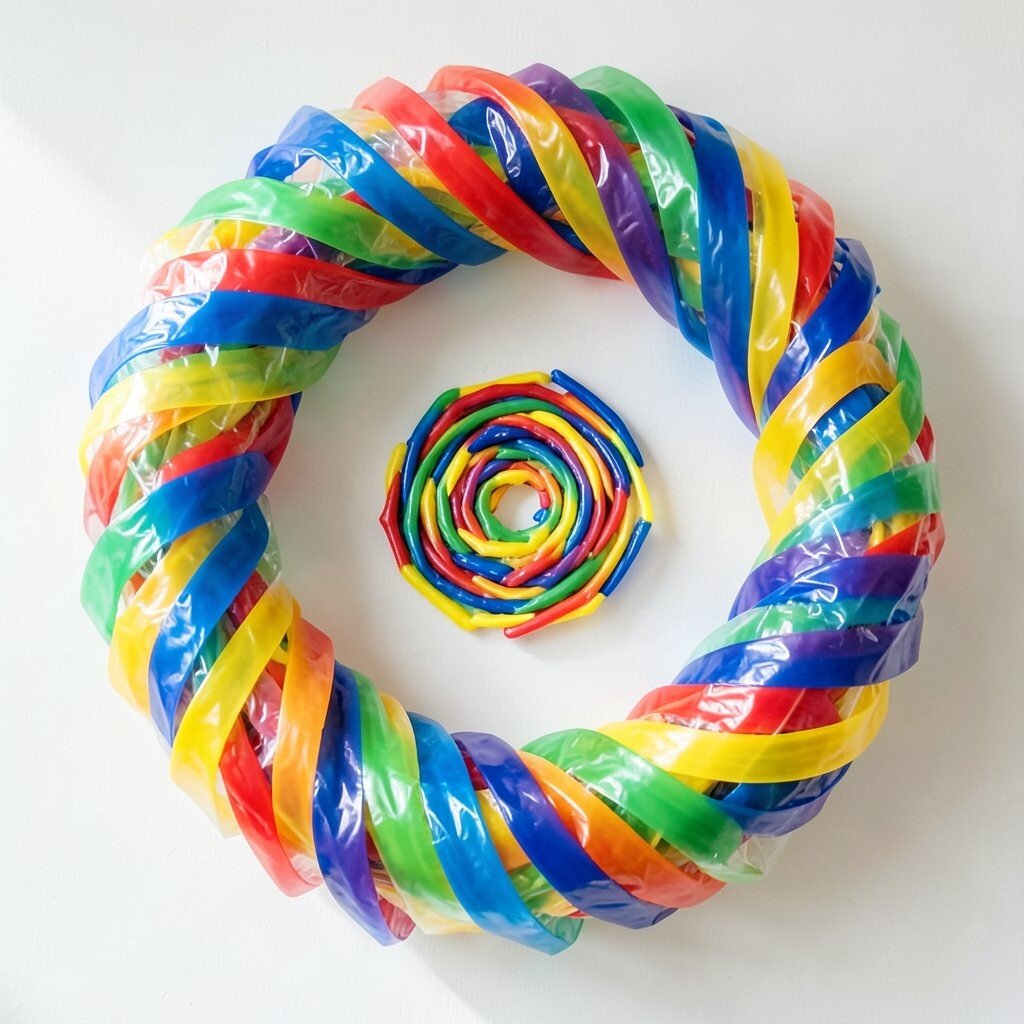
Take lightweight plastic bags or wrap film that you already have, and cut them into thin strips. Twist each strip slightly so it catches light and forms a curly texture.
Hot-glue strips onto the ring in overlapping loops, working around the circle. For modern brights, choose a high-contrast palette and alternate colors so each twirl shows clearly.
To personalize, create a center spiral by gluing shorter strips first, then longer strips around them. This adds a sense of motion that looks great on doors and walls. Since this reuses soft packaging, your cost is almost zero and your impact feels meaningful.
Take care with ventilation and glue handling, because plastic can warp if overheated. Work in short bursts and let sections cool so the wreath holds its shape.
11. Cardboard-Ribbon Modern Geometric Wreath
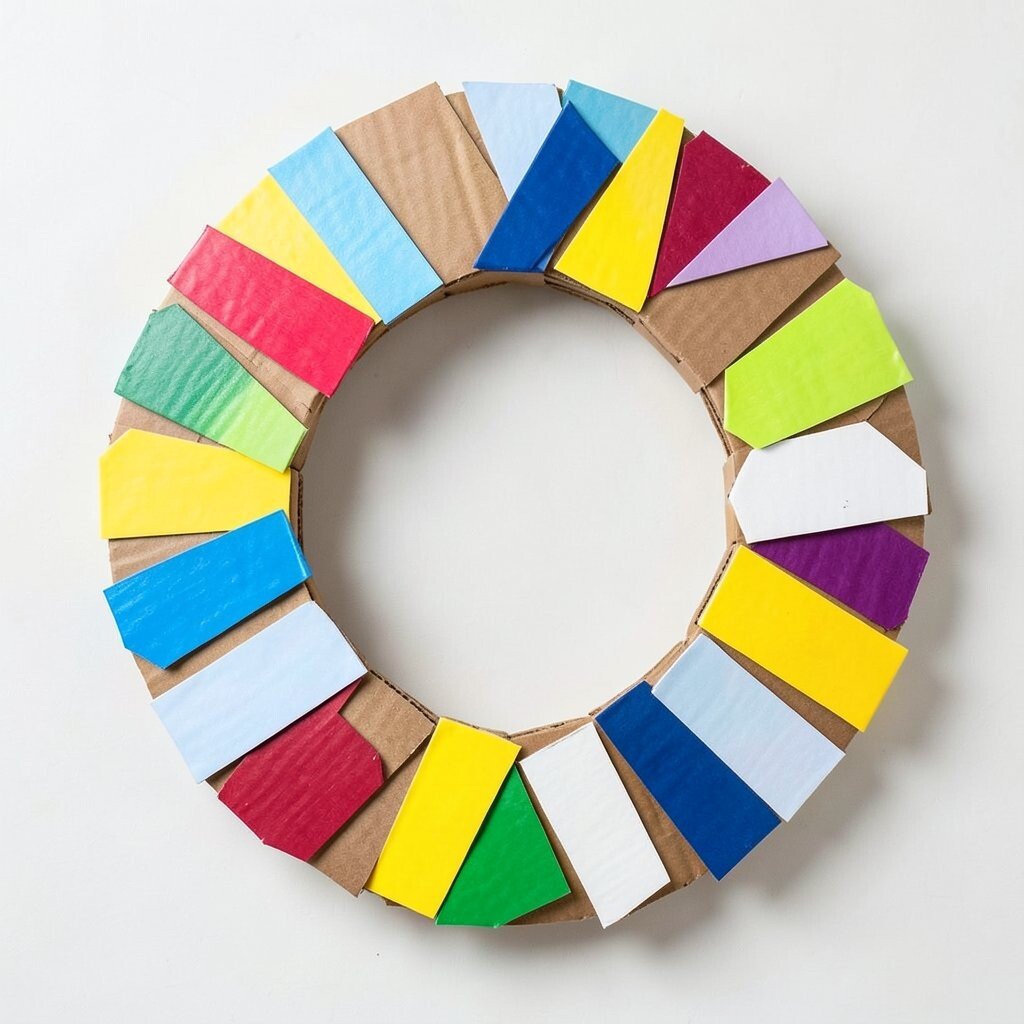
Cut cardboard into strips and small geometric pieces, then paint or marker-color them in bold blocks. You can also keep some unpainted bits if you like a craft-paper look, but bright color makes the modern style pop.
Hot-glue each piece onto the ring in a pattern, like alternating triangles and rectangles. Use a consistent spacing so the design looks clean and graphic instead of messy.
For personalization, match the geometry to your favorite shape, such as hexagons for a trendy feel. This idea is unique because cardboard brings structure, so the wreath feels sturdy and not flimsy. If you want it extra polished, seal the painted surfaces with a quick clear coat spray and let it dry fully.
Cost considerations stay low because cardboard is free for many people, especially from shipping boxes. Add only paint or marker refills if needed, and reuse supplies until the colors are gone.
12. Button-and-Thread Stitchwork Wreath
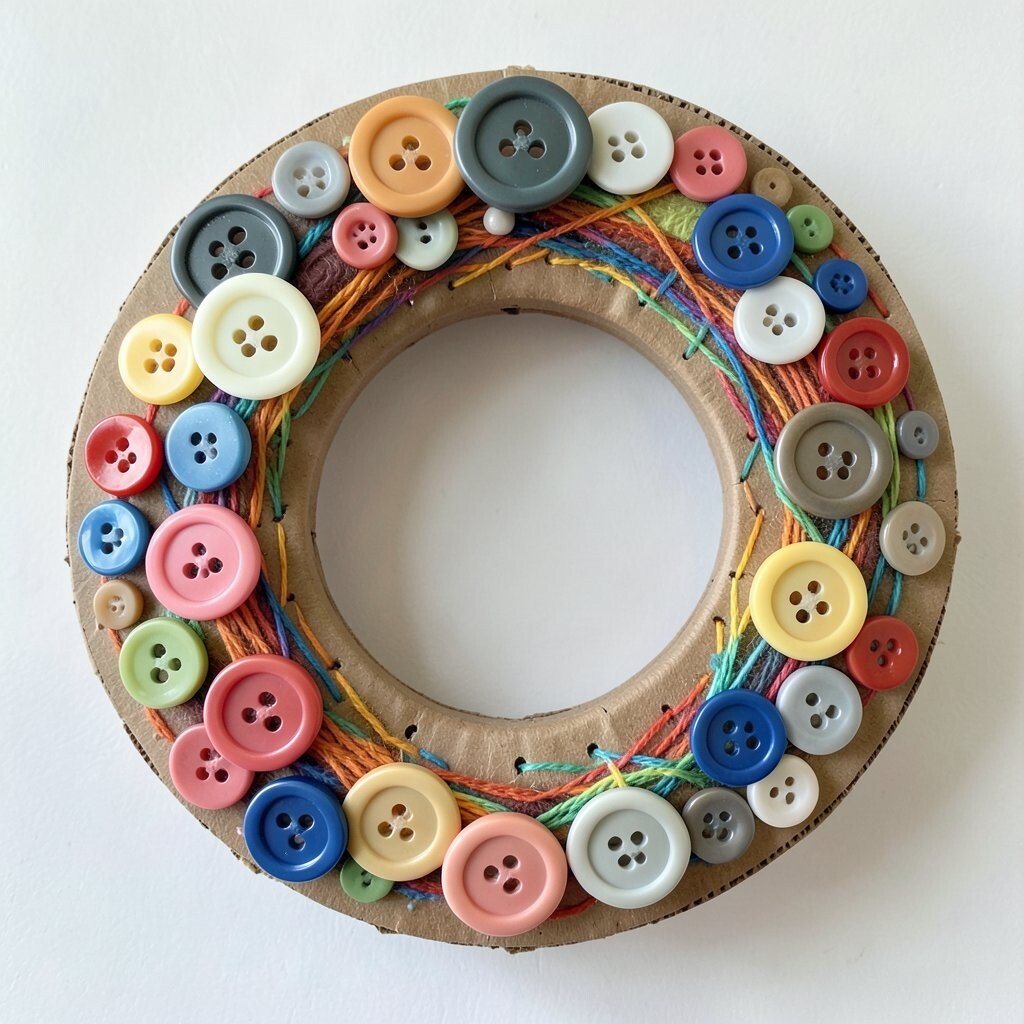
Sort buttons by size and color, including flat ones, shank buttons, and a few odd shapes. Thread can help you create stitched-looking lines, even if you are only using it for visual texture.
Hot-glue buttons onto the ring in clusters, then weave bright thread strands between them. The visual result feels like stitched artwork, with raised dots of color and gentle lines that guide the eye.
To personalize, place the biggest buttons near the top and smaller ones around the edges like a sunrise gradient. This wreath stays unique because it turns leftover sewing items into modern wall decor. If you have mismatched buttons, that is actually a plus, since modern brights often looks best with playful variety.
Keep it practical by using a ring base that can hold glue well, such as covered cardboard. If buttons are heavy, reinforce the back with extra glue dots so nothing pulls loose later.
13. Popsicle-Stick Color-Block Sunburst Wreath
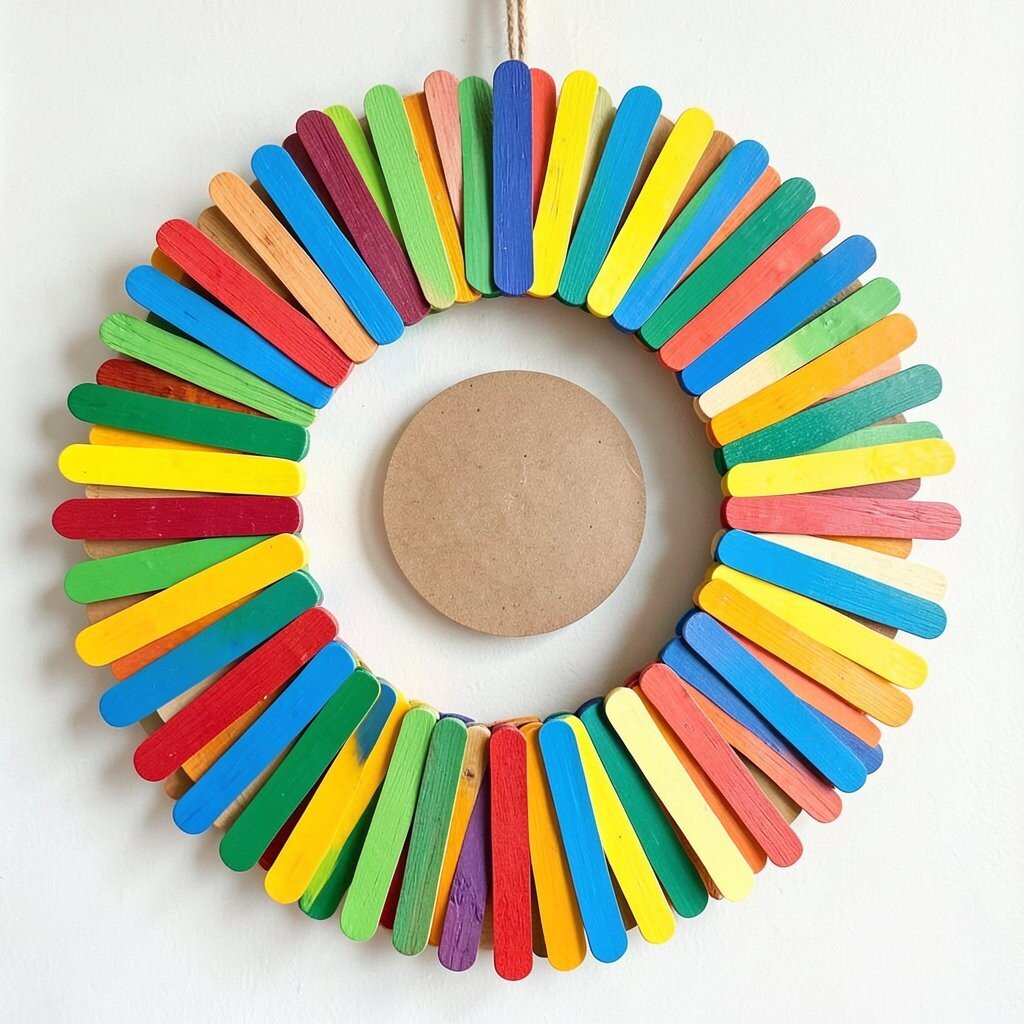
Collect popsicle sticks, craft sticks, or wooden stirrers and line them up by length. Paint or stain them in bright colors, then let them dry so glue bonds strongly.
Hot-glue sticks onto the ring in sunburst directions, pointing outward like a bright fan. Use a repeating color order to make it feel modern and intentional, then add a few shorter sticks for visual rhythm.
For personalization, add a central “sun” made from a circle of scrap paper or a small foam disk. This wreath looks striking in bright entryways because it creates strong lines and a bold silhouette. Cost-wise it is usually low, since sticks are cheap or free from summer leftovers and coffee shops.
To keep edges neat, trim any warped ends and wipe away glue strings while still warm. The result feels sturdy and durable, ready for everyday hanging.
14. Yarn-Loop Confetti Starburst Door Wreath
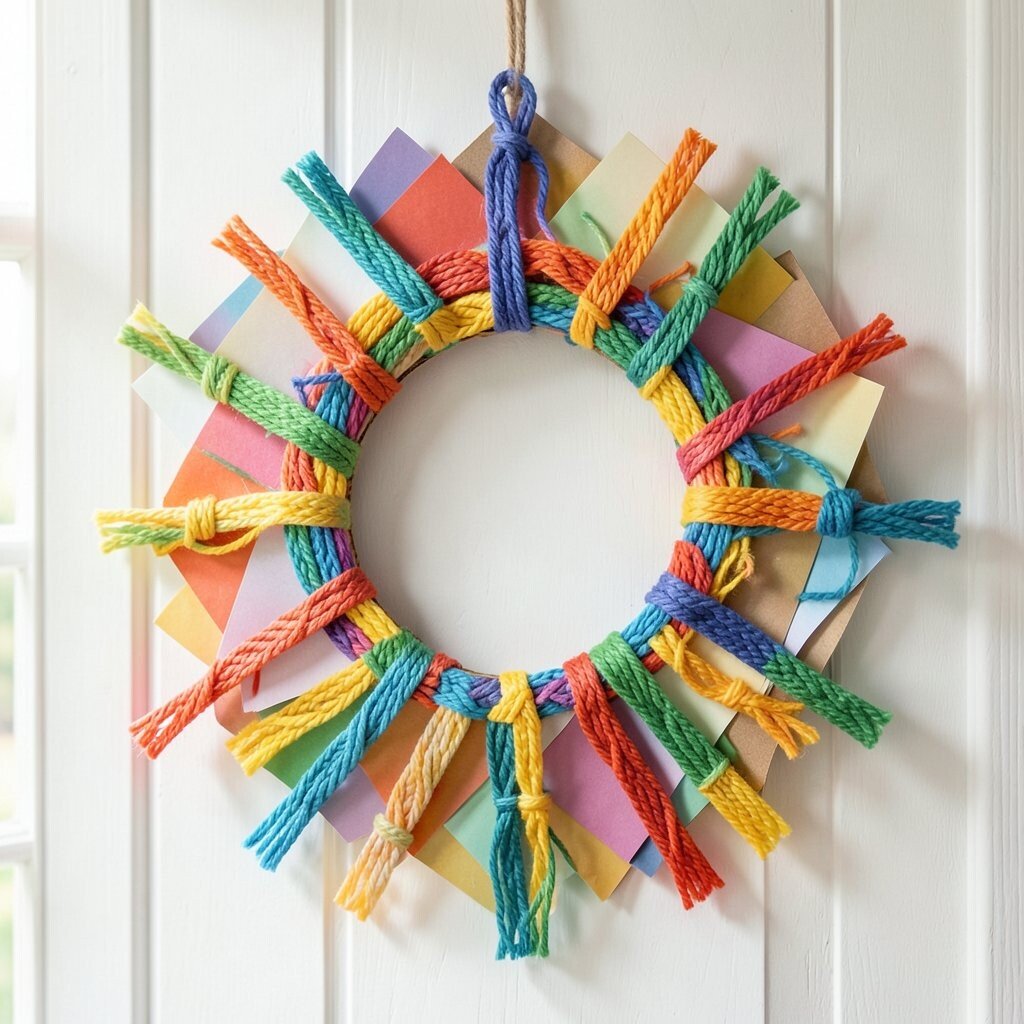
Choose a foam or cardboard ring and cut bright yarn into two or three coordinated colors. Wind yarn into loose loops and tie simple bundles so you can glue them quickly without tangles.
Hot-glue yarn bundles around the ring, then arrange some in a starburst layout that points outward. The visual texture looks soft but bold, and the loops create a confetti-like sparkle of color.
To personalize, add a few flat paper accents under the yarn loops, like tiny triangles or circles cut from old folders. This gives a crisp modern layer that balances the cozy yarn texture. It is also a great way to use scraps while keeping the wreath looking designed.
Cost considerations are friendly since yarn is often already on hand, and you can buy only one small pack if you need extra. Hang it where light hits, and the loops will cast tiny shadows that make your door or wall feel more alive.
Let everything cool fully before moving it, and gently shake once to ensure no loose loops remain. If you find any weak spots, add one extra glue dot and press for a few seconds.