A bulletin board can turn a plain wall into a daily mood boost. Tiny choices, big feelings, and a few smart details make it feel like yours.
Start with a board that holds your life and add style that keeps showing up, week after week.
1. Corkboard With a Soft Color Wash
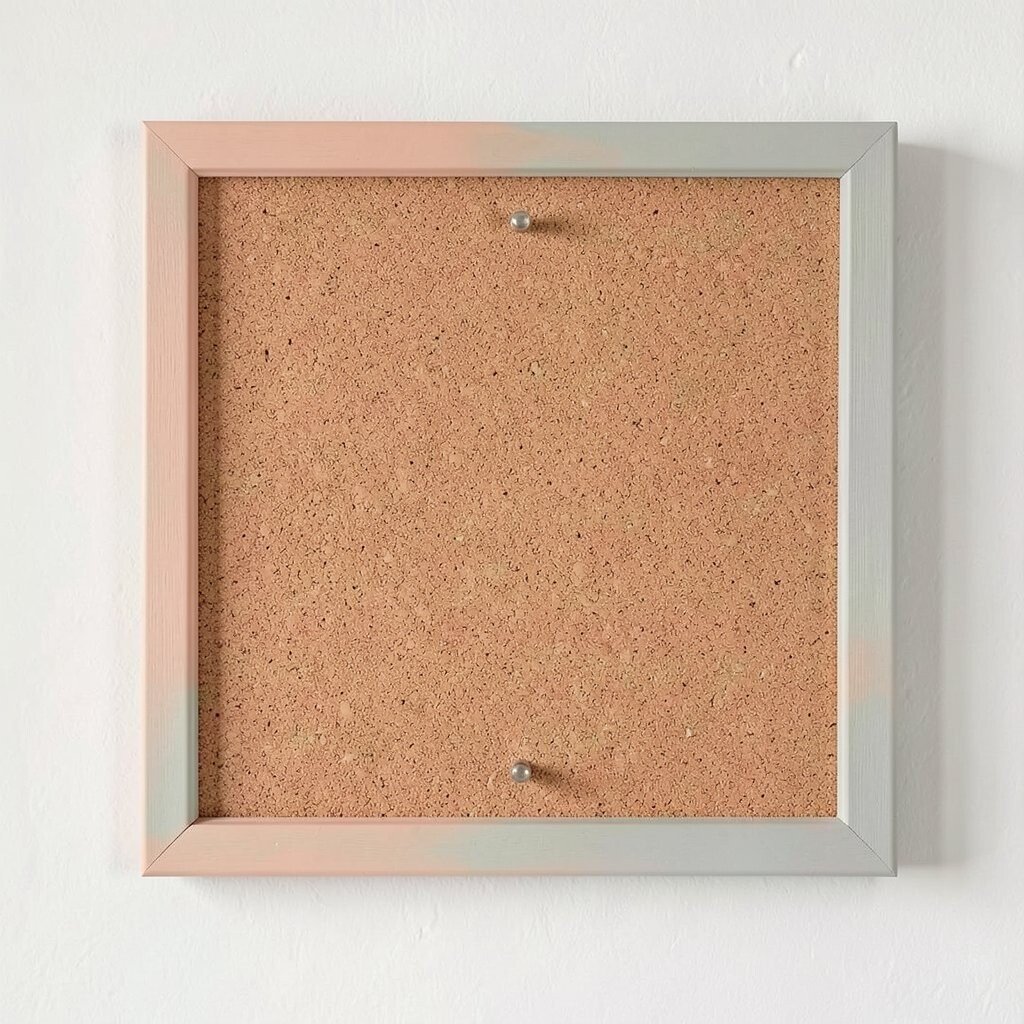
Start with a corkboard, then warm it up with a soft color wash along the edges and frame. You’ll notice how the warm tone makes notes look friendlier and the whole wall feels less harsh.
For practicality, keep the cork’s natural texture where pins need to bite, and paint only the frame or surrounding trim. Choose one gentle shade, like dusty peach or sage gray, and stick to it so your board looks calm. If you have kids or roommates, this kind of board hides small scuffs better than bright, high-contrast colors.
2. Fabric-Backed Message Wall With Tension Clips
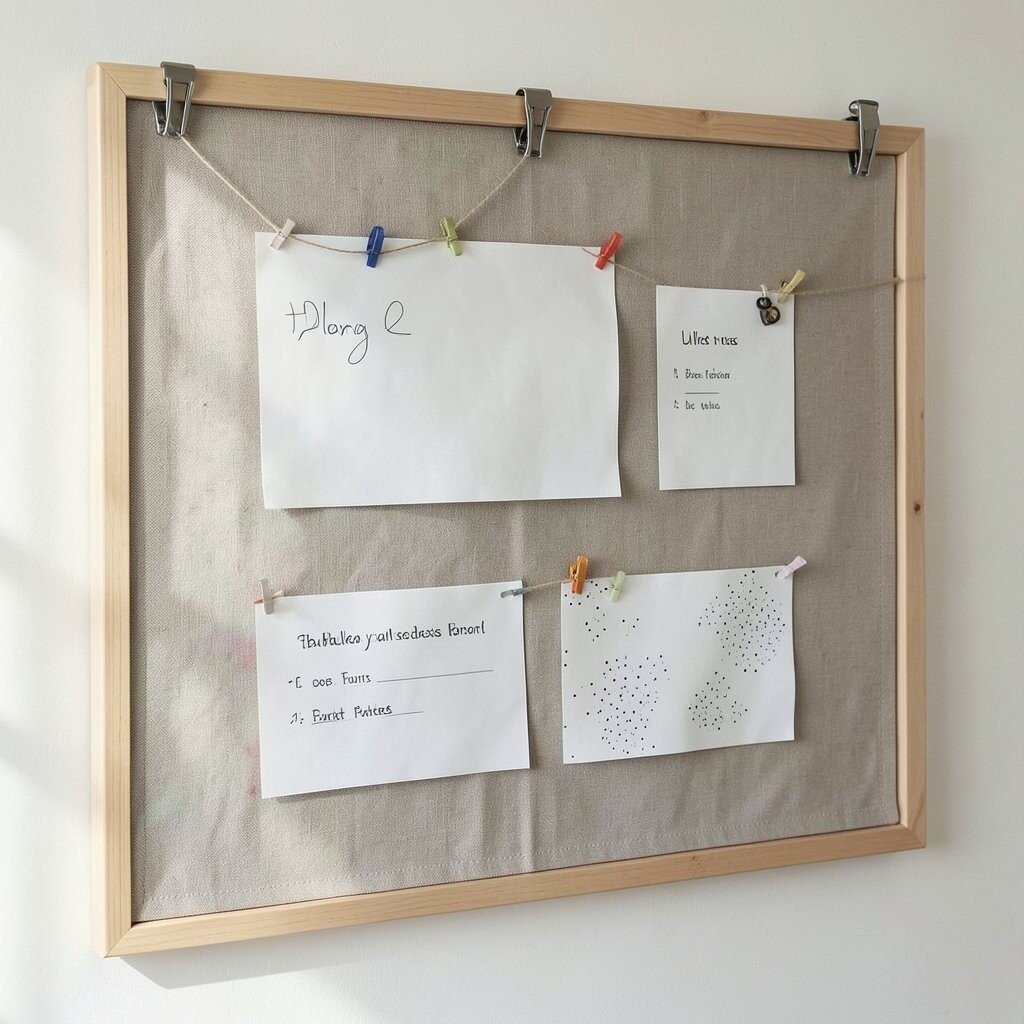
Swap plain backing for a fabric panel stretched tight behind the board area. The sight of neat fabric folds and clean edges makes even simple memos look intentional.
Use tension clips or a simple track to hold fabric in place, so you can change the look with the seasons. This keeps things flexible if you’re into current trends like cozy neutrals or subtle pattern pops. It also helps with personalization, because you can match your space colors without repainting anything.
For cost, look for bargain cotton or canvas remnants, then add backing behind the fabric so your pins still work well. Keep the fabric pattern small if you want the board to read as tidy. Pair it with short strings or small photo magnets so your message area feels lively without clutter.
3. Pegboard Grid for Notes, Keys, and Playful Charms
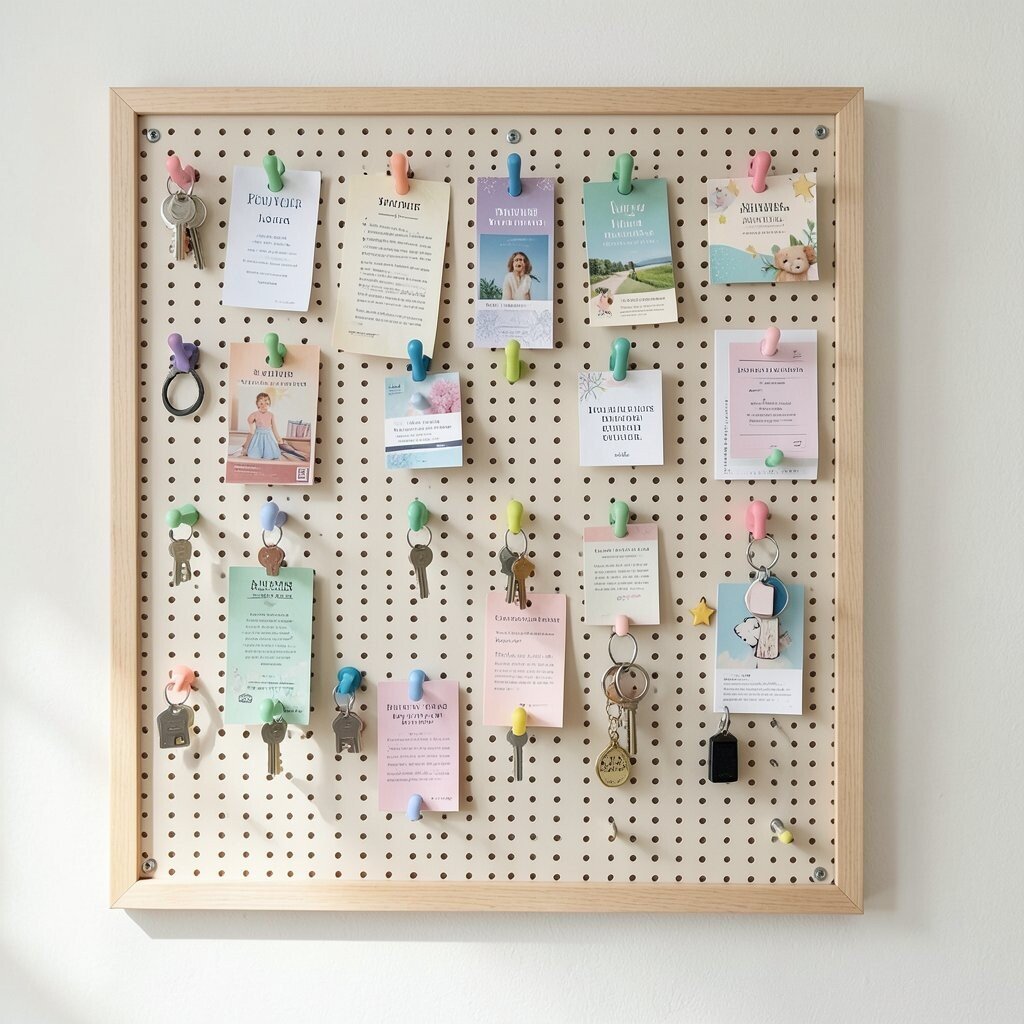
A pegboard turns your bulletin board into a tidy command center with visible structure. You’ll love how the grid makes everything look organized, even when you’re busy.
Use colored hooks and small clips to hold cards, tickets, and reminders, then add a few charming accents like tiny stars or pastel pegs. When you can see your supplies at a glance, it’s easier to remember what you need and where it is. For a practical setup, group items by purpose, such as study, chores, or upcoming events.
Keep weight in mind by using sturdy hooks for heavier items like key rings. For personalization, paint the pegs in two matching colors, and let the rest stay neutral. This style is also trending right now because pegboards feel modern but still cozy.
If you’re on a budget, buy a smaller pegboard and add it near eye level first. That way you get the impact without buying too much hardware. A little grid can still brighten a whole wall.
4. Magnetic Paint Panels for a Clean, Pin-Free Look
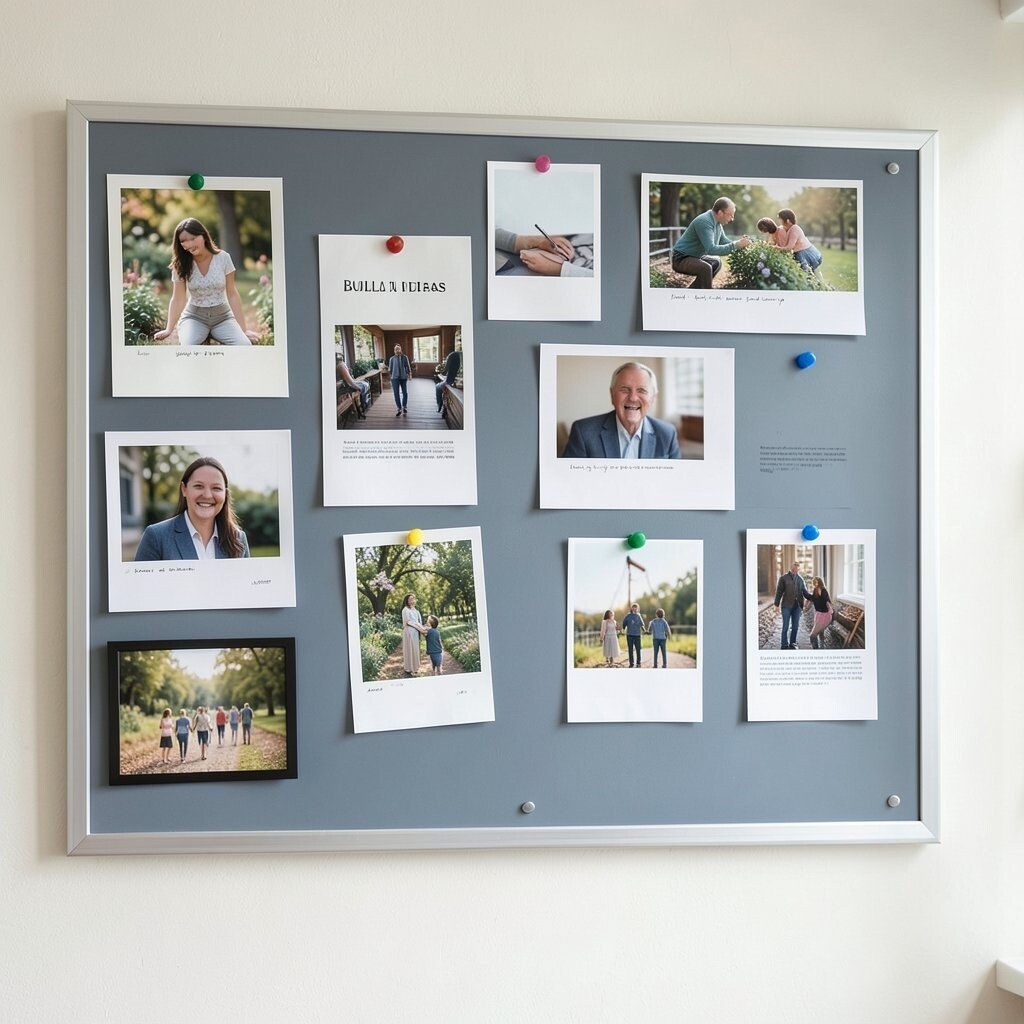
Magnetic paint creates a smooth surface where you can attach notes with magnets instead of pins. The result looks sleek, and your wall feels more polished than a traditional board.
Use strong magnets for thicker papers and smaller ones for quick reminders. It also helps protect photos and artwork because you won’t be poking them with push pins. For practicality, keep a few magnet sizes on hand so you can match the weight of what you hang.
5. Photo and Letter Collage Corner With a Theme
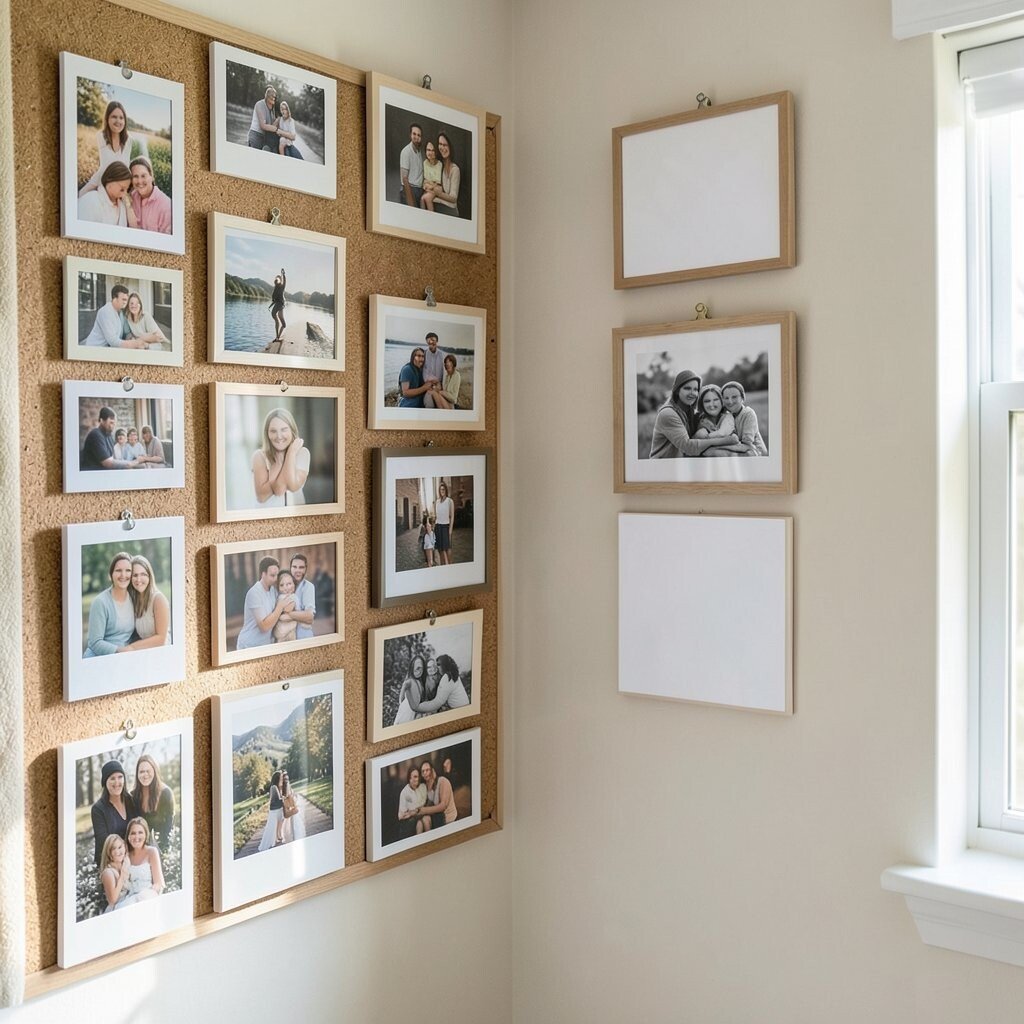
Build a collage corner by mixing photos, small letters, and even a few pressed items in a single theme. Visual variety adds warmth, and the wall starts telling a story instead of just listing tasks.
Pick a theme that matches your life, like travel memories, family moments, or “things I want to try.” Use matching frames or consistent clip styles so the wall feels designed rather than random. This approach is unique because it turns the board into a mood board that still functions as a reminder station.
For personalization, leave a blank area for new additions so the collage can grow. It’s also easy to keep cost low by using frames you already own and printing small photos at home. If you like current trends, try a mix of Polaroid-style borders and simple black-and-white prints for a modern look.
6. Strip Banner With Mini Clips Along the Top
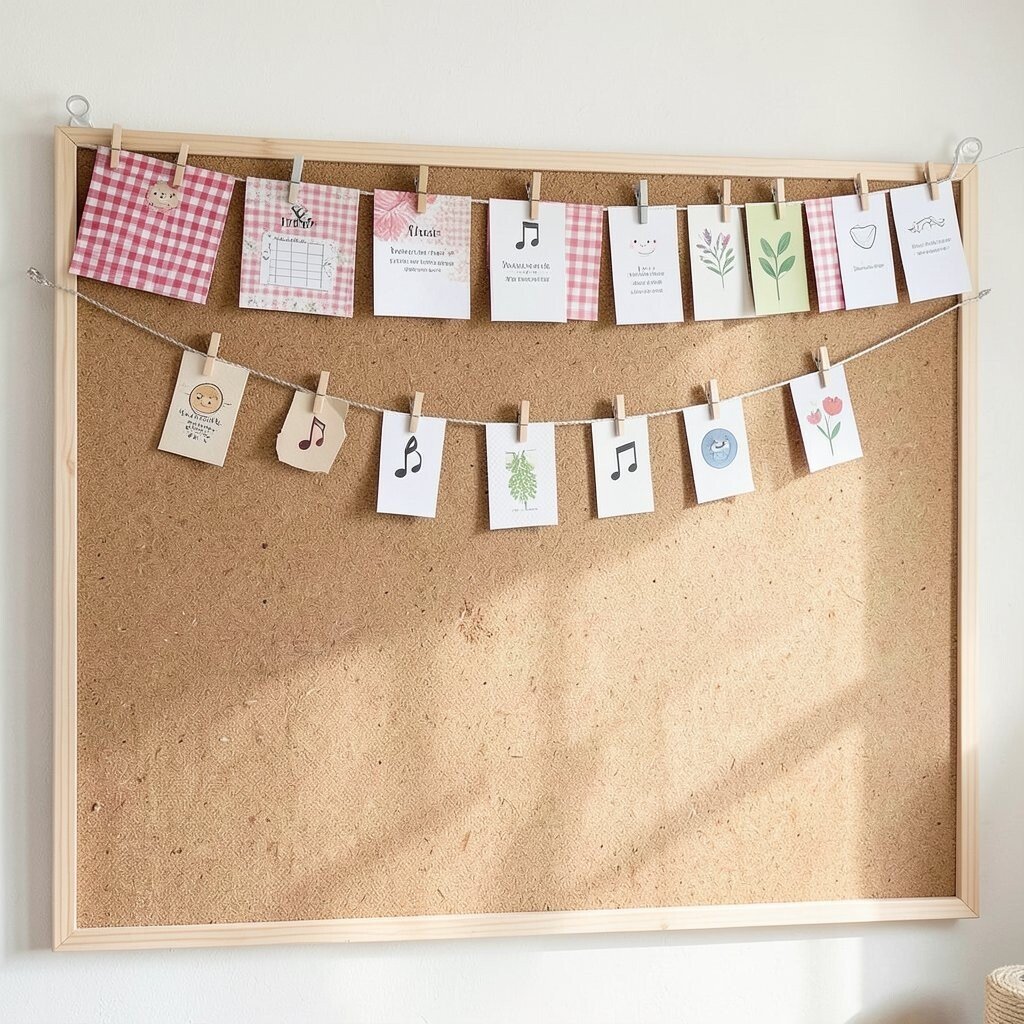
A strip banner across the top of your board creates a playful “heading” zone for updates. Even if your main board is simple, the banner line makes the whole wall feel brighter and more cheerful.
Use small clips attached to string or a thin rod so you can swap cards quickly. This is great for practical routines, like posting weekly goals, school schedules, or a rotating list of house rules. Choose materials that match your decor, such as gingham fabric for a cozy feel or metallic twine for a more modern vibe.
For personalization, add a few tiny character cutouts that match your hobbies, like music notes or plant leaves. If cost matters, you can make the banner from thrifted fabric scraps and a spool of twine. Keep the design light and airy by using short cards instead of bulky pages.
7. Chalkboard Section for Daily Messages
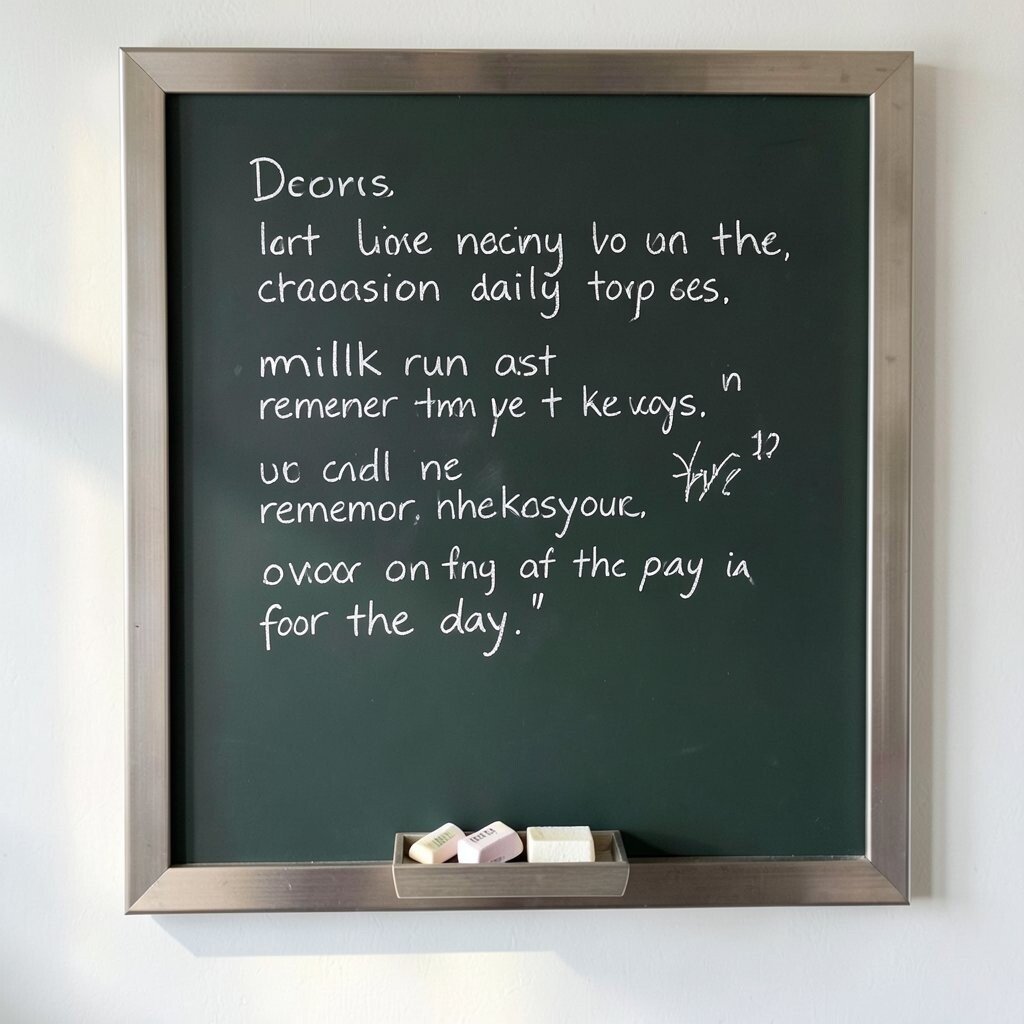
Add a chalkboard patch so you can write daily notes in your own handwriting. Seeing fresh words on a dark surface feels lively, and it’s easy to refresh in seconds.
For practicality, keep a small tray with chalk and an eraser right below the board, so you don’t hunt for supplies. Use it for quick reminders like “milk run,” “remember the keys,” or a friendly quote for the day. This can make your space feel more personal because your handwriting becomes part of the look.
Choose a chalkboard paint product made for smooth surfaces, then frame it with a matching wood or metal edge. Cost is usually manageable since a small section goes a long way. If you want a trend-forward style, consider a matte dark green chalkboard rather than classic black for a softer, homey vibe.
8. Washi Tape Border With Pin-Friendly Zones
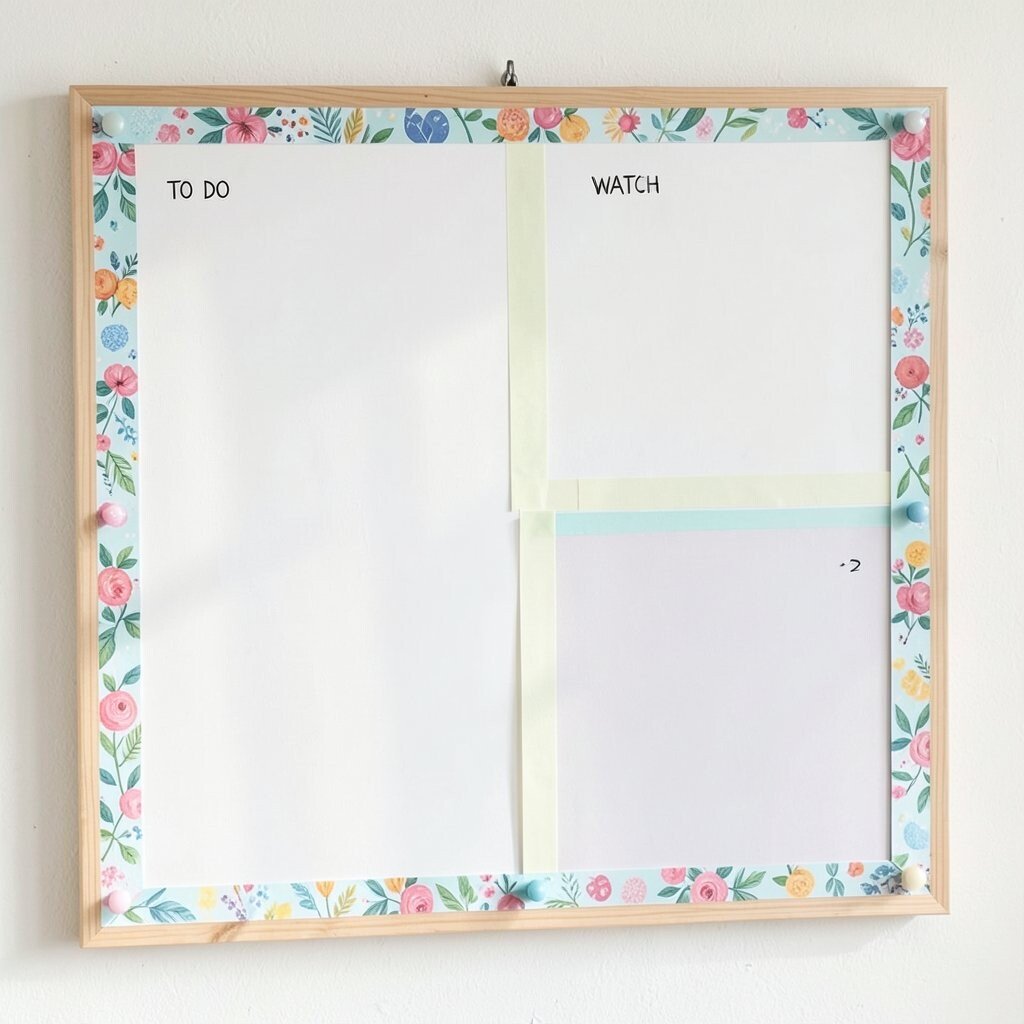
Outline your board using washi tape borders that you can replace anytime. The soft colors and easy swaps bring instant brightness without committing to paint.
Create pin-friendly zones by leaving certain parts clean so push pins go in without tearing tape. You can also use tape to mark sections for “to do,” “watch,” or “remember,” which makes the board more functional. This is a fun way to personalize because washi tape patterns change with your mood and seasons.
9. Laminated Theme Strip for a “This Week” Display
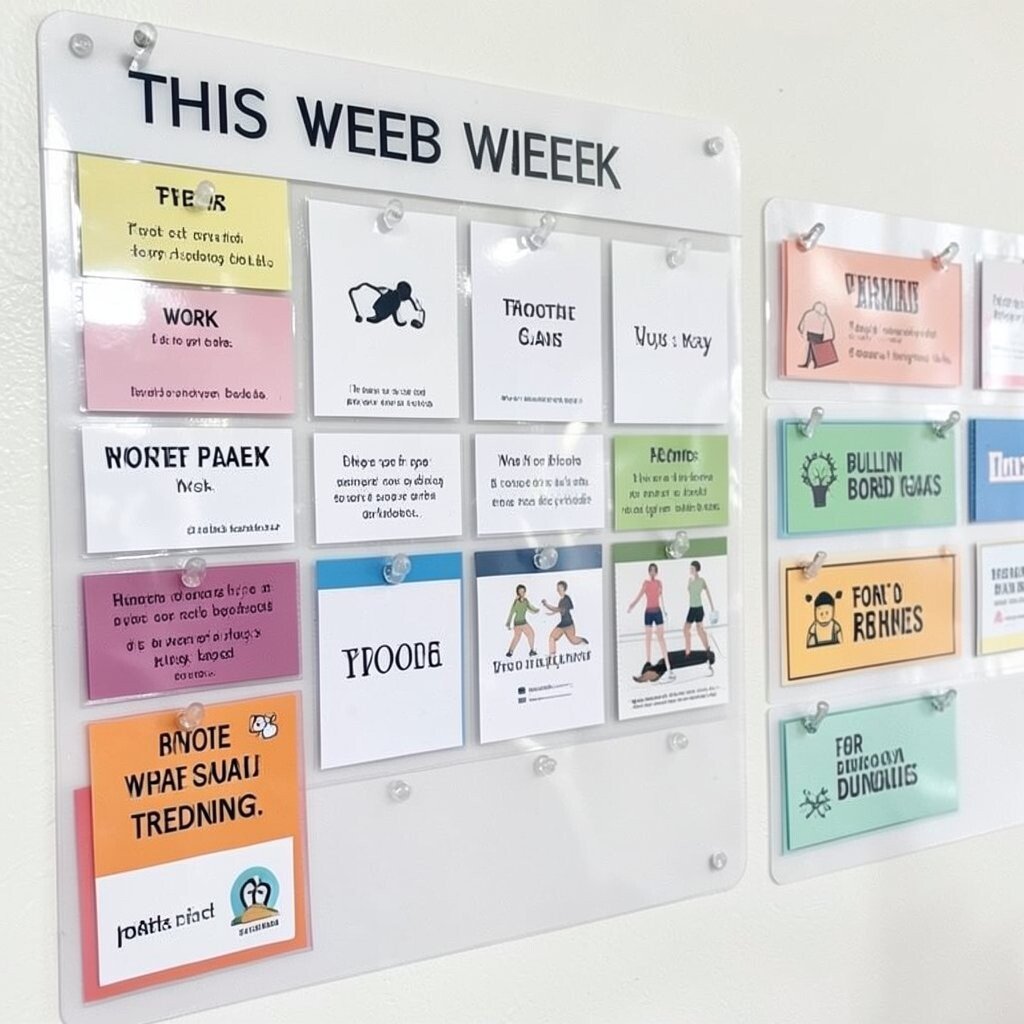
Make a “this week” strip using laminated cards that you can swap out. The shiny surface keeps it neat, and it looks crisp even when you add lots of items.
Write key dates, workout plans, or reminders on the cards, then secure them with clear clips or magnets. You’ll notice how a single strip helps your brain focus because it reduces scattered notes across the entire board. For uniqueness, use color coding, like one color for work, one for home, and one for personal goals.
To keep costs low, print on regular paper and laminate at home if you can, or use cheap laminate sleeves. Choose durable card sizes so they fit your clips and never sag. If you like what’s trending, try a clean minimalist look with lots of white space and one accent color.
10. Calendar and Sticky Notes Combo for Quick Planning
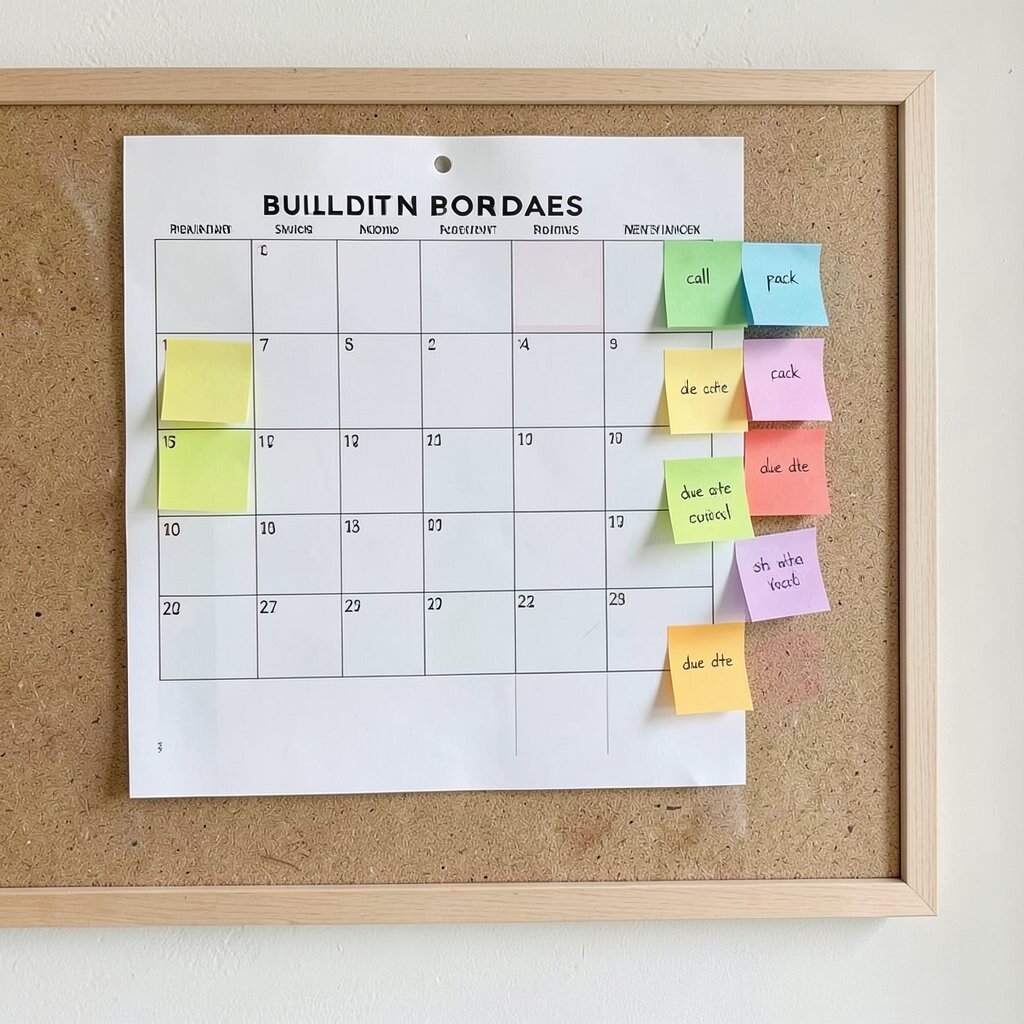
A calendar plus a sticky note area turns your bulletin board into an at-a-glance planning hub. The bright pop of sticky notes makes tasks feel lighter and easier to move around.
Use a simple calendar grid, then reserve one side for sticky reminders like “call,” “pack,” or “due date.” This works well because sticky notes are practical to adjust, and you can reorganize your plan without rewriting everything. Pick sticky note colors that match your room for a cohesive look.
For personalization, let each person in the home use a different color so everyone’s reminders are easy to sort. Cost can be kept reasonable by using an existing calendar printout and adding a small sticky note holder. If you enjoy current trends, aim for a tidy “bullet journal” style with clean fonts and simple icons.
To maintain order, refresh the board at a set time each week so old notes don’t pile up. A quick reset keeps the visual energy bright and not cluttered.
11. Ribbon Wall With Tagged Memories and Mini To-Dos
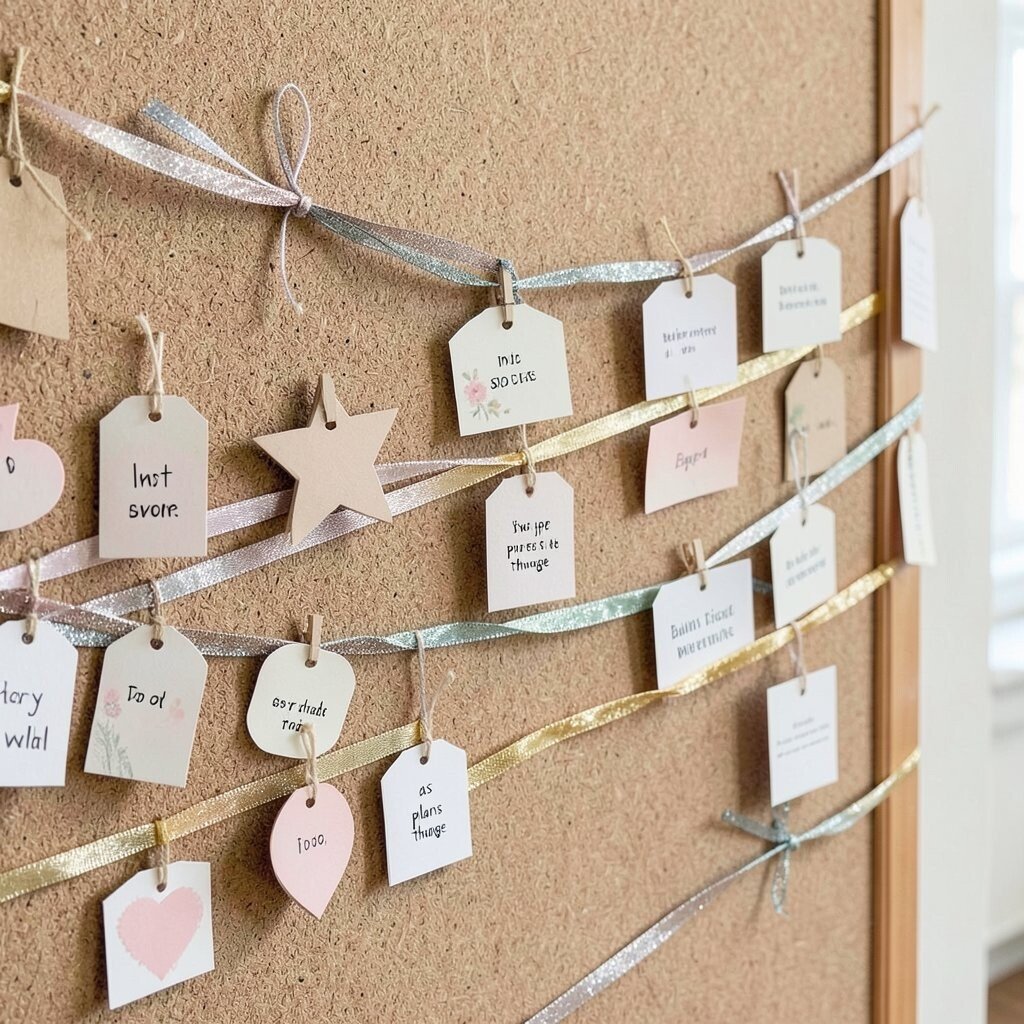
Hang ribbons across a portion of your board and attach tags with string or small clips. The flowing lines of ribbon add movement, and the tags make the whole area feel warm and handmade.
Write mini to-dos on small cardstock tags so you can swap them as plans change. This gives you practical flexibility while keeping your display pretty. For uniqueness, vary tag shapes, like stars, hearts, or simple rectangles, and keep the colors coordinated.
Cost considerations are friendly here since ribbon and cardstock are often inexpensive. Use leftover wrapping paper or old greeting cards as tag backgrounds to save money and add character. If you want a trend vibe, add a touch of metallic thread or gold-edged paper for a modern, sparkly feel.
12. “Art First” Display With Rotating Student or Hobby Work
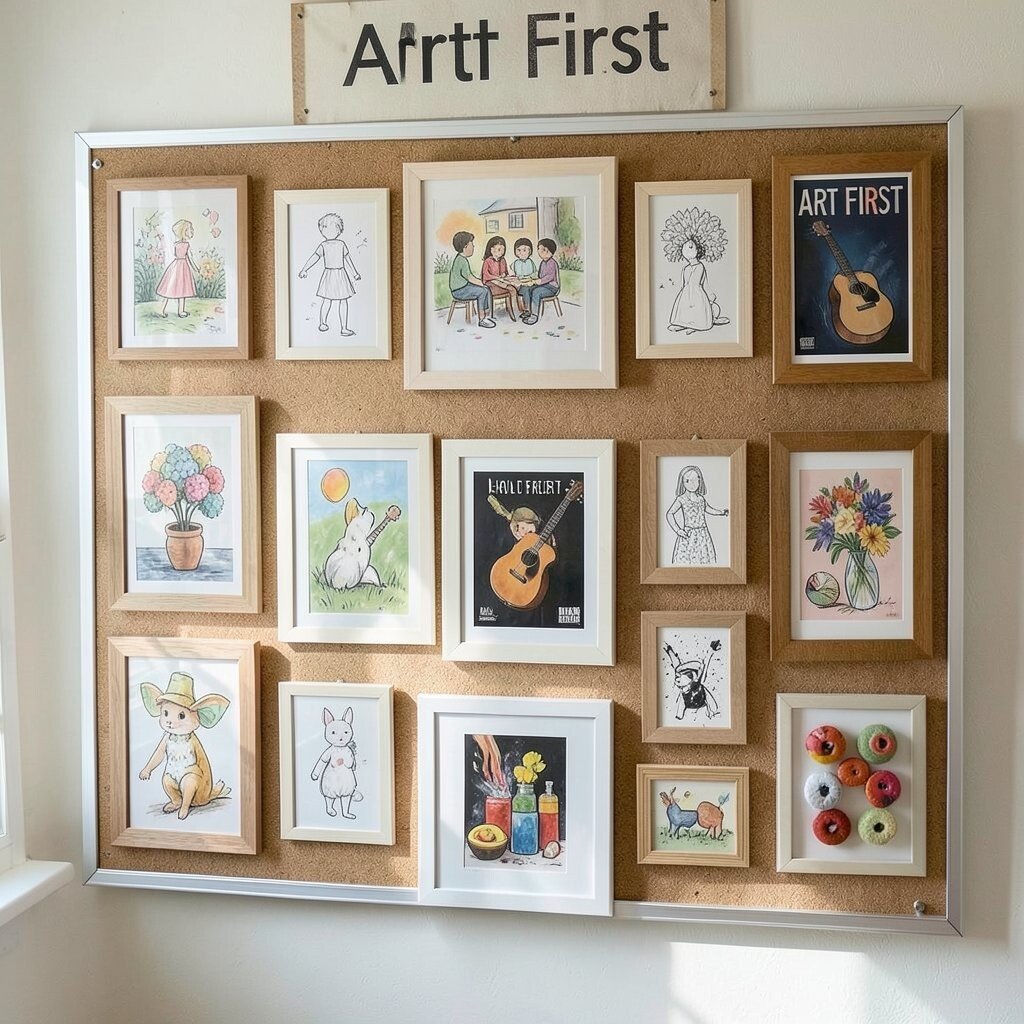
Give your board a home for rotating art pieces, sketches, and hobby projects. When artwork is front and center, the space feels creative and encouraging right away.
Use a clear grid of frames, clip rails, or photo corners so swapping is fast. This makes the board practical for busy weeks because you can change what’s on display without fuss. Personalization happens naturally as your space reflects real interests, like drawing practice, music posters, or handmade crafts.
For cost, use thrifted frames and adjust sizes as needed, then add them in stages. Choose a consistent mat color, like off-white or light gray, to keep the look neat even when the artwork is varied. This “gallery wall” style is a current favorite because it feels personal and polished at the same time.
13. Natural Material Board With Twigs, Jute, and Pressed Botanicals
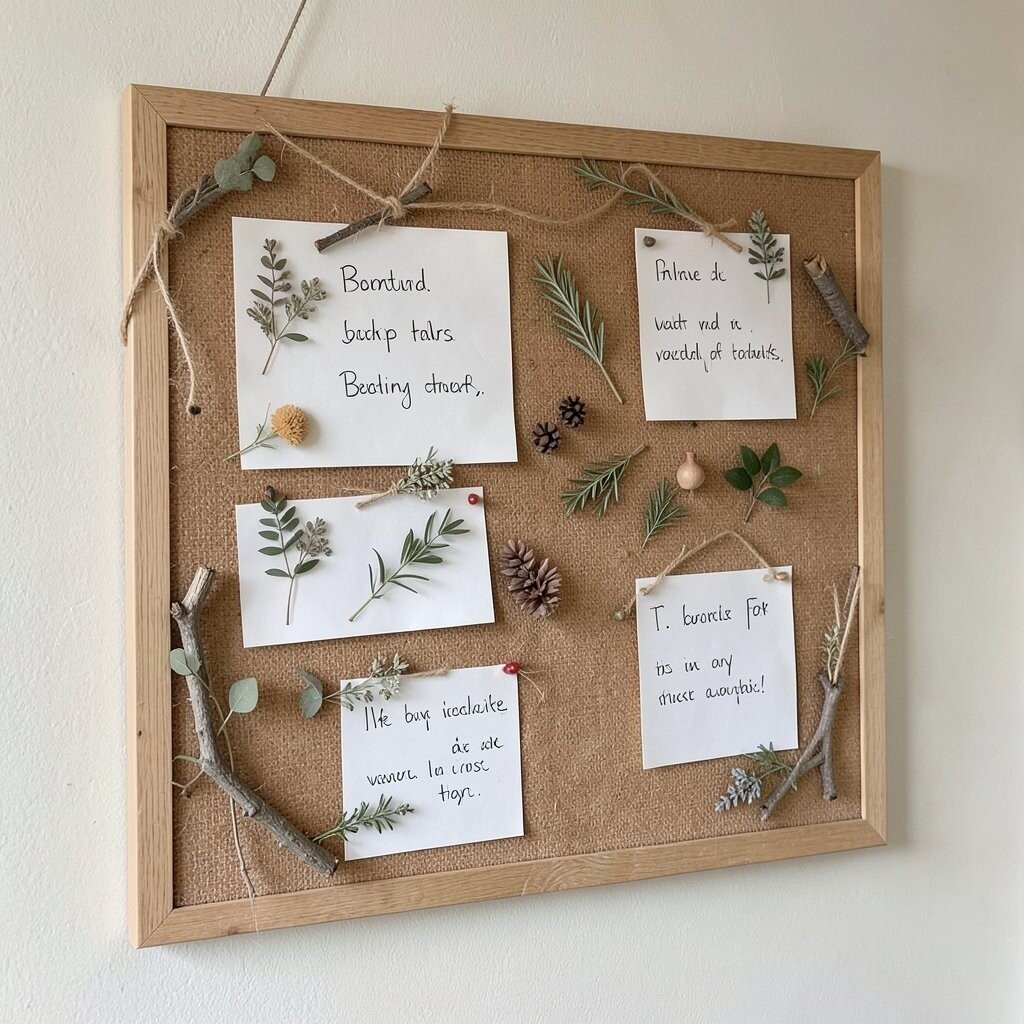
Bring in natural textures by adding jute, twine, or a few small twig accents to your bulletin board. The warm look of natural materials makes notes feel grounded, and the whole wall softens.
Pin or clip pressed botanicals in small clusters for visual charm and a gentle seasonal touch. This is uniquely calming, and it pairs well with clean handwriting for a cozy vibe. For personalization, use colors from your surroundings, like greens from houseplants or warm browns from wood shelves.
Cost considerations are usually low because natural supplies can be sourced from affordable craft stores or saved from everyday items. Just keep weight in mind so the board stays functional, and avoid placing heavy items where pins can tear. If you like current trends, earthy tones and “slow home” aesthetics are very popular right now.
14. Lighting-Enhanced Board With Fairy Lights or LED Strips
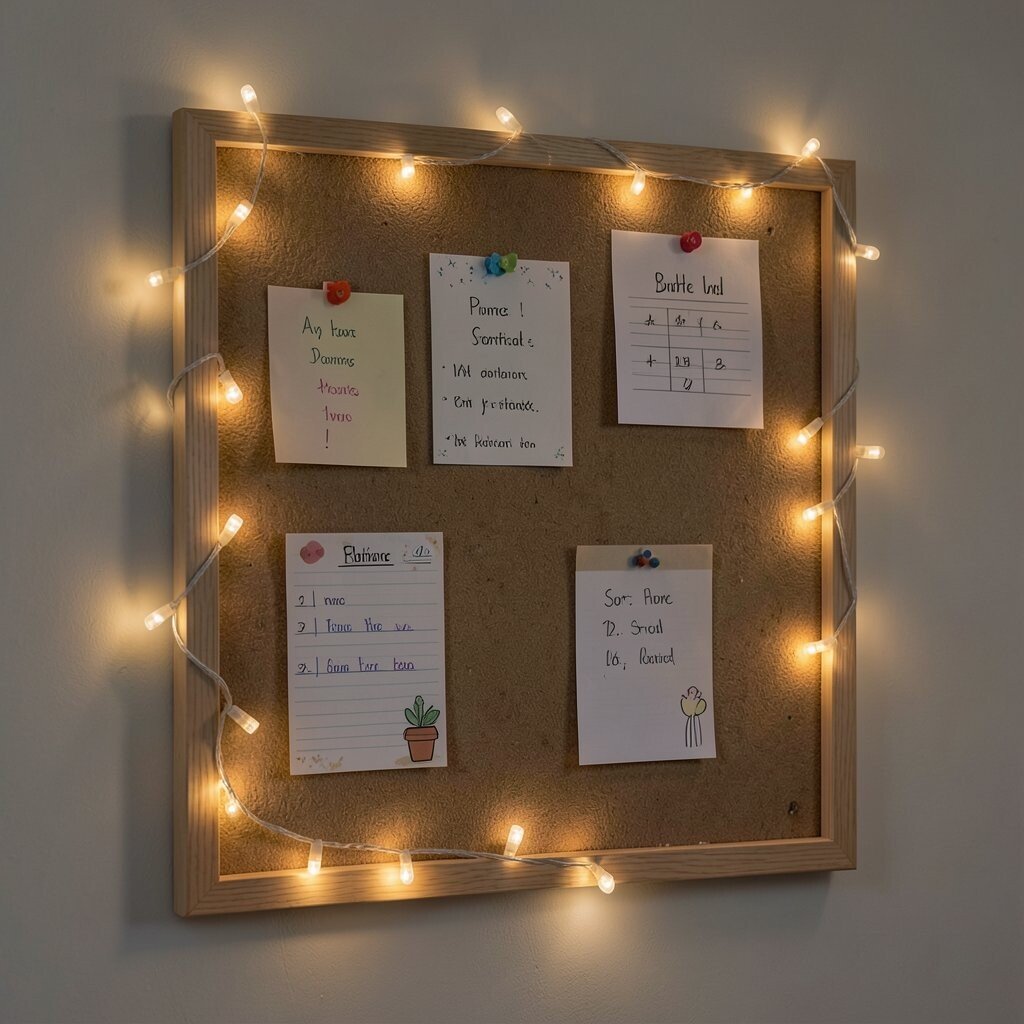
Add soft lighting so your bulletin board glows in the evening. The gentle sparkle helps your notes stand out, and the space feels cozy even when the room is dim.
Use battery-powered fairy lights or a thin LED strip to avoid messy cords, and tuck them along the frame for a clean look. This setup is practical because it highlights what you need to see, like reminders and schedules, without turning the room into a spotlight. Personalization is easy by choosing warm white lights for calm or colored lights for fun celebrations.
For cost, start with a small strip and expand only if you love the effect. Choose lights with steady modes instead of constant flashing so reading notes stays comfortable. If you want the current vibe, try warm, dim lighting and pair it with neutral boards and simple card layouts.
To keep it tidy, anchor the lights securely and keep pins away from the cable path. When everything sits neatly, the board looks bright and intentional all day long.