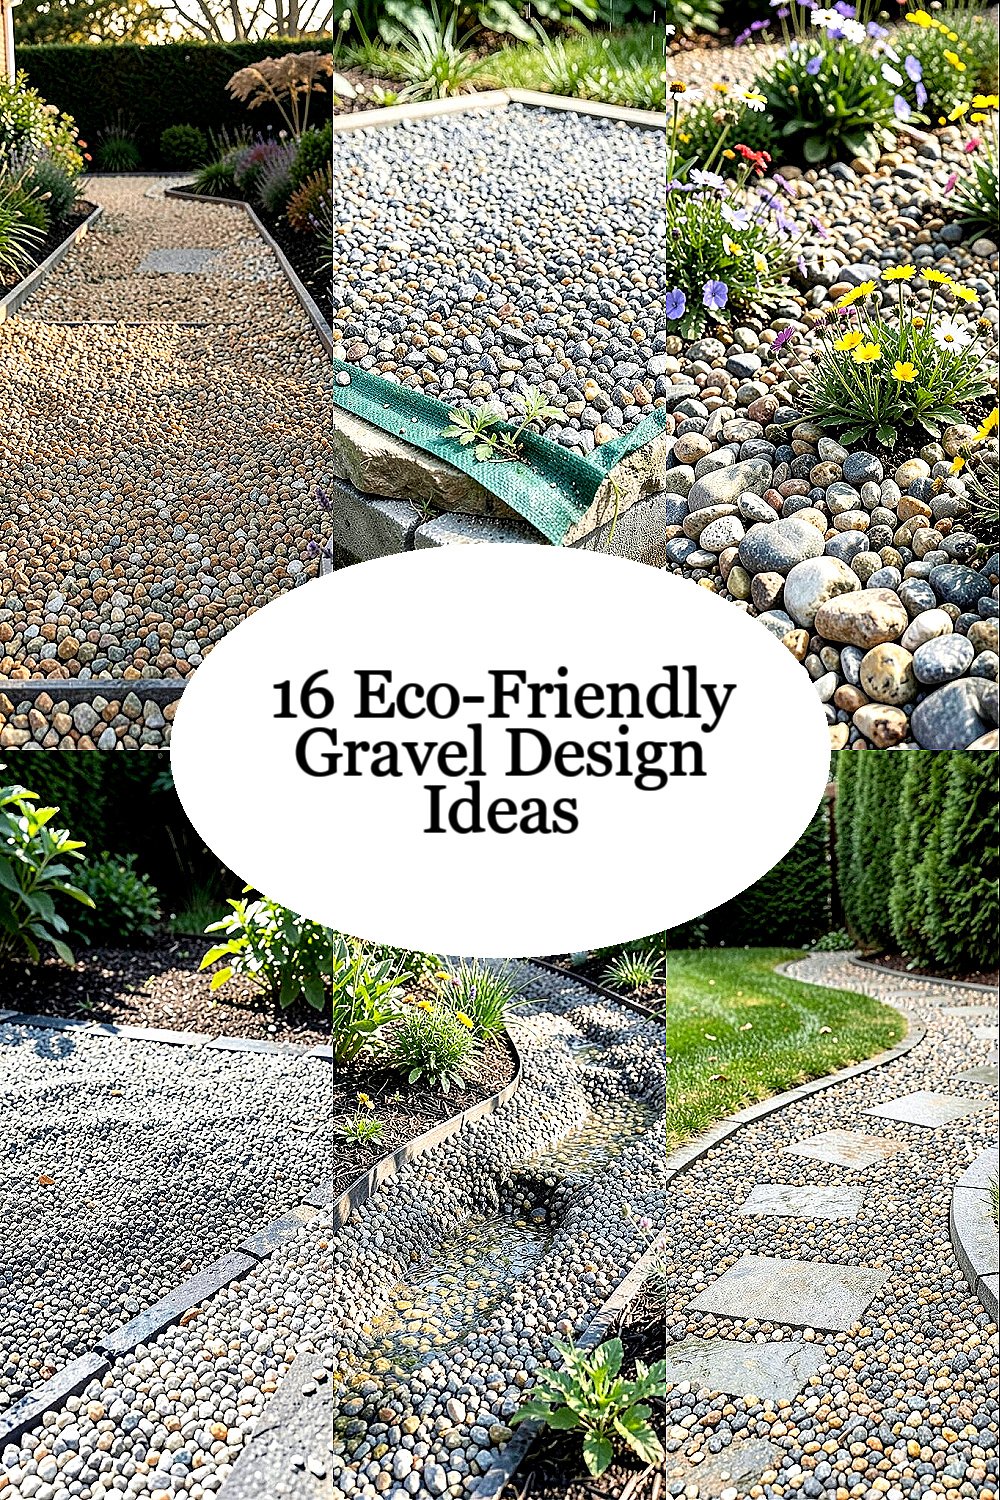
Gravel can make your garden feel calm, crisp, and alive with texture. With a few smart choices, it can also help the earth beneath it.
From saving water to supporting beneficial bugs, the right gravel plan can do more than look good. Let your yard become a low-maintenance space that still feels personal and welcoming.
1. Choose Native Stone Colors That Match Your Landscape
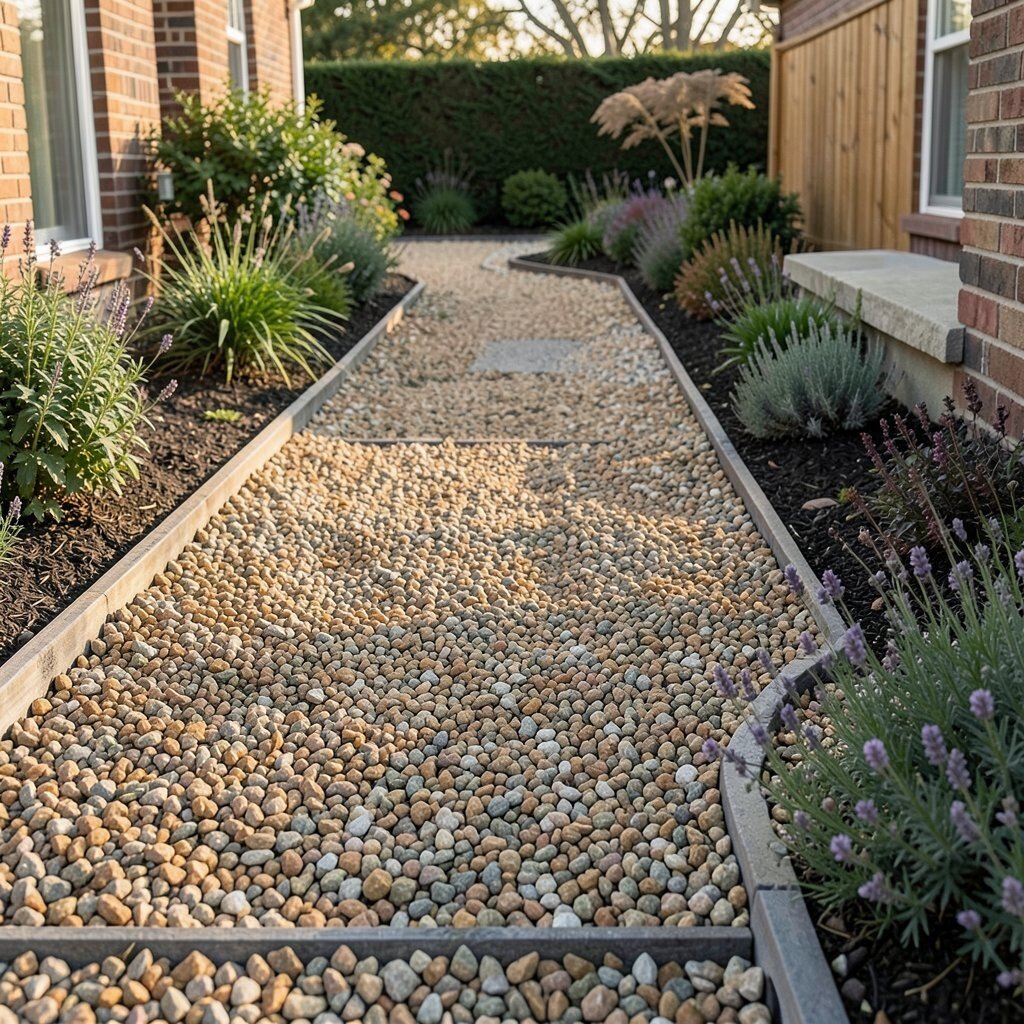
Pick gravel shades that already exist around your home, like warm tans, soft grays, and muted browns. When stone tones echo nearby plants and soil, the whole garden looks like it belongs together.
Native-looking gravel reduces the “jarring” feeling that can come from bright, unnatural colors. You’ll also find it easier to style because fewer elements compete for attention.
To make it practical, walk your property at different times of day and note how light changes the ground. Then select a gravel bag or sample tray that looks good in morning and evening, not just under store lights.
2. Build a Water-Smart Base With Weed-Resistant Layers
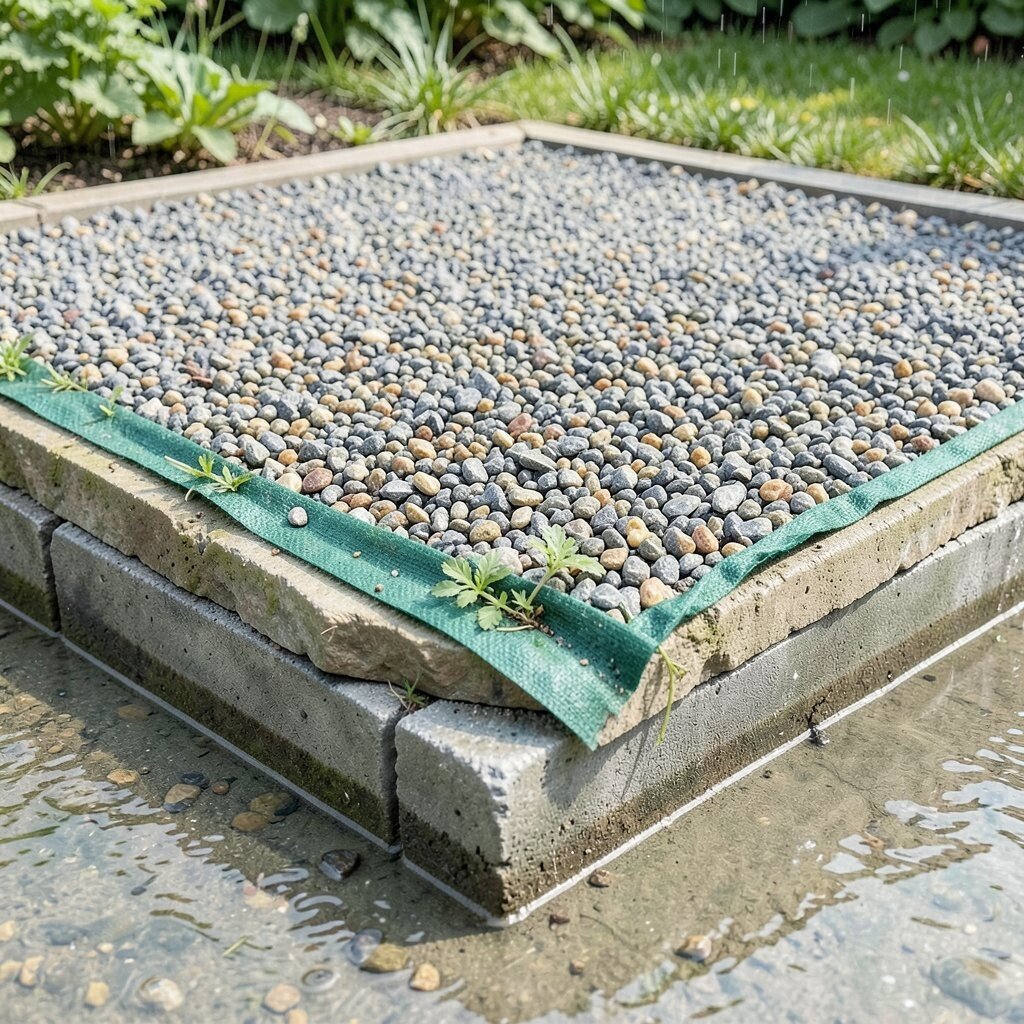
Start with a firm, clean base so water can move the way you want it to. A good sub-layer helps prevent sinkholes and keeps your gravel flat and tidy.
Use weed-resistant fabric under the stone to cut down on unwanted growth without harsh chemicals. This approach keeps maintenance lower, especially in sunny spots where weeds usually rush in.
For best results, clear roots and thick plant matter before you add layers. Keep edges neat with border material so gravel stays in place during rainstorms.
3. Create a Pollinator-Friendly Gravel Border With Mixed Texture
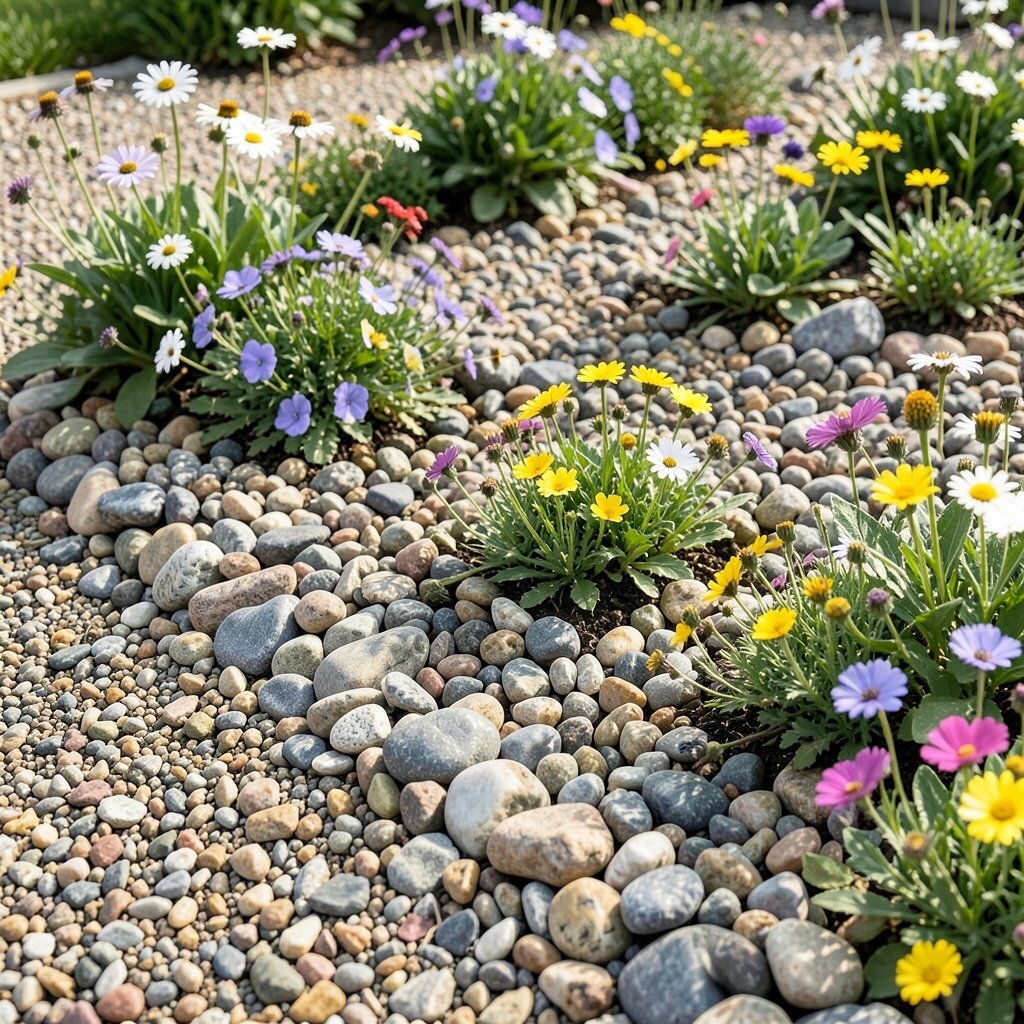
Not all gravel is the same texture, and that variety can help small creatures find safe places to rest. Mix fine gravel with a little larger stone so flowers can look natural and confident.
Choose borders near bloom zones so pollinators can move between petals and ground cover easily. You’ll get a lively look while still keeping the area low-fuss.
If you want it to feel cohesive, keep one “main” color and vary size and sheen. This gives the border depth without turning it into a scattered pile.
Plant in small drifts rather than straight lines, then let the stones frame the drifts. When the flowers finish, the gravel still holds the shape and keeps your design looking intentional.
4. Use Recycled Gravel to Reduce Waste and Cost
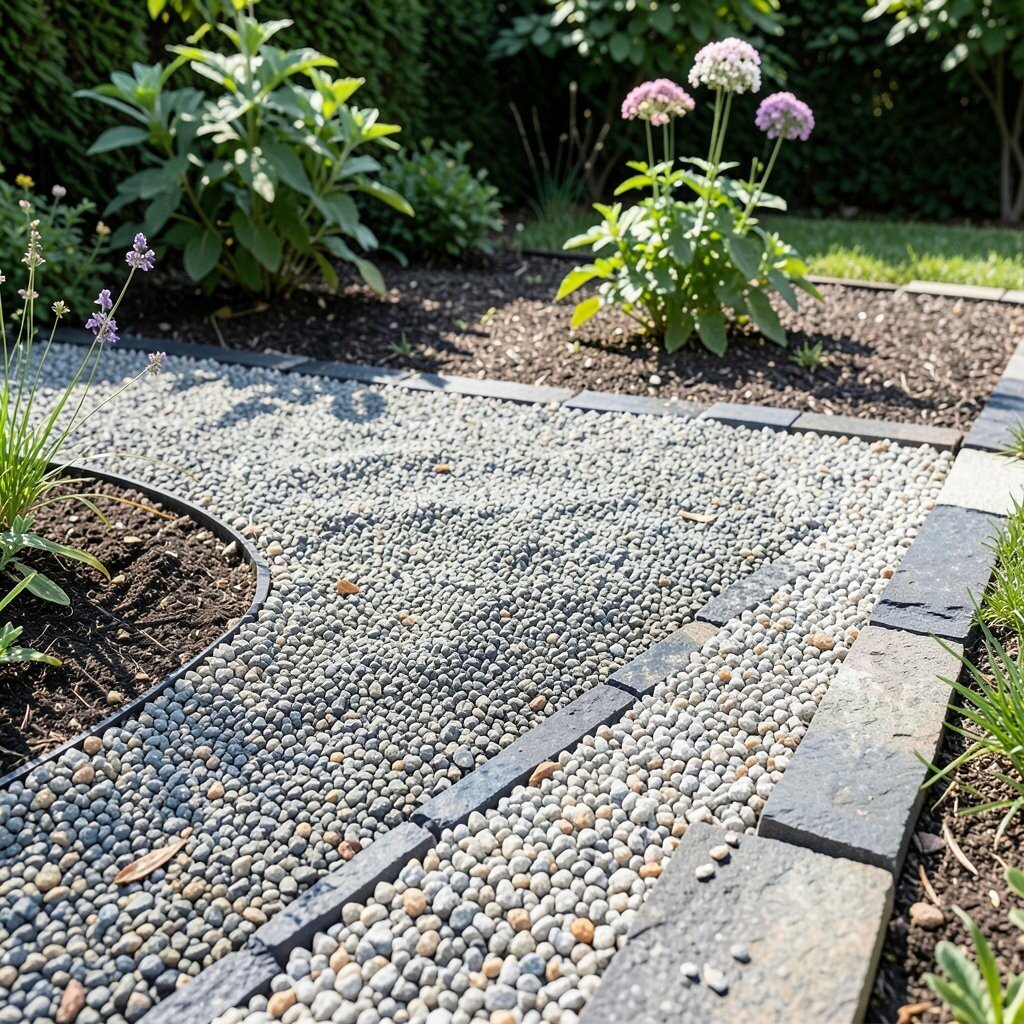
Recycled gravel can look great while keeping construction waste out of landfills. Many local suppliers offer screened recycled aggregate that packs well and stays stable.
Because it’s often priced more gently than brand-new stone, it can fit a wider budget. You can use it for paths, parking pads, and large garden beds where durability matters most.
Ask how it’s been processed so you understand grain size and cleanliness. If you’re using it near plants, keep the area topped with a thin layer of finer gravel so roots and soil stay comfortable.
To personalize the look, add a stripe of darker recycled stone along one edge. Small “design moves” make recycled materials feel chosen, not leftover.
5. Make Drainage-Helping Swales With Gravel and Plants
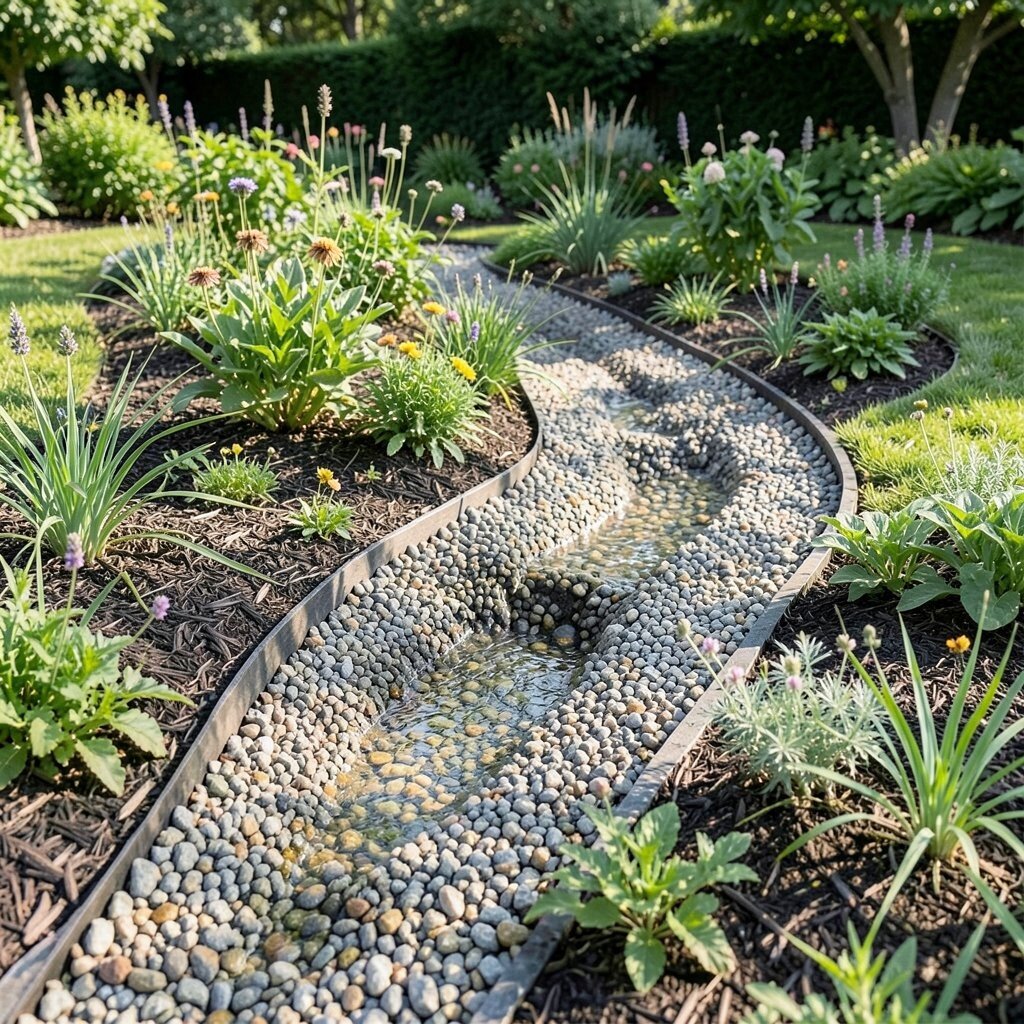
Sometimes the best way to keep a garden healthy is to manage water flow. A shallow swale filled with gravel can guide runoff away from soggy beds and toward areas that can handle it.
Combine stone with thirsty-friendly plants so the water soaks in instead of pooling. This reduces stress on plants and helps soil life work longer in wet weather.
Shape the swale with gentle curves so it looks like part of the landscape, not a ditch. Add a small amount of mulch around plants only, keeping gravel as the main visible layer.
6. Go for Slow-Freeze-Friendly Permeable Paths
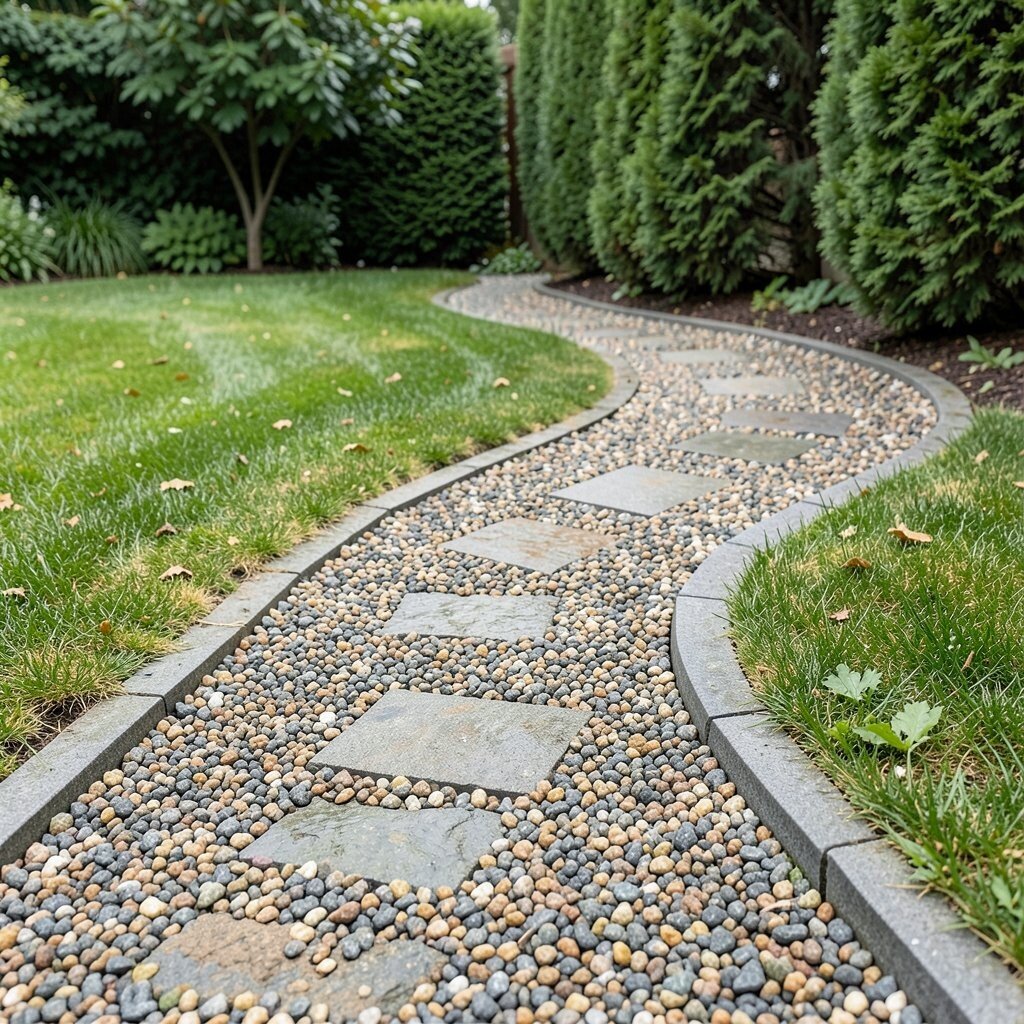
Permeable paths made with gravel and proper edging allow rain to seep down instead of running off. That helps keep stormwater from flooding sidewalks or washing soil away.
To keep it looking neat, use consistent stone size for pathways and install a firm edge restraint. When the edges hold, gravel stays level and feels deliberate.
In colder climates, uneven settling can happen if the base is weak. Compact the base carefully and avoid adding gravel too thick in one go.
For personalization, choose a simple path curve that follows how you actually walk through the yard. A path that feels natural is the one you’ll use every day.
7. Add Steel Edging or Reclaimed Borders for Clean Lines
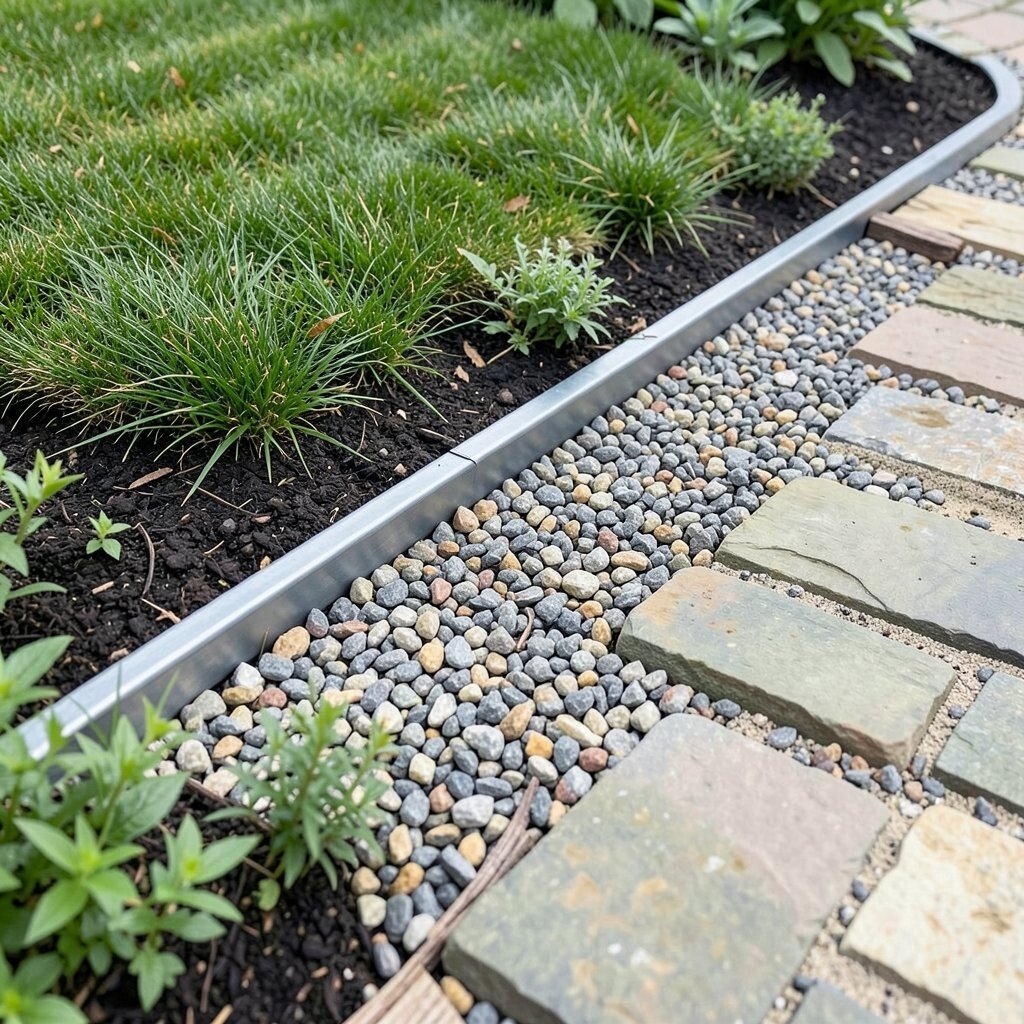
Loose gravel can drift like sand, especially after heavy rain. A strong border keeps the look sharp and makes future cleanups easier.
Steel edging, stone pavers, or reclaimed wood can create a clear boundary between grass, beds, and paths. The garden looks more polished when materials meet with intention.
If you want a softer feel, use slightly rounded border stones rather than strict rectangles. That choice helps gravel blend into planting instead of looking boxed in.
Plan edges first, then buy gravel based on the space you measured. Buying a little extra for settling is wise, but try not to overbuy and waste money.
8. Layer Gravel With Compost for Better Soil Life
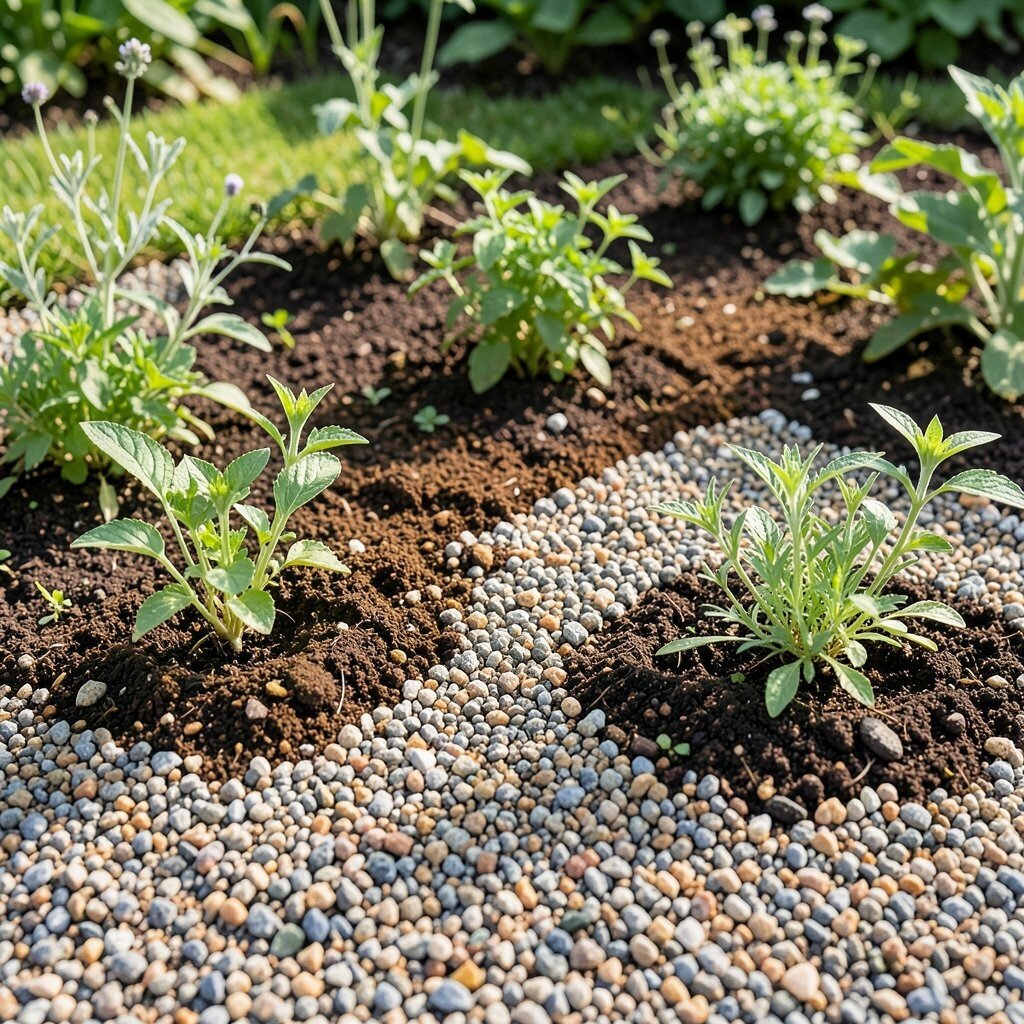
When gravel sits directly on soil, it can reduce airflow and make it hard for tiny organisms to thrive. A mixed approach keeps the ground supportive while still giving you the gravel look.
Work a thin layer of compost into the top soil before adding a gravel mulch. This helps feed earthworms and microorganisms and can reduce plant stress.
Use a fine gravel topping around plants so water still reaches roots easily. The visual contrast stays clean, but the soil stays alive underneath.
To personalize, keep compost areas limited to where you’ll grow plants and herbs. That way, you get eco-friendly support without turning the whole bed into a mess.
9. Pick Screened Gravel Sizes That Fit Each Purpose
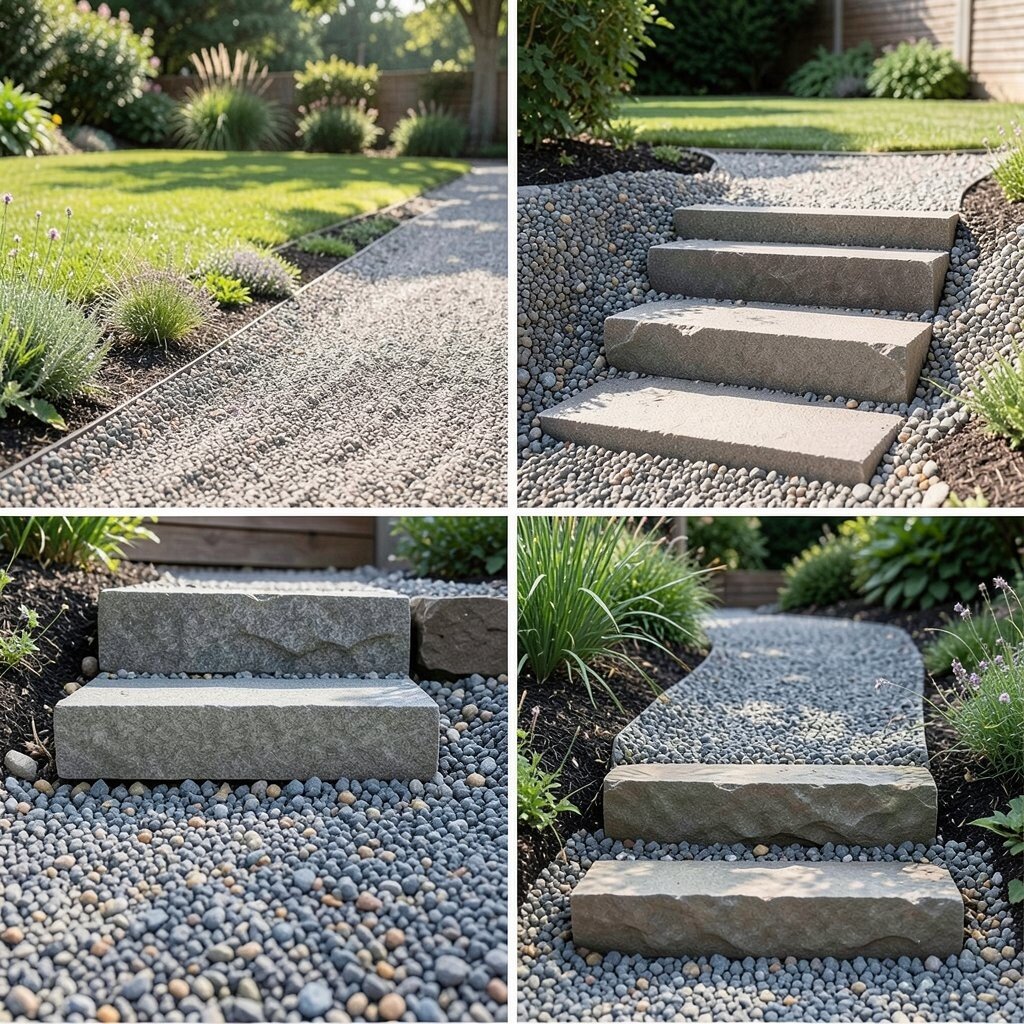
Different areas need different stone sizes, and your eyes can feel the difference right away. Smaller, screened gravel looks smoother and works well for walkways and tidy bed tops.
Larger aggregate adds drama in open areas and helps reduce the “dusty” feel that fine stones sometimes create. It can also stay put better in windy yards.
Match stone size to how you plan to move through the space. If you want comfy steps, choose a more uniform grain that won’t shift too much underfoot.
10. Use Gravel Mulch Under Drought-Tolerant Plantings
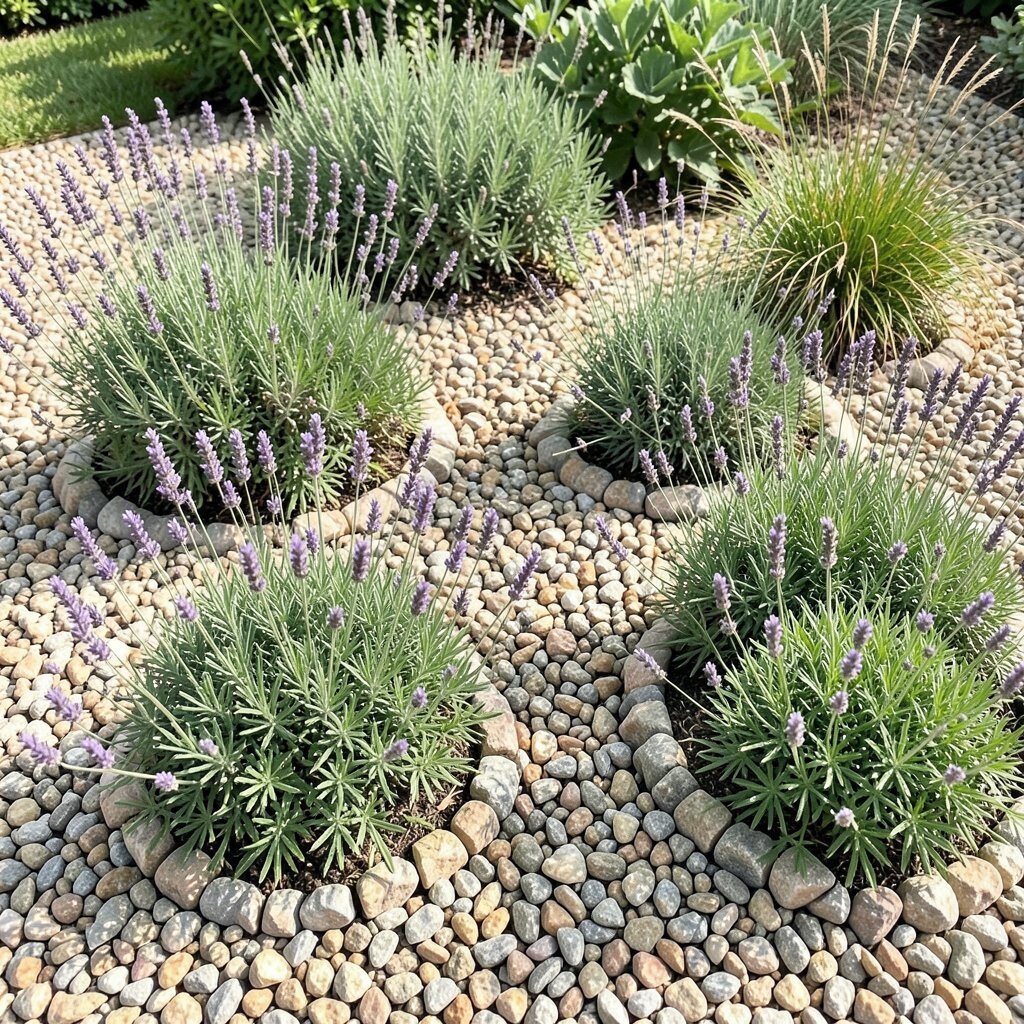
Gravel mulch can help keep soil moisture from evaporating as fast. It also reduces bare-ground heat that can stress plants during hot afternoons.
Place gravel under drought-tolerant plants like lavender, thyme, and ornamental grasses for a clean, modern look. The stones create a neat backdrop that makes leaves and blooms stand out.
Keep gravel a bit away from plant stems so moisture doesn’t linger against crowns. That small spacing can prevent rot and helps plants last longer.
For personalization, try a curved gravel “ring” around each plant cluster. It looks intentional and also helps you see where watering should focus.
11. Add a Charcoal or Dark Topping for a Modern Mood
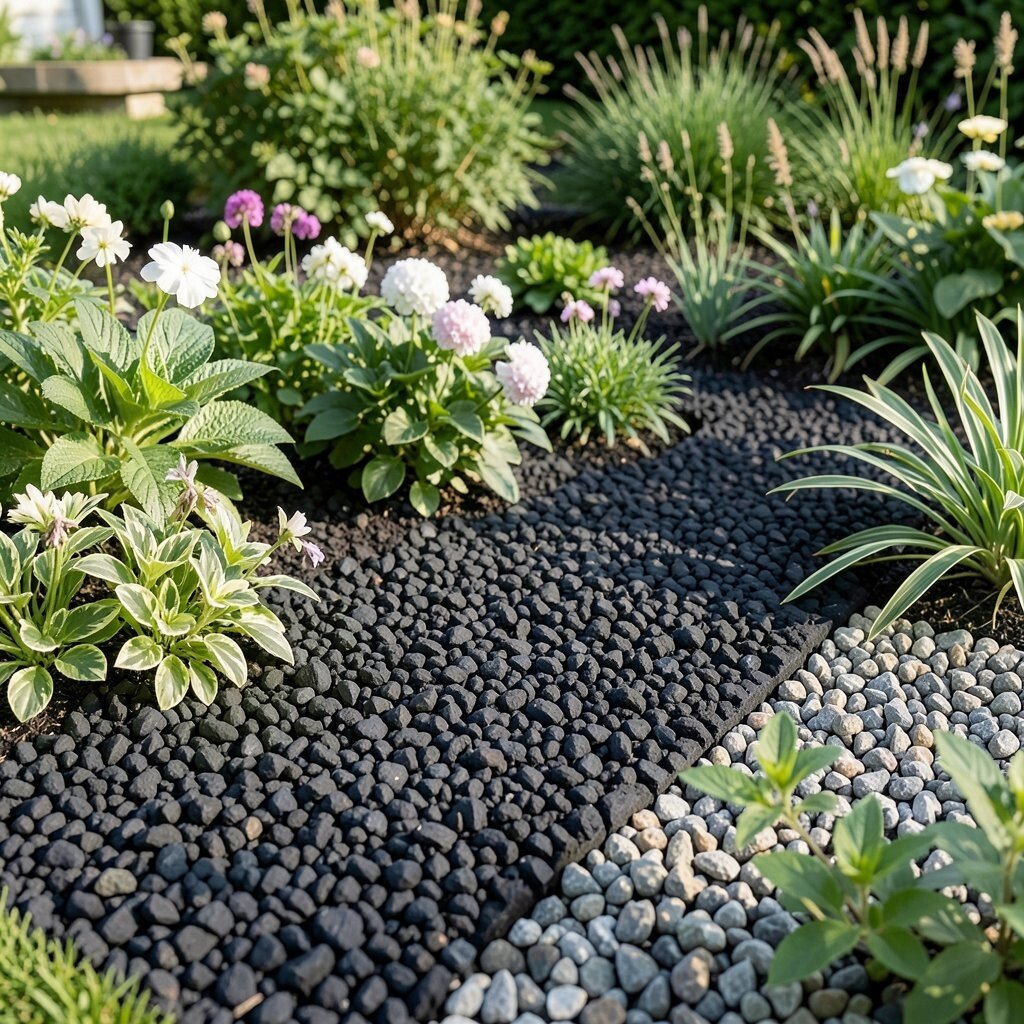
Dark gravel can create a bold, cozy feel and makes green foliage look brighter. If your garden style leans modern or cottage-mixed, it adds contrast without needing extra decor.
Choose charcoal or deep gray stones to ground lighter flowers and variegated leaves. The visual effect often feels like a clean stage for plants.
Remember that darker stones can warm up more in sun. If you have tender seedlings, keep them in shaded sections or use lighter gravel near delicate areas.
To make the look eco-sensible, source locally where possible to cut down transport impact. Using what’s available nearby also helps you match regional stone textures.
12. Make a Kid-and-Pet-Friendly Gravel Zone With Rounded Stone
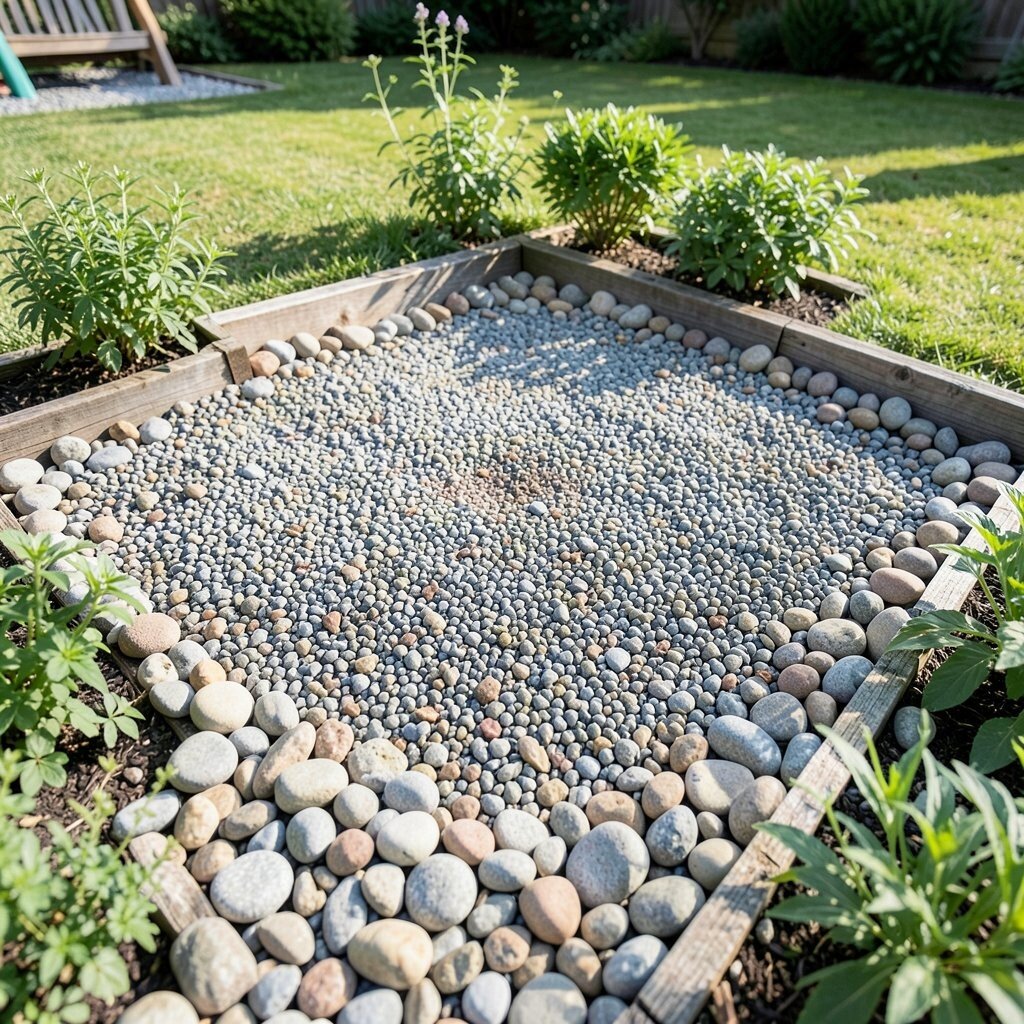
Gravel underfoot can be tricky for kids and pets, so comfort matters. Rounded, smoother stones are less irritating and usually feel nicer when people walk barefoot.
Create a designated area near play zones where you can control the mess and reduce mud tracking. That means fewer wet footprints and less time dragging a hose.
If you have dogs, keep the gravel layer shallow enough that it stays clean and doesn’t hide mess. Add regular raking to keep the surface tidy and to spot any weeds early.
For personalization, place a few low, sturdy plants at the edges to soften the look. The boundary feels friendly instead of strict and utilitarian.
13. Improve Weed Control With Smothering Layers and Manual Spot Work
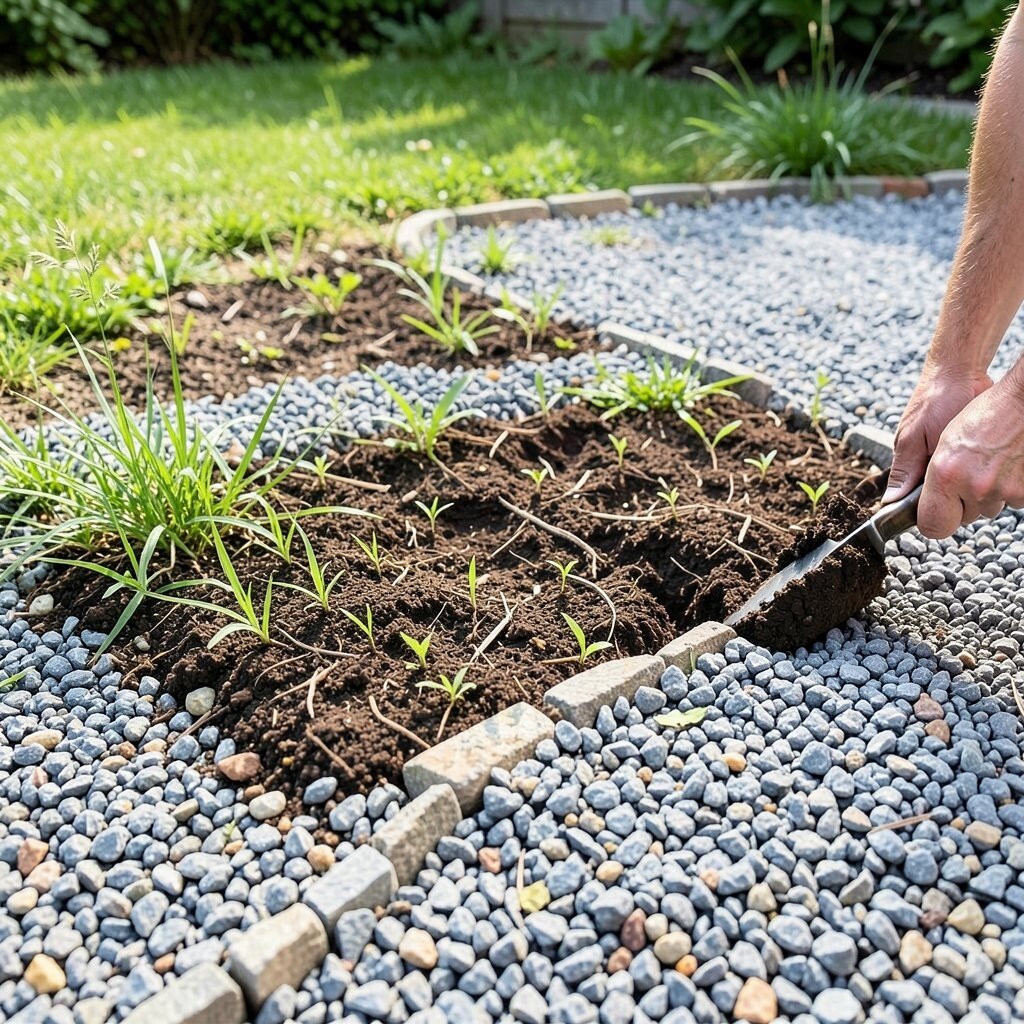
Weeds start with light, space, and moisture, and gravel helps reduce all three. When you pair stone with good preparation, the yard stays calmer for longer.
Use a layered approach that includes removing existing weeds and adding mulch or compost where plants will grow. Then top with gravel where you want a tidy surface and fewer weed sprouts.
Even with good barriers, a few sprouts can appear in cracks or at edges. A quick hand pull after you see growth usually prevents spread and keeps the effort small.
14. Design Gravel to Frame Seating, Fire Pits, or Outdoor Tables
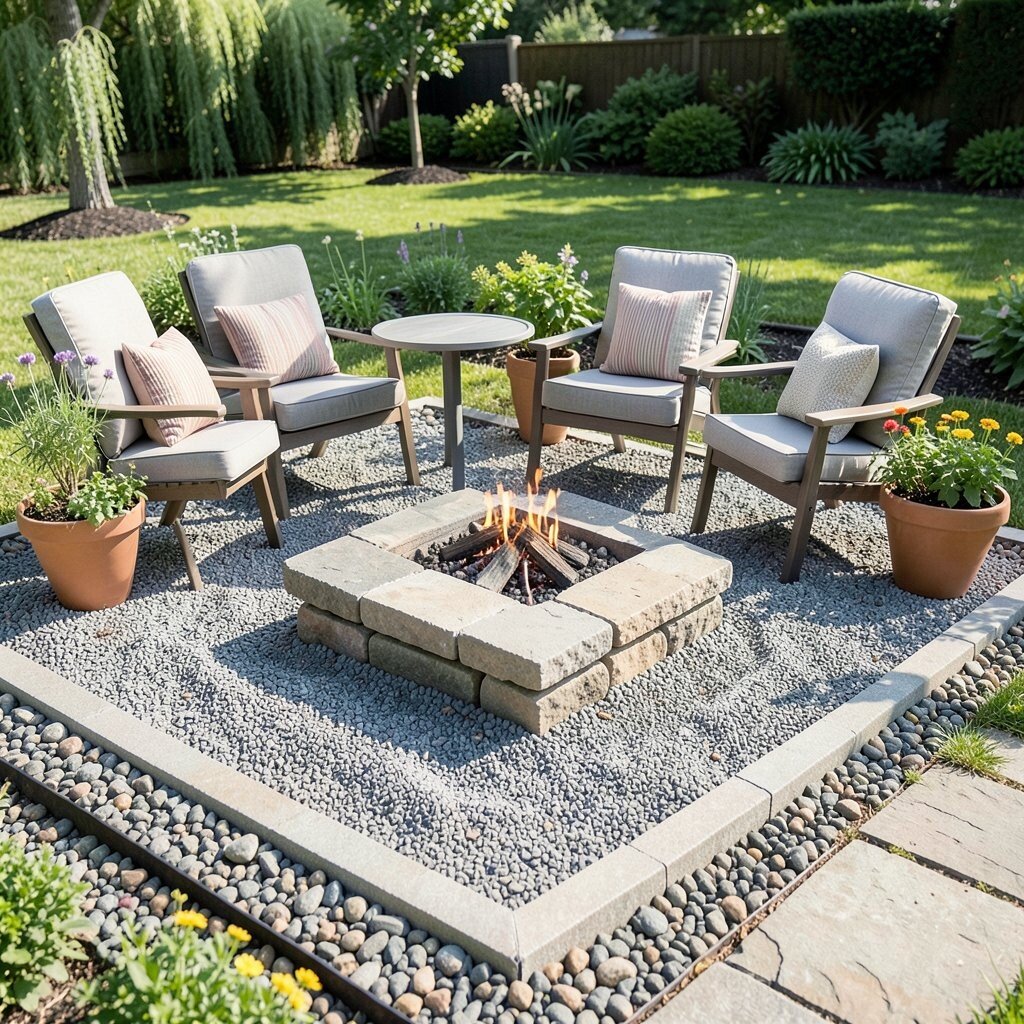
Gravel can make outdoor living feel structured, especially around seating. A gravel pad helps define the space and keeps the ground from getting muddy after rain.
For fire pits or grills, keep the stone layer thick enough and separate heat zones using appropriate materials. Safety comes first, and choosing the right base helps you enjoy outdoor time with less worry.
To create a welcoming look, use consistent stone and keep the border clean. A well-framed area makes even simple chairs feel planned and cozy.
If you like seasonal change, you can swap plant pots or add summer color without redoing the gravel. That flexibility keeps the design fresh and reduces repeated waste.
15. Add Living Borders by Nesting Gravel in Natural Plant Containers
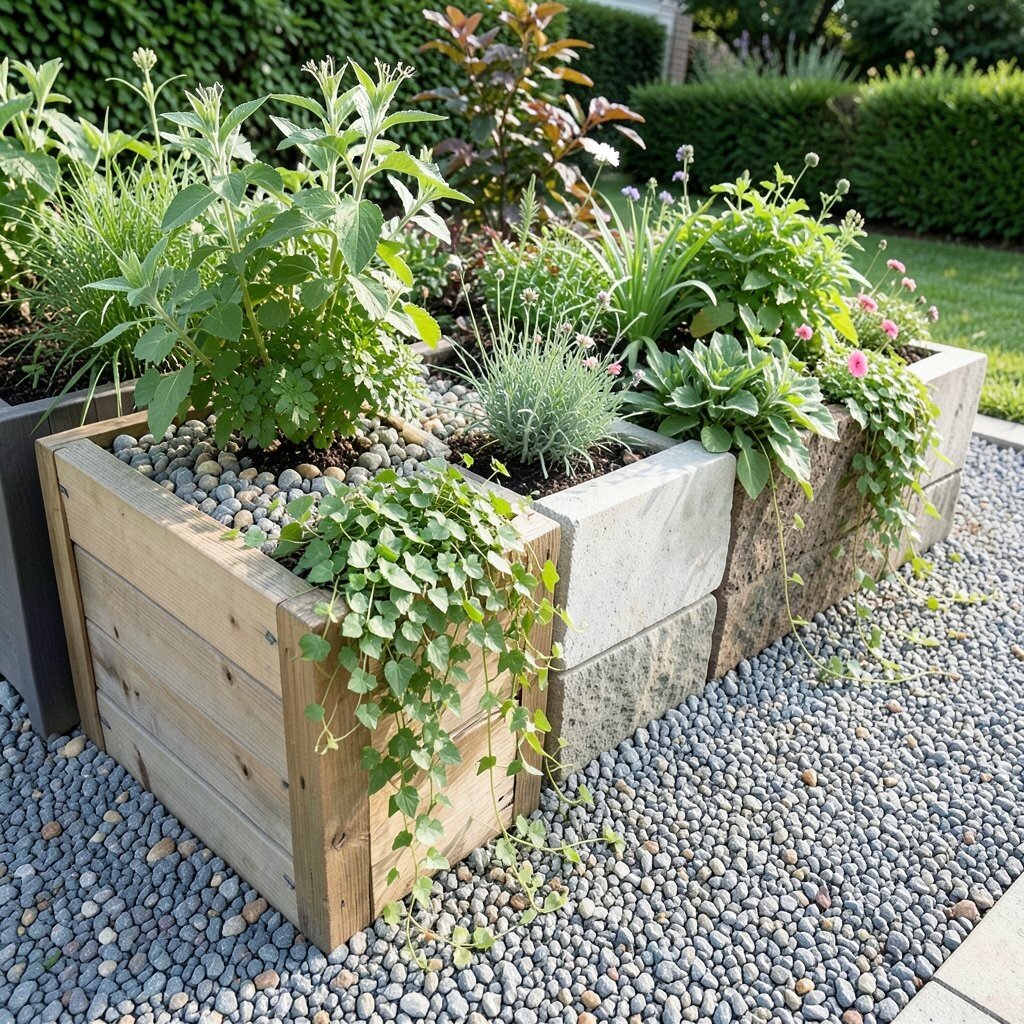
Instead of spreading gravel everywhere, you can contain it near plants using planters or natural borders. This method keeps your yard organized while still giving the gravel texture where it looks best.
Use containers made from untreated wood, recycled plastic lumber, or stone planters to match your materials. Then fill the top with gravel mulch to keep the surface neat and reduce evaporation.
Try mixing one height of plant with trailing types so the containers look fuller. The gravel gives a clean base, and the plants create the movement and color.
When it’s time to refresh, you can replace only a portion of the gravel instead of emptying entire beds. That approach helps with both cost and waste.
16. Plan Your Gravel Amount Carefully to Avoid Overbuying
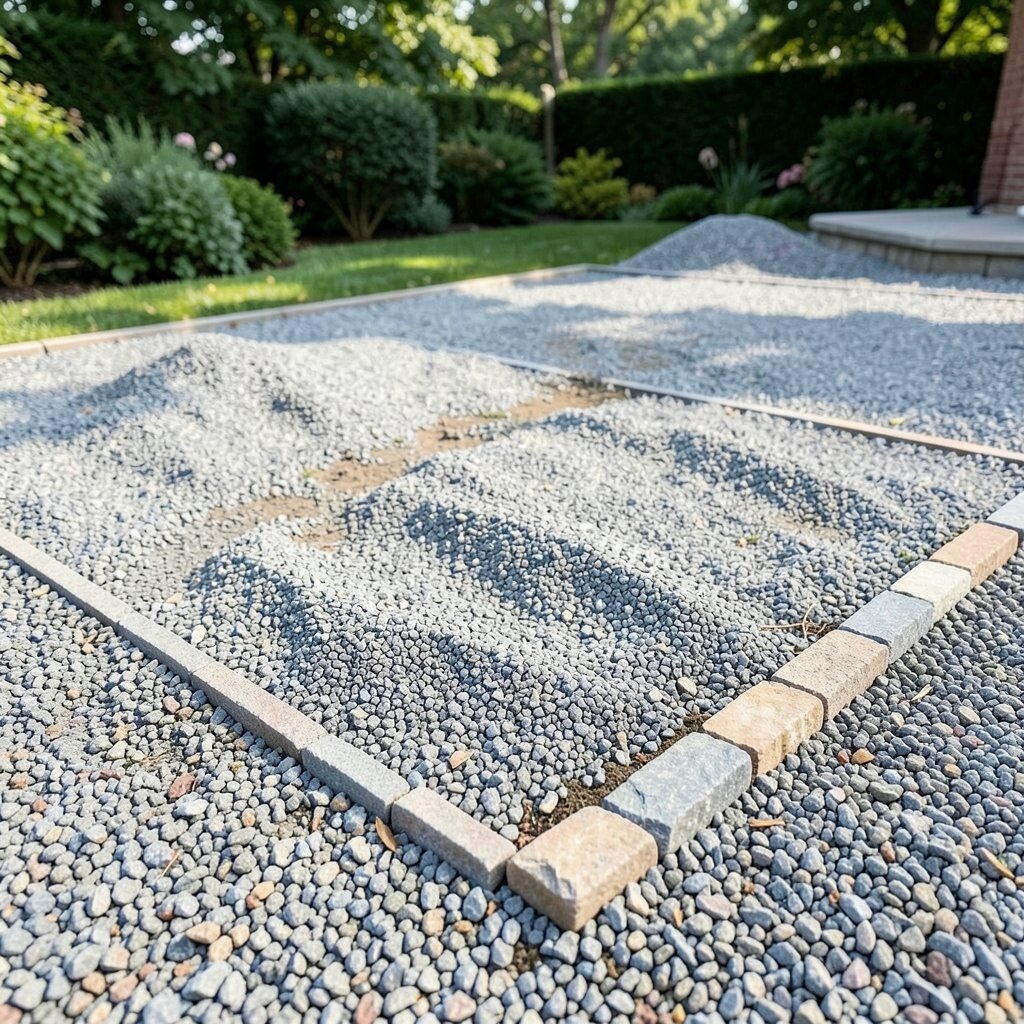
Gravel projects can get expensive fast if you don’t plan the depth and coverage. Measuring your area carefully helps you buy what you need and keeps your budget happier.
Consider how thick you truly want the layer, since too much stone costs more and can make it hard for water to reach roots. A thinner, well-prepared layer often looks cleaner and works better long-term.
Ask suppliers about bulk delivery and small add-on bags for touch-ups. Ordering in phases can reduce the chance that leftovers sit unused in your garage.
For personalization and practicality, keep a small “design reserve” of one accent stone color for edges. That way, you can refresh spots after raking or seasonal cleanup without hunting for an exact match.