Some boards act like quiet anchors for the stories you carry. When you give them a home, your space starts to feel more like you.
Memory boards can hold photos, notes, and small keepsakes while also working like decor. The best part is that you can make one in many styles, from tidy and minimal to bold and playful.
1. Vintage Postcard Wall With Soft Light
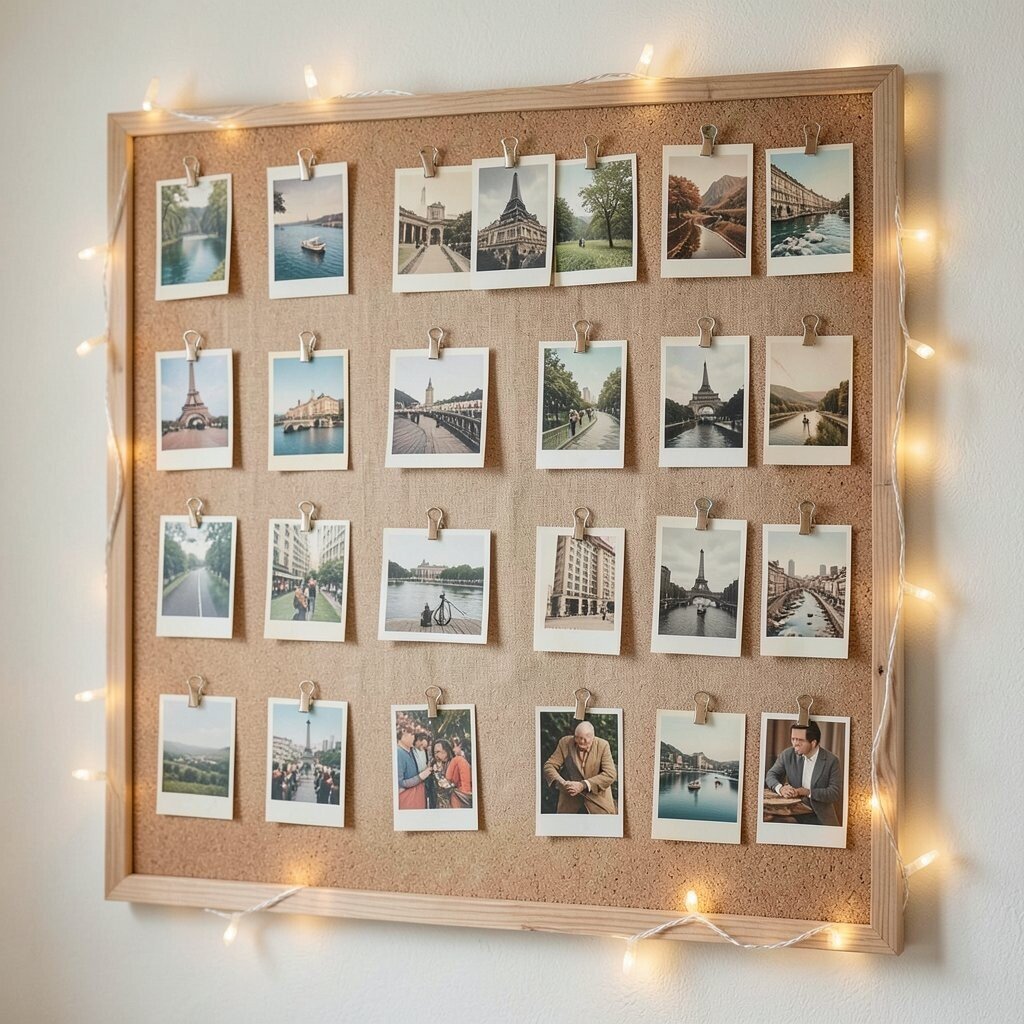
Choose a cork board or a wooden board and cover it with a gentle fabric that makes the colors feel warm. Hang or pin vintage postcards in neat rows so the wall looks calm and collectible.
Use string lights along the edges for a cozy glow that flatters every card. This setup is great for keeping ticket stubs and travel memories in sight, so you feel inspired when you pass by. For practical staying power, use removable tape for delicate paper and mix pushpins with clip rings for sturdier items.
2. Fabric Scrap Collage With Pinned Keepsakes
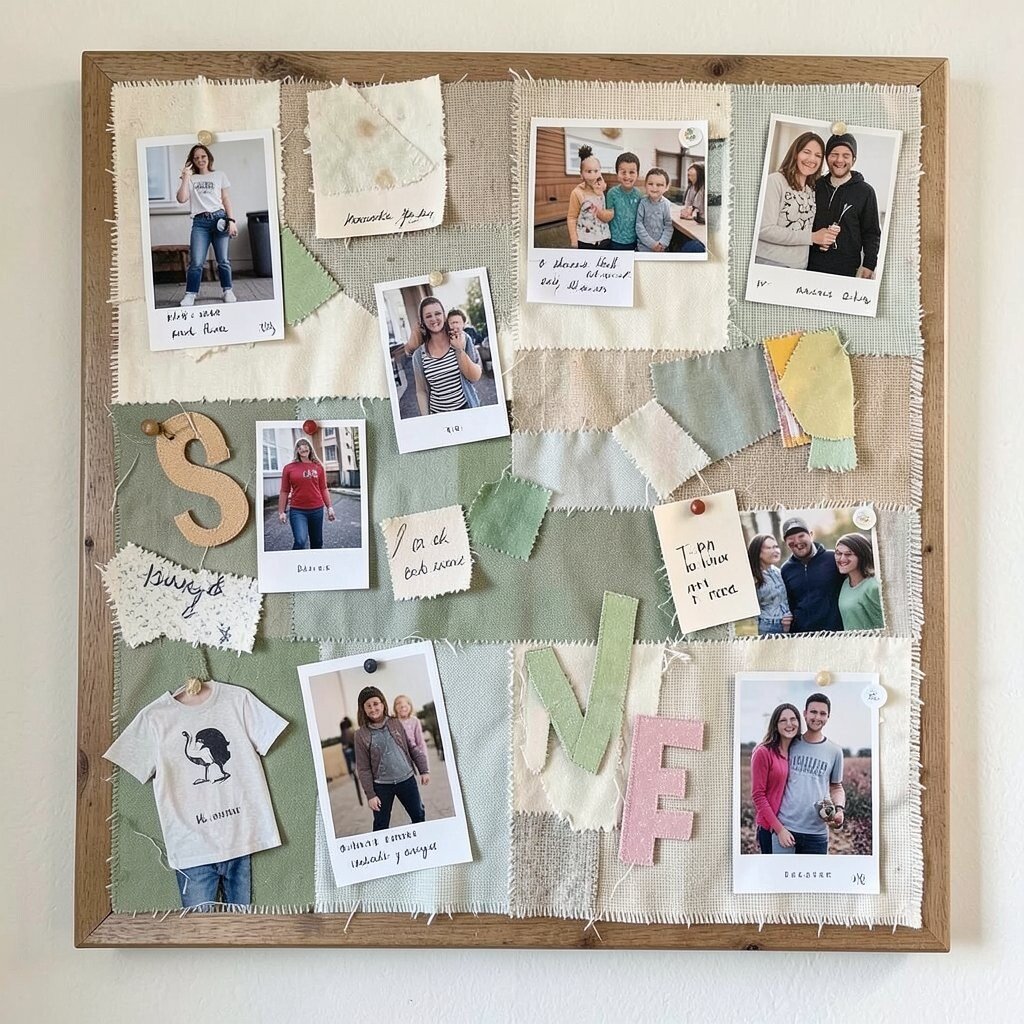
Start with a board covered in fabric scraps, like patchwork, to add texture right away. Pin photos, postcards, and tiny handwritten notes directly onto the cloth so everything looks connected.
Fabric boards are forgiving when you move things around, which is helpful if your tastes change often. You can also swap sections seasonally by pinning new patches over older ones, keeping the display fresh.
Try using a simple color theme like cream and muted greens, then add a few bright accents for contrast. For cost, thrift stores are full of small fabric pieces, and foam boards are inexpensive. To personalize it, include a few fabric letters cut from old shirts to spell a name, a place, or a favorite word.
3. Gallery Frame Memory Board Using Clips
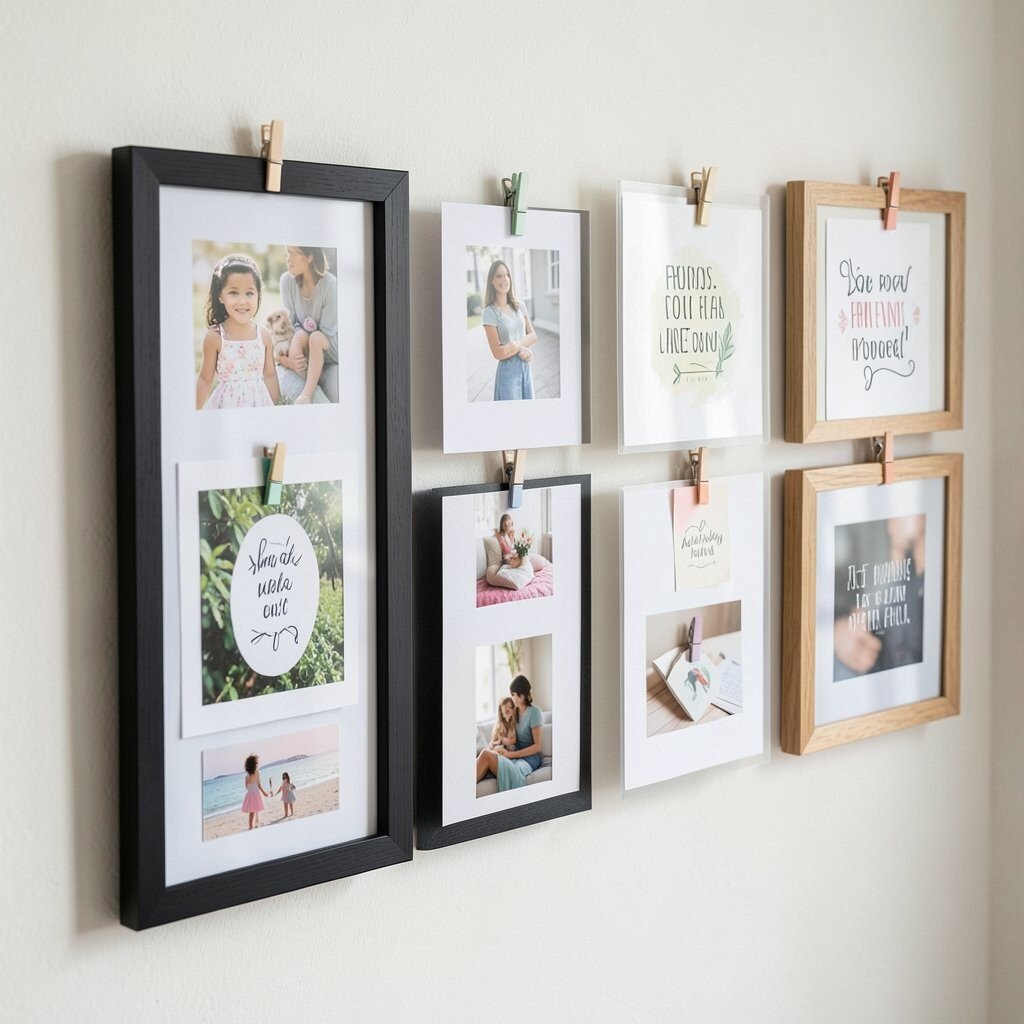
Use a slim picture frame setup with clear sleeves or clothespin-style clips. Insert photos, drawings, and printed quotes so you can flip sections without damaging anything.
This idea looks sleek and modern, especially if you choose matching frames and a consistent color background. It also keeps your memories safe because the clips hold paper in place while protecting edges from dust.
Pick a wall spot near where you get ready, then build a flow from left to right. For personalization, add tiny color-coded tabs made from cardstock to show different themes like friends, family, and goals.
If you want it to feel current, choose matte black or warm oak frames and keep spacing even. For a practical tip, measure your frame sizes first so every piece fits without awkward gaps.
4. Magnetic Steel Board With Color-Coded Photos
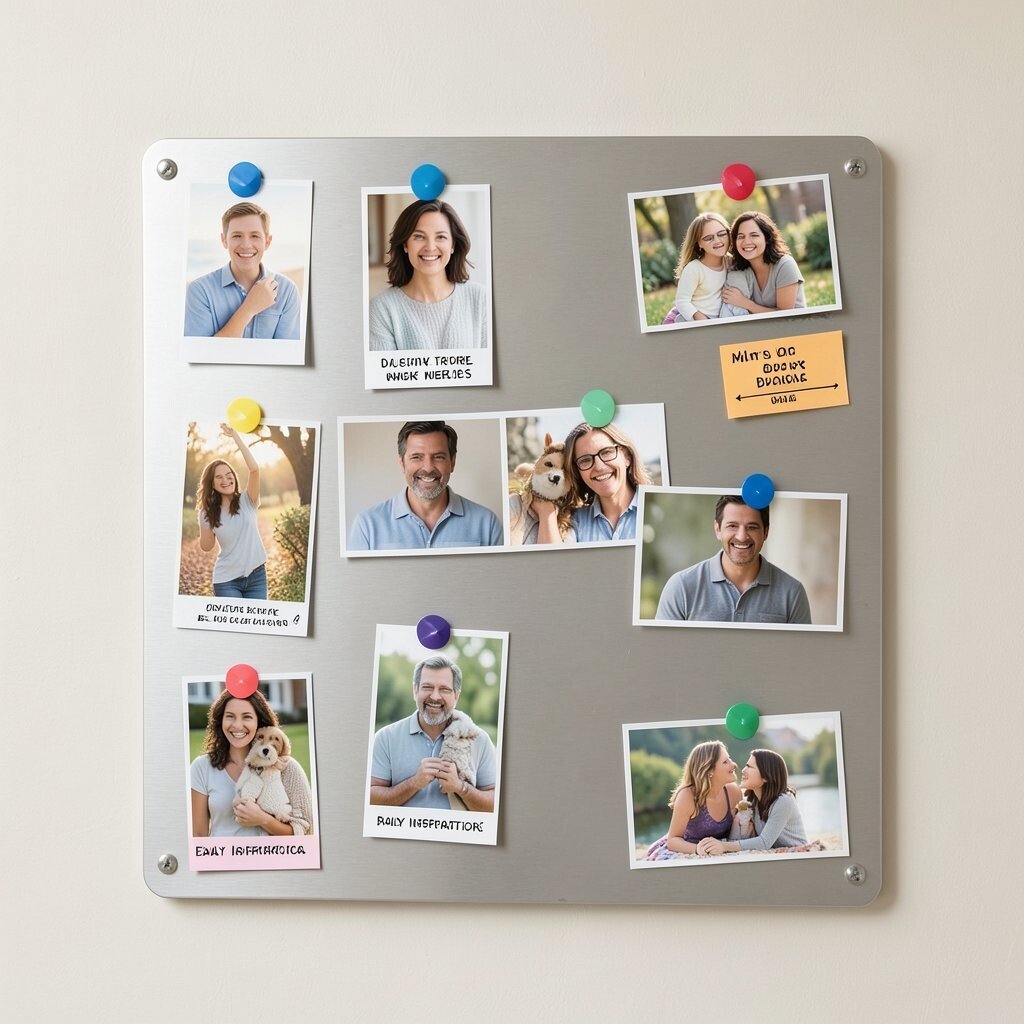
A magnetic board can look like a clean studio wall, especially if you use a steel panel finished in neutral tones. Clip photos with magnets and add small magnetic labels to guide the eye.
This style is quick to update, which is perfect for people who like to change their memories often. It also makes daily inspiration easy to grab because everything stays visible and upright.
5. Polaroid-Style Border With Washi Tape Layout
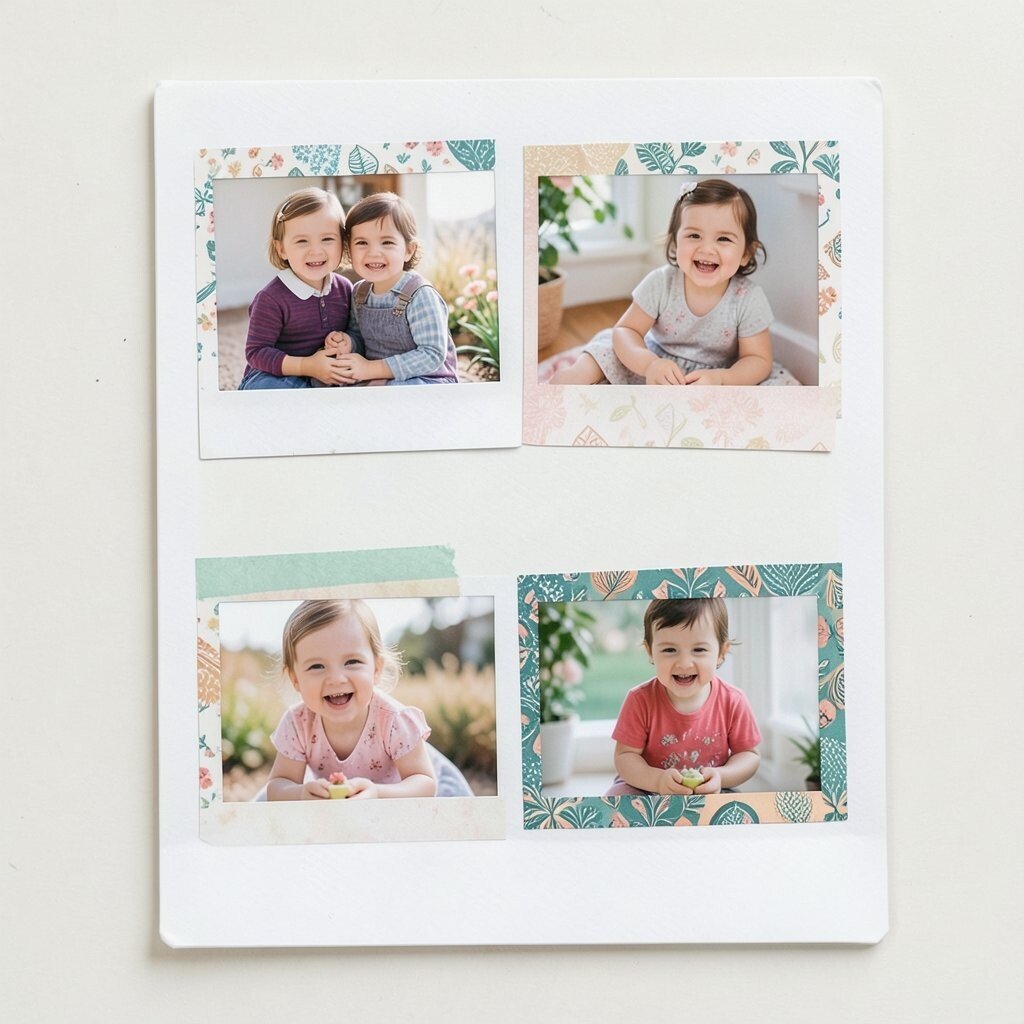
Create a memory board that looks like a mini photo magazine by mounting your pictures on thick paper. Add a consistent border around each photo using washi tape in one or two matching patterns.
This approach feels playful and light, and it works well even in small spaces. Washi tape is also forgiving, so you can rearrange with less worry than glue.
To personalize, choose tape that matches your decor colors, then repeat one pattern for unity. For practical results, leave a small margin around each photo so edges don’t curl. If you’re keeping costs low, print photos on a home printer using matte settings and trim them with a paper cutter.
6. Nature-Themed Board With Pressed Leaves and Maps
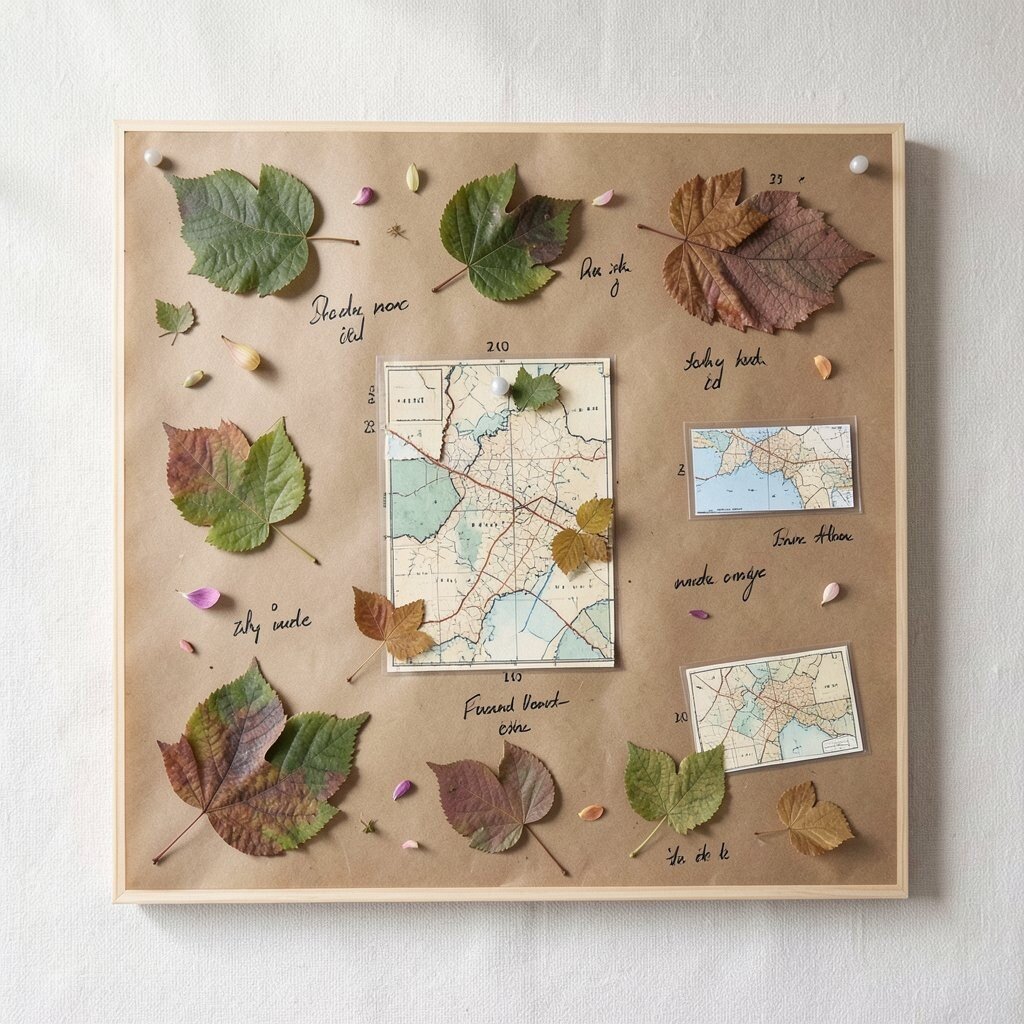
Cover a board with kraft paper or a linen backing, then add pressed leaves, small petals, and tiny pieces of old maps. Pin them with care so each piece feels like a little discovery in your own backyard.
This nature look brings a calm vibe and turns memories into soft, earthy art. You’ll benefit from having a themed wall that encourages slower moments and helps your space feel grounded.
For practicality, laminate or seal delicate items so they last longer in humid rooms. Use small transparent sleeves for maps that you want to keep crisp. Personalize by adding coordinates or short dates beside each pressed item, written in your own handwriting.
7. Vertical Rope Board With Mini Pegs
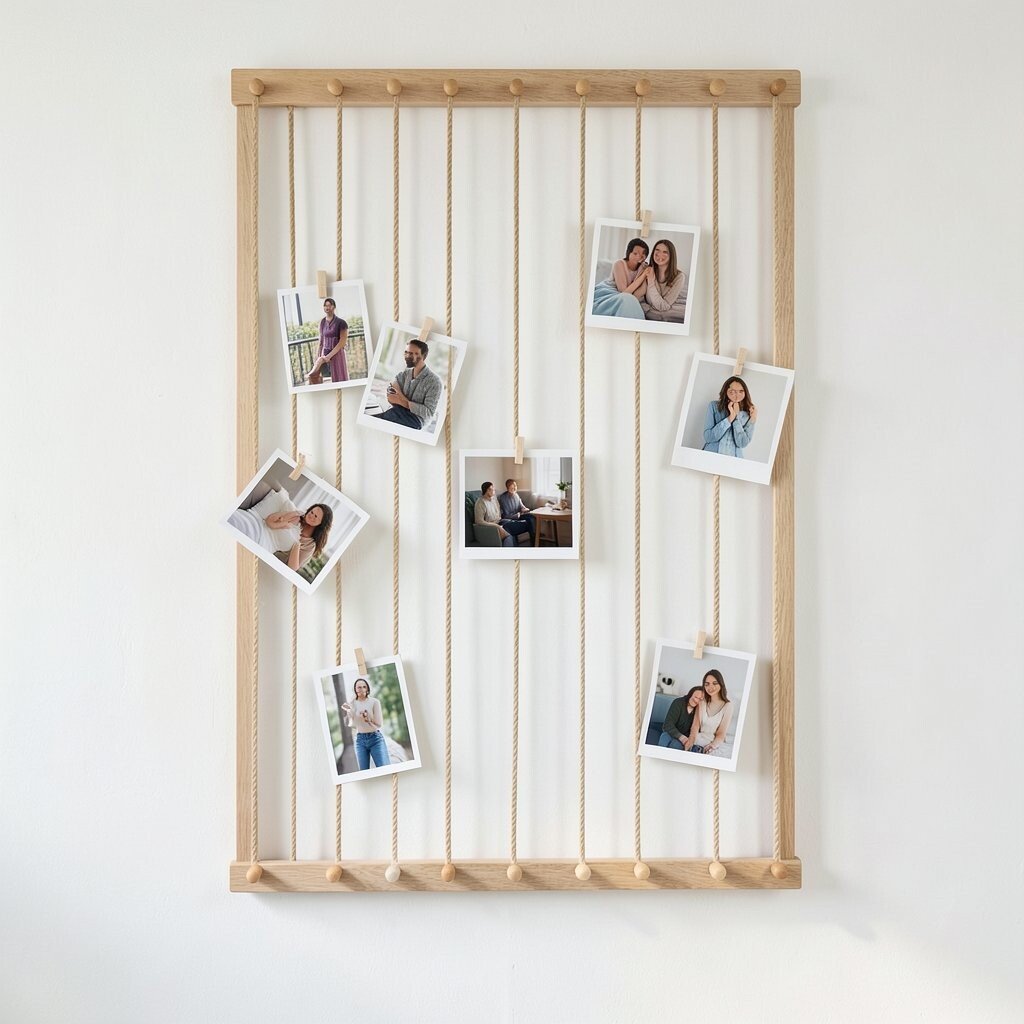
Stretch a few vertical ropes or cords across a frame, then hang photos with mini pegs. The movement and airy spacing make the wall feel lively even when everything is still.
This design is unique because it blends function with motion, and it looks great in offices, bedrooms, and creative studios. It’s also practical since you can add or remove pieces without leaving holes everywhere.
Choose pegs in a matching wood tone or paint them to match your decor. For personalization, include a small “season line” of items that represent your year’s changing highlights. Keep costs in check by using budget cord and simple peg sets from craft stores, then upgrade later if you want.
To stay on trend, mix in a few short art prints with your photos so the board looks styled, not cluttered.
8. Book Page Memory Board With Layered Quotes
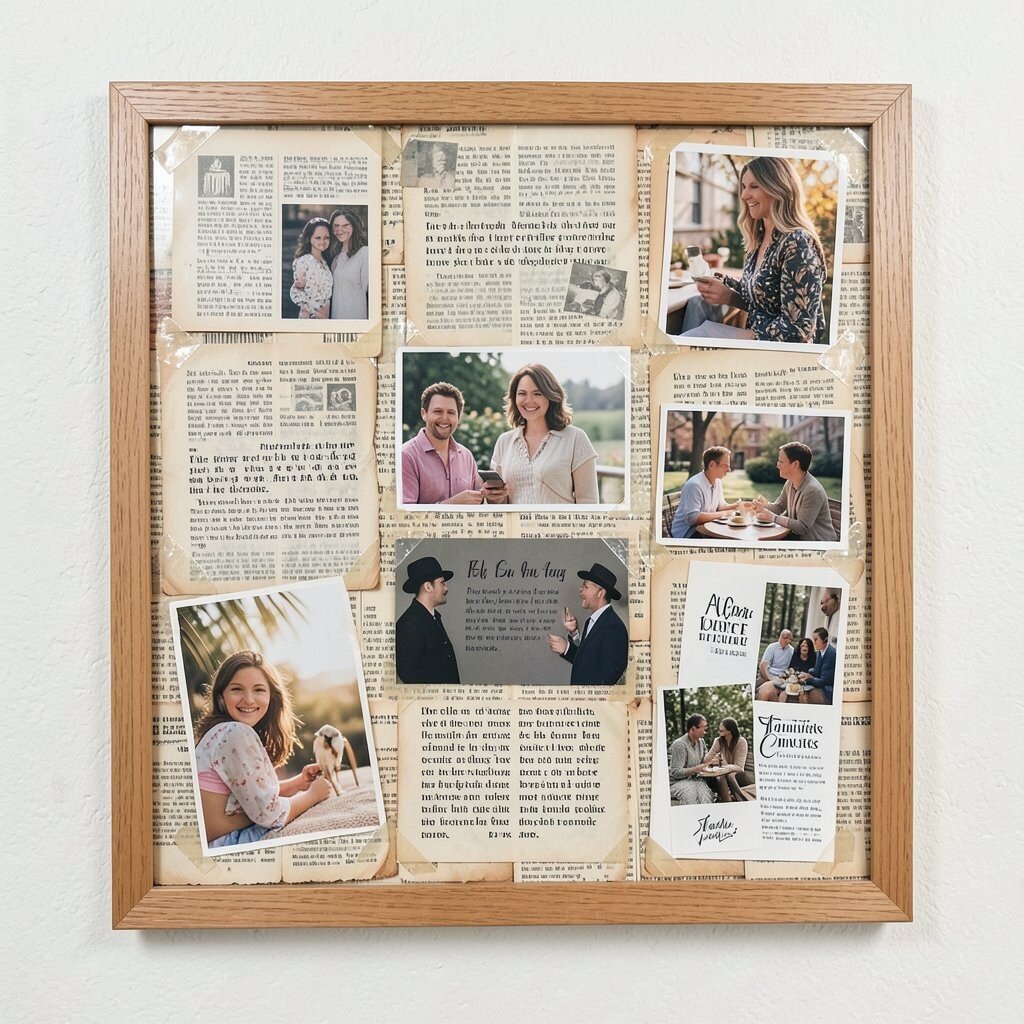
Use a board covered in old book pages, then layer photos on top with clear tape or thin photo corners. Add short lines of writing cut from other books to echo your favorite themes.
This idea feels literary and warm, giving your memories a cozy, storybook backdrop. You’ll also benefit from a board that looks intentional, because the layered pages create depth.
For practical tips, press the paper flat before mounting and seal the board with a light spray varnish if you can. Personalize by choosing quotes that reflect milestones, like moving days, first jobs, or late-night dreams. Cost considerations are friendly since thrift stores and used book bins are often cheap or free for scraps.
9. Kids’ Art Memory Board With Gallery Trays
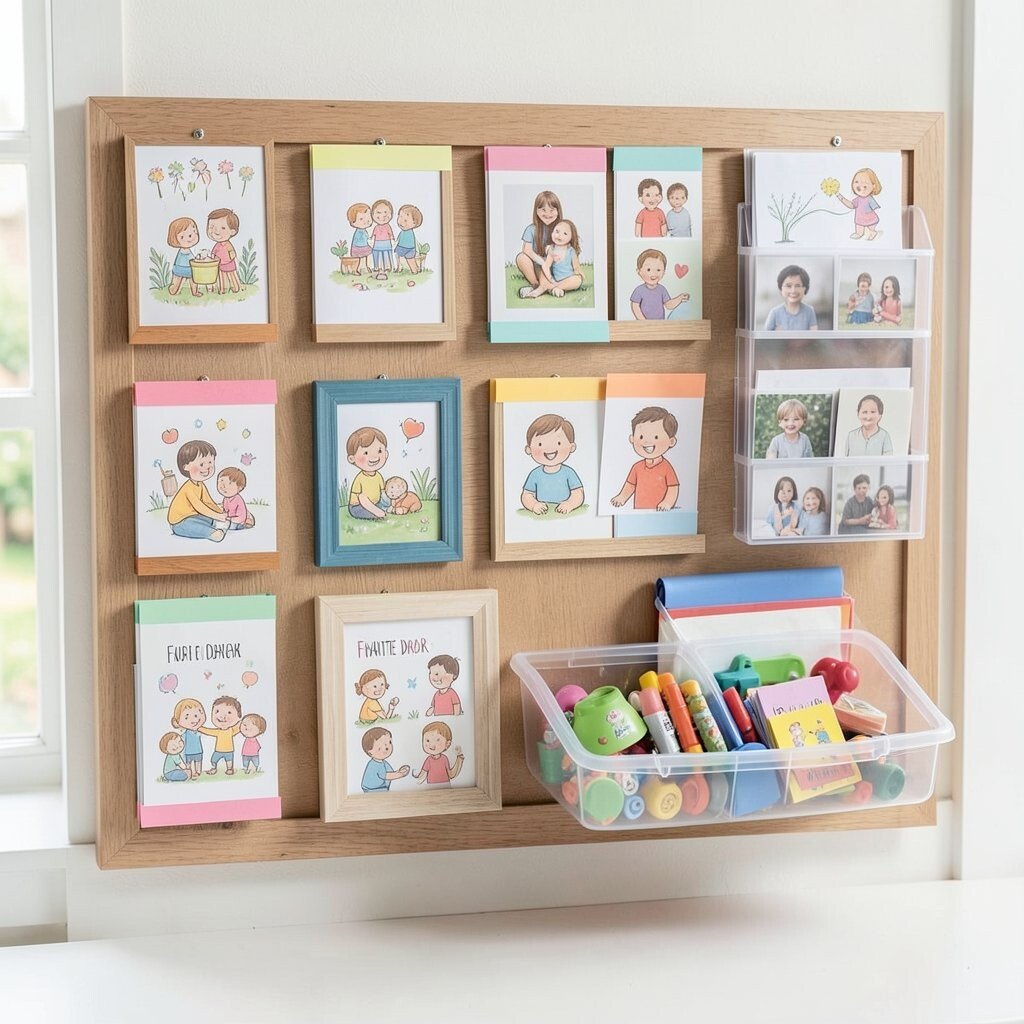
If you want a board that feels joyful, dedicate sections to children’s drawings, school photos, and little crafts. Add shallow tray shelves or clip pockets so items don’t slide around.
This setup is perfect for keeping family moments close while also protecting art from smudges. A key benefit is that you can rotate new creations without the whole board turning into a mess.
Personalize by using labels made from simple colored paper strips that match your room’s palette. For practical use, set up one “favorite drawer” tray for items you want to keep longer. If you’re mindful about cost, use clear plastic organizers from dollar stores and repurpose old frames.
Current trends lean toward organized play, so a neat tray system helps your space look modern while staying personal.
10. Scrapbook Sticker Board With Theme Circles
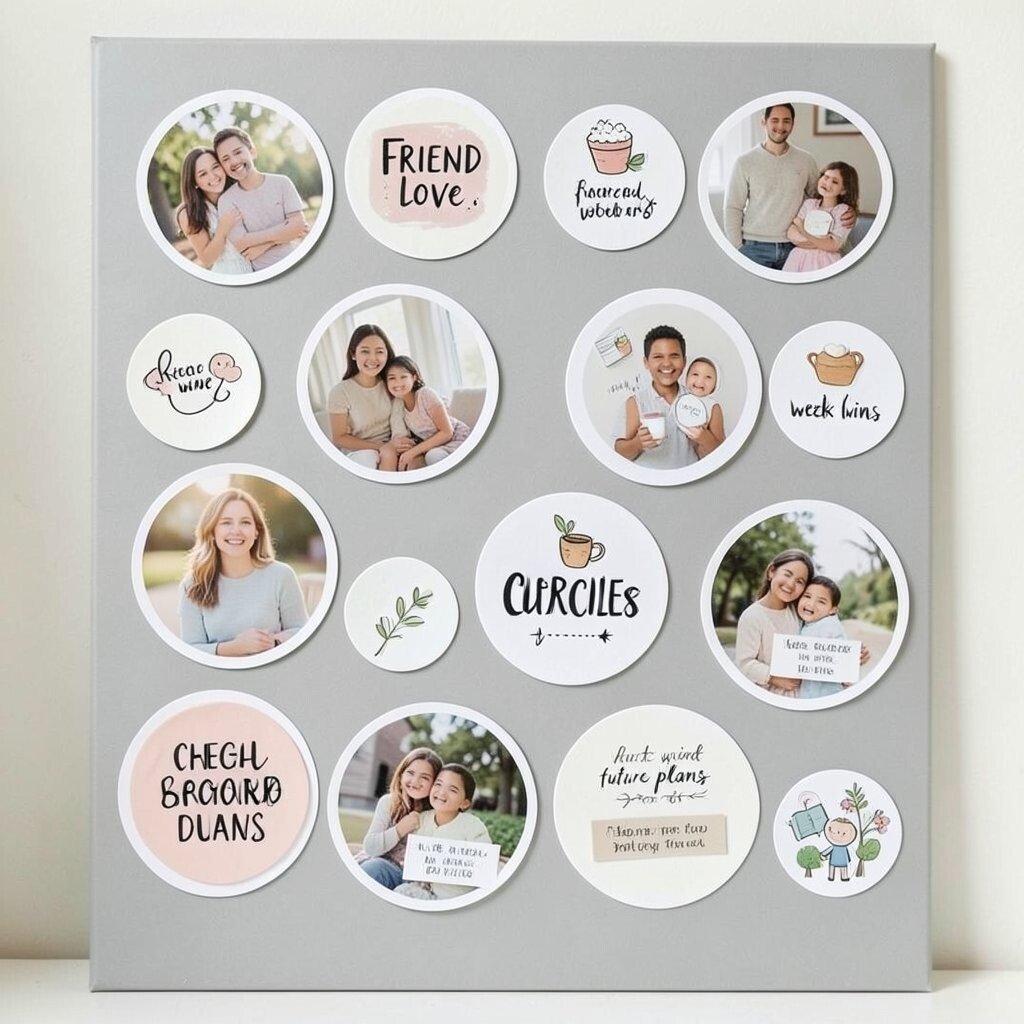
Pick a board backing color like soft white or muted gray, then arrange photos and notes inside sticker-like circles. Use die-cut shapes, rounded borders, and small icons to group memories by theme.
This style makes your board feel playful without getting chaotic, which is a big win if you love variety. You’ll benefit from clearer organization, since each circle holds a mini set of stories.
For personalization, create circles for things like “weekend wins,” “friend love,” and “future plans.” Use current trends in scrapbook aesthetics by mixing glossy stickers with matte paper and keeping the font style consistent. To keep it budget-friendly, print icons and shapes at home and use inexpensive cardstock cutouts.
11. Minimal Monochrome Board With One Accent Color
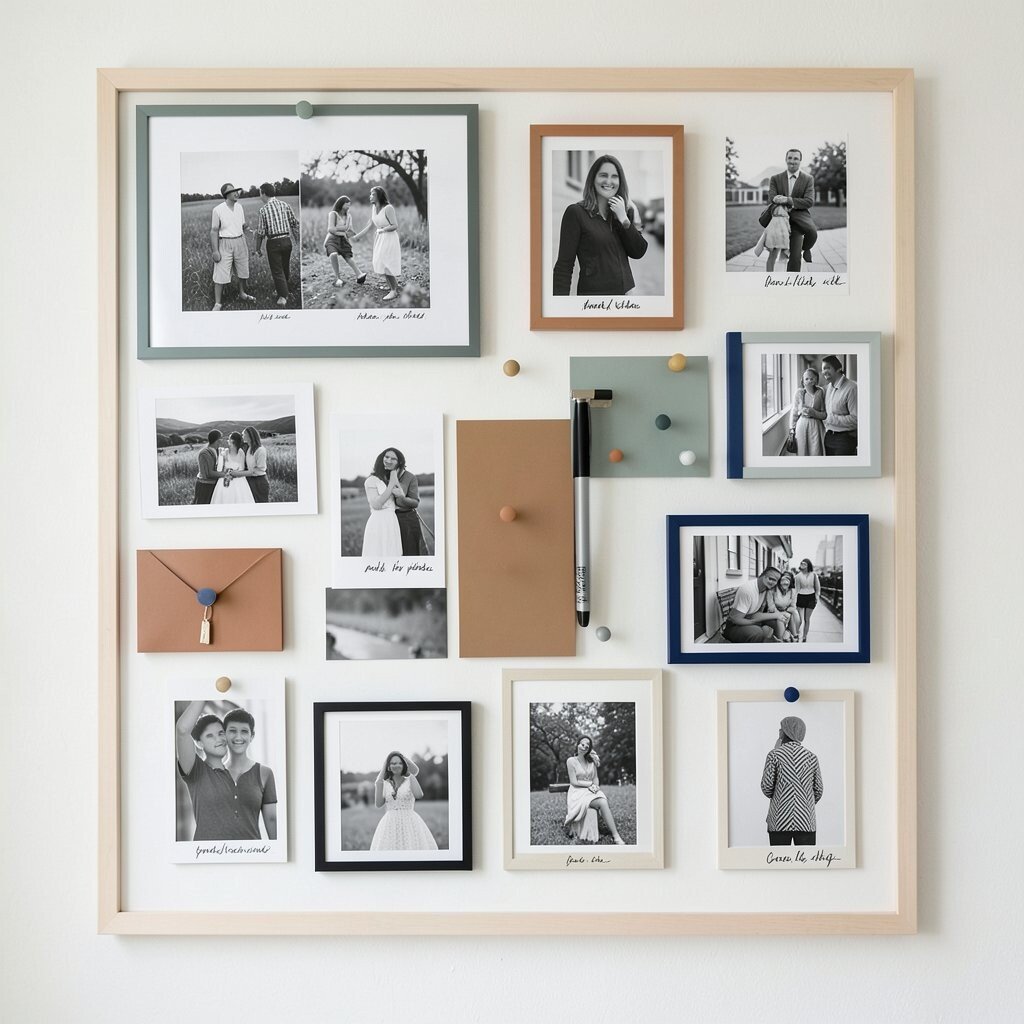
Choose black, white, and gray photos, then add one accent color like terracotta, sage, or deep blue. Arrange everything with lots of breathing room so the board looks calm and curated.
This concept is unique because it turns memories into graphic design, almost like a mood board for your life. The benefit is a cleaner visual look that won’t overwhelm your room.
Try using thin frames for photos and simple pushpins in your accent color. For practical tips, use a grid approach lightly, so your placement stays consistent even when you add new items. Personalize by using one matching pen color for captions, so your handwriting feels like part of the style.
Cost is easy to manage since you can print photos in black and white, then gather pins and frames from thrift stores.
12. Travel Route Board With Thread Lines
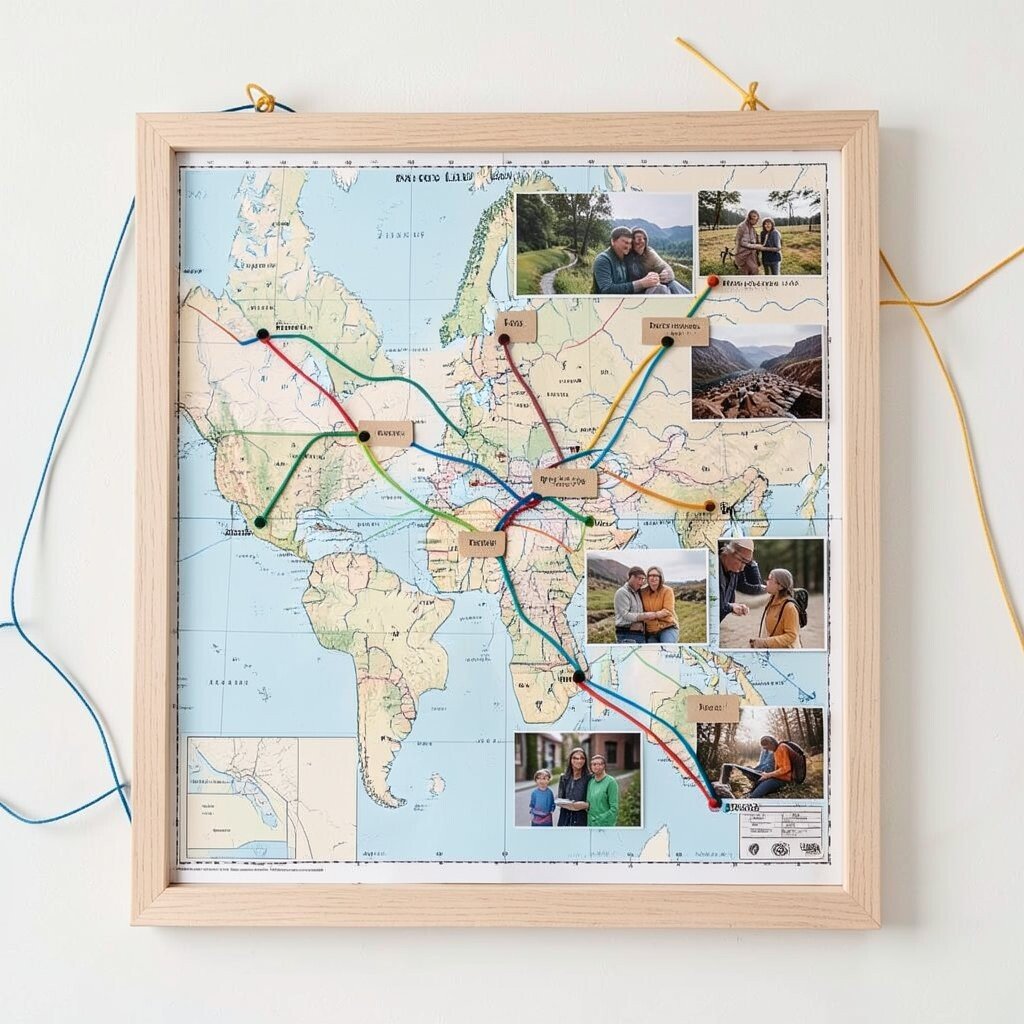
Pin a map as your base, then connect places using colorful thread drawn along a route. Add photos at each stop, then label them with small tags made from cardstock.
This is an eye-catching board because it looks like a personal atlas with your story written across it. You’ll benefit from a clear visual timeline, so planning future trips feels fun instead of stressful.
For practical tips, tie thread loops behind the board for sturdiness and trim ends neatly. Personalize the route by using different thread colors for different kinds of trips, like family visits or solo adventures. To keep cost low, print a map version on regular paper and upgrade to a laminated one when you want extra durability.
13. Receipt and Ticket Shadow Box Board
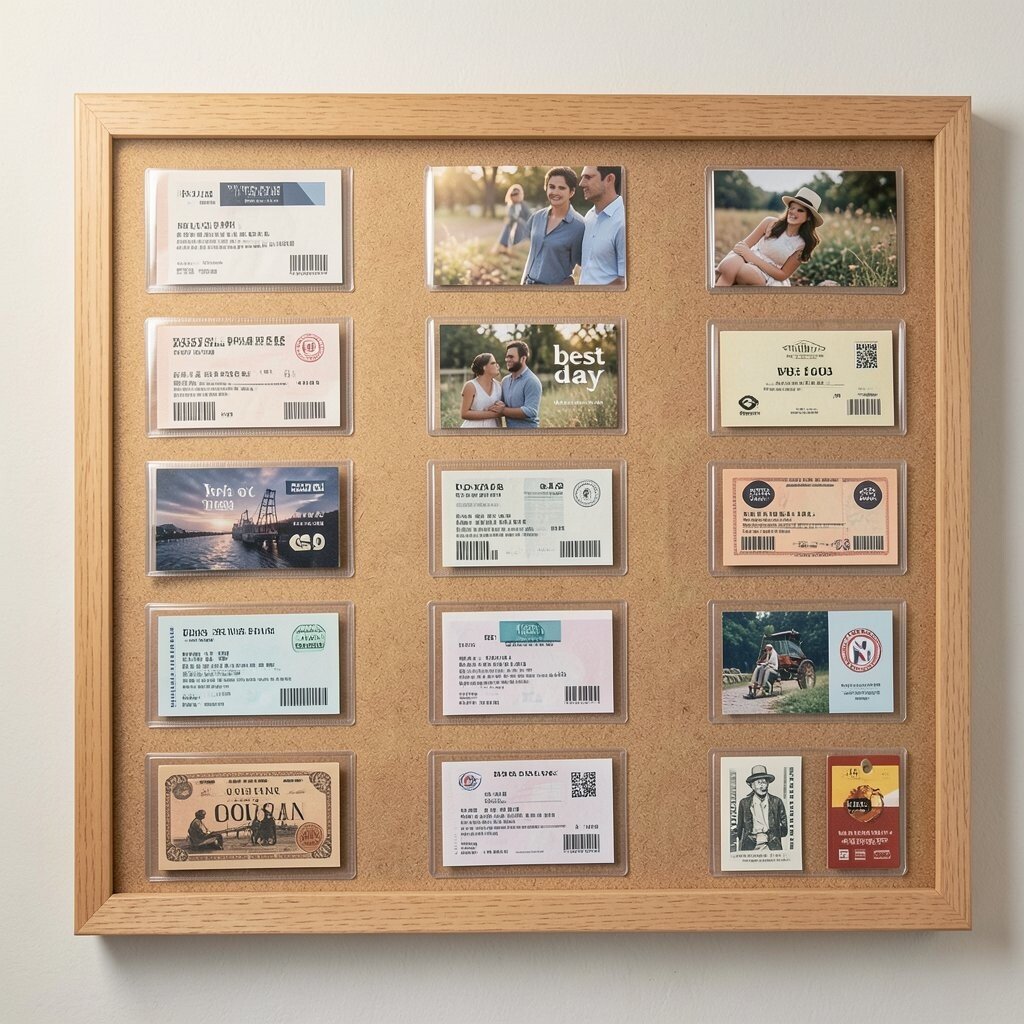
Build a memory board that feels like a museum by creating small shadow box pockets across the surface. Add receipts, tickets, and little cards inside clear sleeves so they look preserved.
This idea is great for people who love real-world keepsakes, because it keeps thin paper from tearing. The benefit is that the board becomes a conversation starter, since guests can spot details you might forget later.
Choose one size sleeve for most items so the look stays tidy. Personalize by adding a few “best day” photos above the pocket rows, so the board tells the full story. For cost considerations, use budget display sleeves and repurpose clear folders if you want to avoid buying specialty organizers right away.
Current trends favor display-by-category, so grouping items by year or event makes it feel modern and intentional.
14. Handwritten Letter Board With Enamel Clips
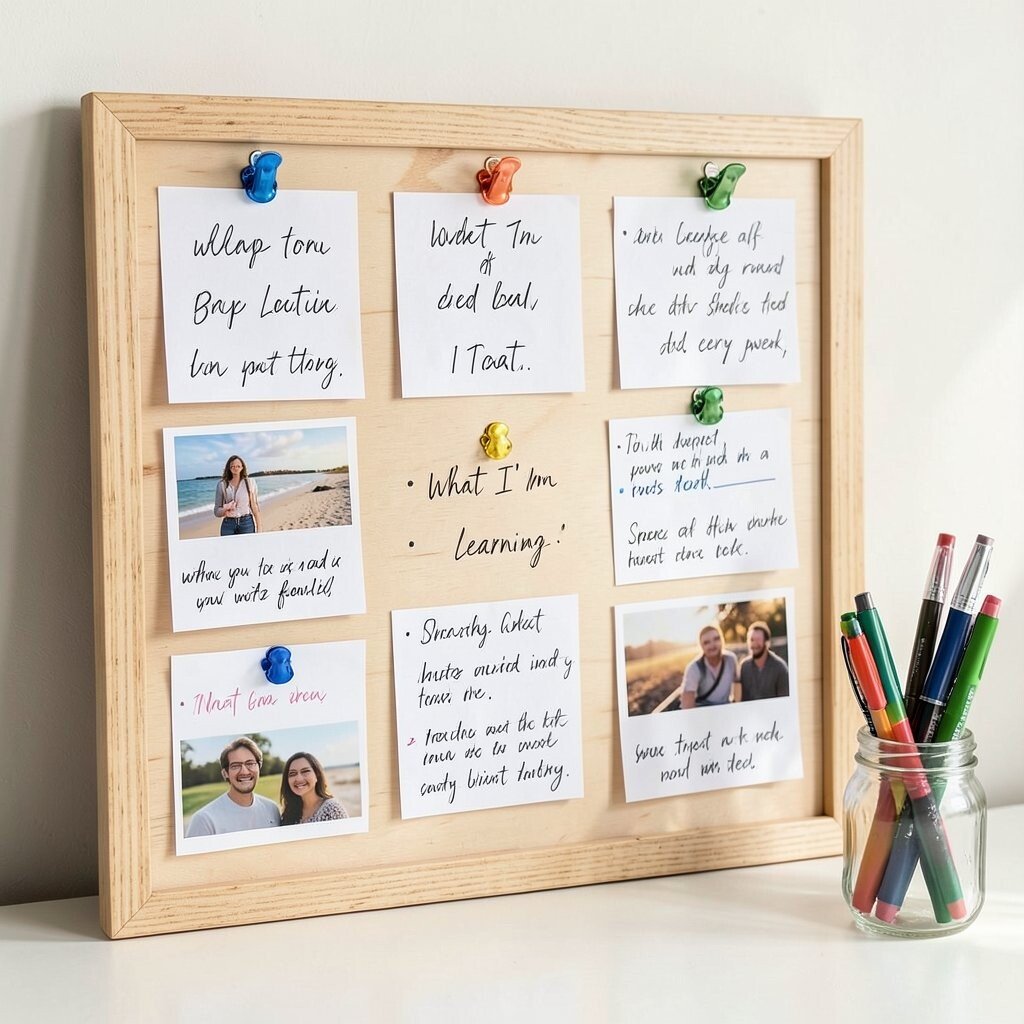
Create a board designed for words by using a smooth backing like plywood and adding enamel clips along a line. Clip handwritten letters, short reflections, and printed photos that match the handwriting vibe.
This approach is unique because it turns your board into an ongoing journal, not just a photo wall. You’ll benefit from daily motivation when you can read a note you wrote to yourself.
For personalization, write one small “what I’m learning” line and rotate it every week. Use different colored pens for each month so your past updates feel distinct. To keep it practical, store a small pen set in a nearby jar and use clips that can hold thicker paper too.
15. Board With Fabric Pockets for Seasonal Items
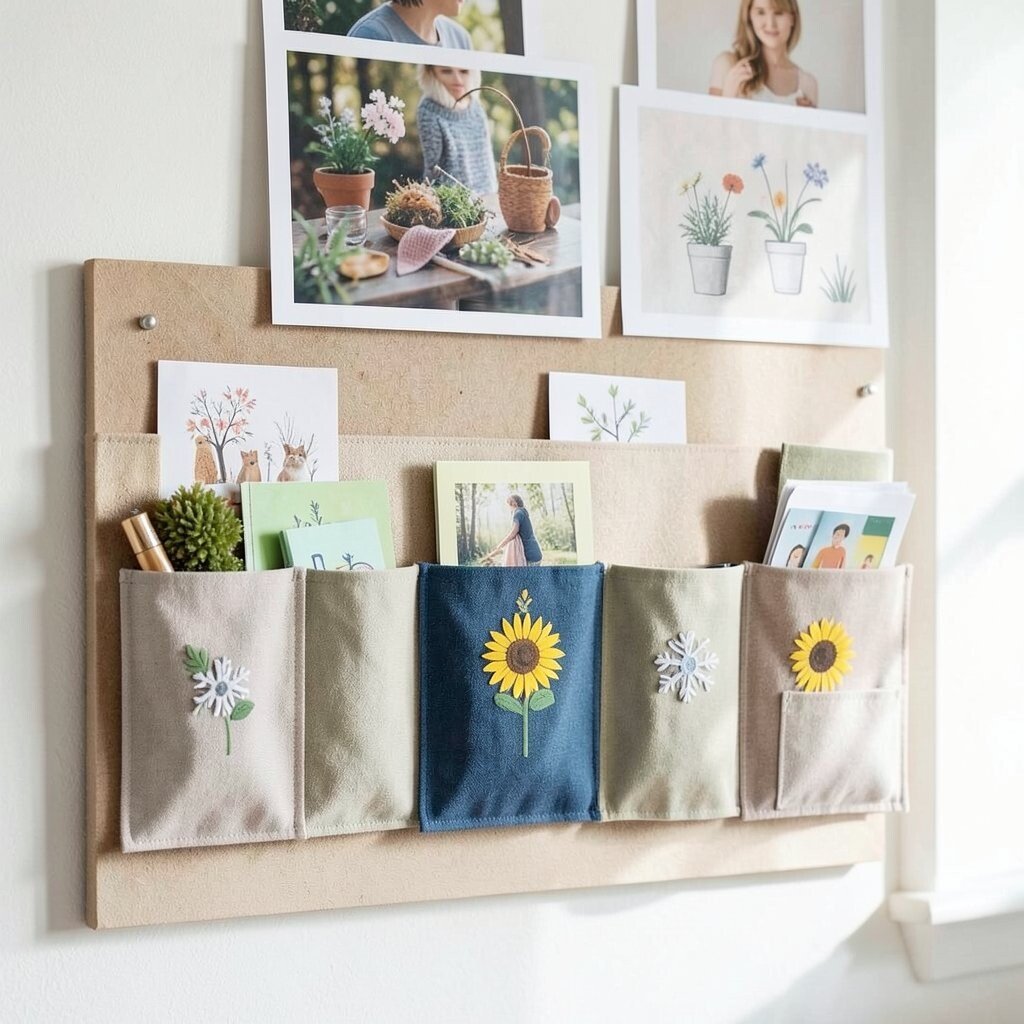
Attach pockets made from felt or cotton along one side of a board, then fill them with seasonal items and mini prints. Add a few larger photos above the pockets so the whole wall has structure.
This idea is actionable because it helps you manage clutter while still showing meaningful things. The benefit is that you always know where to place new notes, stickers, and small reminders.
Personalize each pocket with a small icon, like a snowflake or a sunflower, using simple fabric paint. For cost considerations, repurpose old pillowcases or curtains to make pocket sections at home. To match current trends, choose neutral pocket colors and add just one bold accent theme in your prints.
Keep the layout balanced by spacing pocket sizes evenly and leaving a little margin around your main photos.
16. Family Photo Board With Matching Mats and Corners
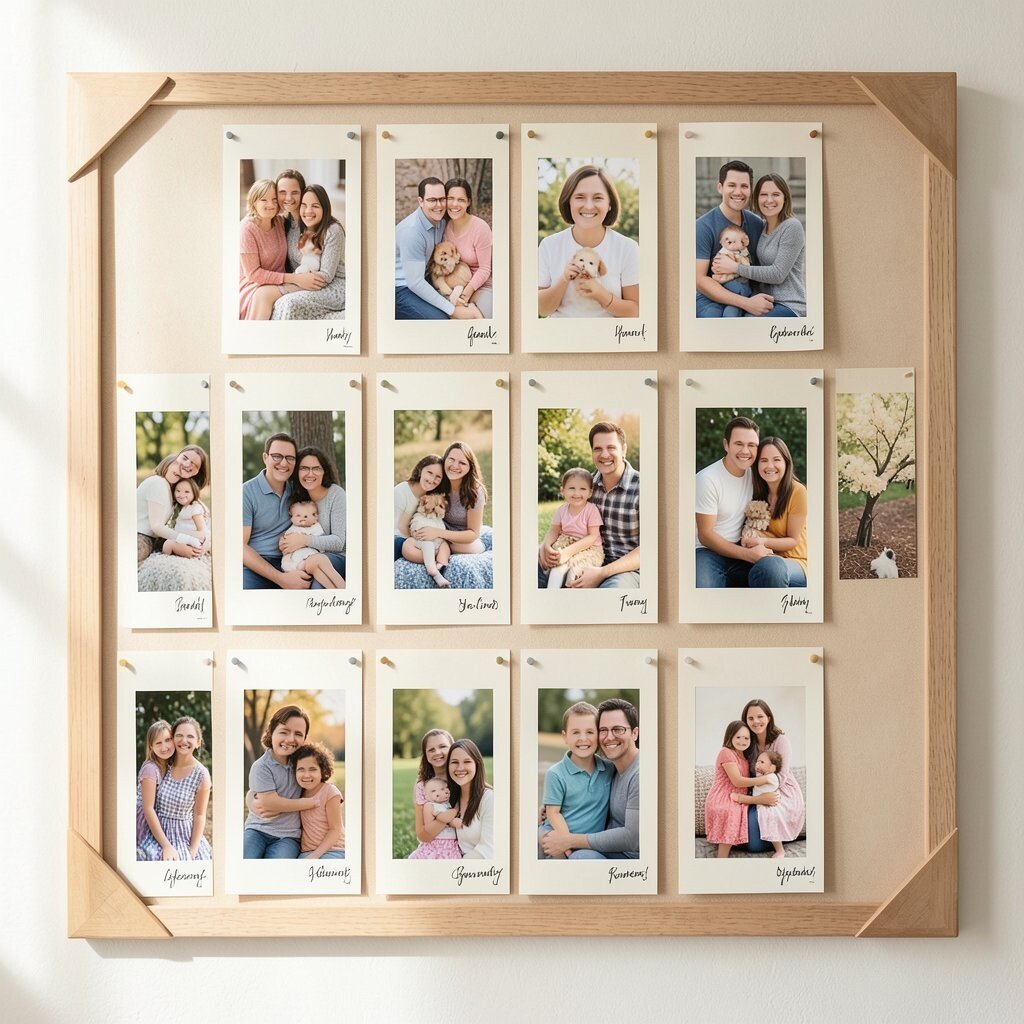
Mount photos on cardstock mats using consistent border sizes, then attach them with photo corners or slim pins. Arrange them in a grid that feels neat but not too strict.
This style looks classic, and it’s unique because the consistent mats make every memory feel equal in importance. You’ll benefit from easier updating, since you can swap photos without rethinking the whole design.
Personalize by adding small handwritten captions on the bottom corners of each mat. Choose a color that fits your room, like warm cream or soft gray, to keep the vibe cohesive. For practical tips, use a corner punch to cleanly align mats and prevent uneven edges.
17. Color Splash Board With Paint Swatches and Polaroids
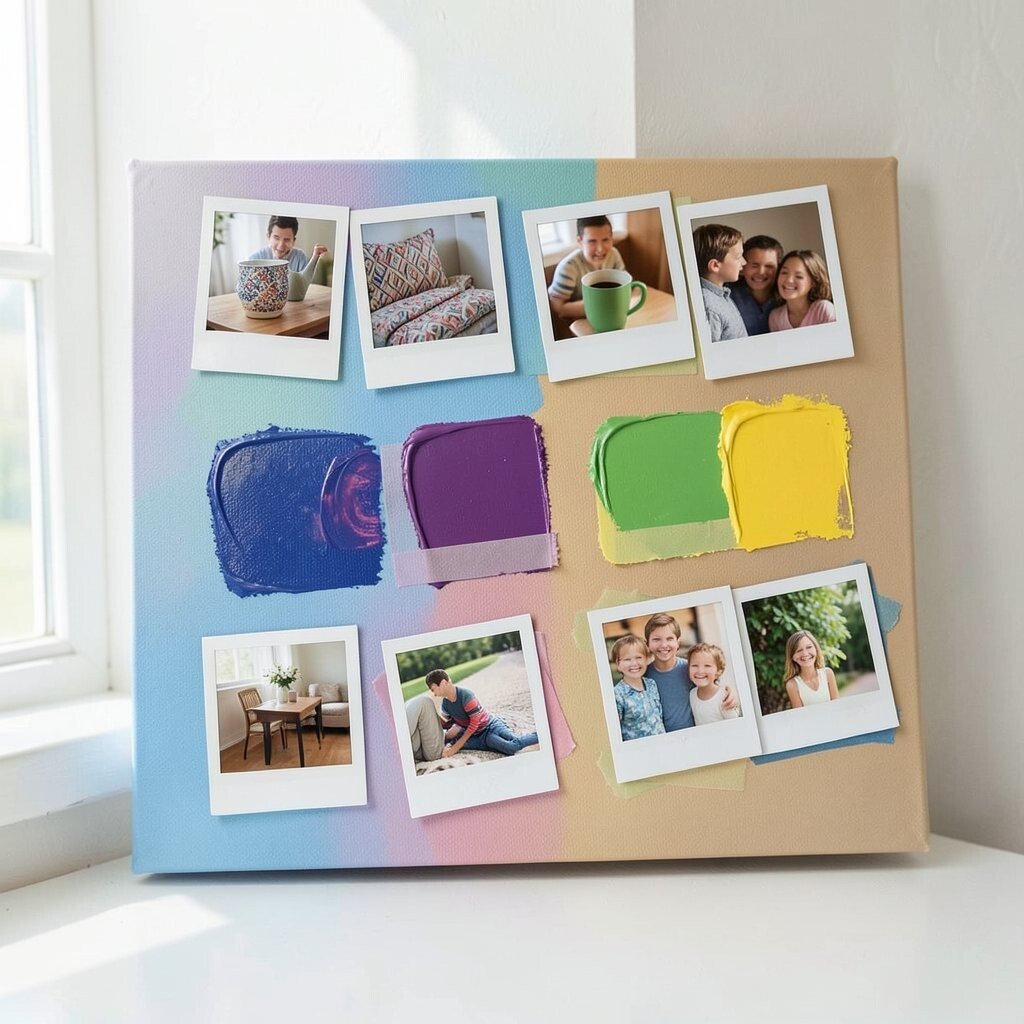
Start with a board painted in a base color, then add paint swatches around the surface like a mood palette. Place polaroid-style photos inside the color areas to tie memories to your design choices.
This idea feels bold and creative, making your space feel energetic without needing extra decor. The benefit is that it doubles as color inspiration for future projects, like choosing fabrics or planning a room refresh.
For practical tips, use painter’s tape to create crisp shapes, then remove it while the paint is still slightly tacky. Personalize by matching one paint color to a favorite item in your room, like a pillow or a mug. Cost can be kept low by using leftover craft paint and cheap canvas boards.
18. Outdoor-Inspired Board With Birdseed Labels and Notes
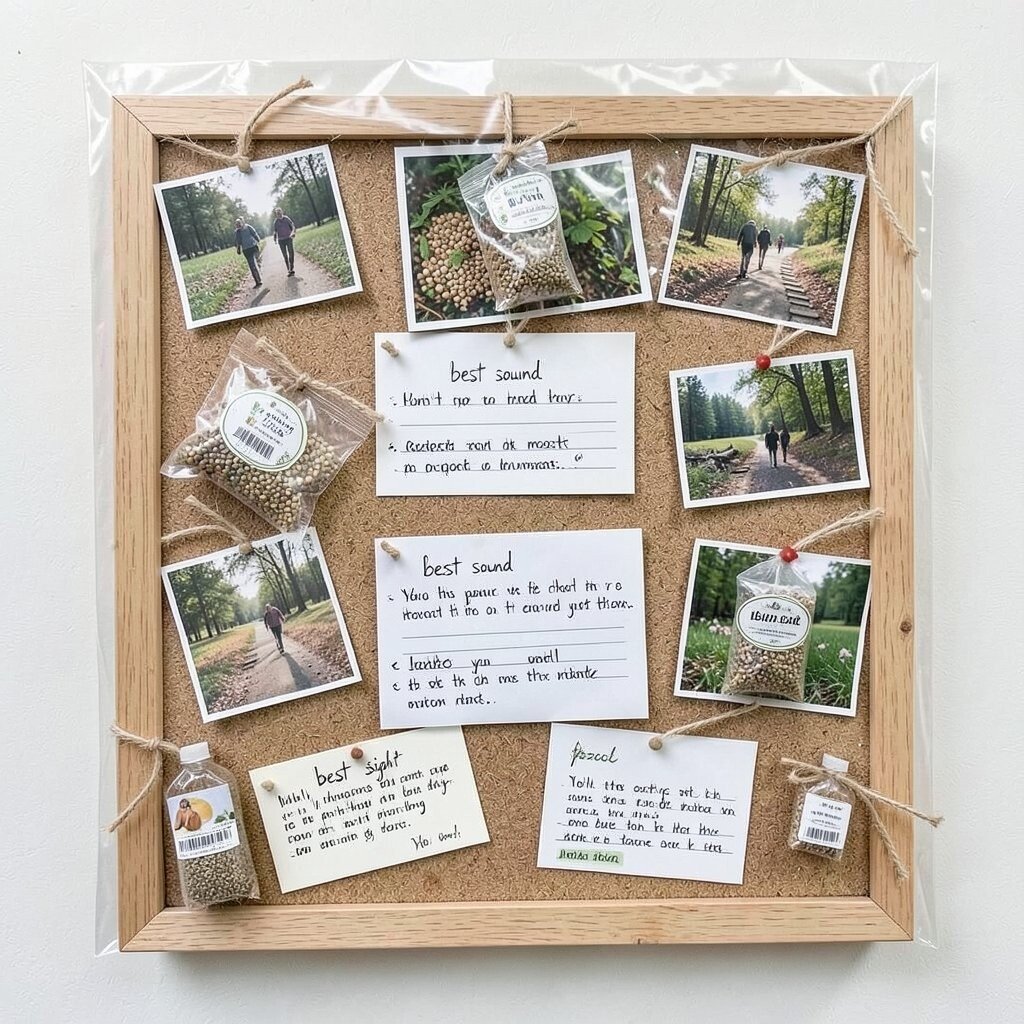
Give your board an outdoor feel by adding small birdseed packets, seed labels, and photos taken on walks. Pin them with natural twine and add a few note cards that hold your reflections on each outing.
This is a unique memory board because it blends nature supplies with your own words, creating a personal ritual. You’ll benefit from a calmer mood since the theme invites you to pause and appreciate small moments.
For personalization, include “best sound” or “best sight” lines written like journal prompts. To keep it practical, use a clear top sheet or gentle sealant to protect paper from dust. Cost considerations are simple because many nature-themed items are easy to gather from craft shops, park visits, or even home leftovers.
19. Workspace Board With Goals, Photos, and Daily Reminders
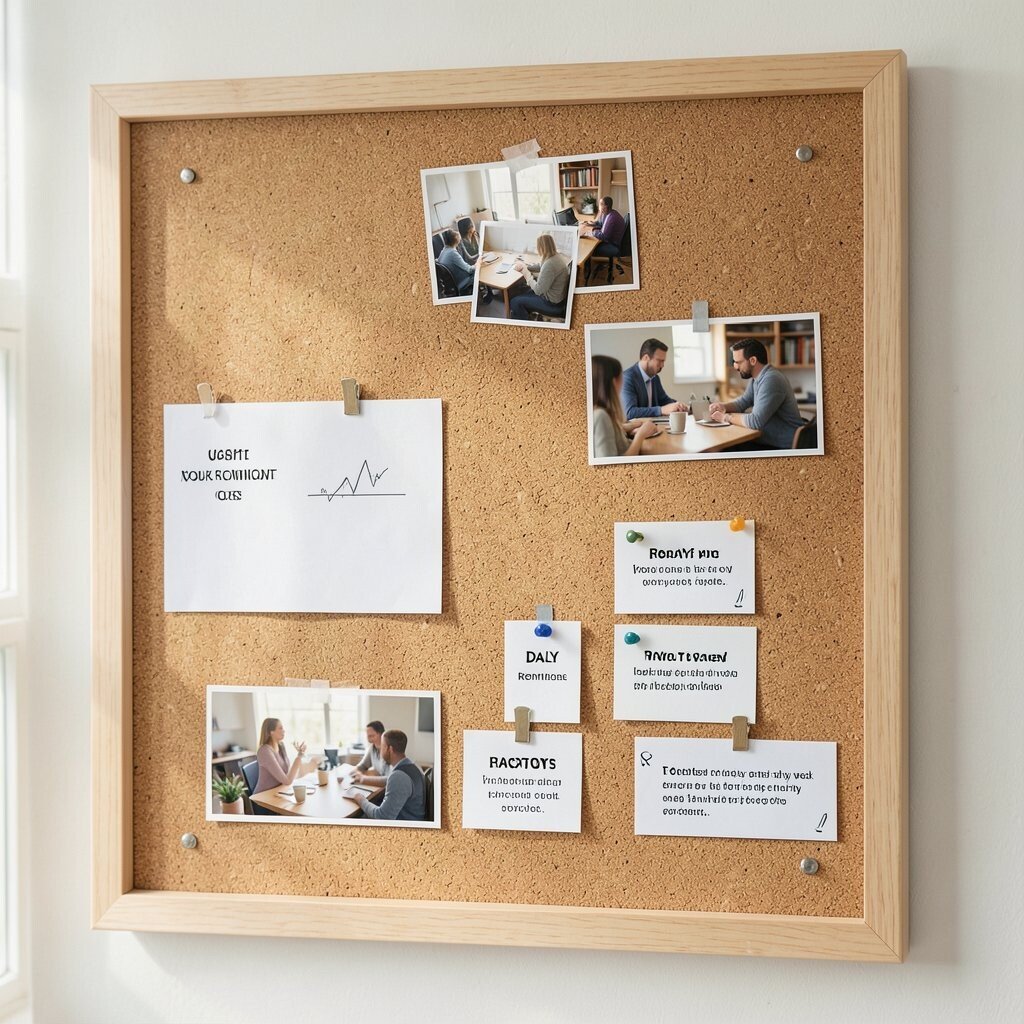
Turn your memory board into a workspace tool by placing a small cluster of photos near the top and then adding goal cards below. Use clip strips so you can adjust priorities when projects change.
This idea is great for people who want inspiration that supports productivity. The benefit is that your memories aren’t just decorative; they remind you why you started.
Personalize by adding photos that match your working mood, like scenes from a workshop, a team photo, or a quiet desk moment. For practical tips, keep reminders short and rotate one card each week to avoid clutter. Cost considerations are flexible since you can use a cork board, a simple pegboard, or even a framed sheet with pushpins.
Current trends in home offices often blend productivity and personality, so your board will feel modern and genuinely useful.
20. Upcycled Cabinet Door Memory Board With Hinges
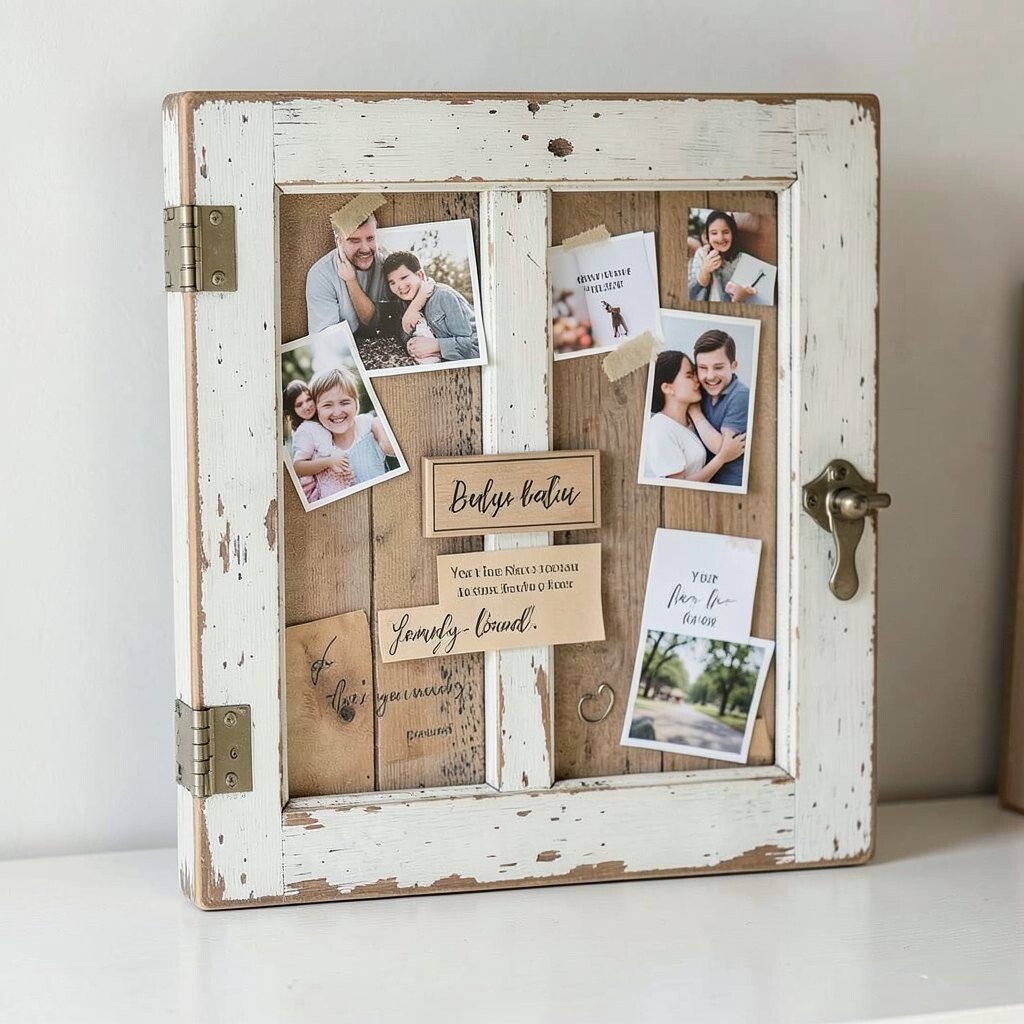
Use an old cabinet door as your base and add hinges or small compartments so it can open like a keepsake organizer. Paint or sand it to match your style, then attach photos, notes, and tiny mementos to the front.
This is a unique memory board because it has depth and history, and it turns a forgotten item into functional decor. The benefit is that you can store extra cards inside, helping keep the outside surface neat.
For personalization, add a small engraved plaque with a family name, a year range, or a phrase you love. To keep it practical, use magnetic catches or simple latches so everything stays secure. Cost considerations are favorable since you can find cabinet doors at salvage yards, thrift stores, or even on the curb, then spend a smaller amount on paint and hardware.
If you want a current look, pair the vintage door with clean typography and a limited color palette, so the contrast feels intentional.