Walls can feel like a story when light moves across them. Textured plaster turns plain surfaces into something you can almost touch.
1. Limewash Veils With Subtle Movement
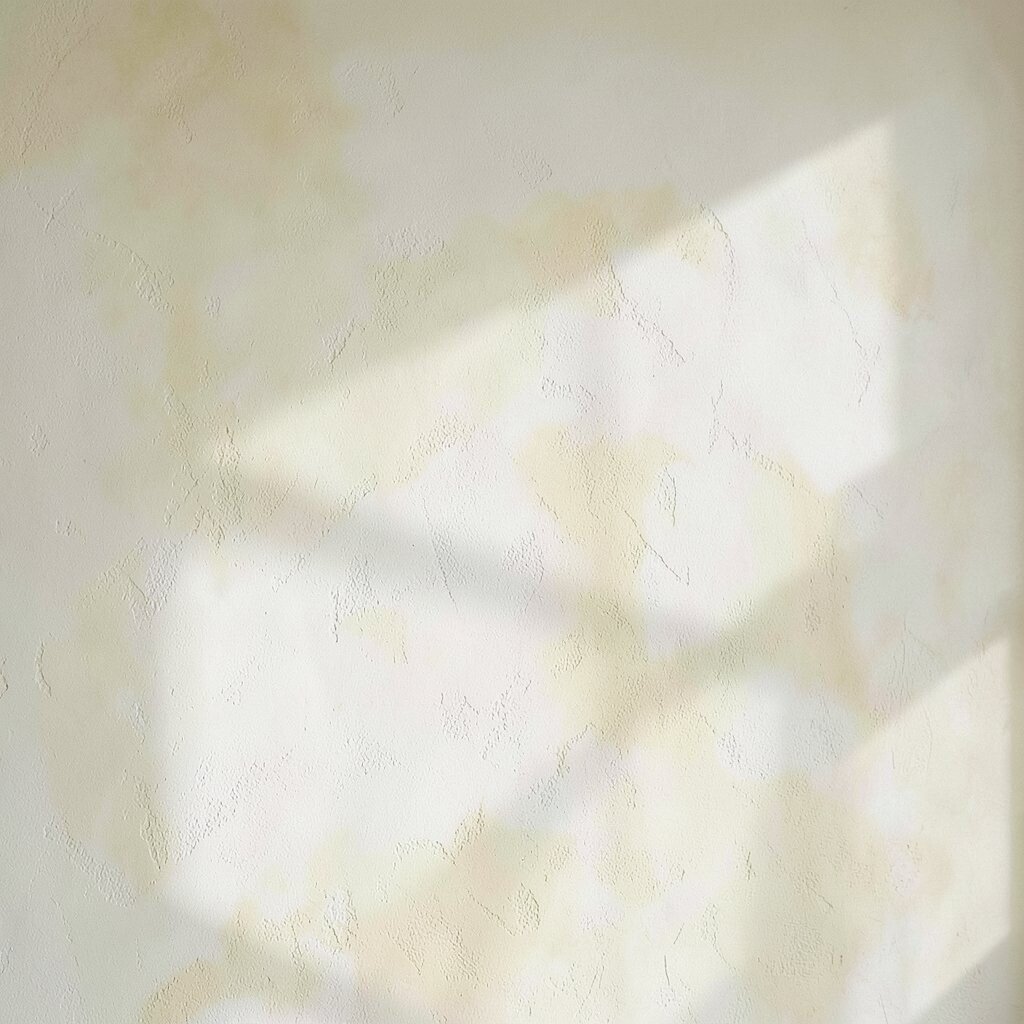
Limewash creates a soft, cloudy look that shifts as the sun slides across the wall. It feels airy, like a whisper of color rather than a thick paint layer. You’ll notice how pores and tiny variations catch light, giving walls a gentle depth.
Start with a smooth, well-prepped base so the limewash can perform its best. Apply thin coats, letting each layer dry before the next, and remember that overworking can flatten the mood. To personalize, mix a small batch of tint into each coat for a slightly warmer or cooler tone across the wall.
For practical results, test your shade on a scrap section because limewash can dry lighter. The benefit is a breathable finish that’s loved in homes that want to feel classic and relaxed. In many markets, lime products cost more than standard paint, but you often use fewer steps and enjoy a timeless look.
2. Venetian Plaster With Polished Depth
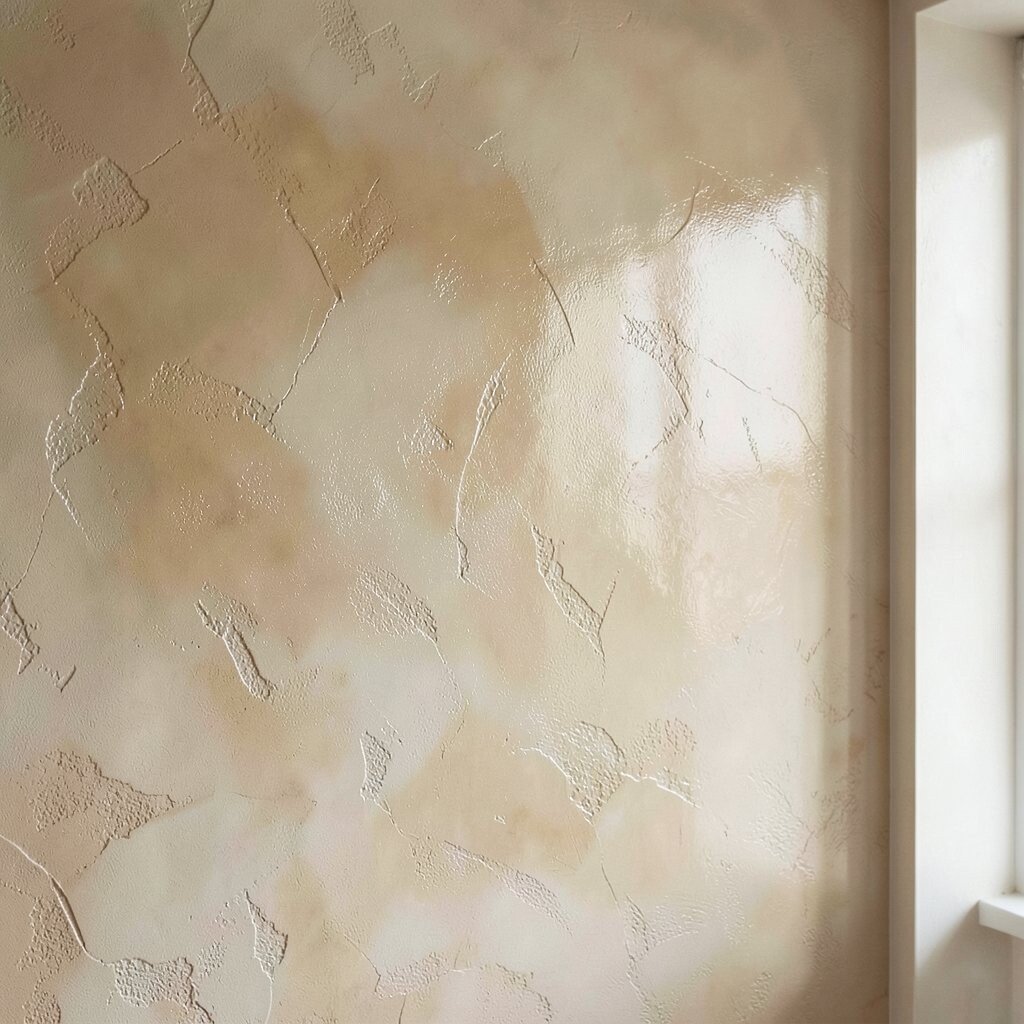
Venetian plaster brings a rich, glossy depth that looks almost like stone. When you buff it, the wall starts to shine in patches, creating a layered glow. The result is sleek yet warm, with a finish that feels tailored instead of trendy.
Work in thin passes with a steel trowel, then let the surface cure before you polish. Keep your coats consistent so you don’t get accidental ridges, and wipe the trowel often for clean motion. For personalization, choose a base color close to your undertones, then add a subtle top tint for a more complex finish.
To keep the look crisp, protect edges and plan around drying times, especially in humid rooms. The benefit is stunning visual depth without heavy framing or bold patterns. Costs can run higher due to skilled labor or premium material, but many people choose it because it elevates the whole room.
3. Trowel-Stamped Earthwork Texture
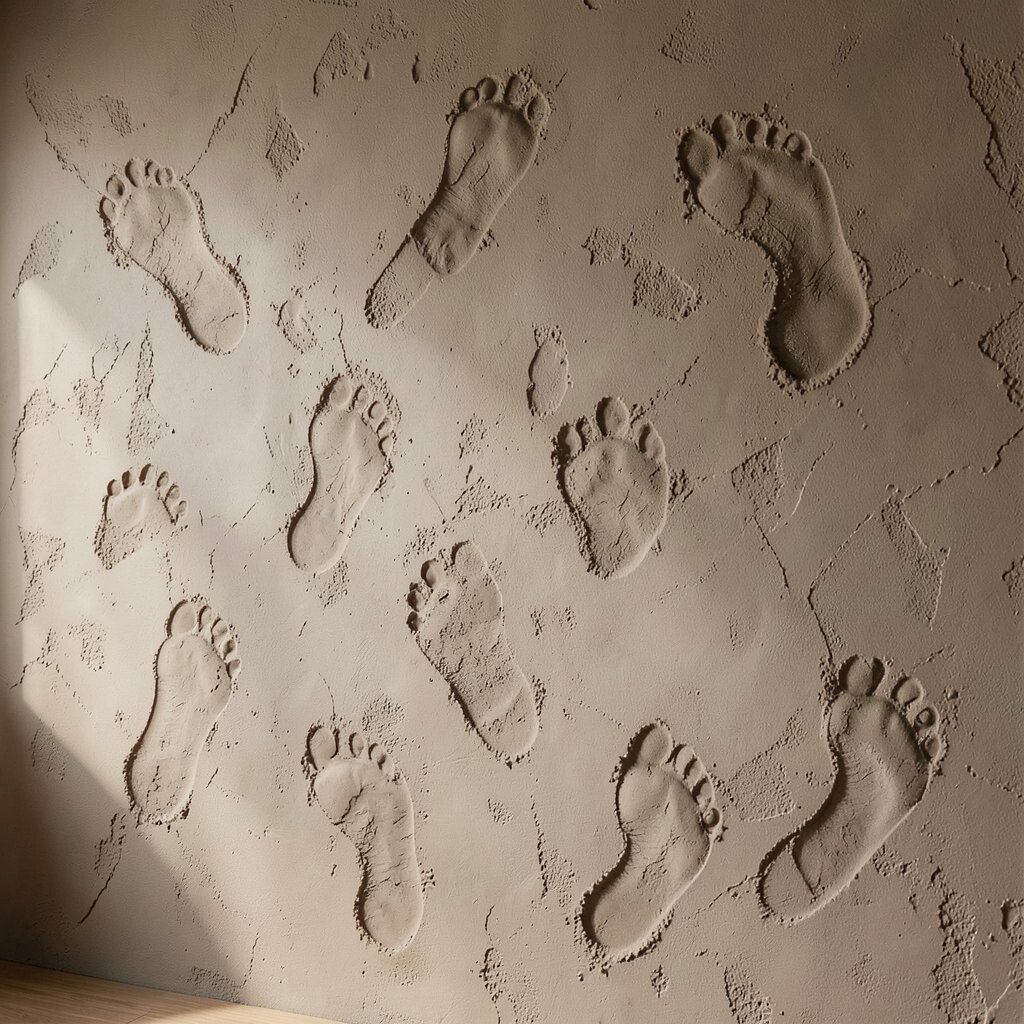
This technique uses plaster and patterned impressions to mimic aged earth. You’ll see repeating marks like gentle footprints in clay, softening the wall’s edges. It feels rustic, grounded, and unique even when the shapes repeat.
Press a stamp or stencil into the plaster while it’s at the right thickness so the pattern holds clearly. Build slowly, working in sections so the plaster doesn’t dry before you get the texture you want. If you want a more personal look, rotate stamps and vary pressure for a natural, imperfect rhythm.
Use darker base tones under lighter top coats to make the stamps pop as highlights. One practical tip is to seal carefully with a compatible product so the marks stay crisp. It can be mid-range in cost because stamps are reusable, though extra time adds up if you’re doing large walls.
For a current style vibe, pair earthwork textures with warm neutrals and matte fixtures so the wall feels modern but not cold. The benefit is character that hides minor imperfections and makes rooms feel lived-in. Many homeowners love it because it turns a broad wall into a focal point without needing bold art.
4. Sponged Layers For Soft, Cloudlike Color
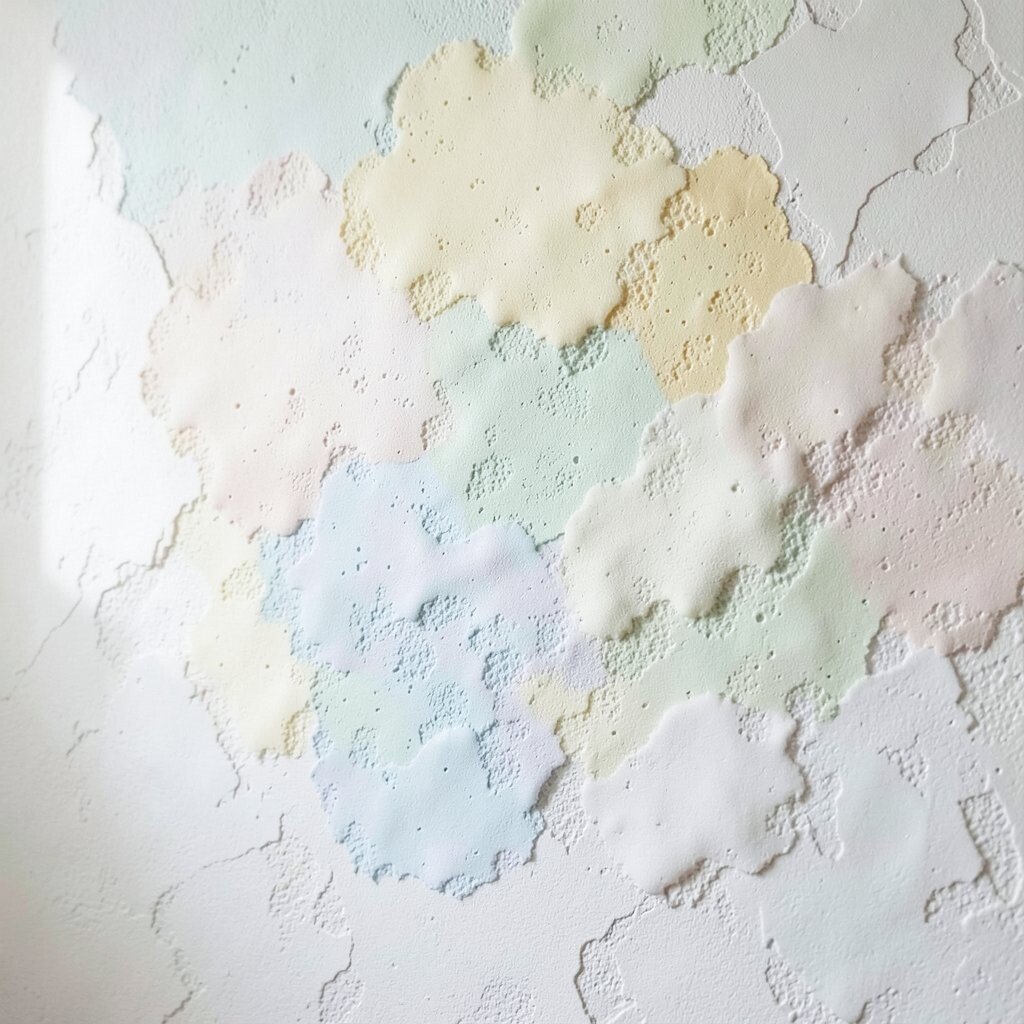
Sponged plaster gives walls a gentle, mottled look that feels like soft clouds. Each dab of plaster creates tiny peaks and valleys that catch light in small waves. The texture is forgiving, so it can make busy rooms feel calmer.
Start by applying a base coat and letting it dry, then sponge on thin layers for depth. Use a natural sea sponge or a textured tool, and keep your hand movements light to avoid harsh stripes. For personalization, blend two close colors so the wall feels dimensional rather than patchy.
5. Scratch-Coat Linear Ridges
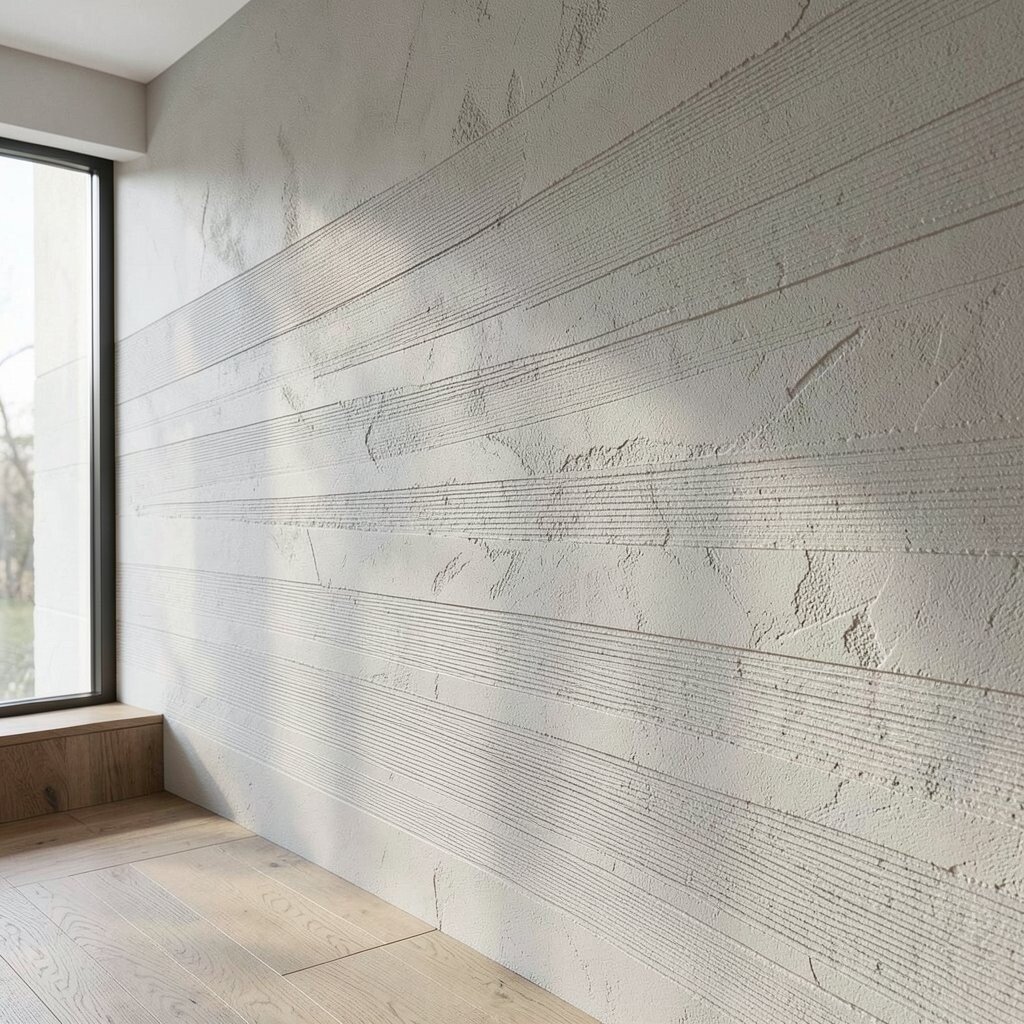
Scratch-coat plaster forms thin, linear ridges that look like hairline lines in stone. From the right angle, the wall shows a subtle directionality that adds energy without shouting. It’s a great option if you like texture but want it to stay tidy and modern.
Apply plaster and use a comb or scratch tool to create controlled grooves, then smooth the edges slightly so lines feel intentional. Plan the direction of the ridges before you start so the pattern supports the room layout. To personalize, combine two ridge directions by overlapping lightly after the first set firms up.
For practical tips, keep pressure steady and work by sections to maintain consistent depth. Sealing helps protect the finish, especially in hallways and family rooms. Costs can be moderate because the tools are simple, though labor time matters for clean, even lines.
In current interiors, linear textures pair well with minimalist furniture and warm woods. The benefit is a surface that looks handcrafted yet stays easy to live with. Many people also love how the ridges can disguise slight wall waviness.
6. Crackle Plaster For Controlled, Vintage Drama
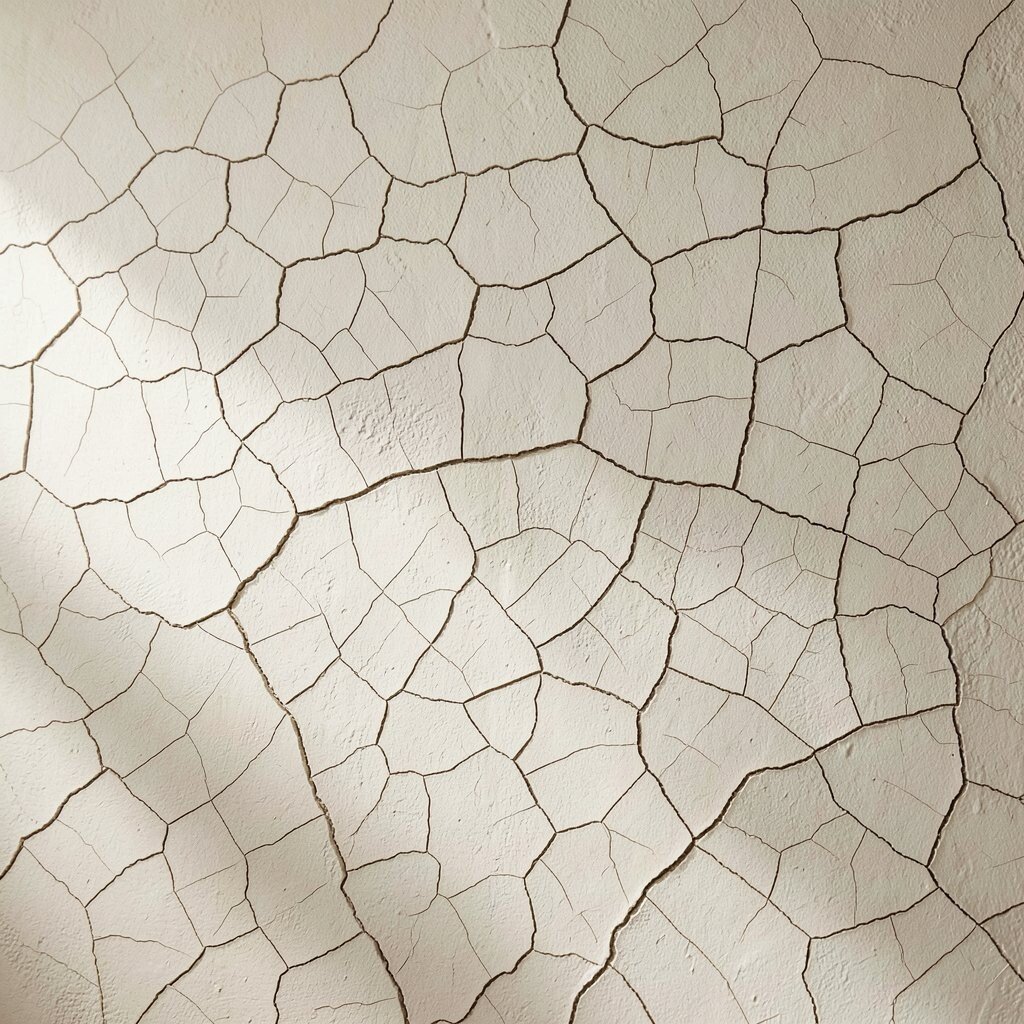
Crackle plaster creates a network of fine lines that resemble aged glaze. The cracks look delicate up close, but from across the room they add a vintage sparkle. It feels dramatic, yet you can keep it subtle with the right color choices.
You’ll get the best results when you follow the curing window for the crackle agent so the pattern forms naturally. Apply in thin, even layers, and avoid rushing because timing shapes the crack size. For personalization, choose a base color close to your trim and add a contrasting glaze layer so the lines show clearly.
7. Rag-Drag Texture With Painterly Softness
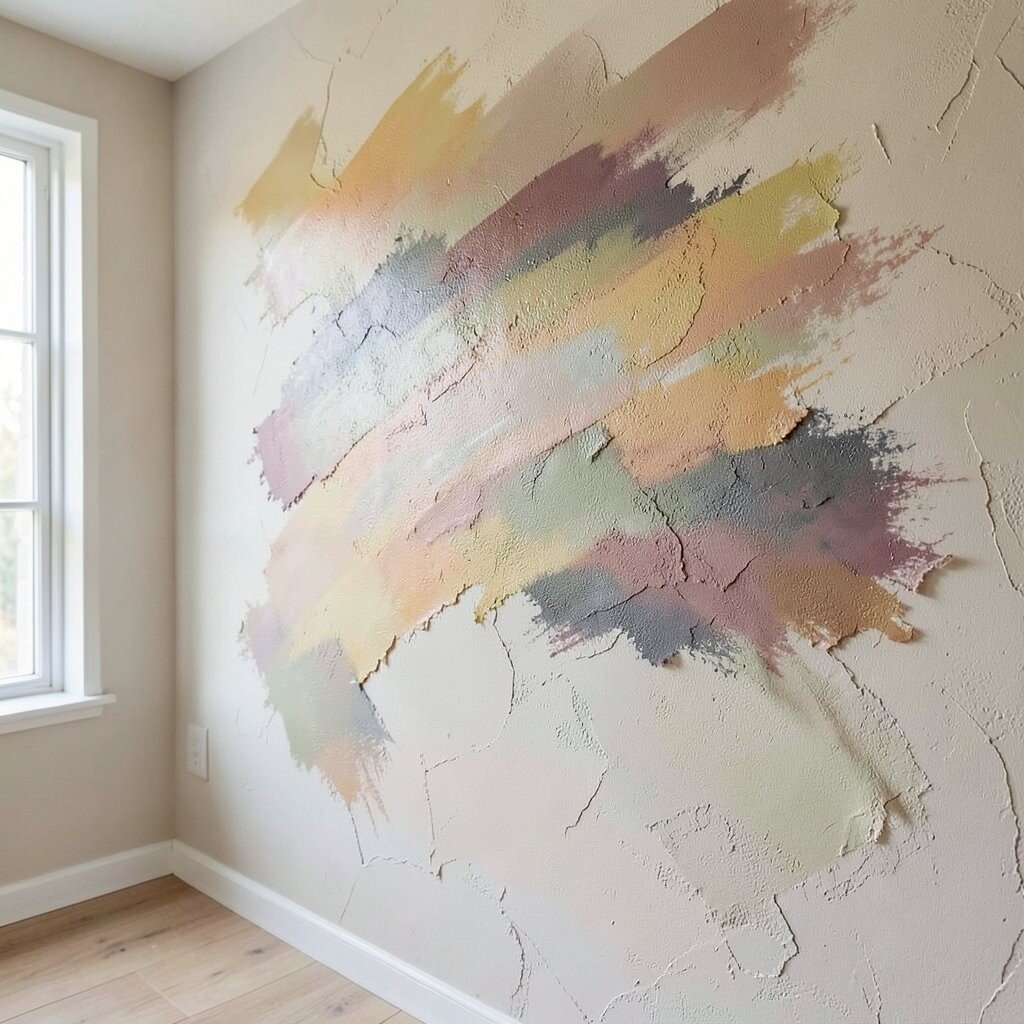
Rag-drag plaster makes a painterly surface where streaks blend into each other. The wall looks handcrafted, like brushwork translated into texture. Light glides over it, creating a warm, relaxed effect.
Use a damp rag or cloth to drag through a workable plaster layer, keeping your pressure consistent. Layer colors gradually so the streaks build depth instead of turning muddy. To personalize, aim the drag direction to flow with sightlines from doorways or windows.
For practical success, practice on a small area first so you learn how quickly your plaster sets. The benefit is a texture that hides imperfections and makes paint-like finishes feel more special. Cost is usually manageable since you need basic tools, though extra coats can add time.
8. Rolled Micro-Textile For Modern Calm
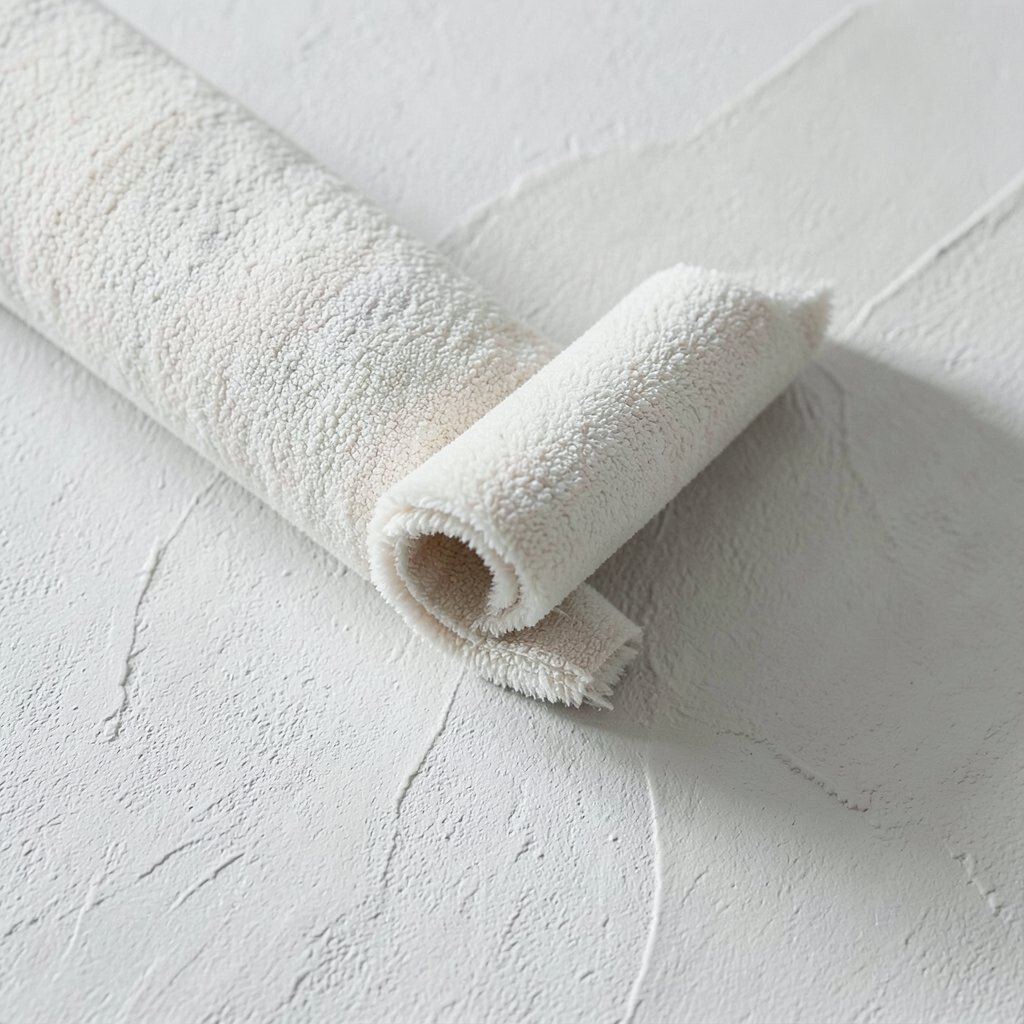
Rolled micro-texture plaster gives a nearly smooth surface with subtle grain. It looks clean and modern, but up close you see tiny variations that stop the wall from feeling flat. This technique is perfect if you want texture that doesn’t dominate.
Choose a roller texture appropriate for your desired grain size and apply evenly to prevent banding. Work quickly but calmly, and keep a wet edge so the finish stays uniform. For personalization, use a slightly tinted top coat so the texture shows more in natural light.
9. Wet-on-Wet Feathering For Dynamic Light Play
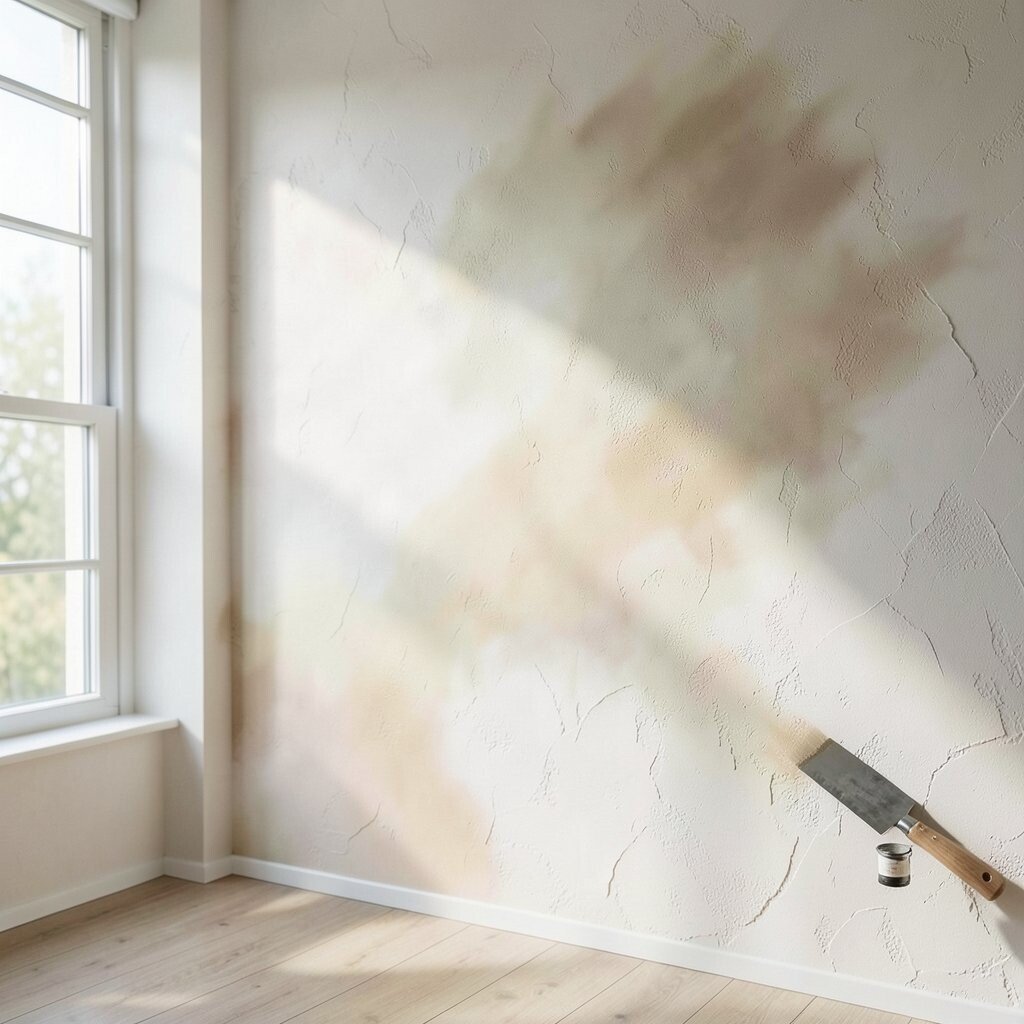
Feathering plaster while it’s wet creates soft transitions that feel like smoke across a wall. You’ll see gentle gradients and edges that blur, giving the surface motion. It’s especially beautiful in rooms with wide windows where daylight changes throughout the day.
Keep multiple tools ready, including a trowel for blending and a clean edge for smoothing. Apply one section at a time, feathering outward so the marks melt into the next area. For personalization, use two tones in the same family so the wall shifts without looking striped.
A practical tip is to control airflow and humidity because feathering depends on workable time. Sealing matters too, since a final finish can change how highlights appear. The cost can be higher if you hire help, but it’s often worth it because the visual payoff feels high-end.
10. Corner-First Edge Scultping With Relief Panels
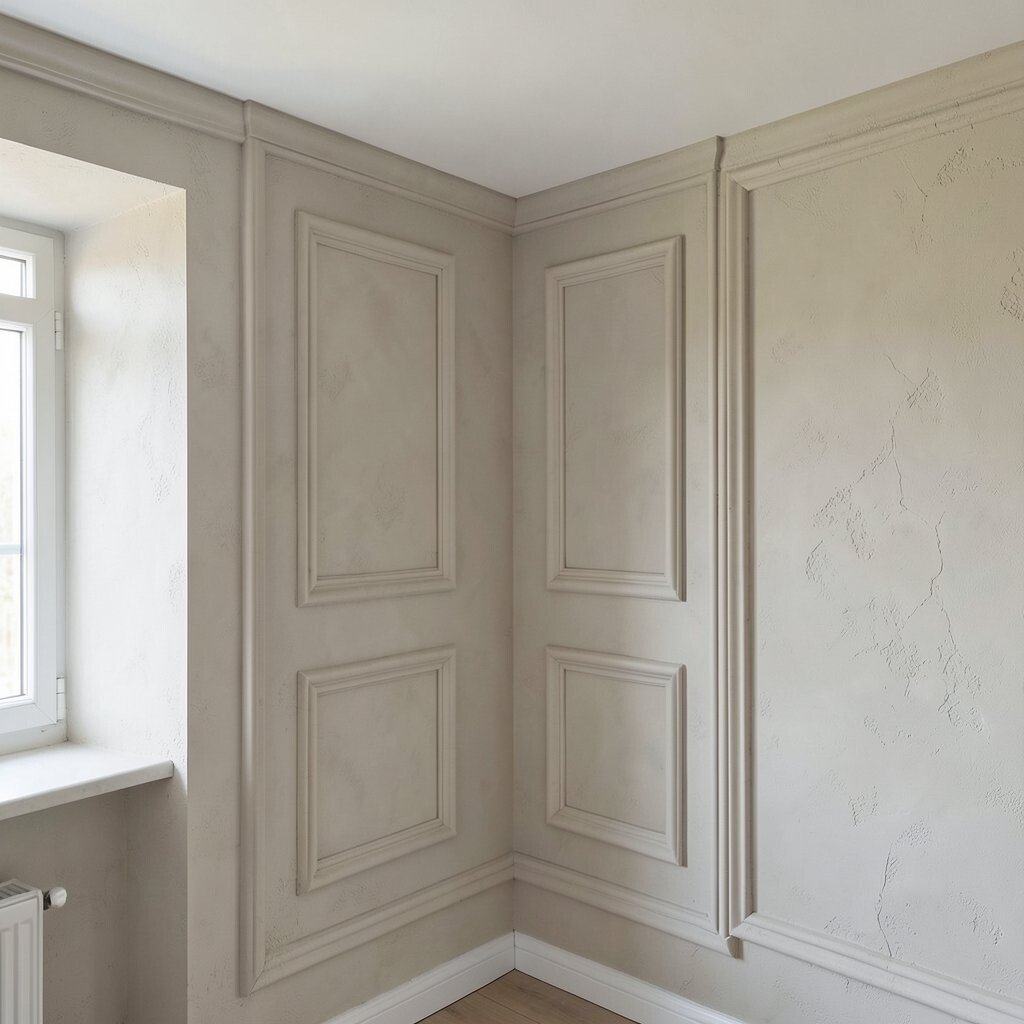
This approach uses plaster relief to form shallow panels and framed edges around doors, niches, or feature walls. You get a sculpted look without heavy ornament, and the wall feels custom. The relief catches shadows, making the room feel layered and intentional.
Build relief starting at corners so edges stay crisp, then fill in with plaster and smooth the field. Use guides or flexible edging to keep panel lines straight even if you’re working alone. For personalization, vary panel width or place one relief band at eye height for a tailored focal point.
To keep it practical, plan your layout before mixing plaster so you don’t scramble with dry time. The benefit is architectural interest that can upgrade a simple room instantly. Costs can be moderate to high depending on how extensive the relief is, but the materials can still be manageable with smart planning.
11. Sponge-Roll Hybrid For Rich, Tactile Dimension
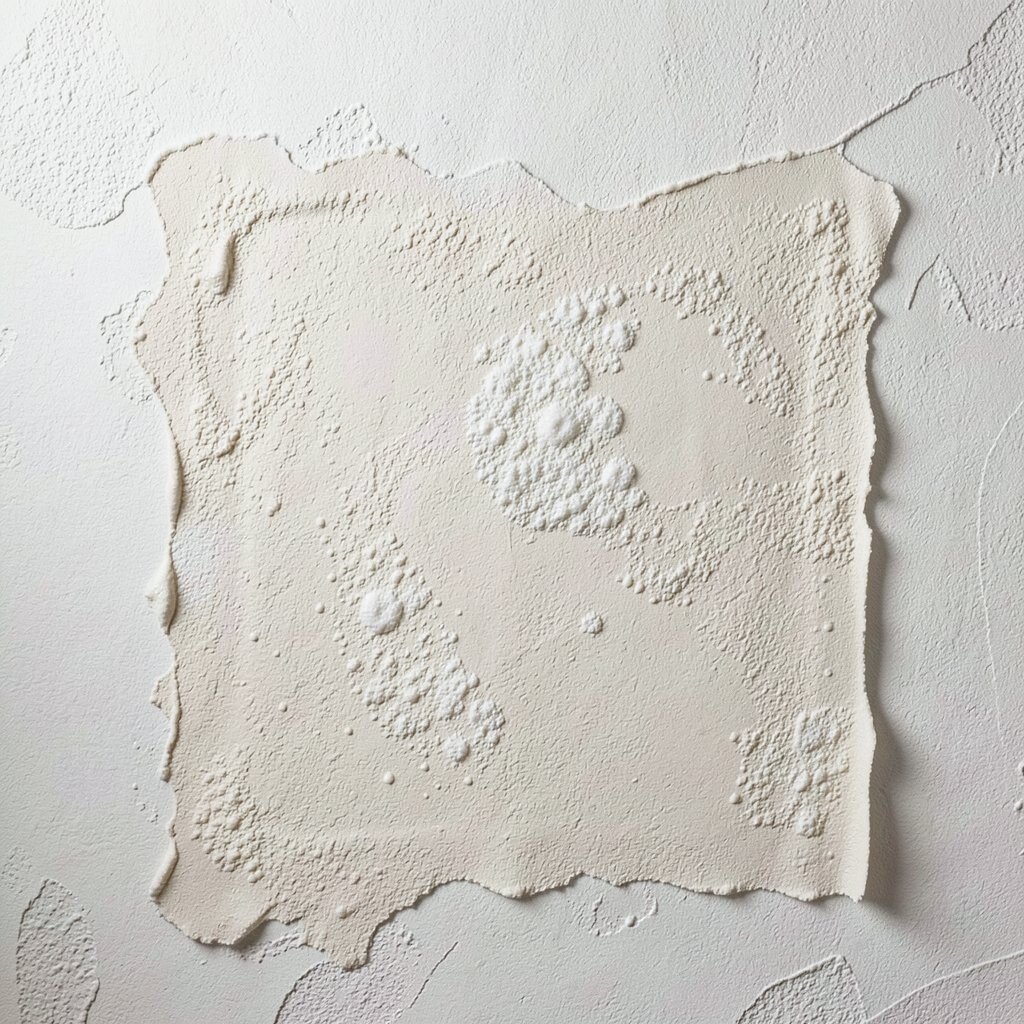
A sponge-roll hybrid blends the softness of sponging with the steadiness of rolling. The wall ends up with a layered texture that feels rich but still controlled. It’s a great way to avoid a too-random look while keeping the surface lively.
Start with a rolled base layer, then add sponge dabs where you want deeper shadows and highlights. Keep your sponge damp and your roll consistent so the final pattern feels intentional. For personalization, use a deeper base color in the recesses and a brighter top tint on raised areas.
For practical tips, seal after full cure so the texture remains sharp and easy to clean. The benefit is a durable, visually interesting wall that works well in hallways and living areas. Costs are often reasonable because rollers and sponges are common, though more passes can increase labor time.
12. Artifact Modeling With Hand-Carved Highlights
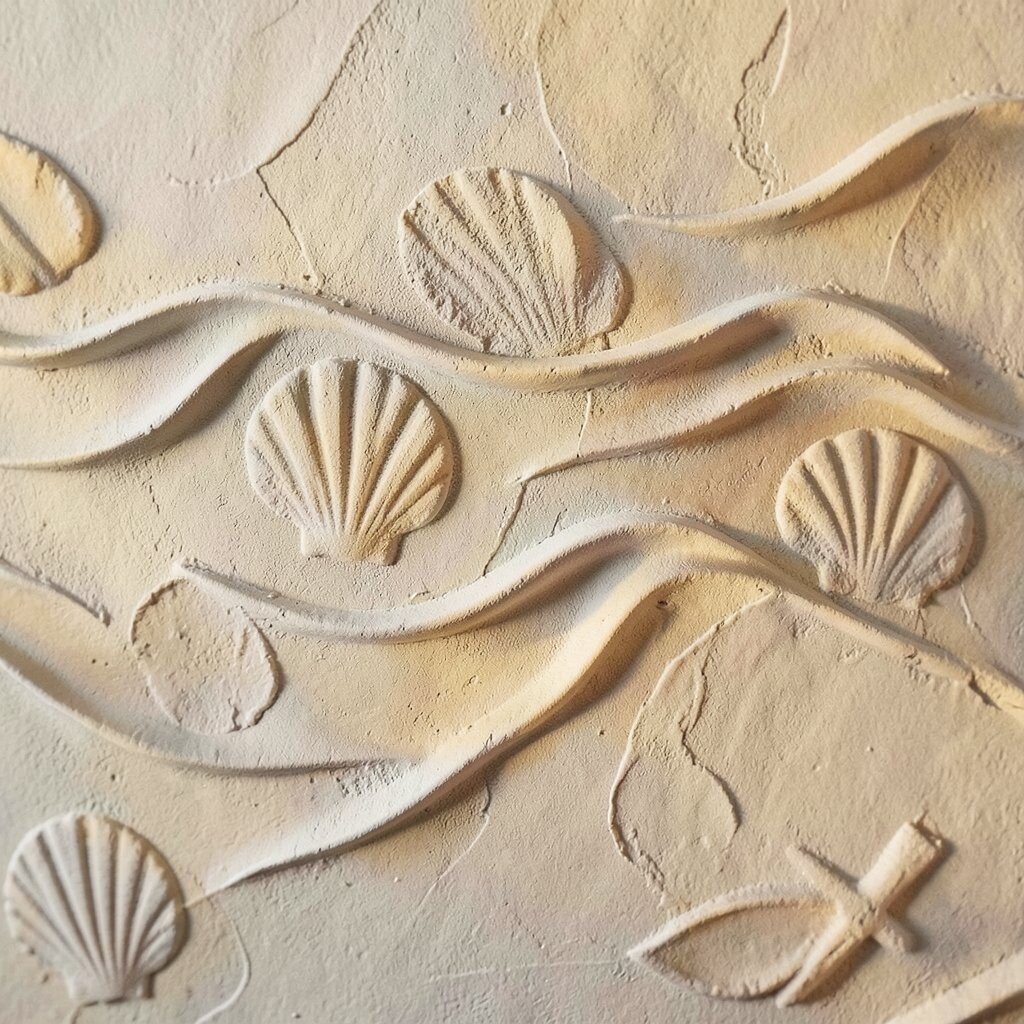
Artifact modeling turns plaster into a sculpted surface with hand-carved highlights that look like relic stone. You might see shallow waves, shells, or tool marks that feel ancient and special. Up close, every curve tells a different story, and from far away it reads as elegant texture.
Model while the plaster is workable, then refine with carving tools and small trowels for crisp edges and gentle curves. After the form sets, use a contrasting wash or highlight glaze so raised areas catch light. For personalization, match motifs to your home style, such as coastal hints for beachy spaces or geometric rhythm for modern rooms.
To keep it practical, protect floors and keep tools organized so you don’t damage wet sections. Sealing is important to maintain the finish and help with cleaning. Cost varies widely because this technique is time-heavy, but many homeowners feel it’s worth it because the wall looks one-of-a-kind.
In current trends, more people want handmade imperfections instead of perfect uniform walls, and artifact modeling fits right in. The benefit is maximum uniqueness with a finish that photographs beautifully in both daylight and warm evening light.