Reef rocks can make your tank look more natural and neat. You can use them in many ways, and they also help fish feel safe.
1. Layered Rock Wall With Flat Faces
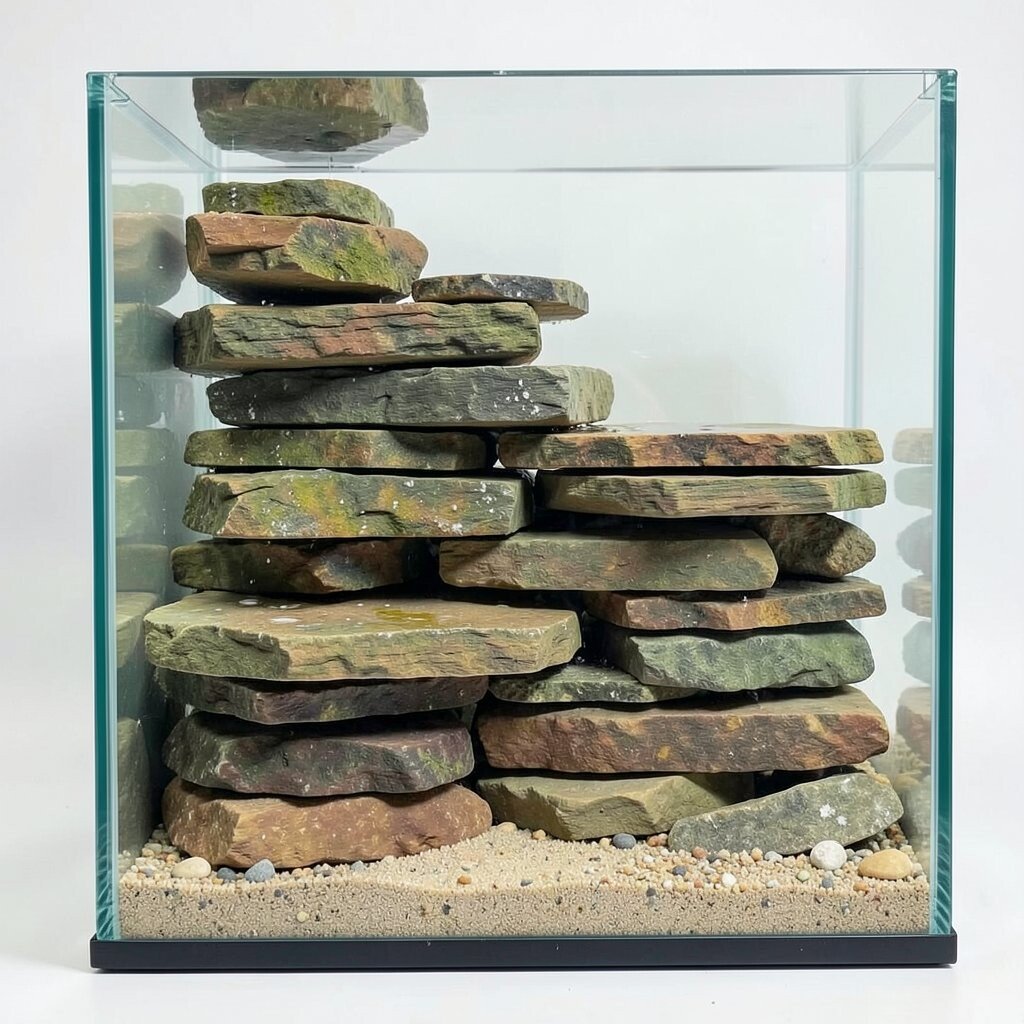
Build a small wall using flat rock pieces stacked like steps. This gives your tank a clean look and makes a clear background in the back. Many people like this style because it is easy to copy from one tank to the next.
Try placing the flattest sides toward the glass so the shapes show well. Use a few small gaps so water can flow between rocks. This can help reduce dead spots where waste can build up.
To keep it safe, rinse rocks well and stack them in a stable way. If the rocks wobble, adjust the base with sand or larger stones. For cost control, look for used rock from local sellers or watch for sales on tank decor.
2. One Big Center Pile With Smaller Bits
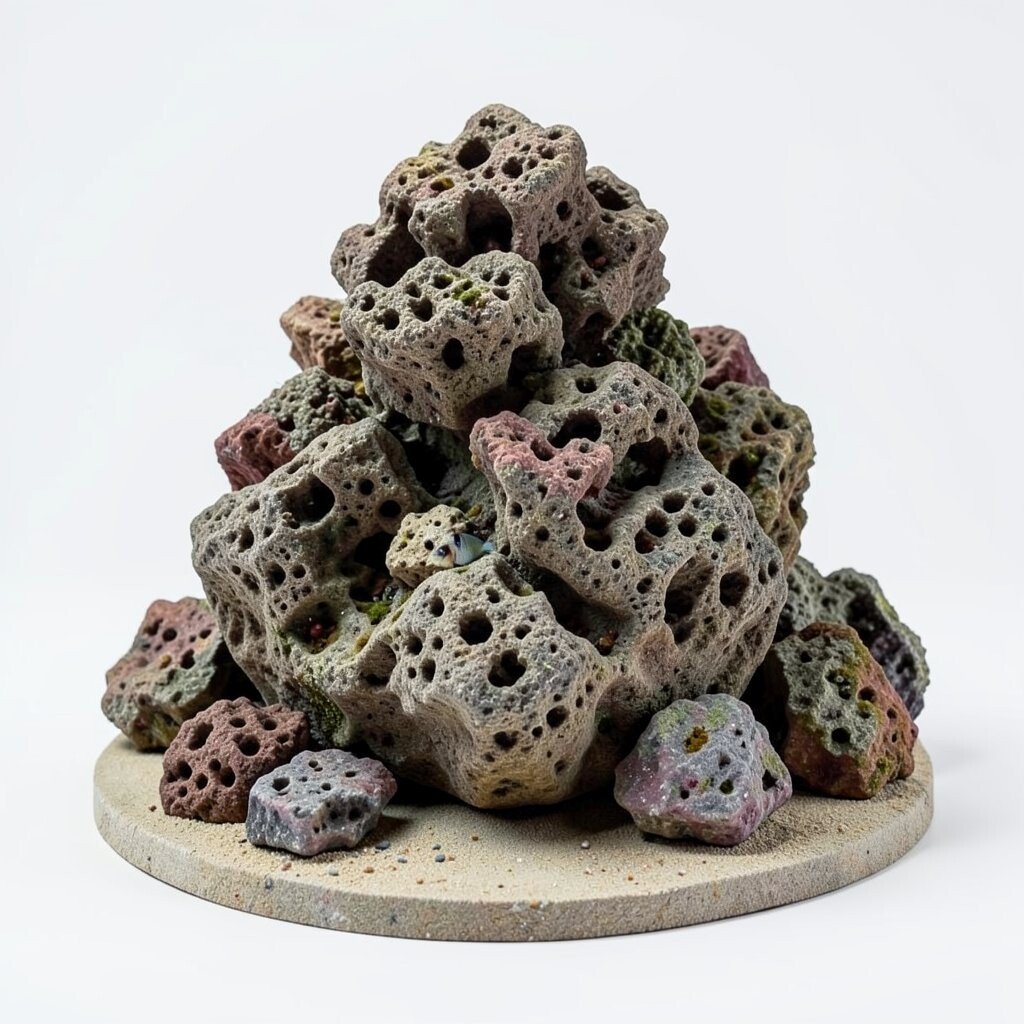
Choose one larger reef rock as the main piece and add smaller ones around it. The center pile becomes a focal point, so your tank feels put together. This setup also looks good from the front because the height draws the eye.
Keep the big rock on a firm base and avoid making tall stacks that can fall. You can make ledges for hiding spots by adding small rocks near the main pile. Fish often use these ledges as rest spots.
To personalize it, pick rocks with different textures so the pile looks more like a real reef. You can also add a bit of sand at the base to soften the edges. If you want a trend look, aim for a simple layout with clear shapes.
3. Cave Scene With Arches and Tunnels
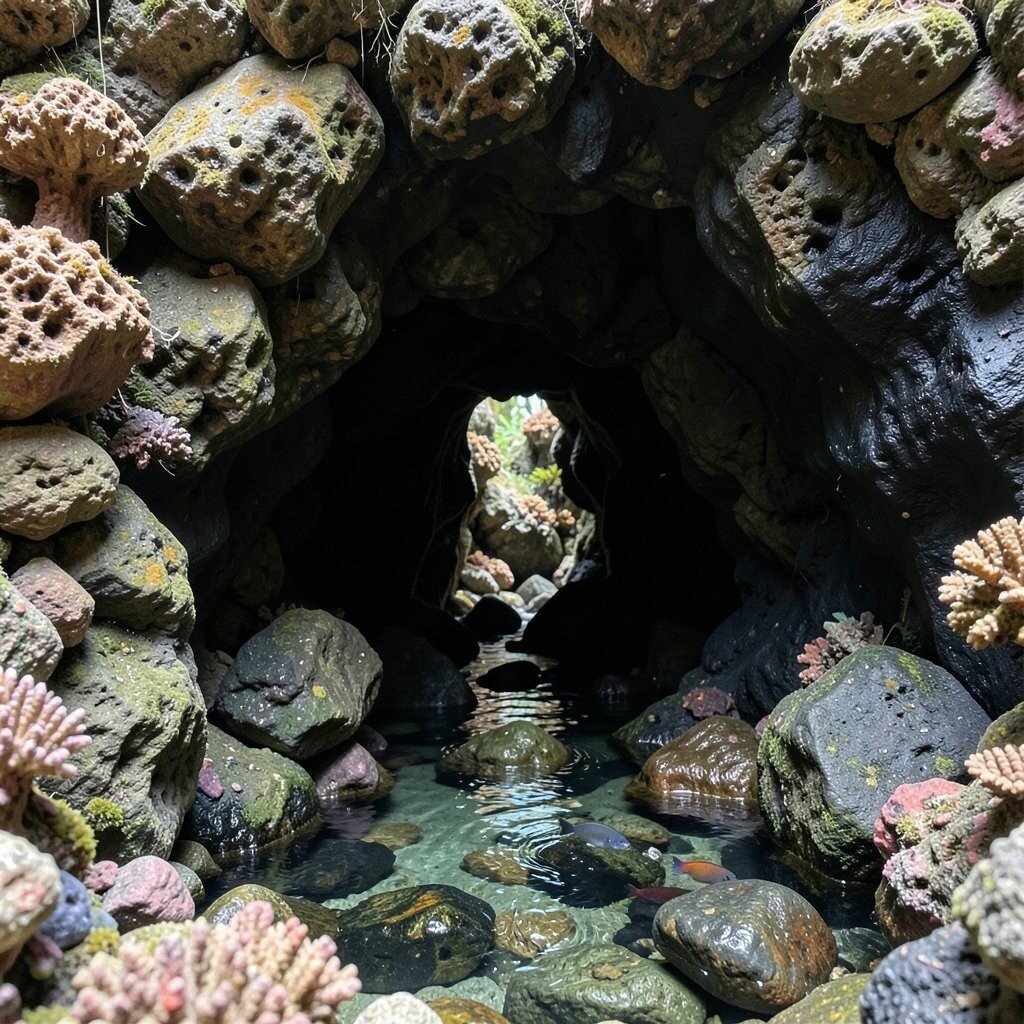
Use reef rocks to form a cave with an arch opening. This gives you a home-like feel for shy fish. A tunnel shape can also help some fish feel safer because they can move in and out.
Plan the cave before you glue or place anything by dry setting the rocks. Make sure there is enough space for your hand to reach inside for feeding. Also check that water can reach all parts of the cave.
If you want to keep cost down, use smaller rocks to fill gaps instead of buying one fancy piece. You can also paint the outside parts black or dark only if you use safe, tank-safe methods. Many hobbyists like this look because it adds drama without extra gear.
4. Rocky Overhang Like a Natural Shelf
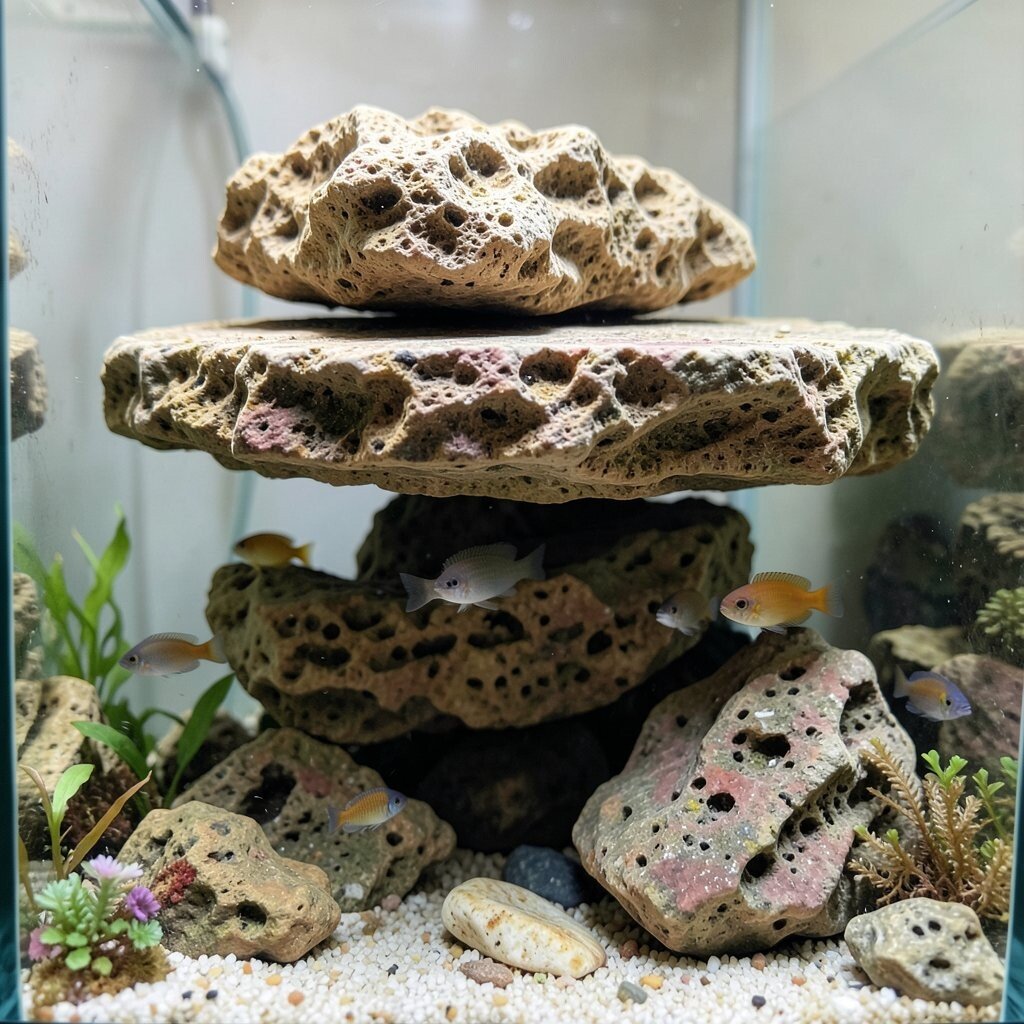
Create an overhang by placing one rock on top of another at a slight angle. This makes a shelf under it where fish can hide and rest. The underside gives your tank more depth and a more real look.
Use stable rocks with flat contact points so the top rock does not slip. You can also keep the shelf low for smaller tanks. This helps small fish find cover without feeling trapped.
For personalization, you can match the shelf size to your fish habits. For example, active fish may like open swim space while shy fish may use cover more often. To lower cost, build the overhang with a mix of rock sizes.
5. Branchy Stacking for Better Water Flow
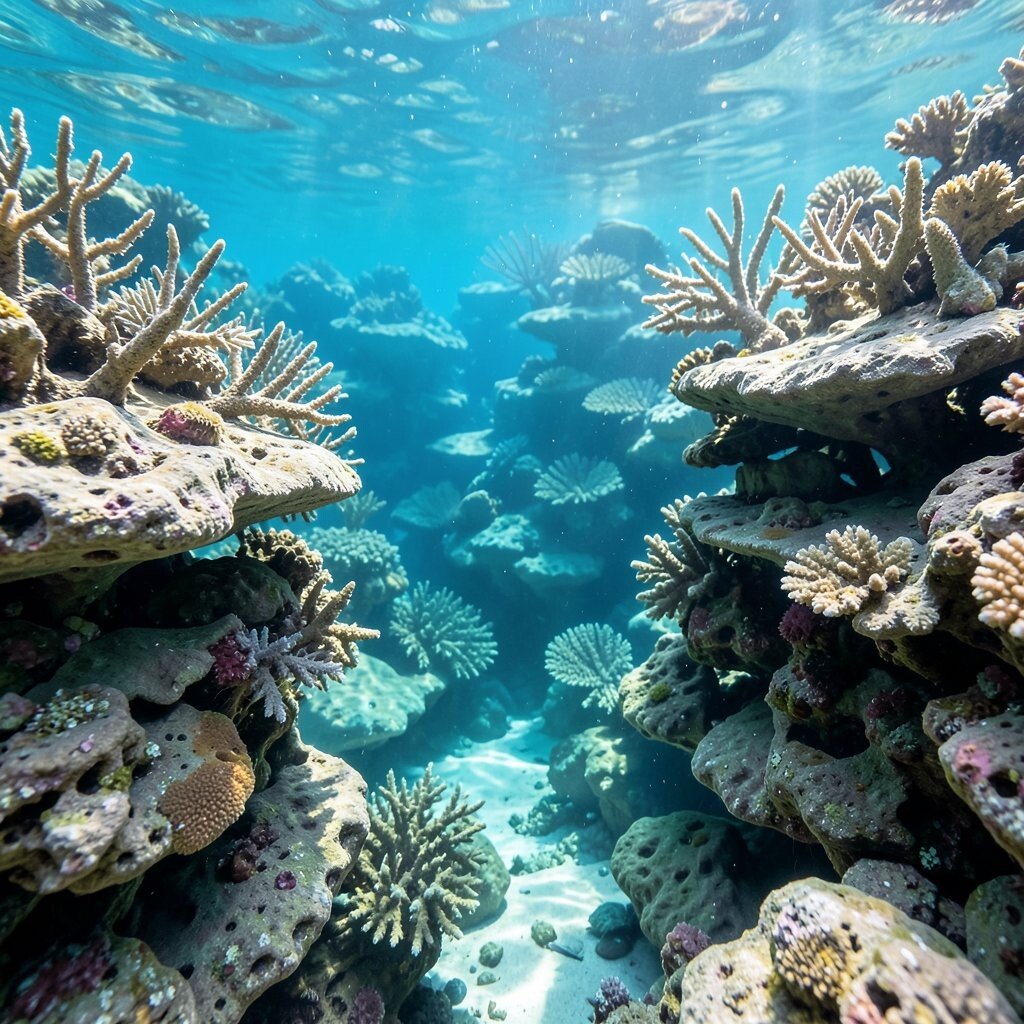
Instead of one tight wall, try a more spaced stacking style with branches of rock. This makes more open water space in the center. Many people choose it because it can help water move around rocks.
Leave small gaps so flow from your pump can pass through. This can help reduce buildup on the rock surfaces. It may also help keep the tank looking cleaner over time.
Uniqueness comes from the branch shapes you choose. Try mixing thin and thick pieces so the structure looks like coral branches. For a trend feel, aim for airy shapes rather than a dense block.
6. Plinth Rock With Step-Up Levels
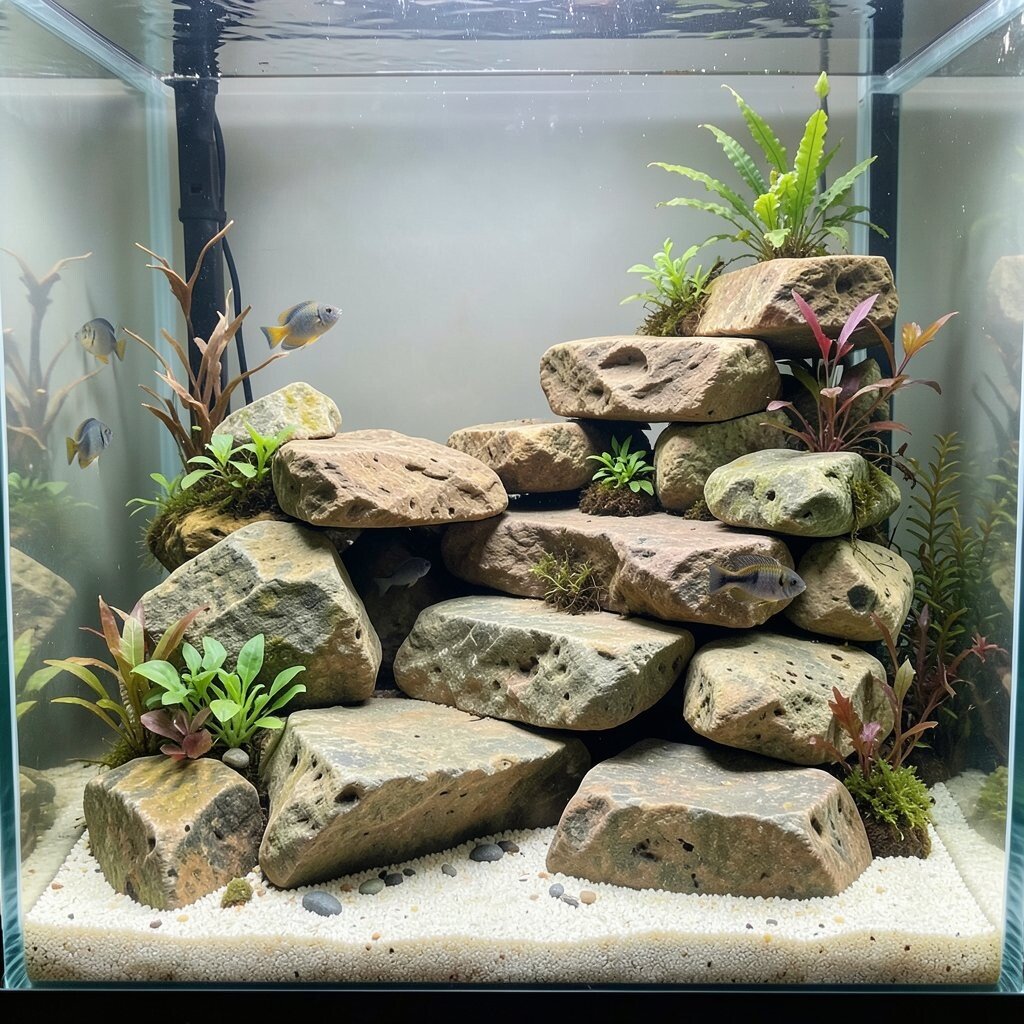
Make a base “plinth” using a large rock or a cluster of rocks. Then build step-up levels on top in smaller stages. This style gives a neat path for fish to move around.
Start with the biggest base piece and make sure it sits flat on the tank bottom. Add steps using medium rocks so the layout stays solid. Steps can also give you extra spots to place small plants or hardy decor.
If you want to personalize, match the step color tone by using rocks with similar shades. You can also keep the steps uneven for a more natural look. This is a good option if you want structure but do not want a cave.
7. Rock Garden With Lots of Small Pots of Sand
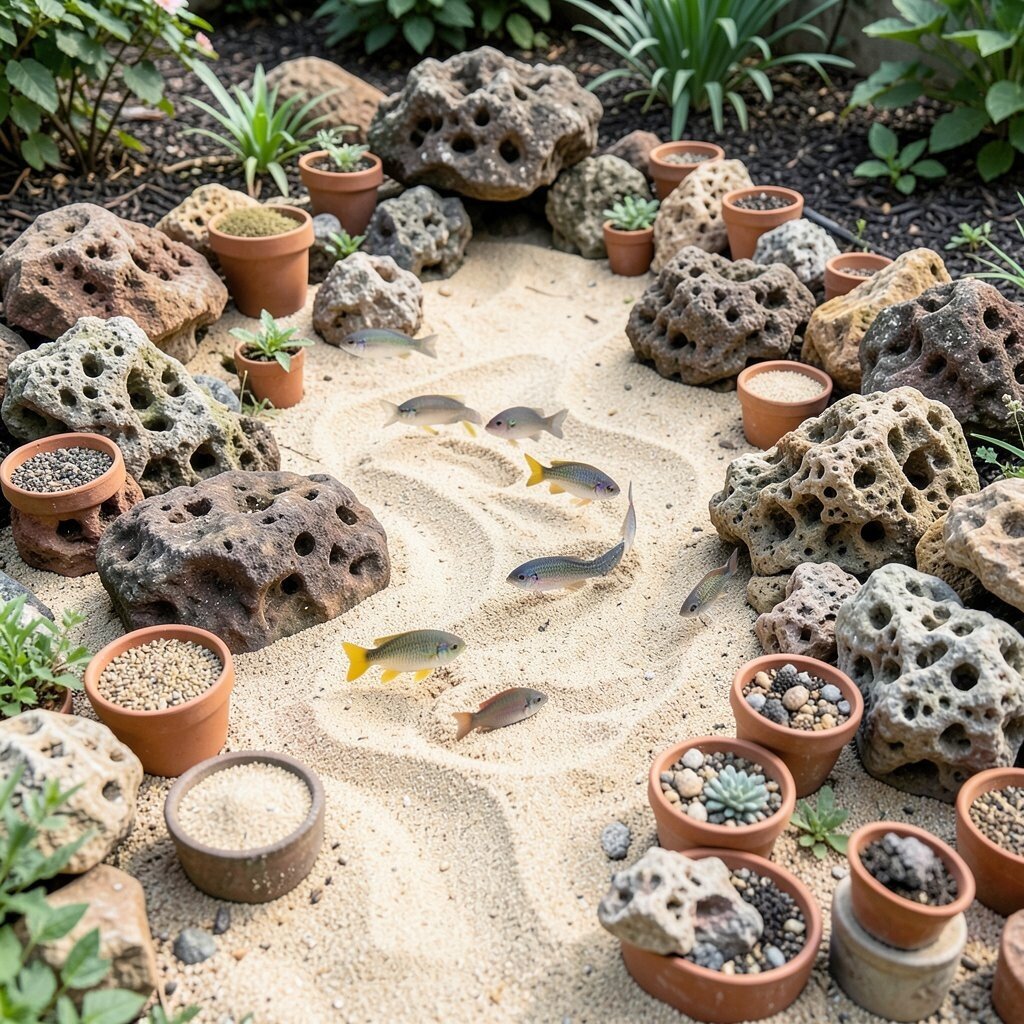
Place reef rocks in a garden-like pattern with more sand between them. The sand “paths” make the layout easy to see and give a calm look. Fish often swim through the spaces, and some fish may sift sand.
Use small rocks and keep them from touching the glass too tightly. If rocks sit on the sand, check that they do not sink or tilt. You can add a thin sand layer to help stabilize pieces.
To keep it safe, rinse all sand and rocks to cut down on dust. For cost, this setup can use smaller rocks instead of one large expensive piece. If you want a new trend look, try mixing rock heights for a more natural spread.
8. Tiny Rock Spires for a Dry-Look Feel
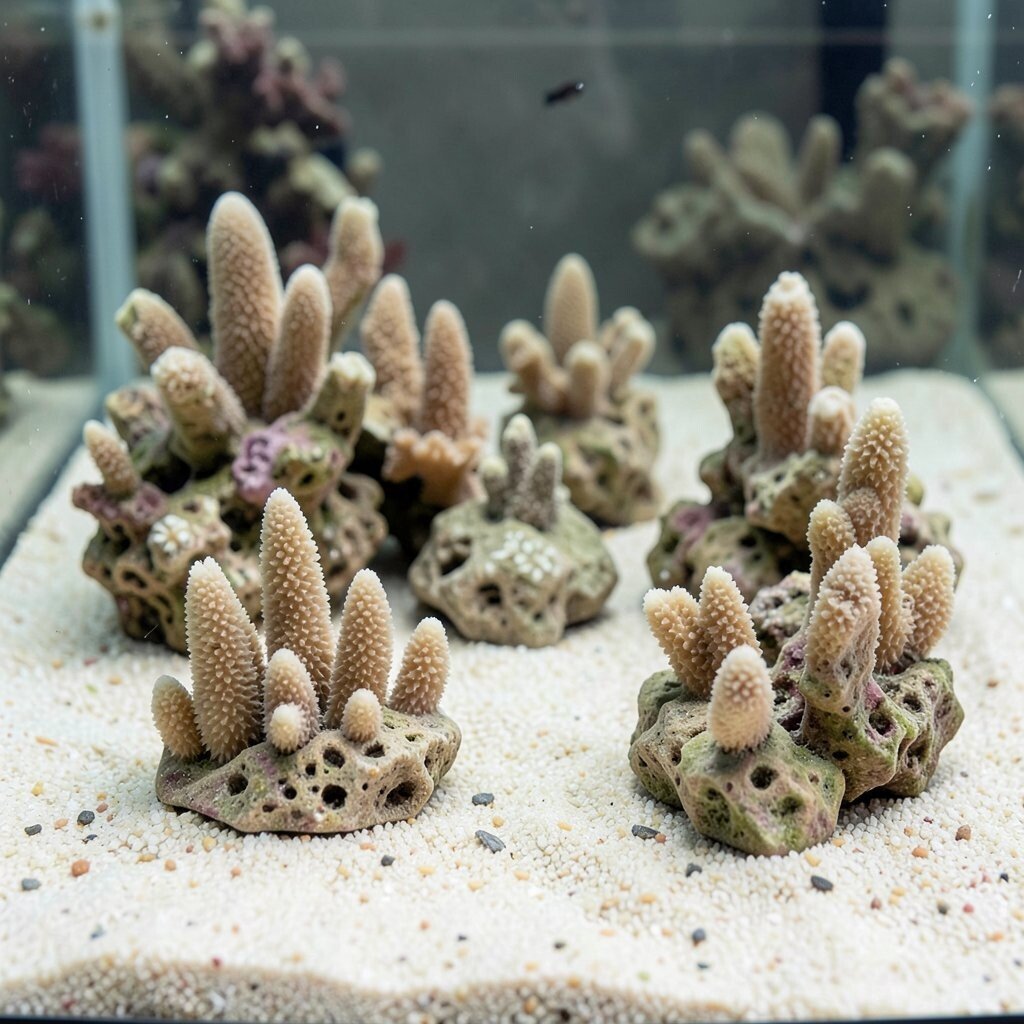
Create several small spires instead of one big pile. Spires look like the tops of rocks rising from the sand. This gives a light, open look that still has texture.
Set each spire with a stable base so it does not fall. You can also group spires into a few clusters so the tank looks planned. Fish may use the gaps between spires for hiding.
Personalize by choosing spires of different heights and thicknesses. Some people like a “dry” style because it does not look too busy. Keep in mind that spires may limit space for bigger corals, so plan your planters early.
9. Tall Back Stack With a Strong Line
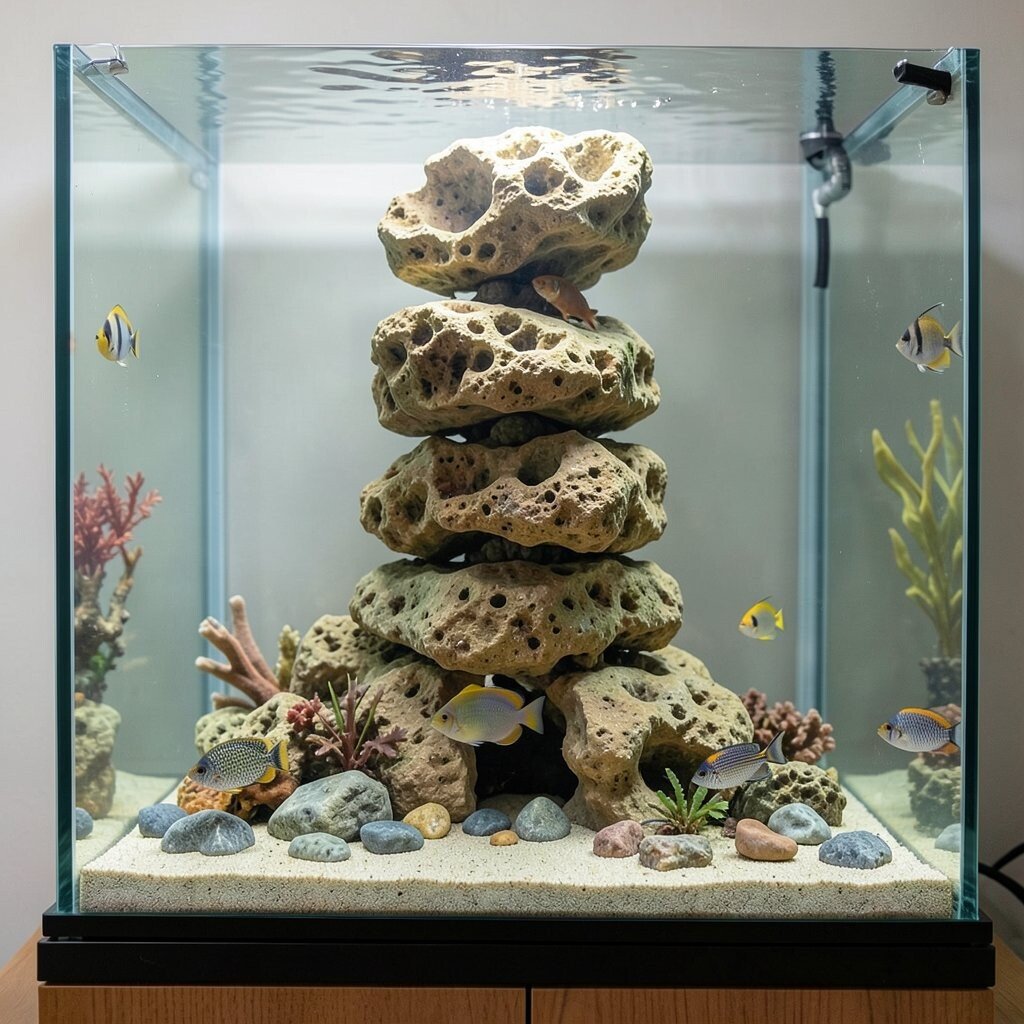
Build a tall stack near the back glass using fewer, larger pieces. A strong line at the back helps frame the fish and other decor. This style also makes the tank feel deeper.
Make sure the stack is steady by using wide contact points. Avoid stacking too high in a way that could tip if you bump the tank. If you plan to clean the glass, leave enough space for your tools.
To fit your budget, search for rock sizes that match your tank height. You can also use two or three main pieces and fill small gaps with smaller rocks. This layout is popular because it looks neat in photos and in daily viewing.
10. Rock Border Around the Tank Edge
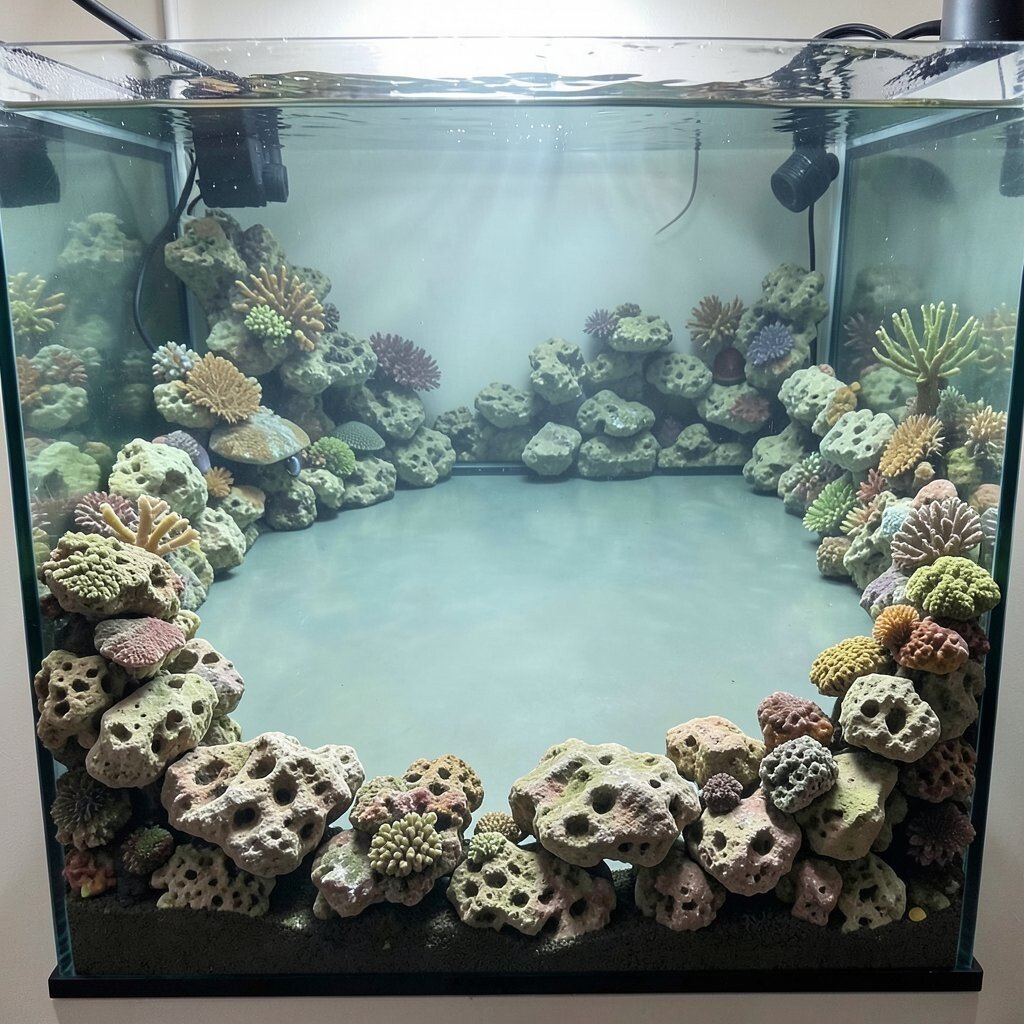
Use reef rocks to make a border along the tank edges while leaving a clear open area in the middle. This gives a clean “frame” look and helps keep the center space open for swimming. It can also make feeding and tank care feel easier.
Keep the border lower if you want a lot of open water. If you want more cover, you can raise the border near the back. Always keep stability in mind so rocks do not shift when you siphon.
Personalize the border by making the rock line slightly curved instead of straight. This can make it look more natural. For cost, you can often use rock pieces you already have and fill in gaps as you go.
11. Mixing Two Colors and Two Rock Types
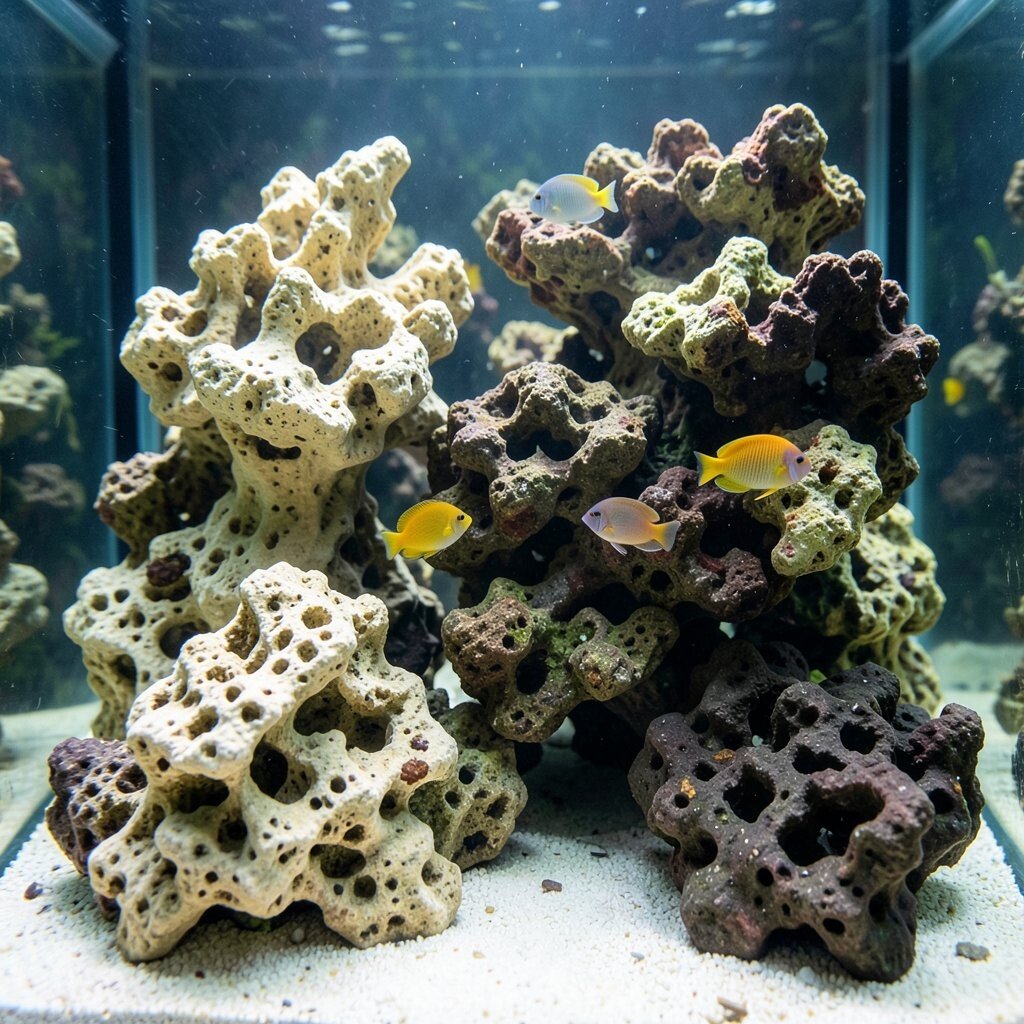
Try using reef rocks with different shades, like lighter and darker pieces. You can also mix two rock types if they look good together. The contrast makes your tank decor look more detailed.
Use the lighter rocks to build surfaces that catch light, and place darker rocks where you want more shadow. This can make the whole setup look more balanced. Also check that all rock is safe for aquarium use.
For personalization, match the rock tones to your fish colors. Bright fish often look great with darker rocks, while pale fish can pop with light rocks. This style fits current trends because more people focus on color and texture.
12. Low Reef Patches for Small Tanks
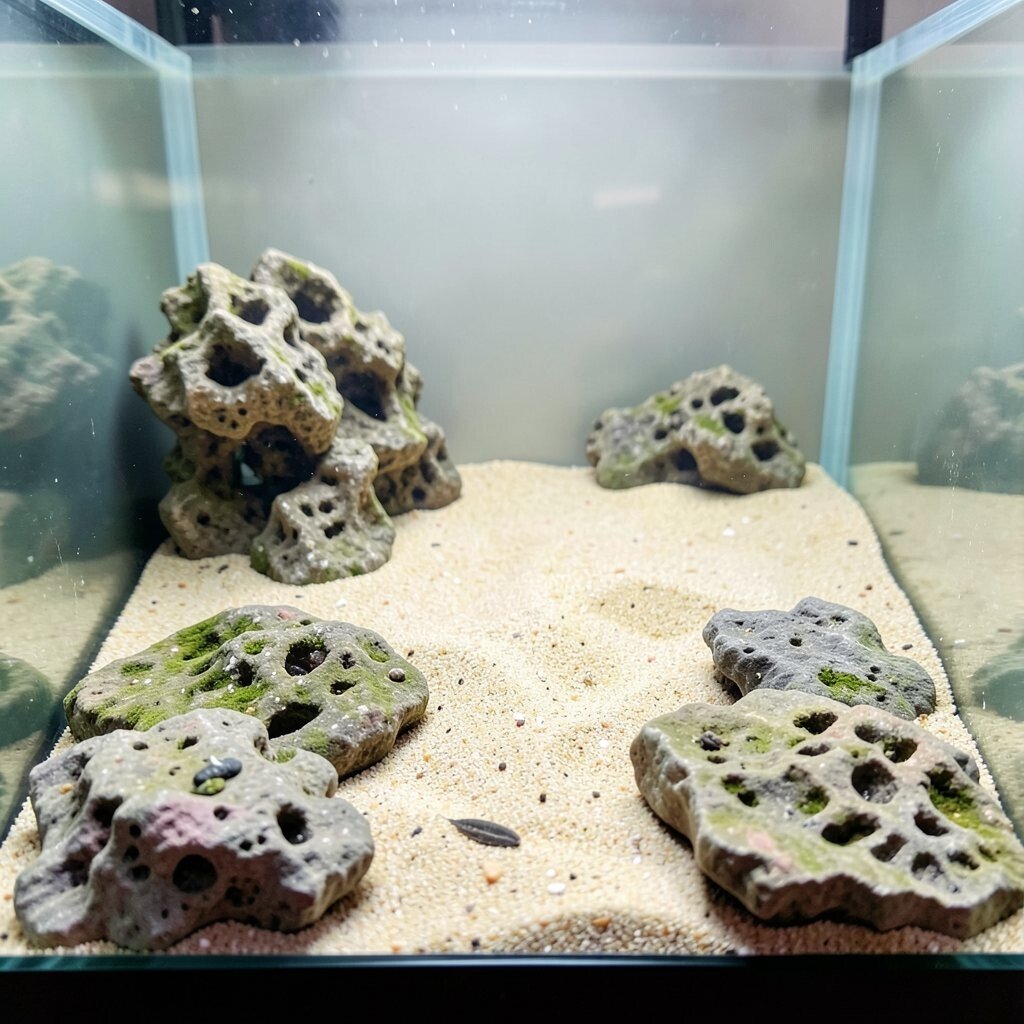
Make low “patches” of rock that cover only part of the bottom. This keeps the tank from feeling crowded and helps light reach the open areas. Small tanks often look best when you keep a clear swim space.
Use flat rock bases and arrange them in small zones. You can leave a sand path through the middle so fish can move around. This also makes it easier to spot debris during cleaning.
Keep cost down by using only a few rocks and adding sand to shape the look. Personalize by making the patches near the back, sides, or one corner. If you want a simple trend look, keep the layout minimal and clean.
13. Rock and Branch Combo With Realistic Shapes
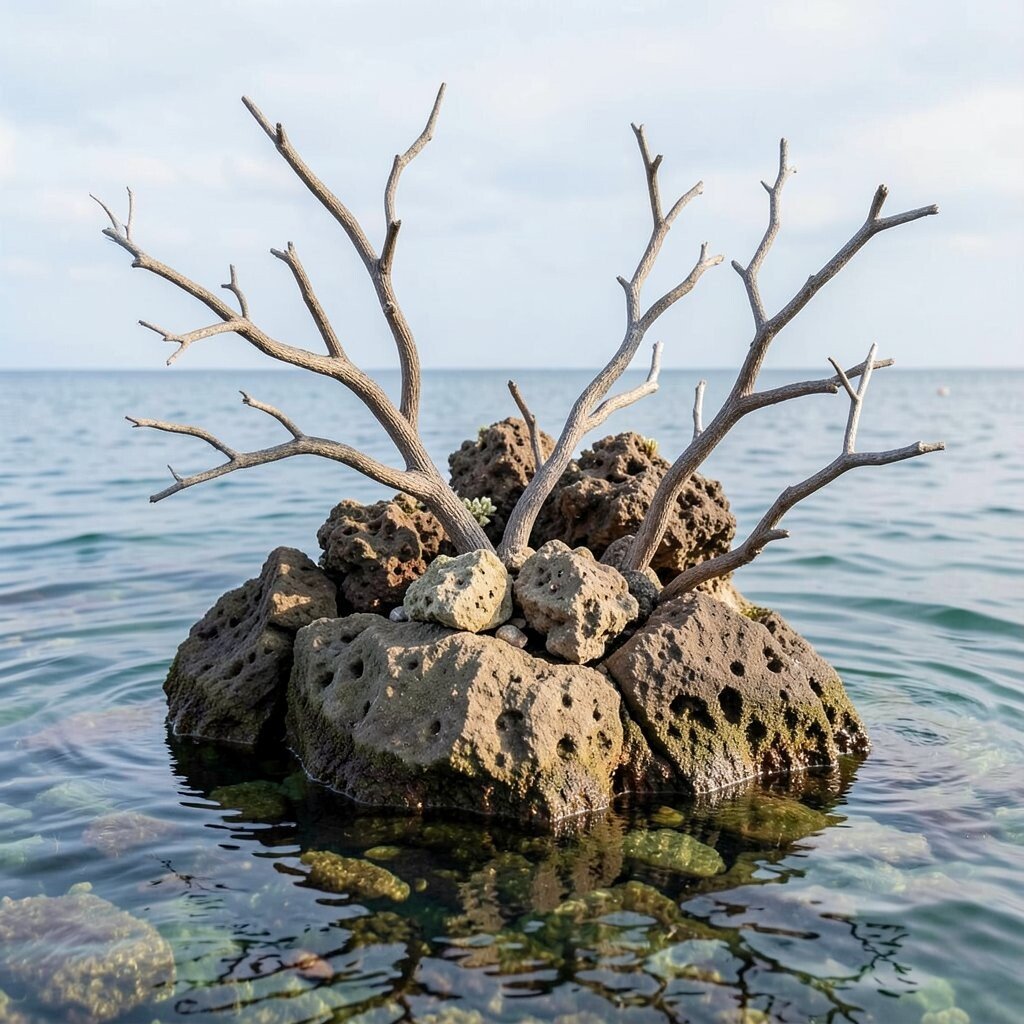
Combine reef rocks with long, branch-like pieces to make a more natural look. The branch shapes can act like small “coral” stands even without real coral. This helps create a busy but still organized scene.
Place the branch-like pieces so they connect to a stable rock base. This keeps them from falling over and makes the full build feel stronger. Make sure there is enough open water around the branches.
For uniqueness, you can bend the look by tilting one branch slightly, then balancing it with another. Use only safe materials and avoid anything that can break down in water. This approach can fit different budgets because you can find smaller branch pieces to build a larger scene.
14. Using Ruins Style Rocks With Flat Planks
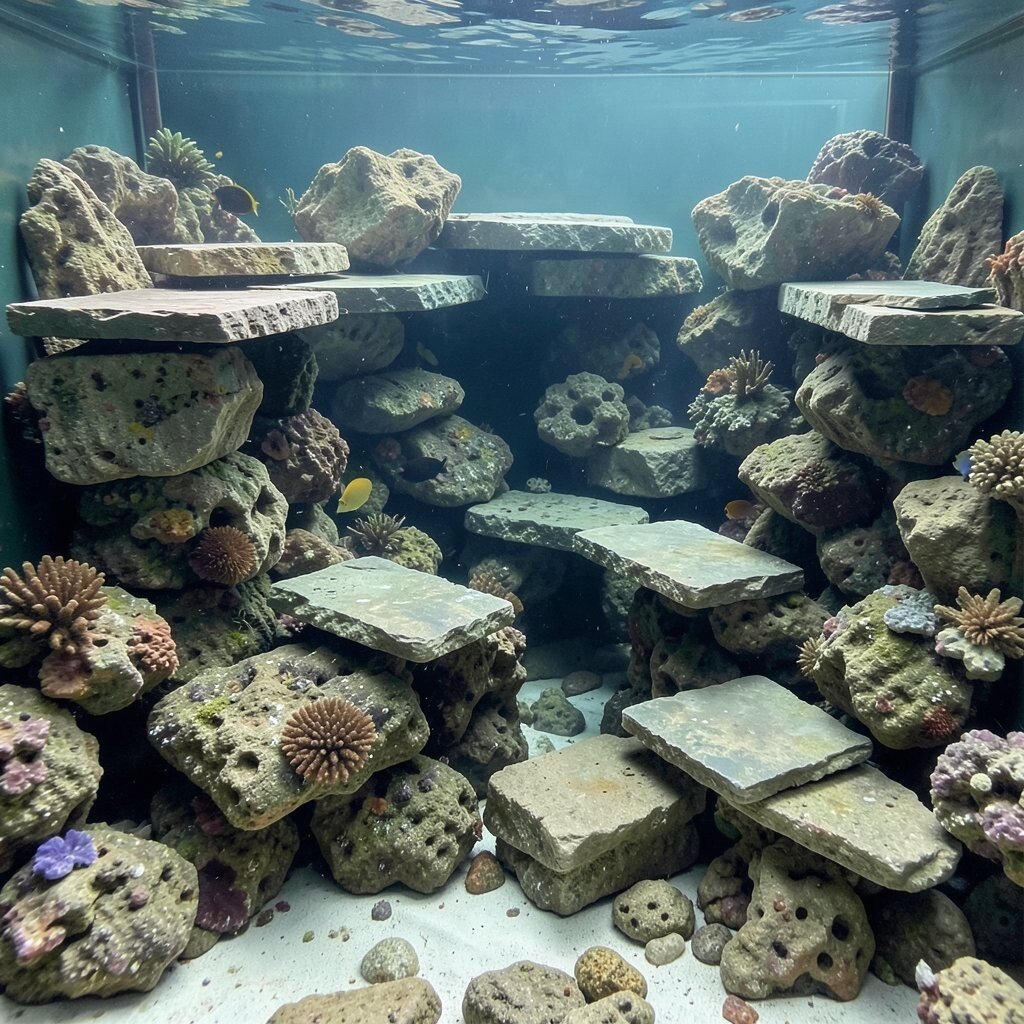
Some reef rocks look like broken stone blocks, so you can build a ruins style layout. Add a few flat plank-like pieces across the top for ledges. This makes the tank feel like a small underwater town.
Try to keep edges smooth where fish will swim often. If rocks are sharp, position them so sharp points face away from fish routes. Ledges can also help fish rest and can make your tank look more layered.
To personalize, spread the ruins across more than one level instead of one line. This adds depth and makes the tank more fun to look at each day. For cost, ruins style often works well with mixed sizes, so you can build over time.