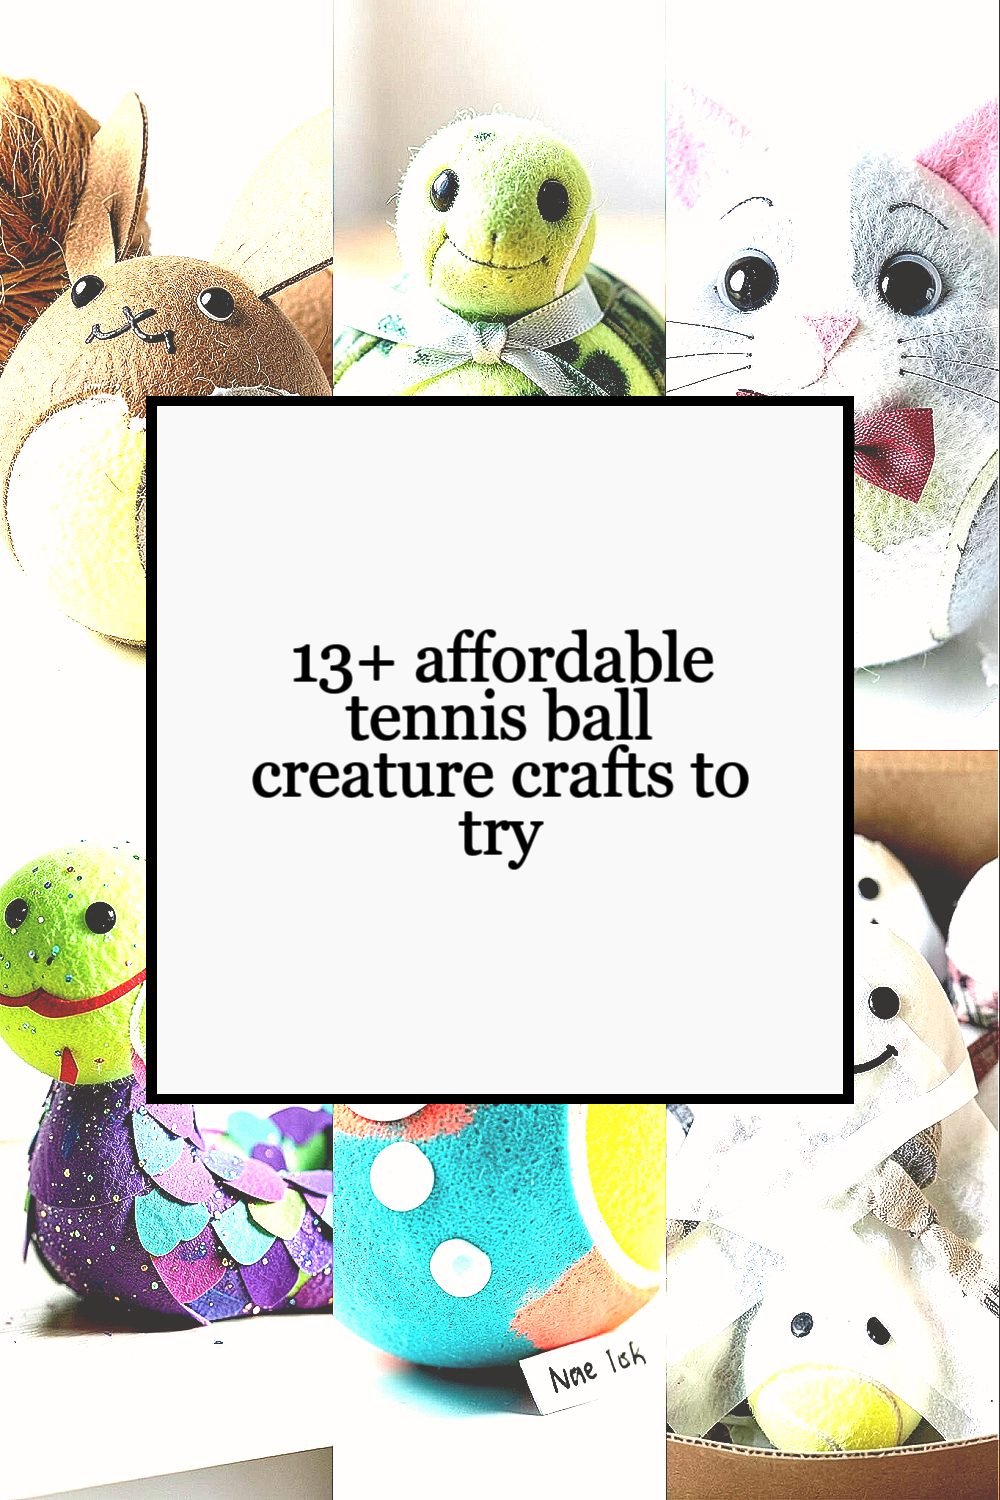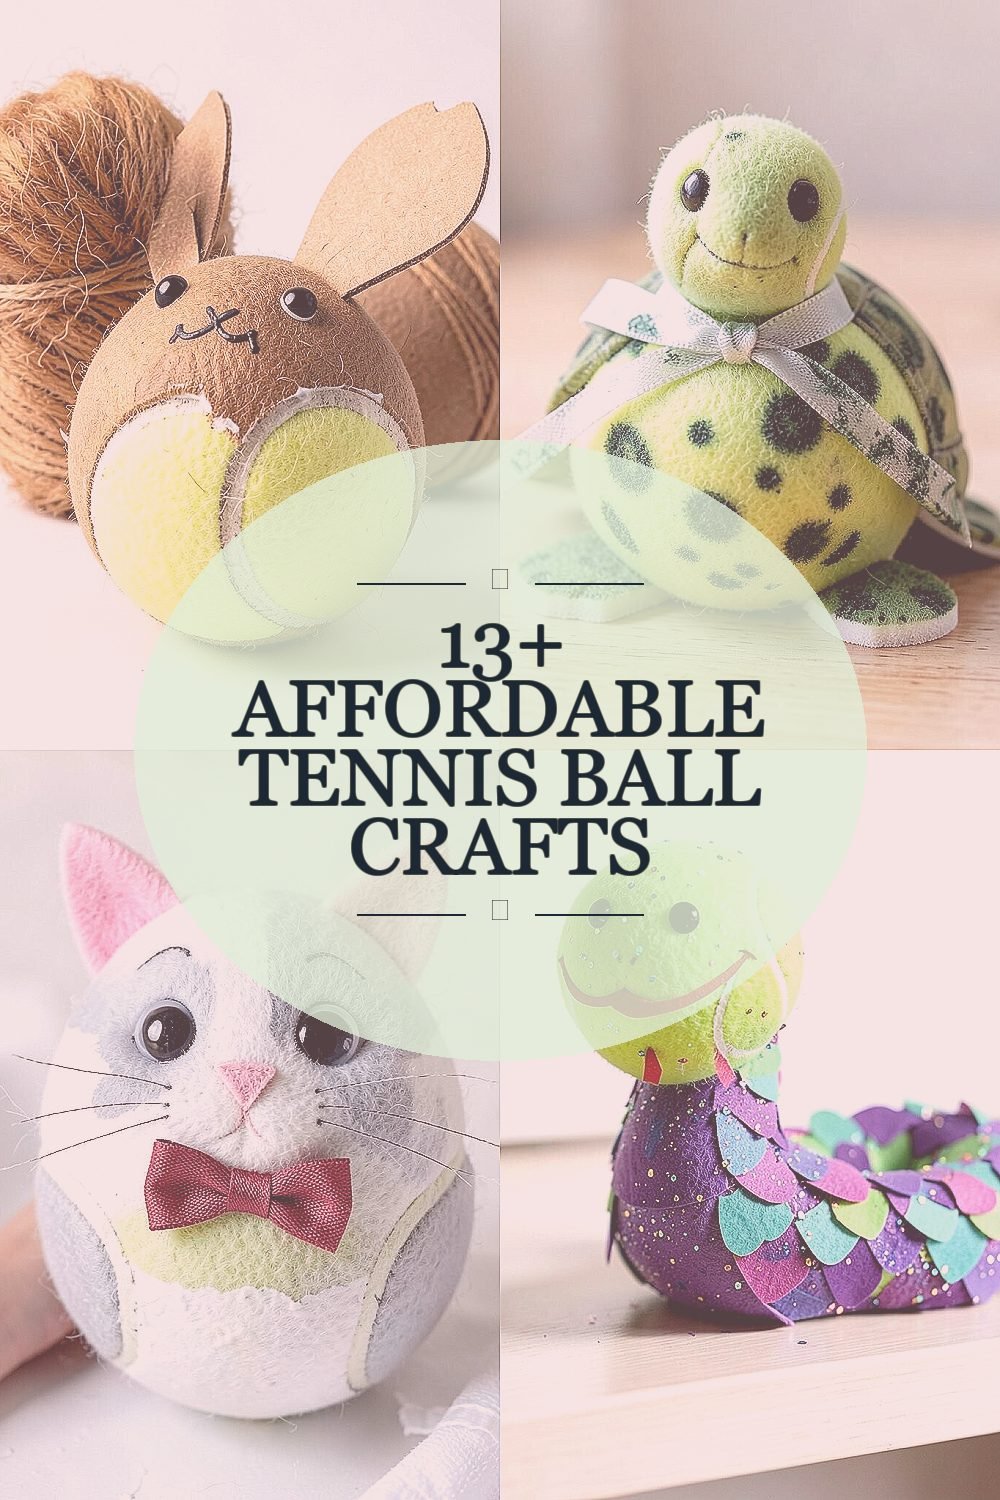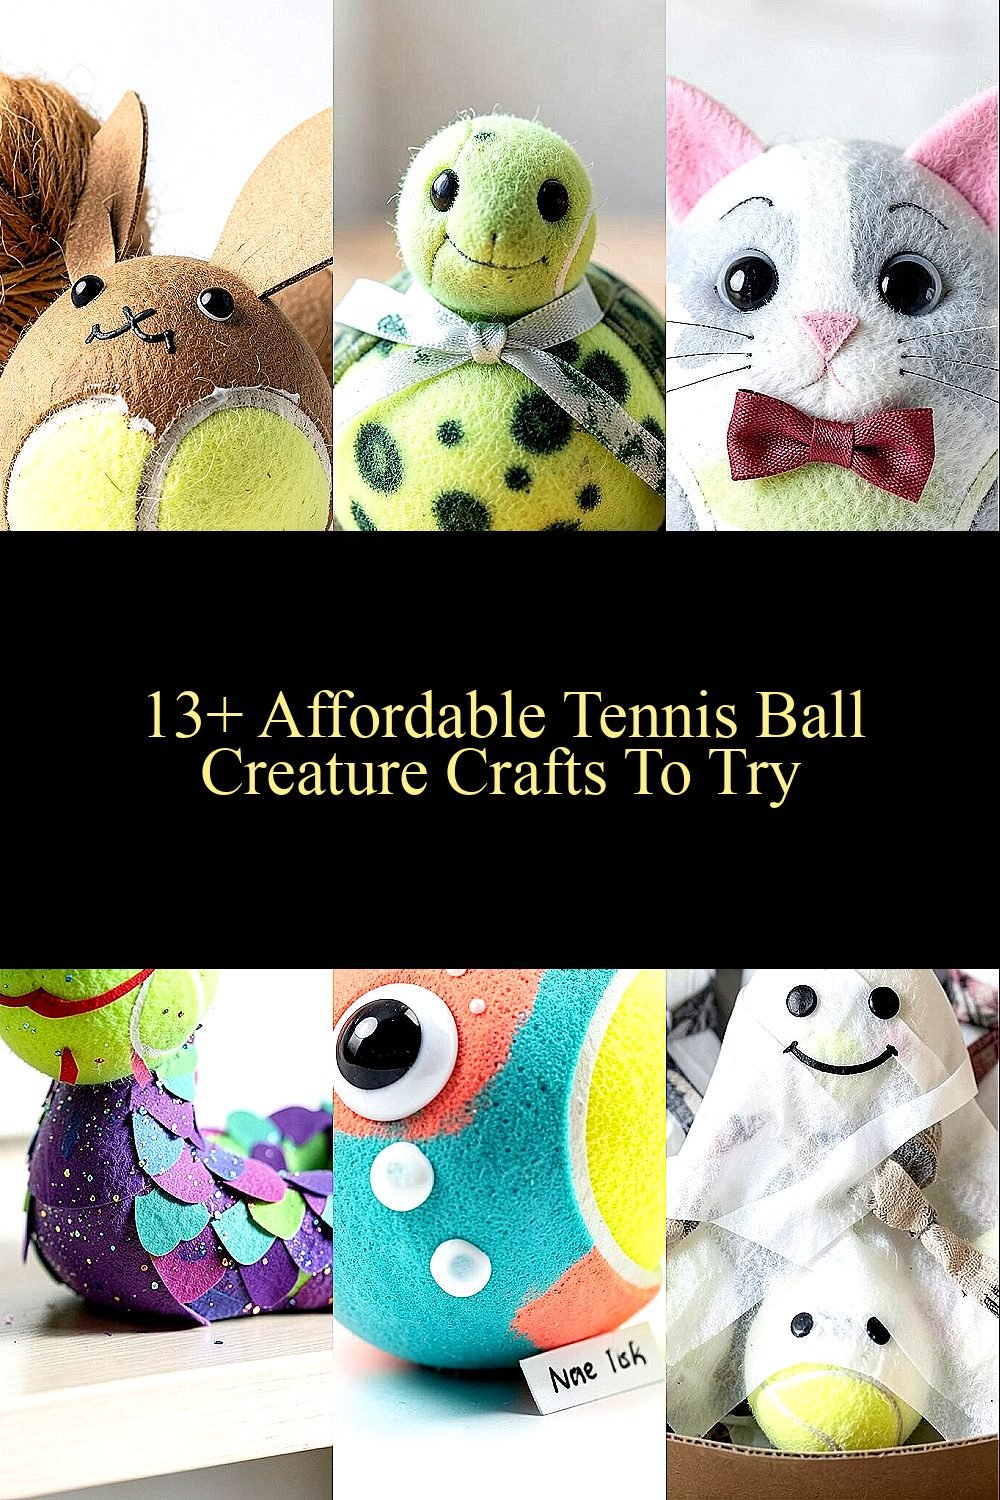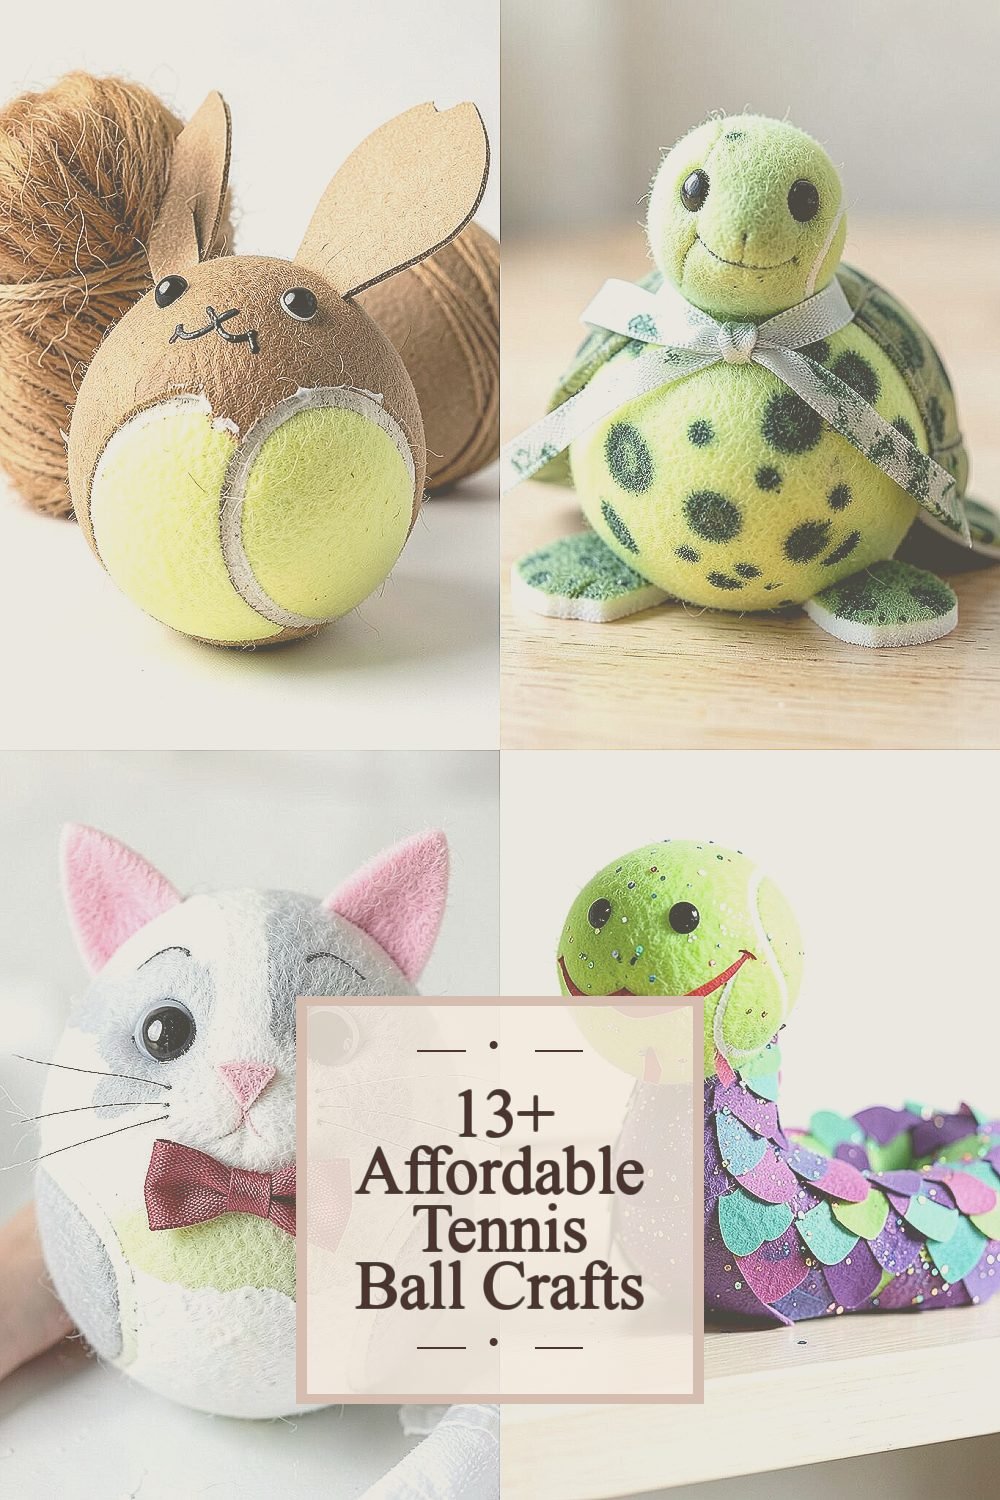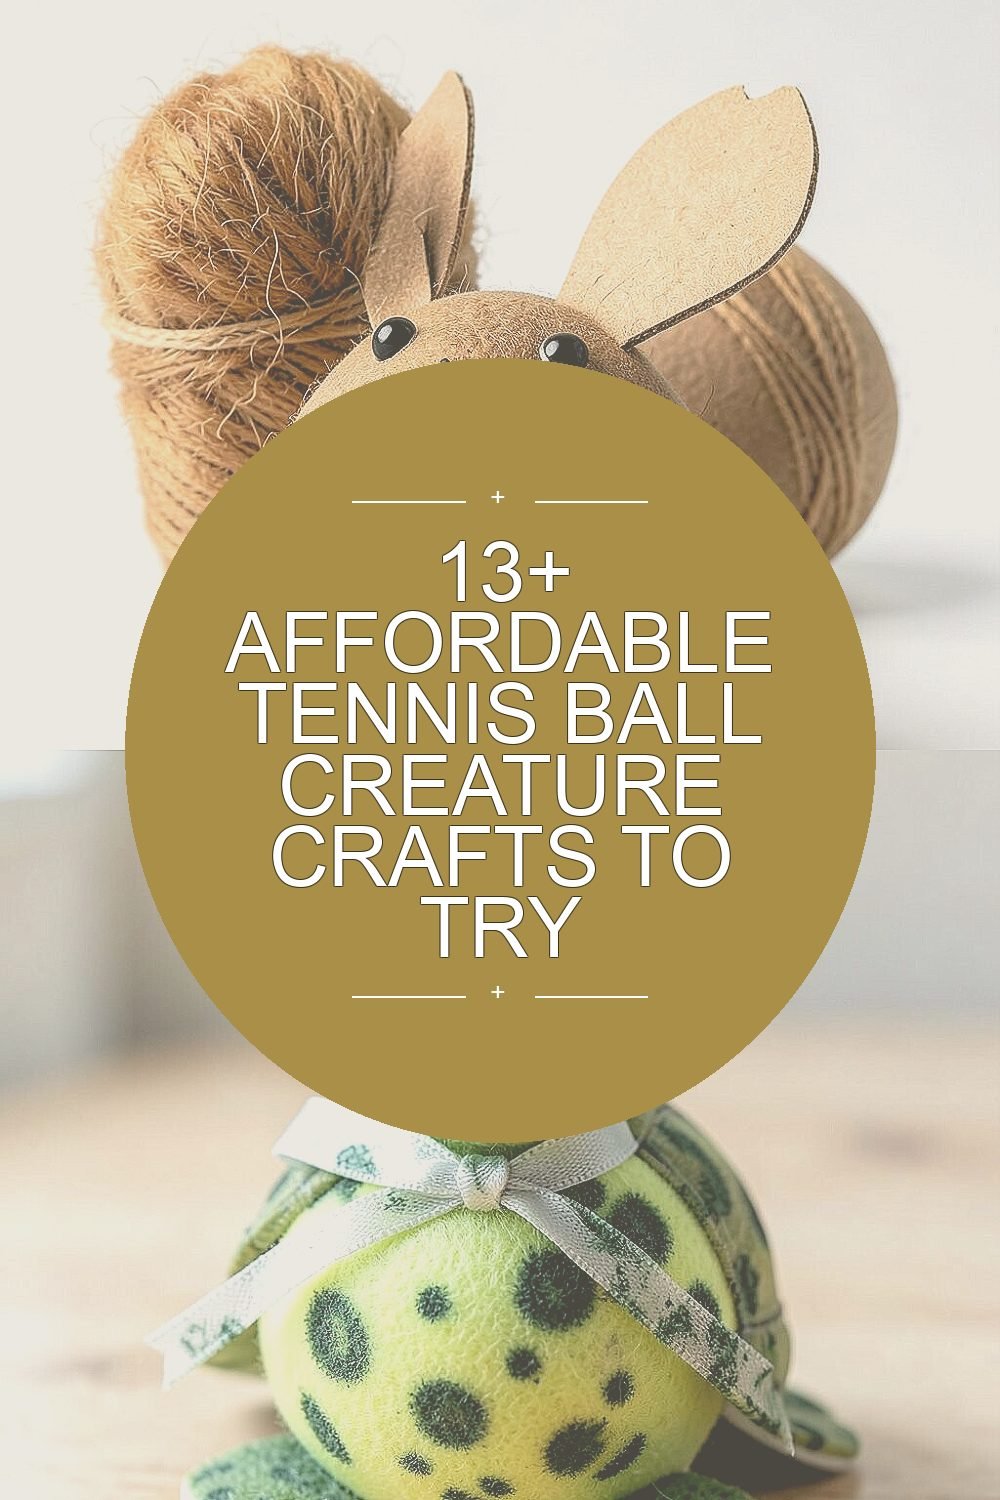
These squishy little balls can become tiny characters in a surprisingly short time. You will get big craft energy without spending big money.
1. Woodland Squirrel with Puffy Tail

Start by cutting a small notch in a tennis ball so it can sit like a curled body. Paint the ball in soft brown and add a lighter belly patch.
Then glue on two thin cardboard ear shapes and a pair of bead eyes. For the tail, wrap a strip of yarn around a short cardboard circle and stick it behind the ball. Keep your hands clean by using a glue stick on yarn first, then adding a little hot glue only at the edges.
2. Tiny Turtle with Spotted Shell

Paint the tennis ball a muted green and let it dry fully before you add details. Cut a thin piece of craft foam for little feet and glue it in pairs on the bottom.
To make a spotted shell, dab on dots with a sponge using darker green paint. Tie a short ribbon around the turtle’s neck like a scarf for extra personality. Choose colors that match your room decor, and you will feel proud every time you see it.
If you want a more modern look, use two paint tones and skip the heavy dot pattern. Make the turtle sturdier by sealing paint with a clear craft varnish so it can handle daily play.
3. Cat Nap Kitten with Bow Tie

Cover your tennis ball in creamy white or light gray paint. Add whiskers using a fine-tip marker so they look delicate and cute.
Next, glue on a small felt triangle nose and two pink felt ears. For the eyes, use googly eyes or draw them with a black marker and add tiny highlights for shine.
Finish with a bow tie made from scrap ribbon or leftover fabric strips. This craft is budget-friendly because felt and ribbon scraps often come from old projects. Personalize the kitten by changing the bow color and matching it to your favorite socks or backpack.
To make it extra comfy, lightly press the painted ball with your fingers before it fully dries, creating a soft texture like fur. Keep a damp cloth nearby to wipe away smudges as you work.
4. Snake with Wiggly Scales

Paint a tennis ball in bright green or even purple if you want a playful look. While the paint is still slightly tacky, sprinkle a tiny bit of glitter or add craft confetti for a fun sparkle.
Cut small strips of colored paper or felt and glue them in repeating patches to mimic scales. Then draw a curved mouth and add a forked tongue using two thin pieces of red paper. This one feels lively on a shelf because the pattern looks like it is moving, even when it is still.
5. Underwater Bubble Fish Buddy

Choose a tennis ball color like coral, teal, or sunny yellow and paint it all over. Cut fins from foam sheets, then glue them to the sides and a small tail to the back.
Draw big round eyes and add bubbles by tapping white paint with a toothbrush. If you want a current, trendy vibe, use neon colors and keep the bubble dots simple.
For cost savings, reuse old packaging foam or grocery store trays for fin shapes. Personalize by giving your fish a name and writing the name on a tiny label that you glue near the base.
6. Spooky Ghost with Friendly Face

Wrap the tennis ball with white tissue paper strips using craft glue. Overlap the strips like a soft blanket so the ghost looks wispy, not flat.
Use black paint or a marker to draw a gentle smile and two dot eyes. Add a tiny scarf from scrap fabric for a cozy touch.
If you plan to make a whole set for seasonal decor, repeat the same scarf colors for a matching look. Store finished ghosts in a shoebox so the tissue stays neat.
7. Robot Buddy with Button Control Panel

Paint the tennis ball a solid silver, gray, or bright blue. Once dry, add a circle panel using a bottle cap or cardboard ring.
Glue on buttons made from bottle caps, beads, or even recycled jar lids. Then draw small lines and details with a marker to make the robot look ready for action.
To personalize, mix and match robot colors and add a “power” symbol using a star or lightning icon. This craft stays affordable because most supplies are easy leftovers, and you can stop once you have enough detail to feel complete.
8. Cheerful Sun with Winking Rays

Paint the tennis ball yellow and let it dry like golden paint on a tiny planet. Cut thin paper strips for rays and glue them around the ball evenly.
Draw a face with a winking eye and a smiling mouth to make it feel playful. Add a small glitter patch on the cheek using a glue dot then glitter on top.
For practical strength, seal the rays with a light coat of clear glue so they do not bend during handling. This sunny creature looks great as a desk buddy or as a bright keychain charm if you attach a sturdy loop.
Personalize with different expression styles, like goofy tongues or surprised eyebrows. You can also match the rays to your favorite holiday colors for quick seasonal updates.
9. Meadow Bunny with Carrot Charm

Paint the tennis ball pale gray or white, then add a soft blush using diluted pink paint. Cut long felt ears and glue them upright so they look alert.
Make the face with small stitched-looking lines using a marker for the nose and mouth. For the carrot, shape an orange foam piece and add green leaves with felt scraps.
Attach the carrot charm with a short string loop so it hangs naturally. This craft is fun because it gives you a clear visual story, and viewers can tell what it is instantly. Keep the carrot lightweight so the bunny sits nicely on a flat surface.
To stay on budget, use leftover foam or even folded paper painted orange. Personalize by making the bunny hold a different veggie like a tiny tomato or broccoli floret.
10. Busy Bee with Sparkly Stripes

Paint the tennis ball yellow and add black stripes using masking tape as guides. Remove the tape carefully after the paint dries just enough to keep edges crisp.
Glue on small wings made from thin paper, plastic from old packaging, or translucent craft foam. Add googly eyes or draw eyes, then finish with a smile and tiny antenna dots using thin wire.
For a trend-friendly look, keep the stripes bold and add only a small glitter highlight on the wings. This bee will brighten up your space, and it is easy to make a whole swarm by repeating the same pattern. Personalize each bee with different wing shapes or stripe thickness.
If you want extra durability, use a washable school glue for paper wings and a clear sealant over the paint. Store them separated so wings do not stick to other crafts.
11. Friendly Dragon with Scales and Fire Breath

Start by painting the tennis ball green, red, or blue depending on your mood. Add scales by gluing small overlapping circles made from foam or paper, like tiny coins.
Make horns using rolled craft paper cones and glue them on top. Then draw wings using two large leaf shapes cut from foam and glue them to the sides.
For fire breath, paint a small flame shape in orange and yellow, then attach it near the face. This dragon feels unique because the scale pattern can vary each time, even if you use the same colors. Personalize the dragon by giving it a different eye style, like one eye bigger than the other.
Cost-wise, the most useful extra items are foam scraps and marker ink, which are often already in craft drawers. Keep your glue strokes neat so the texture stays clean and readable.
12. Cow with Patchwork Spots

Paint the tennis ball white and let it dry. Add black spots using sponge painting or small torn paper pieces dipped in paint.
Use a marker for the nose and mouth, then draw gentle eyelashes for a cute look. Glue on small pink ears made from felt or paper, trimming edges so they do not look too thick.
For a playful twist, add a small bell charm made from a tiny cap or bead tied with string. This craft benefits from being simple to customize, since you can change spot size and placement in seconds. Make one cow for each color theme in your home, like farmhouse, pastel, or bold modern.
Seal the surface with a quick clear coat so spots stay crisp. If you are gifting, tie a mini ribbon around the neck bell loop for a polished finishing touch.
13. Snowman with Hat and Button Smile

Paint the tennis ball white and add a soft shadow line near the bottom for shape. Cut a hat brim and hat top from felt, then glue them on like a classic beanie.
Use markers to draw a smiling face and three round button dots. Add little stick arms by inserting thin twigs wrapped in paper or painted sticks from a craft store.
To make it feel winter-ready, attach a small scarf strip of fabric in red, blue, or plaid. This snowman is affordable and satisfying because it looks great even with simple lines. Personalize by adding glitter to represent snow sparkle or by using a patterned scarf from an old sock.
If you want a current, cozy look, keep the palette simple and use matte paint. Store finished snowmen in a cool, dry place to protect felt edges.
14. Castle Guard with Shield Emblem

Paint the tennis ball the color of armor, like gray, navy, or metallic gold. Cut a small shield shape from cardboard or foam and glue it to the front so the creature feels like a character.
Draw a bold emblem on the shield using a marker, such as a star, crown, or simple animal icon. Add a tiny helmet band around the top using a thin strip of paper or elastic cord.
For extra uniqueness, attach a feather, leaf, or small scrap pennant to the back. This craft is practical because you can turn it into a desk buddy that holds attention without taking lots of space. Personalize with family initials or a favorite symbol so it feels like your own mini knight.
To keep costs low, reuse old cardboard, paper scraps, and any spare buttons for accents. Seal everything with a light clear coat if you plan to display it often, especially where it might get handled.