A tennis ball can turn into a whole new character in minutes. If you like playful crafts and cute faces, you’re in the right place.
These ideas use simple shapes, bright paint, and smart add-ons so your creature looks alive. Each one includes practical steps, low-stress personalization, and ways to keep it within a comfy budget.
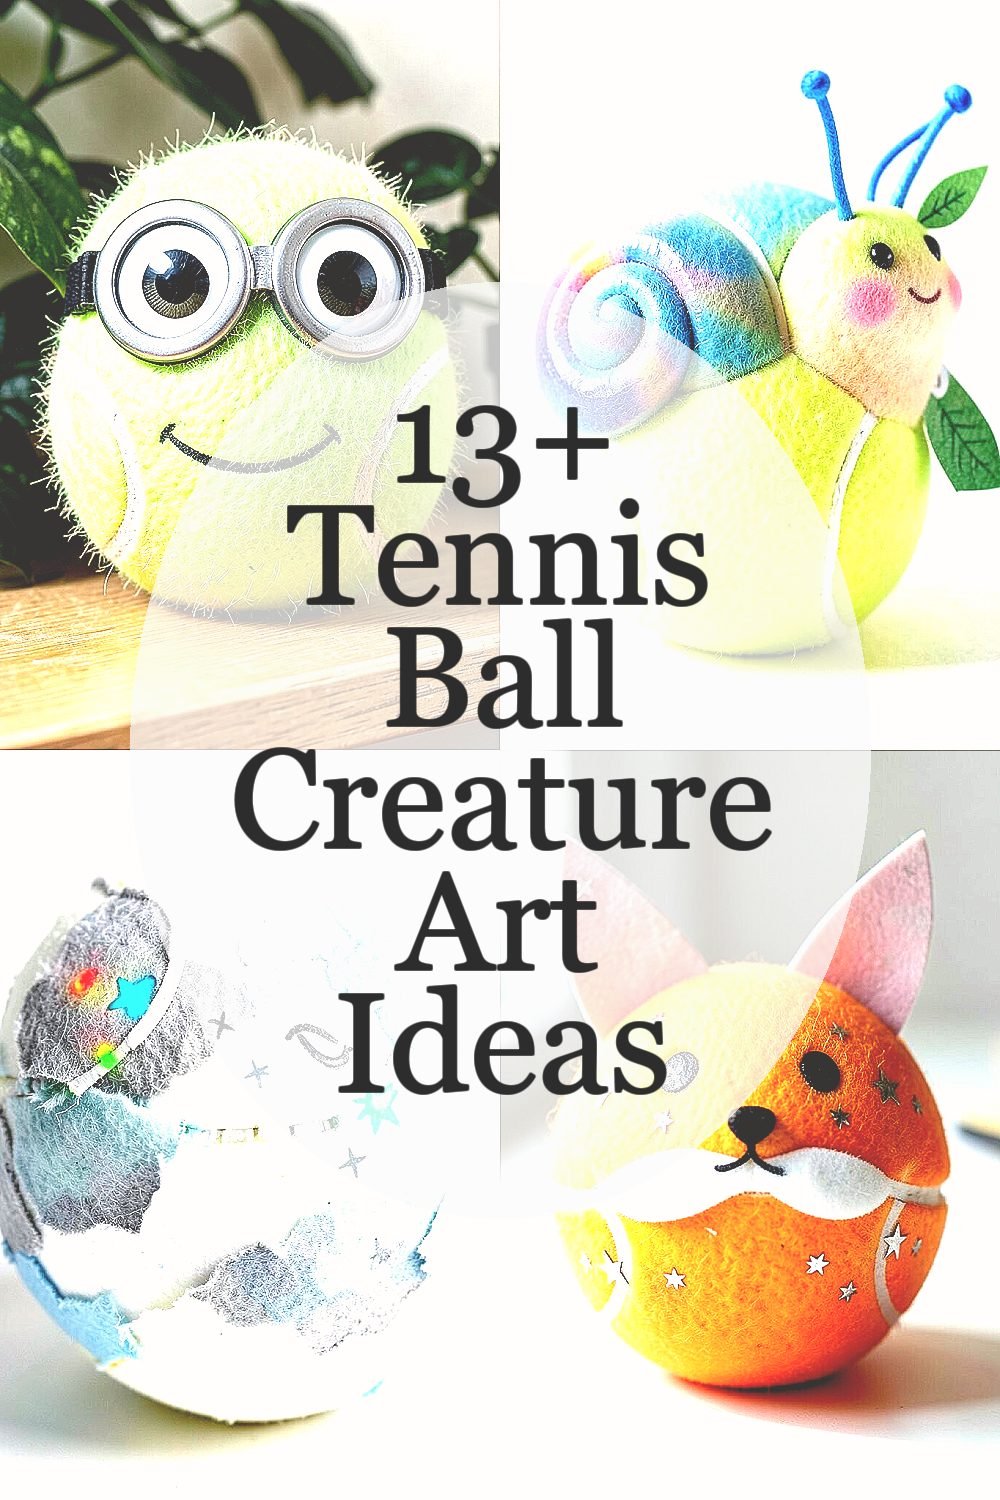
1. The Goggle-Eyed Jungle Scout

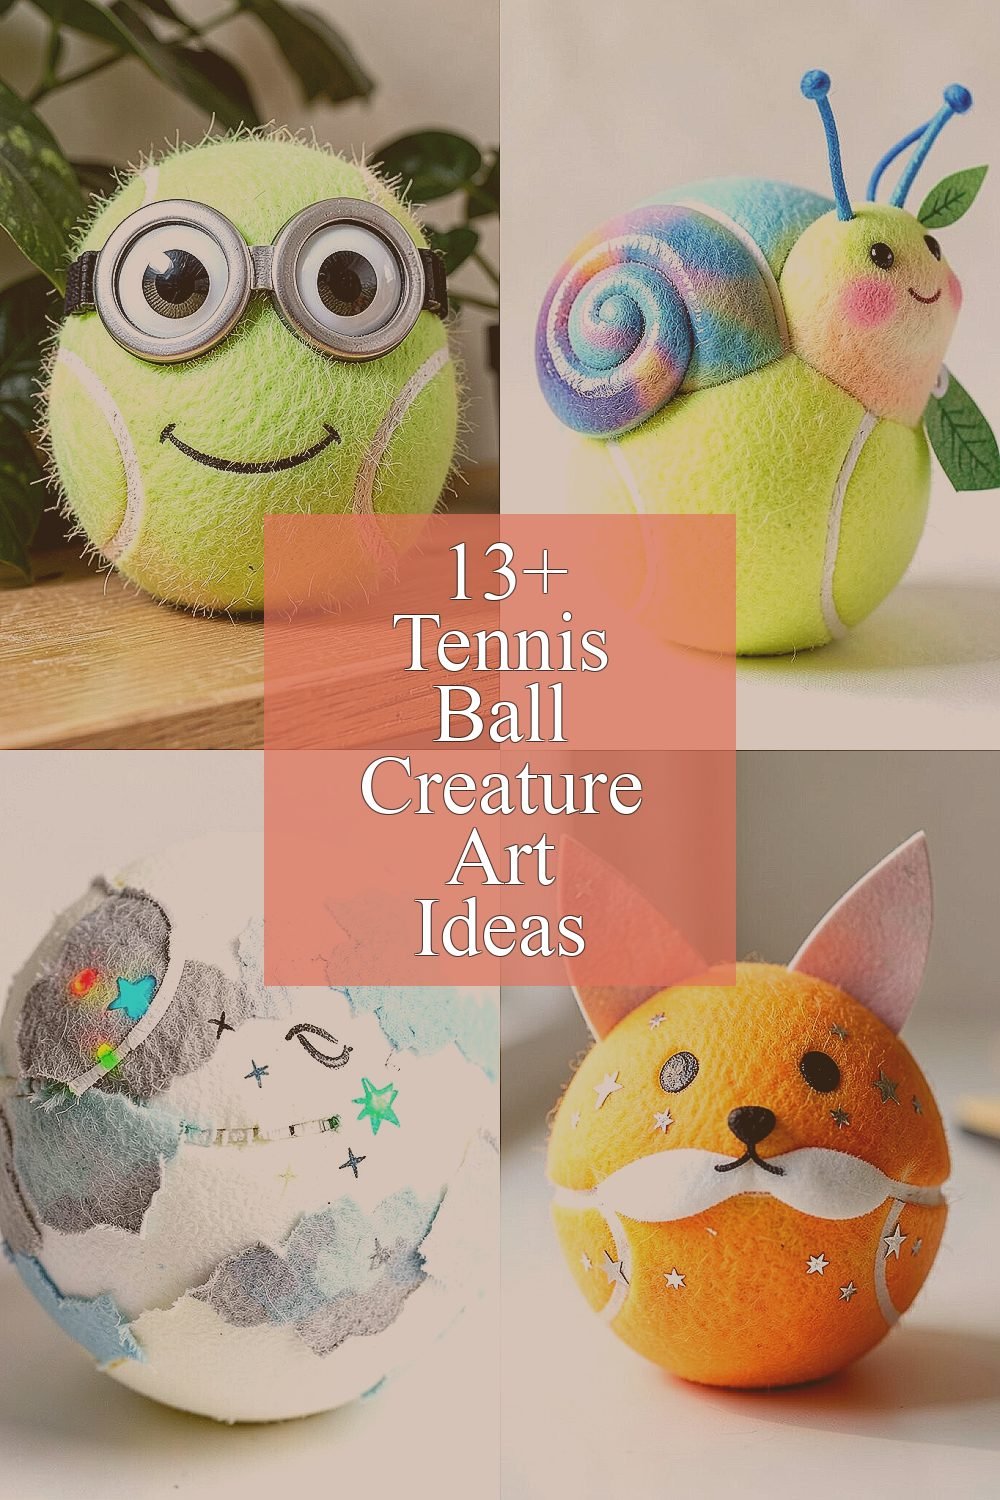
Paint two tennis balls matte green, then add a fuzzy “fur” look by dry brushing light tan. Glue on oversized googly eyes behind small painted goggles so it looks like it’s scouting ahead. Finish with tiny mouth details using a fine marker.
This creature looks bold and friendly, especially in a plant corner or on a shelf with real leaves. It’s great for practicing smooth layers and clean eye placement. Use a quick-drying craft paint so your hands stay happy and your project keeps moving.
2. Swirly Shell Snail Friend
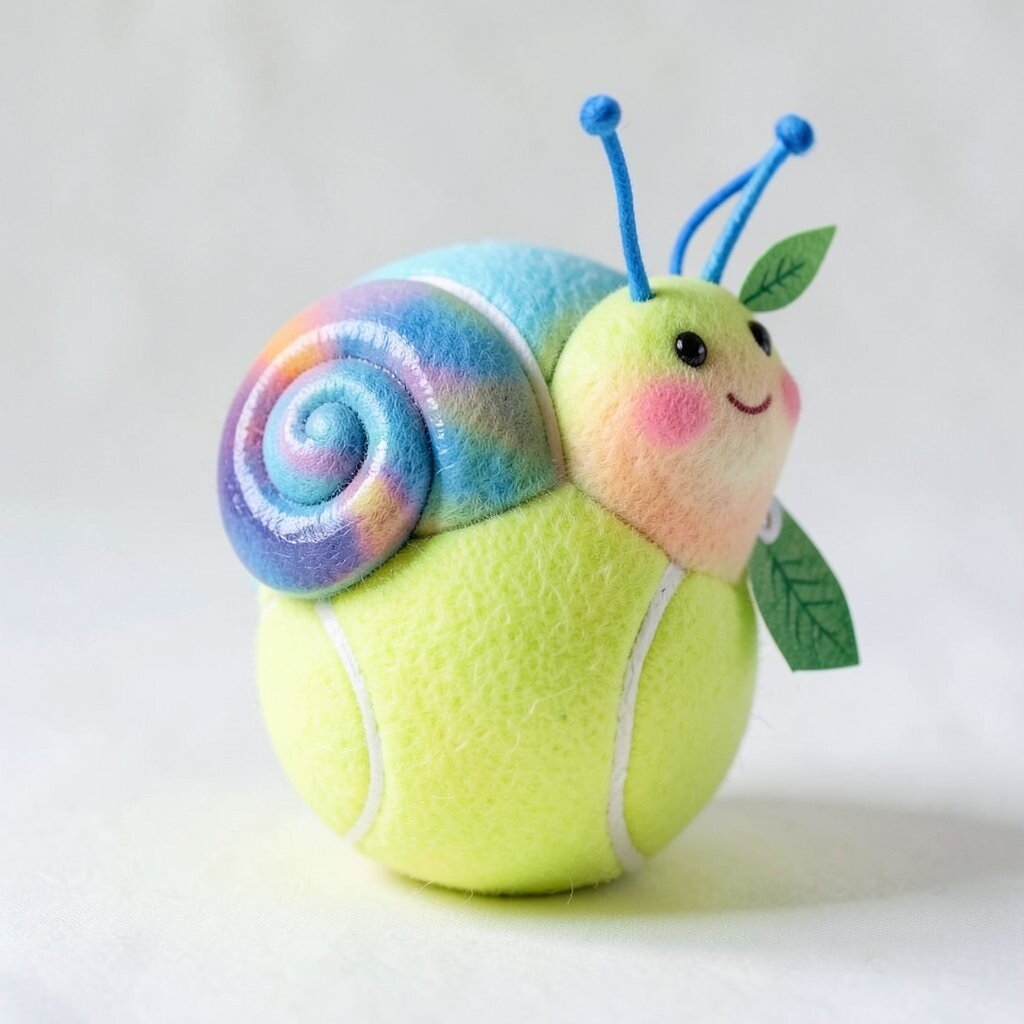
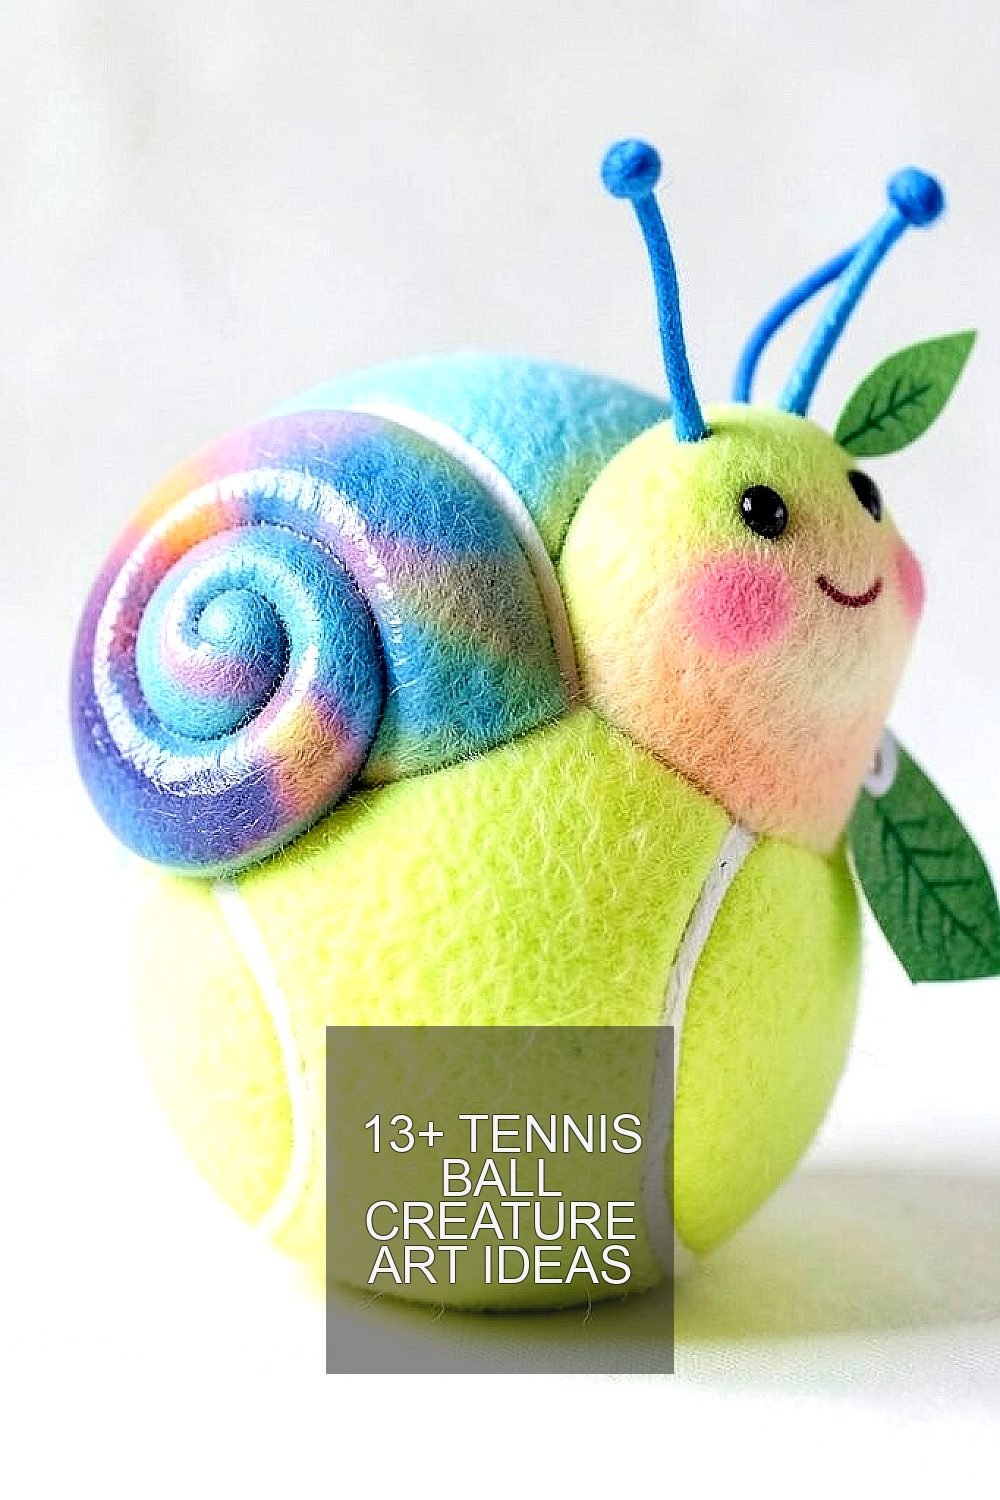
Cut a small spiral from felt or craft foam and wrap it around the tennis ball like a shell. Paint a soft body color underneath, then add two antennae from thin pipe cleaners. Finish with a gentle blush on the cheeks for a sweet expression.
When it’s finished, the snail looks cozy and charming, like it belongs in a storybook garden. For an easy upgrade, add a tiny leaf “tag” from paper and glue it near the shell edge. Keep costs low by using scrap fabric and reusing old pipe cleaners from a craft jar.
To personalize, change the shell colors to match your room palette. If you want a trendy look, try ombre paint with three shades for a smooth fade. A clear glossy coat can also make the shell pop under daylight.
3. Cloud-Craggle Sky Monster
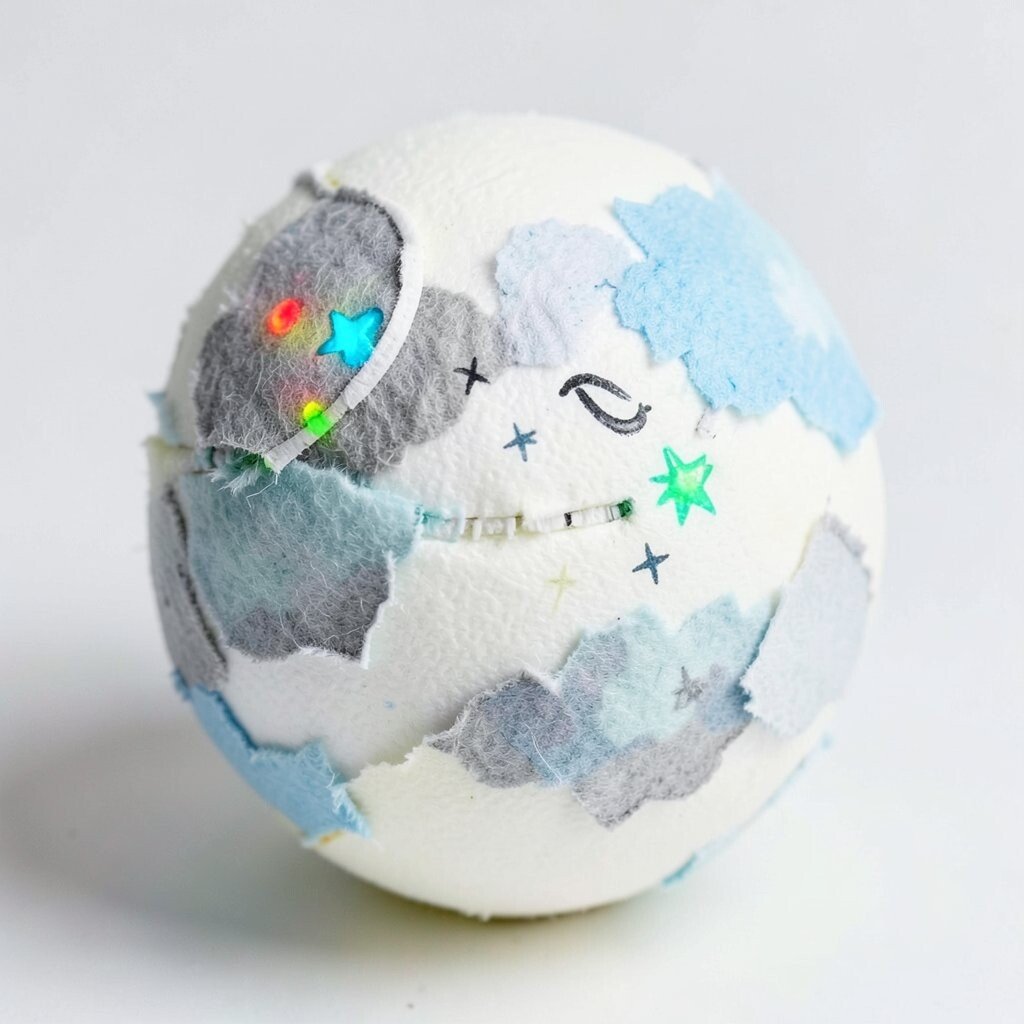
Cover one tennis ball with white paint, then dab on gray and pale blue patches for a cloud effect. Tear small paper strips or use torn cotton batting for a ragged “craggle” texture. Add a zipper-like line with marker and a few tiny stars drawn around the face.
This monster feels playful instead of scary, and the cloud texture makes it look extra soft. It’s a fun way to practice layering while keeping the steps simple. Use sponge pieces for the dabbing motion so you don’t need fancy tools.
For benefits, the airy texture hides tiny paint mistakes nicely. If you want it to feel current, add a neon dot on one cheek or a single glowing star using a bright gel pen. Let it dry fully before you handle it so the surface stays smooth.
To keep it budget-friendly, try using recycled paper scraps and leftover acrylic paint. If you have craft glue that’s running out, mix a little with water and brush it on thinly for grip. Your creature will still look great even with limited supplies.
4. Starry Night Fox Mascot
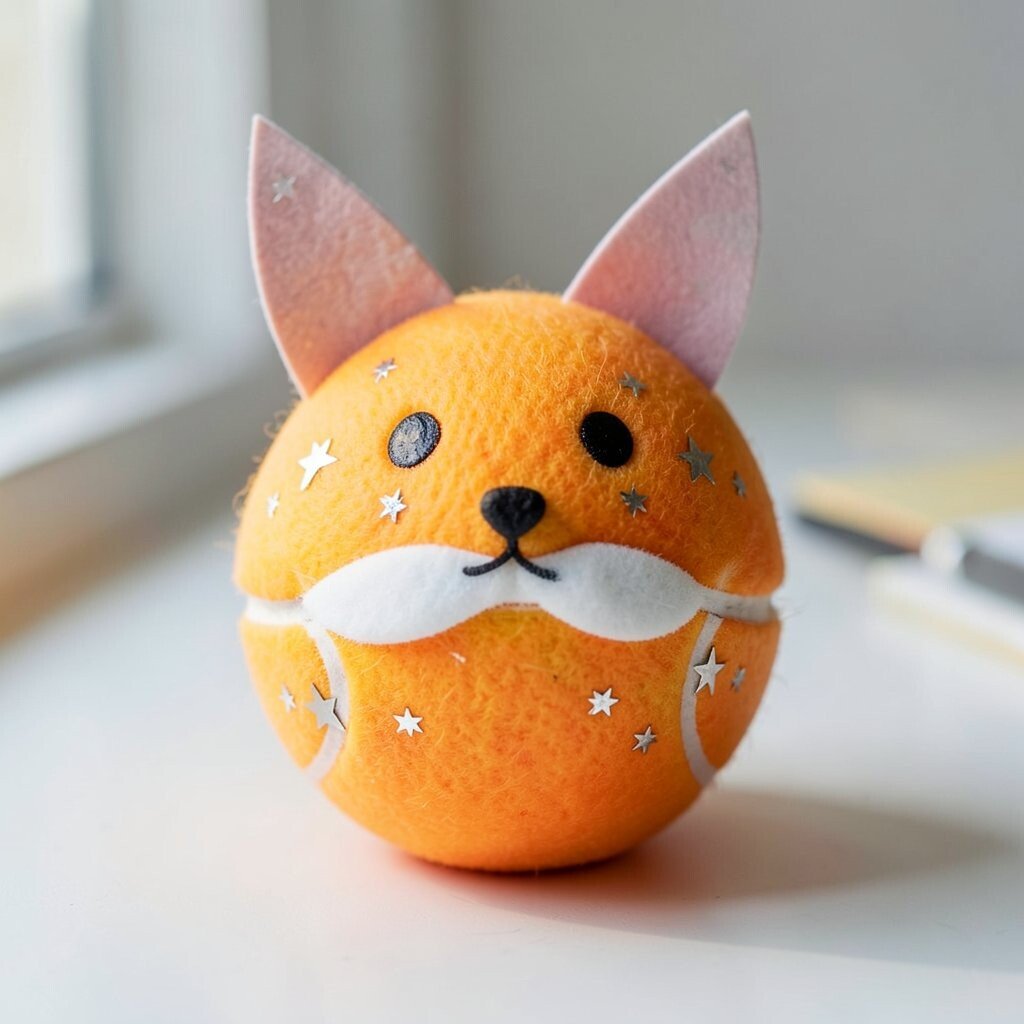
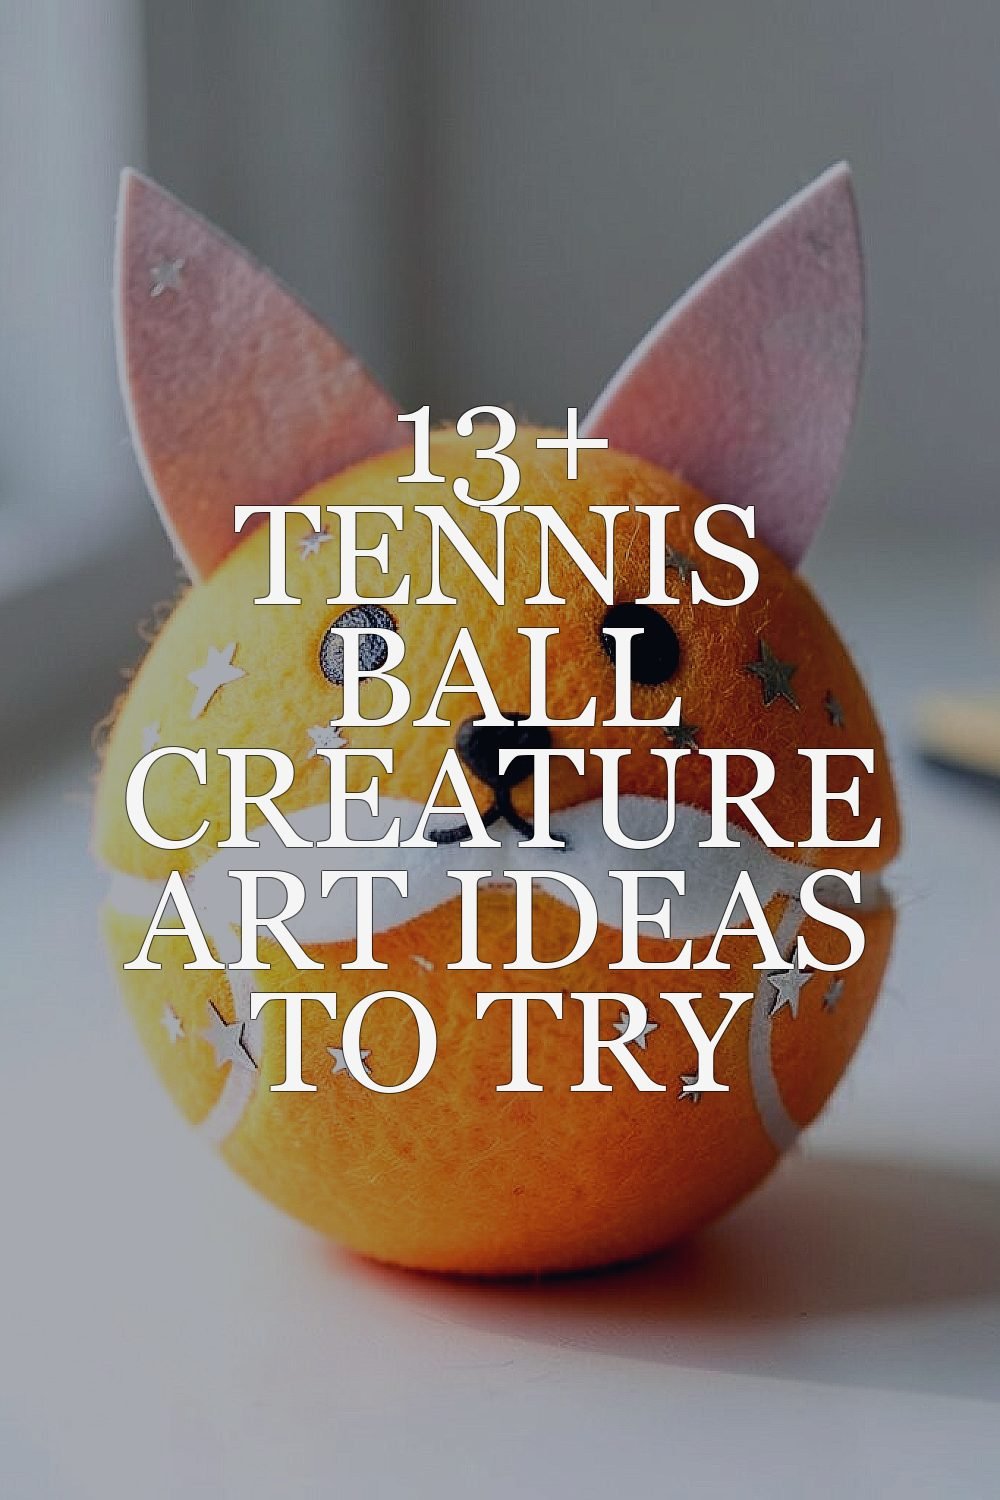
Paint a tennis ball orange and let it dry, then add white “chin” foam shapes for that fox look. Glue on triangular ears made from paper or felt, and draw a small black nose. Add star-like dots across the body using a small sponge or the tip of a toothbrush.
This fox mascot looks adorable and modern, especially when displayed with other handmade items. It’s a good craft for improving your symmetry skills with ears and eyes. Try using metallic paint for the stars if you want a shine that matches current decor trends.
5. Mini Octo-Lab Squid Buddy
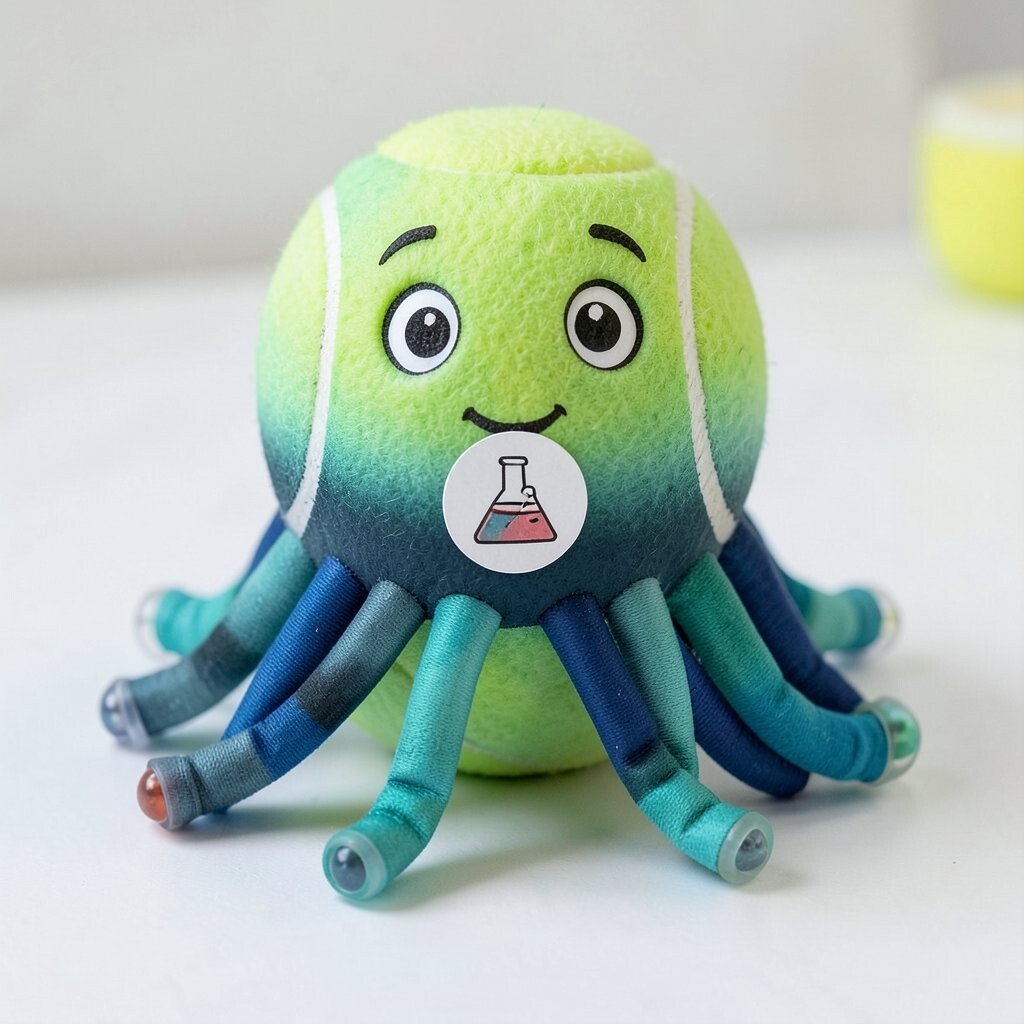
Start by painting the tennis ball teal, then draw a face that looks surprised but friendly. Make tentacles using strips of flexible fabric or silicone cords, then glue them around the bottom like an octopus. Add tiny suction cups with small circles of paper or beads.
This squid buddy gives you a cute “science” vibe, perfect for school desks and craft shelves. It’s unique because you can decide how many tentacles it has and what colors they are. Use leftover buttons or bead caps if you want an extra textured finish.
For personalization, draw a lab badge on a tiny paper circle and glue it to the chest. If you want a trendier look, add a subtle gradient from dark teal to light teal across the body. Keep costs in check by using craft scraps, not expensive supplies.
6. Tundra Totem Penguin
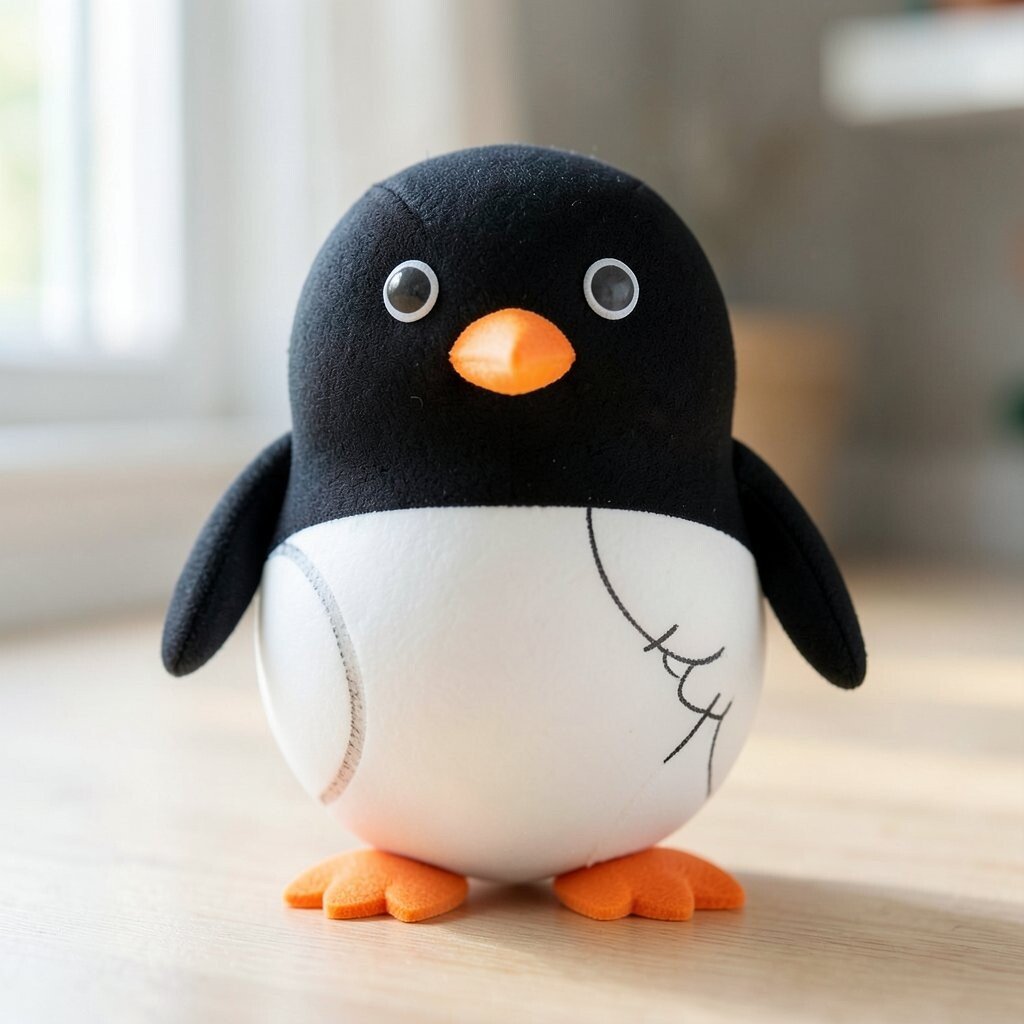
Paint the tennis ball black on top and white on the lower half, like a classic penguin. Add a simple orange beak and tiny feet using craft foam cutouts. Glue on small round eyes and draw a little wing stripe pattern with a thin marker.
This penguin feels calm and strong, which makes it great for winter displays or a handmade holiday shelf. It’s helpful for learning how to blend shapes cleanly since the black and white split is simple. Use foam adhesive for faster sticking and less cleanup.
7. Beetle Beat Drumster
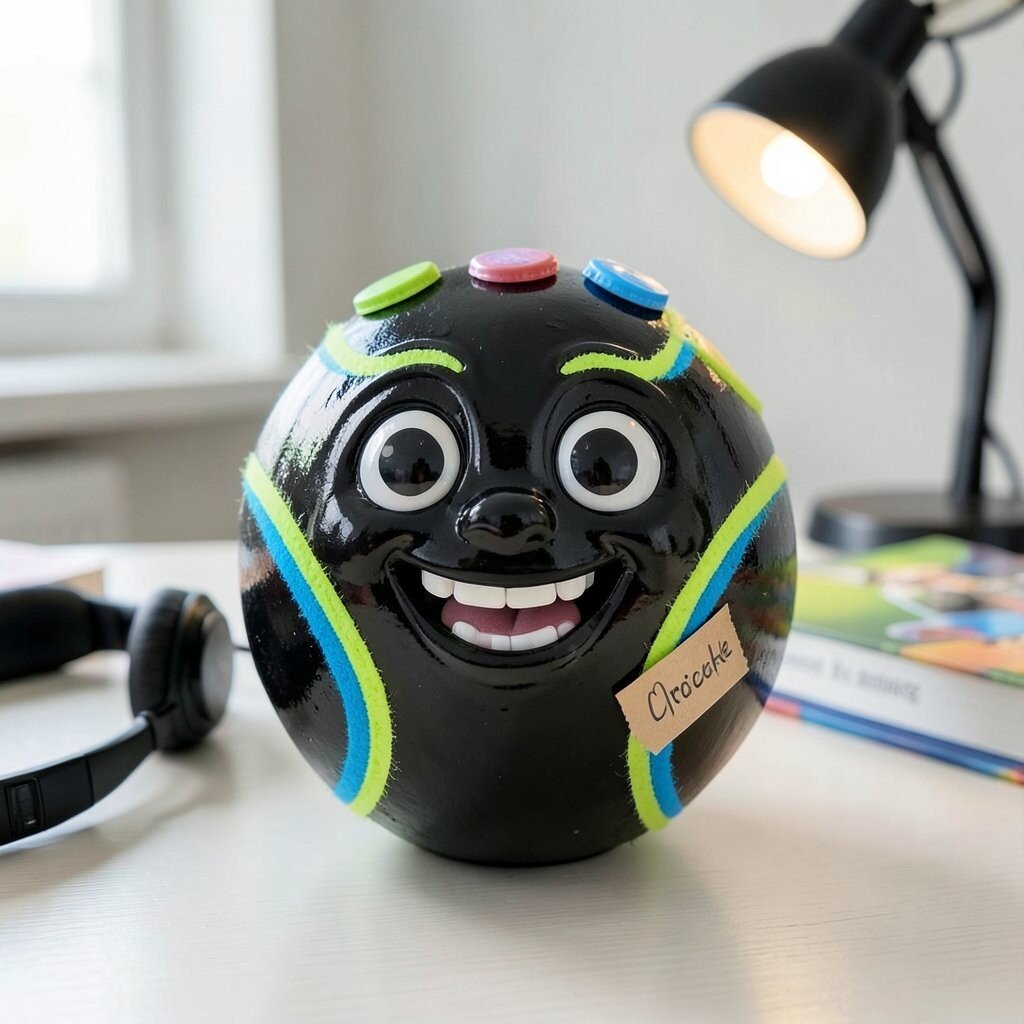
Cover a tennis ball with glossy dark paint, then add bright stripes for that beetle energy. Attach small “drum” dots on the top using bottle caps or foam circles. Add a face that looks like it’s grooving, with a wide smile and shiny eyes.
This creature feels energetic and playful, especially if you place it near headphones, music books, or a desk lamp. The benefits are that you practice decorative placement and safe glue habits. If you want a current look, use high-contrast colors like neon green and electric blue.
To personalize, try adding a name tag made from paper tape and a marker. If you’re working with a tight budget, save old bottle caps or use leftover plastic lids for the dot details. A quick clear top coat makes it look extra polished.
8. Fairy Lantern Mushroom Knight
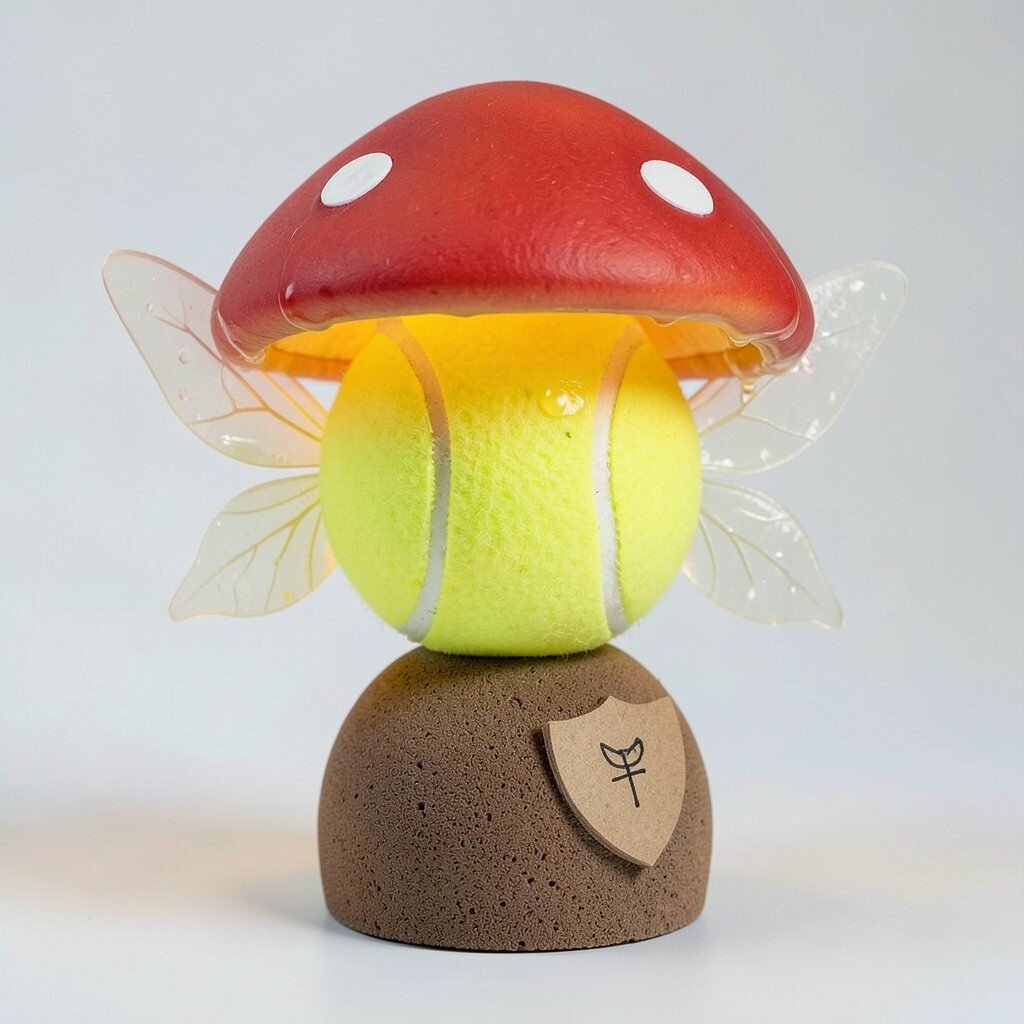
Paint the tennis ball as a mushroom cap, then add a rounded “stem” base using a second foam circle. Glue on small fairy wings made from thin paper or cardstock. Create a lantern effect by painting one side translucent yellow and layering it with a clear gel medium.
This mushroom knight looks magical while still staying kid-friendly and sturdy for display. It’s unique because you can decide if the lantern side glows more yellow or more amber. For practical tips, apply paint in thin coats so the mushroom texture stays smooth.
Personalize it with a tiny shield shape from craft foam and a short symbol drawn on it. Trend-wise, lantern-like accents are popular in cozy decor, so this fits right in. Cost stays low if you use cardboard scraps and basic craft paints you already own.
To keep it neat, seal the wings with glue diluted slightly with water so they don’t warp. Let everything dry between steps so the colors blend the way you want. Your little knight will look ready for story time.
9. River-Rock Toadstool Pal
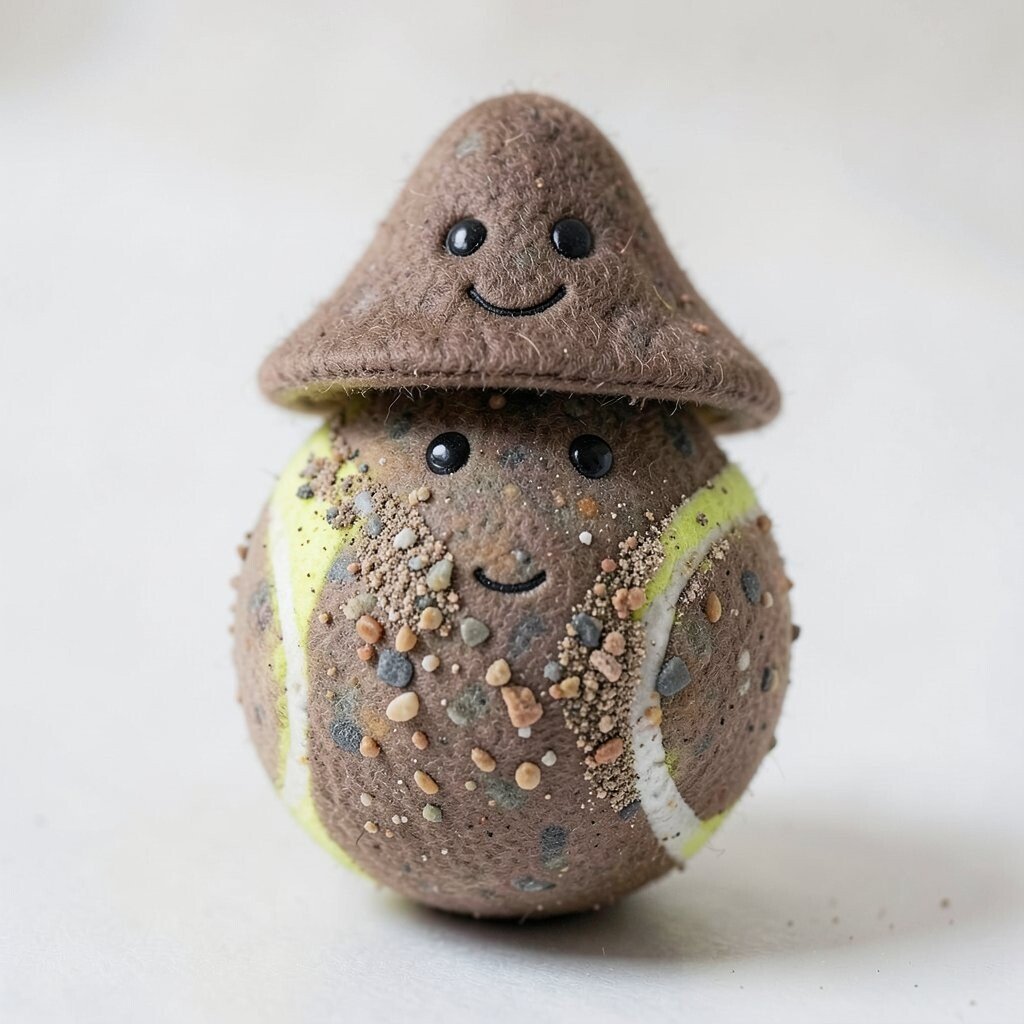
Paint the tennis ball in rocky browns and grays with a few speckled highlights. Add a small toadstool hat made from felt on top and glue on a tiny smiling face. Finish with a ring of pebbly texture by sprinkling sand mixed with glue over one area.
This toadstool pal looks earthy and charming, and it feels “grounded” in a good way. It’s a fun craft for practicing texture, which can hide small bumps and uneven paint. If you want a personalization boost, use different speckle patterns like stripes or dots.
For practical handling, press the sand gently and let it dry for a full day if you can. Current trends often mix natural textures with bright cute faces, so this balance stays modern. If you don’t have sand, try crumbled brown paper mixed with glue for a similar effect.
10. Bubble-Eye Space Custard Alien
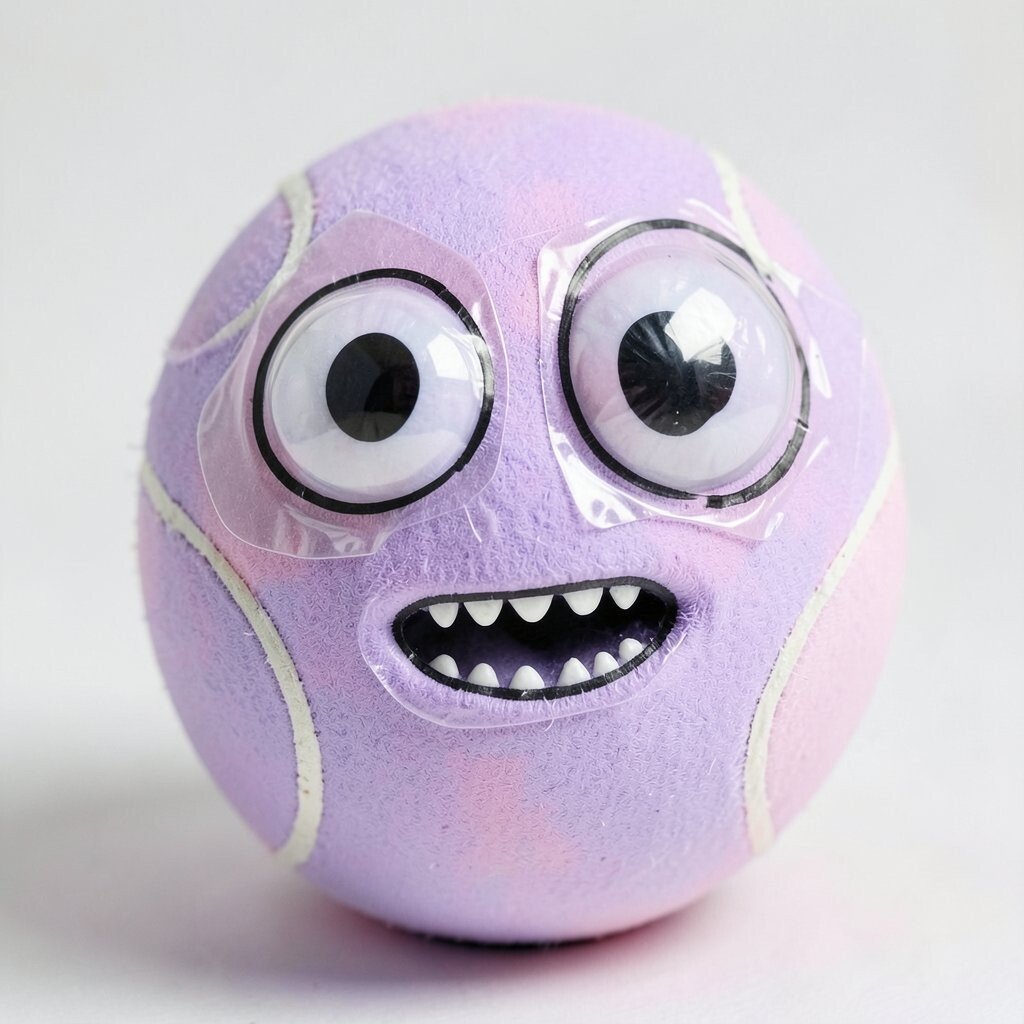
Paint the tennis ball in pastel purple or pink, then add two large bubble shapes using clear plastic packaging. Outline the bubbles with permanent marker so they look like glass domes. Add a goofy alien mouth and tiny teeth using white paint dots.
This alien feels silly and friendly, which makes it great for gifts and desk decor. It’s unique because the bubble eyes create a “caught in a bubble” illusion. Use craft glue carefully around the plastic edges so the bond stays strong.
11. Garden Gumball Hedgehog
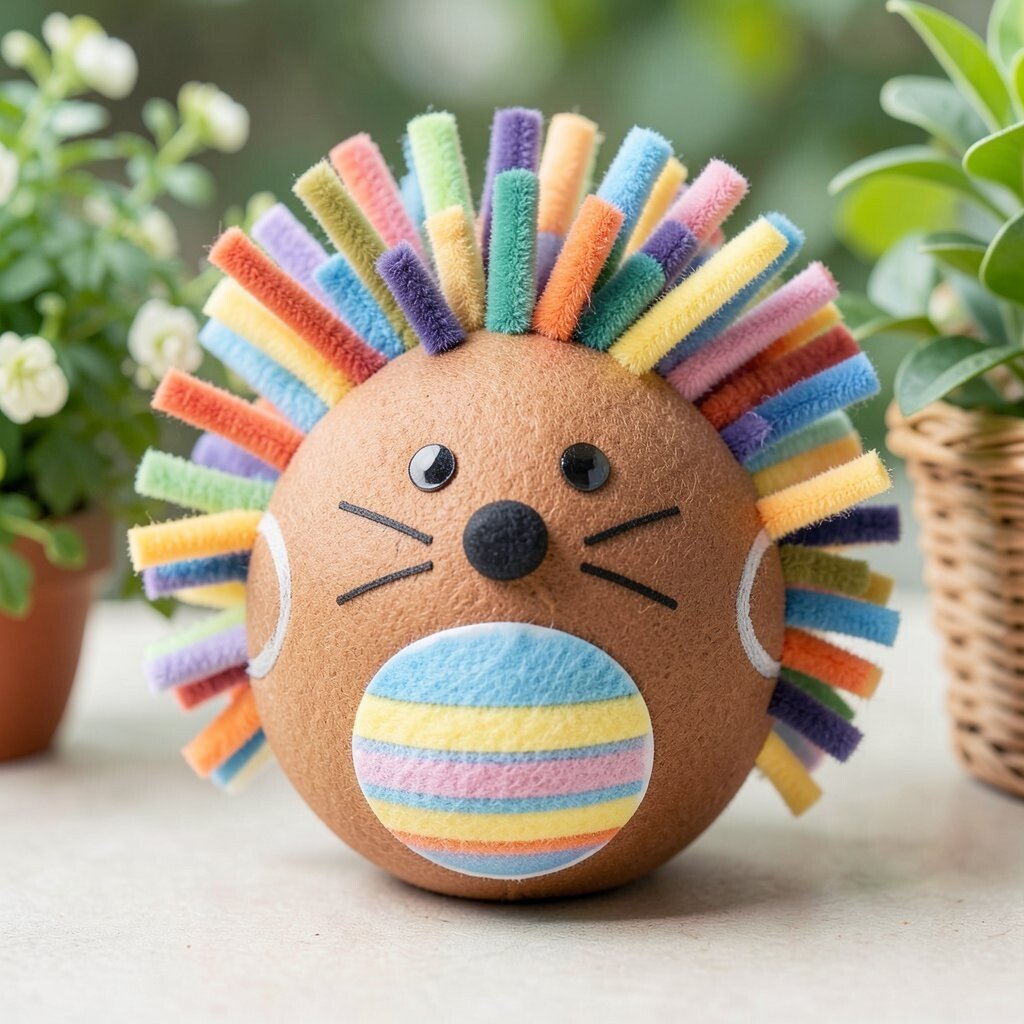
Color the tennis ball with warm brown tones, then add spiky “quills” using cut pieces of chenille stems or thin felt strips. Make a small face with a round nose and simple whisker marks drawn in marker. Add a striped belly patch made from contrasting paper.
The result looks like a tiny hedgehog candy, which is both cute and memorable. The benefits include practicing fine detail with whiskers and learning how to anchor soft spikes securely. Personalize it by choosing quill colors that match your favorite shirt or room theme.
If you want to keep costs down, search for discount craft stems or reuse leftover yarn pieces for texture. For a trend check, candy-like pastels and playful textures are popular in craft decor right now. A matte seal can reduce shine, while a glossy seal makes it look like a real gumball.
When you display it, place it near greenery or in a small basket for a “garden treat” vibe. It also works well as a fun classroom buddy.
12. Knighted Catapult Cat Companion
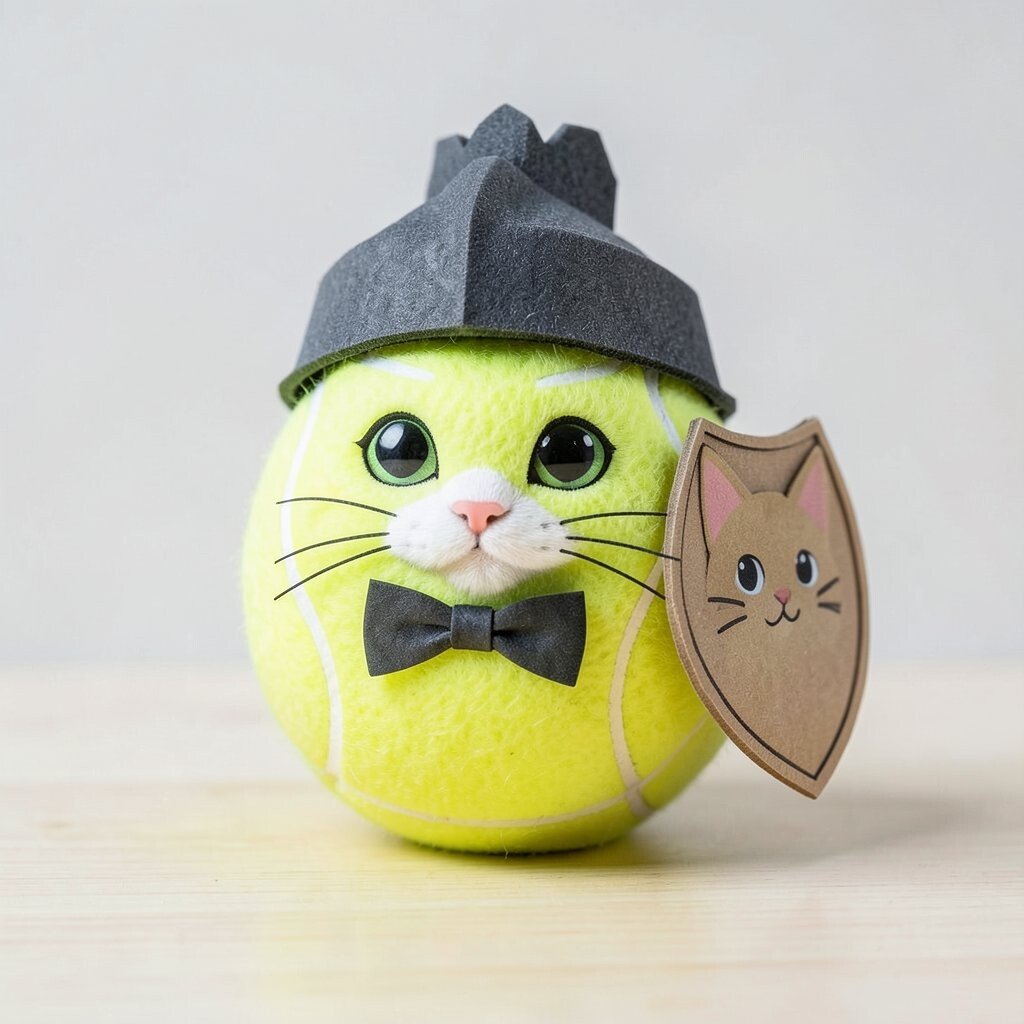
Paint the tennis ball like a cat’s face, then add a small foam “helmet” on top for a knight theme. Cut a tiny cat shield from cardstock and glue it to the side like it’s ready for battle. For flair, add a paper bow tie and draw whiskers with a steady hand.
This companion feels clever and story-ready, especially if you plan a small character lineup. It’s helpful for learning layered shapes without needing a lot of complicated tools. Use craft foam for the helmet so it holds its shape during play and display.
13. Coral Reef “Clack” Crab
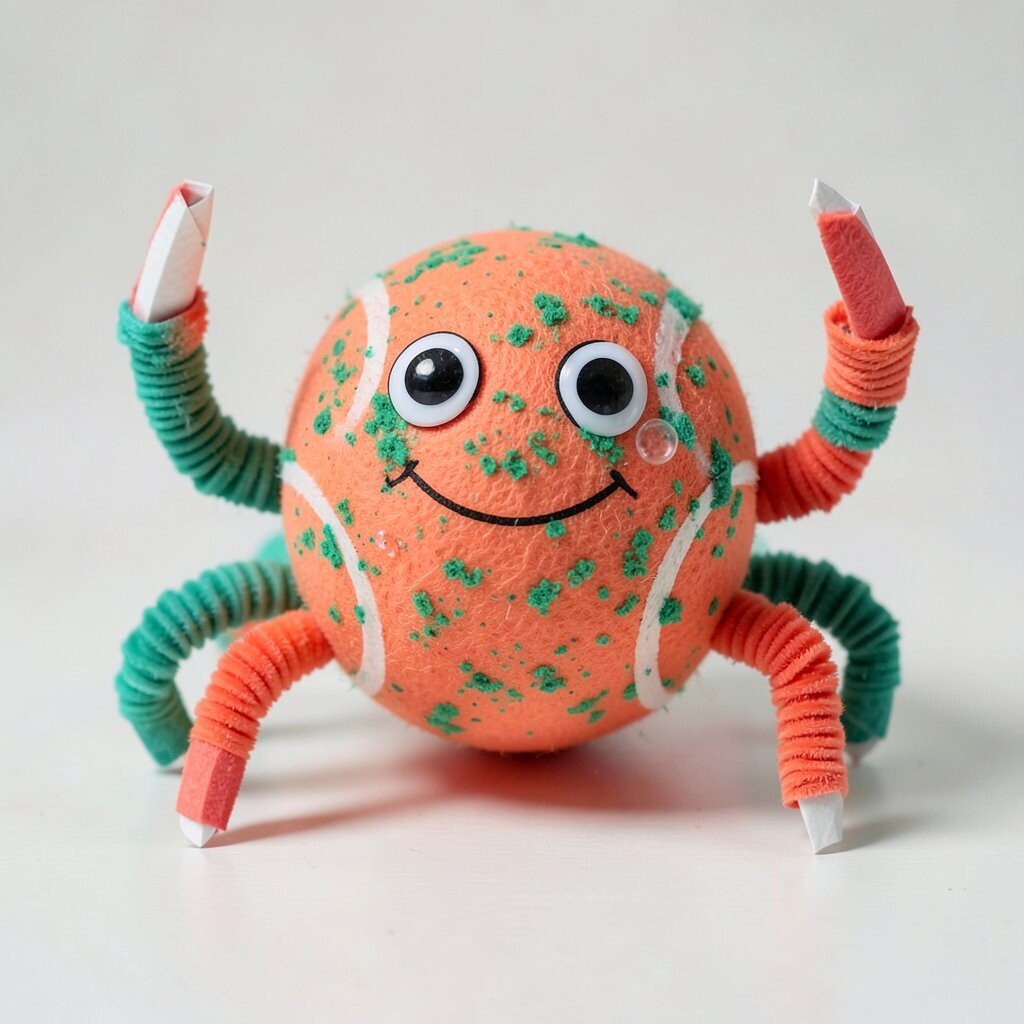
Paint the tennis ball in coral orange, then sponge on sea-green speckles for the reef feel. Add crab legs using pipe cleaners bent into easy arcs, and attach claws made from folded paper. Draw big friendly eyes and a small grin on the shell area.
This crab looks fun and lively, and it also stands out because the texture feels underwater. It’s unique since you can shape the claws into different “clack” poses each time. A quick benefit is that pipe cleaners bend easily, so your creature gets its personality fast.
For practical tips, glue the legs in clusters so it stays stable on a shelf. Personalize by adding a tiny “bubble” made from clear glue dots near the face. If you want a cost-friendly upgrade, use leftover craft wire or old jewelry chain pieces for extra detail.
14. Lantern-Eared S’more Squirrel Sprinter
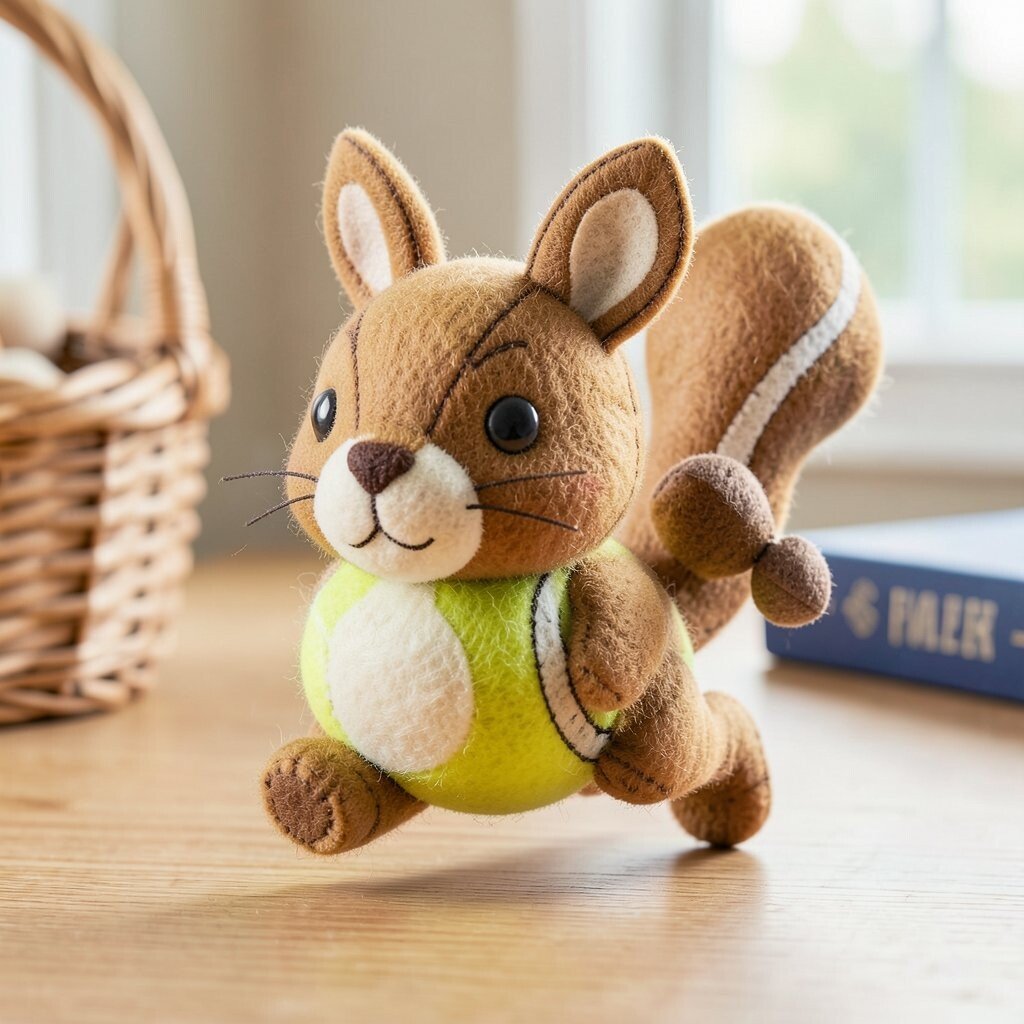
Paint the tennis ball a golden brown and add a cream-colored muzzle patch for a squirrel face. Create ears from felt and outline them with a slightly darker marker so they look cozy. Add a “sprinter” vibe by painting a little racing stripe down one side and a tiny acorn charm near the tail.
This squirrel sprinter feels warm and playful, like it’s heading to snack time with energy. It’s unique because the racing stripe turns a simple animal into an action character. For personalization, you can make the stripe match your favorite sports color or hobby theme.
To keep costs reasonable, use felt scraps and leftover ribbon for the charm. A trend you may notice in craft decor is mixing comfort food vibes with cute animals, and this fits right in. If you seal with a clear coat, the paint stays brighter for longer and wipes clean if it gets handled often.
For best results, press down the ears while the glue sets and let it dry before you move it. Your s’more squirrel will look adorable in a basket, on a desk corner, or next to a book you love.