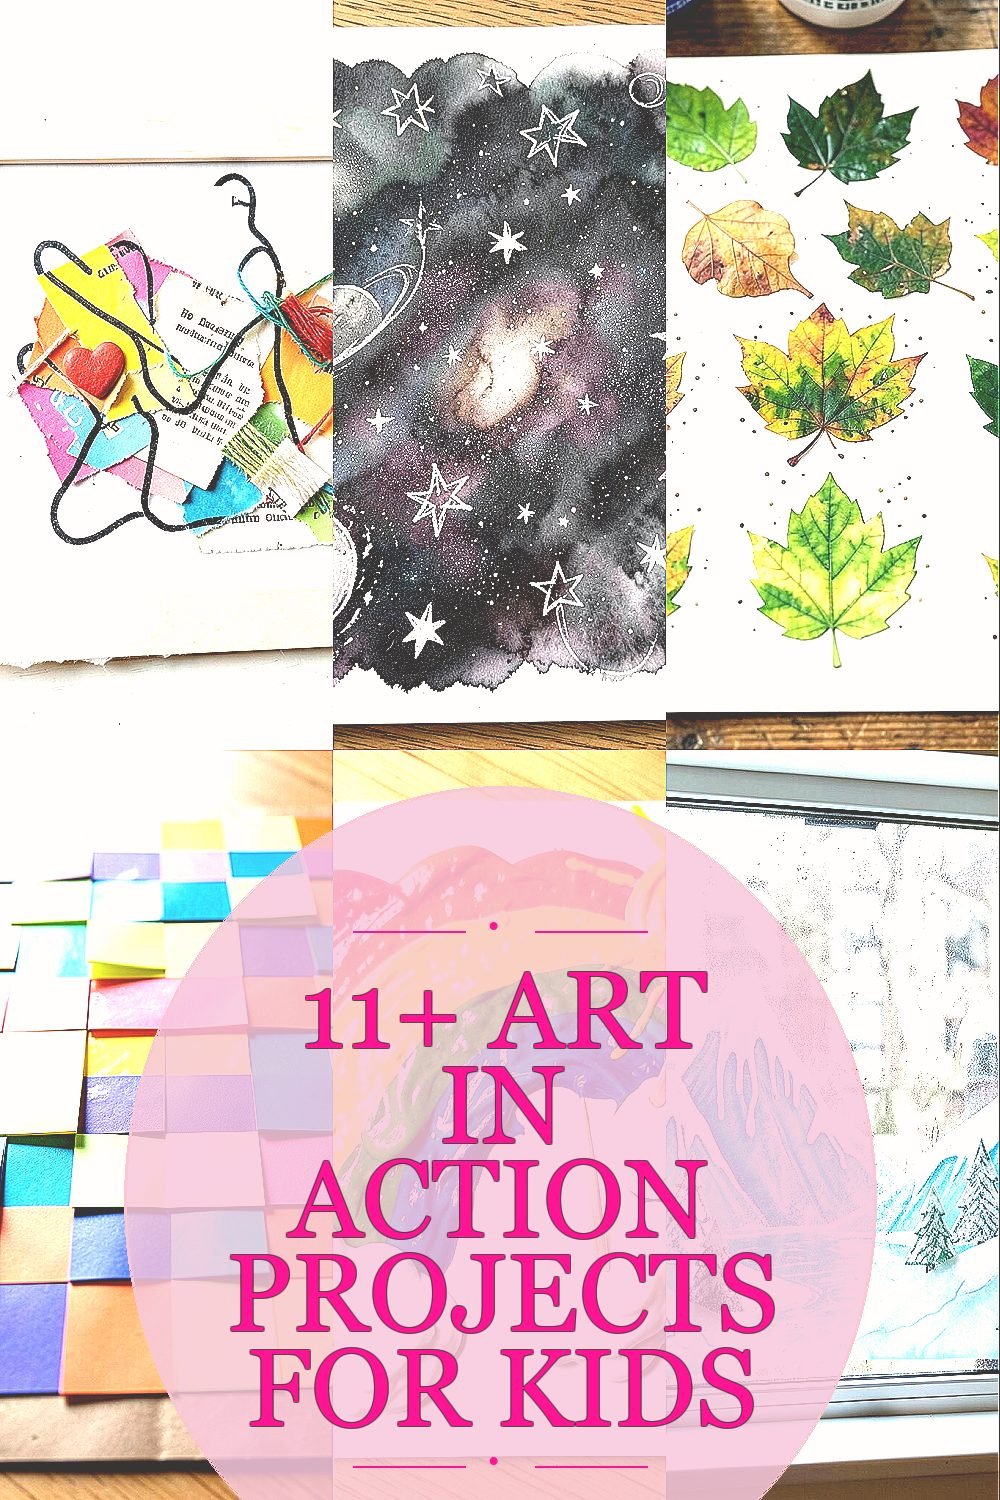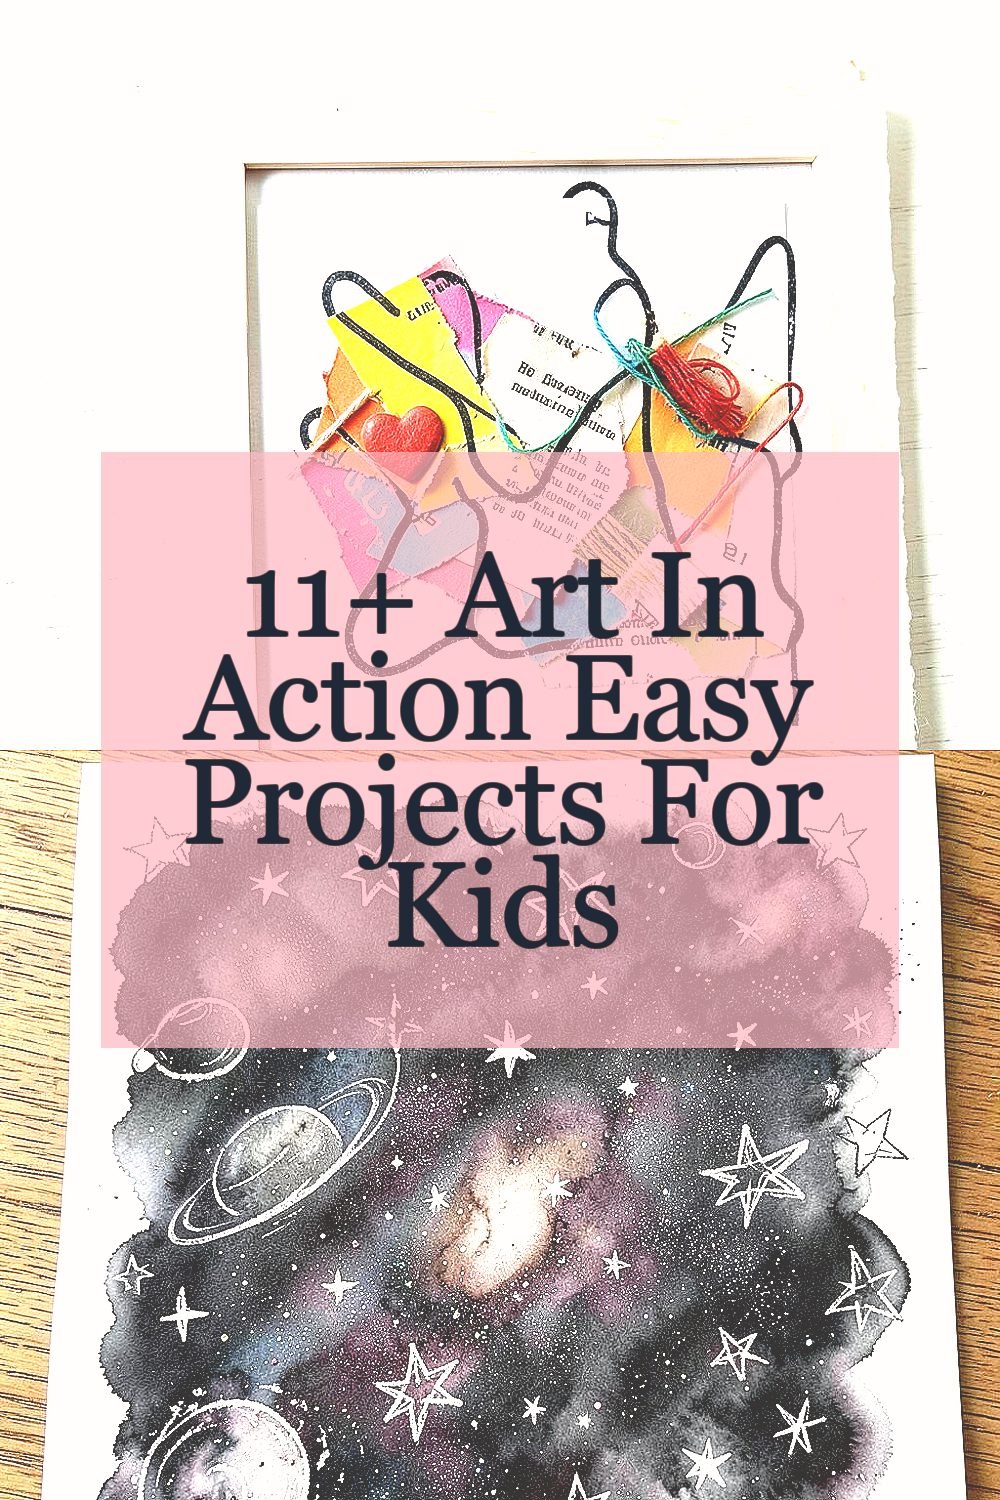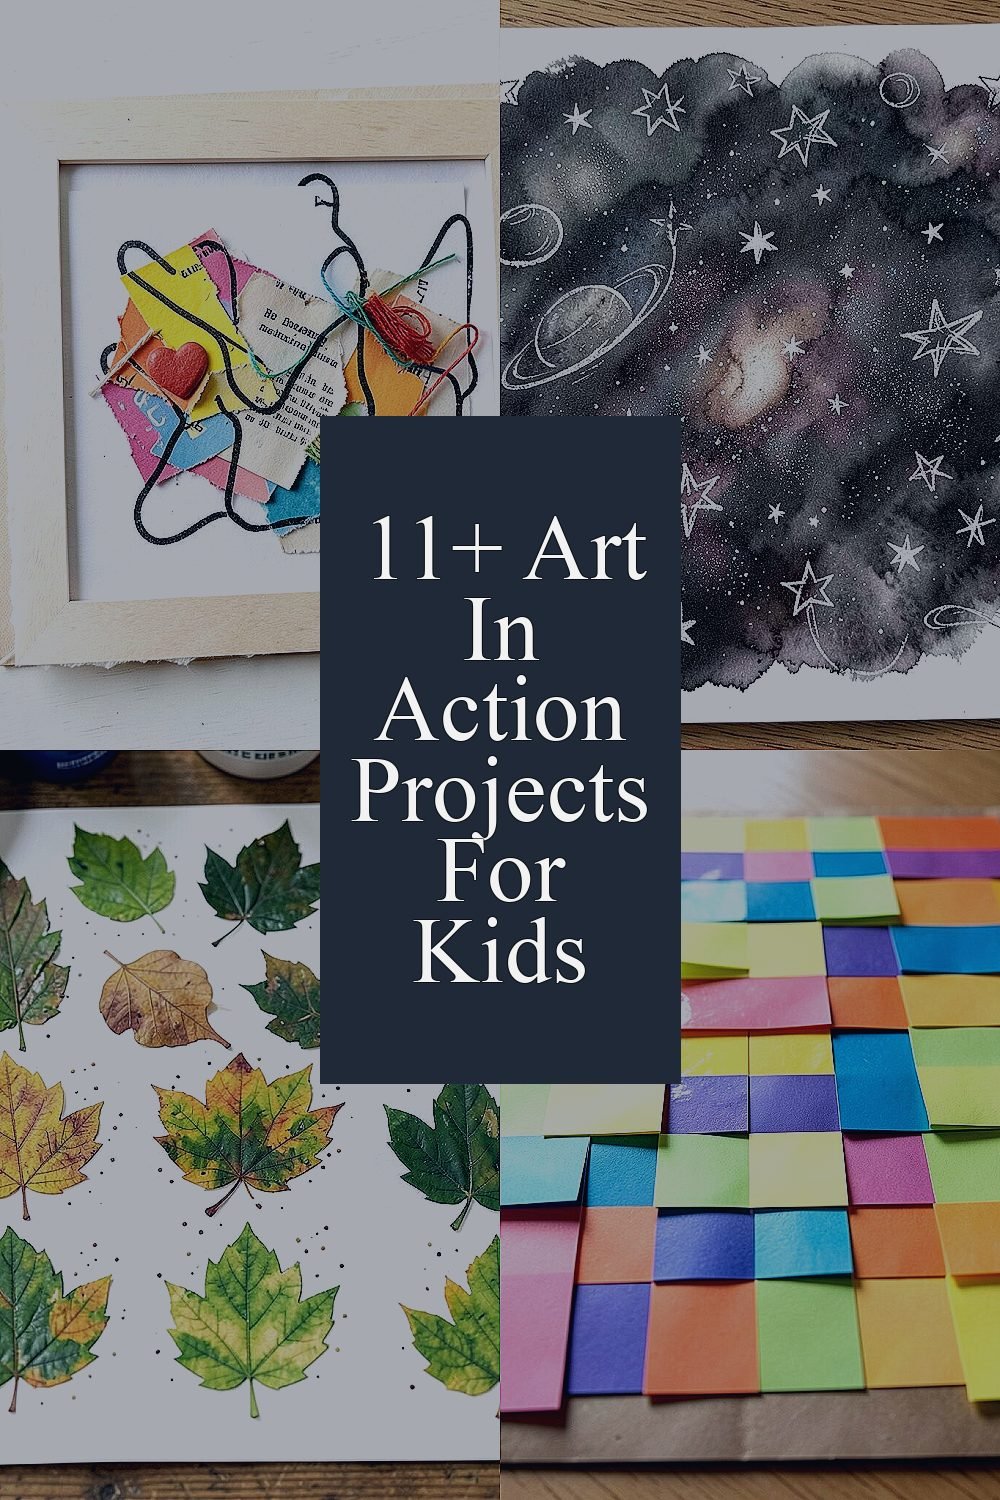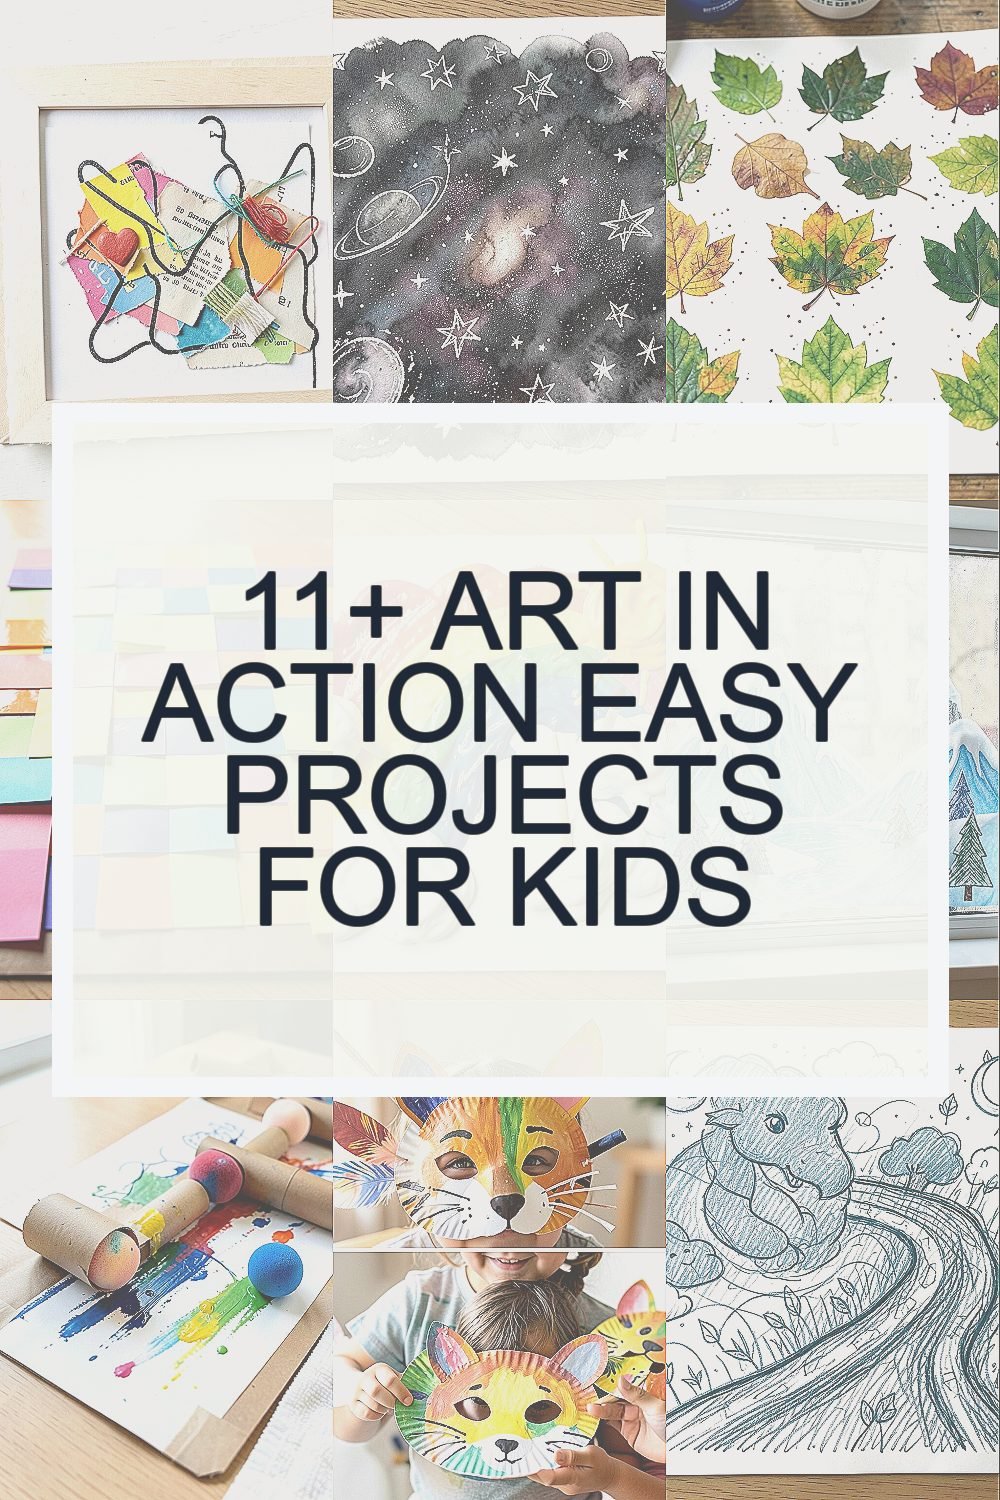
A blank page can feel like a quiet challenge until color starts talking. These art ideas keep hands busy and imaginations loud.
1. Heart-Beat Collage Cards
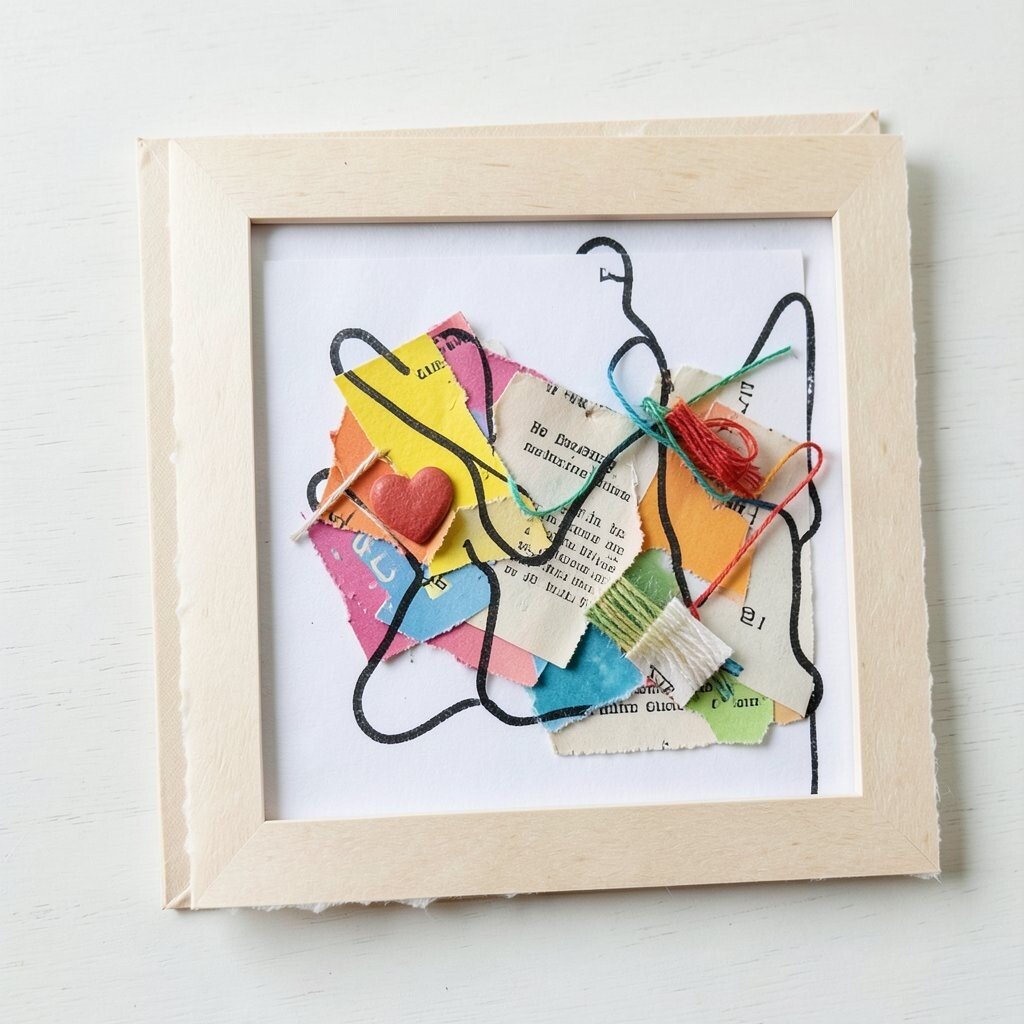
You can make tiny collage cards that look like pulse lines from a science movie. Pick bright paper scraps, old magazines, and bits of ribbon or yarn, then arrange them like a moving story.
Spread glue over a small area and layer materials carefully, so the shapes overlap. Add curvy “pulse” lines with markers to connect the pieces like paths. Finish with a simple frame using torn paper so each card feels special.
2. Crayon Resist Galaxy Paper
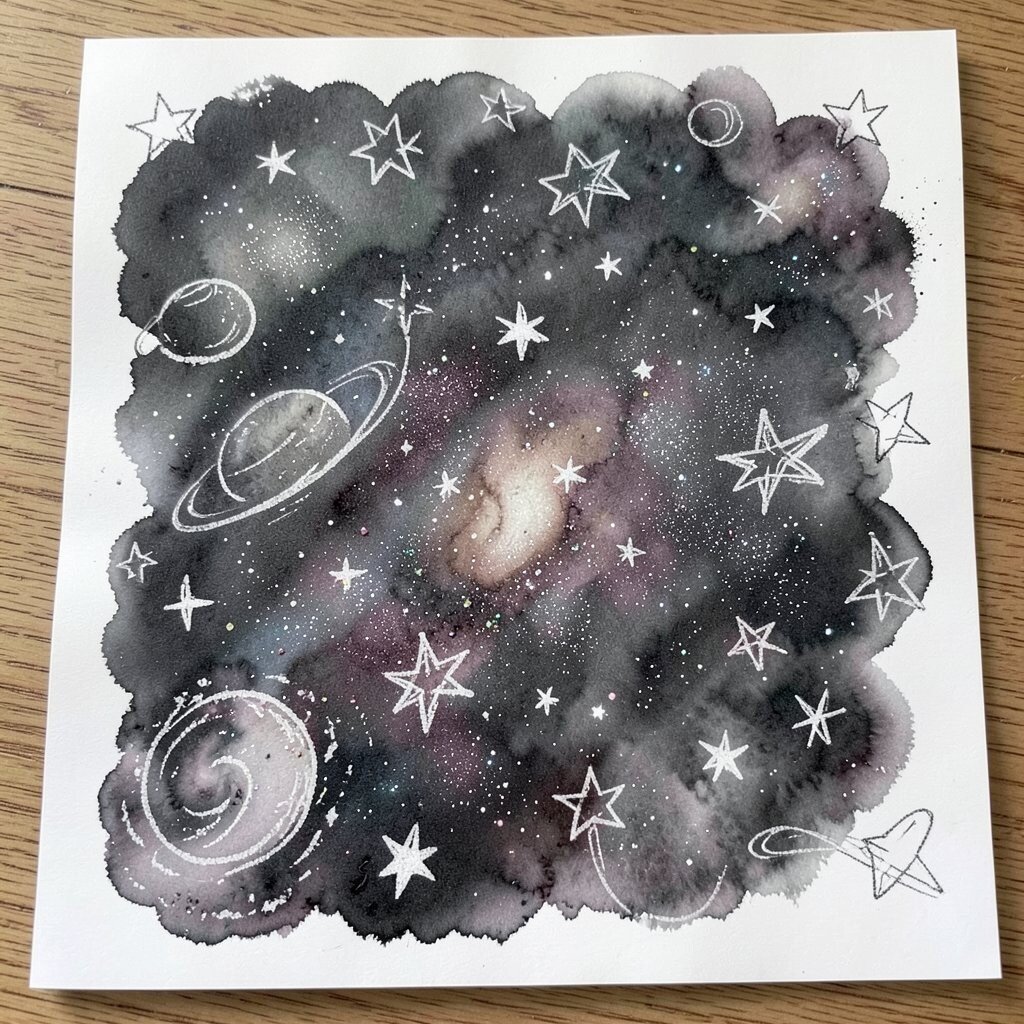
Kids love how crayon lines secretly appear under paint. Start by drawing stars, swirls, and planets on white paper using a white or light crayon.
Brush dark watercolor or watered-down paint over the whole sheet, and watch the drawings pop out like magic. Use a sponge for gentle tapping to create a smoky cloud effect. Try adding glitter glue on the final layer for a fun sparkle that still looks neat.
3. Nature Printing With Leaf Shapes
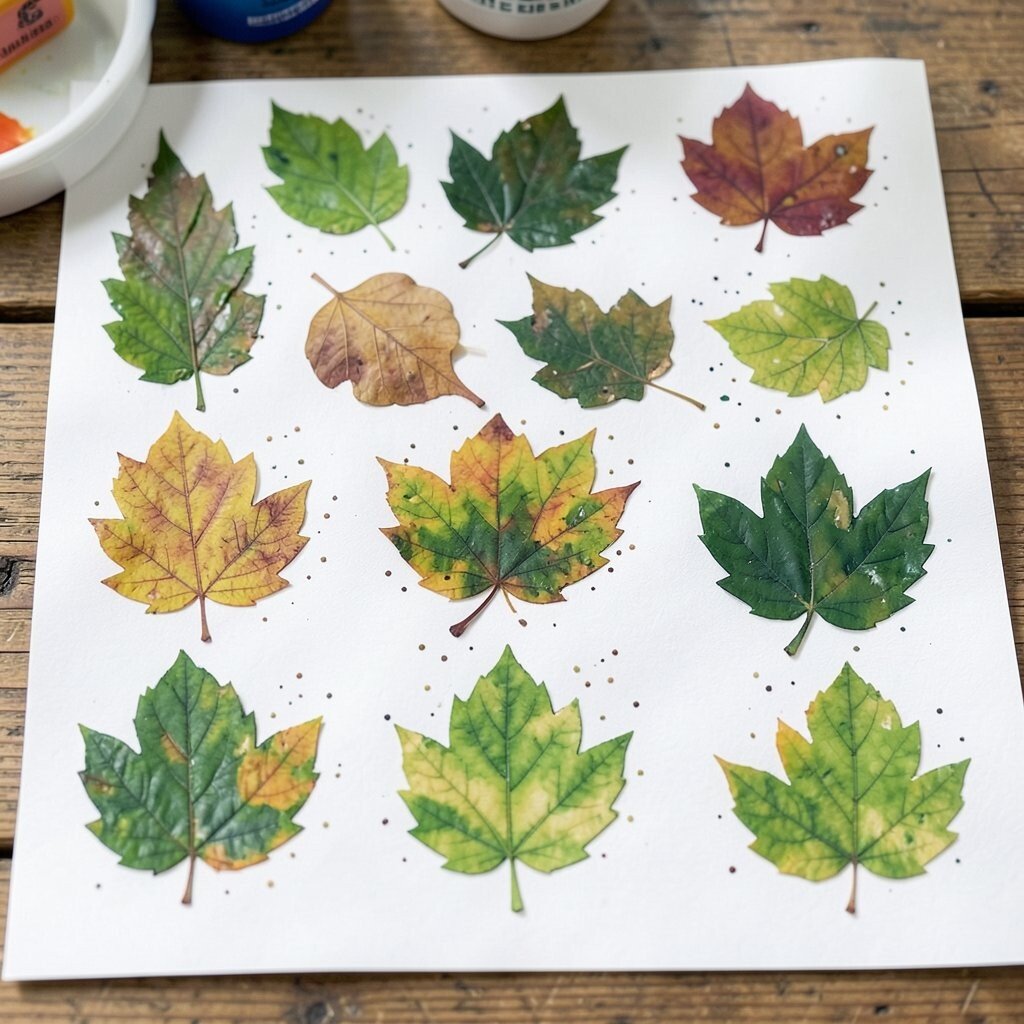
Gather a few leaves and press them like little stamps. Choose different leaf sizes, thicker leaves for clearer prints, and delicate leaves for softer shapes.
Paint the leaf with poster paint using a brush, then press it onto paper firmly and lift slowly. Repeat with various leaves to build a pattern that looks like a garden map. When everything dries, add tiny dots around the prints to suggest pollen or seeds.
For personalization, let each child name their print set, like “Maple Monsters” or “Fern Flags.” Use the same colors for a matching set, or let them choose one color family for a calm look. If paint supplies are limited, use washable tempera from a small tray and reuse leftover paint for later sessions.
4. Sticky-Note Mosaic Patterns
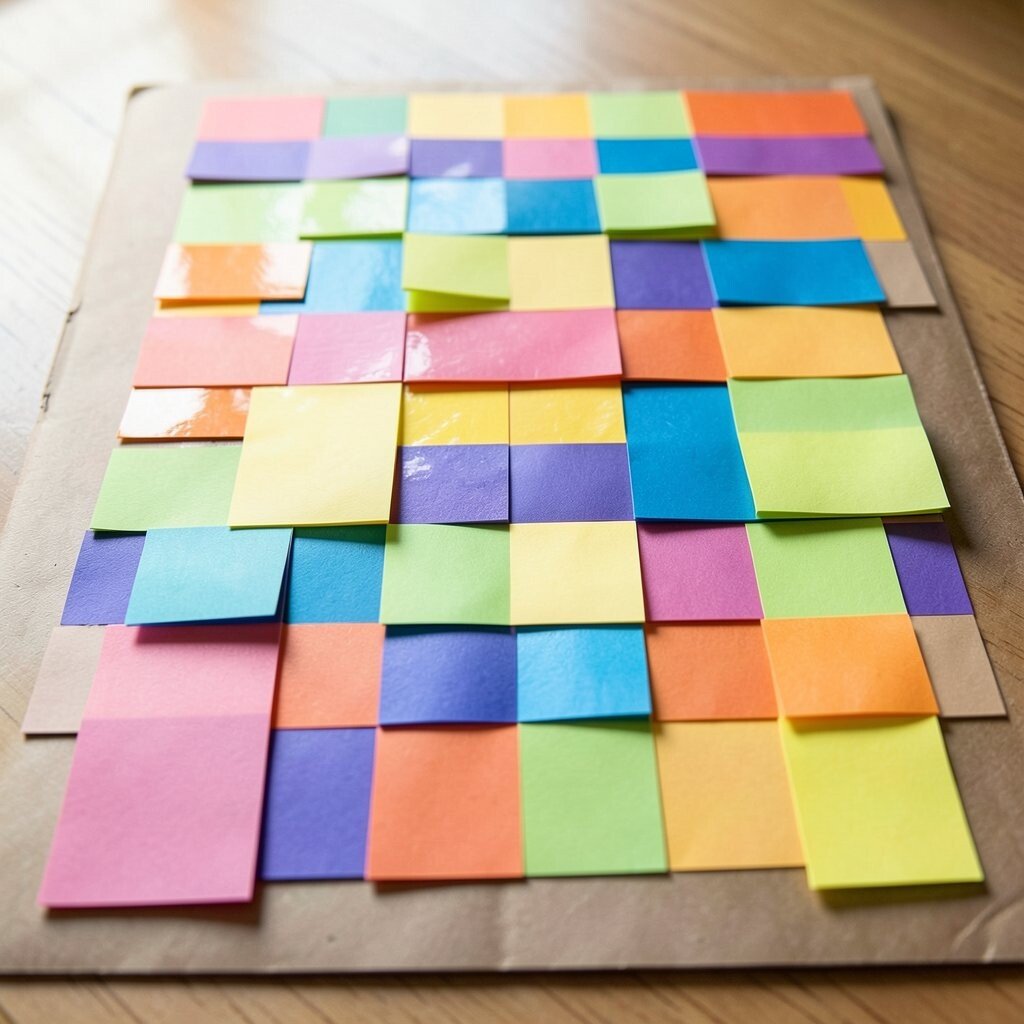
This project turns simple sticky notes into a bold artwork. Choose a theme like rainbows, checker patterns, or favorite cartoon color combos, then plan a few rows on the tabletop first.
Place sticky notes onto a sheet of paper or cardboard and overlap them like tiles. For an extra art-in-action feel, mix matte and shiny notes so some pieces reflect light differently. Once the pattern looks right, press down firmly and leave the notes in place for a playful raised effect.
5. Puffy Paint Rainbow Clouds
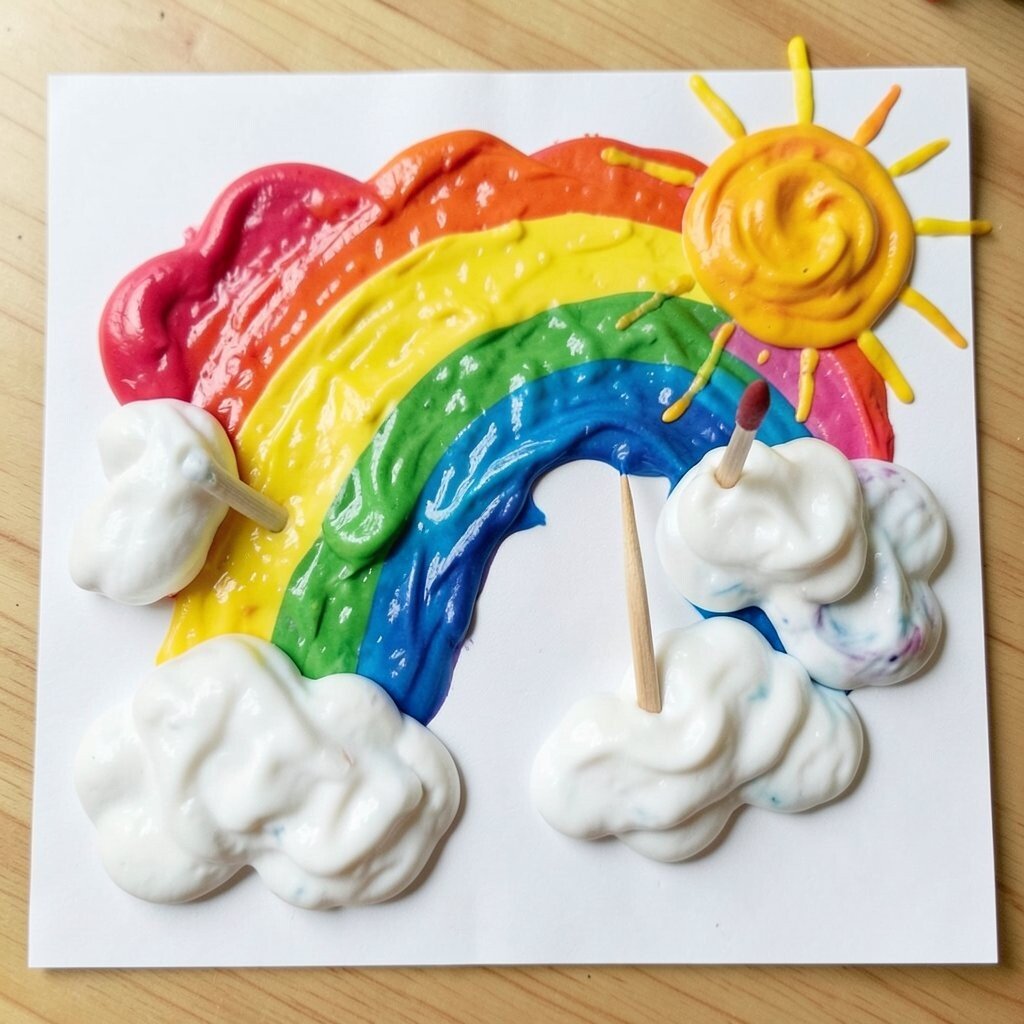
Mix simple puffy paint using school glue, shaving cream, and a little food coloring. Stir until it looks smooth and cloud-like, then give kids a chance to choose colors like sunrise or stormy skies.
Pipe or spoon the mixture onto paper in soft cloud shapes. Use a toothpick to swirl colors together while the paint is still wet so the edges blend. After drying, they’ll have a textured rainbow sky you can almost touch.
Personalize it by adding a sun with yellow dots or tiny raindrops made from thin lines of puffy paint. For cost, shaving cream and glue are usually easy to find, and small amounts go a long way across a few colors. A current trend kids enjoy is “texture art,” so this project fits right in with what many makers share online.
6. Window Crayon Ice Pictures

Turn the window into an art gallery by making temporary ice scenes. Draw icy shapes with crayons on wax paper first, then place the art against the inside of the window.
Sprinkle water lightly on top and freeze if possible, or use a spray bottle to create melting edges that look like thawing glaciers. Kids can add cut paper “trees” and “snow hills” so the scene layers correctly. When the picture dries or changes, they can remake it for a brand-new winter story.
7. Cardboard Tube Marble Run Art

Art can be physical, fast, and surprisingly tidy when you use a cardboard tube marble run. Start by cutting cardboard tubes into short lengths and arranging them on a flat board like a track.
Paint marbles with washable paint or use a small sponge to coat them, then roll them through the track. As they tumble over each tube, the marbles leave streaks across paper taped along the path. Use masking tape to hold paper in place so kids can focus on the action.
To personalize, each child chooses a theme like “ocean currents” or “volcano lines” and picks matching paint colors. For practical setup, keep a tray under the track for spills and use an old towel for easy cleanup. This project also mirrors popular makers’ videos that show performance art from everyday materials, which makes it feel current without being complicated.
8. Paper Plate Animal Masks
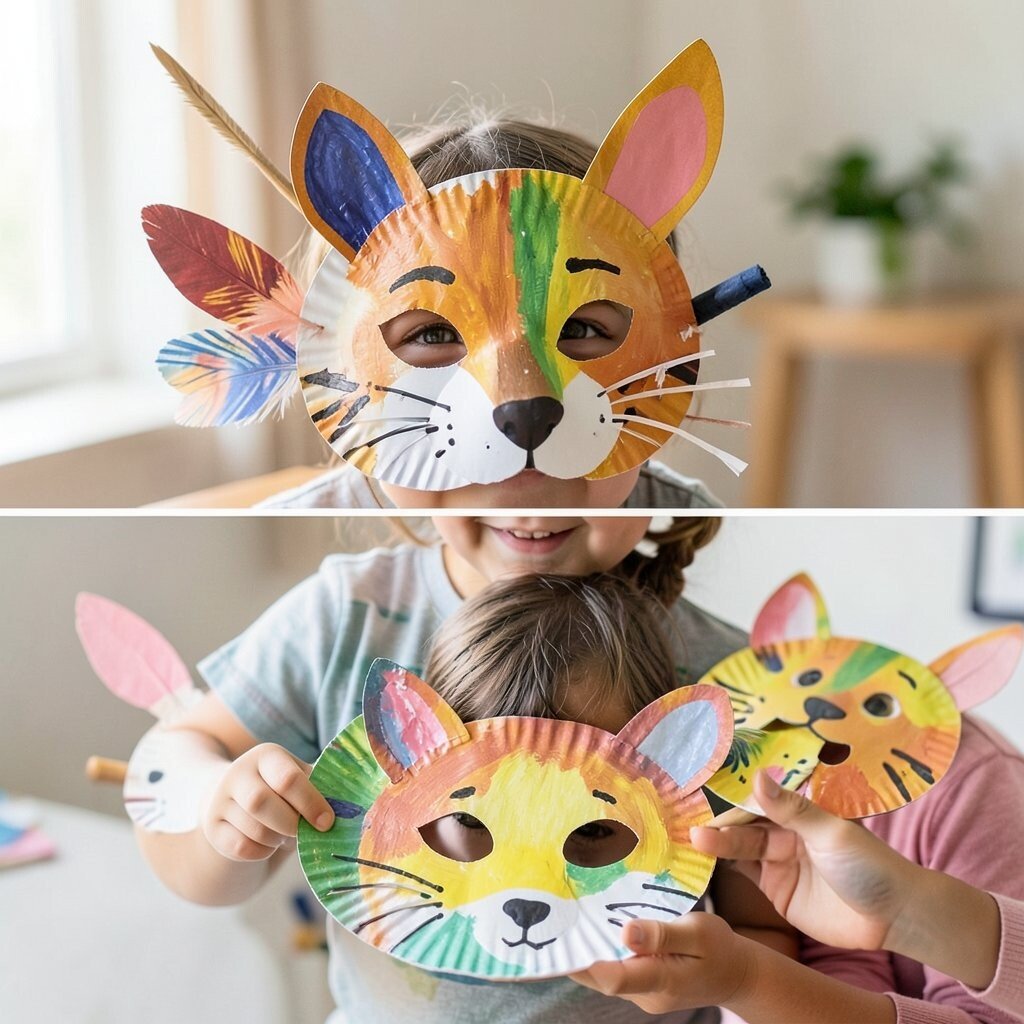
Make quick masks with paper plates and simple craft supplies. Choose a favorite animal, then paint the plate or color it with markers for the base coat.
Cut out eye holes and add details like whiskers, spots, or feathers using paper scraps. Glue on construction paper ears or pipe-cleaner stems for a playful look. Kids can wear their mask while acting out a short “animal moment,” which turns the art into real fun play.
9. One-Color Scribble Stories

Pick one color and make a scribble that fills most of the page. Encourage kids to vary pressure, speed, and line thickness so the drawing shows energy, not just shapes.
Once the scribble is dry, they can add tiny hints like eyes, paths, or leaf silhouettes using the same color. This keeps everything cohesive and also teaches that art can be made with limits. Try adding a contrasting white gel pen only at the end for highlights, like moon sparkles or foam.
For personalization, let each child choose what the scribble “means,” such as a dragon cloud or a windy road. Cost stays low because one marker or one crayon can power the whole project, and paper is the main supply. Many young artists enjoy “limited palette” art because it looks bold and clean in photos.
10. Sock Puppet Planet Characters
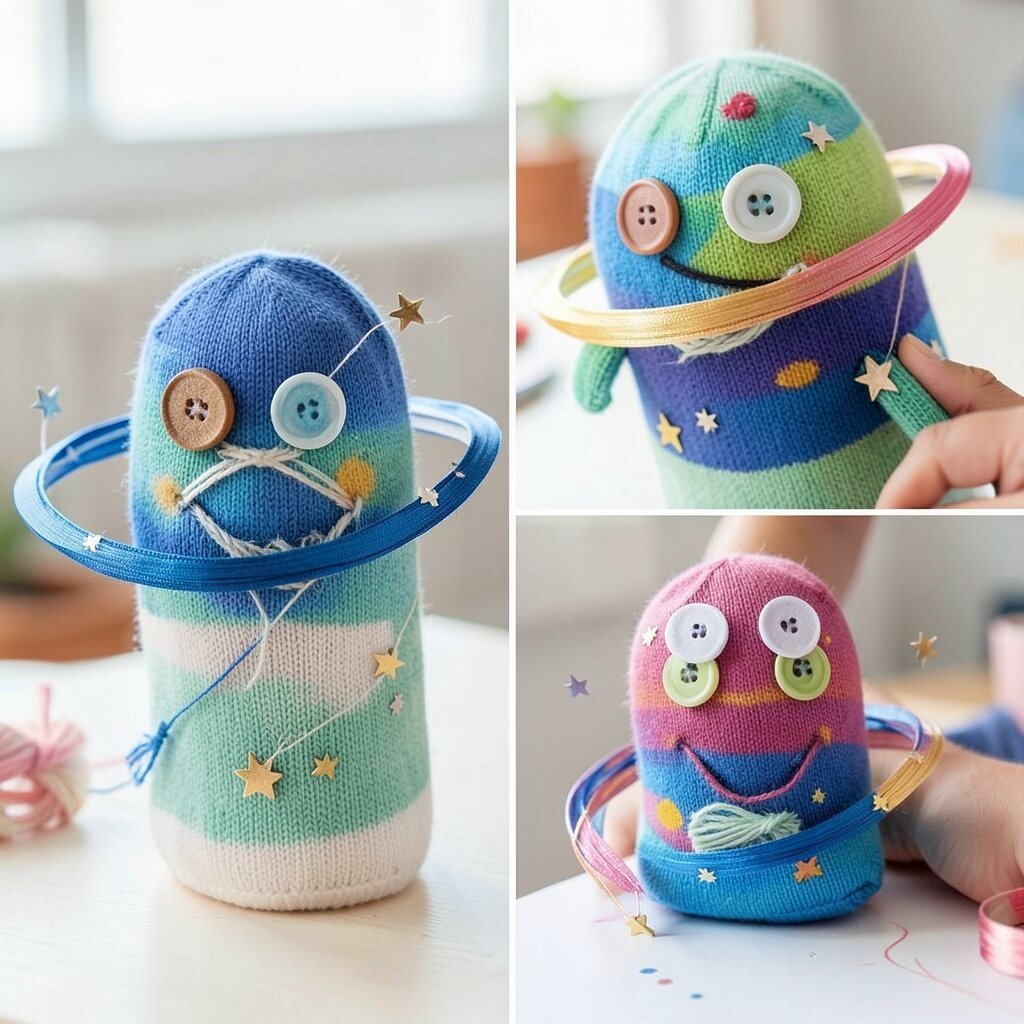
Kids can create planets that talk back using socks and simple decorations. Choose a clean sock and stretch it like a face shape, then color or paint it if needed.
Add eyes using buttons or felt circles, and glue on a mouth with yarn or fabric scraps. Create “planet rings” using ribbon and add small star stickers for a galaxy vibe. Encourage kids to invent a personality and perform a short puppet conversation while the glue dries.
11. Coffee Filter Tie-Dye Flowers
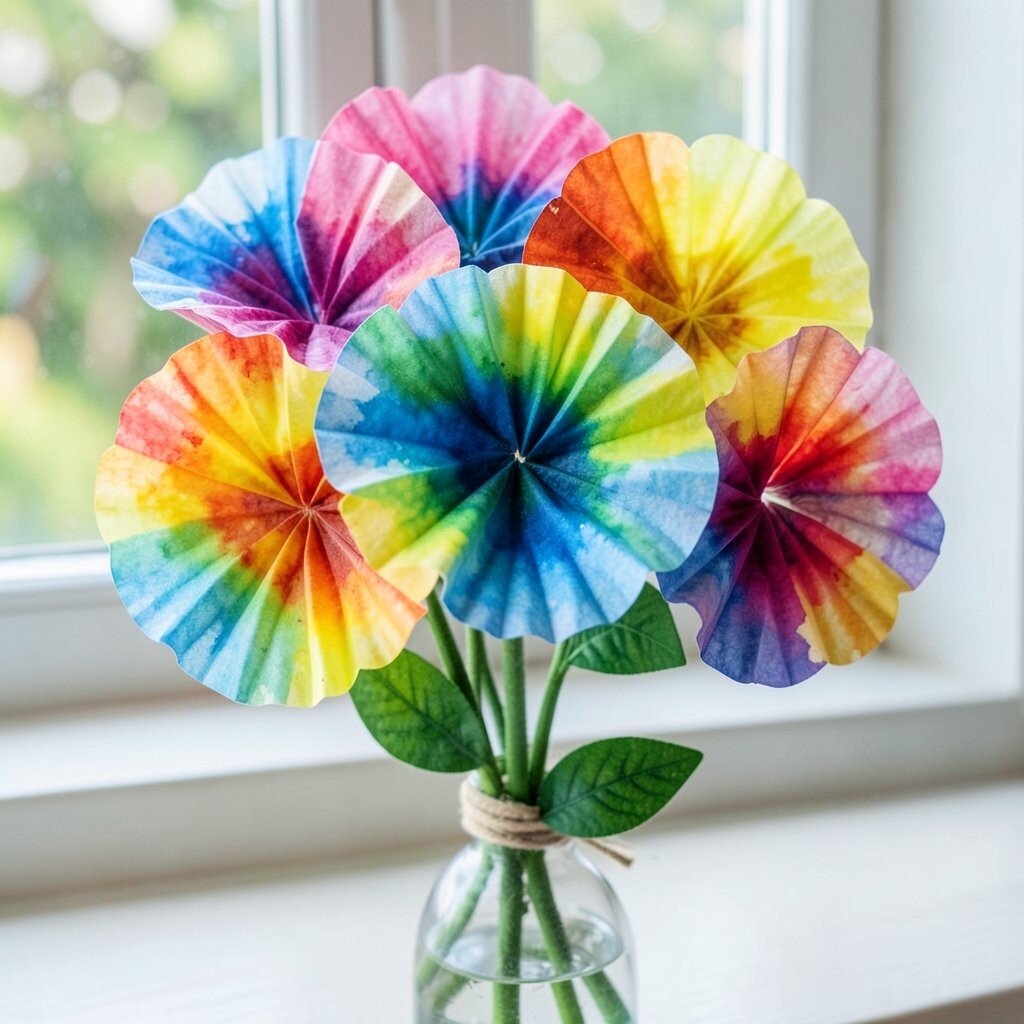
Fold a coffee filter into quarters and pinch the center like a little bud. Tie with string or rubber bands so colors stay in clusters when they spread.
Use washable markers to color around the folded edges, then spray lightly with water so the pigment blooms. The filters will open into flower shapes with soft gradients that look like watercolor dreams. After they dry, kids can add a green stem and leaf cutouts for a complete bouquet.
Personalize each flower by choosing a favorite color theme like tropical, sunset, or “favorite hoodie colors.” For cost, coffee filters are affordable and work great for several projects because they can be reused with fresh folds. This style matches a current trend toward gentle watercolor-like dyeing that looks amazing on a windowsill.
12. Foil Texture Print Portraits

This project uses foil to capture textures like leaves, lace, and even crumpled paper. Place a sheet of foil on a flat surface, then smooth it until it shines evenly.
Lay a textured item under or on top of the foil, then rub gently with a crayon or soft pencil to transfer the pattern. Kids can build a portrait by adding simple facial features with markers after the textures settle. Try using different textures for the hair, background, and clothing so each portrait looks layered and unique.