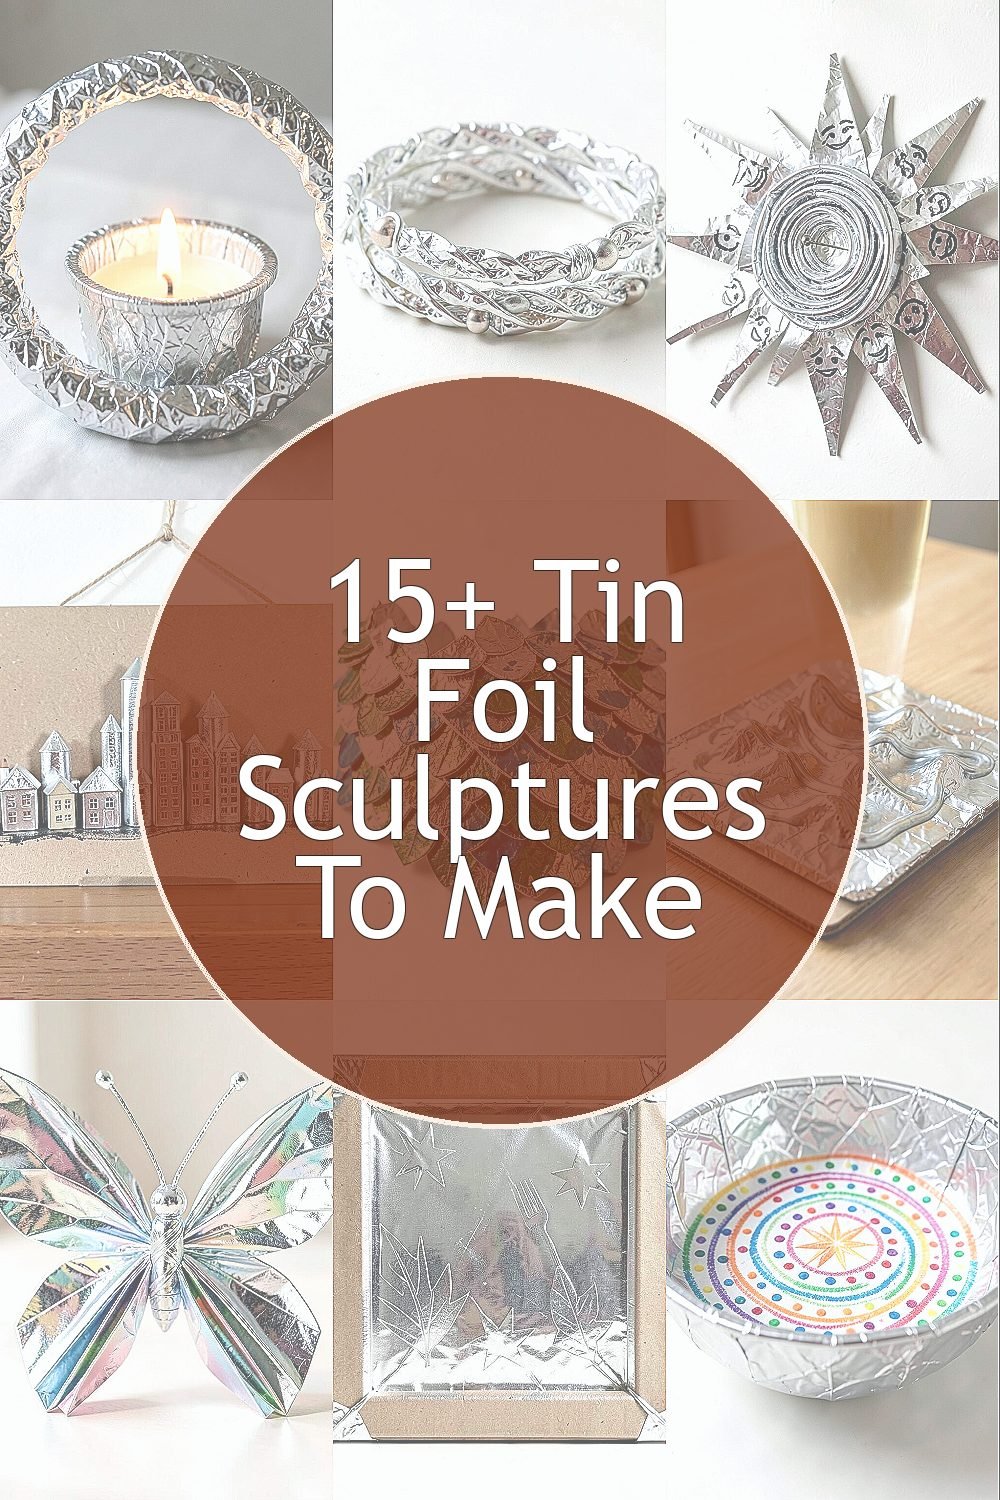
The soft shimmer of tin foil can turn into anything you can picture. With a little patience, it becomes art you can hold, bend, and show off.
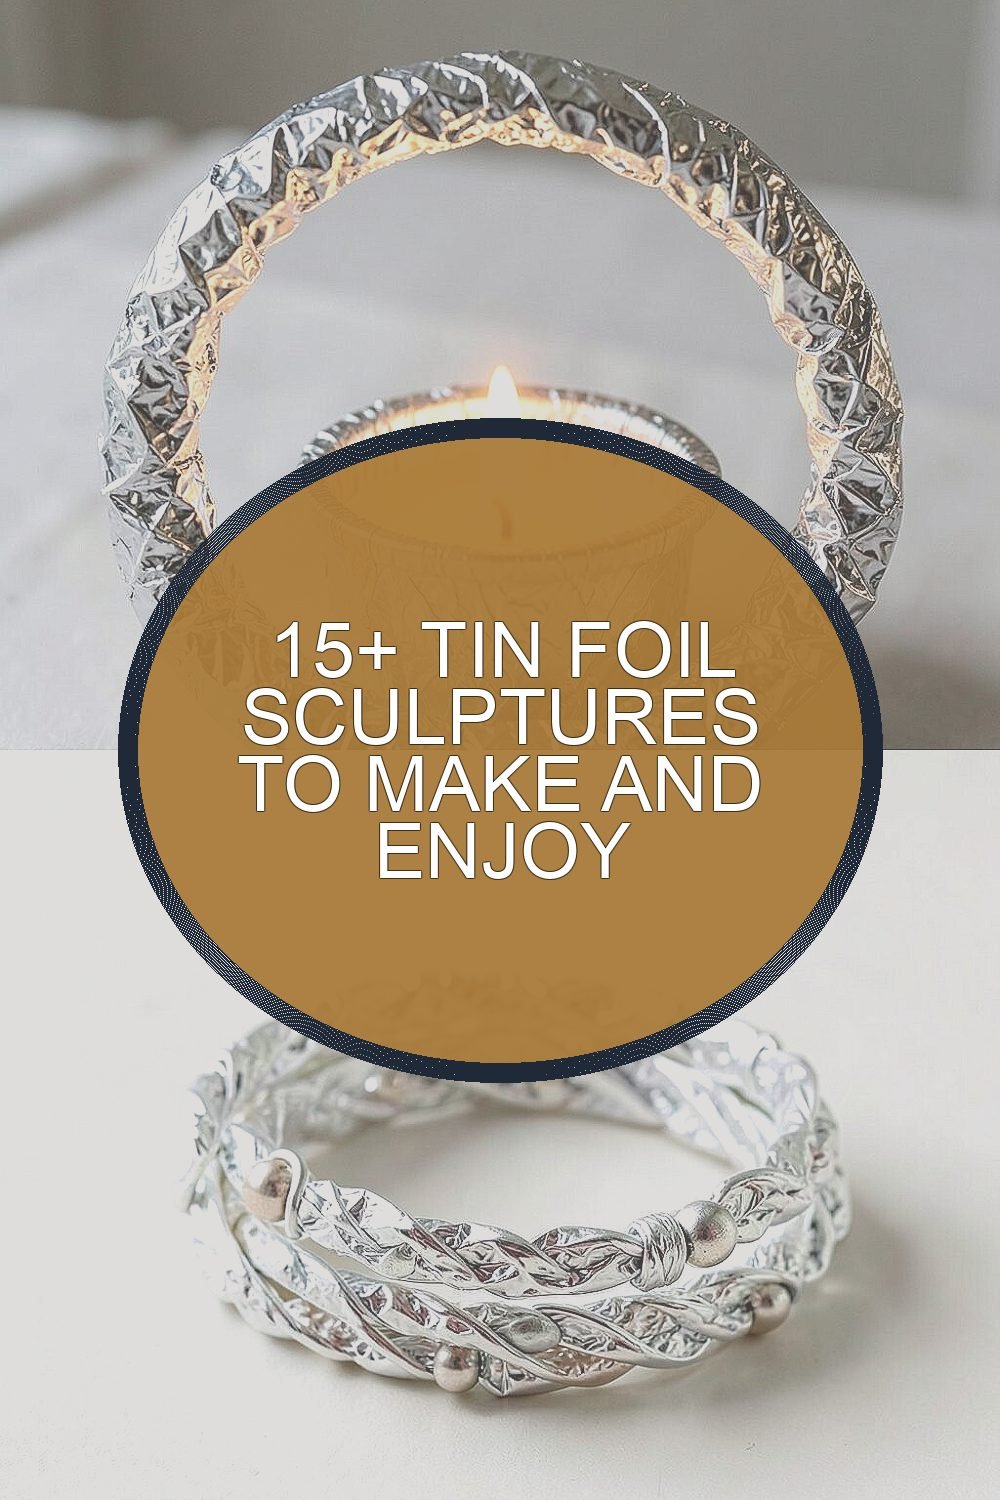
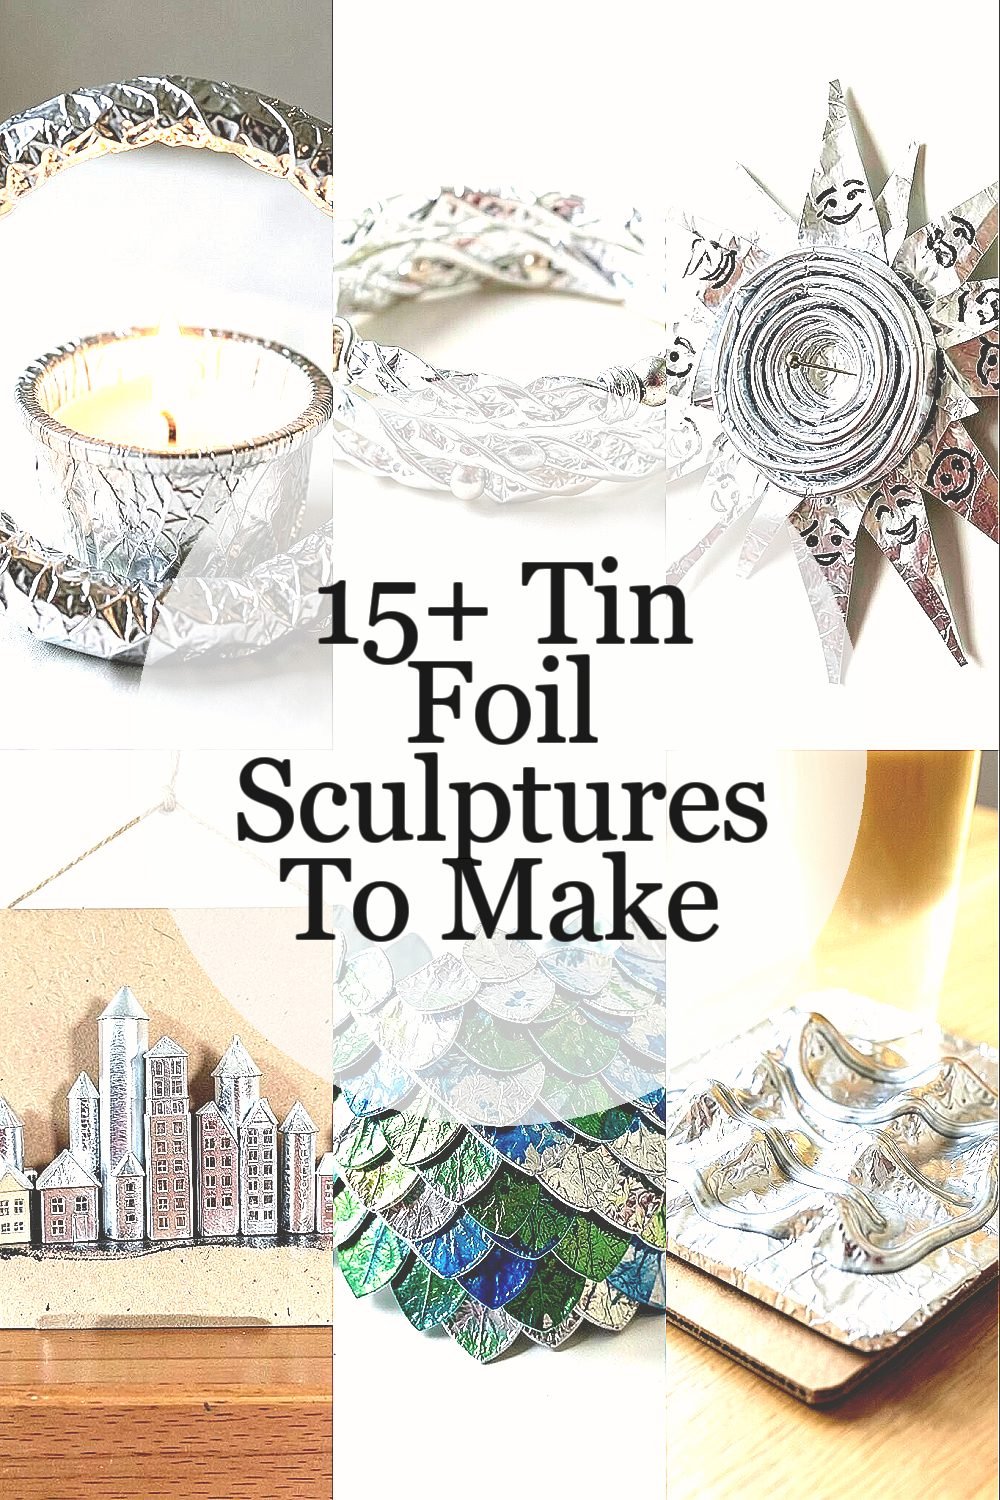
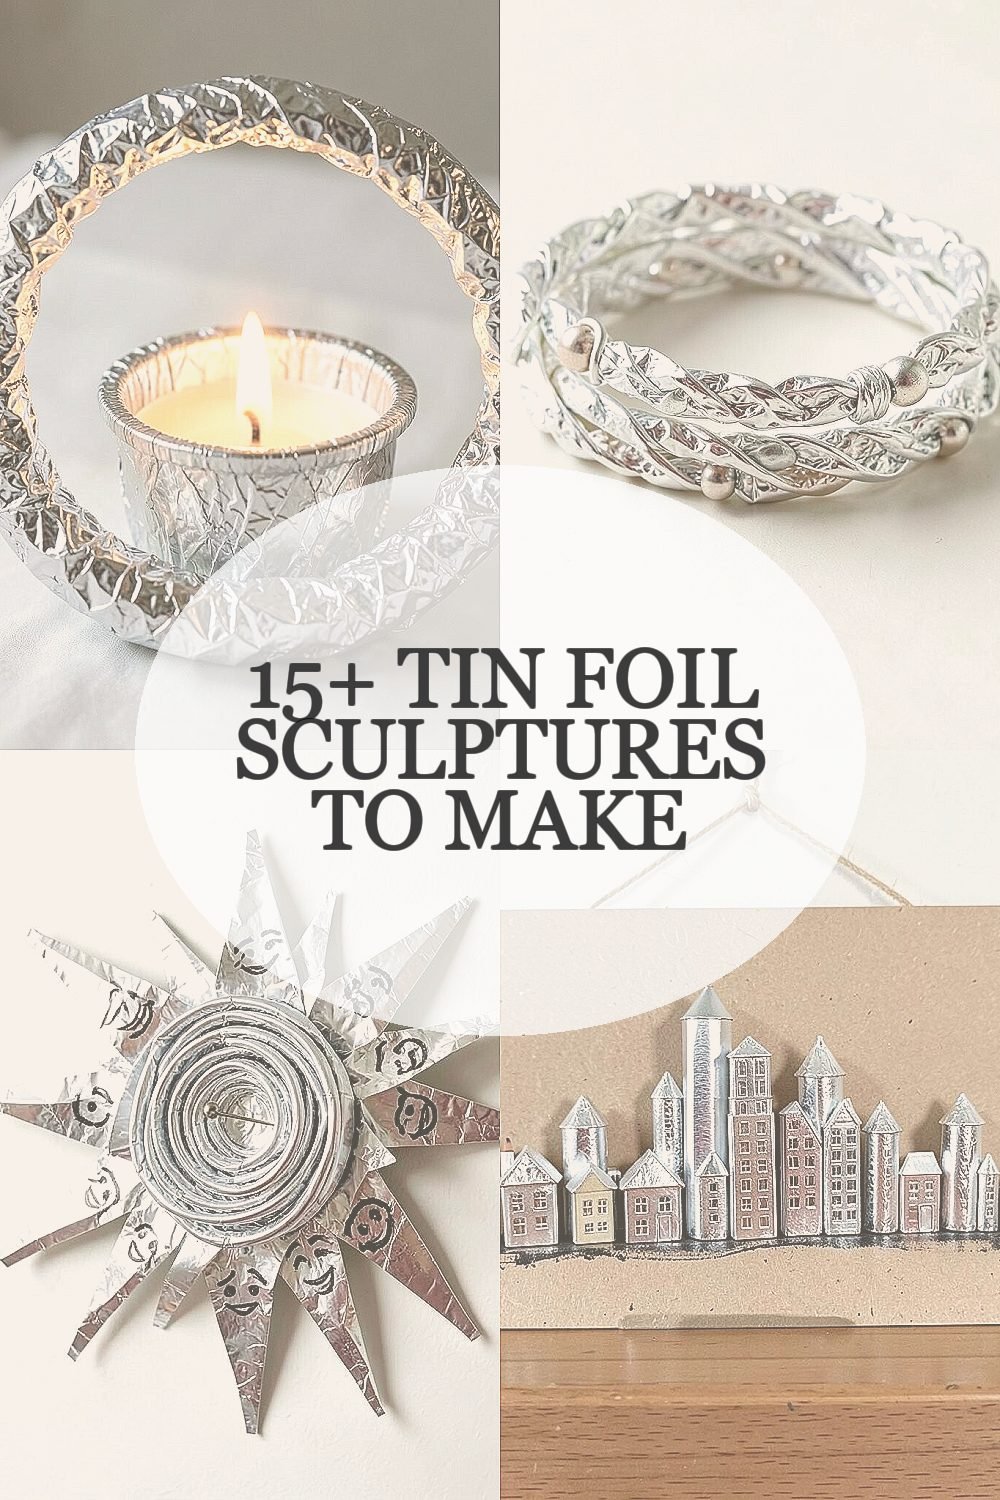
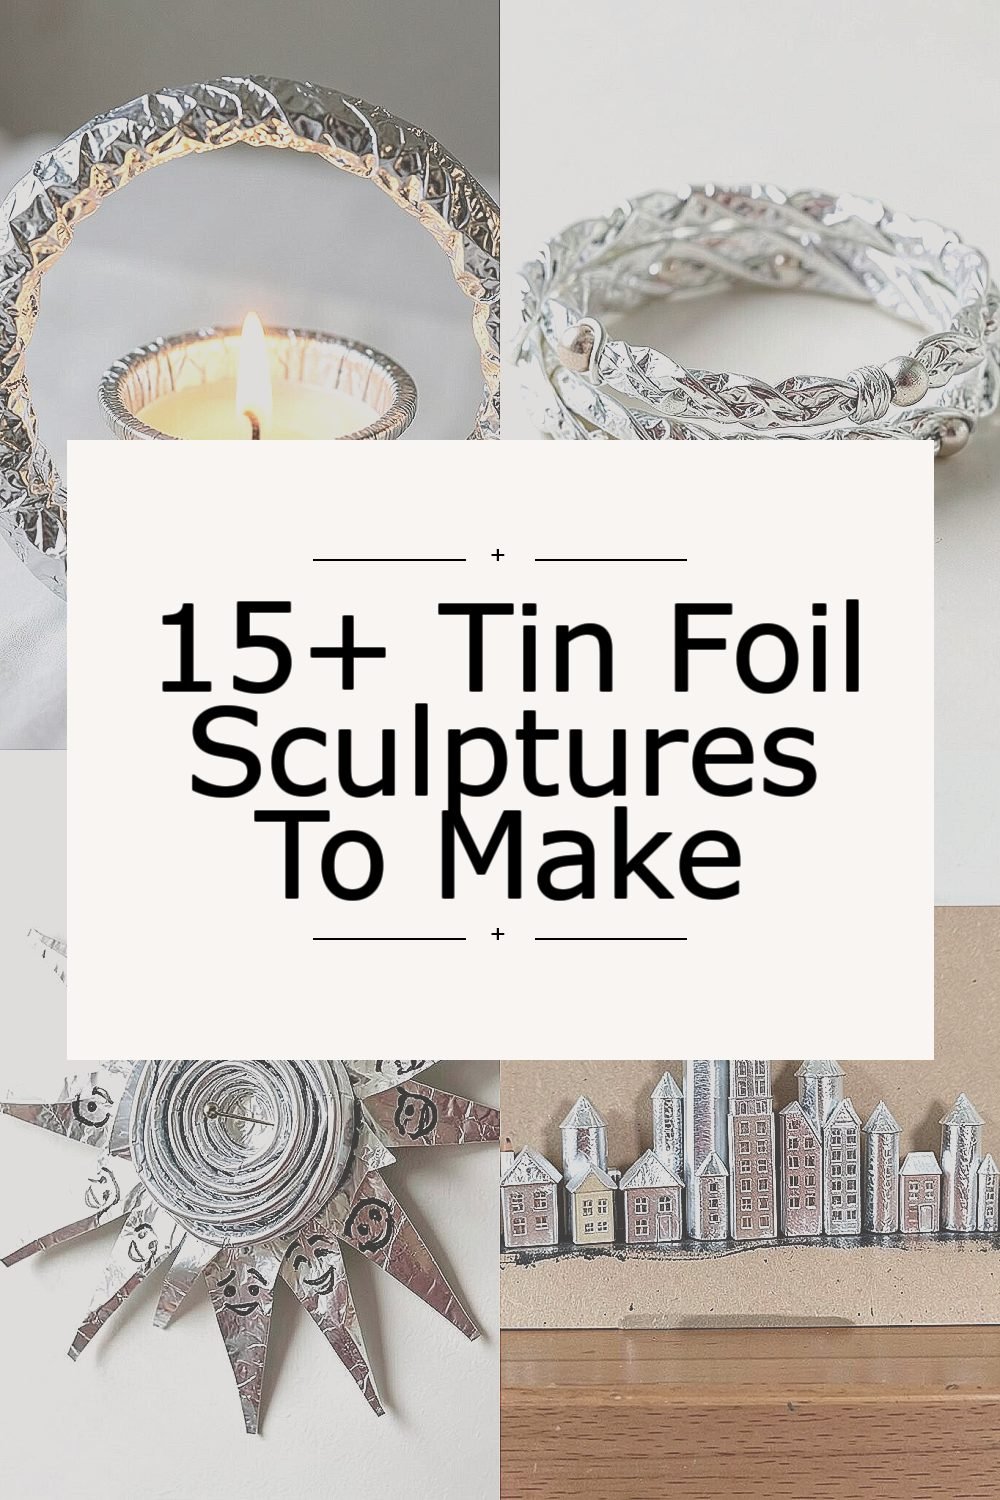
1. Foil Halo Candle Holder

Shape a loose ring of foil and twist it into a steady halo shape. Crinkle the edges to make tiny sparkles that catch light like a gentle sunrise.
Carefully wrap the center with a second layer so it forms a shallow cup for a tealight. The warm glow makes the texture look even more detailed, and the raised ridges help the light spread around your space. This kind of sculpture is great for calm evenings because it turns an everyday candle moment into a cozy visual ritual.
2. Braided Foil Bracelet Web
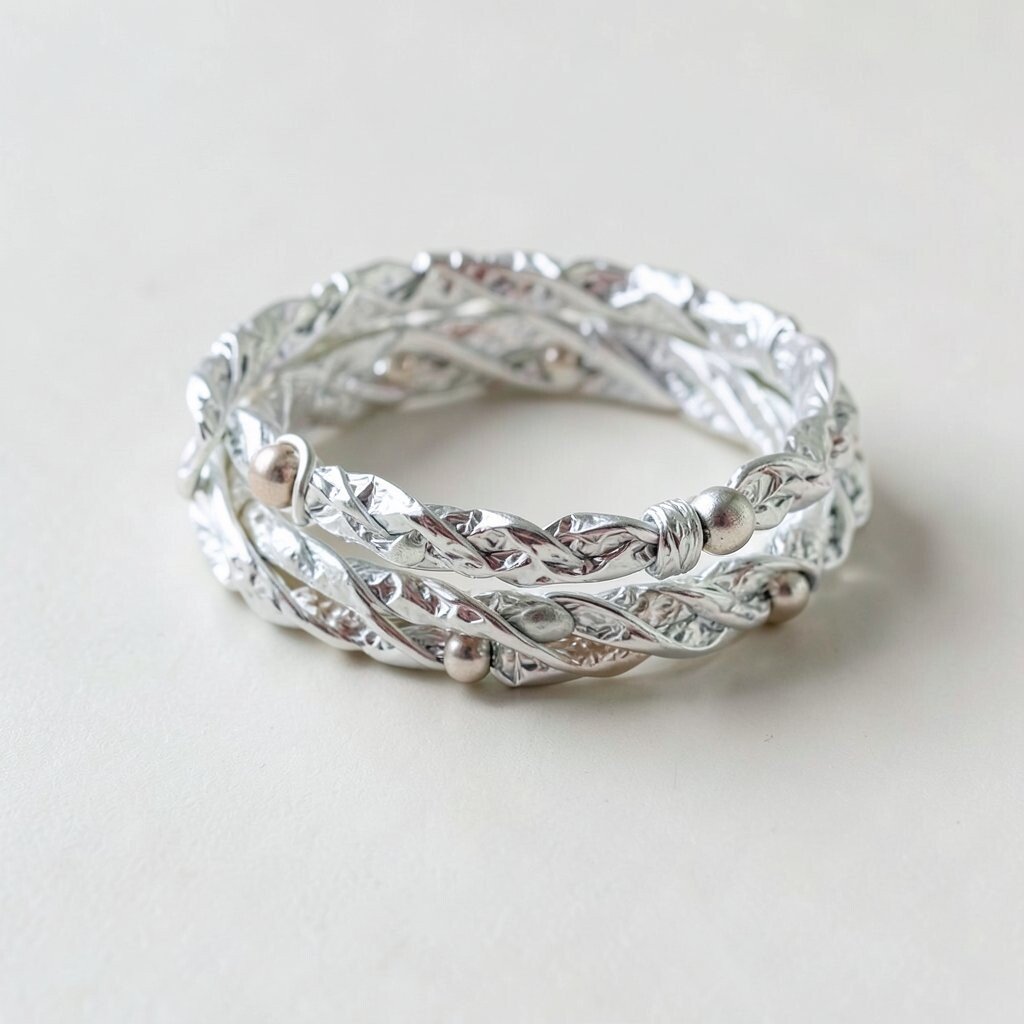
Cut long strips of foil and braid them loosely until you like the thickness. Let the braid look a little messy on purpose, since the uneven shine feels more handmade.
After braiding, coil it into a bracelet and pinch the ends into small hooks. You can add tiny foil “beads” by rolling little balls and tucking them between loops. This wearable sculpture feels fun at parties and is easy to personalize with color from marker, chalk, or foil paint.
For practical use, keep the edges smooth by pressing them with your fingertip or a flat tool. If you want it to last through many wears, reinforce the clasp area with a short extra wrap of foil. Seasonal styles are trending, too, like stacking bracelets and making each one a different texture rather than a perfect match.
3. Foil Starburst Wall Pin

Twist a handful of foil into a tight spiral, then fan it outward into star points. Make the points uneven so it looks energetic rather than stiff.
Press a small metal pin or a safety pin onto the back and wrap it securely with extra foil. The benefit is instant wall-friendly art that turns bags, jackets, or fabric into a gallery, and the sparkle is visible from far away. You can also clip it onto a bulletin board for a quick decoration that takes minutes.
For personalization, draw faces on the back of the points using permanent marker so the star has a secret expression. If you want a cleaner look, use thicker foil for crisp edges and fewer wrinkles. This is a great low-cost sculpture because it uses simple supplies and gives a bright result without buying decorations.
4. Mini Foil City Skyline
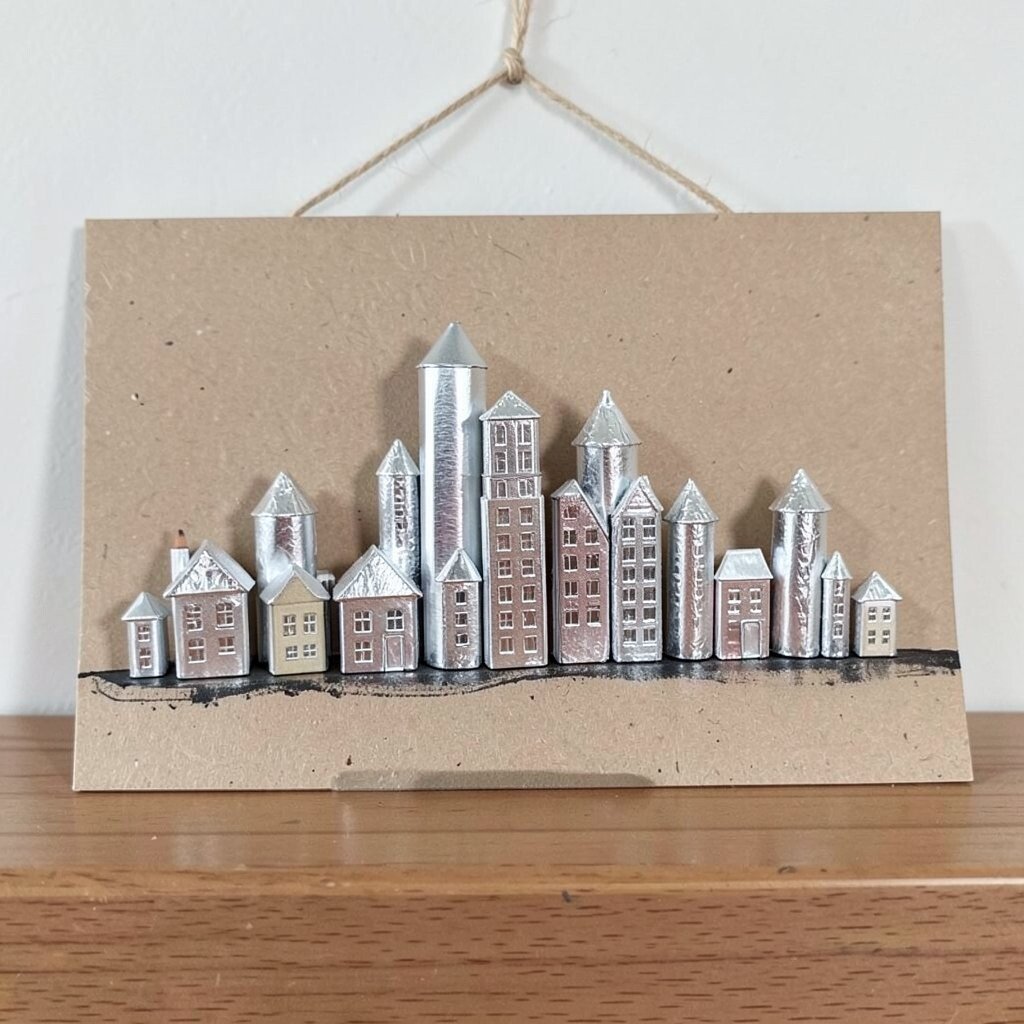
Form tiny “buildings” by rolling foil into short tubes and squashing one side to create flat bases. Arrange them on a piece of cardboard like a skyline after rain.
Add window shapes by pressing foil with the tip of a pencil or skewer, then bend some rooftops into towers. The visual benefit is that it looks layered and 3D even when it is light and thin. To personalize it, imitate your hometown layout by placing taller pieces near the center and smaller ones around the edges.
For cost considerations, use the cheapest foil you have and save your best foil for the tallest buildings where light catches most. If you want a trend-friendly feel, try making “night mode” skylines by rubbing a little dark chalk into the creases. Display it by propping the cardboard on a shelf, or hang it with string so it looks like a postcard-sized scene.
5. Foil Dragon Scale Bracelet
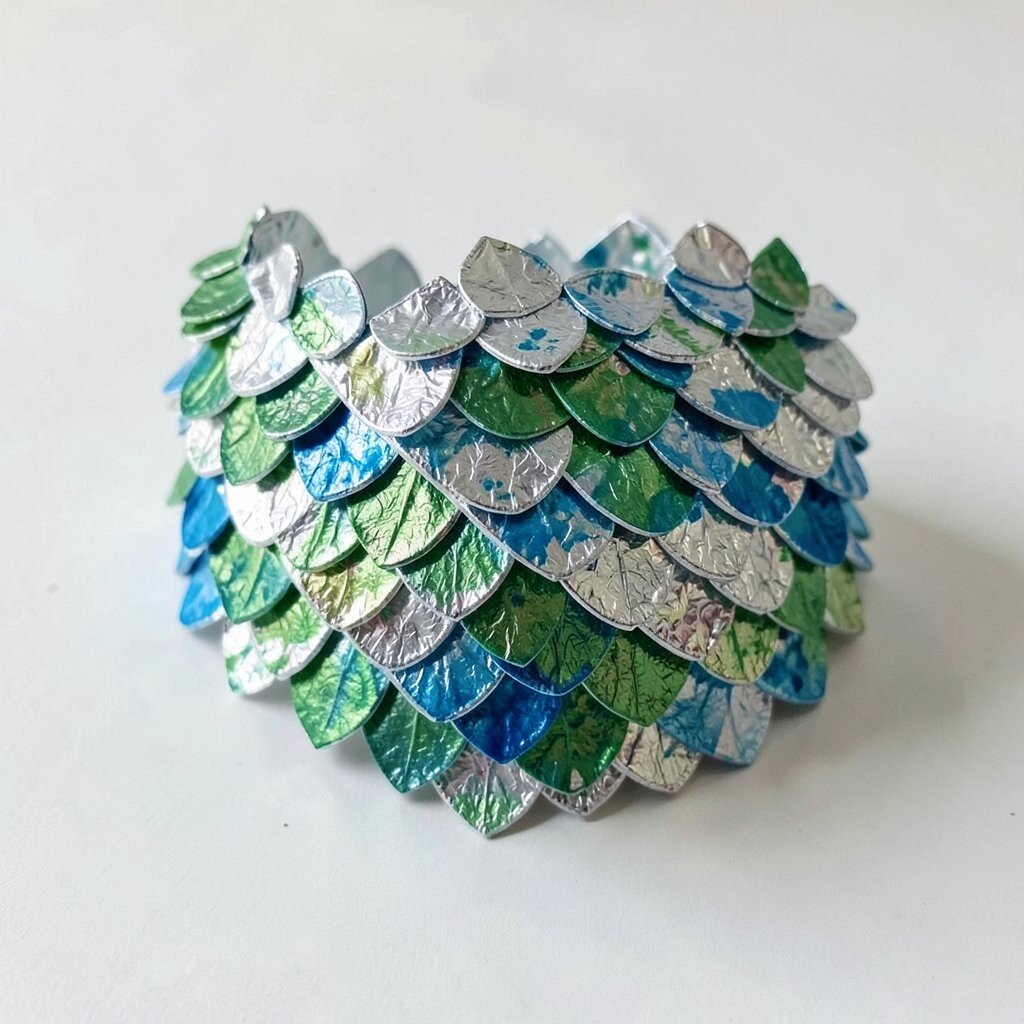
Cut foil into small overlapping leaf shapes like scales, then lightly crinkle them. Stack them in rows so the shimmer lines up like a real dragon pattern.
Attach a strip of foil along the edge to bind the scales together, then fold ends into a clasp. This sculpture is fun because each scale catches light differently, giving a living, moving feel even when you are still.
For practical tips, keep the edges rounded so they do not scratch your wrist. If you want extra strength, sandwich the scale edges with a thin second strip of foil like a protective frame. Personalize it with a marker wash using green or blue to mimic dragon colors, but keep the ink light so the foil texture still shows.
6. Foil Melted-Lava Coaster
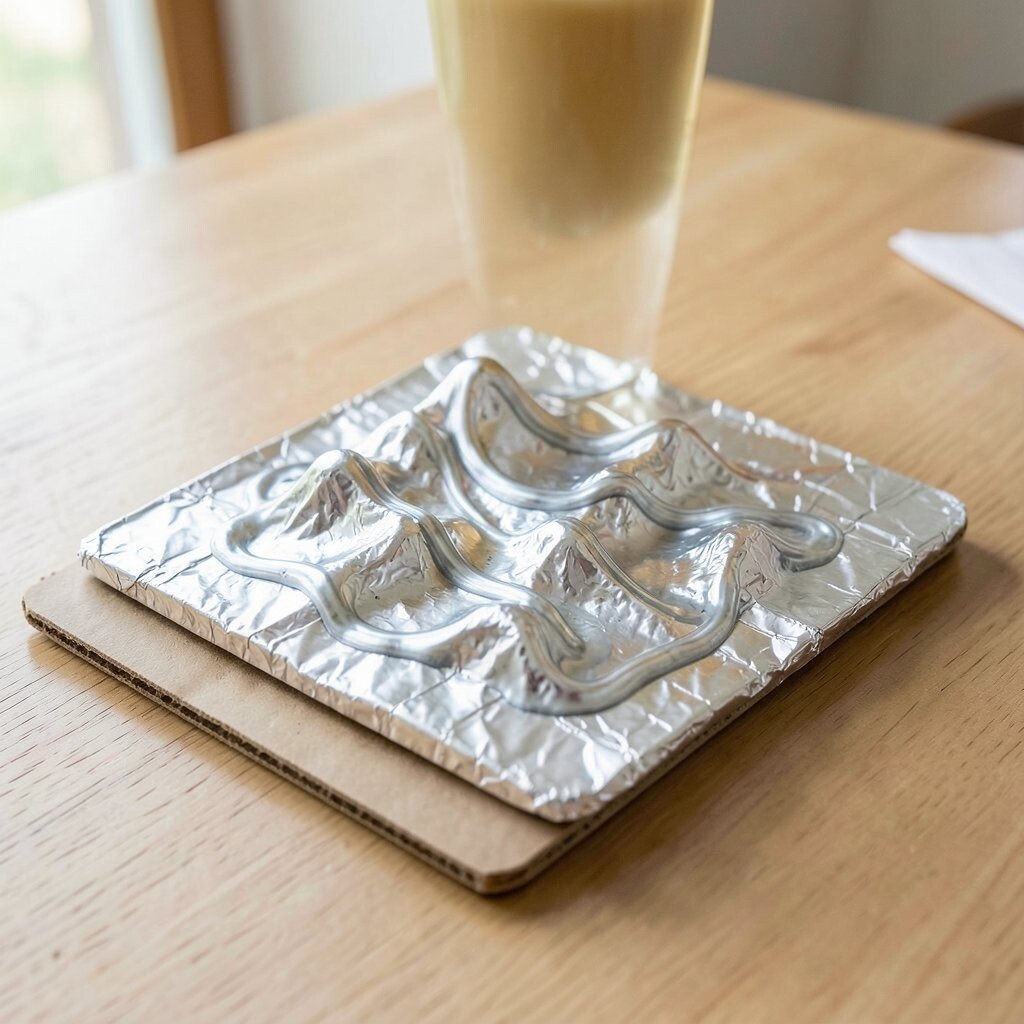
Scrunch foil into a wavy mound, then flatten it gently without losing the peaks. The goal is a rippled surface that looks like cooled lava under a bright light.
Press it onto a coaster-sized piece of cardboard, or wrap foil around an old tile for a firmer base. This is a practical sculpture because it protects tables and turns a leftover item into something pretty. When you place a drink on it, the foil glints and makes the moment feel special.
To personalize, mix patterns by adding smooth foil “streams” on top of the craggy parts. If you prefer a clean look, trim the edges with scissors so it fits neatly in a coaster holder. Current trends lean toward handmade textures and imperfect surfaces, and this piece fits right in.
7. Foil Butterfly With Folded Wings
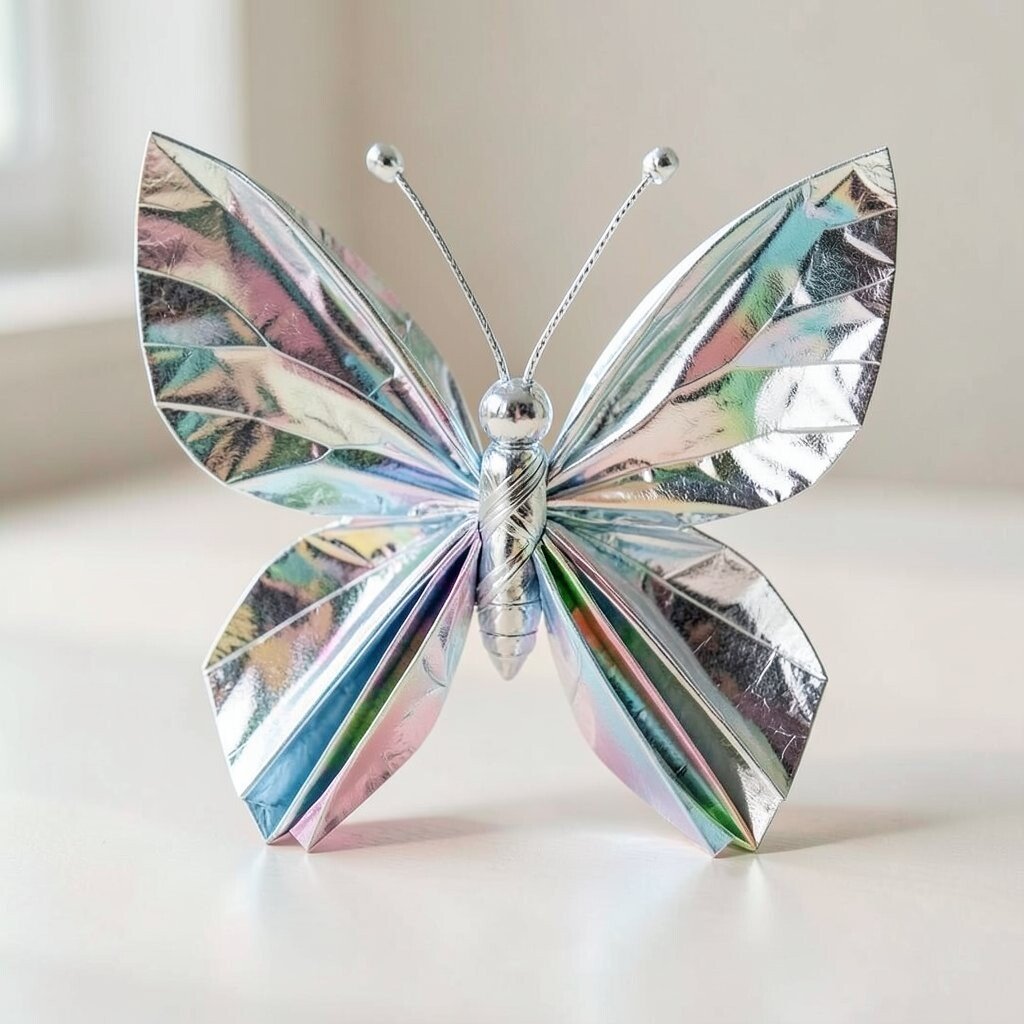
Roll two foil sheets into thin strips and fold them into symmetrical wing shapes. Twist the body area in the center, then spread the wings like they are mid-flutter.
Add thin antennae by stretching two small foil threads and twisting them at the tips. The visual benefit is bold contrast, because smooth foil reflects differently than crinkled foil. This sculpture is also surprisingly lightweight, so you can place it on a desk, shelf, or gift ribbon.
For practical tips, use a small amount of glue on the underside if you want the wings to hold their angle, but avoid soaking the foil. Personalize with colored chalk or a light wash of marker so the wings have a gentle gradient. If you like seasonal decor, make a set for spring or brighten winter gifts with a bright metallic butterfly.
8. Foil Picture-Frame Suncatcher

Wrap foil around a simple cardboard frame and twist the corners to create little knots. Then stretch a thin foil sheet across the front like a shiny window.
Press in gentle designs using a fork, pen tip, or textured fabric so the pattern shows through the light. The benefit is that sunlight turns your design into a floating glow, even when it is windy outside. It also makes a thoughtful gift because people love seeing light-based crafts.
For cost considerations, you can reuse old frames and cover them with foil scraps instead of buying new supplies. Personalize it by adding cut-out shapes like stars or leaves, then layering a second foil sheet behind them. A popular trend in crafts right now is using simple shapes with bold texture, and this frame hits that style perfectly.
9. Foil Mandala Bowl
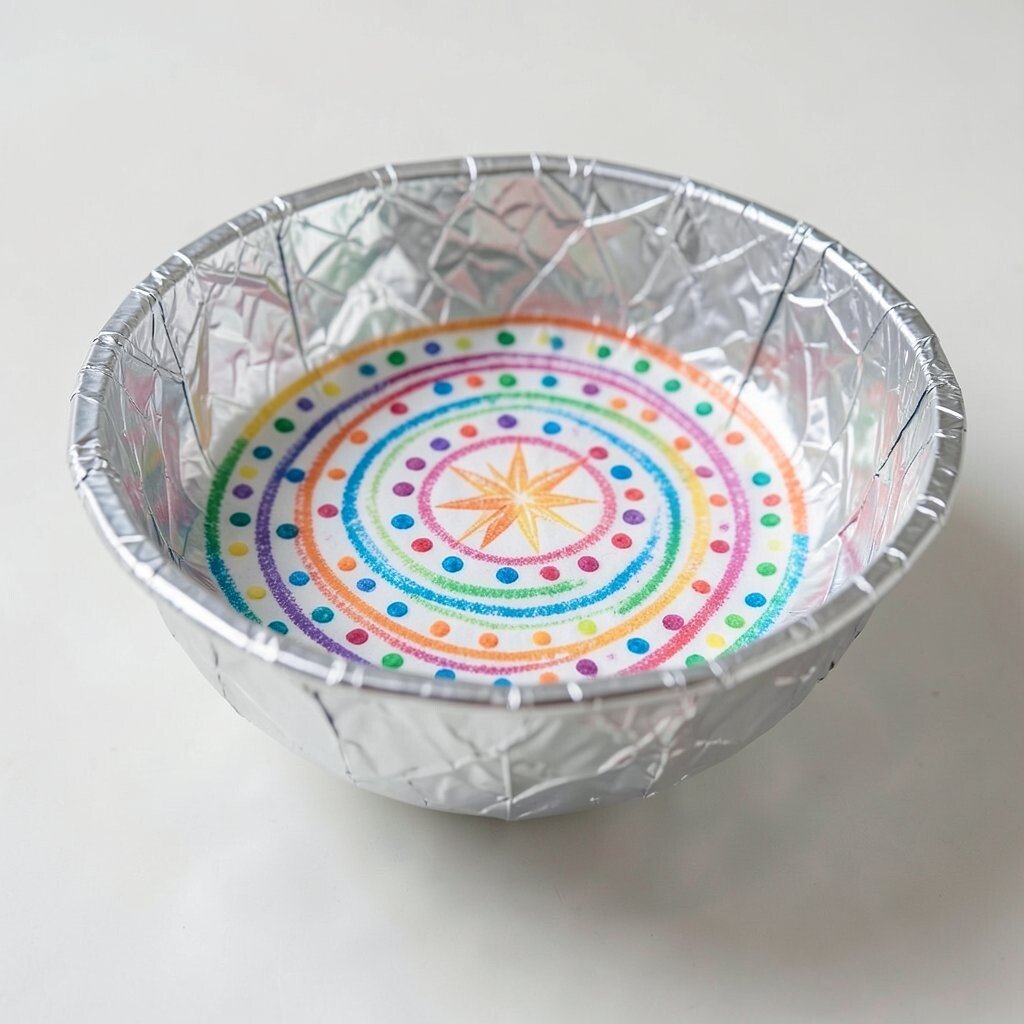
Start with a bowl shape by gently crumpling foil into a shallow dish. Then flatten rings of foil on the surface in a circle pattern like tree rings.
Press tiny dots by tapping the foil with a pencil eraser so the center becomes a star. This sculpture is great for holding keys, paper clips, or jewelry, and the raised dots give it a satisfying look you can feel with your fingers. The shine makes everyday objects feel more organized.
To personalize, create a color theme by rubbing on colored chalk and wiping lightly so the high spots stay bright. If you want it to hold items better, add a firmer layer by wrapping foil twice at the base. Practical tip is to use a gentle touch while shaping so the bowl stays smooth enough for daily use.
10. Foil Feather Bookmark

Roll foil into a long narrow strip, then flatten it into a feather blade. Create notches along one edge by pressing in small dips, like tiny quills.
Fold a small loop at the top so you can slide it onto your page corner or tie it with ribbon. This sculpture helps you keep your place while also making reading feel playful. The benefit is simple, because it is light, sturdy, and easy to make with leftover foil.
For practical tips, keep the bookmark edges slightly rounded so it does not catch on paper. Personalize it with a spiral pattern by twisting another thin foil strip and wrapping it around the spine of the feather. This kind of wearable-like craft is trendy in book circles, where people trade bookmarks and decorate journals.
11. Foil Balloon Animal Twist Figurine
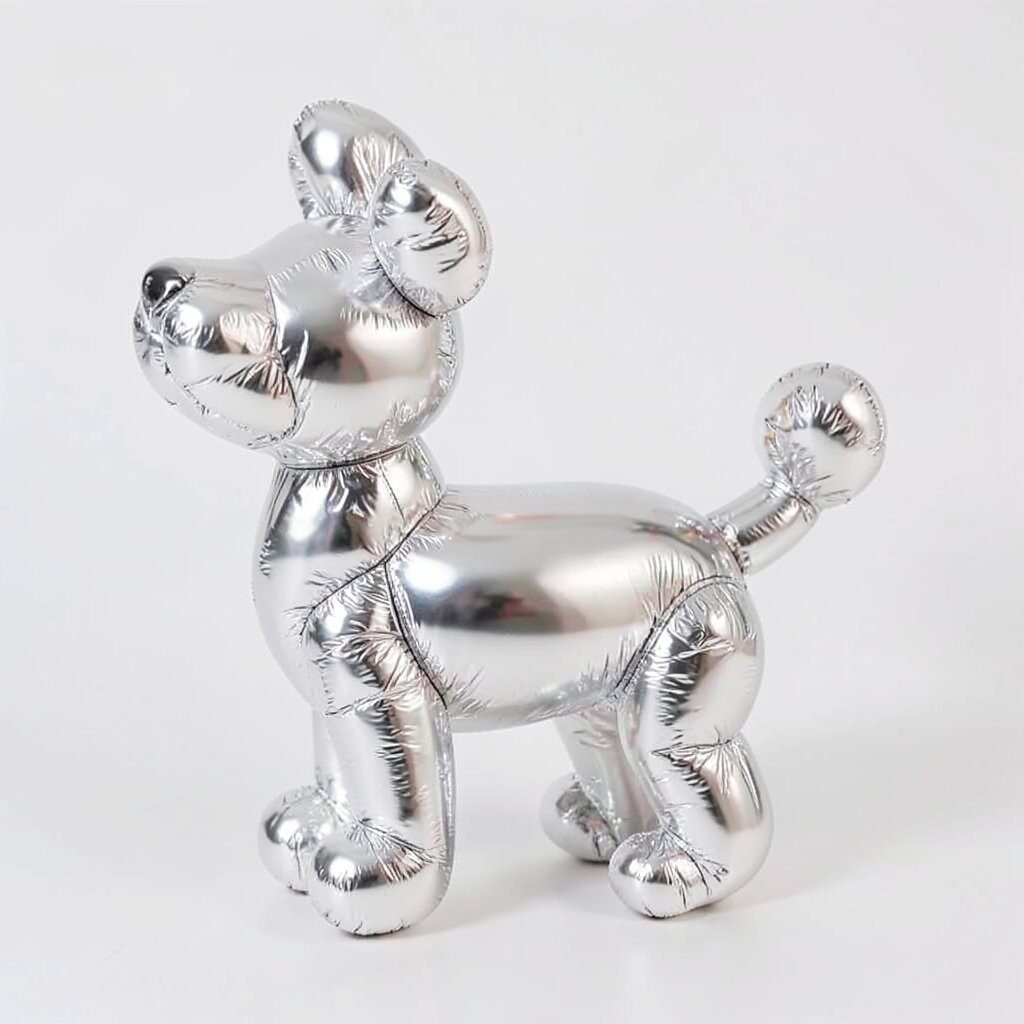
Twist foil into long sausage-like ropes, then curl them into shapes like a dog or a flower. Pinch the ends so the figure holds its form without falling apart.
Use smaller twists for ears, legs, and details, and don’t worry about perfect symmetry. The visual charm comes from the bright shine and the fun silhouette, like a party decoration with a craft twist. This sculpture is a great way to practice making shapes quickly while you learn new twisting techniques.
For personalization, add “fur” texture by lightly crumpling one section and leaving another smooth for contrast. Cost is low because foil scraps work, and you can scale the size up or down depending on your supply. If you want it to last, keep it away from direct moisture and handle it gently since foil is light by nature.
12. Foil Tree Branch Wind Mobile

Twist a thin foil branch structure and add small twigs by wrapping tiny strips around it. Bend the bottom into a simple hook so you can hang it from a ceiling or window.
Make leaves by folding foil into small teardrops and attaching them with thin foil threads. The benefit is movement, because even a light breeze makes the shapes flicker in the light. You get a relaxing visual effect that feels calming while you work or read.
For practical tips, balance the lengths so the mobile does not tilt too much, and test it near your intended spot before you fully tie it off. Personalize it by making leaf shapes different sizes, or by adding a spiral foil “sun” near the top. Current trends often favor gentle home atmosphere, and this wind mobile adds that without buying expensive decor.
13. Foil Seashell Jewelry Dish

Press foil into a shallow shell shape by wrapping it around a small bowl and sculpting ridges. Use your fingers to create swirl lines that look like waves frozen in time.
Trim the edges neatly and smooth any sharp bits, then set it on a flat base or leave it curved for stacking. This sculpture is useful because it creates a safe spot for rings, earrings, or loose change. The visual description is all about texture, since the ridges catch light like real shell patterns.
To personalize, you can rub a bit of pastel chalk into the creases for a seashell vibe that still feels metallic. Cost considerations are friendly, since you can use inexpensive foil and recycle a small container as your form. If you want trend alignment, pair it with beachy colors in your room and use it as a matching organizer for summer nights.
14. Foil Musical Note Wall Art

Draw a simple musical note shape on paper and place foil over it, then trace the outlines with gentle pressure. Cut along the lines so the note becomes a clean silhouette.
Add texture by crumpling a small section of foil for the staff lines, while keeping the note body smoother. This is visually fun because it looks like it is humming, and it also gives your walls a playful story without needing heavy frames. It benefits your space by adding personality to otherwise blank areas.
For practical tips, keep the foil flat when you trace, since wrinkles can make edges messy. Personalize it by adding small foil dots to represent “beats,” or by stamping tiny star shapes into the empty areas. If you like current trends, music-themed home decor is popular, especially when it mixes simple shapes with bold metallic texture.
15. Foil Geometric Prism Keychain

Create a small triangular prism by folding foil into straight edges and pinching corners to hold angles. Keep the faces different textures, like one smooth, one crinkled, and one dotted.
Attach a keychain ring or a loop of sturdy string through a folded top tab. This sculpture is practical because it acts like a charm you carry every day, and the sparkle makes keys easy to find. The unique look comes from the way light bounces off different foil surfaces.
For personalization, try drawing thin stripes across the prism with permanent marker, or add tiny cut-out windows by folding foil carefully. Cost is very low since you can use small scraps and reuse hardware. A current trend in everyday accessories is mixing handmade charms with minimal style, and this prism fits that vibe nicely.
16. Foil Heart Keepsake Pin
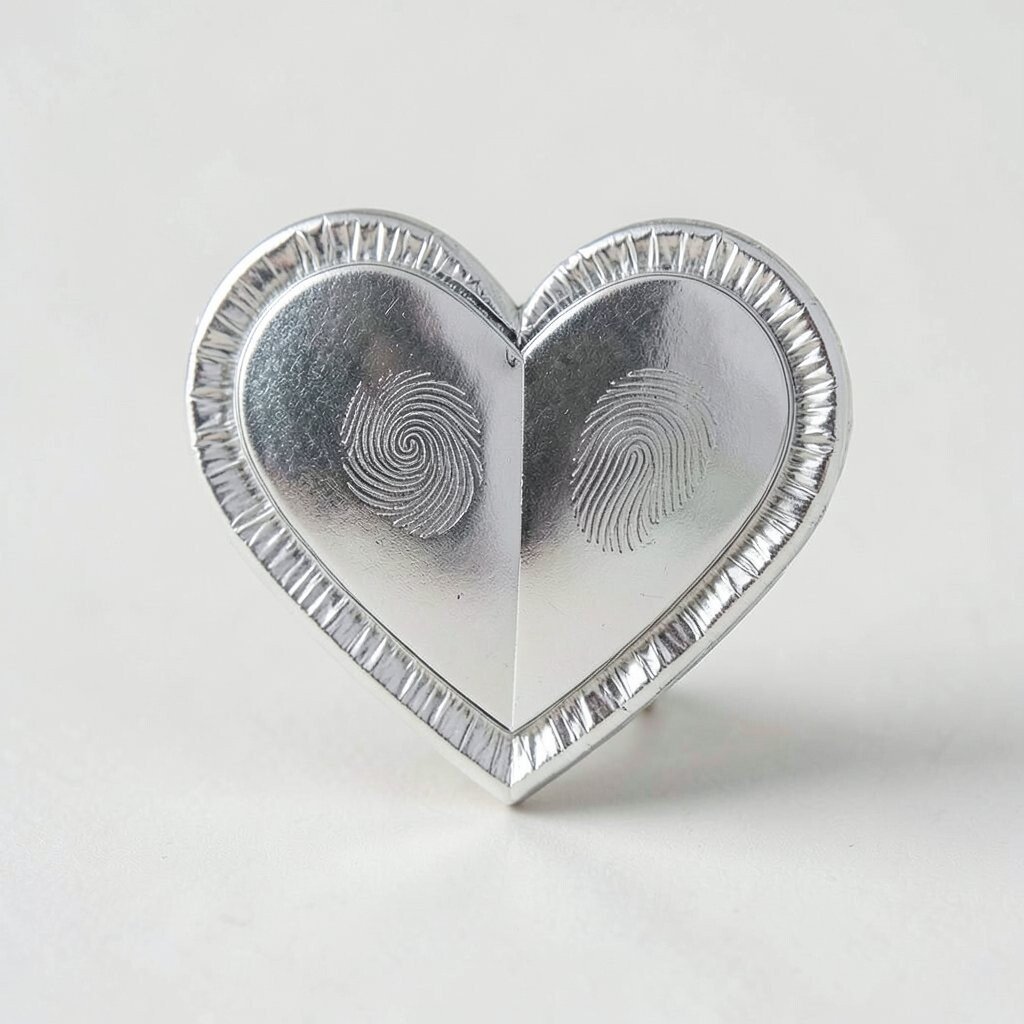
Cut a heart shape from foil by folding the sheet in half and trimming both sides at once. Then press the edges together so you get a defined outline with a mirror-like center.
To make it look deeper, layer a second heart slightly behind the first using extra foil strips. The benefit is a bold, wearable sculpture that works for gifts, birthdays, or just reminding someone they matter. Personalize it by pressing tiny fingerprints or a small pattern into the heart using a textured fabric and gentle pressure.
For practical tips, smooth the back so it lies flat and attach it to a pin backing with foil wrapped around the base. Cost considerations are great because you can use leftover foil and a cheap pin, and the final result looks special. If you enjoy trends, heart crafts stay popular year-round, especially when they lean into metallic shine and simple shapes.