The humble ball can carry big personality. Each design can make play, craft, or performance feel brand new.
Whether you’re building for fun, gifts, or a themed event, the right pattern and material choices can turn a simple sphere into a statement piece.
1. Constellation Dot Ball
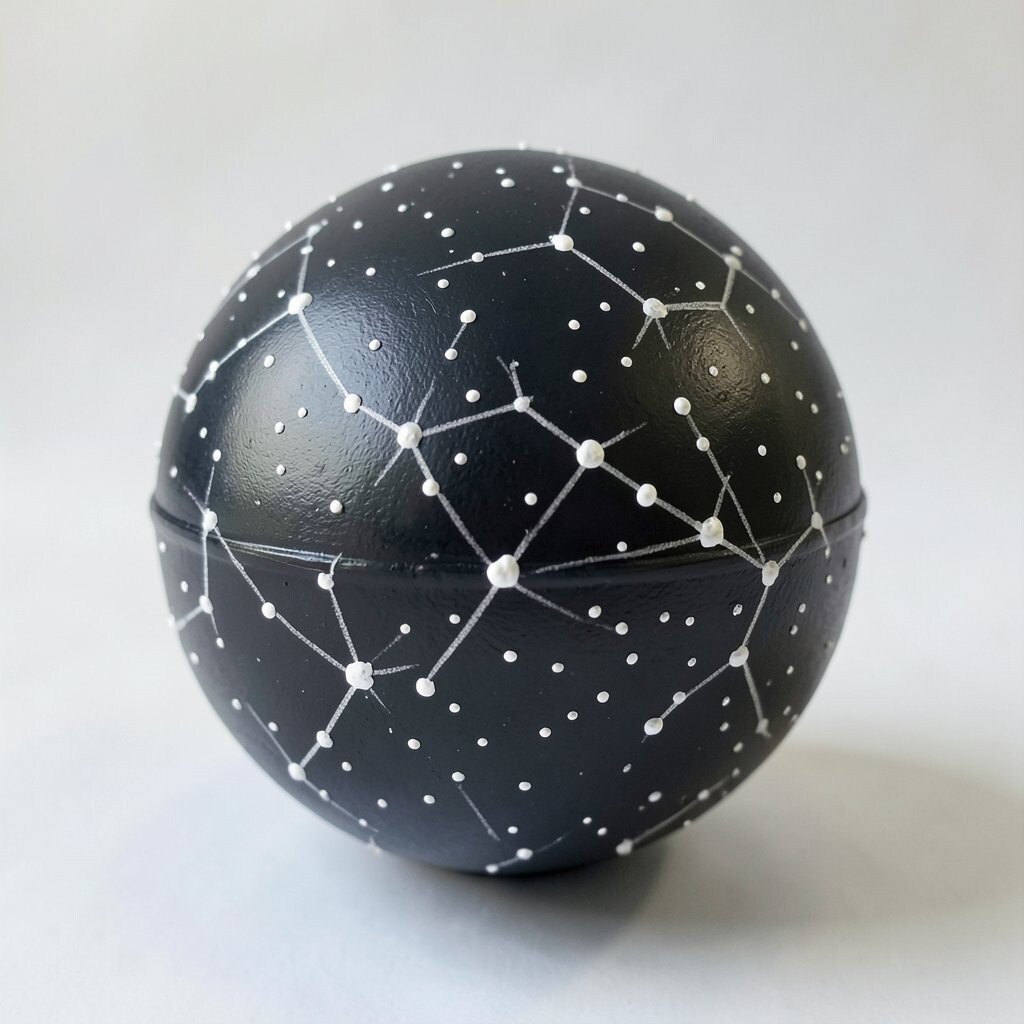
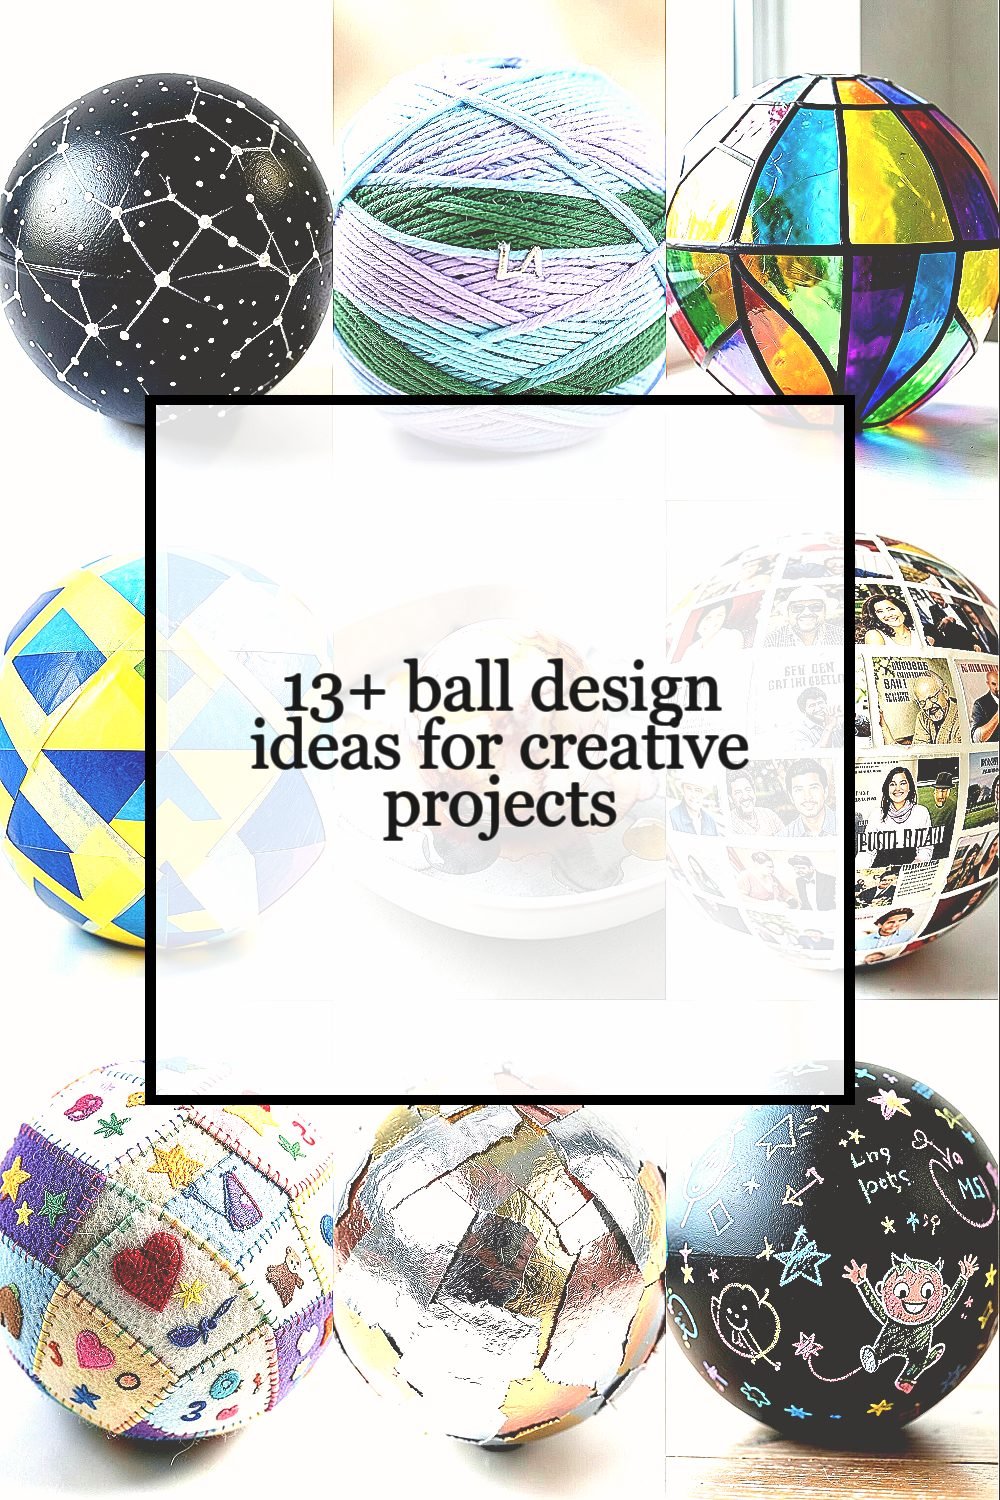
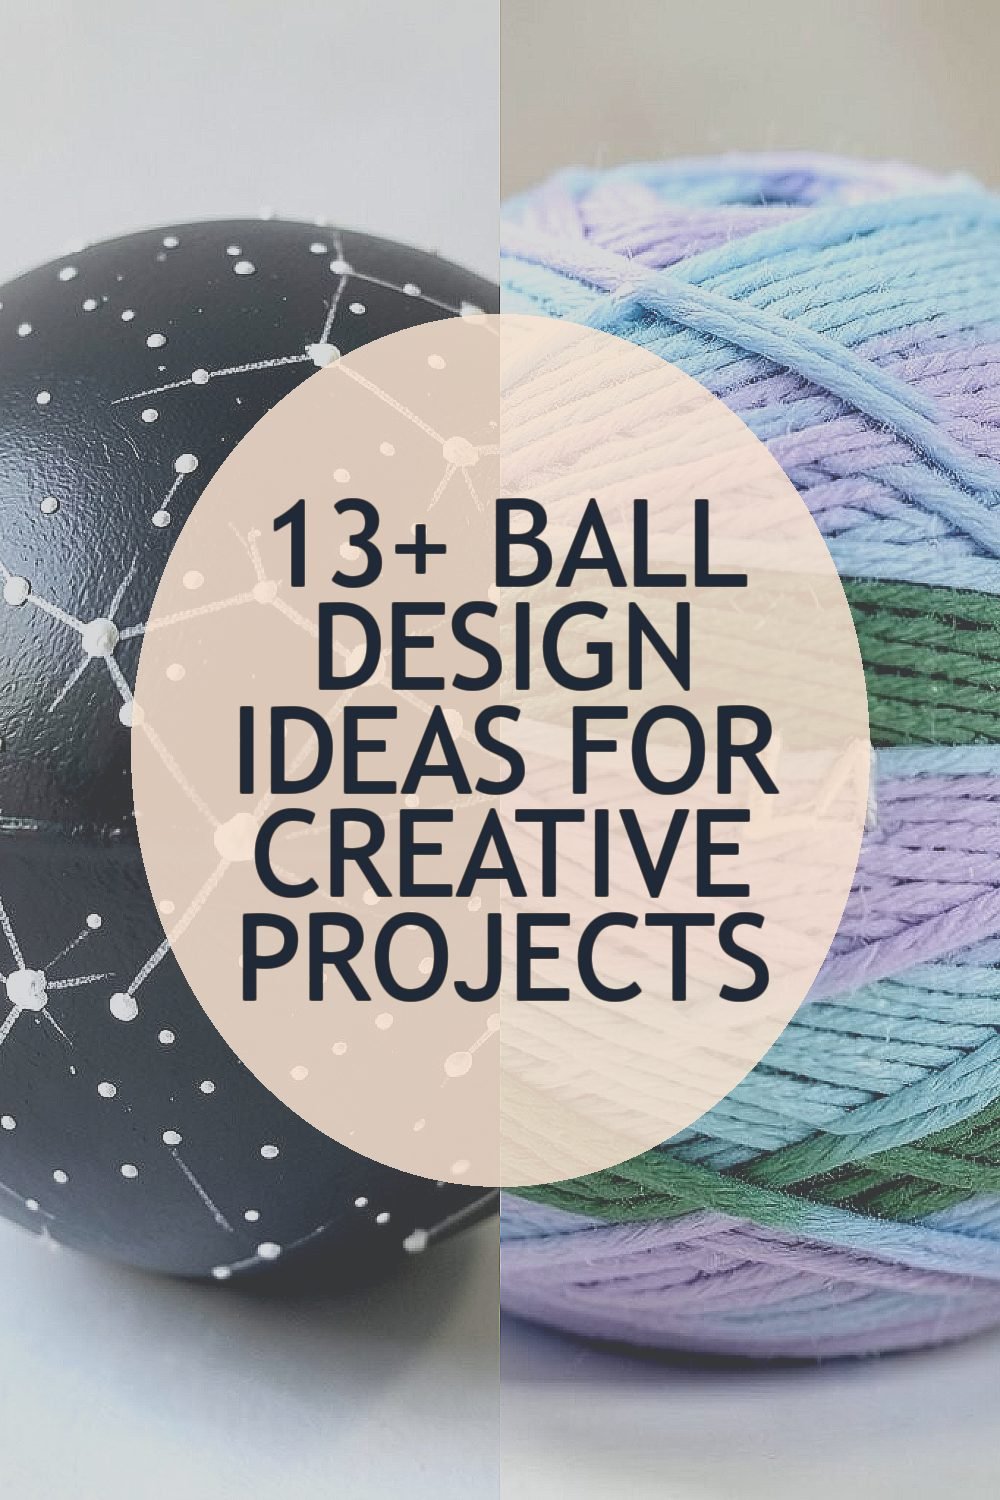
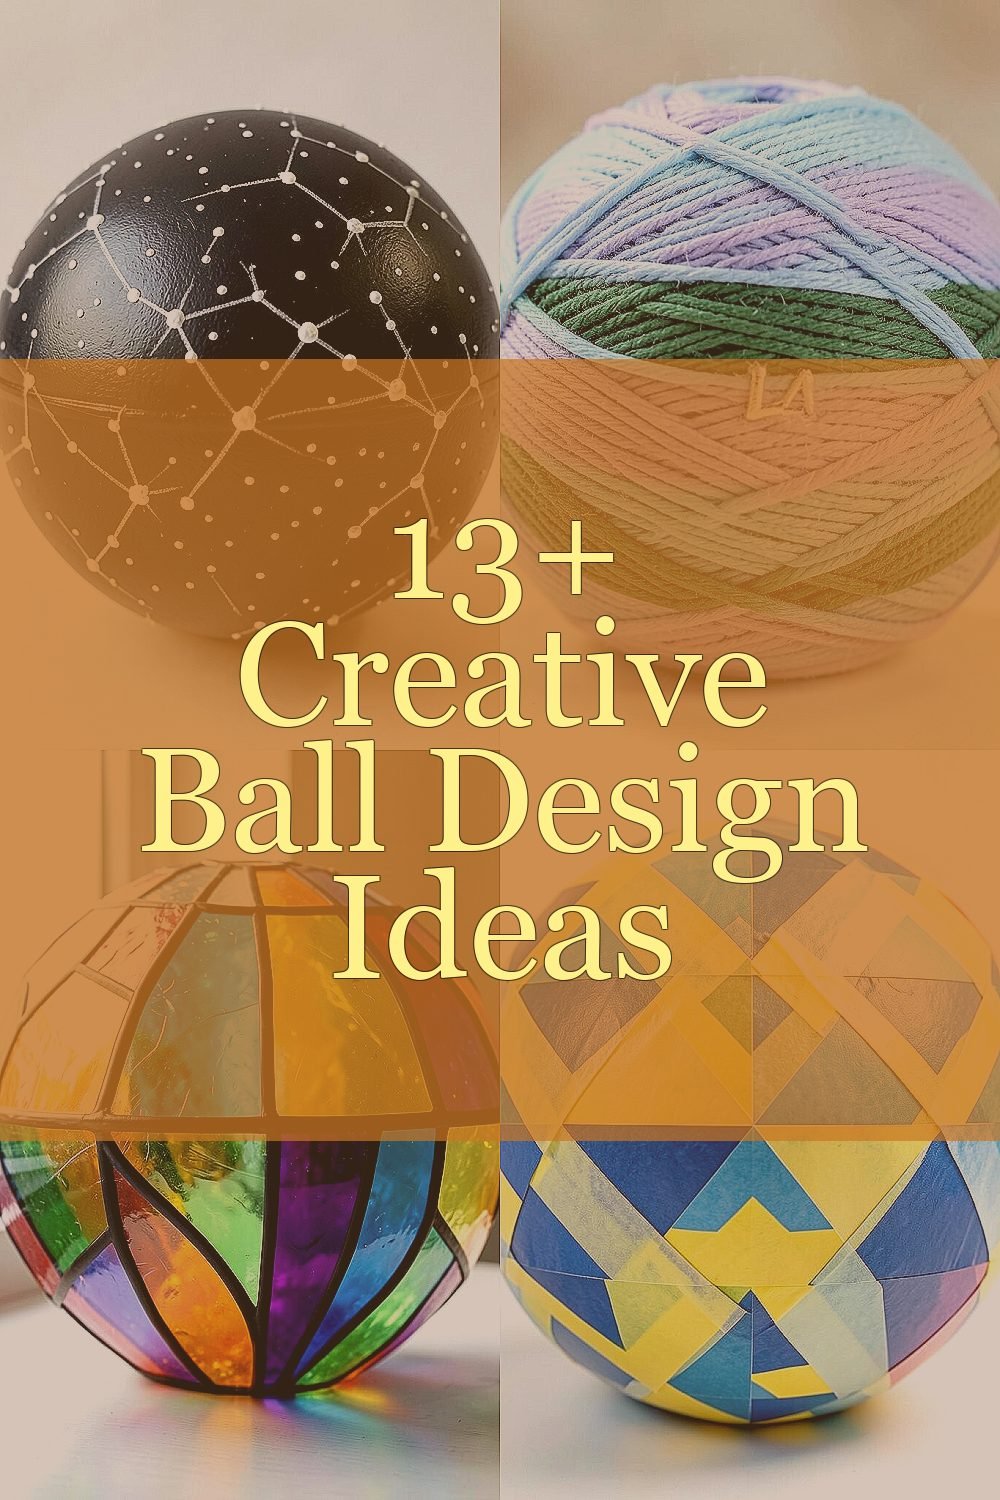
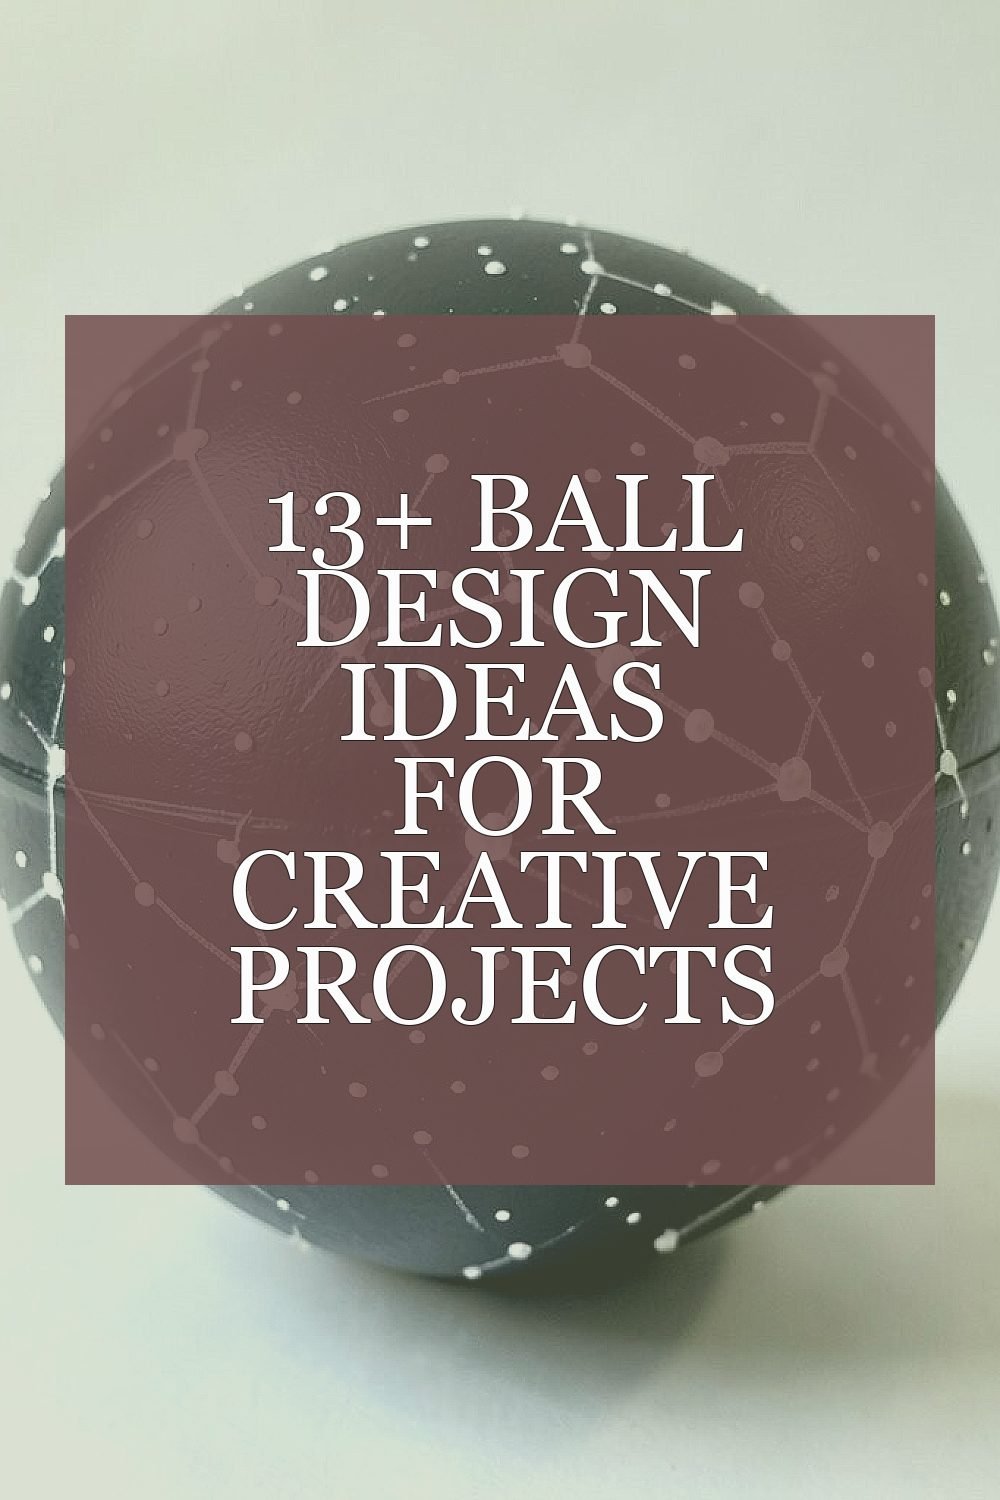
Start with a plain ball and mark a handful of tiny dots like distant stars. Use white or silver paint pens for crisp points that pop against a dark base.
To make the look feel intentional, lightly sketch a loose star map with a pencil first, then commit with paint. This design is unique because it feels magical in motion, especially when the ball spins. For practical results, let each dot dry fully and avoid thick layers so the surface stays smooth.
2. Ombre Yarn Wrapped Ball
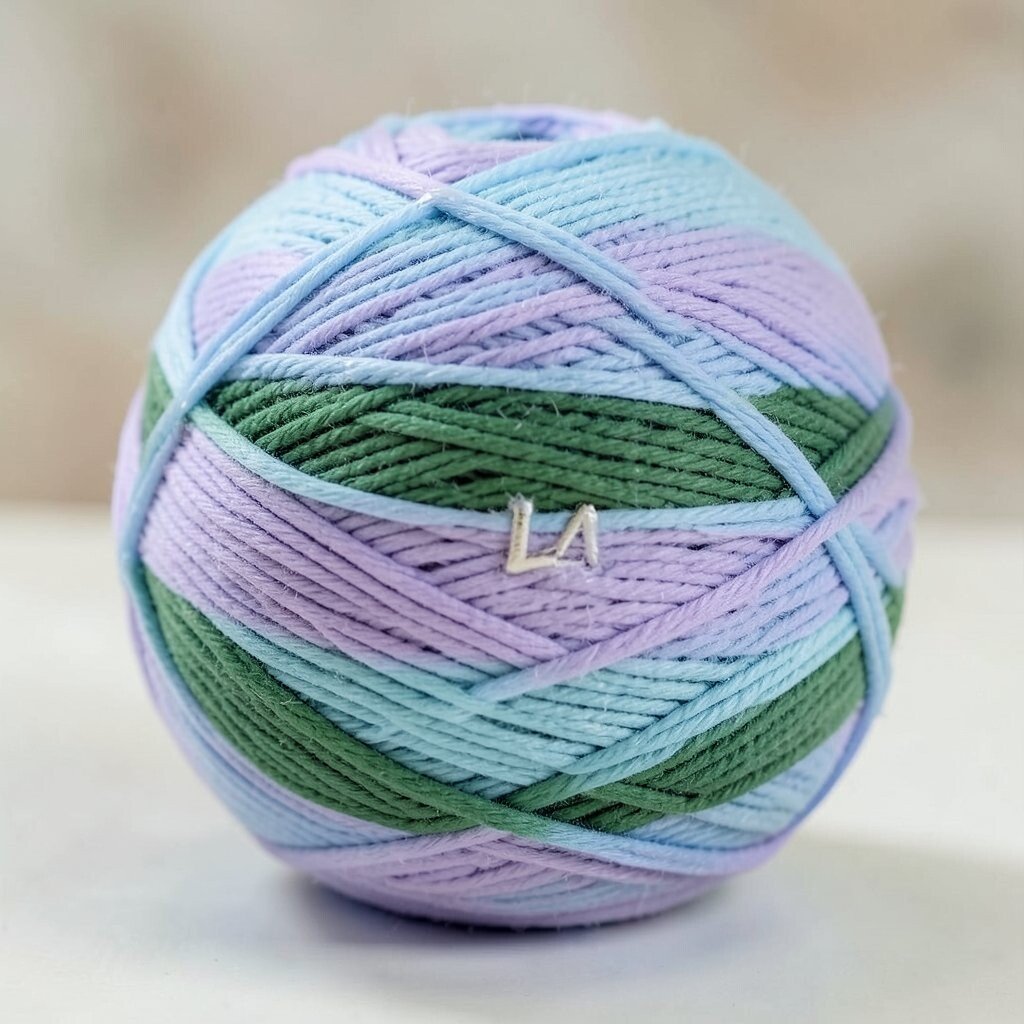
Wrap yarn around the ball in layers that fade from one color to another. Choose soft gradients like sky blue to lavender or forest green to teal for a calm, artsy effect.
Keep the wrap tight and smooth by using a thin layer of craft glue at the start of each section. This gives you a cozy texture that feels great in hand and stands out in photos. A current trend is tactile decor, and yarn-wrapped shapes fit that vibe perfectly without needing fancy tools.
If you want it more personalized, add a tiny charm or stitched initial near the middle band. For cost considerations, acrylic yarn is affordable and easy to find in multi-packs, and glue can usually be stretched from leftovers. Finish by pressing the yarn snugly as it dries so you don’t end up with gaps.
3. Faux Stained Glass Ball
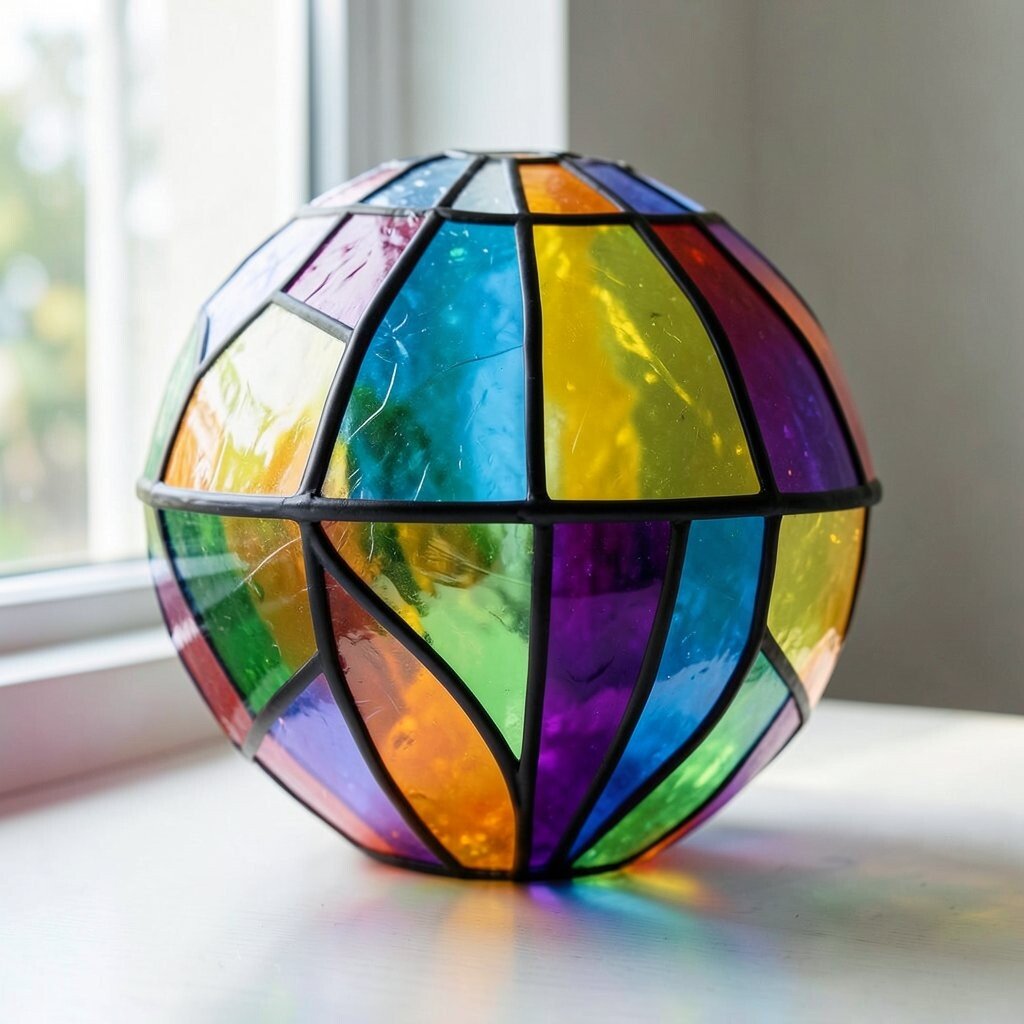
Use clear or translucent craft film over a ball, then add bold “lead lines” with black paint or marker. Fill sections with jewel-toned paint or colored gel pens so the surface looks like stained glass.
Place the ball by a window so light makes the colors glow when it turns. This design is visually stunning and feels special, even if you’re working with basic supplies. For practical tips, test your colors on scrap first to learn how they blend on the film, and apply in thin coats.
To personalize, choose colors that match your room, event theme, or favorite fandom palette. For cost considerations, clear packing film and a few paint colors can be cheaper than buying pre-made craft sheets. If you want extra durability, seal with a clear matte varnish made for craft surfaces.
When you’re done, gently wipe dust with a soft cloth so the shine stays even.
4. Patterned Tape Geometric Ball
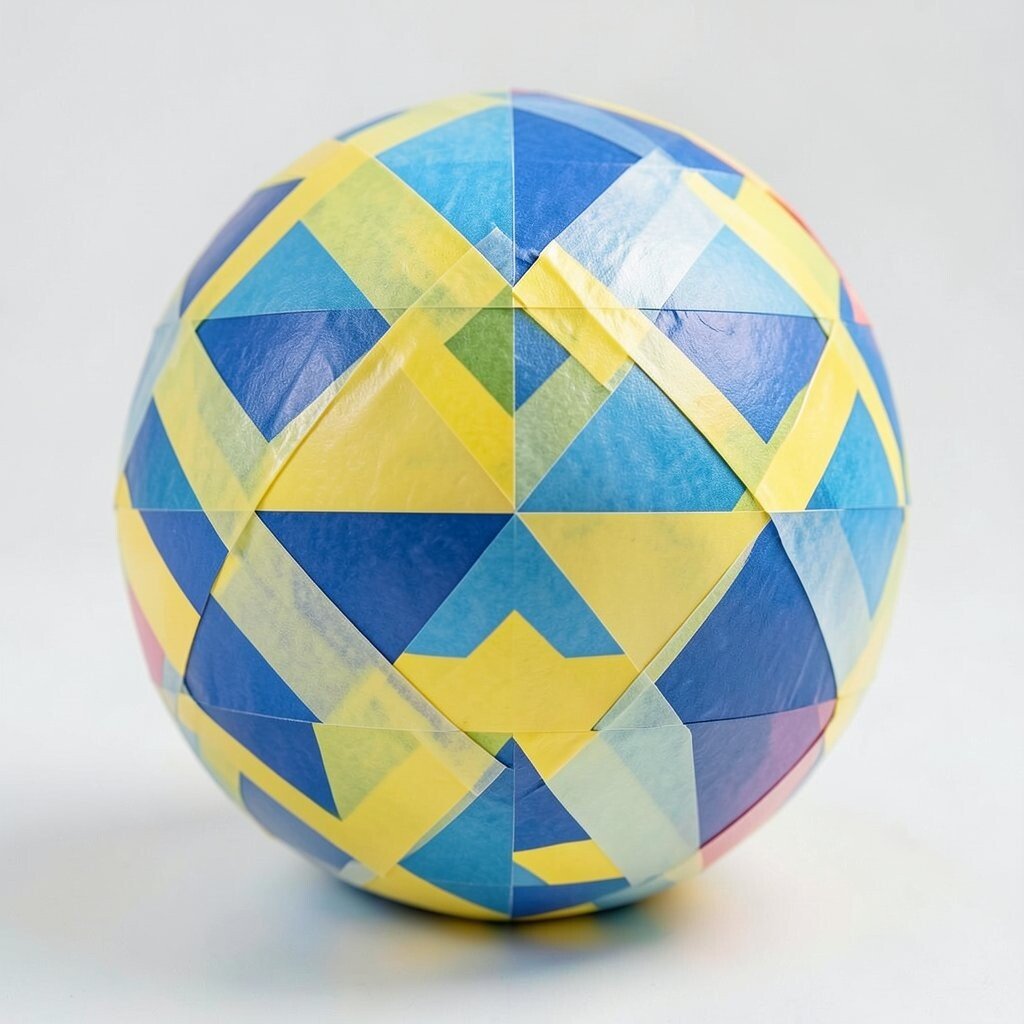
Cover a ball with masking tape strips in clean lines to form triangles, zigzags, or a repeating grid. Paint over the taped sections, then remove the tape to reveal sharp geometry.
This design benefits from its clean look, because tape lines make crisp edges that look professional. It’s practical too since tape is easy to adjust, letting you experiment without wasting paint. For uniqueness, mix tape widths and overlap corners slightly to create a modern, patchwork feel.
5. Marbleized Watercolor Dip Ball
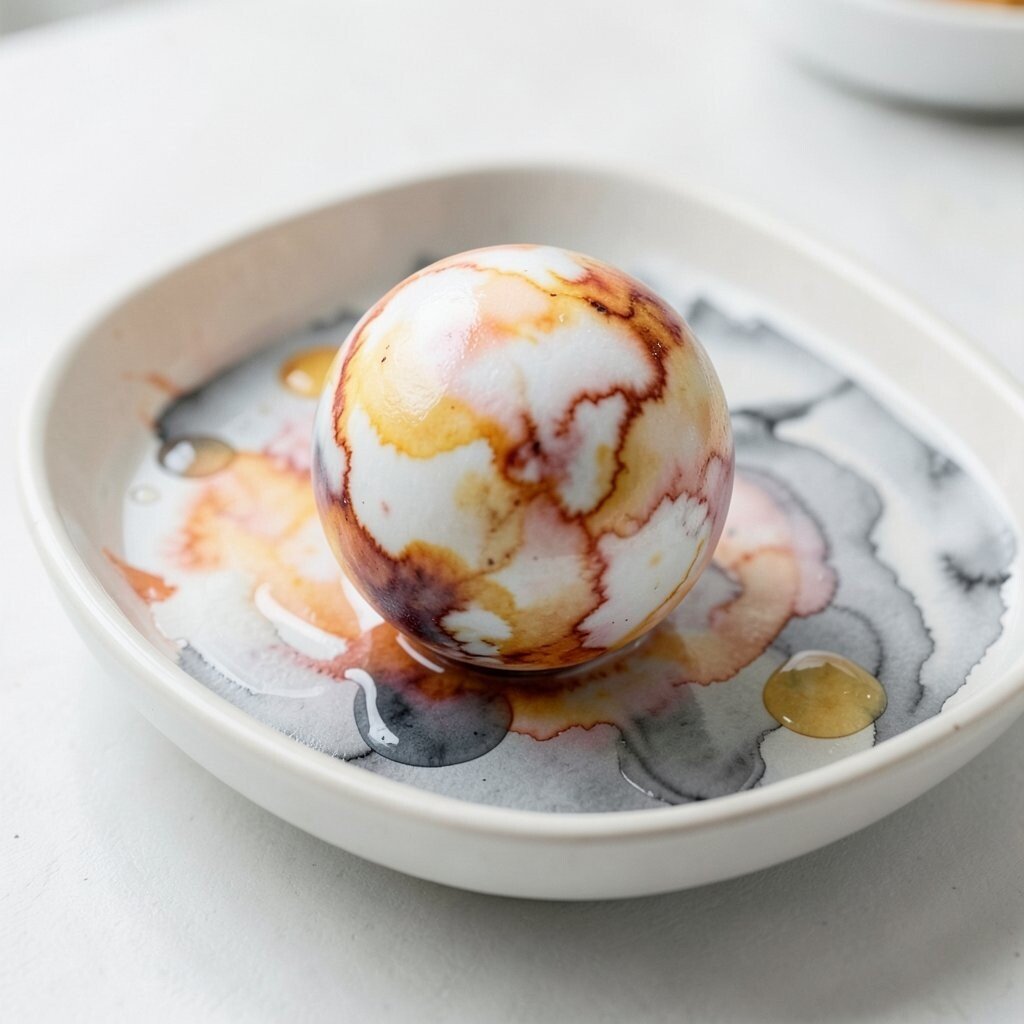
Swirl water with a few drops of watercolor or acrylic ink on the surface of a shallow tray. Dip the ball quickly, then lift and let the patterns settle like cloudy marbling.
This effect looks fresh and unpredictable, which makes each ball one of a kind. To make it more controllable, tilt the tray gently and use fewer colors so the swirls stay visible. For personalization, choose a theme color set like warm sunset tones or monochrome grays.
For cost considerations, watercolor and ink are usually inexpensive and go a long way. After the dip, let it dry completely and seal it lightly so the colors don’t smear. A gentle seal also helps if the ball gets handled often, like in school projects or desk toys.
6. Photo Collage Memory Ball
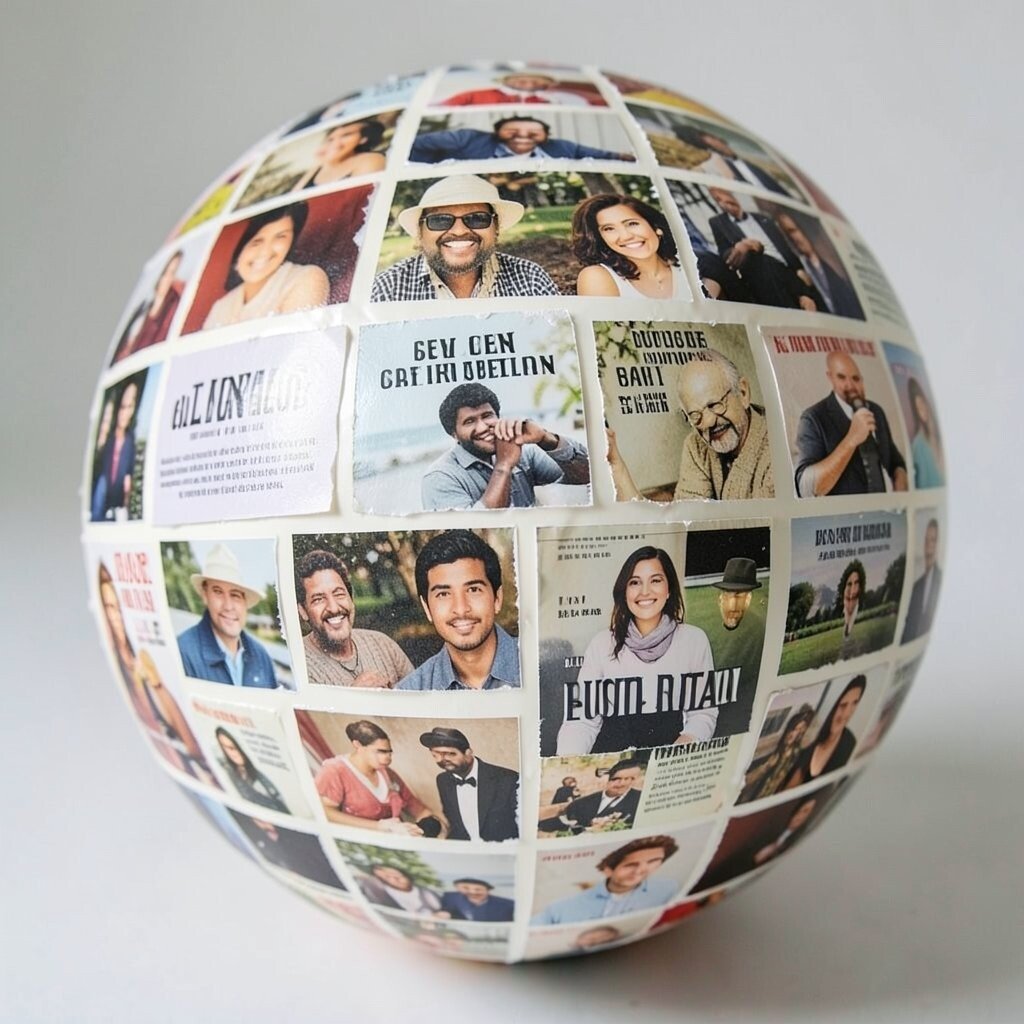
Cover the ball with small printed photos or magazine snippets, then seal with a layer of decoupage medium. Arrange pieces in a collage pattern, leaving tiny overlaps so it looks layered rather than flat.
This design can be deeply personal, turning a simple ball into a memory holder for cards, milestones, or inside jokes. The benefit is that the ball becomes meaningful, not just decorative. For practical tips, tear edges instead of cutting so the collage blends naturally, and smooth each piece as you place it to avoid bumps.
7. Embroidered Felt Patch Ball
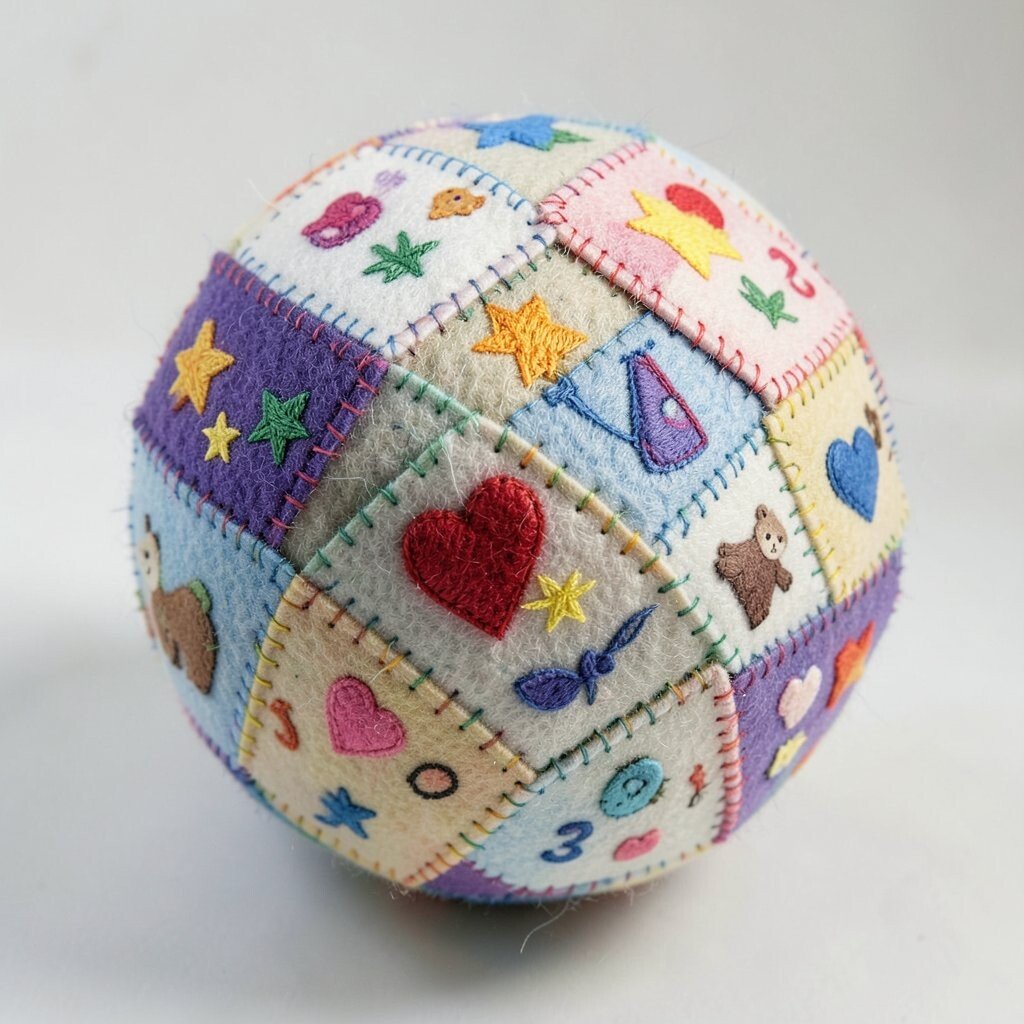
Use felt squares or circles to cover parts of the ball, then stitch around the edges with colorful thread. Choose patches like stars, hearts, numbers, or tiny animals for a friendly look.
This design feels cozy and durable because felt handles wear better than many paint surfaces. It’s unique because stitching adds movement and a handmade charm that feels human. For practical tips, use a fabric glue base to hold felt in place before sewing so you don’t fight shifting pieces.
If you want personalization, create a mini “story” across the ball by stitching small scenes or symbols in a pattern. For cost considerations, felt sheets and embroidery thread are usually affordable, and you can use scraps. Keep stitches short and even for a tidy finish that lasts.
When everything is sealed and dry, you can lightly fluff loose thread ends for a soft, playful texture.
8. Metallic Foil Smoke Ball
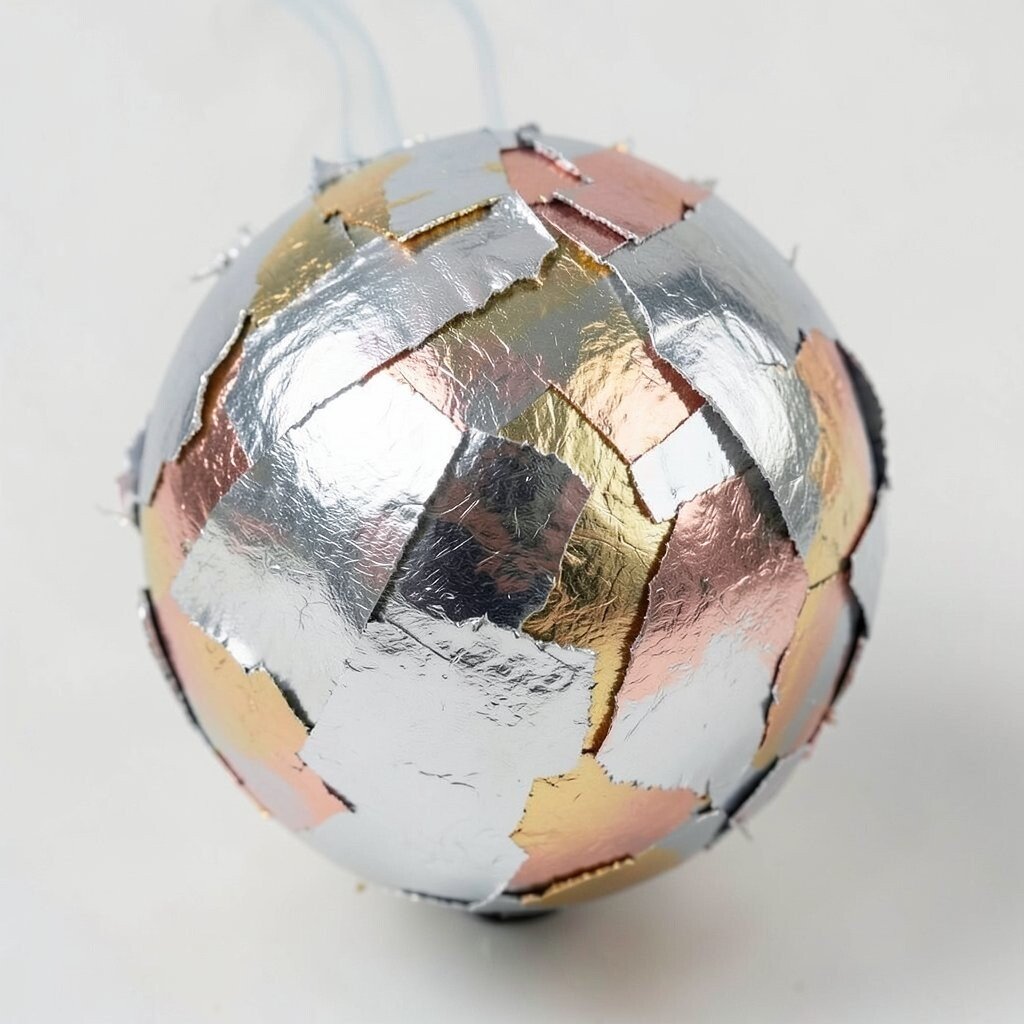
Brush the ball with adhesive, then press metallic craft foil in ragged strokes like drifting smoke. Blend silver, gold, and copper for a shimmering, atmospheric look.
This design benefits from high visual impact because foil catches light as the ball moves. It’s also quick, which makes it great for busy craft days or last-minute gifts. For uniqueness, tear the foil into uneven strips and overlap them unevenly so the pattern feels natural, not painted.
9. Chalkboard Scribble Play Ball
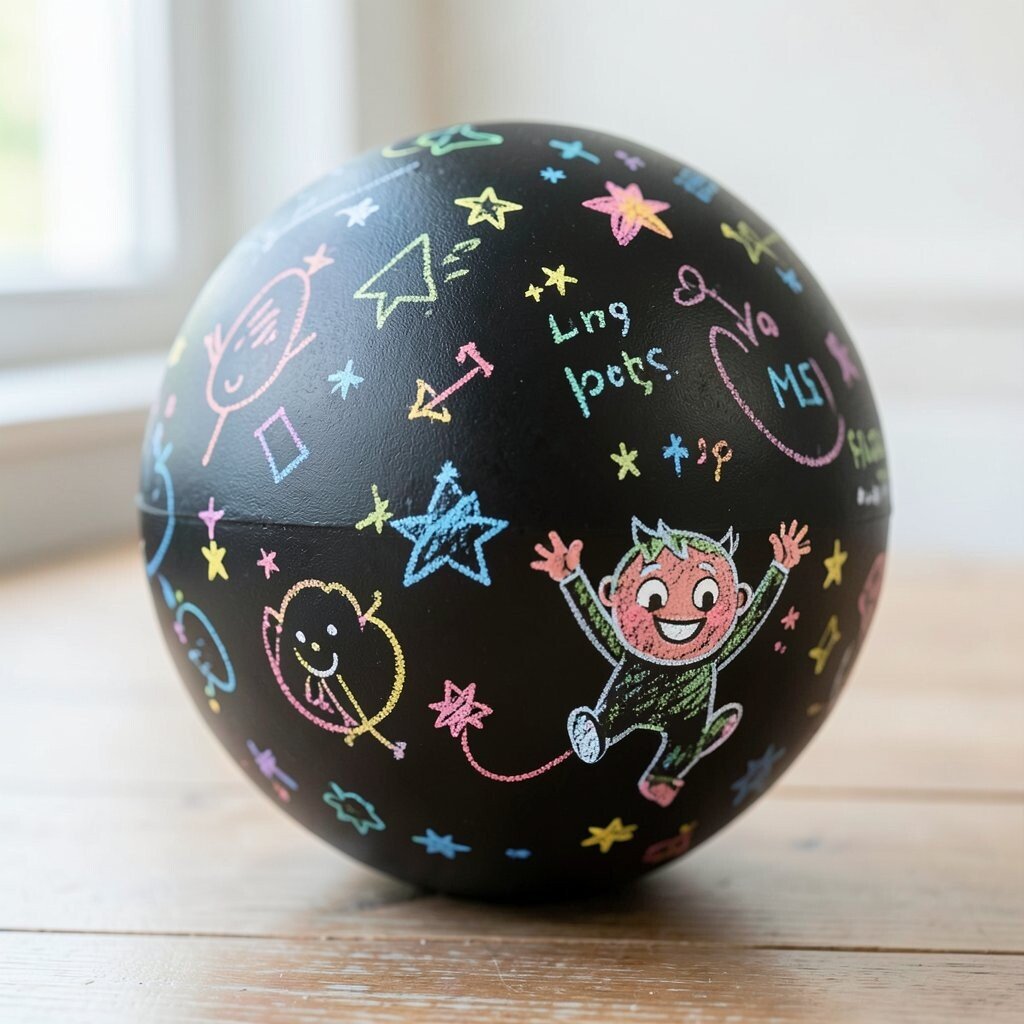
Paint the ball with chalkboard paint, then let it dry and write colorful doodles with chalk. Add stars, playful instructions, or a small doodle character that feels like it’s cheering for every throw.
This design is practical because it’s reusable, and you can change the drawings anytime. The benefit is flexibility, especially for games, parties, and kids’ activities. For personalization, give each ball its own “character” by using consistent facial features, colors, or tiny symbols.
For cost considerations, chalkboard paint is a bit pricier than basic craft paint but it can be used on many projects. If you’re making a set, consider painting several balls at once to spread the cost. Seal it lightly only if you want durability, but keep in mind chalk should still work smoothly.
10. Seashell Mosaic Beach Ball
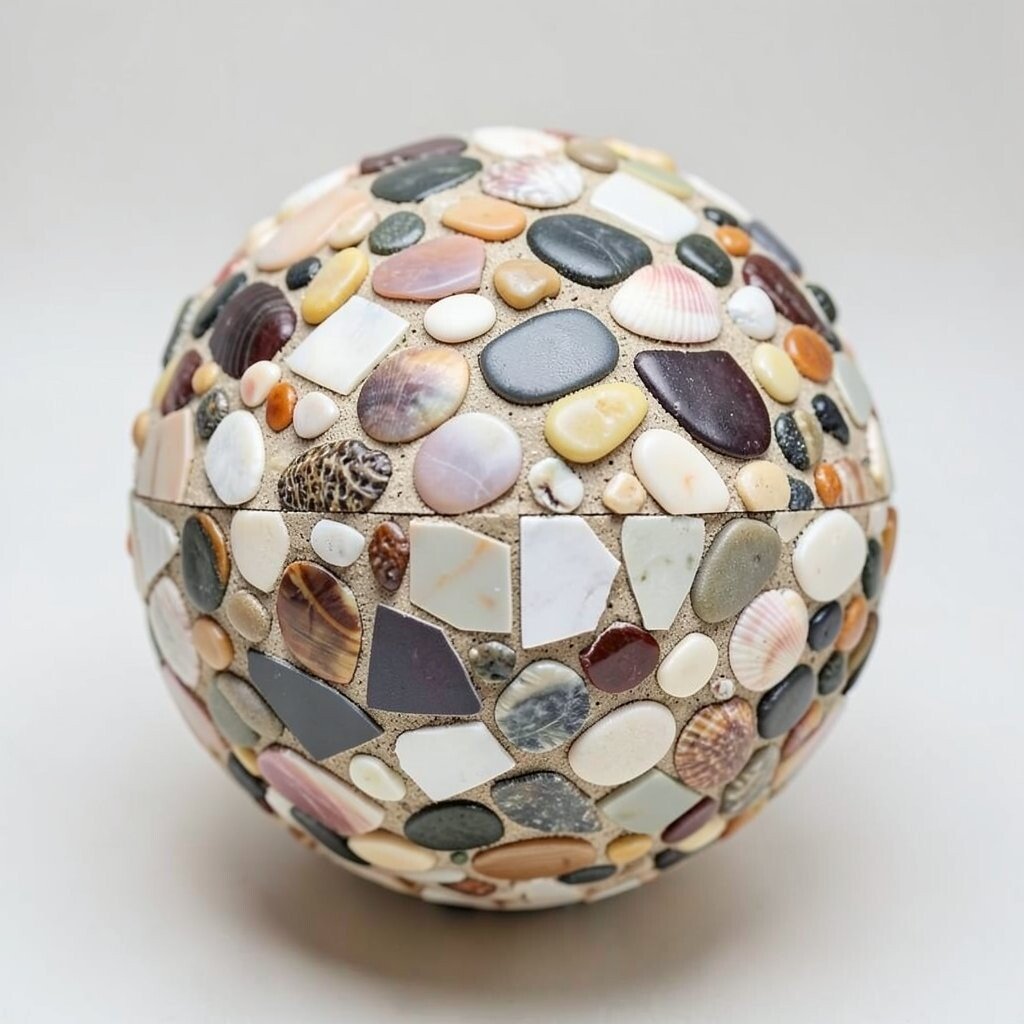
Glue small shells, pebbles, or broken tile pieces onto a ball to build a mosaic that looks like a tiny shoreline. Use grout-style filler or thick glue to fill gaps for a polished surface.
This design looks realistic and festive, bringing beach vibes to any room or event. It’s unique because the natural shapes make every pattern slightly different, even when you follow the same plan. For practical tips, sort pieces by size first and test the layout on a paper circle before you glue.
Personalize by adding a small “map line” style detail using darker tile fragments or a contrasting shell color. For cost considerations, you can save money by using found shells from trips or using craft stones from budget stores. Seal with a water-safe finish if the ball will be outdoors or near water.
11. Pinwheel Ribbon Spiro Ball
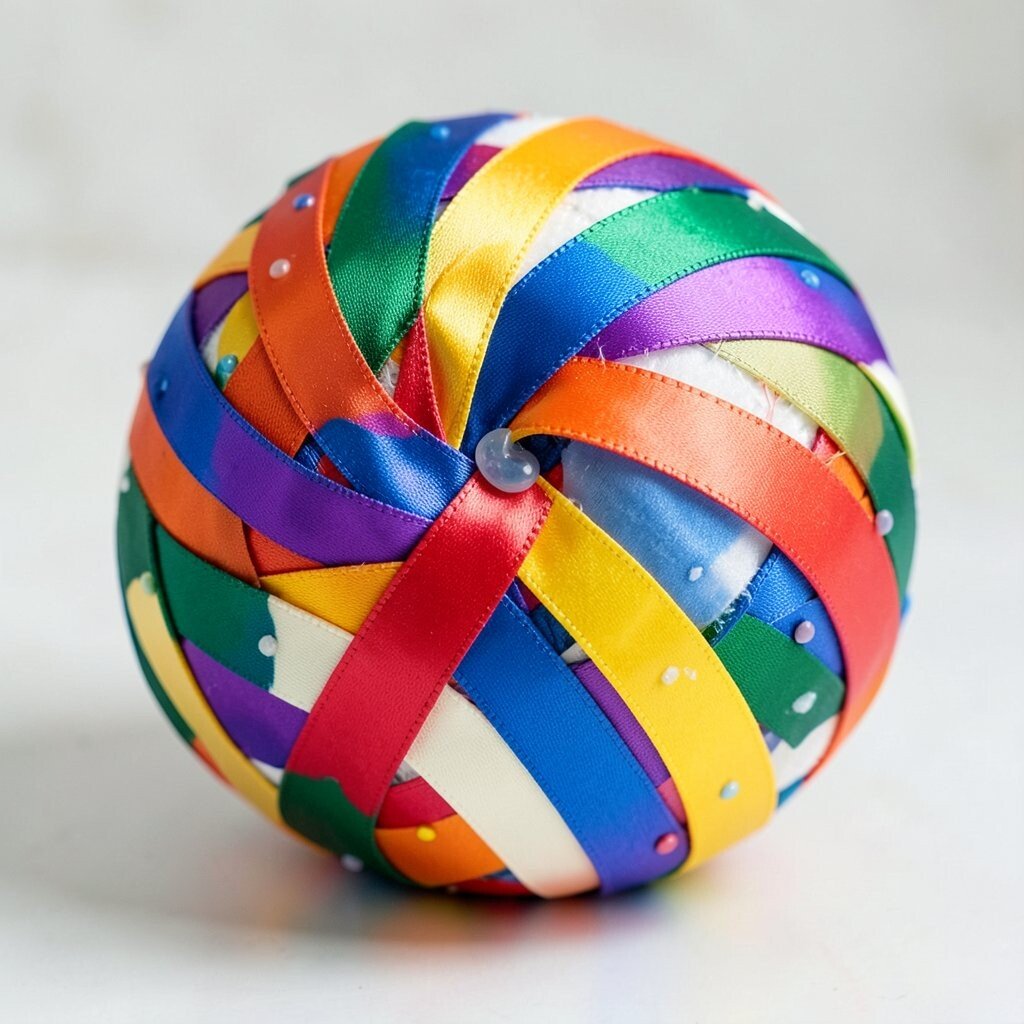
Create a spiral look by adding ribbon strips that twist around the ball like a pinwheel. Secure one end, wrap steadily, and attach with small dots of hot glue or craft glue as you go.
This design benefits from visual movement since ribbon catches air and looks lively when tossed or spun. It’s unique because the pattern feels like a moving artwork even when the ball is still. For practical tips, keep ribbon tension consistent so the spiral lines stay even rather than lumpy.
To personalize, pick ribbon colors that match your team, your bedroom palette, or the season. For cost considerations, satin ribbon can add luxury, but grosgrain or craft ribbon usually costs less. If you want a smoother finish, trim the ribbon edges cleanly and seal frayed ends with a quick brush of glue.
12. Sticker Bomb Pop-Art Ball
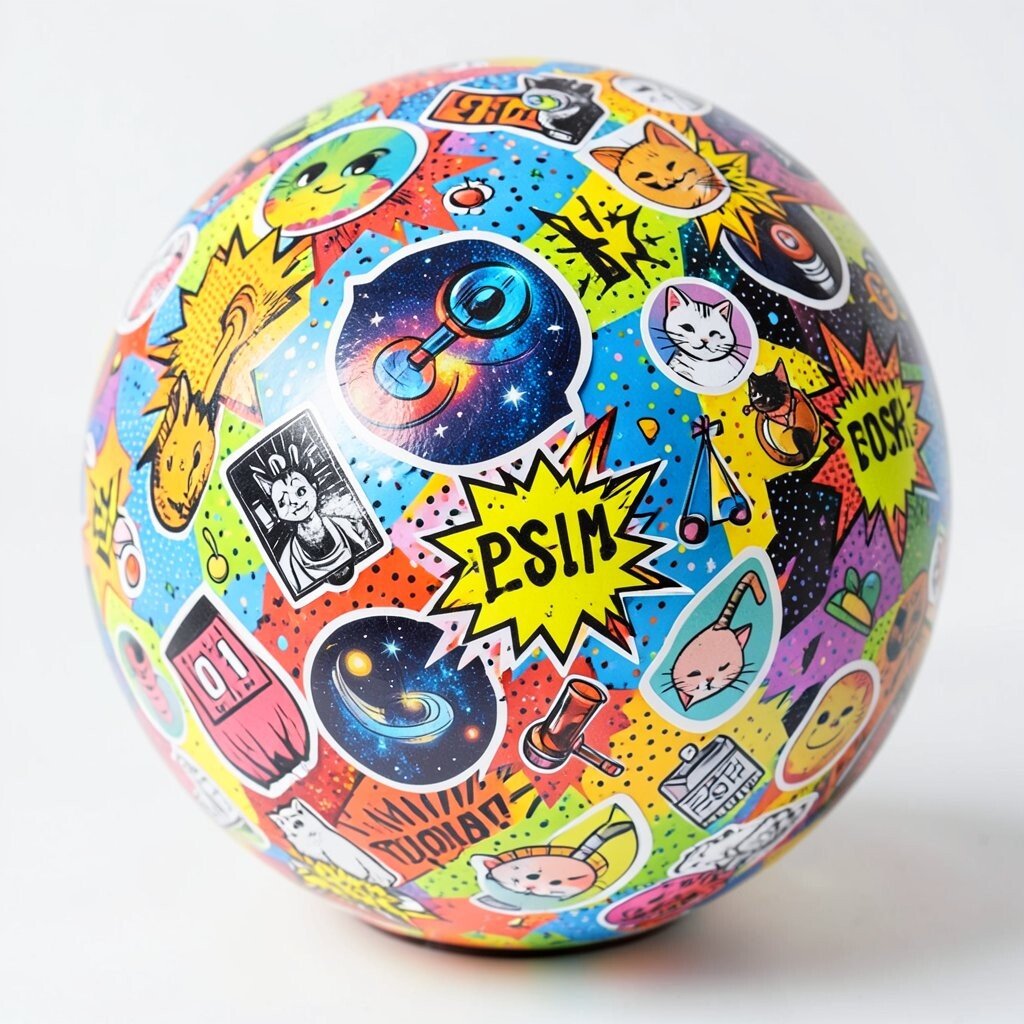
Cover the ball with bold stickers, cut-out shapes, and comic-style patterns for an energetic pop-art vibe. Mix big icons with tiny dots so the surface feels busy in a fun way.
This design is unique because stickers bring instant variety, and no two sticker sets look exactly the same. The benefit is speed, since you can finish quickly and still end up with a strong look. For practical tips, overlap edges slightly and press firmly so corners don’t lift.
Personalize by choosing a theme like cats, space, music, or motivational symbols. For cost considerations, sticker bundles and clearance packs can help you build a full design without overspending. Seal with a clear layer if you want smoother handling and to protect the stickers from scuffs.
Keep the color palette consistent so the final ball looks curated instead of chaotic.
13. Botanical Leaf Press Ball
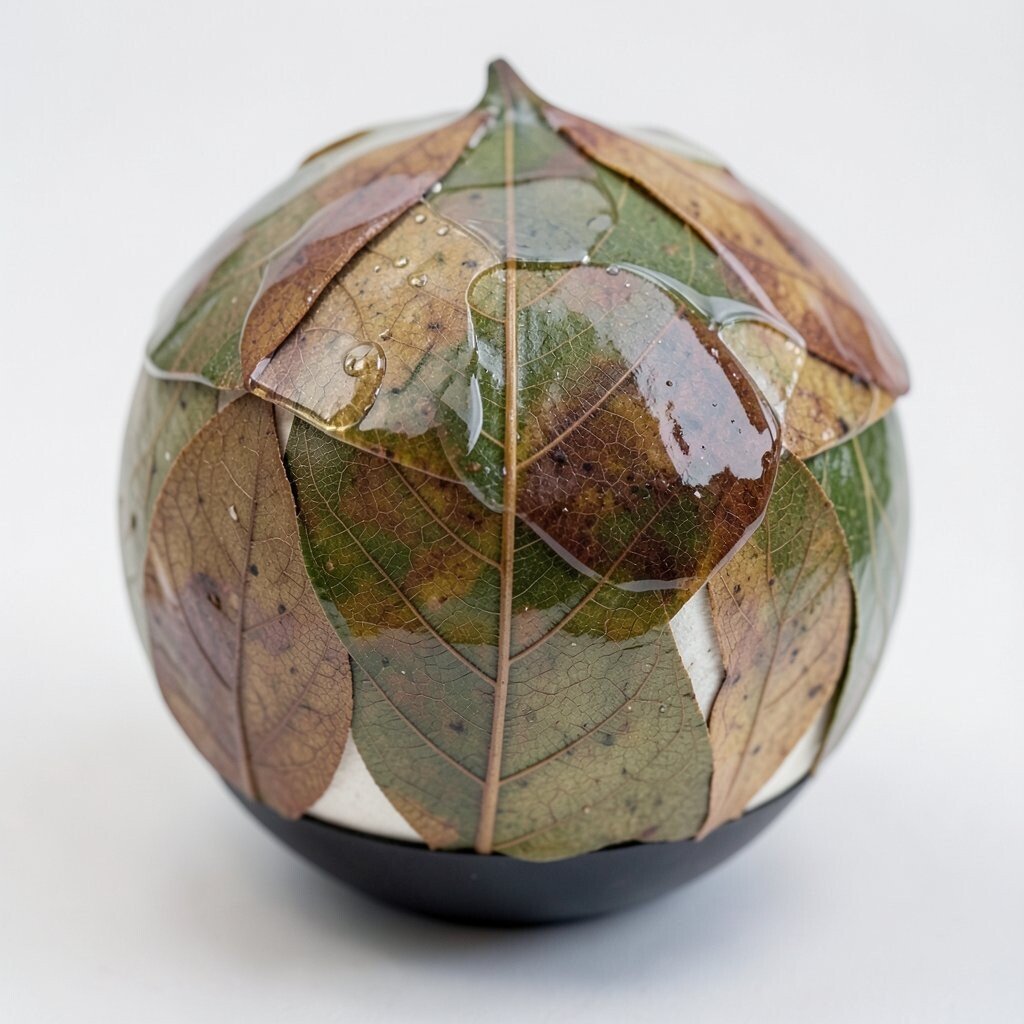
Press leaves or petals between paper pages, then attach them to a ball with a thin adhesive layer. Add a clear gel medium on top to create a glossy, preserved look.
This design feels calm and natural, like a small garden you can hold. It’s unique because plant texture and vein patterns vary, giving every ball its own fingerprint. For practical tips, use flatter pressed specimens and let them fully dry before applying so they don’t curl.
If you want personalization, choose leaves that match your memories, like a favorite plant from home or flowers from a special day. For cost considerations, you can gather fallen leaves for free and use leftover paper for pressing. Seal carefully and handle gently at first until the finish cures.
For a trendy look, pair muted botanical colors with a subtle dark base so the leaves stand out.
14. Sports League Team Ball Custom
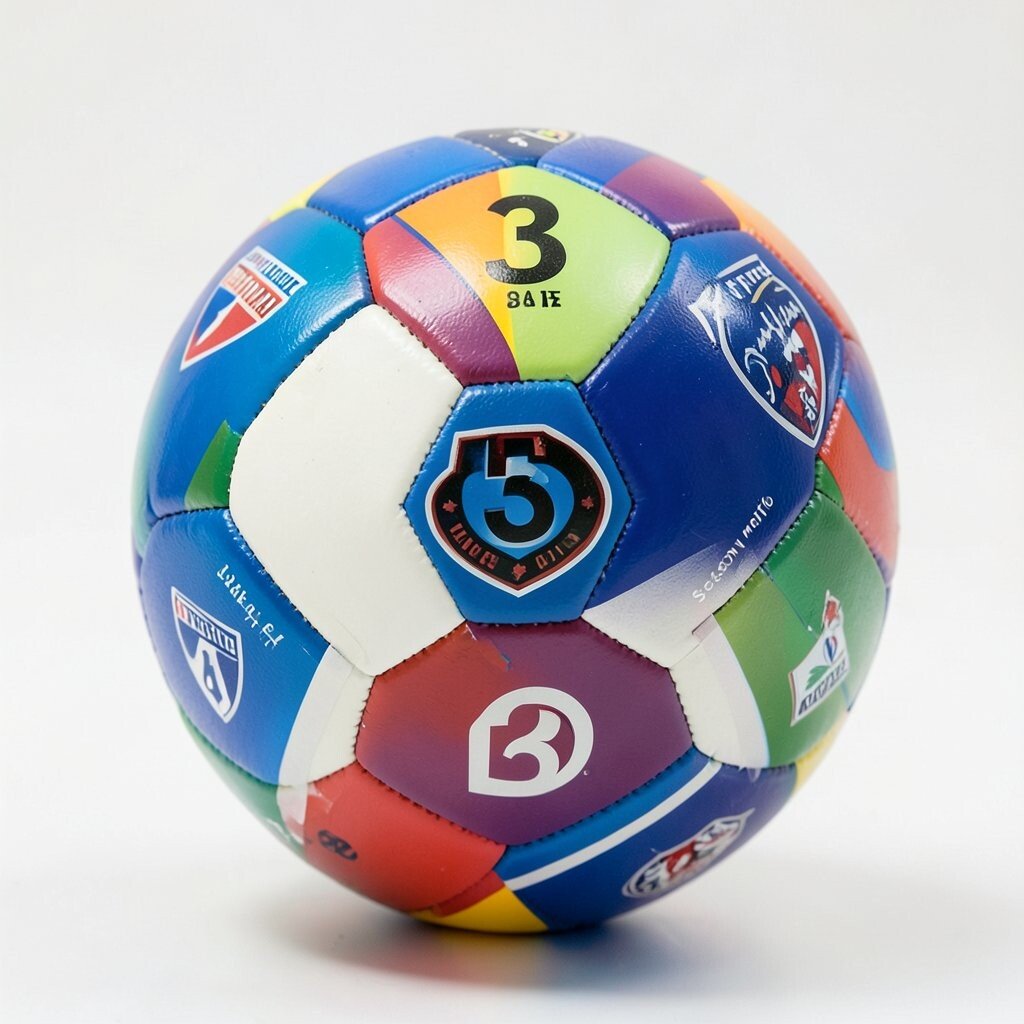
Design the ball like a mini team uniform by painting sections in team colors and adding numbers, logos, or simple stripes. Use painter’s tape to mark sections so you get clean lines around curves.
This design benefits from clarity, because bold color blocks are easy to read from a distance. It’s also unique because you can match a personal league, school, or family team instantly. For practical tips, sketch your layout lightly first and practice a quick stripe test on paper to see how your paint flows.
Personalize with names, initials, or a “season motto” written in small lettering near the panels. For cost considerations, basic acrylic paint and tape are usually enough, and you can reuse tape for future projects. If you want a modern trend feel, add a subtle gradient outline or a thin metallic stripe around each color block.
Let it dry fully before play, and consider a clear protective coat if the ball will be used outdoors or often.