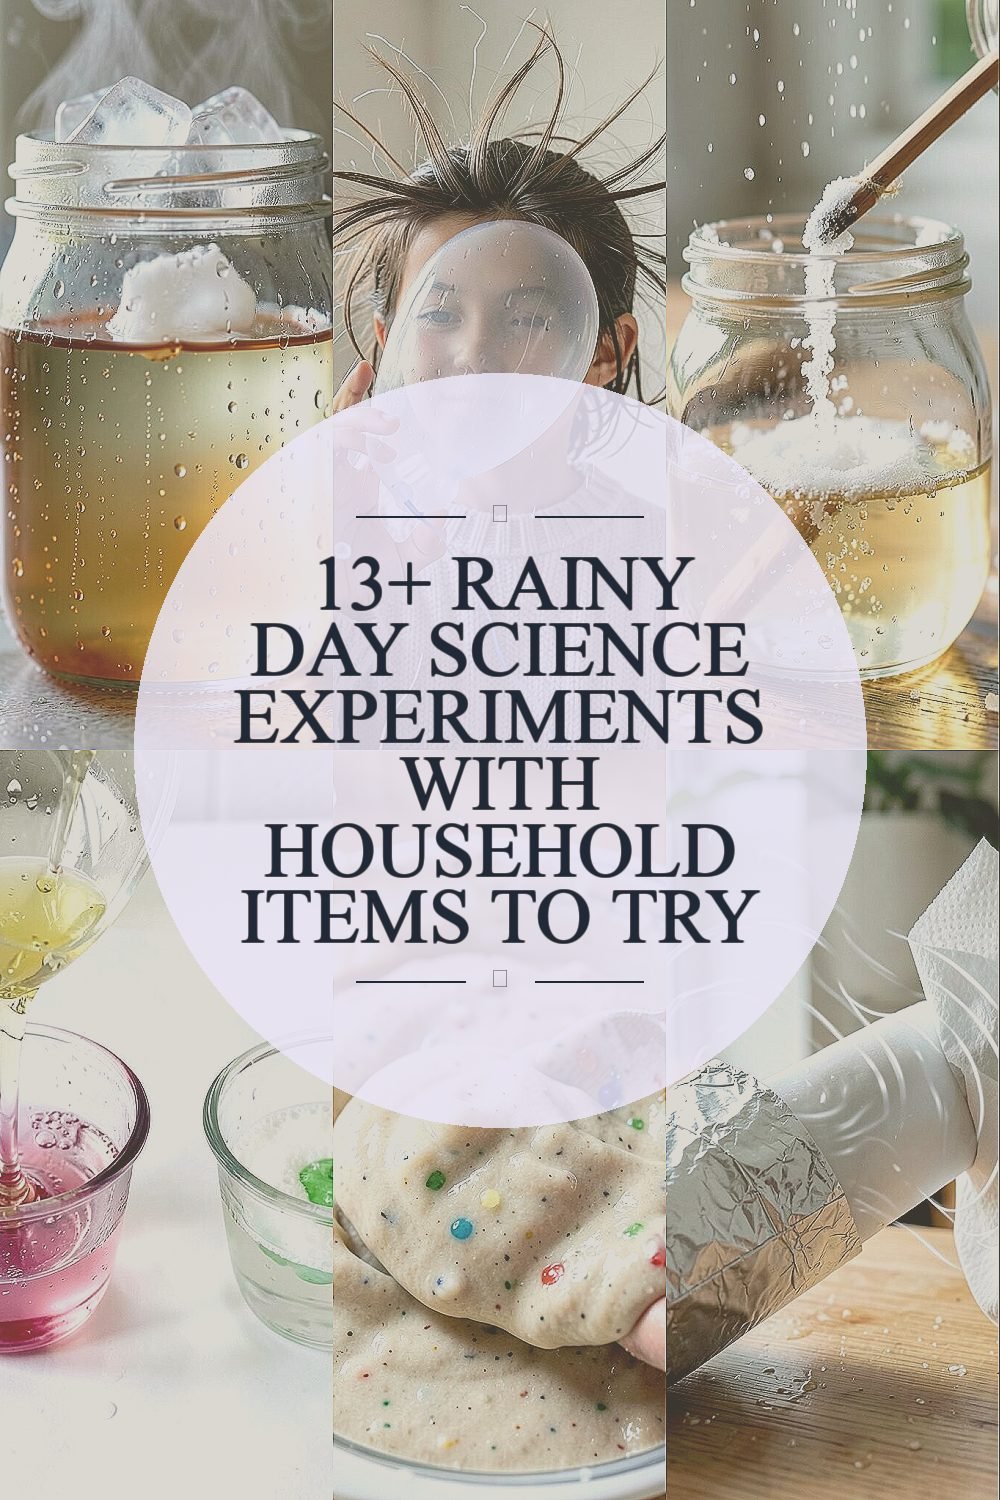
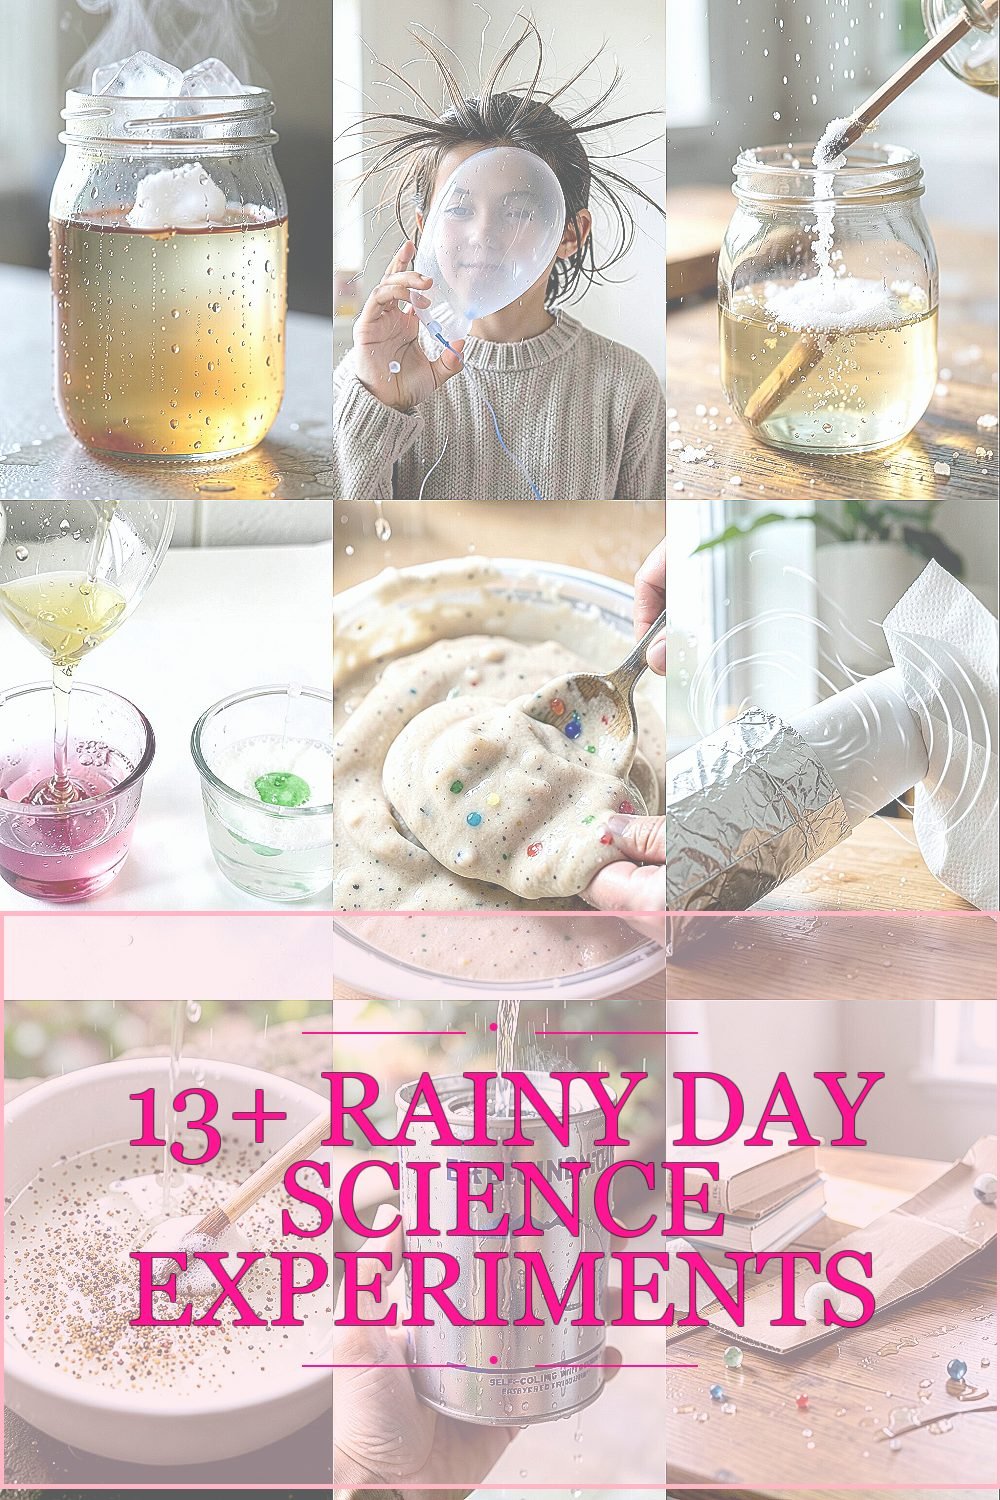
Rainy days are perfect for hands-on science at home. You only need everyday supplies and a curious mood.
The clouds outside can be the cue, not the stop sign, and your kitchen or living room can become a friendly lab. Once you start, you’ll notice little patterns hiding in plain sight.
1. Cloud-in-a-Jar Water Cycle

Fill a glass jar with hot water and let it sit so the air inside warms up. Add a few ice cubes on top of the jar and watch the inside go hazy as droplets form on the glass.
As vapor rises, cool air turns it into tiny beads, just like clouds do when the atmosphere chills. This experiment helps you see evaporation and condensation in a way that feels real, not just explained. For practical setup, keep the jar steady and move the ice gently so you don’t spill hot water. If you want personalization, color the hot water with a drop of food coloring so the droplet shapes are easier to spot against the glass. It stays budget-friendly because jar, water, and ice are already on hand.
2. Balloon Static That Makes Hair Stand Up

Rub a balloon on a sweater, then hold it near thin paper bits or your own hair. You’ll see the bits jump or your hair lift, almost like the air suddenly has invisible strings.
Static charge builds up when friction transfers electrons, and the charged balloon attracts neutral objects. This gives you quick results, and it’s a fun way to build confidence because the effect is visible right away. Try using a dry room for stronger results, and keep the balloon off wet surfaces to avoid losing charge. For personalization, try different fabrics like wool or cotton and compare how strong the attraction feels. It’s a low-cost experiment since balloons are easy to find, and many kids enjoy it because it matches today’s fascination with everyday electricity.
To make it feel more like real science, repeat the rubbing time with the same type of fabric and observe any changes. You can also test how distance affects the pull by moving the balloon closer and farther. Your notes can be as simple as what you noticed, and that kind of personal log is how many real scientists stay organized.
3. Soluble Salt Crystal Rain

Pour warm water into a jar and stir in salt until no more dissolves. Tie a string to a pencil, place it in the jar, and let the water sit undisturbed.
Over time, crystals grow along the string like tiny sparkling rain. This shows how dissolving and crystallization work, and it helps you understand why some substances form neat structures. Use a clean jar and keep the experiment somewhere calm so vibrations don’t knock crystals loose. If you want to personalize, try different salts and see how the shapes vary, since different substances make different crystal styles. For cost considerations, choose one basic salt and you’ll still get beautiful results without spending much.
For a more modern twist, take a few photos each day and compare them like a slow-motion movie. Many people today love time-lapse and photo journaling, and it turns a waiting day into a creative project. The moment you see the first crystal clump is genuinely exciting.
4. Kitchen Sink pH Color Change

Pour a small amount of water into a cup and add a splash of vinegar. In another cup, mix water with baking soda, then observe what happens when you combine the solutions and compare their sour and soapy hints.
Try adding a drop of red cabbage juice to each cup for a simple color shift, since purple turns toward pink or green based on acidity and alkalinity. This helps you practice careful observation and builds your sense of how chemistry reacts based on pH. Keep the amounts small to reduce mess, and rinse cups right away so colors don’t linger. Personalize by using clear cups, a white paper background, and even a smartphone timer for consistent comparisons. It’s a very budget-friendly setup because cabbage, vinegar, and baking soda are common pantry items.
5. Oobleck Finger Gloop and Stress Testing

Mix cornstarch with water slowly until it turns into a thick, bouncy goo. Roll a small amount between your fingers, then press harder and notice it behaves like a solid for a moment.
This non-Newtonian mix is a classic example of how viscosity changes with force. It feels unique because it looks like liquid in a bowl, but it responds like a solid when you apply pressure. For practical tips, use gradual water additions and keep your stirring steady so you don’t end up with a runny batch. If you want personalization, add a few drops of food coloring or glitter-free craft items to make it visually exciting. For cost considerations, cornstarch is inexpensive, and one batch can provide lots of repeated tries for family members. Many rainy-day science watchers also share video clips of this texture experiment because it’s satisfying and oddly mesmerizing.
To make it feel like real testing, try different pressures, like gentle tapping versus firm pokes, and watch how the material changes. You can also compare spoon impact by pressing the spoon at different speeds. The best part is that your hands are part of the measuring tool.
6. Tin Foil Sound Waves With a DIY Phone Speaker
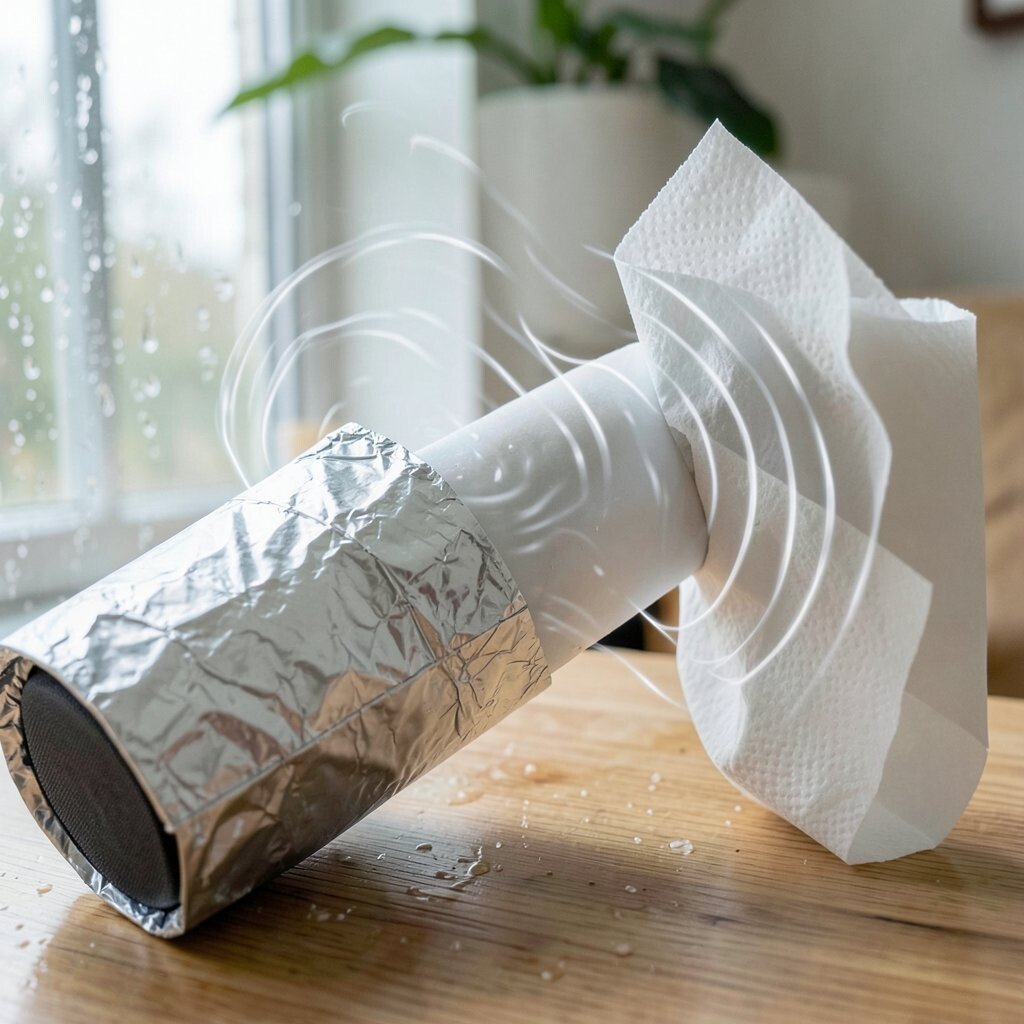
Wrap a foil sheet around a paper towel tube or hold it loosely near the sound coming from a phone speaker playing steady tones. Watch the foil vibrate and form ripples, especially when you turn the volume up carefully.
This turns sound into a visible wave, which is a great way to understand vibration. It’s unique because your eyes catch movement that your ears usually only guess at. For practical tips, keep the phone at a safe distance so it doesn’t get too hot, and use headphones on another device if you’re worried about loud volume. Personalize the effect by changing foil tightness, trying different thicknesses, or switching between bass and treble sounds. Cost stays low because foil and tubes are everyday supplies, and this style of experiment fits with current interest in turning media tech into hands-on physics.
7. Rain Reveal With Pepper and Water Surface Tension

Fill a shallow bowl with water and sprinkle pepper across the surface. Dip a cotton swab in dish soap, then touch it lightly to the water and watch the pepper scatter.
Your eyes will see the pepper rush away because soap breaks the water’s surface tension where it touches. This is a simple way to connect chemistry and everyday life, since surfactants help water spread and clean. For practical tips, use just a tiny amount of soap so you don’t stir the water too much, and keep the pepper dry before adding it. Personalize by using colored pepper substitute like ground spice, or try other household liquids to compare effects. The cost is minimal, and it’s satisfying because the reaction is dramatic even with small supplies.
8. Self-Cooling Can With Evaporation Magic
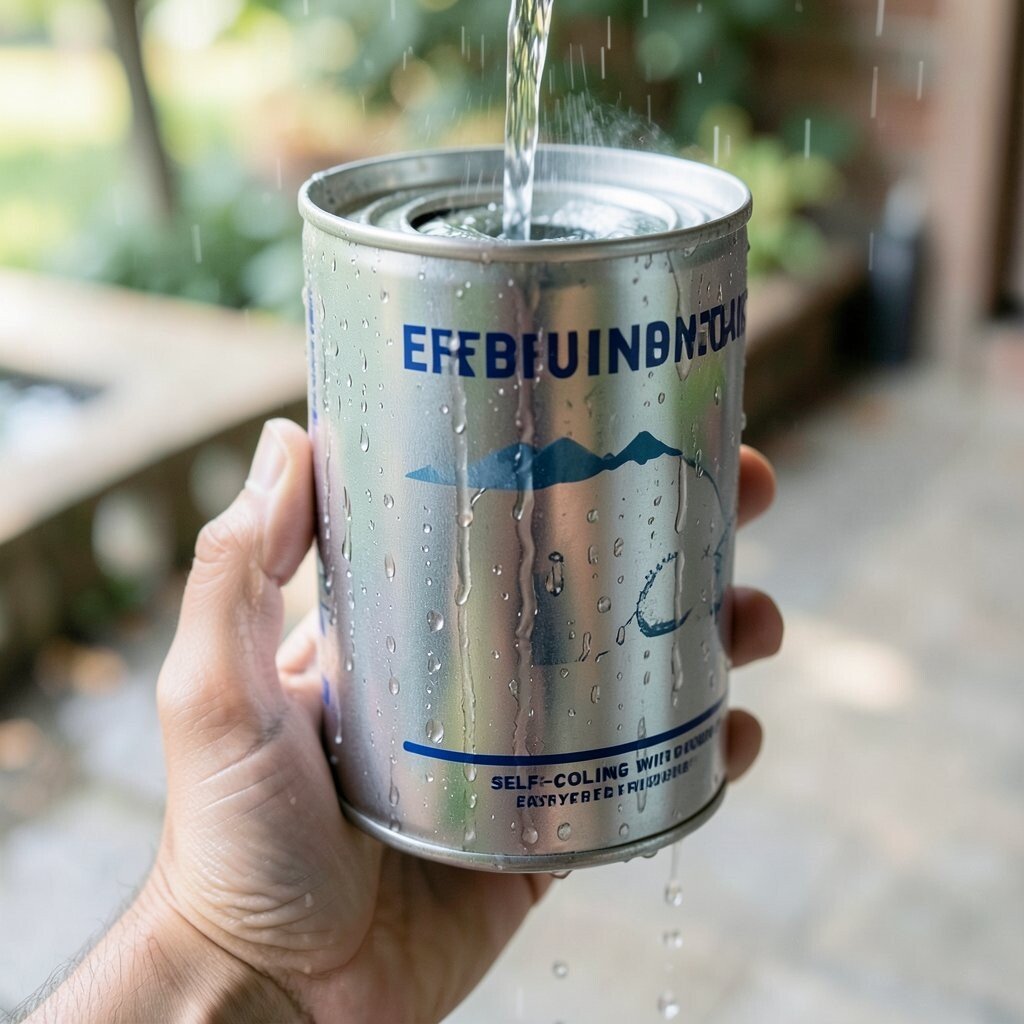
Sprinkle a little water on a metal can or pour a small amount and rotate the can so it coats the surface. Then hold it in an area where air can move and observe how the can temperature drops compared to a dry control item.
You’ll notice the can feels colder as water evaporates, stealing heat from the surface like a tiny weather system. This builds understanding of evaporation and energy transfer using just common materials. For practical tips, use a can that fits in your hand and avoid touching after it cools if your skin is sensitive. Personalize by trying different liquids like isopropyl alcohol with adult supervision, but only if you understand safe handling and ventilation. Cost considerations are great because water is free, and this fits a modern trend of “everyday physics” that people can film and share quickly.
9. Paper Towel Roll Ramps and Tiny Marble Physics

Build a ramp using books, cardboard, or stacked folders, then release marbles, marbles made from craft beads, or a small ball. Observe how speed changes with slope and how far the ball travels across the table.
You’ll see that steeper angles often make the ball roll faster, and smoother surfaces can travel farther. This experiment offers real practice in cause and effect, which is the heart of physics learning. For practical tips, measure distances with a ruler and keep the start point consistent so your comparison is fair. Personalize by designing obstacles like loops or mini bridges, and compare how each obstacle affects motion. The cost is very low because cardboard and books are easy to gather, and the setup feels creative rather than strict.
To make it feel more like science, test one change at a time, such as only changing the ramp angle or only changing the surface texture. You’ll start noticing patterns, and those patterns are what makes experiments so rewarding.
10. DIY Weather Station With Barometer Feel

Create a simple barometer by using a jar, a balloon, rubber band, and a straw, then mark a baseline on a sheet of paper. When pressure changes, the balloon stretches or relaxes, moving the straw tip and altering the reading.
As the weather shifts, tiny pressure differences nudge the balloon, giving you an at-home way to “feel” atmospheric changes. This is beneficial because it connects what’s outside with what you can measure indoors. For practical tips, keep the device in one spot away from direct sunlight and drafts so the results are steadier. Personalize by adding dates and observations, then compare readings with what the sky does later in the day. Cost is low since balloons and cardboard supplies are usually easy to find, and interest in home data tracking has grown because people love seeing practical patterns over time.
If you want a fun twist, pair it with a notebook where you record cloud cover or wind intensity. You’ll start building your own mini weather log, which feels like a serious hobby without being complicated.
11. Homemade Solar Oven With a Box and Plastic Wrap

Cut a box into a simple oven shape, line the inside with shiny material, and cover the opening with clear plastic wrap. Place it in bright light and see how quickly you can warm water or melt a small piece of chocolate.
You’ll observe heat building inside, and the slow change is both educational and delicious. This experiment highlights how sunlight converts into heat and how reflective surfaces can help trap energy. For practical tips, choose a sunny spot, angle the opening, and keep the experiment away from anything flammable. Personalize by testing different reflective materials, or compare results when the opening faces straight up versus tilted. Cost considerations are gentle because a box and plastic wrap are common, and this type of experiment matches current kid-friendly trends about clean energy and sustainability.
To add measurement without stress, use a thermometer if you have one and note temperature every few minutes. Even simple timing observations teach you how energy transfer works.
12. Magnetic Paperclips With a Wrapped Magnet Field

Wrap a wire around a battery carefully, then observe how a cluster of paperclips responds to the coil’s magnetic effect. Try switching directions of the wire to see if the pull changes.
You’ll see paperclips jump toward the coil when current runs, showing how electricity creates magnetism. This is unique because you can feel the power of invisible forces in a very hands-on way. For practical tips, adult supervision is helpful when using batteries, and you should avoid creating short circuits. Personalize by testing coil shape, number of turns, or using different wire gauges if you have them. Cost stays low because batteries and wire are inexpensive, and maker-style projects are popular right now because they connect learning with building.
13. Eggshell Lemon Vinegar Foam Chemistry

Place an eggshell in a jar and cover it with vinegar, then watch bubbles collect and the shell soften. Over a day or two, compare the texture of the shell to a dry eggshell and observe the size changes.
The bubbling happens because the vinegar reacts with the eggshell’s calcium carbonate, releasing carbon dioxide gas. This experiment is beneficial for understanding chemical reactions and why substances can change form without melting like ice. For practical tips, use enough vinegar to cover the shell completely and keep the jar in a place you can observe safely. Personalize by timing smaller pieces of shell and comparing reaction speed, or by using other safe food-based materials like crushed oyster shells if available. Cost considerations are great because eggshells are free, and many families enjoy this because it uses what would otherwise be thrown away.
14. DIY Slime Light Reflection Rainbow
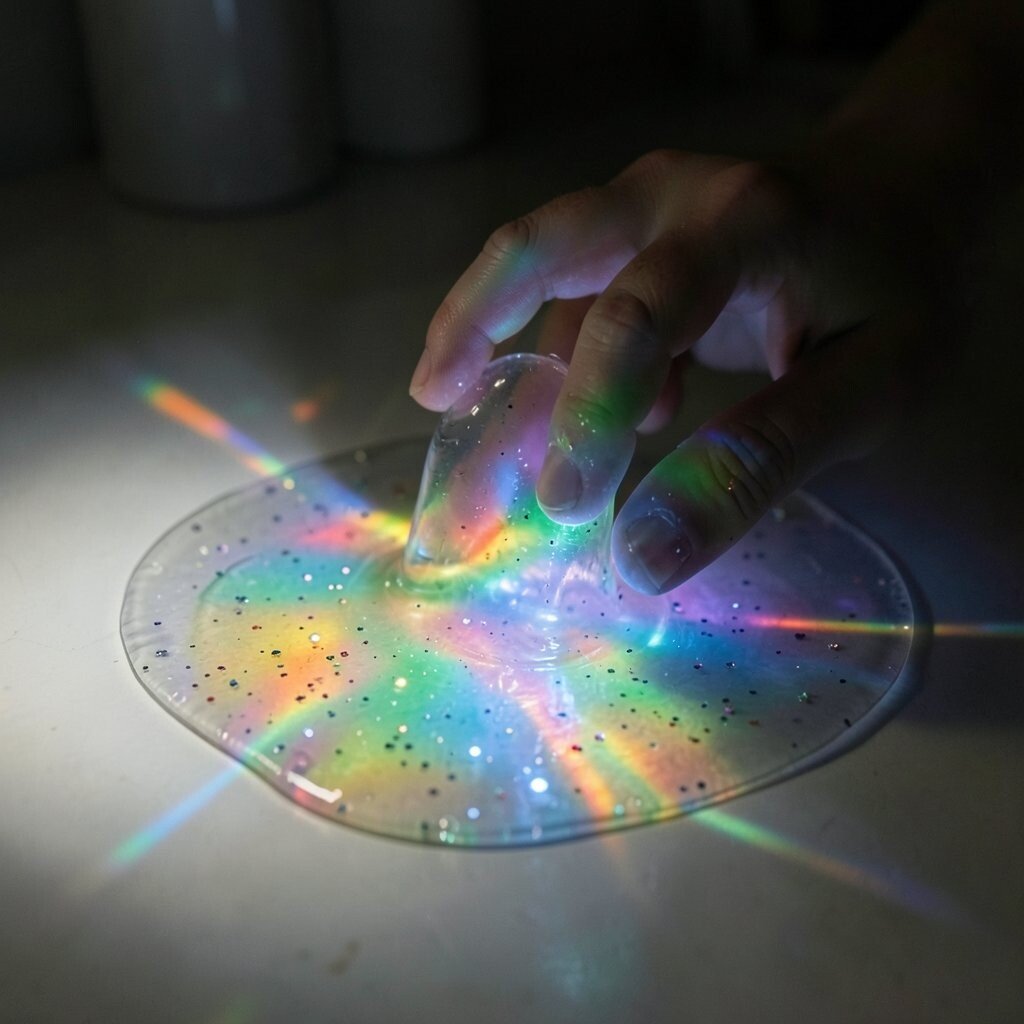
Make a transparent gel using clear gelatin and warm water, then pour a thin layer onto a flat surface. Shine a flashlight through it and slowly tilt your hand to watch light scatter in colorful patterns.
This uses light and refraction to create a mini “rainy rainbow” effect inside a homemade material. It’s uniquely visual, and the gentle tilting makes it feel like you’re tuning a light show rather than running a lab drill. For practical tips, use a dark room or dim lights for stronger visibility, and keep the gel layer thin so light passes through more easily. Personalize by adding tiny specks of safe glitter-free material, or by using different gel colors if you want a new look. Cost is low, and this kind of optical play matches current interest in STEM art where science and creativity blend in the same afternoon.
If you want to make it more actionable, compare how different thicknesses change the brightness and color spread. You can also record what you see by drawing simple shapes of where the light lands, turning your observation into a personal keepsake.