A tennis ball is small, but it can power big creativity. With a few simple supplies, kids can build, play, and learn in surprising ways.
1. Mini Tennis Ball Bowling League
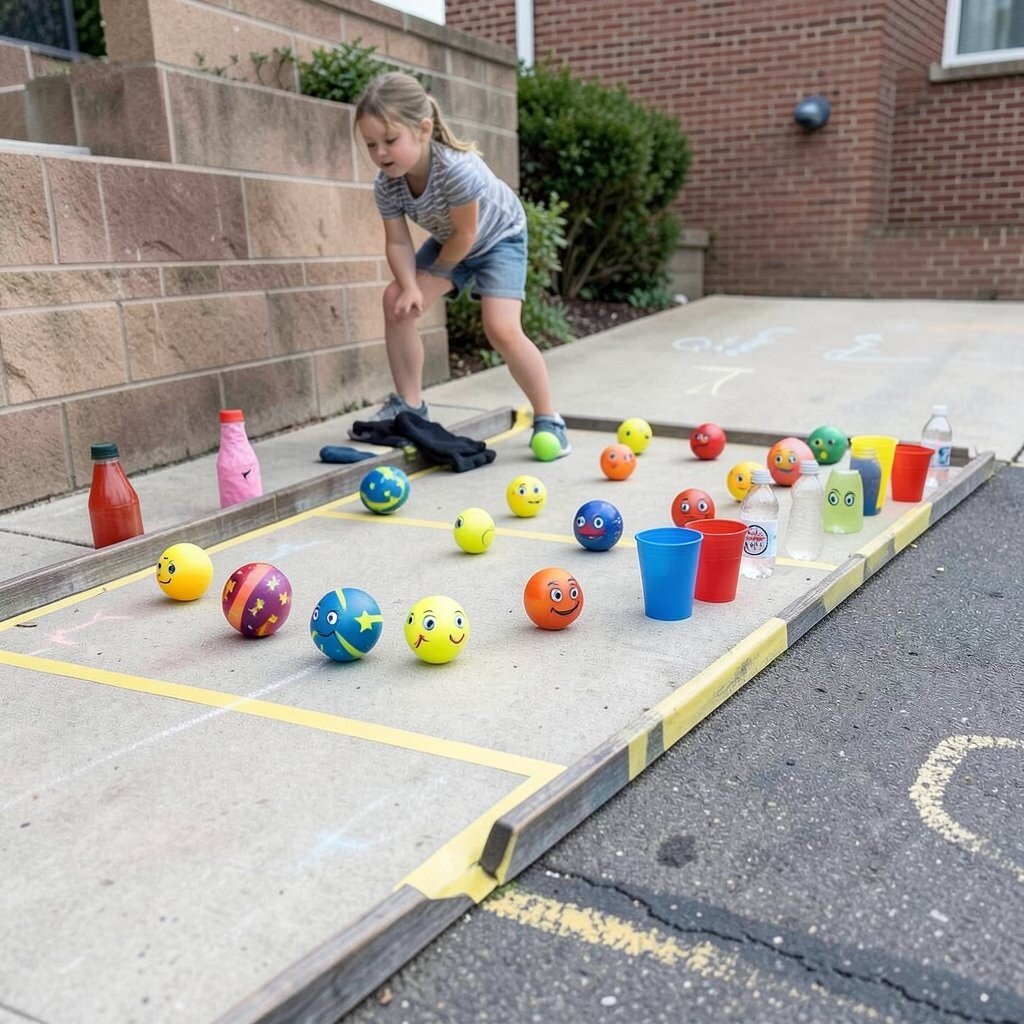
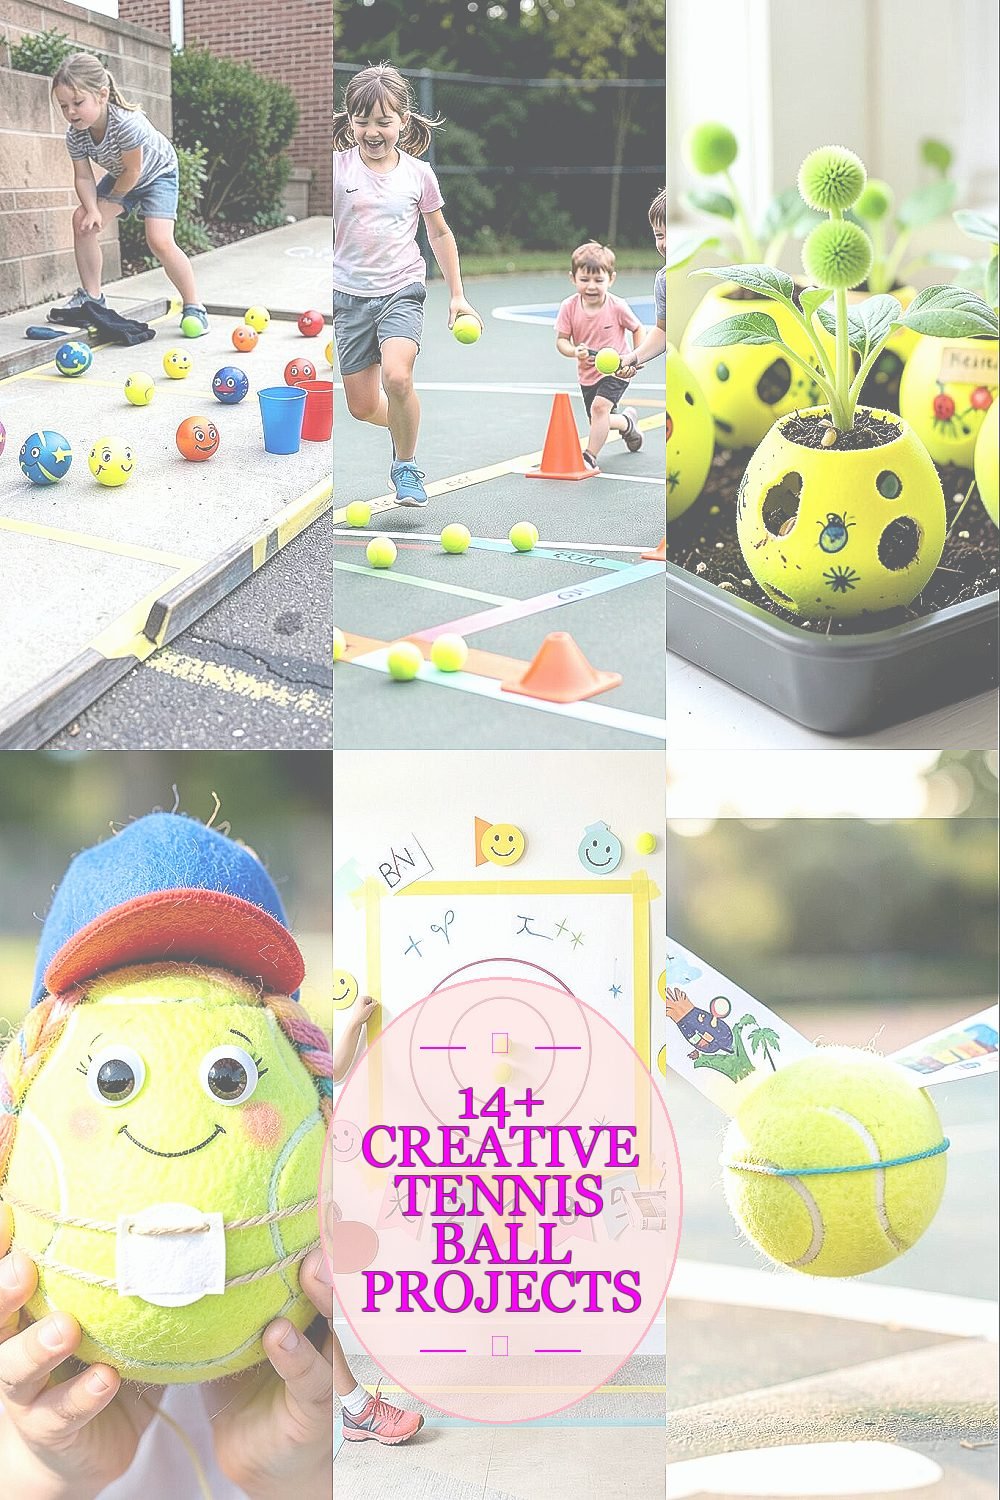
Set up a lane using tape lines on the floor or chalk marks on the driveway. Kids roll a ball to knock down plastic cups, socks, or lightweight bottles, and they can decorate each target with bright marker faces.
Use targets of different sizes so the game feels fair and exciting at the same time. For safety, keep the play area clear and roll gently near walls, and try adding a “quiet roll” rule for younger kids. Kids can personalize bowling balls by wrapping tape around them in patterns like stripes, stars, or team colors.
2. Bounce and Balance Obstacle Path
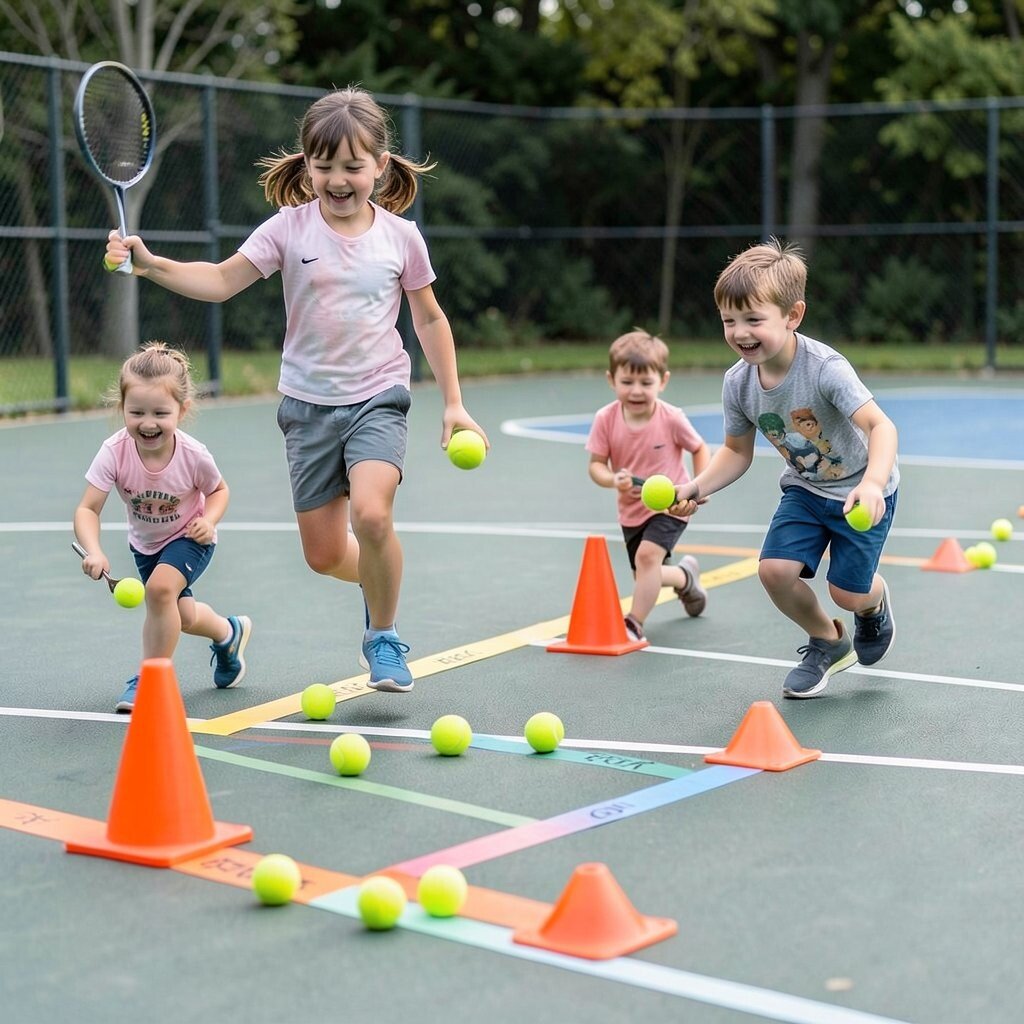
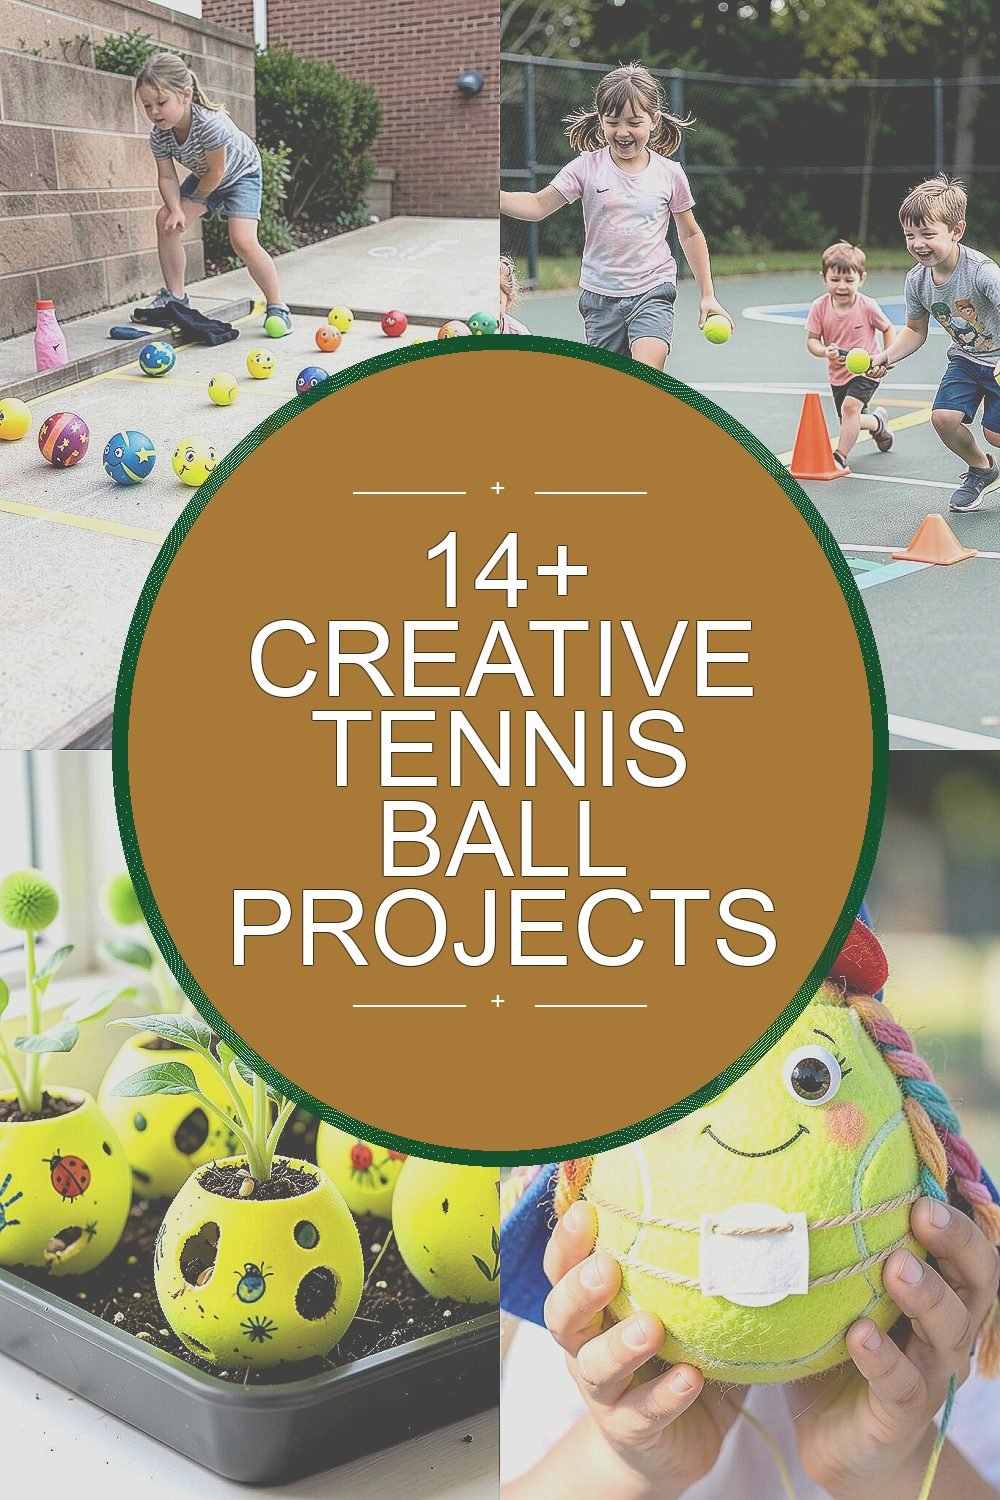
Build a short obstacle path using tennis balls as the main tools. Kids hop over taped lines, weave around cones, and carry a ball by placing it on a spoon for short stretches. The scene looks like a mini sports course, with bright balls bouncing and kids moving in steady, happy rhythms.
Use practical spacing so every child has room to turn without bumping into others. Keep sessions short and celebrate balance, not speed, because steady control builds confidence. Kids can add personalization by using colored tape to mark “start,” “rest,” and “finish” spots for their own path.
To fit different ages, make the path longer for older kids and shorter for younger ones. A tennis ball is a low-cost tool, and you can reuse obstacles again and again, which matches current trends toward active play at home.
3. Tennis Ball Seed Planters for Tiny Gardens

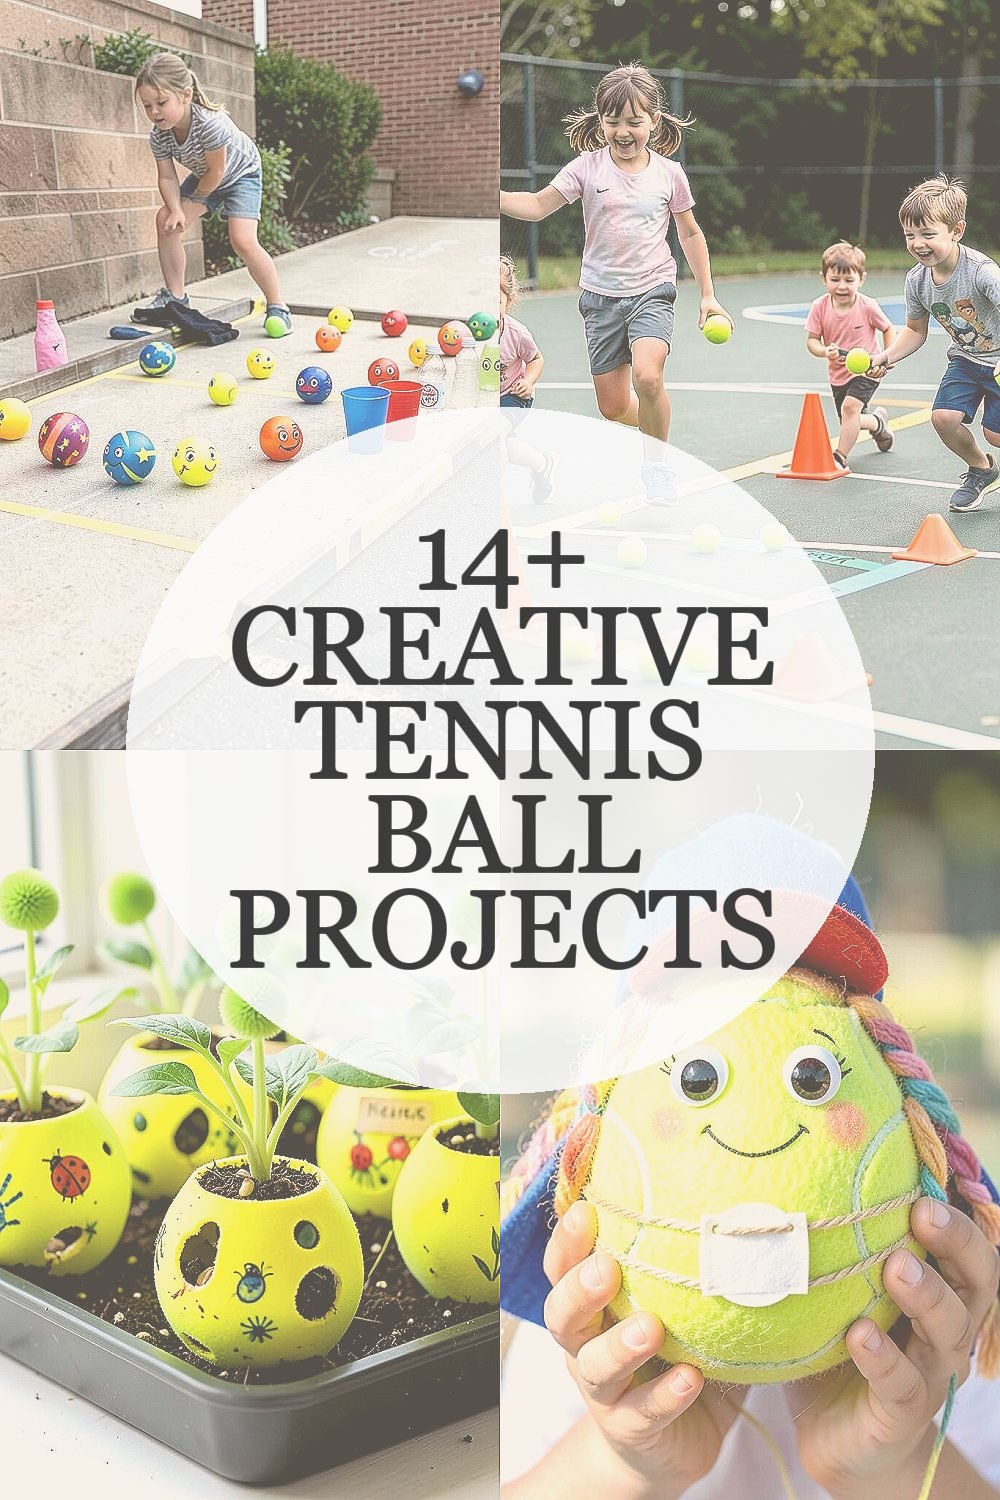
Turn tennis balls into little planters by cutting small holes for seeds and pushing them into soil. When they sprout, the tops pop out like green pom-poms, and the bright yellow or neon color makes the garden look cheerful.
Kids learn patience as they water daily and watch the first leaves appear. For practical results, poke several drainage holes and use potting mix that holds moisture without getting soggy. Add personalization by painting handprints, drawing ladybugs, or giving each planter a name on a paper tag.
For cost considerations, use inexpensive seeds like beans, radishes, or sunflower varieties that grow quickly. This kind of hands-on planting fits the current love for small home gardening projects that fit even on windowsills.
Place planters in a tray so spills are easy to clean, and rotate them toward the light to encourage even growth.
4. Felt-Fun Tennis Ball Characters
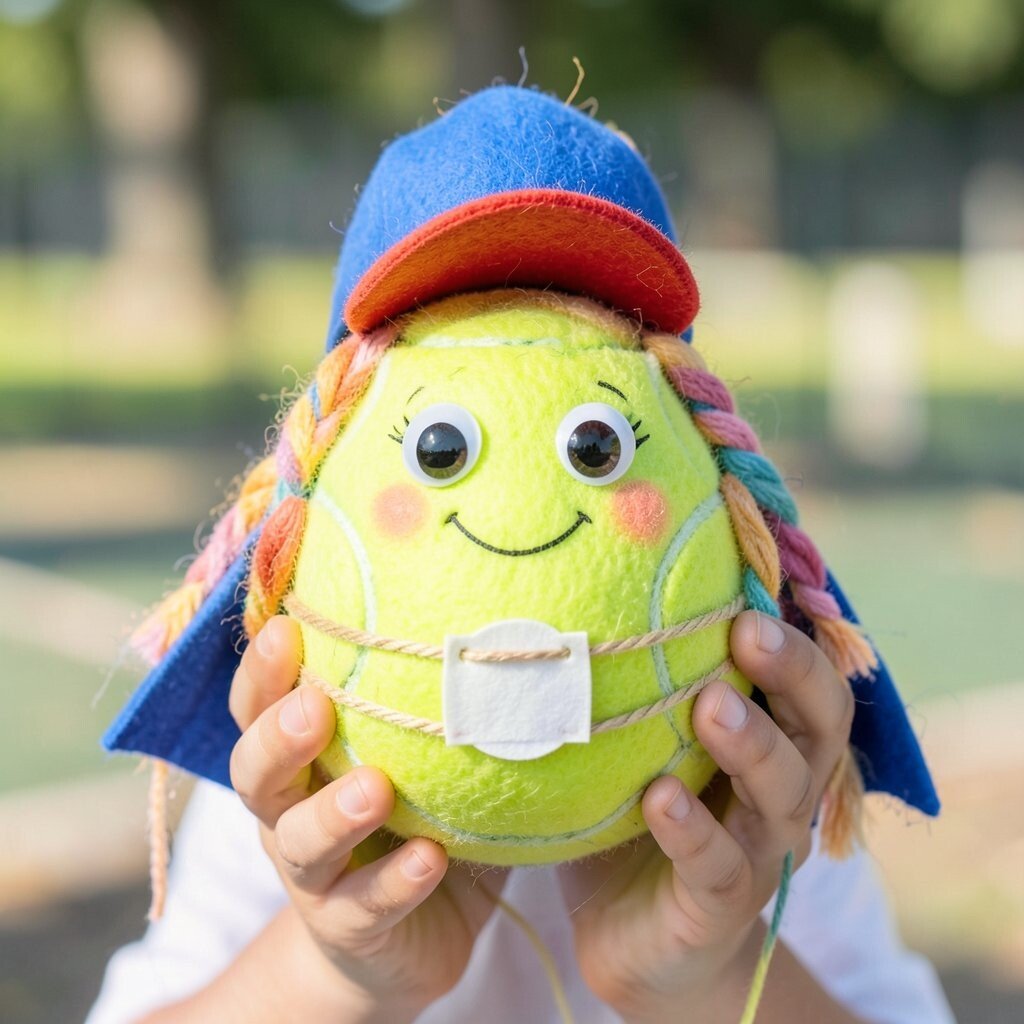
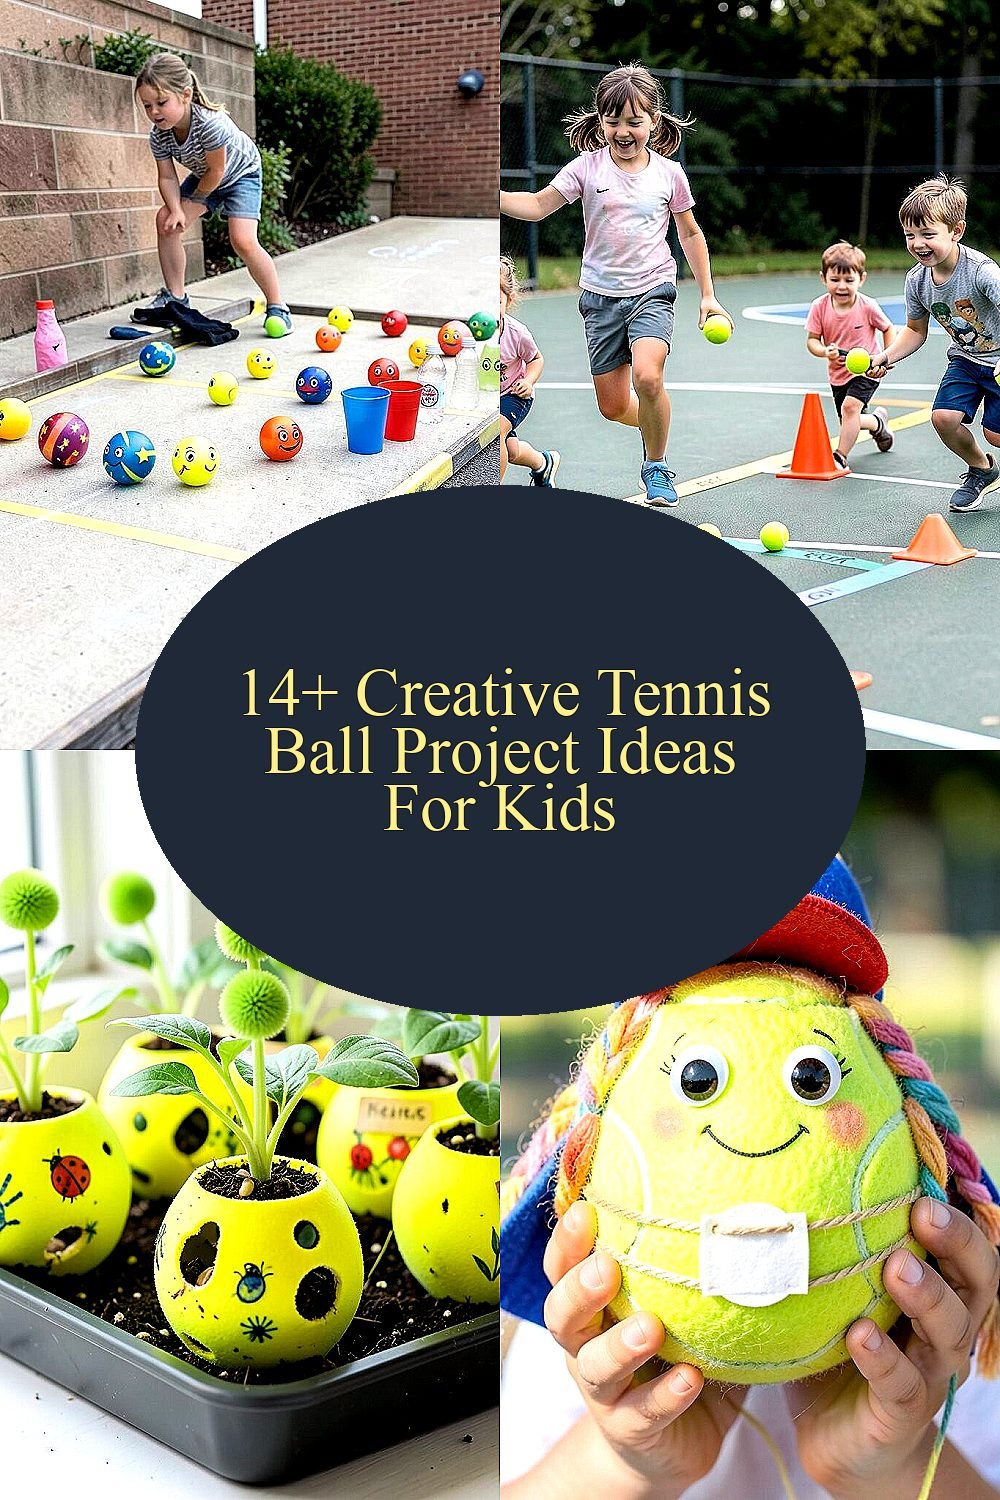
Make friendly characters by attaching felt pieces, googly eyes, and yarn hair to a tennis ball. The visual is always adorable: fuzzy faces with bright hats, long yarn braids, or tiny superhero capes made from scraps. Kids can invent personalities like “Captain Bouncer” or “Garden Detective” and hold their creations while telling stories.
Use glue dots or craft glue sparingly so hands stay neat and objects dry faster. Give each character a simple purpose, like a “cheer team” that gets high-fives before playtime. For personalization ideas, wrap string around the ball for a belt, add a paper badge, or paint the ball with washable markers.
5. Keep-It-Up Wall Rally Art
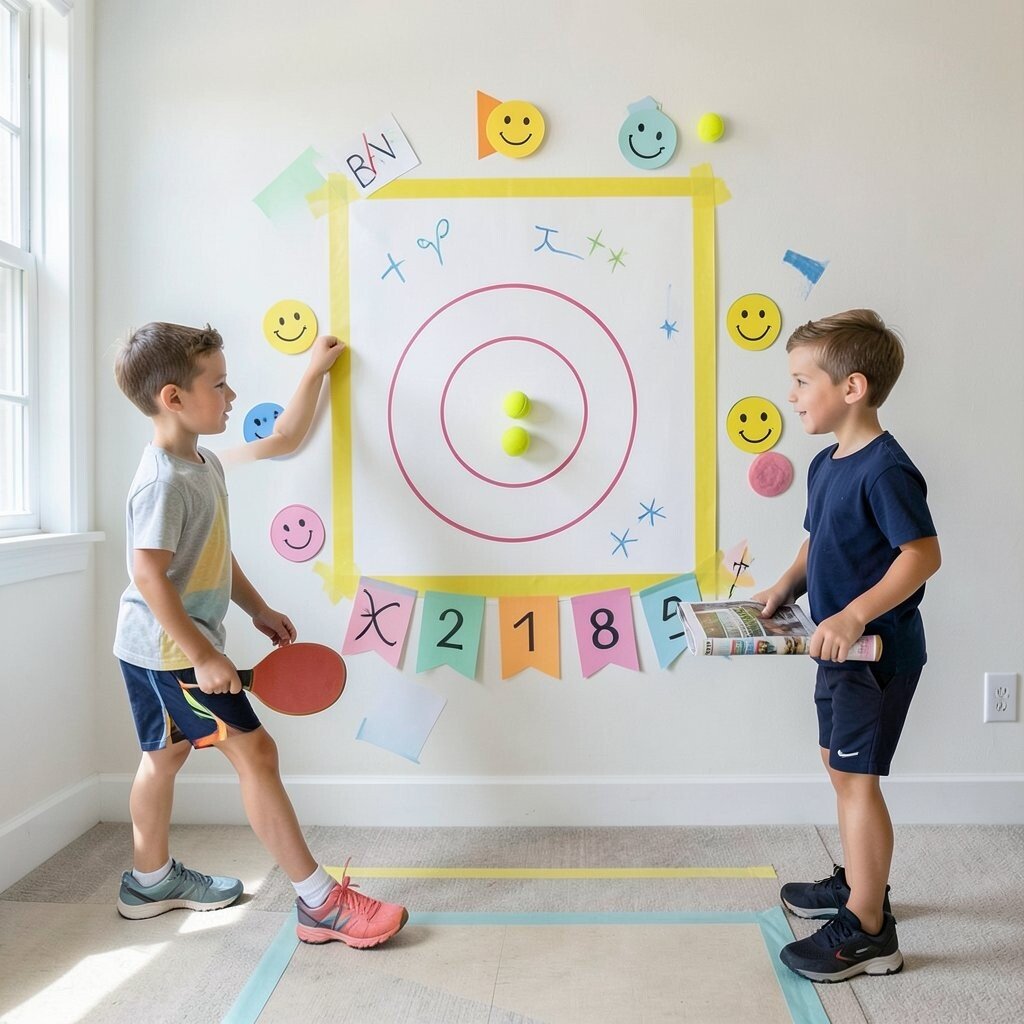
Create a wall rally challenge where kids keep the ball moving without dropping it. Mark a target area with painter’s tape and watch the ball bounce inside a bright rectangle, making a playful “game mural” on the wall.
Start with gentle taps using hands, then try short volleys with a paddle or rolled-up magazine. A practical tip is to wear grippy shoes and keep the target low enough for safe practice. Kids can personalize the rally area by painting or taping name labels, numbers on sports-style banners, or simple smiley faces around the target.
Cost stays low because tennis balls are inexpensive, and the idea matches current trends where kids practice skills while making their space look fun and customized. If a wall is not allowed, tape a “target box” on the floor and use a smaller tossing range.
6. Tennis Ball Slingshot Air Planes
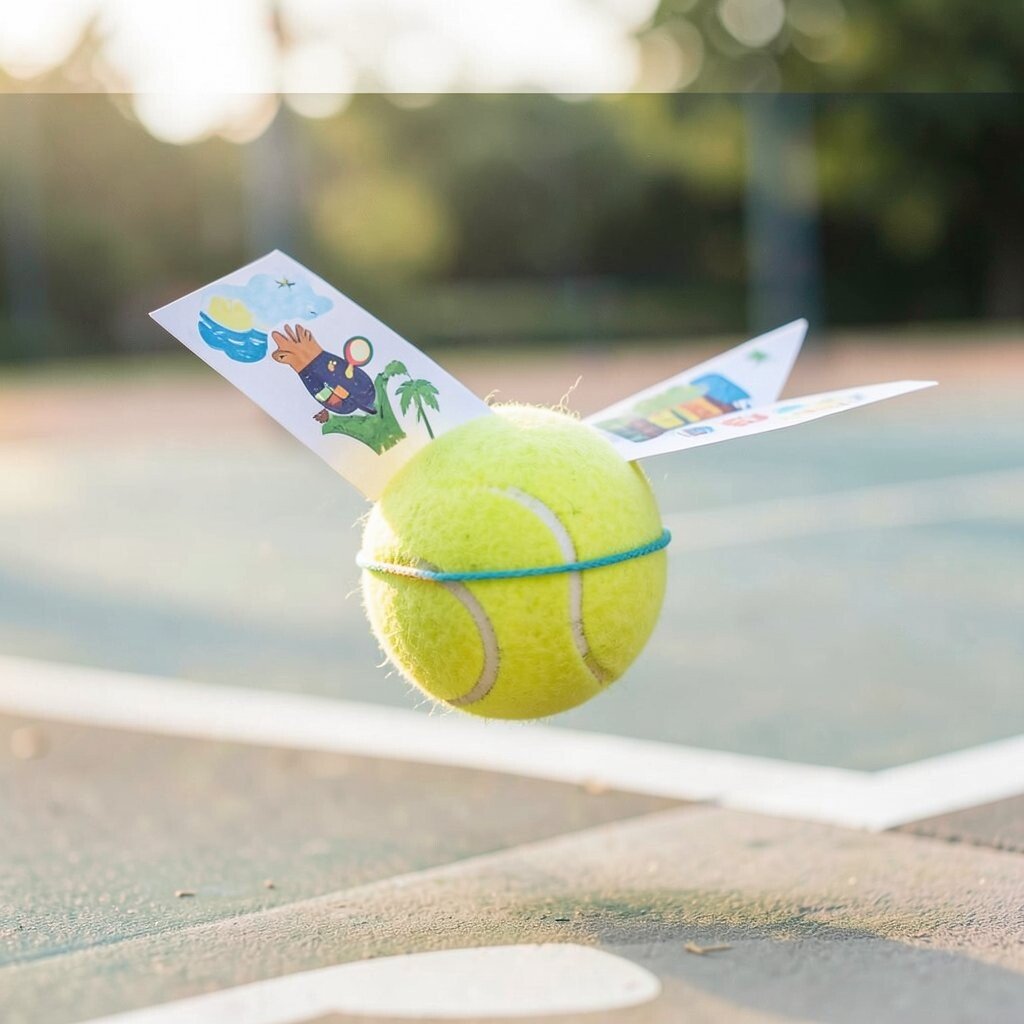
Build an air-launch toy by repurposing a tennis ball as the “carrier” for a lightweight paper plane. Kids stretch an elastic band around the ball and attach a small paper wing or mini sail, then gently launch it to see how it glides. The ball’s round shape creates a unique look, like a tiny planet with a paper craft floating behind it.
Use practical safety steps like launching only across an open space and keeping faces away from the path. Short launch distances help kids learn control, and thicker elastic bands may give more consistent movement. Kids can personalize planes by decorating with stickers, using different paper colors, and giving each design a theme such as ocean, space, or jungle.
7. Classroom-Friendly Tennis Ball Texture Hunt
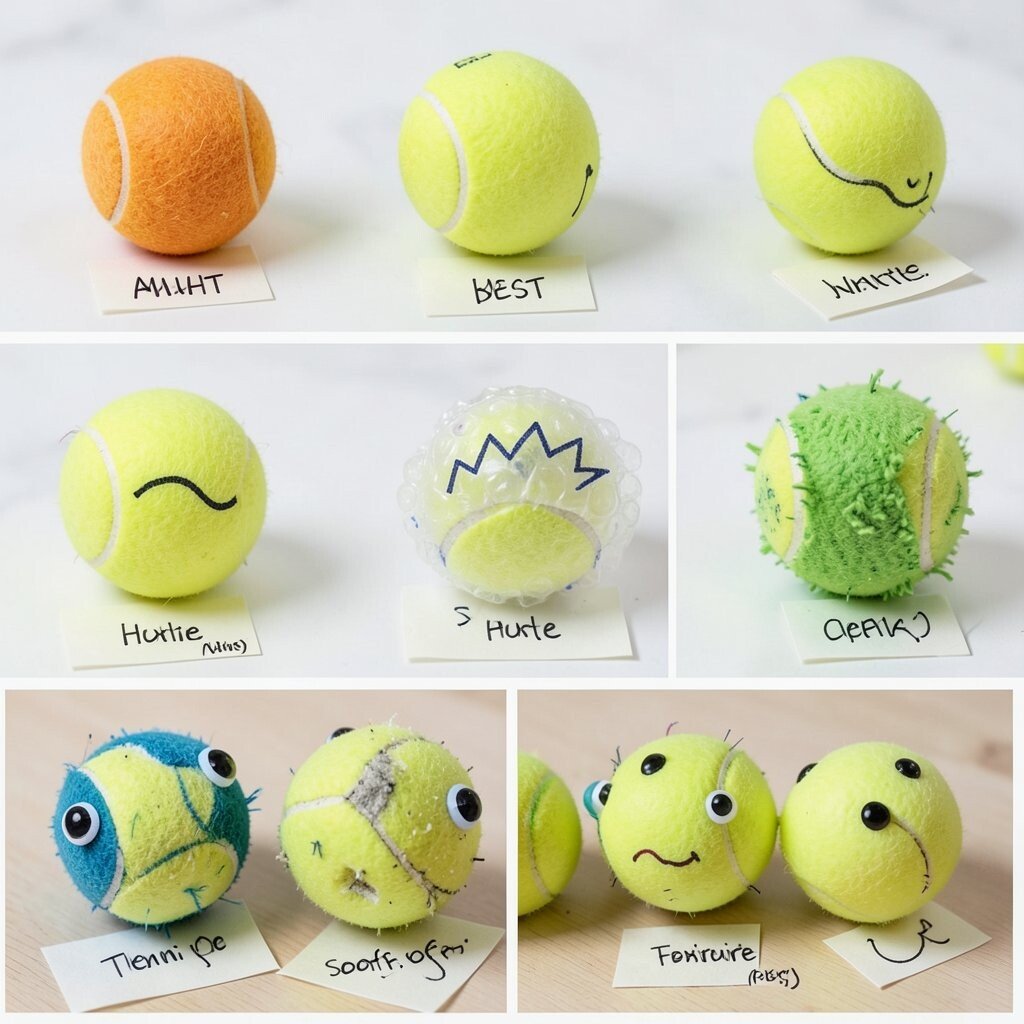
Start a texture hunt by labeling different tennis balls with various coverings like sock fabric, sandpaper scraps, or bubble wrap pieces. Kids roll each ball and feel the changing surface, and they can describe the sounds and sensations they notice. The visual variety is exciting because each ball looks like a different mini creature with its own “skin.”
Use practical tips such as trimming coverings so no loose bits snag on clothing. Keep materials safe by using non-irritating fabrics and supervising closely with small scraps. Kids can personalize their collection by drawing a symbol for each texture on masking tape, like a wave for smooth, a zigzag for bumpy, or a cloud for soft.
This project supports sensory learning, and it pairs well with current interest in hands-on mindfulness through simple body-centered activities. If you want variety on a budget, wrap one tennis ball with multiple textures and swap them during each round.
Have kids take turns being “texture detectives,” then let them sort balls by sound, feel, or speed after rolling.
8. Tennis Ball Camera Click Pinhole Effects
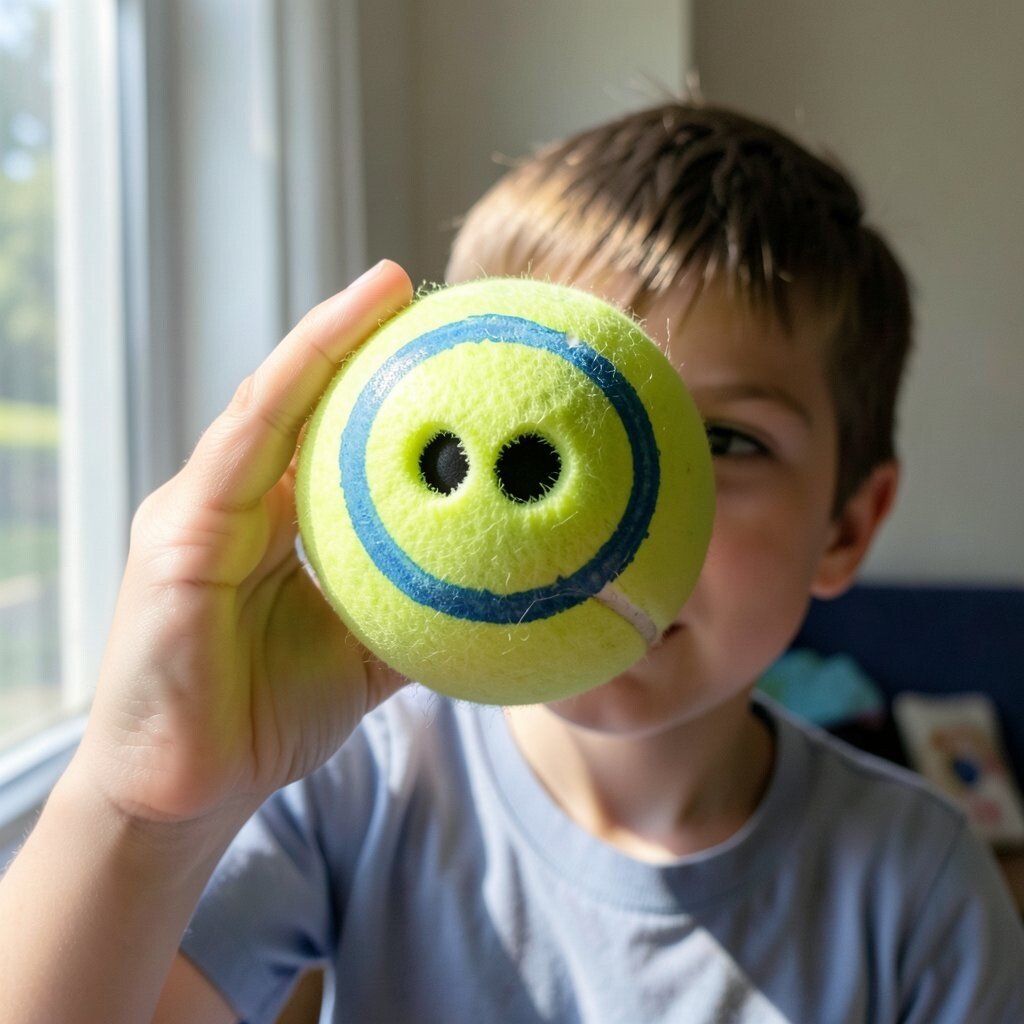
Use a tennis ball as a fun “focus tool” by turning it into a simple pinhole viewer. Kids punch a small hole in a tennis ball, then hold the ball up to one eye to see shapes change against light and shadows. The result looks mysterious and magical, like a tiny round portal with a dark dot at the center.
For practical results, make the hole clean and small, and try it near a window so there is enough light. Kids can personalize by drawing patterns around the hole area, using washable paint rings, or adding tape shapes to create different shadow silhouettes. Keep the activity short and safe by supervising and reminding kids not to stare at bright direct sunlight.
9. Sock-and-Tennis Ball Weather Forecast Buddy
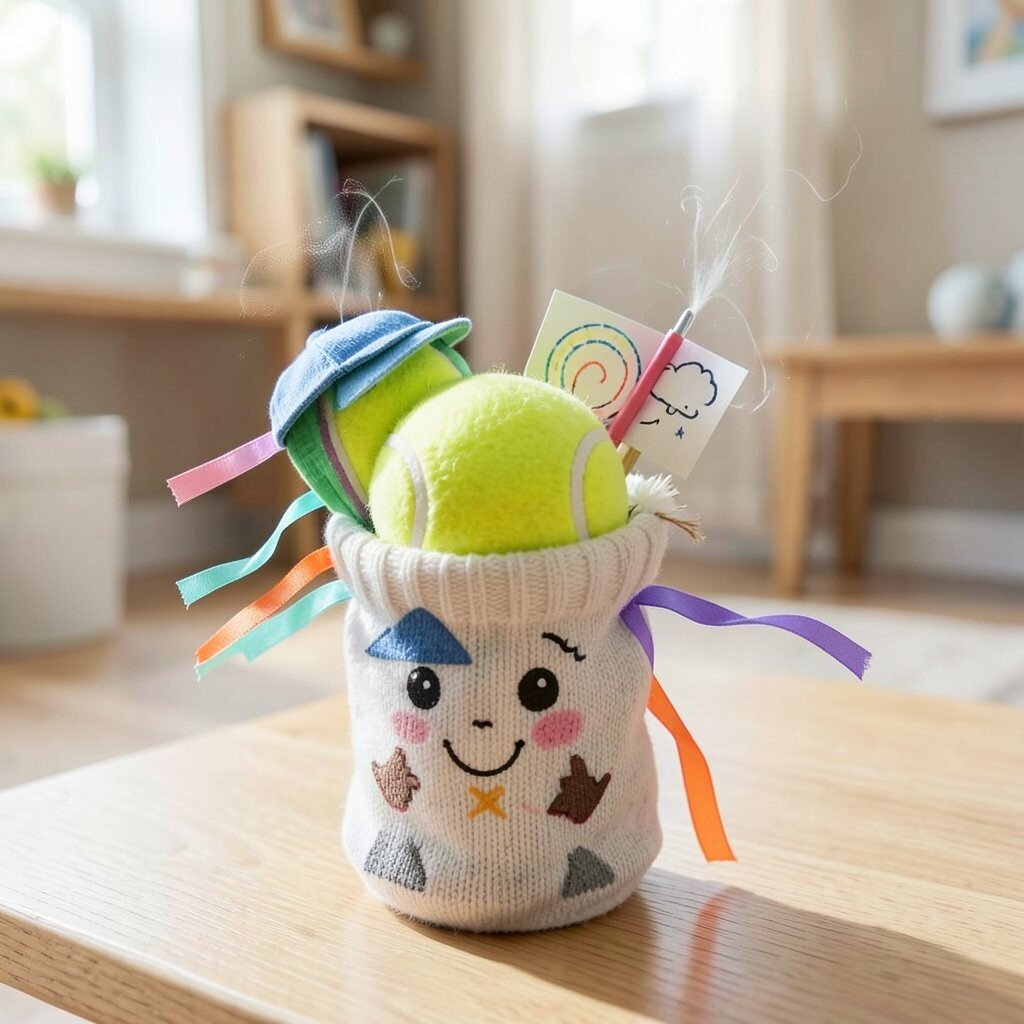
Create a “forecast buddy” by stuffing a sock with a tennis ball and adding a few lightweight weather items. Kids can attach tiny strips of ribbon or paper to the sock so the buddy seems to “react” when a fan turns on. The visual is playful because the buddy wiggles like it is predicting the next day, and every child gets a unique look based on their materials.
Use practical tips like choosing safe, light decorations so nothing falls into eyes. Pair it with simple observations by asking kids to describe how the ribbon moves and how that feels. Personalize the buddy with face drawings, hats, and different colors to match the kid’s favorite weather theme.
For cost considerations, most supplies are household items, and tennis balls are easy to reuse for future experiments. This kind of playful science fits current trends toward “learn while playing” in everyday home routines.
Try testing indoors with a small fan speed change so kids see how movement changes with air flow.
10. Tennis Ball Rainbow Message Mash-Up
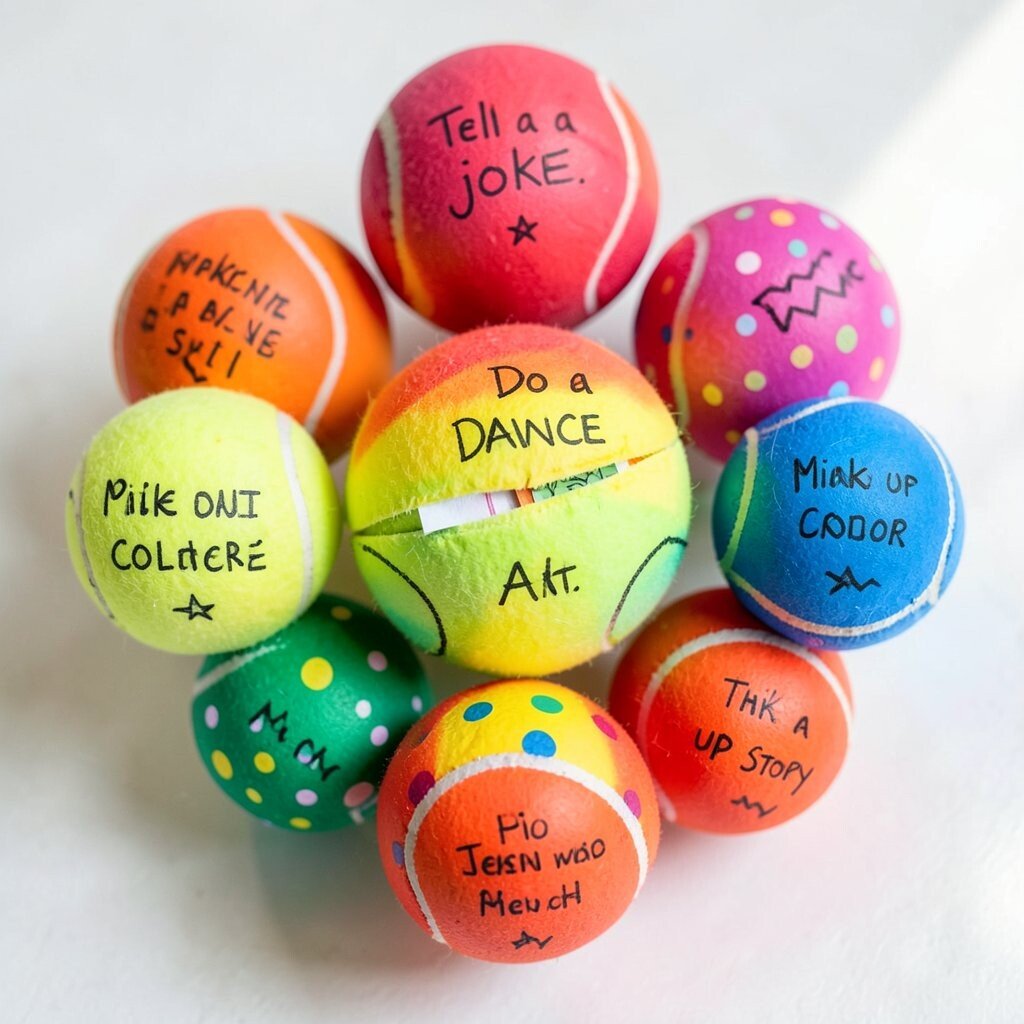
Make a message ball by painting tennis balls in rainbow colors and adding small paper strips inside when dry. Kids can write silly prompts like “Tell a joke,” “Do a dance,” or “Make up a story,” then roll the ball to pick a prompt color. The visual is bright and satisfying, like a tiny rainbow you can toss around, and it turns waiting time into something playful.
For practical use, make a small slit for slipping paper strips in and use tape to close it. Personalize by writing a different category on each color, such as sports, art, or kindness, so the game feels organized. Kids can also add patterns like zigzags or polka dots to make each ball unique.
11. DIY Tennis Ball Stress Relief Hand Trainers
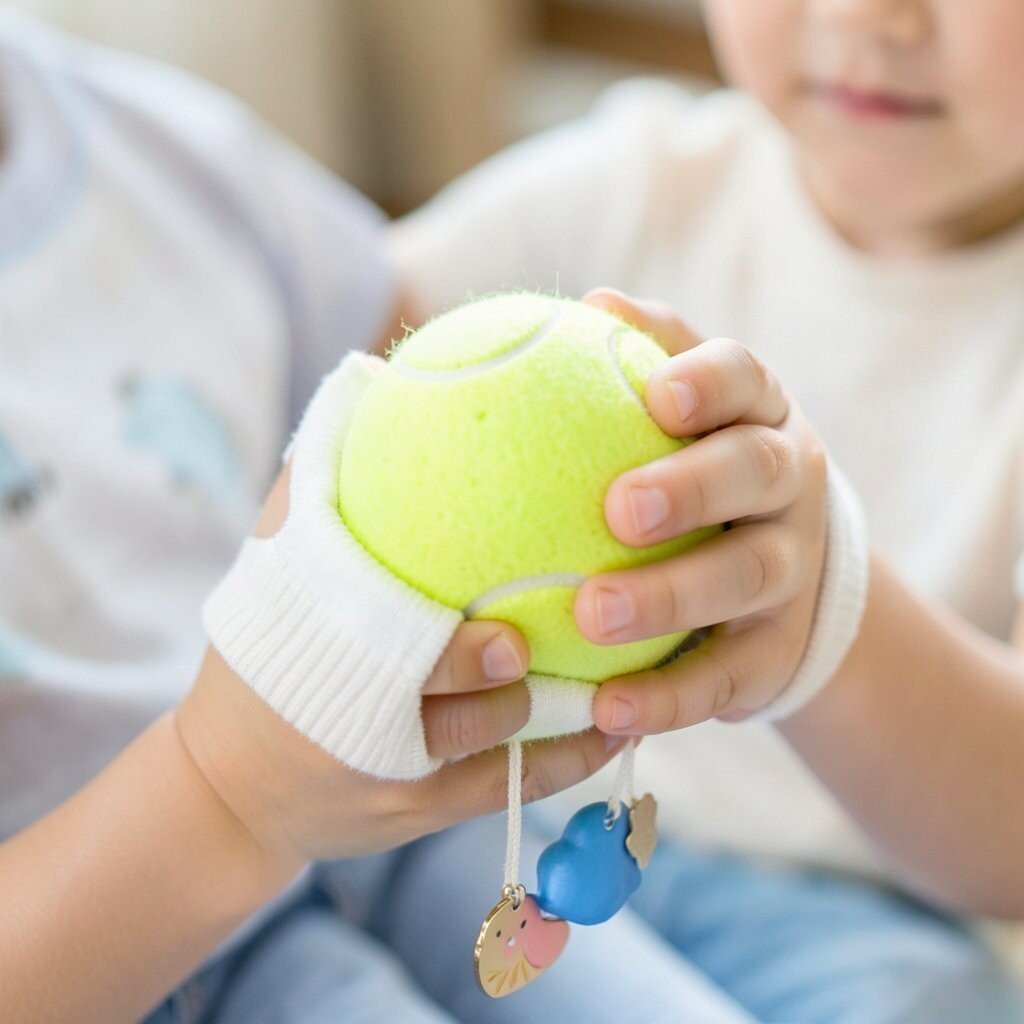
Turn tennis balls into gentle stress trainers by carving a shallow grip shape on the surface and adding a soft cover with a sleeve. Kids press, squeeze, and roll the ball in their hands while focusing on slow breathing. The visual is simple but comforting, and the ball feels like a personal tool they designed themselves.
Use practical safety tips by trimming any rough edges and choosing soft coverings so skin stays comfortable. Keep the pressure light, especially for younger kids, and encourage stretching afterward. For personalization ideas, let kids decorate with fabric paint or attach a small charm string to the ball so it feels special.
Cost stays low, and the project fits current wellness trends that encourage calm routines and body regulation in kid-friendly ways. Kids can also use the same ball during quiet reading time to stay grounded.
12. Tennis Ball Counting Pop-Up Game
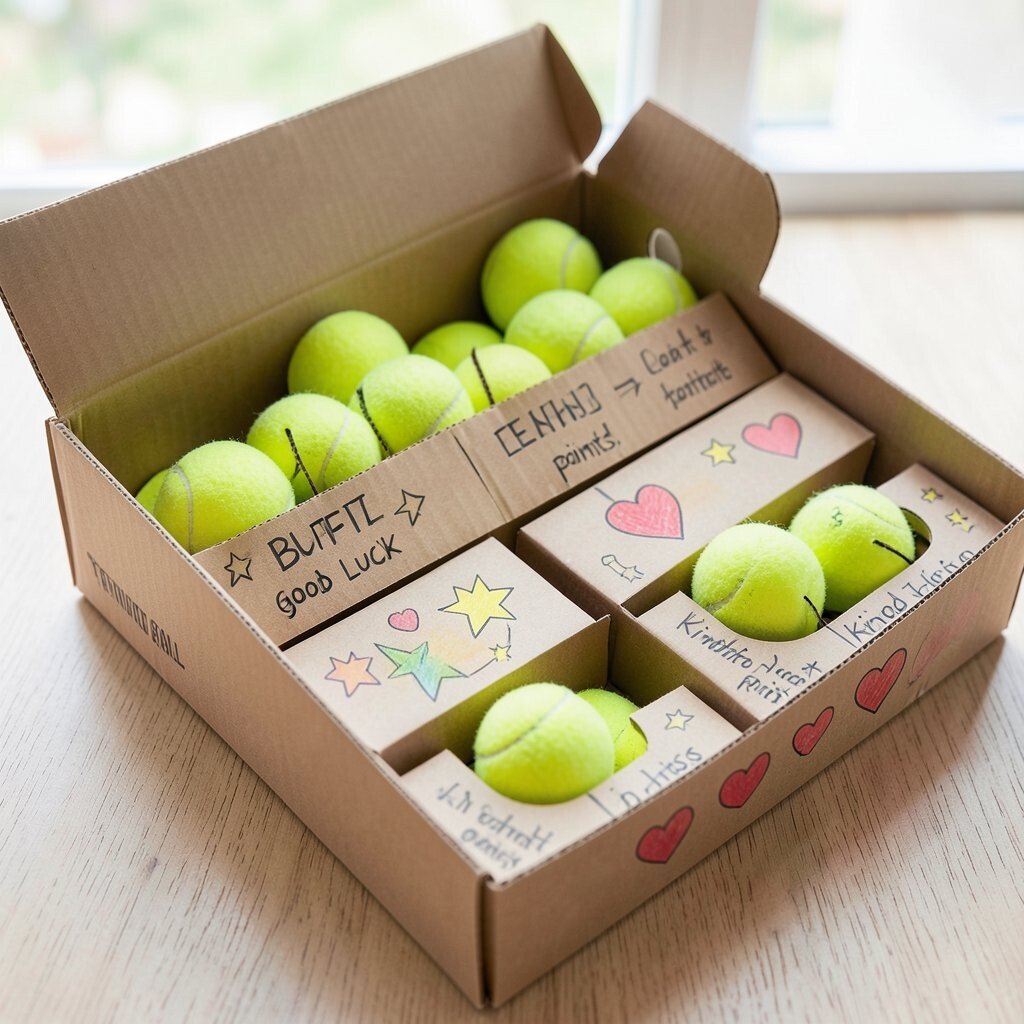
Create a pop-up counting game by placing tennis balls into a shoe box with slits cut for rolling and dropping. Kids gently push balls through so they pop out into a target tray, then count how many land in each section. The visual is fun and surprising, because balls bounce out like little deliveries and the tray looks like a mini game station.
For practical tips, cut slits wide enough for the ball but narrow enough to control the direction. Personalize the game by labeling sections with drawings, like stars for “good luck” or hearts for “kindness points.” Use washable markers so you can refresh the labels for different kids and different days.
Cost considerations are great because you can use one cardboard box and reuse it for long-term play. This style of maker gaming is part of a broader trend where kids build simple game machines at home.
Try different rules like grouping colors or sorting balls by how far they roll, which keeps the challenge varied.
13. Tennis Ball Sunlight Shadow Theater
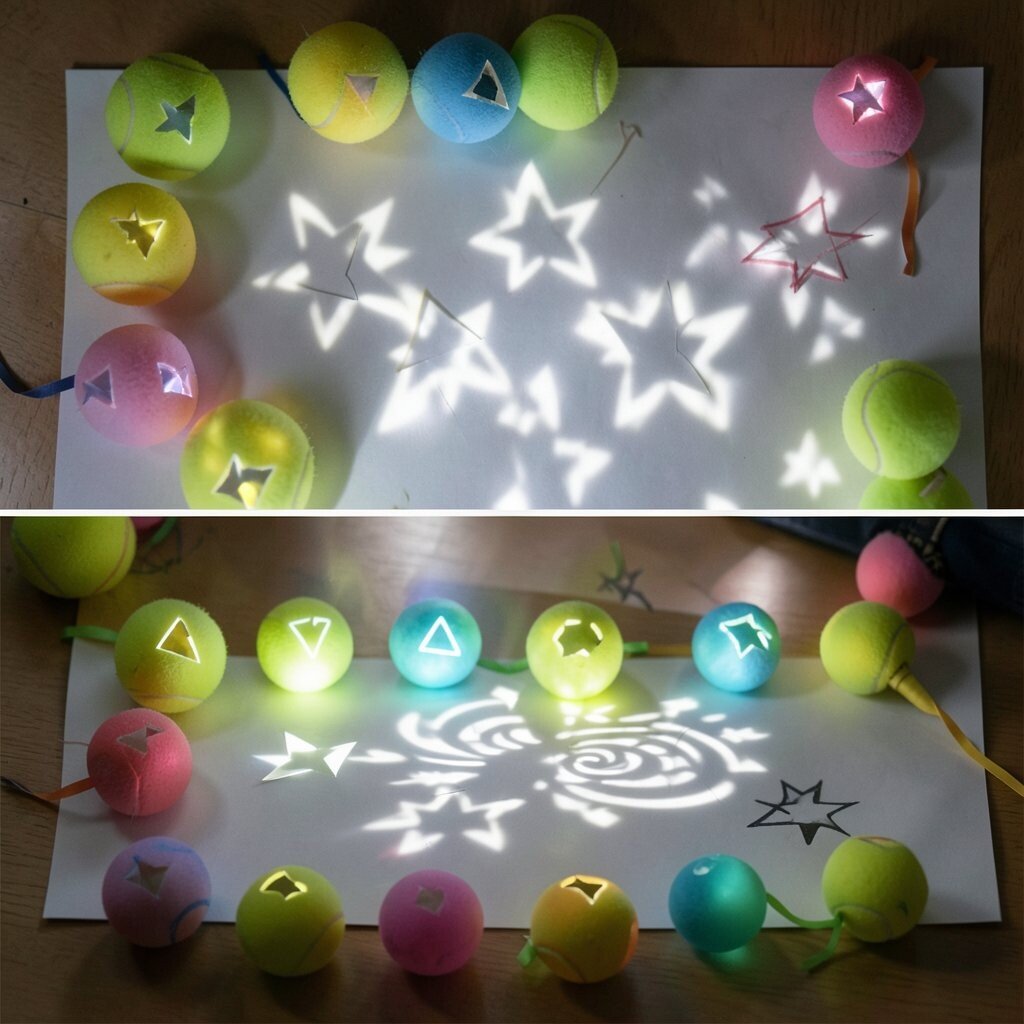
Build a shadow theater using tennis balls with cutout shapes taped or glued onto them. Kids shine a flashlight through or behind the ball and see how the light forms star, triangle, or spiral patterns on paper. The visual is like a mini stage for light, and every ball can cast a different mood depending on what shapes they create.
Use practical setup tips by using thick paper or a poster board screen and testing the flashlight angle. Personalize the theater by painting the balls in translucent colors, adding cutouts from foam sheets, or attaching tiny ribbons for moving shadows. For safety, use LED flashlights and supervise closely to avoid overheating or eye strain.
This project keeps cost low, and it connects to current STEAM interests by mixing art, physics, and storytelling. Kids can create “shadow characters” and make up performances as they watch the patterns shift with movement.
14. Tennis Ball Mosaics on a DIY Frame
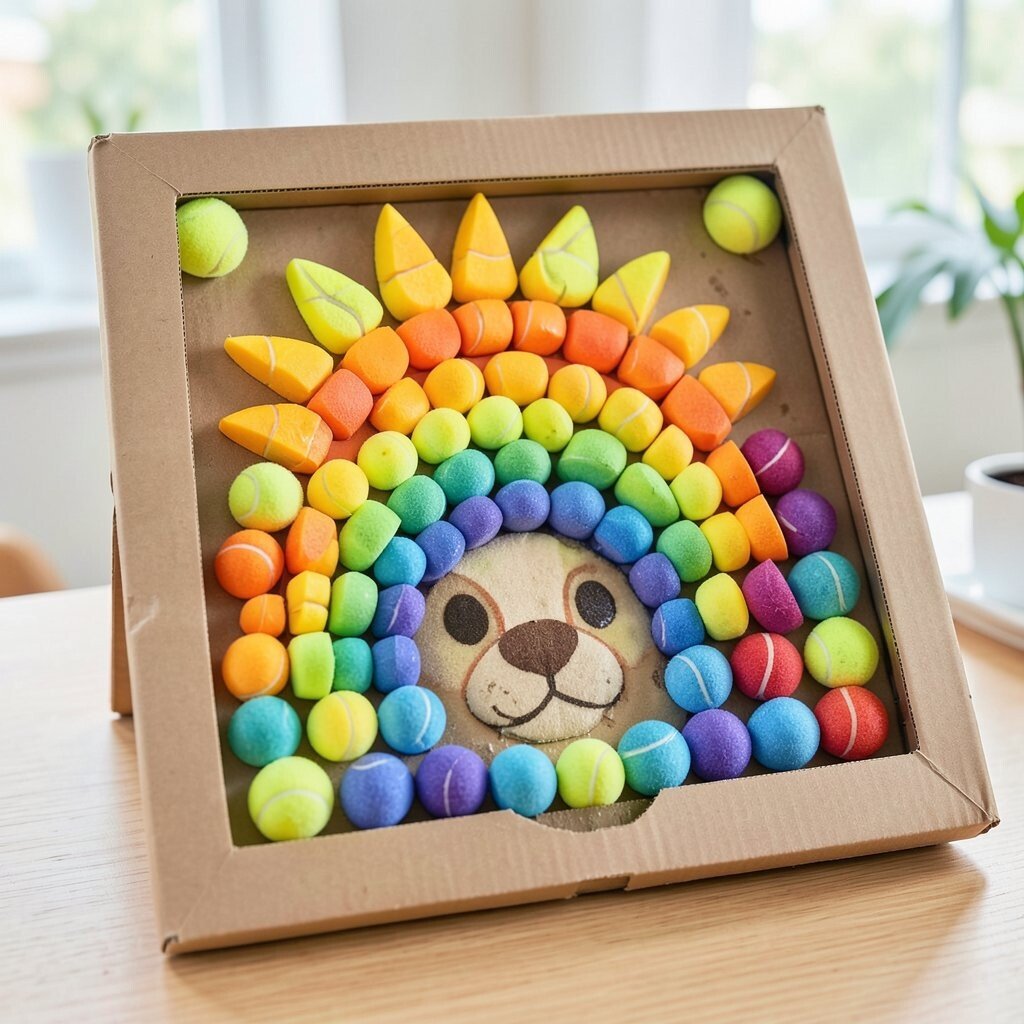
Make a tennis ball mosaic by cutting tennis balls into small segments and sticking them onto a cardboard frame. Kids can create a big sun, a rainbow arch, or a favorite animal face by arranging curved pieces in a pattern. The visual texture is the star here, because the foam bumps catch light and make the picture feel lively and three-dimensional.
For practical tips, use a sturdy base like a pizza box lid and press pieces firmly so they stay in place. Personalize the mosaic by choosing color combinations that match a room, a sports team, or a holiday theme. If pieces don’t stick at first, let glue dry longer before moving the art.
15. Tennis Ball Family Talent Toss Challenge
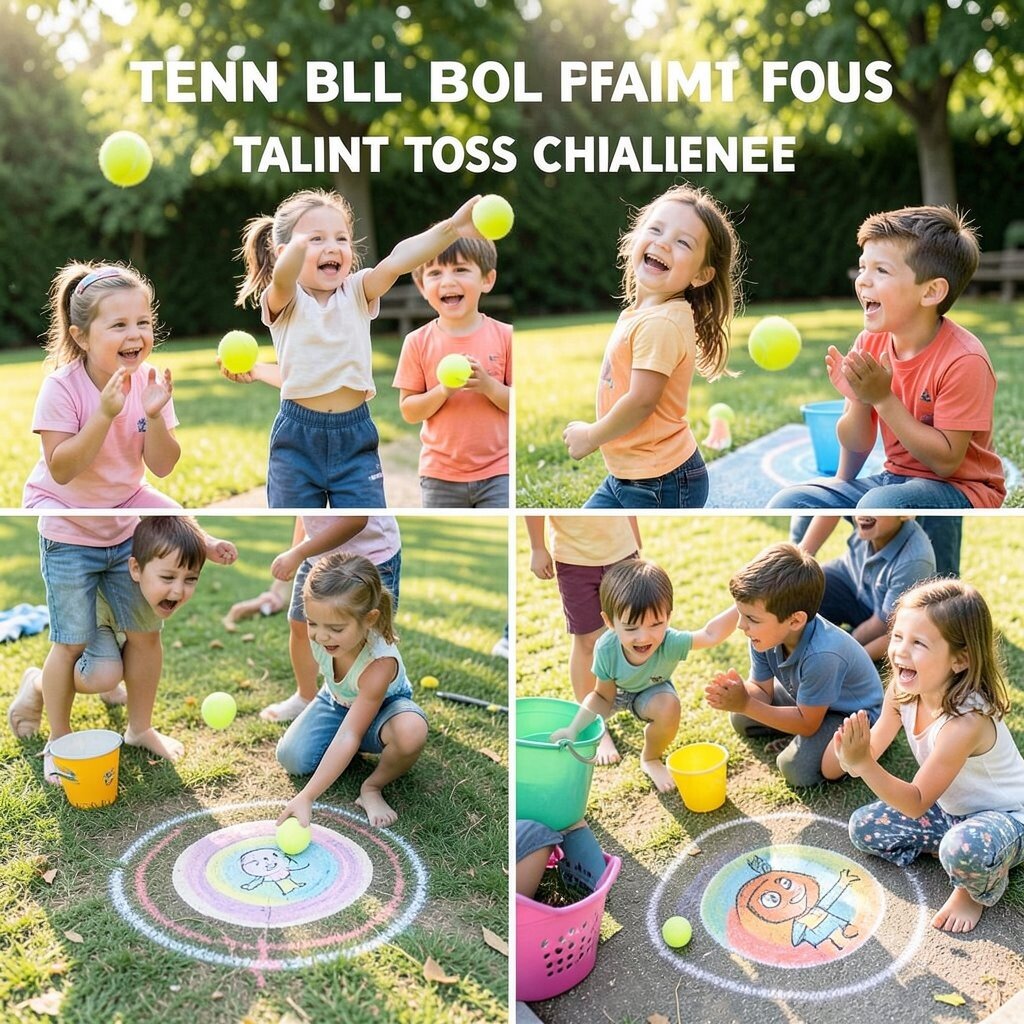
Organize a family challenge where each kid tosses a tennis ball into a designated target to earn a “talent moment.” Targets can be buckets, laundry baskets, or chalk circles, and the talent moments can be mini skills like a clap routine or a two-minute drawing sprint. The visual is bright and energetic, with balls flying toward targets and kids cheering in a friendly, playful way.
Use practical tips like setting up targets at different distances so every child can succeed. Keep rules flexible so the focus stays on effort, not perfect throws. Kids can personalize by decorating their target with a favorite character or color and writing tiny prompts that match their interests.
For cost considerations, you can use what you already have and only add a few craft supplies for decoration. This idea fits current trends in family time that mix movement with creative challenges and keeps kids engaged without expensive kits.
Try a rotation schedule so everyone gets a chance to toss and share, and keep the sessions short enough to stay fun.