A curtain of imagination can turn any corner into a stage. With simple materials and playful roles, your home starts telling stories in motion.
Whether you’re new to puppets or you already have a box of props, these ideas will help your creative play feel bigger, louder, and more personal.
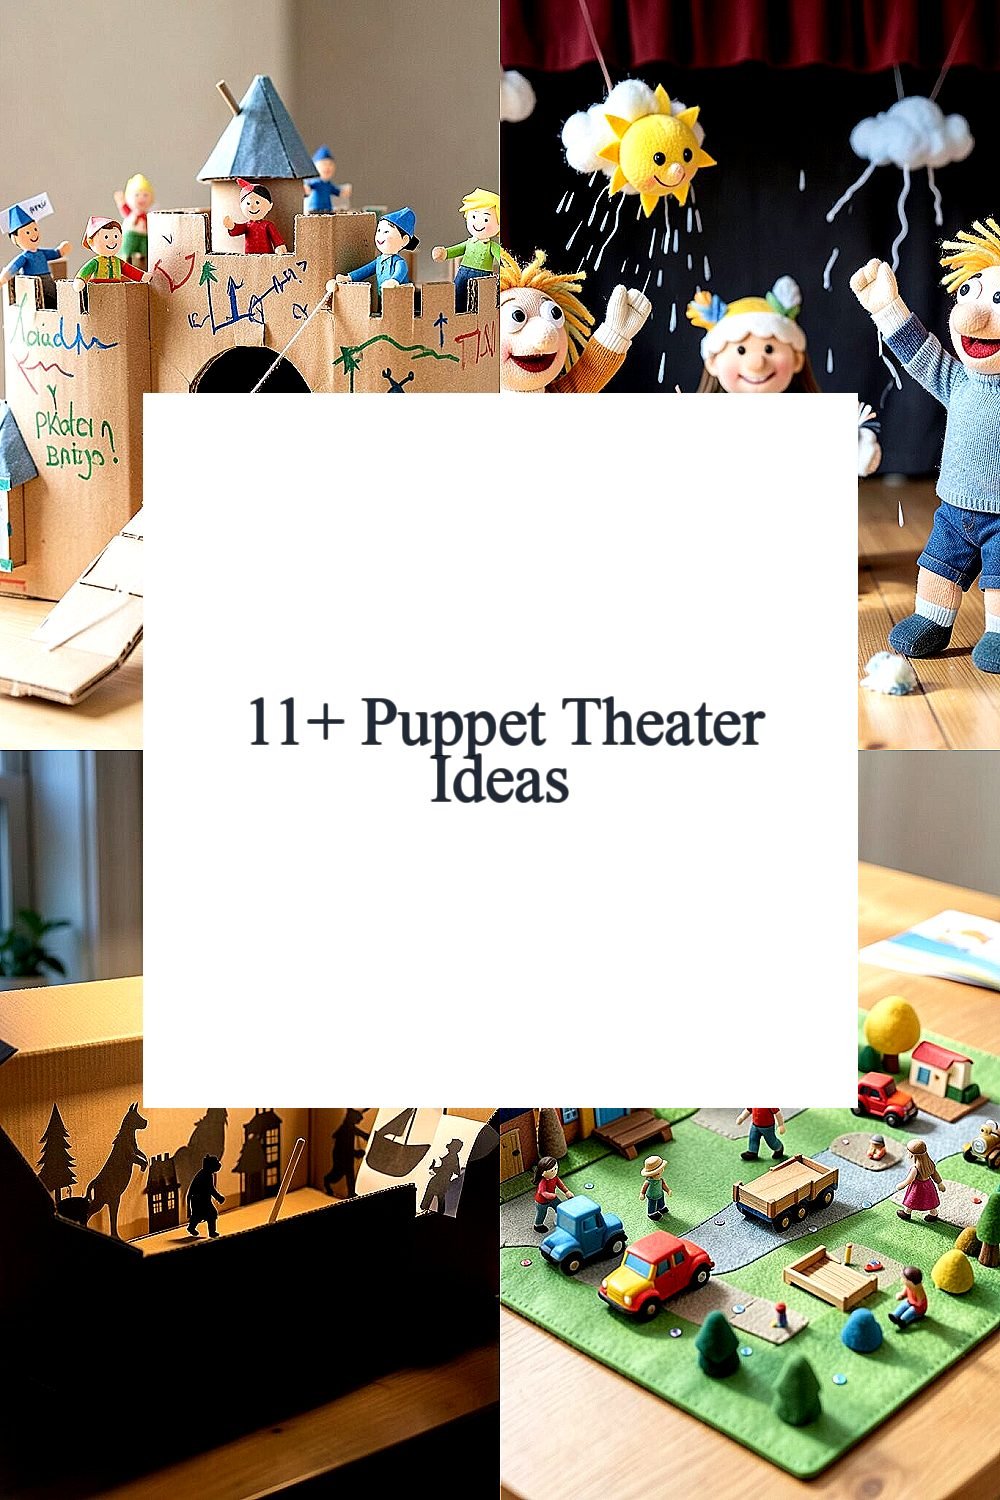
1. Cardboard Castle With a Moving Drawbridge

Build a small cardboard castle and cut an opening for a doorway. Place a string or paper strip as a drawbridge that you can lift and lower while characters enter.
Paint battlements with child-safe markers and add window “guards” using tiny paper figures. Let your puppet characters call out over the bridge and make the castle feel alive. This setup brings clear visuals that kids can remember and repeat with joy.
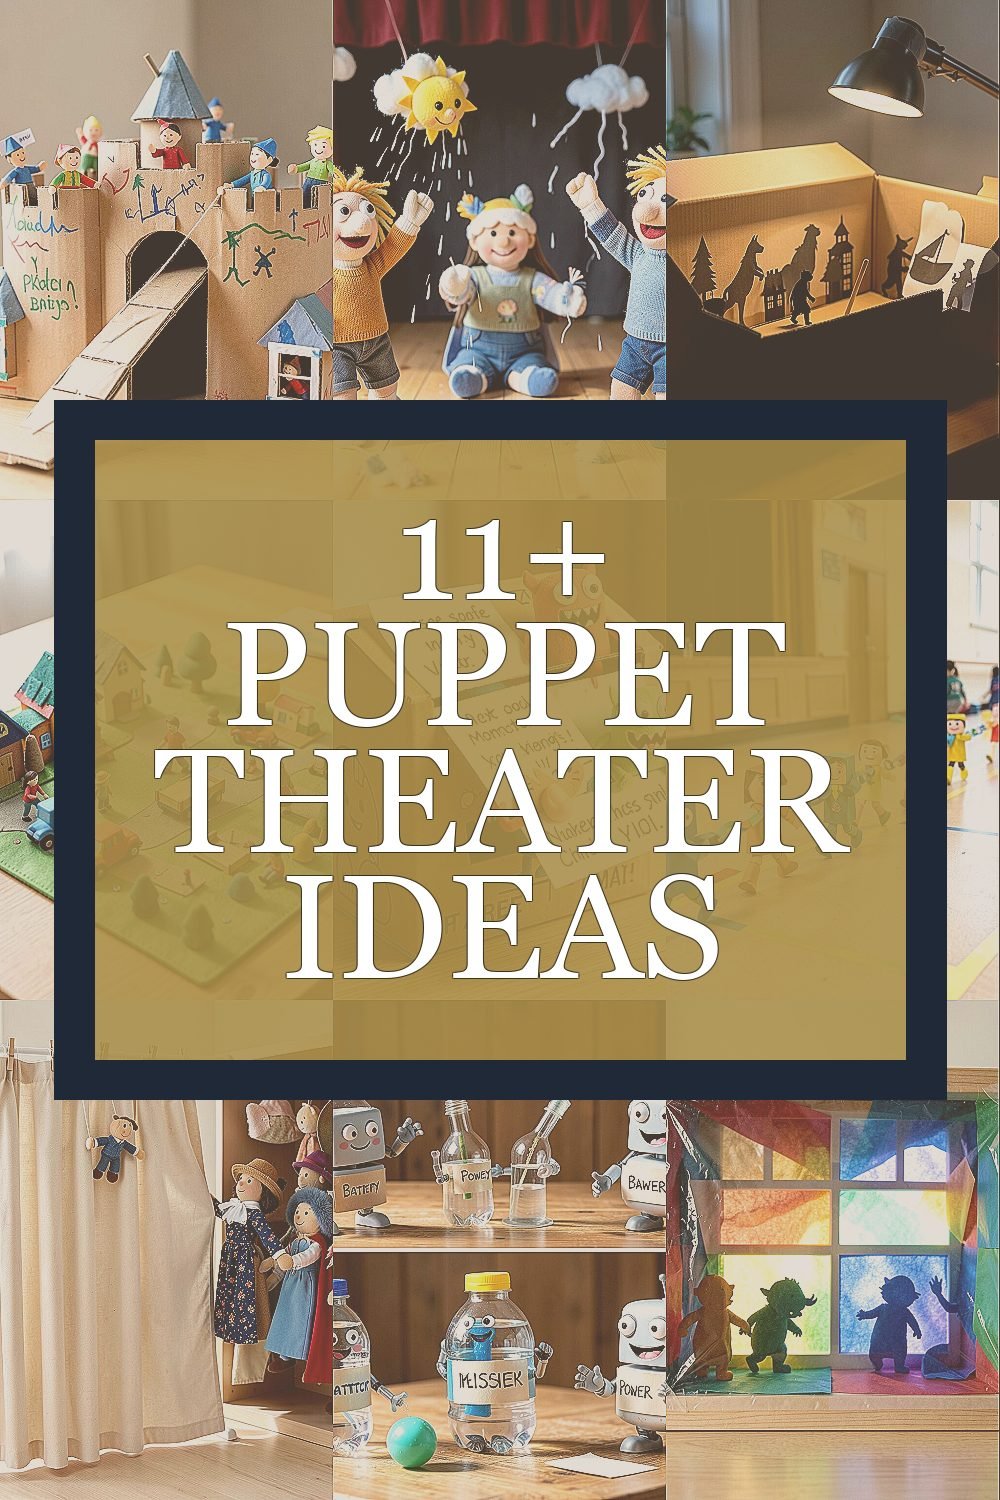
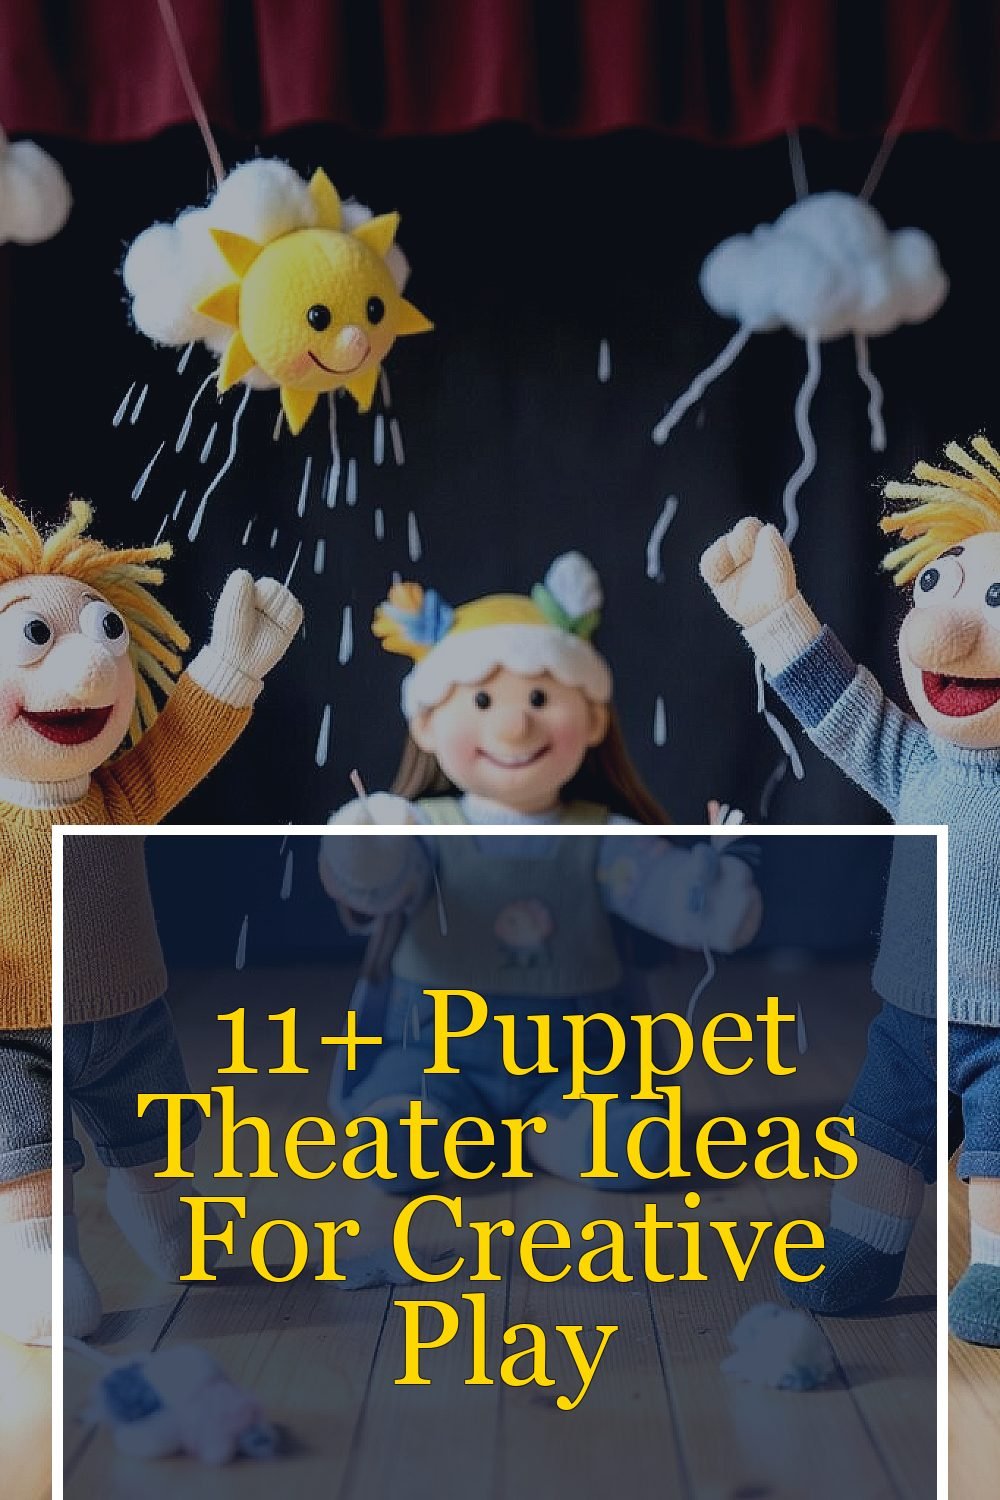
2. Sock Puppets With Weather Personalities

Turn plain socks into characters by adding felt for eyes, fabric for mouths, and yarn for hair. Give each puppet a “weather job” like sunny helper or windy messenger.
During play, change the story mood using simple actions such as tapping fingers for rain or waving arms for storms. Keep it playful and low pressure so kids can steer the scenes. A weather theme supports storytelling because it naturally creates problems and solutions.
For personalization, match colors and patterns to what your child likes today. Use leftover fabric scraps so cost stays low and cleanup stays easy. It also fits current trend ideas like themed character sets and character-driven scripts.
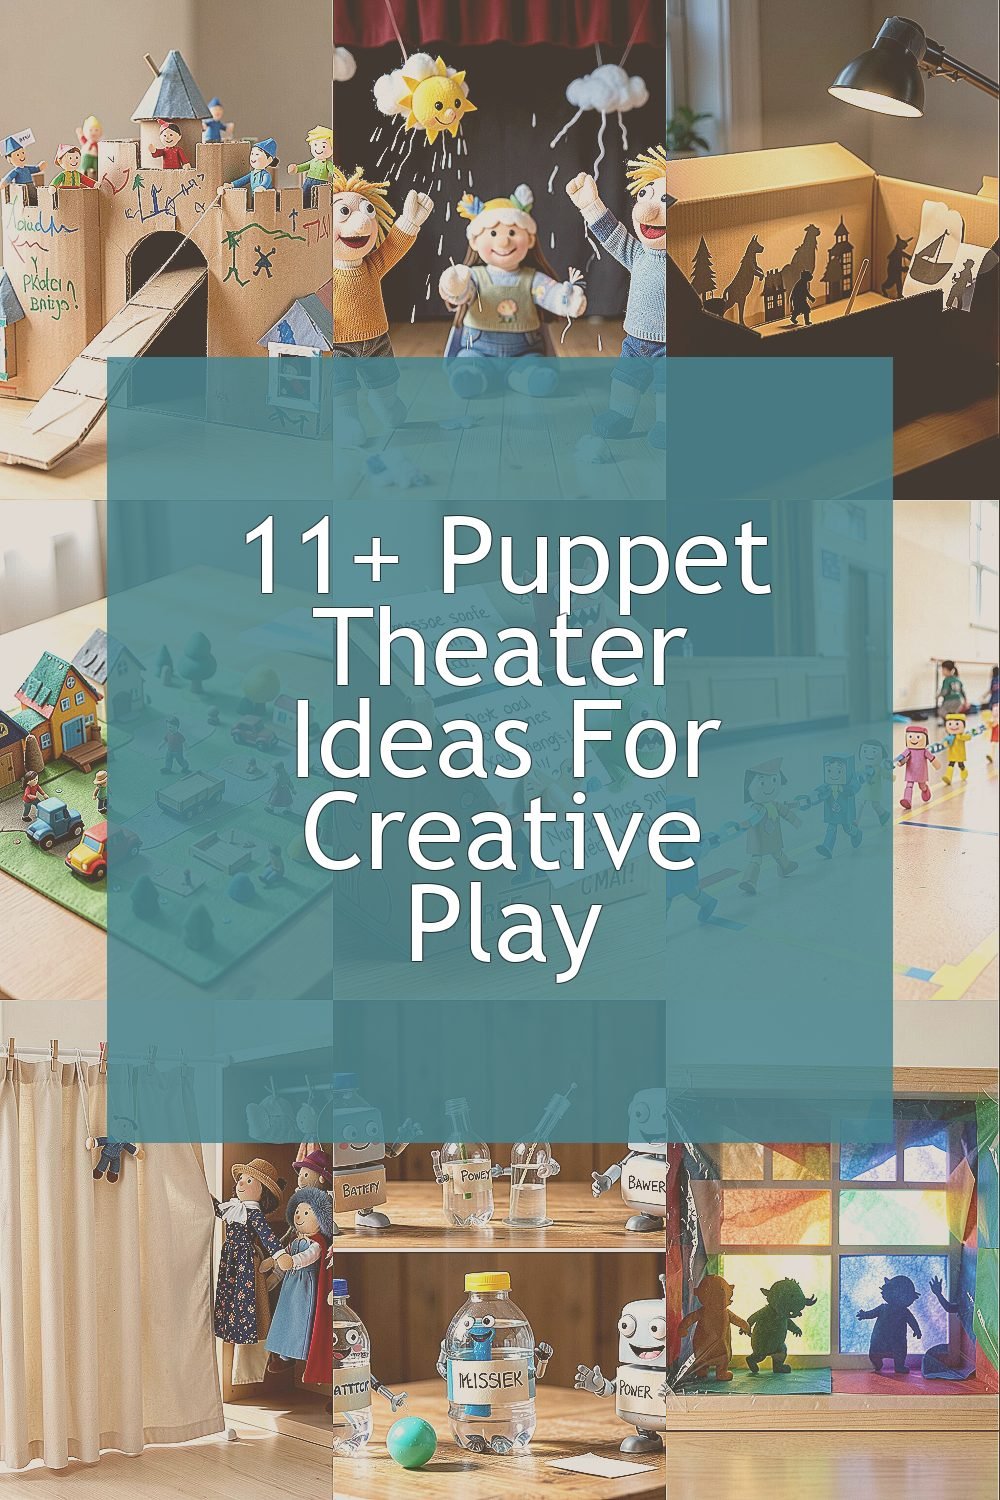
3. Shoebox Shadow Theater Under a Desk Lamp

Use a shoebox as a stage and cut a viewing window on one side. Place a desk lamp behind the box and slide paper cutouts into the light path.
Show silhouettes of animals, buildings, or favorite characters and let the shadows “perform” on the screen. Add a thin stick or cardboard handle so each shape moves smoothly. Kids love watching figures grow and shrink as you adjust distance and angle.
Try a simple “scene swap” method by preparing a few cutouts ahead of time, like a forest, a boat, and a cloud. Use translucent paper for softer effects and thicker paper for bold edges. This idea is unique because the audience sees the world like a magical mural in the dark.
To keep it practical, tape a small piece of paper around the lamp edge to reduce glare. Store cutouts flat in a folder so they’re ready for next play day. You’ll get lots of repeat sessions without spending on new materials.
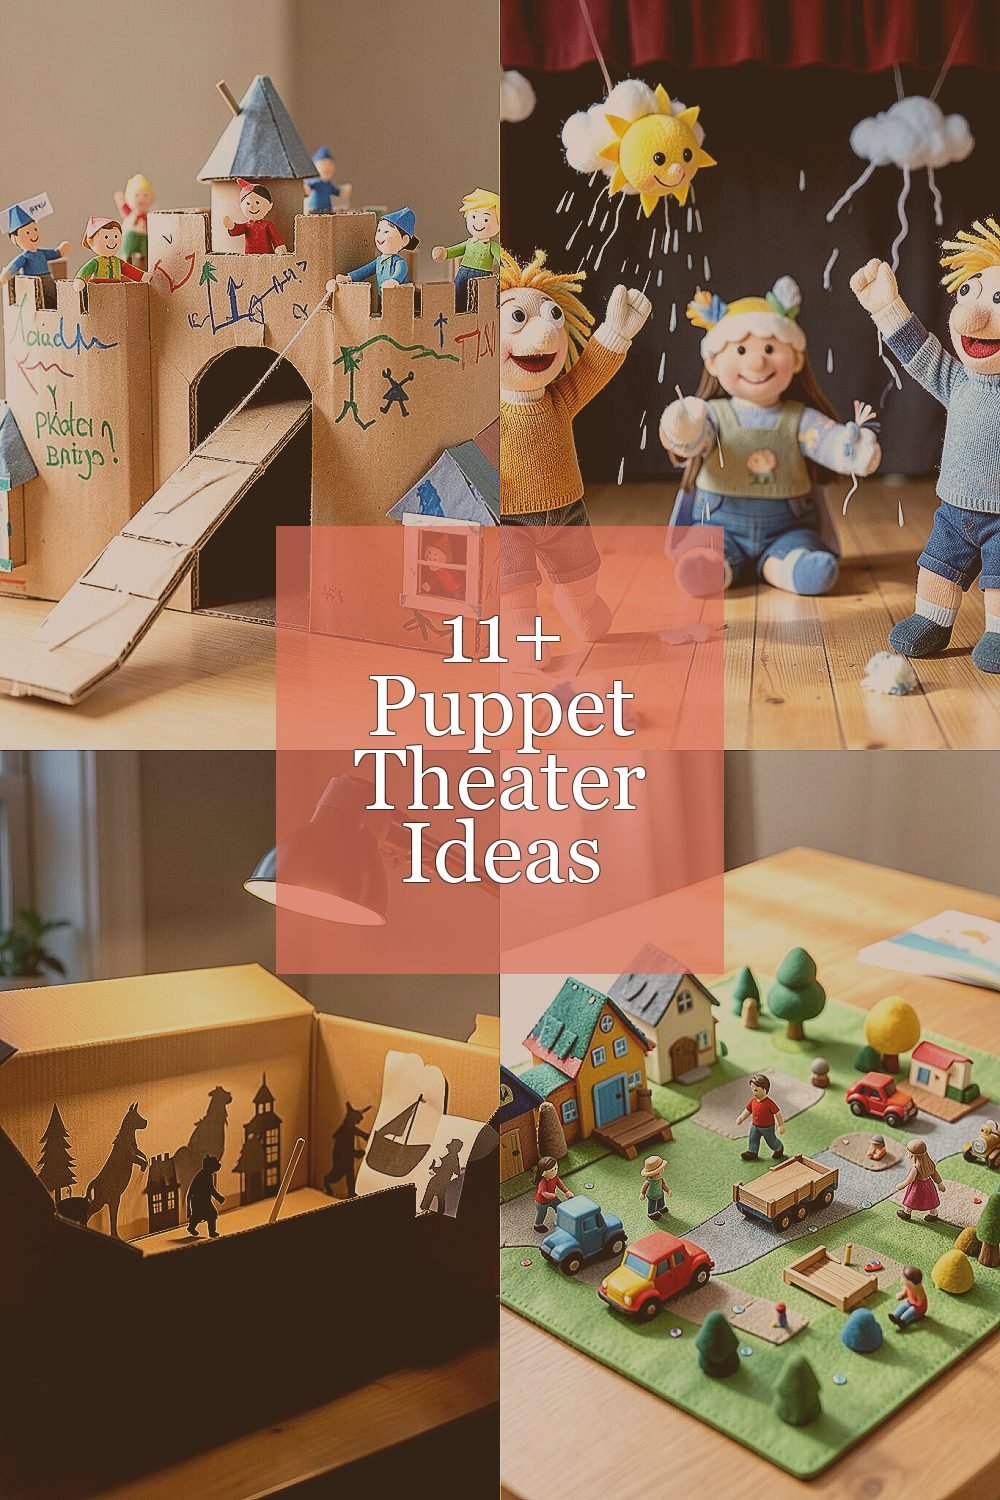
4. Felt Story Mats With Magnetic Set Pieces

Create a felt mat that sits on a table and act like the ground for your puppet scene. Add small magnetic dots to felt buildings, trees, and vehicles so pieces can be rearranged fast.
Let puppets walk across the mat while kids move sets to show travel and changing locations. This method supports clear visuals and makes storytelling feel organized without being strict. It also boosts early planning skills because children think about where things belong.
5. Pop-Up Monster Mail for Surprise Characters

Make a mailbox from a cereal box and create pop-up flaps inside. When you open each flap, a new mini character appears with a punchy sound using a finger drum on the box.
Write a short “message” on a scrap of paper and place it behind the flap, then have your puppet characters read it out loud. Use different shapes for different monsters, like triangle teeth for a “silly” monster and round eyes for a “curious” one. The surprise pull keeps play exciting and helps children practice quick thinking.
For personalization, let kids name the monsters using their favorite words or hobbies. You can keep costs down by reusing box scraps and using markers instead of expensive decorations. This feels current because surprise-character formats match how many kids enjoy game-like reveals.
6. Paper Chain Puppet Parade With a Theme Route

Fold strips of paper into chain links and attach tiny puppet faces to each link. Turn the chain into a parade where each link represents a character with a specific role.
Choose a route theme like “around the world,” “space commute,” or “underwater city.” Have puppets march by pulling the chain through a line drawn on the floor with tape. This gives a moving visual that kids can follow and it helps them structure a beginning, middle, and end.
7. Hanger Puppet Theater With Clips and Costumes

Hang a long curtain from a plastic hanger stand, then use clothespins or binder clips to attach puppets. Place a small rod behind the curtain so clips hold costumes in place while characters come in and out.
Design a “closet” area where puppets change outfits quickly by swapping a hat, cape, or scarf. When kids pull the curtain back, the character reveal feels dramatic and fun. This setup supports variety without needing a complicated stage build.
8. Water Bottle Bot Puppets for Science-Like Stories

Decorate empty plastic bottles with tape, paper, and markers to create cute robots and water-bot characters. Add simple labels on pieces of paper that you can slide in and out, like “Battery” or “Power Core.”
Act out playful “missions” where puppets solve silly problems using pretend experiments. You can roll a small ball to represent a test and make robot puppets react with different gestures and voices. The visual of round bottles makes the characters feel sturdy and built to last.
For practical tips, keep the bottles capped and avoid anything messy so play stays tidy. Use safe materials like washable paint and avoid strong adhesives that might tear plastic. This idea is unique because it combines puppet performance with hands-on storytelling that feels like mini science adventures.
9. Transparent Tape Window Stage With Color Plays

Create a small stage by taping clear plastic film over a frame, then adding colored paper behind it. Make colored “light filters” by layering tissue paper so your puppets look like they’re under different skies.
Move puppet silhouettes close to the window to create bright outlines and shadow shapes. Kids will notice how colors change mood and lighting during the story. This benefits storytelling because it gives a visible cue for happy scenes, calm scenes, and exciting scenes.
Personalize by choosing colors that match seasons in your area, like fall browns or winter blues. Keep cost low by using tissue paper scraps and common tape. It also connects with current trends in maker play because kids love lighting effects and simple visual “wow” moments.
10. Sock and Stick Puppet Marionette Bridge

Use craft sticks or wooden spoons as puppet handles and attach sock scraps as the body. Create a simple bridge prop using a cardboard strip on two supports, then stage “crossing” scenes for each puppet.
Give each puppet a personality through movement, such as heavy steps for a strong character and light steps for a curious one. Encourage kids to synchronize puppet steps with counting or rhythmic tapping. This builds coordination and helps children practice expressive body language.
To keep it practical, store puppets by handle size in a small bin so setup stays quick. Personalize by adding tiny accessories like button belts or yarn tails made from leftovers. The uniqueness comes from turning everyday items into a mini marionette bridge where crossing becomes the main action.
11. Toilet Paper Roll Puppet Portrait Gallery

Cut toilet paper rolls into different heights and decorate each roll as a portrait character. Glue or tape on yarn hair, paper collars, and felt ears to make a whole gallery of puppets.
Set the portraits upright like museum stands and have each puppet “introduce” itself with a short line. Then your kid can choose who speaks first, which makes the play feel interactive and fair. This approach is beneficial because it supports memory, turn-taking, and confidence in small steps.
For cost considerations, toilet paper rolls are free or very cheap, so you can make a large cast. Personalize by matching the gallery to real-life roles like a chef, a firefighter, or a teacher. It also fits current trends where kids enjoy character collections and building sets of themed friends.
Use a tray or shoebox lid as the display base so everything stays neat during the show. Add a “ticket” paper so audience members can decide which character gets spotlight time next.
12. Folding Paper Theater With Script Cards

Make a folding theater from sturdy paper or poster board that opens like a book. Attach two side panels with tape hinges so the stage stays upright and folds flat for storage.
Create script cards on small paper squares and let puppets act out the cards in order. Make cards with simple prompts like “a secret,” “a visit,” or “a surprise job,” and let kids draw one card when they want a new scene. This gives structure without limiting creativity, and it keeps play from running out too quickly.
For personalization, write prompts that match your child’s favorite games, stories, or places. Keep costs low by using scrap paper and markers you already own. This idea feels especially modern because it blends maker theater with card-driven play that mirrors how many kids enjoy guided storytelling games.
To add a visual flourish, decorate the front like curtains and include small “spotlight” circles made from cut paper. Adjust the spotlight by moving your hand light source during performance for extra magic. When the theater folds shut, you get a tidy creative kit ready for the next show.