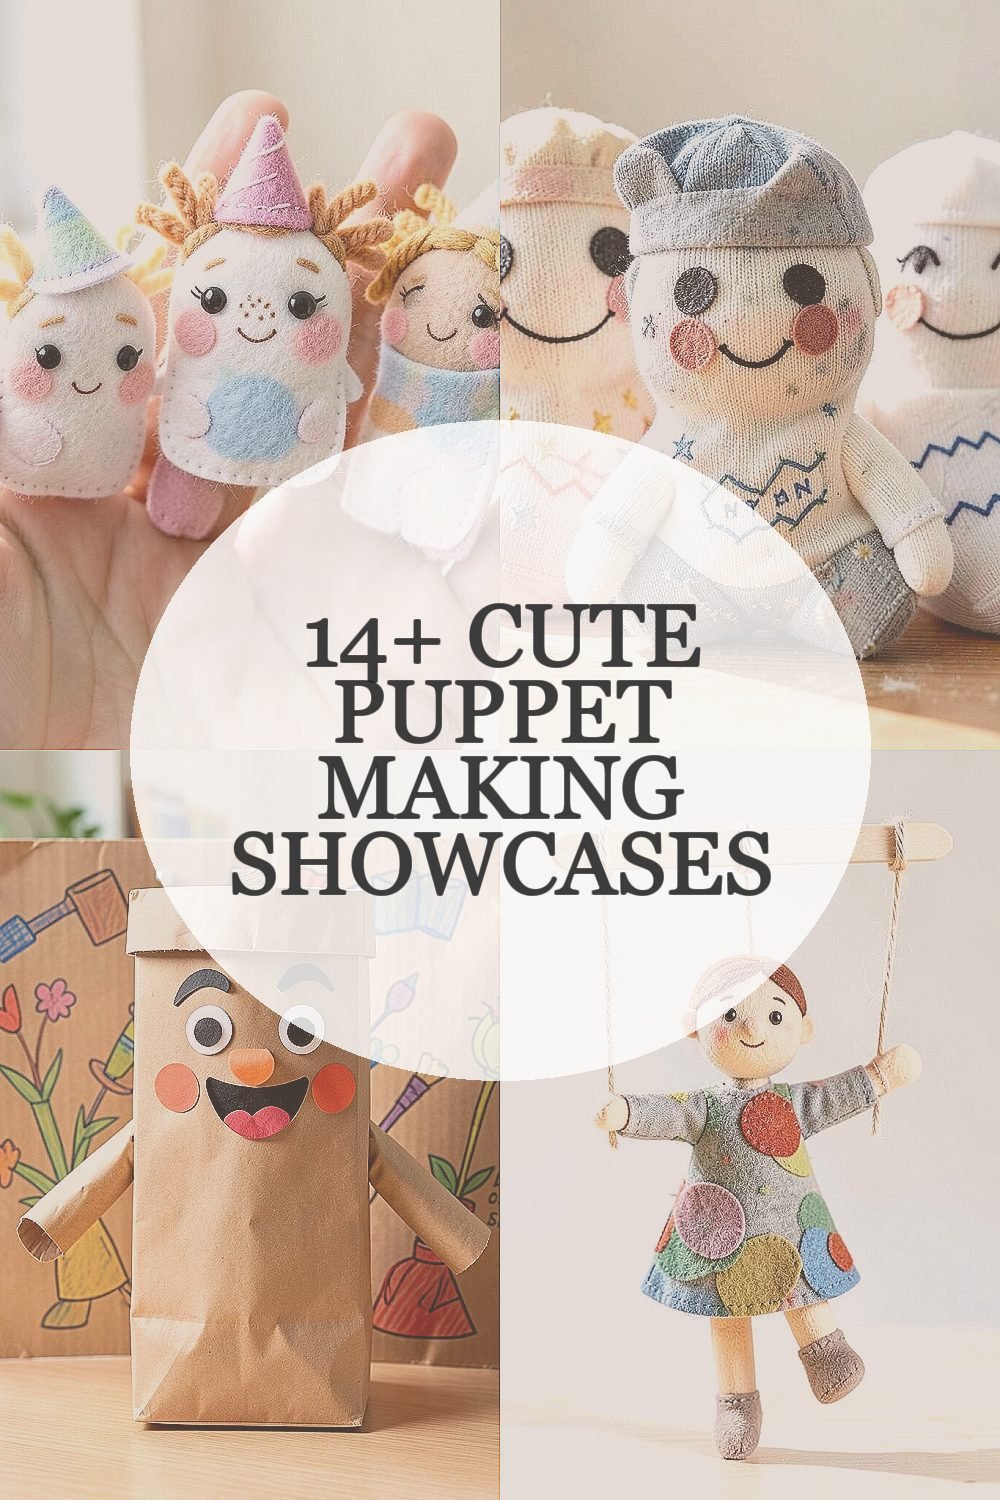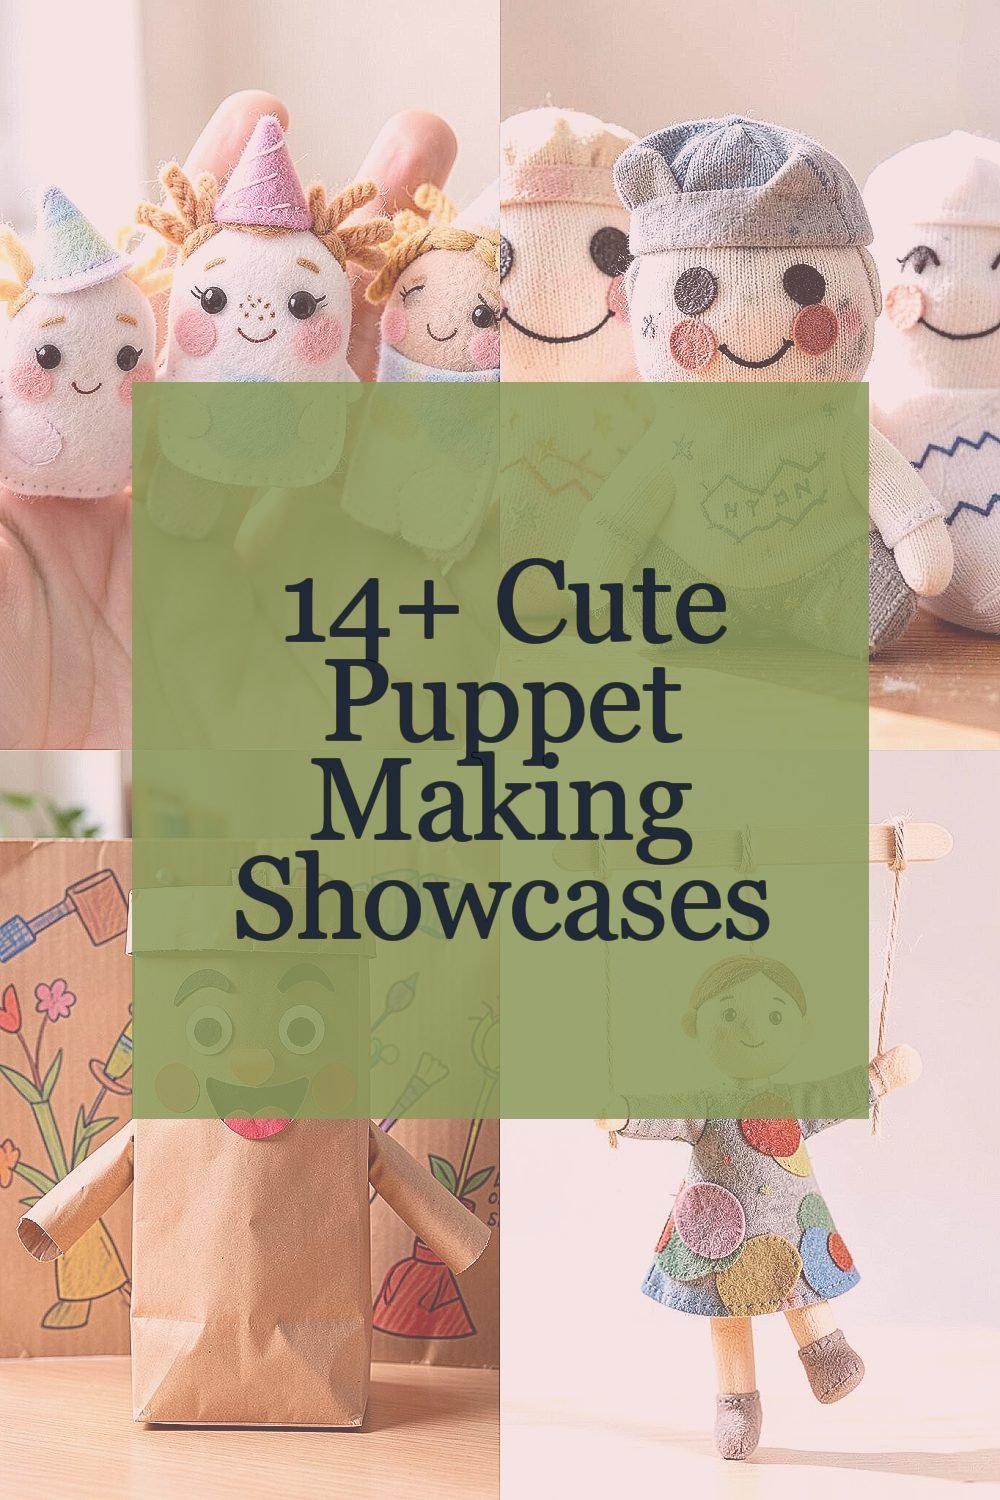
Small creations can bring big smiles. Grab a few supplies and let your hands do the storytelling.
When you make puppets, you build more than characters. You also practice patience, imagination, and playful confidence.
1. Felt Finger Friends With Tiny Faces
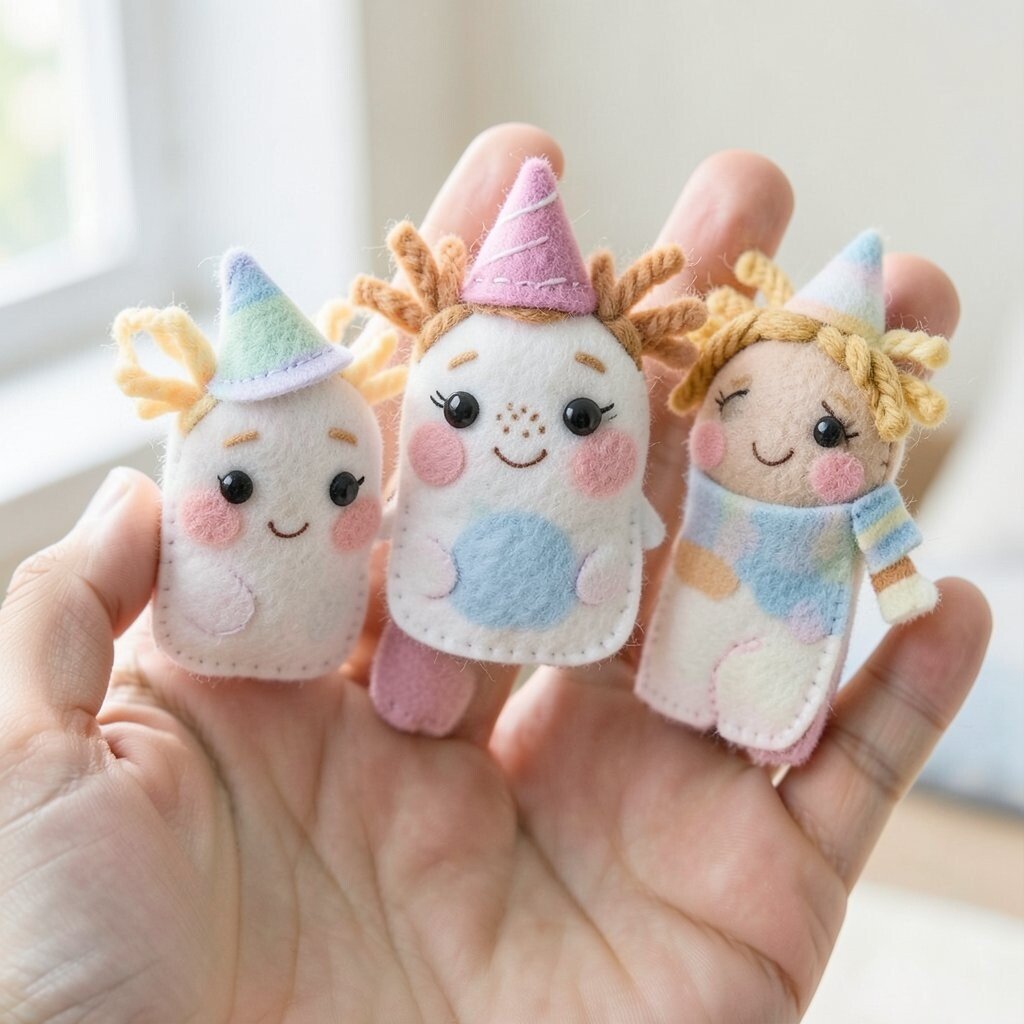
Imagine slipping soft felt onto your fingers and seeing a whole character pop up. The cheeks can look like round blush circles, and the eyes can be stitched so they shine with personality.
You can use simple stitches to make mouths, eyebrows, and even small freckles. This style is great for quick wins, because felt pieces cut easily and stay in shape.
For practical results, trace your shapes on the felt first, then use fabric glue only when you need extra hold. If you want a budget option, use scrap felt from old craft projects.
Personalize each friend with a tiny prop, like a mini party hat or a striped scarf. A few trendy touches can make them feel current, such as pastel color palettes or chunky yarn hair.
2. Sock Puppets With Upcycled Charm
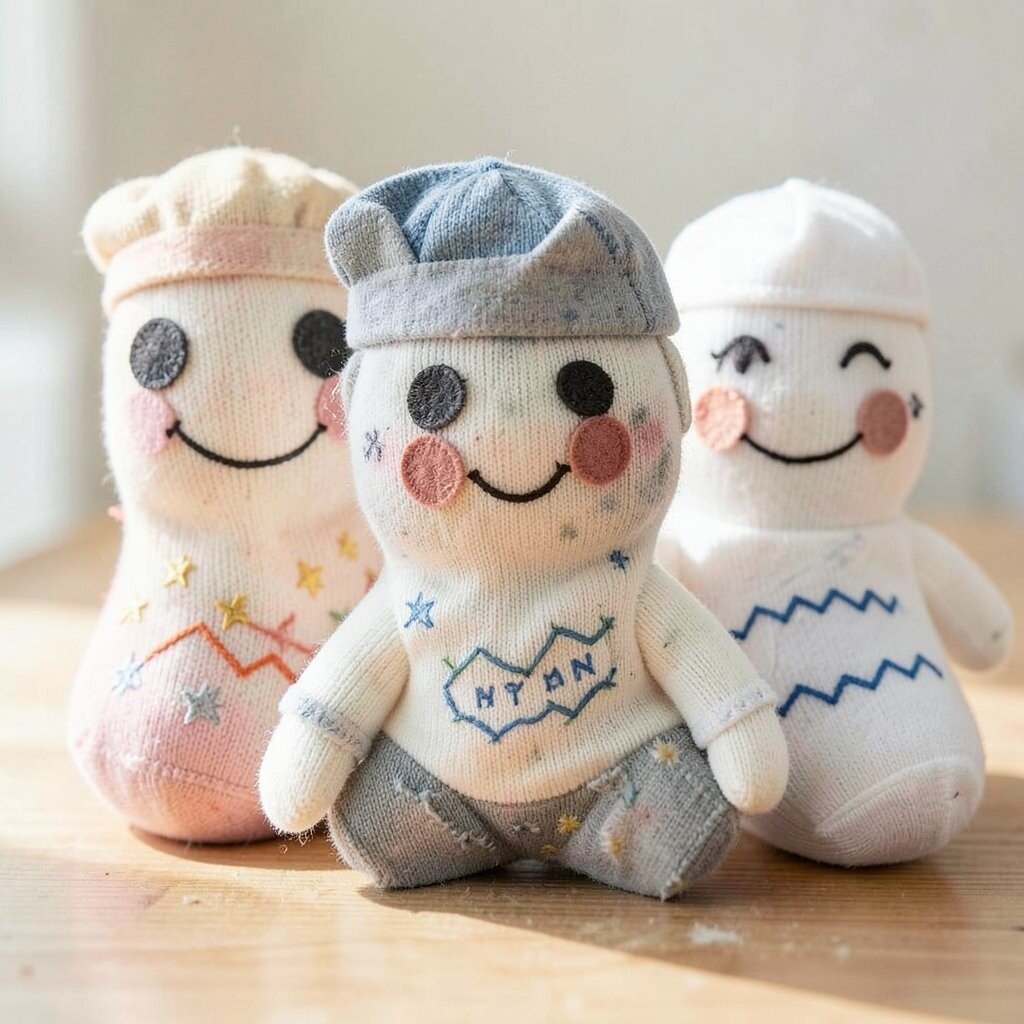
Picture a worn sock becoming a cheerful character with a new life. The fabric texture shows through, giving your puppet a cozy, slightly quirky look.
This approach saves money and helps you reuse materials you already have. You can stuff it lightly so the body holds shape without feeling stiff.
Use a zipper pouch or small cut fabric scraps as a base for the face so you get consistent features. Add simple felt circles for eyes and stitch a smile so it always looks friendly.
To personalize, give each sock puppet a theme like a tiny chef or a sleepy astronaut. Keep up with current tastes by adding bold embroidery and simple patterns like stars or zigzags.
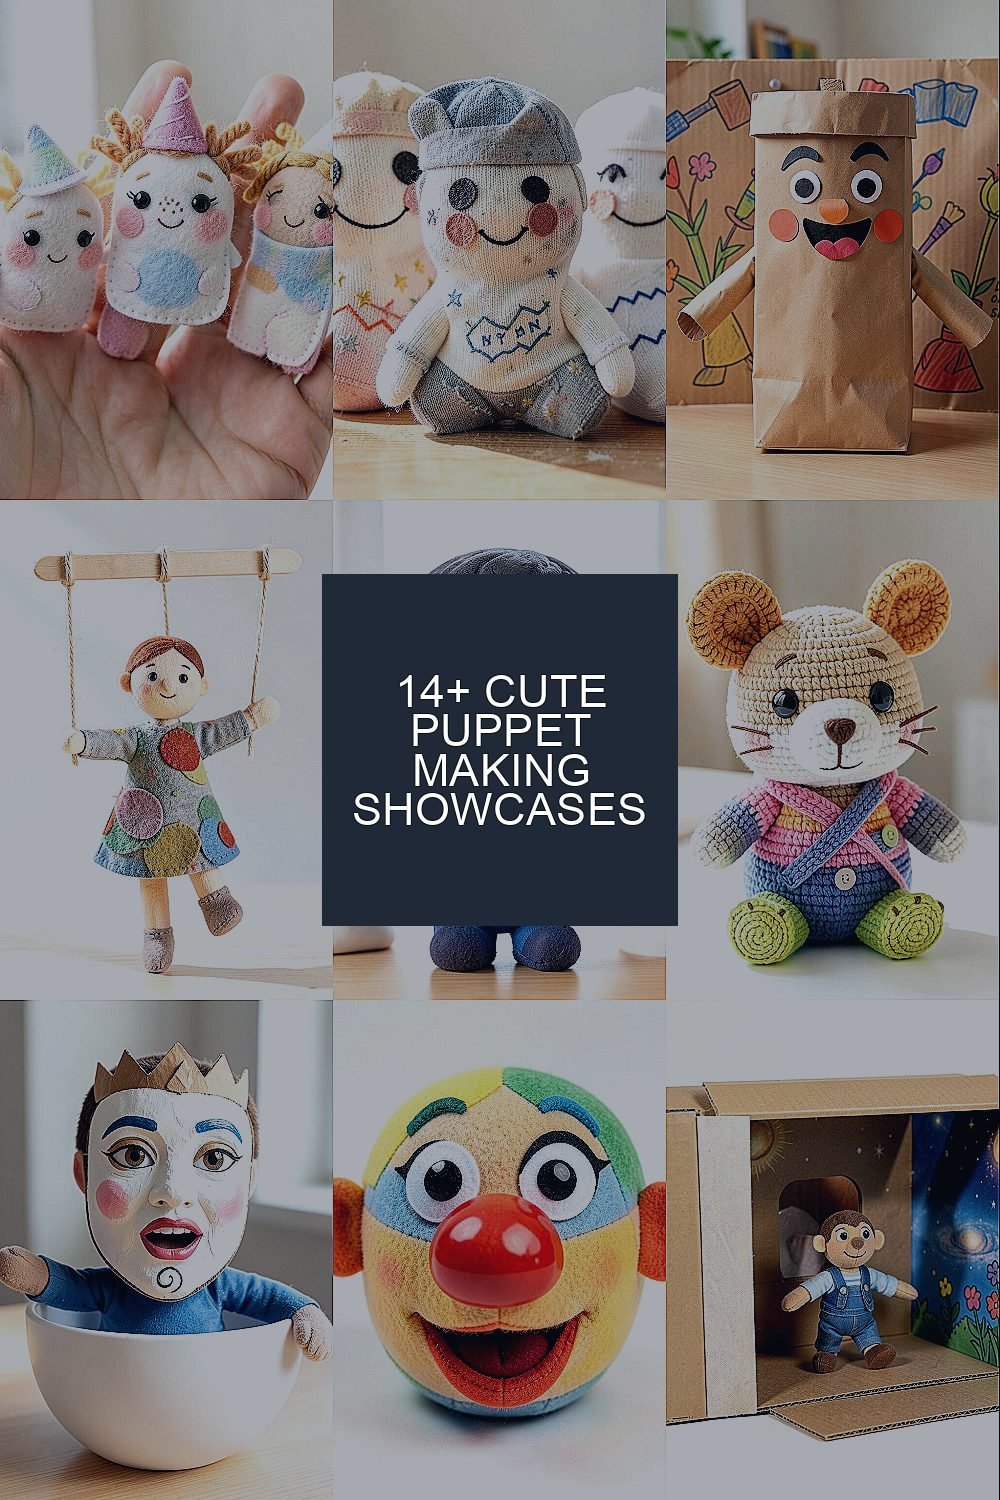
3. Paper Bag Puppets With Dramatic Story Scenes
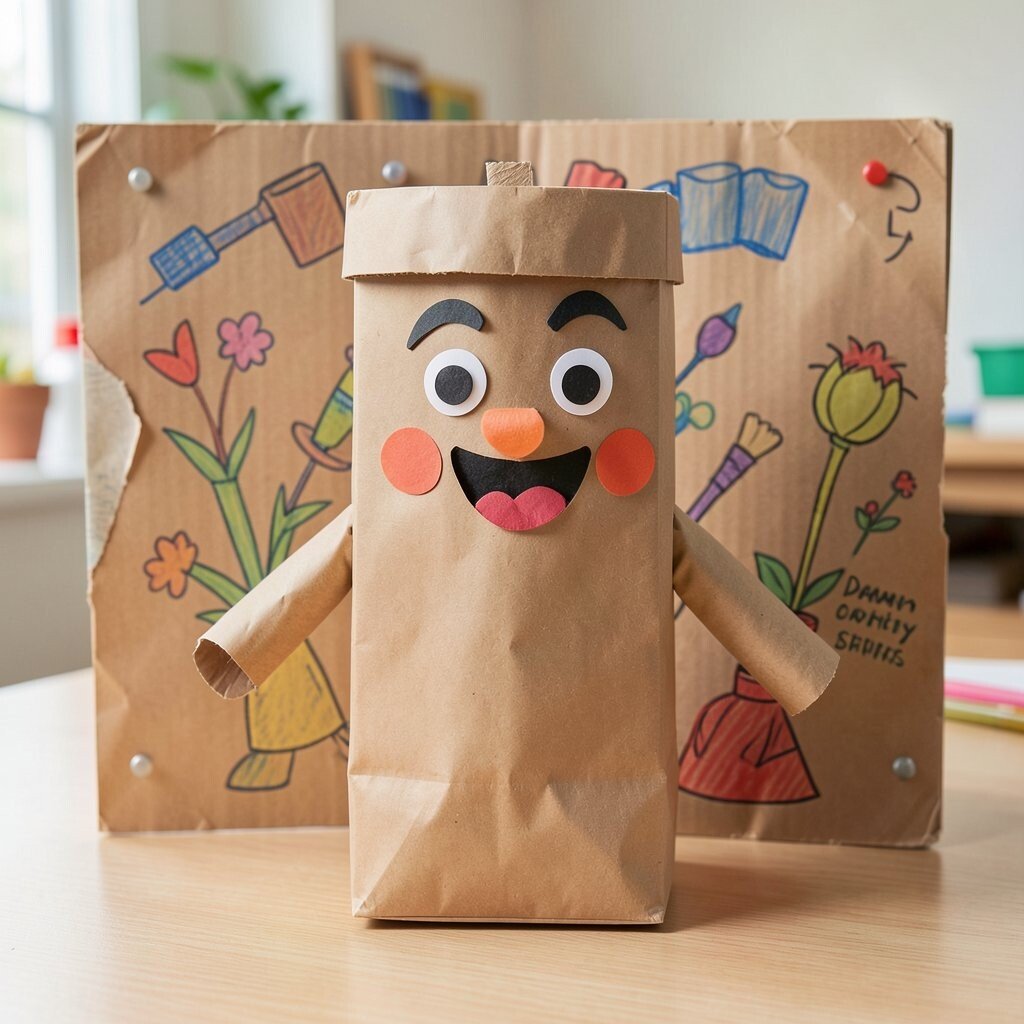
Think about a plain paper bag turning into a stage-ready character. When you fold the top and add a face, the puppet stands up like it has something important to say.
You can make big expressions by using cut-out shapes for eyebrows, cheeks, and hair. This type is fun for classroom-style performances because it’s sturdy and easy to hold.
Try making a background panel behind the puppet using leftover cardboard and markers. Then attach it with brads or tape so you can switch scenes quickly.
For practical tips, reinforce the finger-hold area with an extra strip of tape. If you care about cost, grab brown bags from your pantry or use plain grocery bags.
Personalization is easy through colors and textures, like adding paper “fabric” from old wrapping paper. A trend you’ll see often is using bold, high-contrast shapes, so pick colors that pop against the bag.
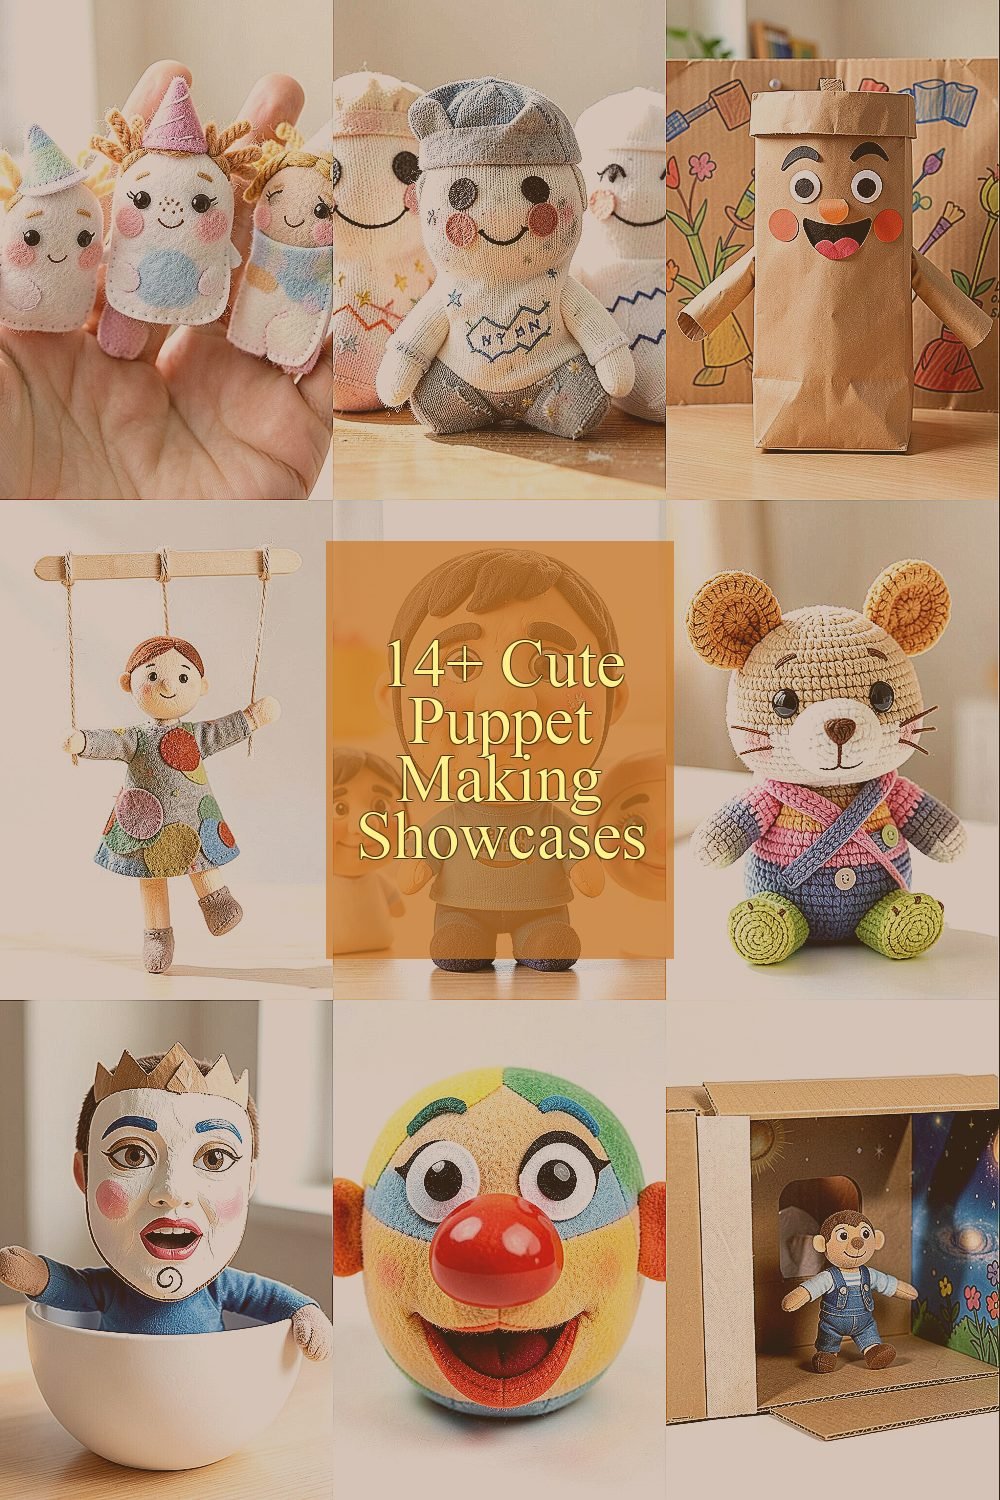
4. Marionette Minis With Popsicle Stick Control
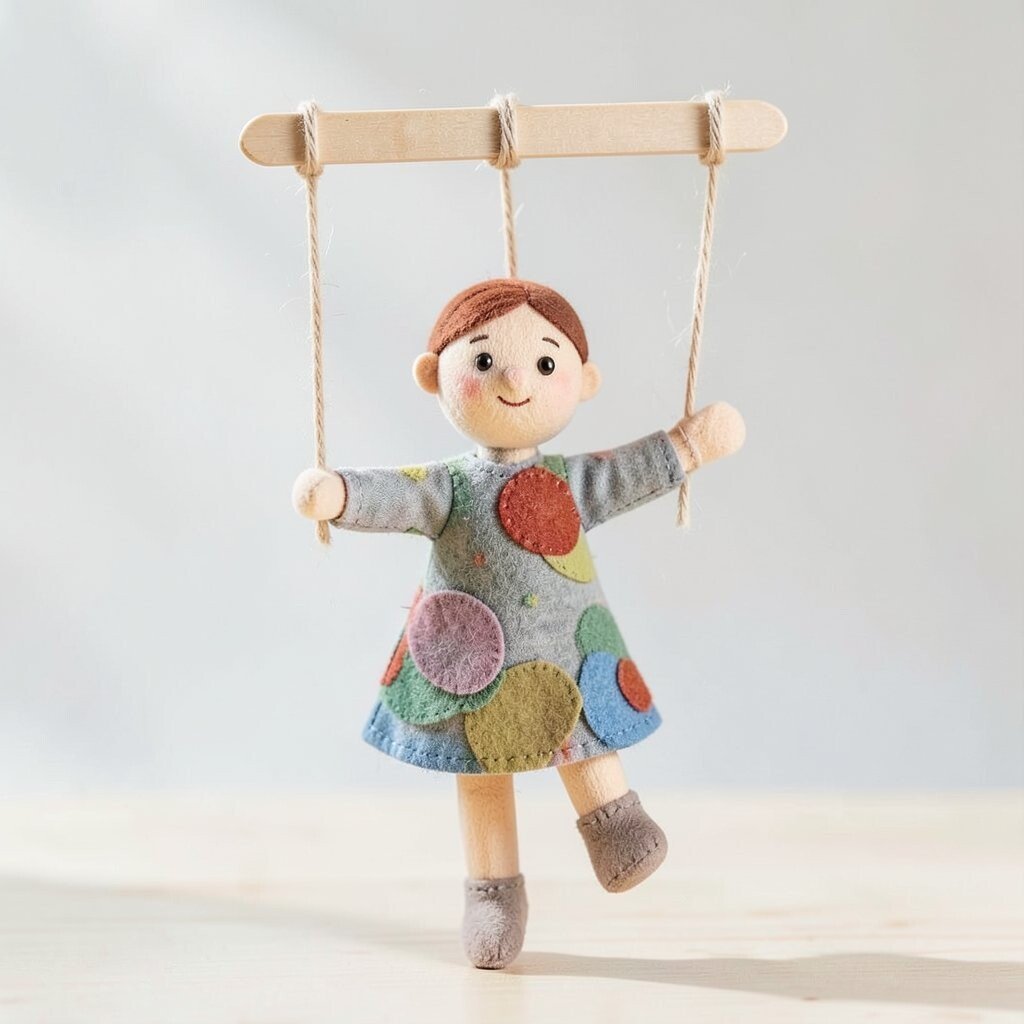
Picture a tiny marionette swinging from a small crossbar like a little dancer. Popsicle sticks can create a light frame, and yarn strings can add that classic puppet feel.
The benefit of this kind of build is that it teaches control and timing. You’ll feel proud when you see the head tilt and the arms rise smoothly.
For practical steps, sketch the joint points first and punch small holes with a sharp tool or a hole punch. Tie knots securely so the strings don’t slip during play.
Keep cost down by using craft sticks, scrap wood, and leftover yarn. Personalize by giving your marionette a character costume using fabric scraps or felt circles.
5. Clay-Faced Character Puppets With Soft Coating
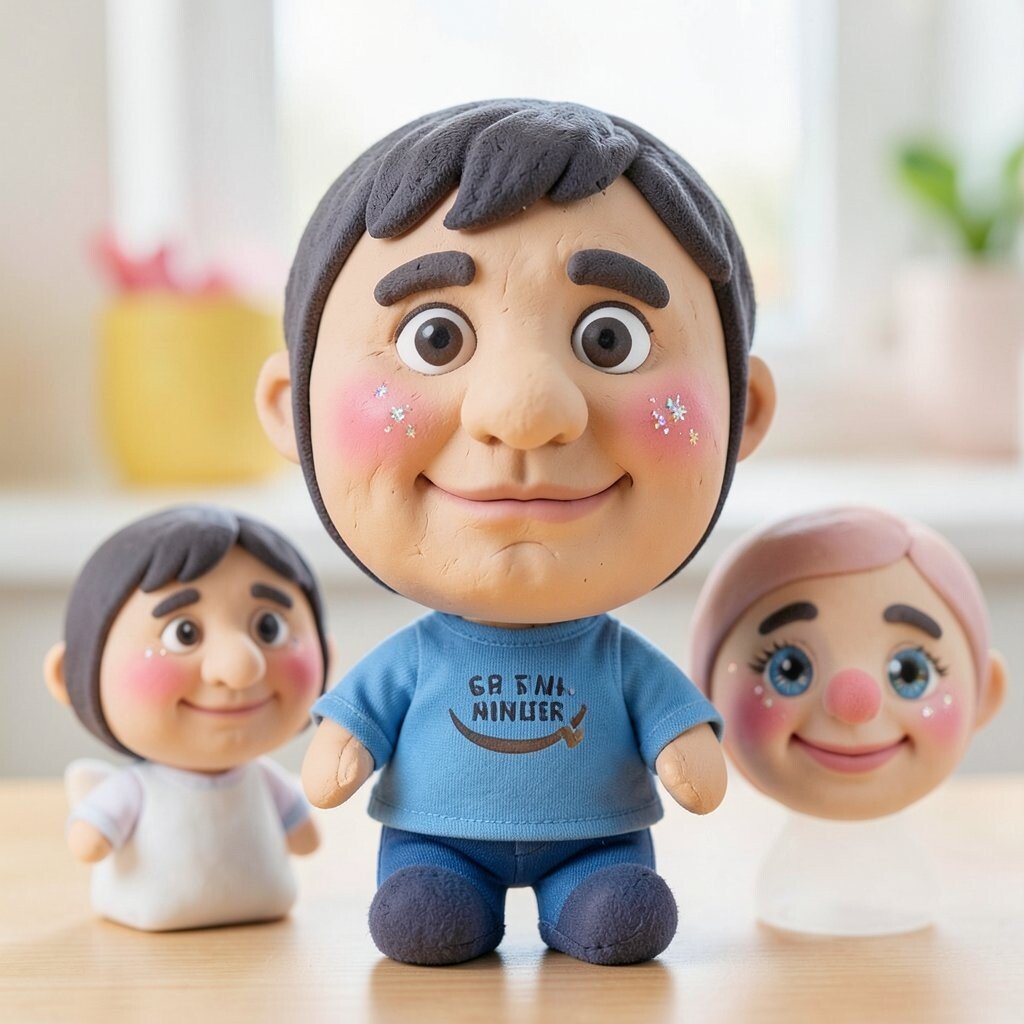
Imagine sculpting a face from air-dry clay and then sealing it so it looks polished. The surface can be smooth like a doll, or slightly bumpy for a whimsical texture.
Clay faces make your character stand out because you can shape unique noses, dimples, and even tiny wobbly mouths. This is great if you love detailed work and want your puppet to look one-of-a-kind.
To keep it practical, let the clay cure fully before you paint. Use acrylic paint and a gentle seal so the colors last through repeated play.
Personalization ideas can be as simple as matching the face to a specific outfit. You can also follow current trends by painting in soft gradients or adding tiny glitter accents to eyes.
6. Crochet Critters With Poke-Ready Ears
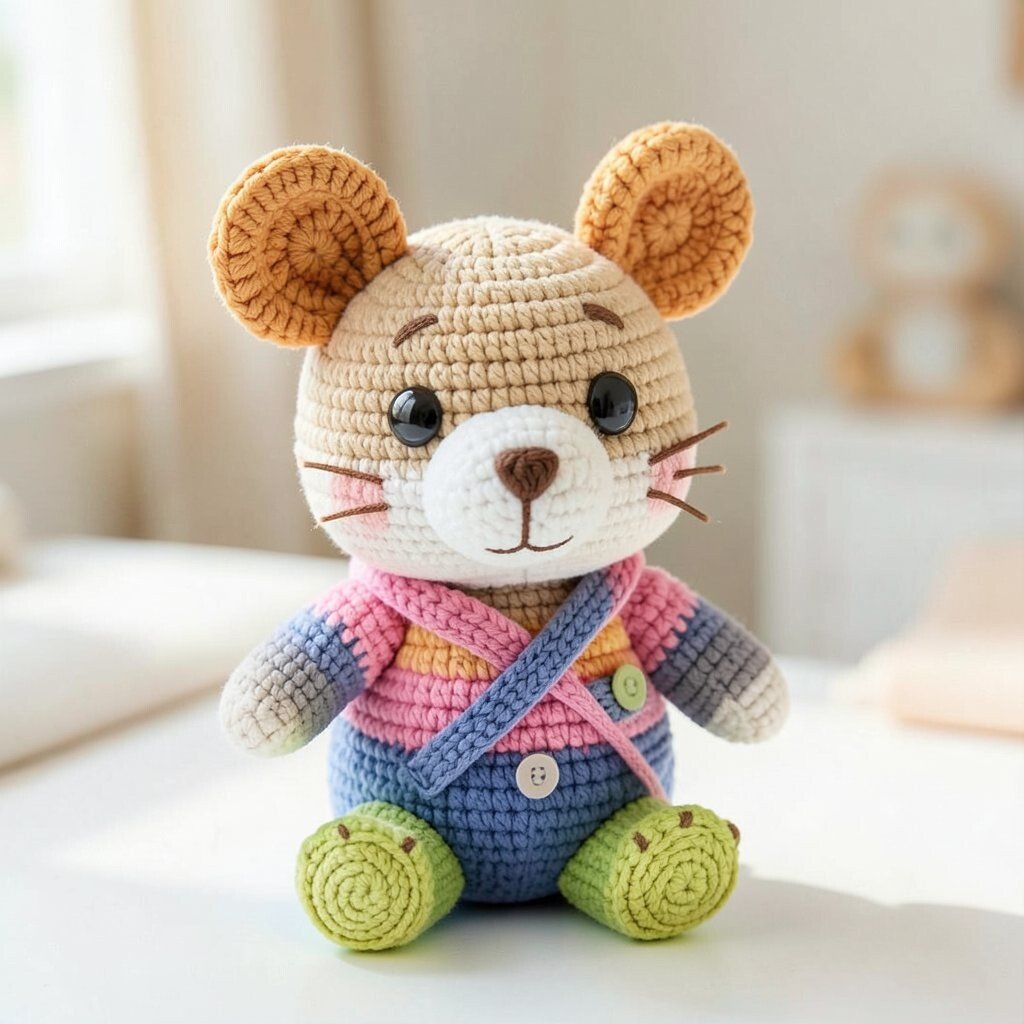
Picture a crocheted animal that feels like a warm hug, with ears that stand up just enough to look curious. When you attach a simple strap, it becomes a puppet you can wear and animate.
Crochet puppets are unique because each stitch creates texture that looks handmade and charming. They also help you practice careful loops and steady rhythm, which can be calming.
For practical tips, stuff lightly so the ears and face stay flexible. If you’re new, choose thick yarn and large hooks to avoid frustration.
Cost-wise, yarn can add up, but you can use leftover skeins from past projects. Personalize with embroidery for whiskers and use safety eyes or small stitched buttons.
If you want a trend connection, try bright “happy colors” and playful shapes like frog toes or little claw hands.
7. Mask Puppets From Paper Mache and Paint
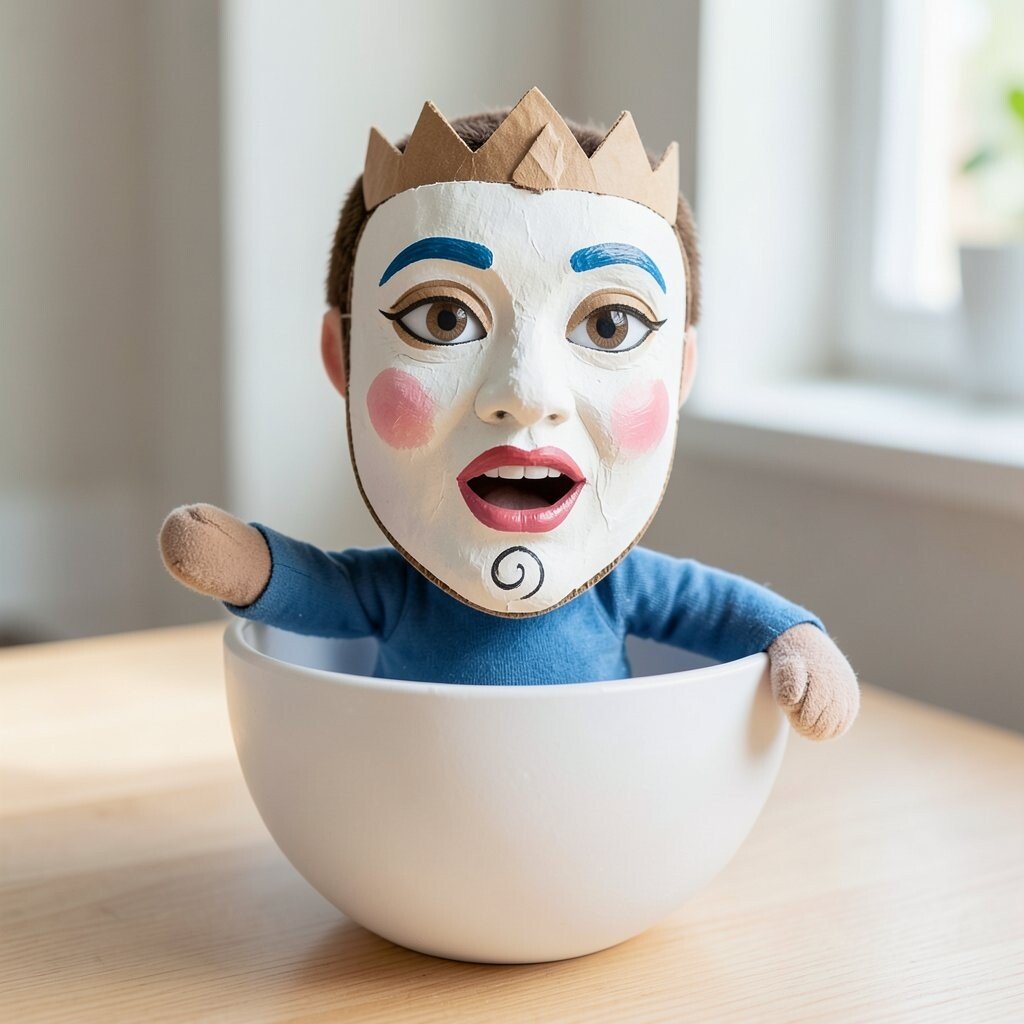
Think about a face-shaped puppet mask that turns your arm into a character. When you add a mouth opening, the puppet can “talk” through simple movements.
Paper mache masks look special because they have a slightly handmade, artistic surface. They also make storytelling big, since the face becomes the main focus of every scene.
To make it practical, build the mask over a bowl or balloon, then reinforce edges with thin cardboard. Paint in layers so the colors stay even and bright.
Personalize by carving tiny details into the dried layer, like a swirl chin or a crown-like forehead. A current style is using bold outlines and simple shapes, which helps your puppet read clearly in photos and videos.
Cost considerations are usually friendly because you can use scrap paper and flour paste. Then splurge only on paint if you want rich, saturated colors.
8. Vinyl and Felt Muppet-Style Hand Pals
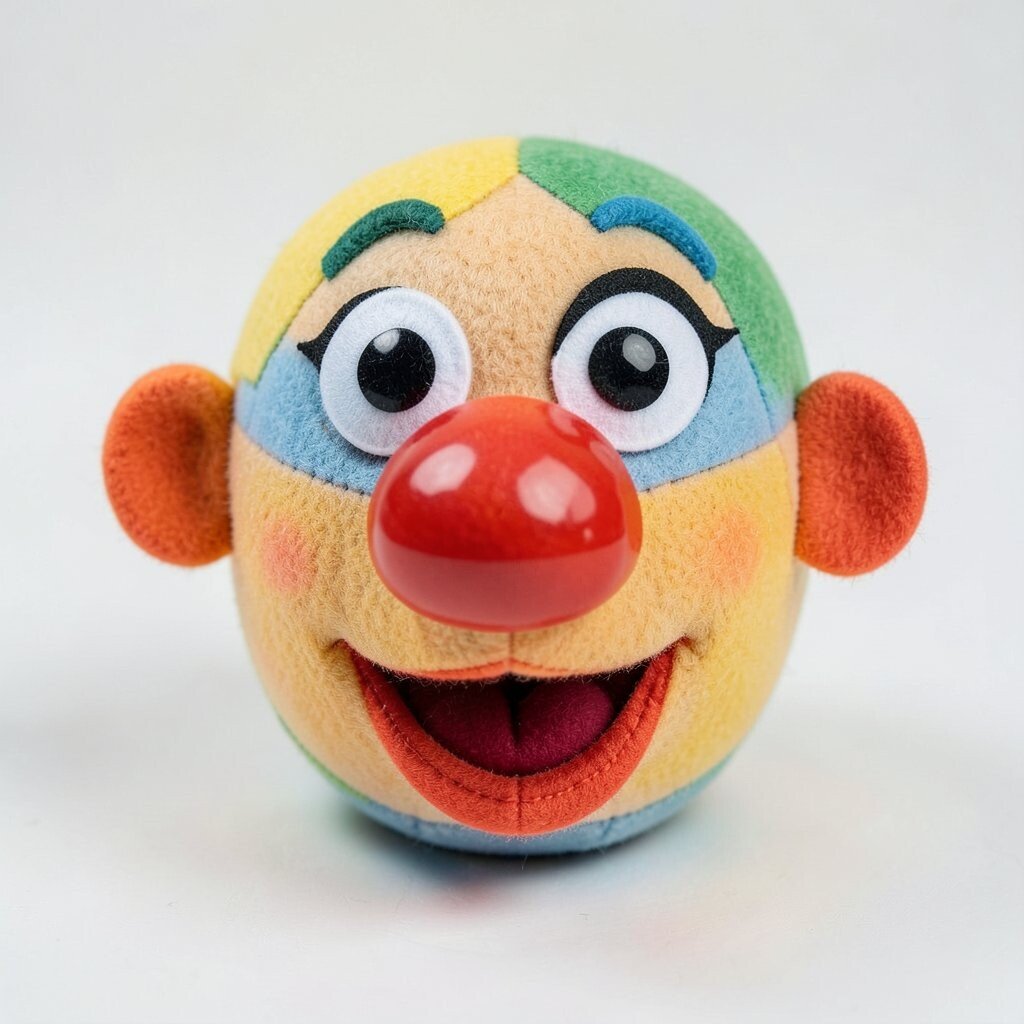
Imagine a puppet head stitched from felt with a vinyl “snout” or glossy nose for a lively look. The contrast between soft and shiny makes your character feel expressive.
This setup can feel professional because you get clean edges and a fun texture mix. You’ll also enjoy how quickly the pieces come together once you have a good pattern.
For practical tips, use a stretch needle if you’re stitching felt to vinyl, since the material can resist standard needles. Hot glue can work for small sections, but hand stitching gives longer-lasting strength.
Personalize by adding a movable mouth flap so the puppet can open and close. Trends right now often favor bold branding-style eyes and simple color blocking, so try two or three strong colors per puppet.
9. Puppet Theaters With Cardboard Backdrops
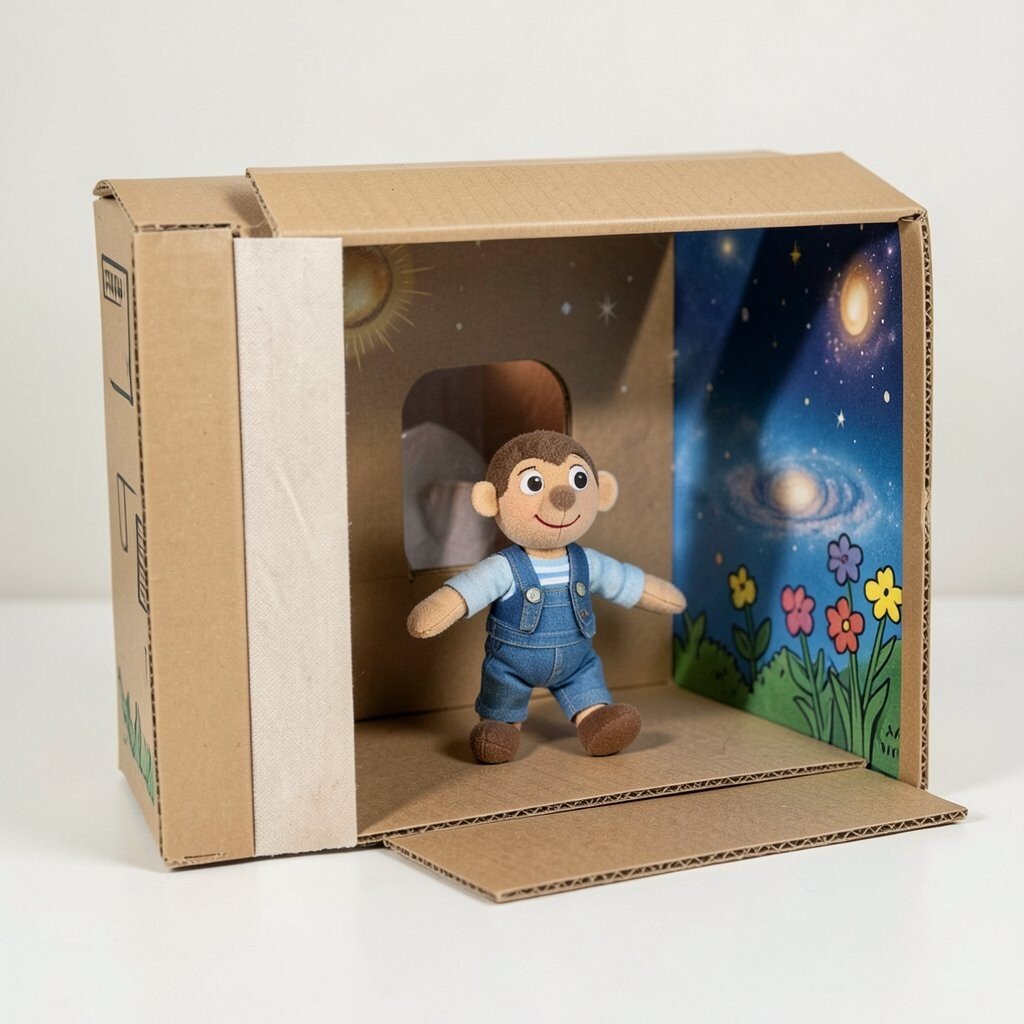
Picture a puppet show setup where the puppet moves in front of a tiny stage window. Even a basic cardboard frame can make your puppet feel like it belongs in a real performance.
The benefit is that the theater keeps attention focused, and your puppet’s movements feel more dramatic. It also helps you control lighting so your character looks bright and clear.
For practical tips, cut a front opening and add a fabric curtain or felt flap. If you want smoother movement, tape a strip inside the frame for a simple puppet guide.
Cost can be very low since cardboard is easy to find and craft-safe tape is inexpensive. Personalize your backdrop with themed prints, like outer space or garden scenes, and use bold markers for quick impact.
To match current trends, add a “spotlight” effect using a phone flashlight behind tracing paper. This can make the puppet look extra magical in recordings.
10. Wooden Spoon Puppets With Painted Personalities
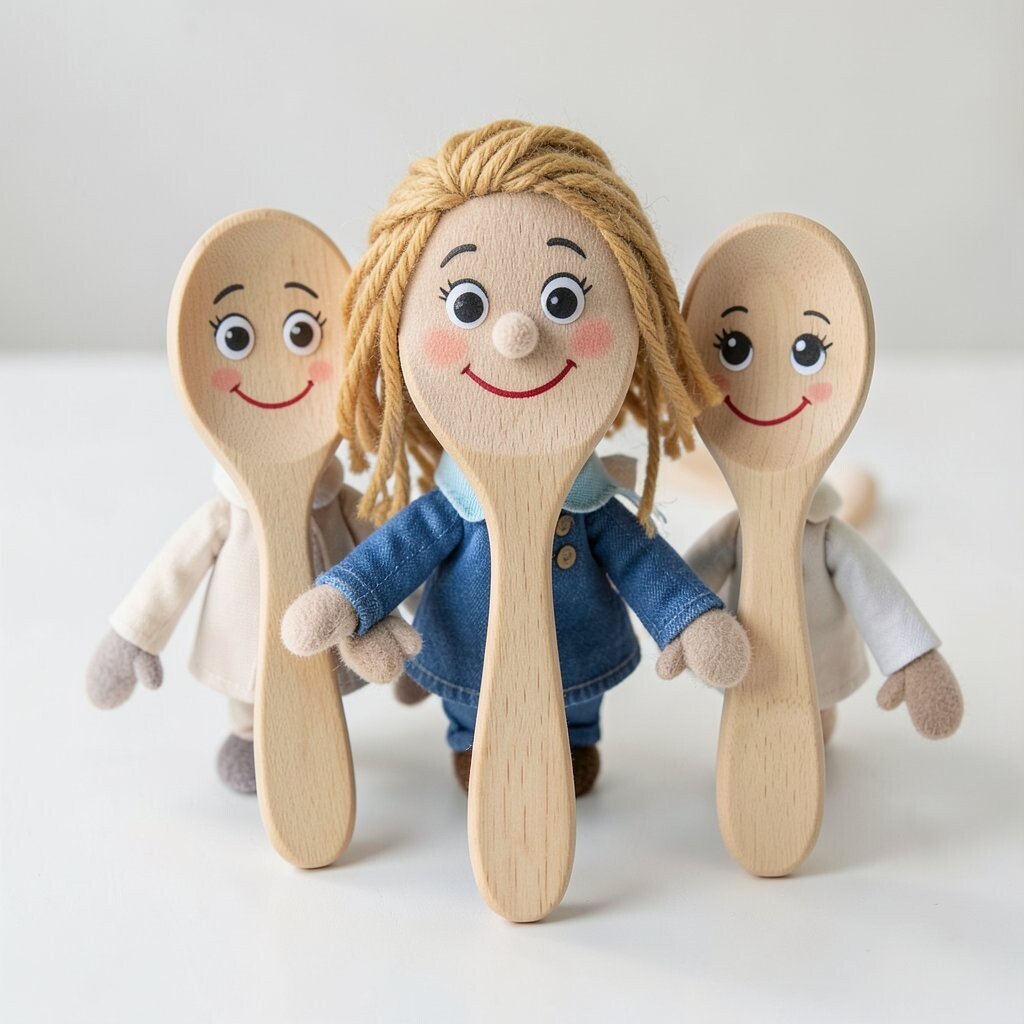
Think about grabbing a wooden spoon and turning it into a character head and body. The curve of the spoon naturally suggests a face shape, so it’s easy to sketch features.
Wooden spoon puppets are unique because the grain adds character and warmth. You can also repaint and redesign them, which makes them great for long-term creativity.
For practical tips, sand the spoon lightly so paint and glue stick well. Then prime with a thin layer of paint to help colors show clearly.
Personalize with accessories, like yarn hair, fabric collars, and little felt hands. If you want to follow a current trend, paint in a “clean character” style with simple shapes and big eyes.
Cost is usually low because spoons are inexpensive, especially if you use ones you don’t need for cooking. You can also use leftover acrylics from other art projects.
11. Magnetic Stick Puppet Sets for Quick Swaps
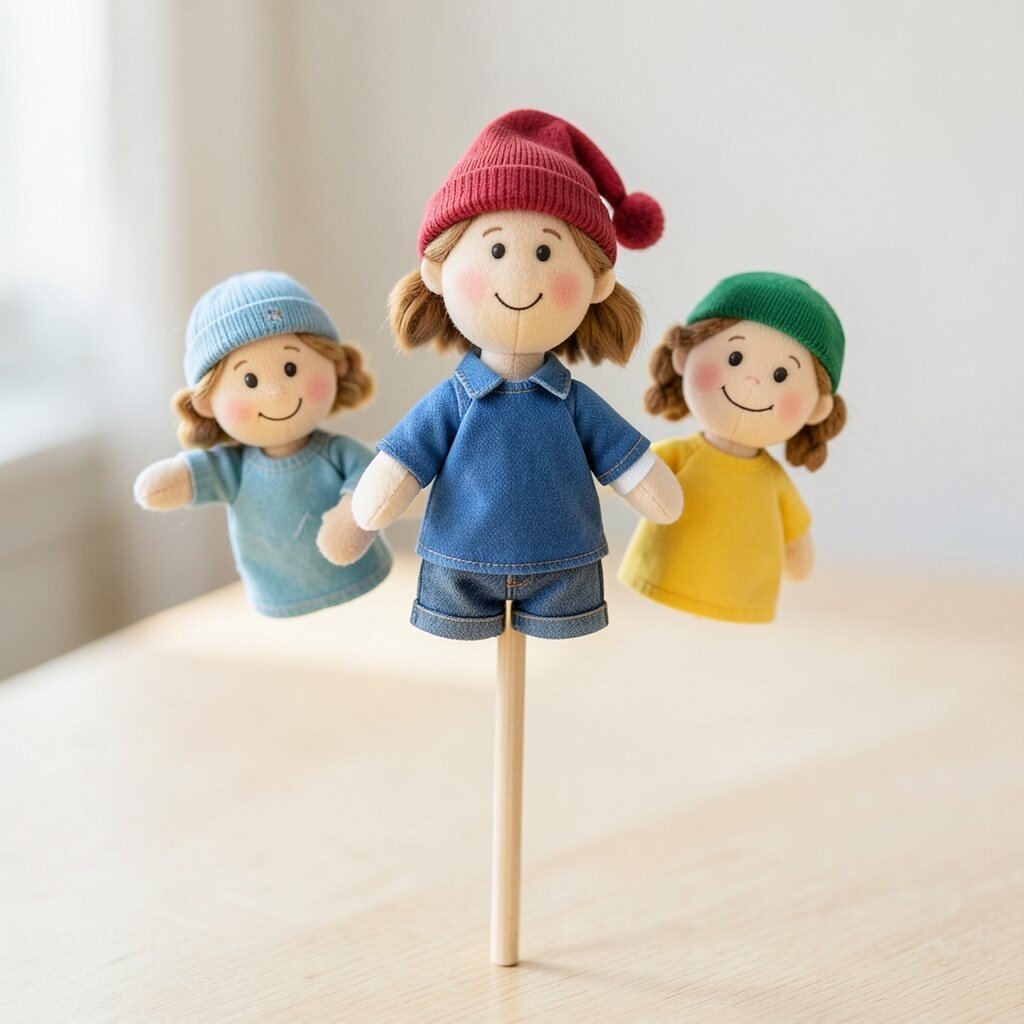
Picture a small puppet body attached to a stick with magnets, so different outfits and heads can swap in seconds. That quick change makes play feel fresh every time.
This idea is beneficial because it supports learning and creativity, especially for kids who like variety. You also get a neat storage system, since pieces can stack and stay organized.
To make it practical, use strong small magnets and test the pull force before you finish the design. Wrap magnet points with a thin layer of glue or clear tape to prevent slipping.
Personalize by building a “wardrobe” of different hairstyles, hats, and facial expressions. A trend you can lean into is creating modular characters with consistent color themes for a cohesive look.
12. Finger Puppets With Fabric Tabs and Velcro Closures
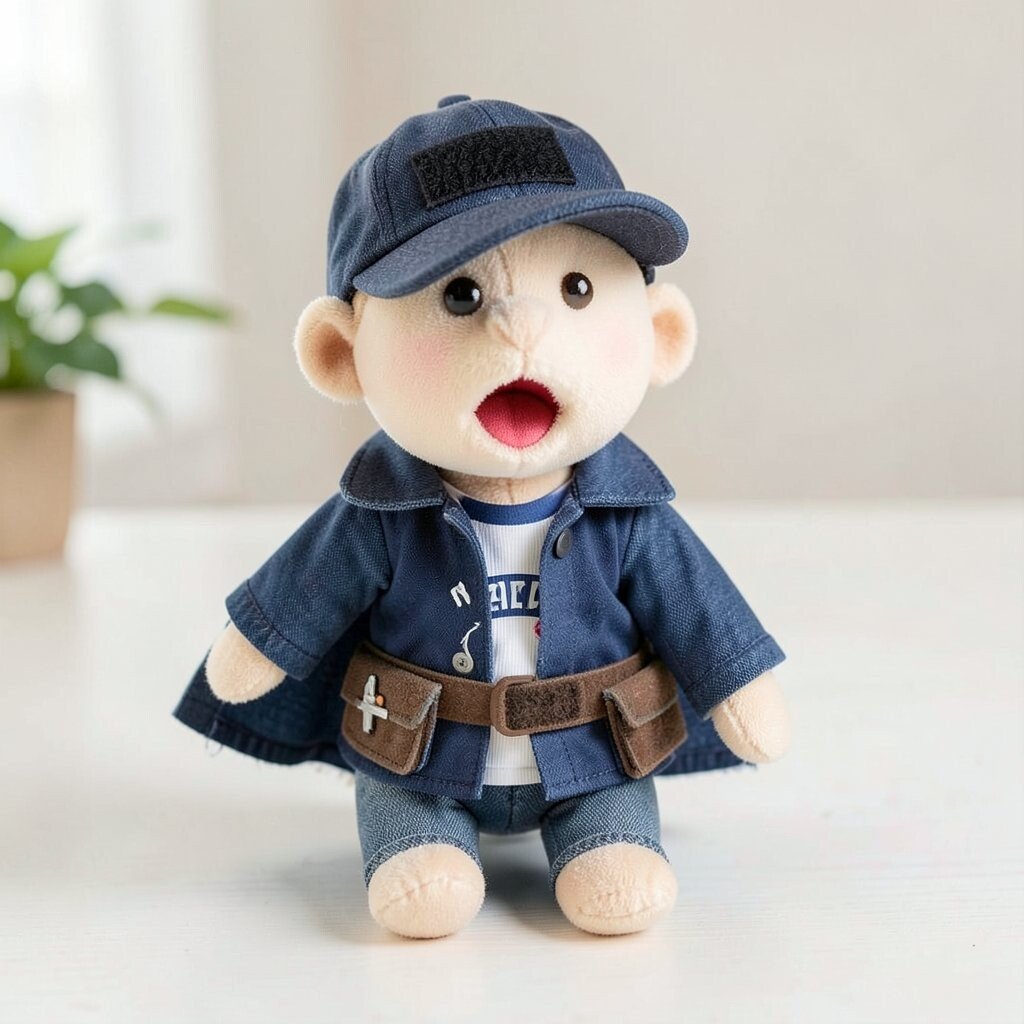
Imagine tiny puppets that can open their mouth or change accessories because of simple fabric tabs. Velcro can hold removable pieces like hats, capes, or tool belts.
The benefit is interactive play, because kids can make the puppet “do” things rather than only act. It also helps practice fine motor skills through attaching and adjusting small parts.
For practical tips, sew small velcro squares onto strong fabric so they don’t peel. Use a soft lining inside the puppet to prevent scratchy edges.
Personalize with removable themed items like a raincoat for a storm story or a sports jersey for game day. Keep cost in check by using old clothing scraps and trimming them into simple shapes.
Current trends include character storytelling using accessories, so design each puppet with a signature item people will recognize right away.
13. Recycled Bottle Puppet Heads With Bendy Attachments
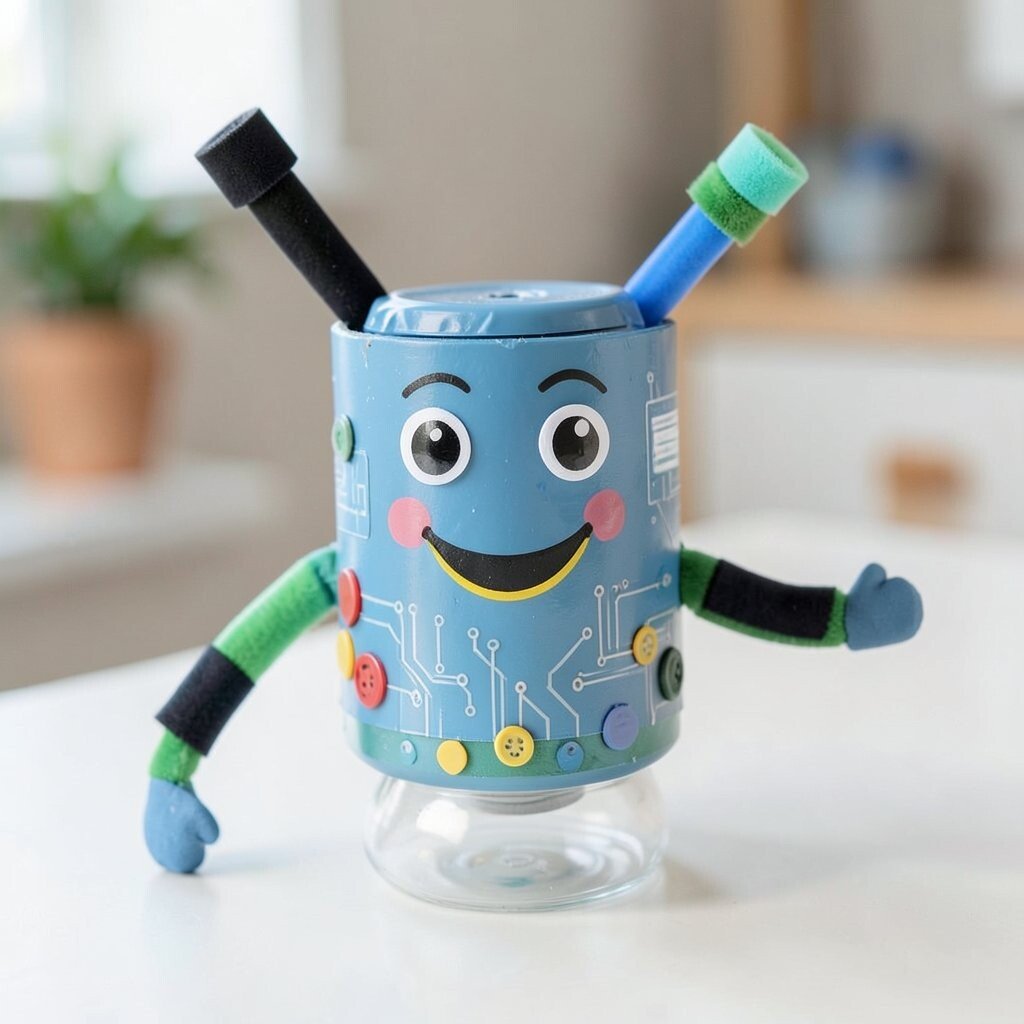
Picture a puppet head made from a small plastic bottle or cap, painted with friendly eyes and a bright smile. Then add bendy attachments like foam strips or pipe cleaners for arms and antennae.
This is unique because it uses everyday trash in a creative, safe craft way. You’ll also gain practice planning structure, since you need to make sure the puppet can move without tipping.
For practical tips, wash and dry the bottle well, then roughen the surface lightly for better paint grip. Use a strong craft glue for foam and secure pipe cleaners with tape inside the neck area.
Personalize with a theme like a robot, a garden bug, or a cute monster. Cost considerations are usually low because bottles are free, and you can add only a small amount of paint and craft supplies.
A trend you may notice is playful tech characters, so lean into stickers, faux buttons, and simple circuit patterns.
14. Upcycled T-Shirt Rag Puppets With Long Hair Threads
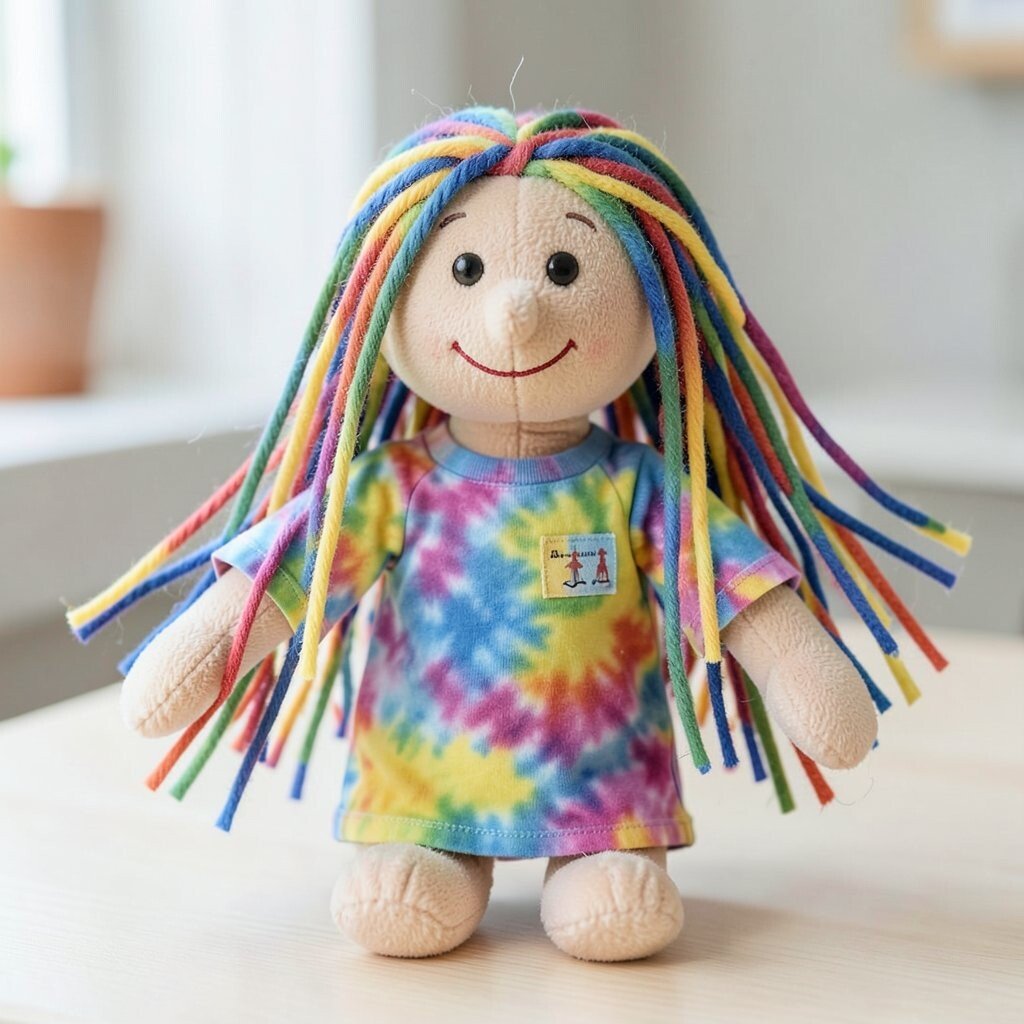
Imagine taking an old t-shirt and cutting strips that become a fluffy rag puppet. The fabric threads make long hair that swishes as you move the puppet.
This style is beneficial because it’s comfortable, lightweight, and soft for storytelling. It also uses materials you already love, which makes every puppet feel meaningful.
For practical tips, cut strips evenly for a neat fringe, then tie bundles at the puppet’s “head” area. Stitch or knot the strips so they don’t unravel during playtime.
Personalize by choosing one shirt color for the body and a contrasting shirt for the hair. If you want a trend vibe, use tie-dye colors or add small patches for a pop-art look.
Cost stays low since you’re repurposing fabric, but you may want to invest in good fabric scissors for clean cuts.
15. Light-Up Stick Puppets With Simple LED Eyes
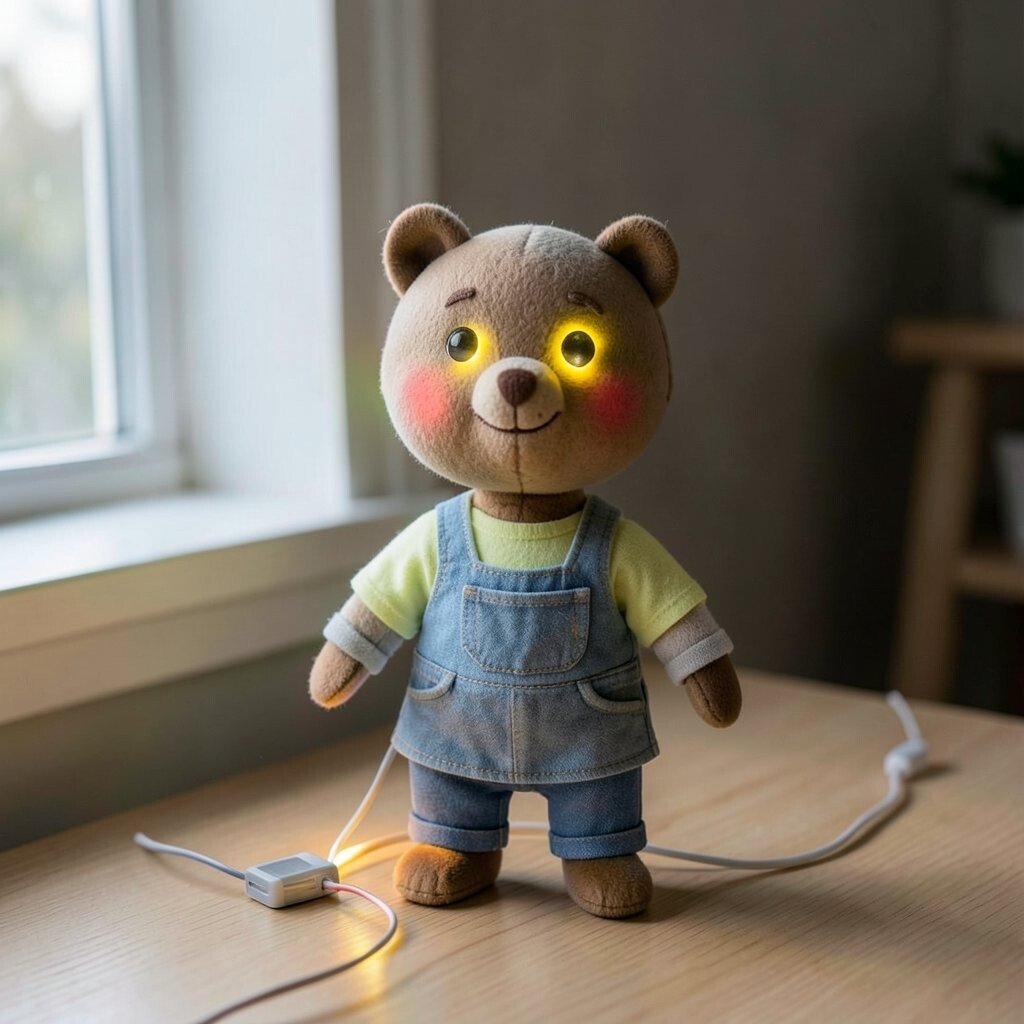
Picture a puppet with tiny LED lights for eyes that glow when you shine it near a window or stage light. The effect instantly makes your character feel magical.
This is unique because the glow creates emotion even with simple shapes. It’s also great for night performances, photo shoots, and fun interactive shows.
For practical tips, use coin cell LED lights and secure them inside a small felt pocket so wiring stays safe. Test the lights before final assembly and plan the battery placement for easy access.
Personalize by matching the glow to the puppet’s theme, like soft green for a forest friend or warm yellow for a friendly helper. Cost considerations are manageable because LED eyes are usually affordable, and you can keep the rest of the puppet budget-friendly with felt and scrap fabric.
Current trends often highlight “cute tech,” so pair glowing eyes with simple outfits and bold, modern color palettes.