The right paint choice can make your project look sharp for years. A few smart decisions will save you time, money, and frustration.
1. Choose Based on Surface and Finish
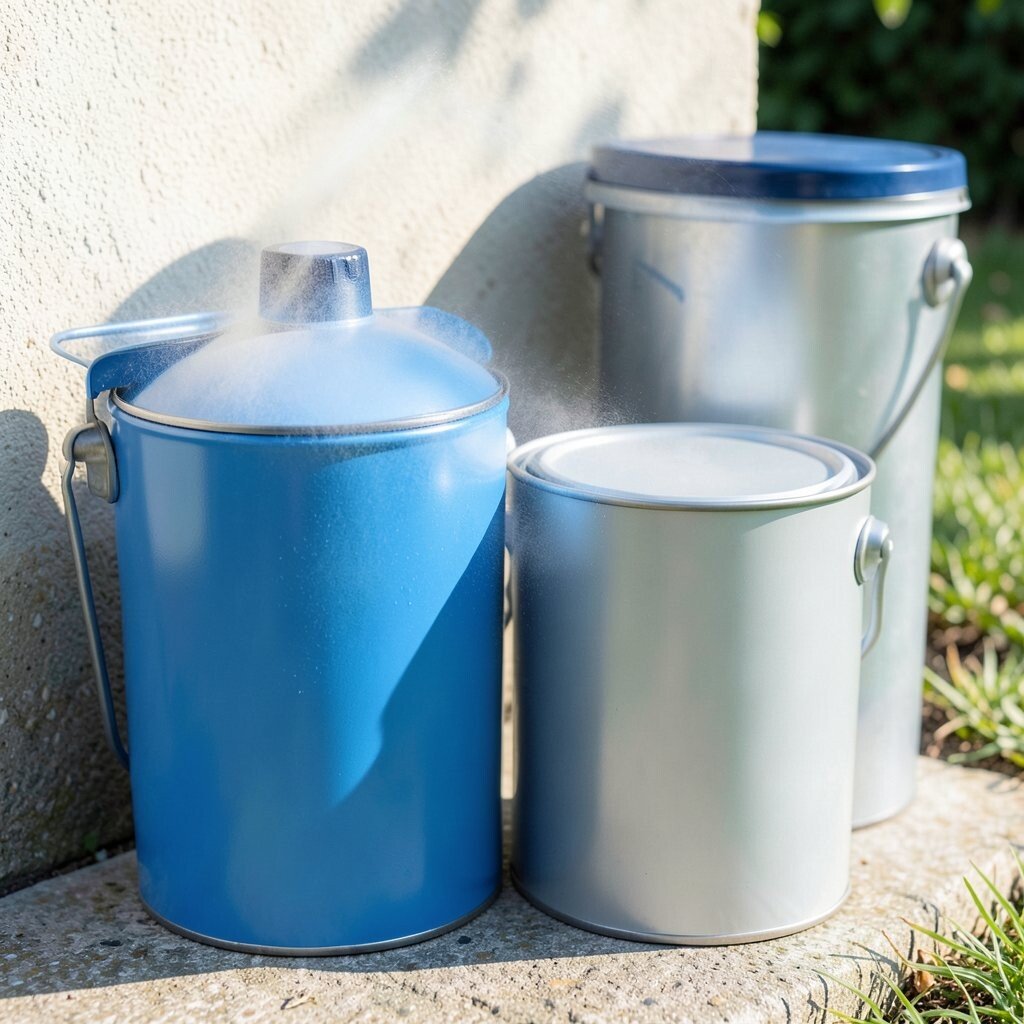
Spray paint and enamel paint can both look amazing, but they shine on different surfaces. Spray paint often lays down smoother on small areas and textured shapes, while enamel tends to feel more grounded and solid once it cures.
Think about what you’re painting and how it will be used. A metal chair, a garden rack, or a plastic storage bin may call for different coverage and drying behavior. Notice how you want the final look to feel in daylight, because glossy or satin surfaces show flaws faster than you expect.
2. Learn How Each Paint Behaves While Drying
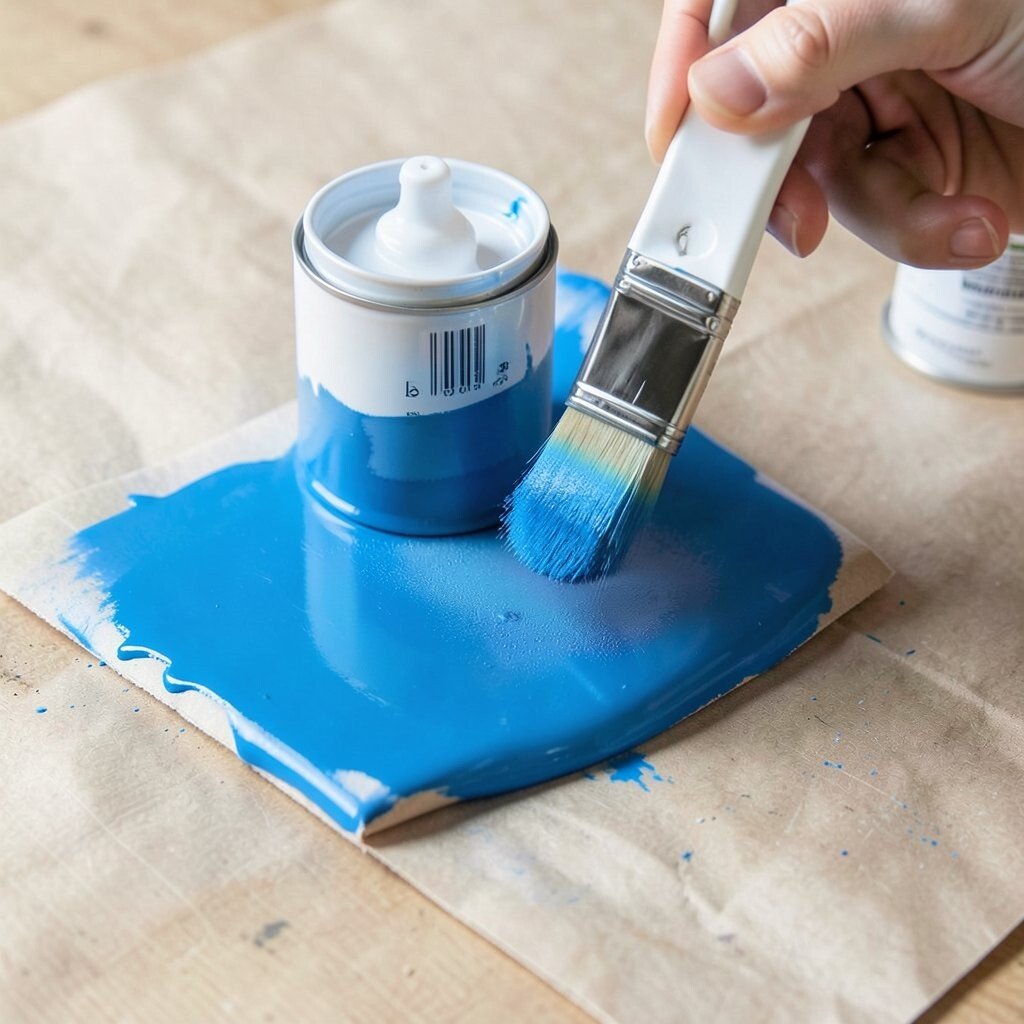
Spray paint usually dries quickly to the touch, so you can build color fast. It also helps you reach corners without a brush, which makes small projects feel less messy.
Enamel paint often takes longer to dry and cure, but many people love the tougher end result. If you rush enamel before it fully sets, you might see dull patches or fingerprints. Plan your schedule so the painted item can sit undisturbed as it hardens, especially in humid weather.
Try a simple test on a scrap piece from the same material. You’ll quickly see how the finish reacts, how smooth it looks, and whether the surface feels sticky after drying. That tiny practice run keeps your main project from becoming a learning experiment.
3. Prioritize Ventilation and Clean Air Workflow
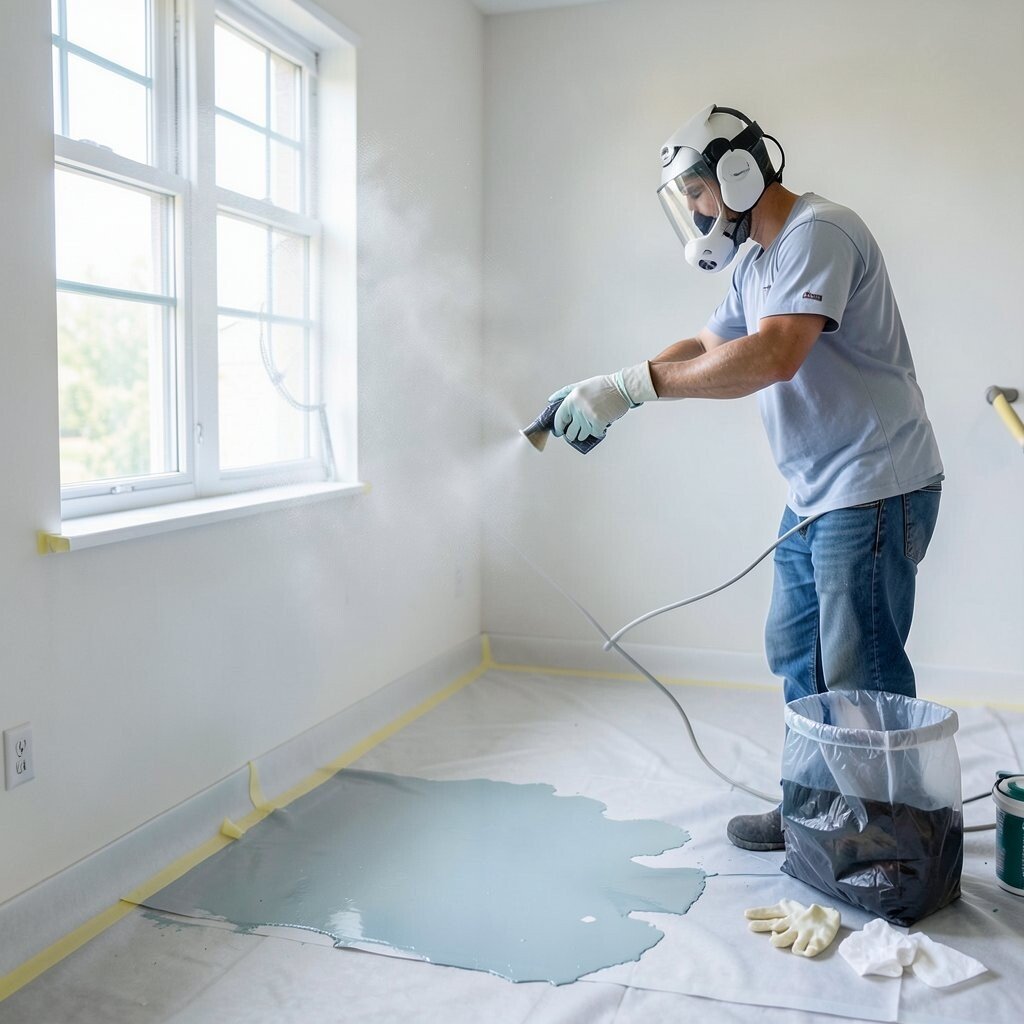
Spray painting looks easy until you realize how much fine mist fills the air. Good ventilation keeps your workspace safer and makes it easier to apply even coats without rushing.
Enamel paint can also release strong fumes, especially when applying with brushes or rollers in enclosed areas. If you’re working indoors, keep windows open, use a fan that pushes air out, and wear proper protection. You’ll not only feel better, but the paint may also level out more nicely when conditions are steady.
Set up a clean workflow by taping off nearby surfaces and covering floors. Keep a small trash bag nearby for used gloves and paper towels, so you don’t keep walking through wet paint residue. When your workspace stays tidy, you tend to paint with more care and less stress.
4. Pick Priming Strategy to Prevent Peeling
Primer can make the difference between a finish that stays smooth and one that flakes later. Spray paint systems often work well when you use a primer made for the same product line, which helps paint bond tightly.
Enamel paint also benefits from a good primer, especially on bare metal or glossy surfaces. If you skip primer, the topcoat may slide around before it bonds, leaving weak spots. Lightly scuff-sanding can improve grip, and wiping with a clean cloth removes dust that would otherwise fight adhesion.
5. Control Coats for Better Coverage and Less Spatter

Spray paint fans out in a mist, and the distance you hold can change how even your coat looks. A steady hand and short passes help prevent puddles and spatter that can ruin a smooth finish.
Enamel paint usually comes with more controlled application, especially with a brush for edges. Using thin layers can prevent drips and brush marks, but you still get the benefit of spreading color carefully. Pay attention to the coverage on darker materials, because some colors need extra rounds to look rich.
If you see uneven coverage, don’t keep blasting thicker layers right away. Let each coat dry properly, then assess the surface under bright light. You’ll get a more uniform look and spend less time sanding down mistakes.
6. Match Dry Time to Your Project Timeline
Your schedule matters more than most people think, because drying time affects how you handle the piece. Spray paint can let you stack tasks quickly, like adding accents right after the main coat.
Enamel paint may require longer time before you can stack, move, or recoat safely. If you’re working on a weekend timeline, choose your paint based on how much time you can realistically give it. When the painted item can rest undisturbed, the finish tends to settle into a cleaner final surface.
7. Get Smoother Results with Proper Surface Prep
Before you paint, look closely at the surface and feel it with your fingertips. Scuffs, dust, and grease can block adhesion, and both spray and enamel can show those issues in the final coat.
Cleaning matters, even if the object looks “pretty clean.” A gentle degreasing wipe for metal and a light sanding for glossy areas can help the paint grip. When you start with a prepared surface, you spend less time fixing texture and more time enjoying the finish.
If you want a high-end look, sand between coats once the surface is dry. A fine grit lightly smooths bumps and helps the next layer blend in. This step takes a little time, but it often makes your project feel more professional.
8. Use Color Tricks to Make the Finish Look Custom
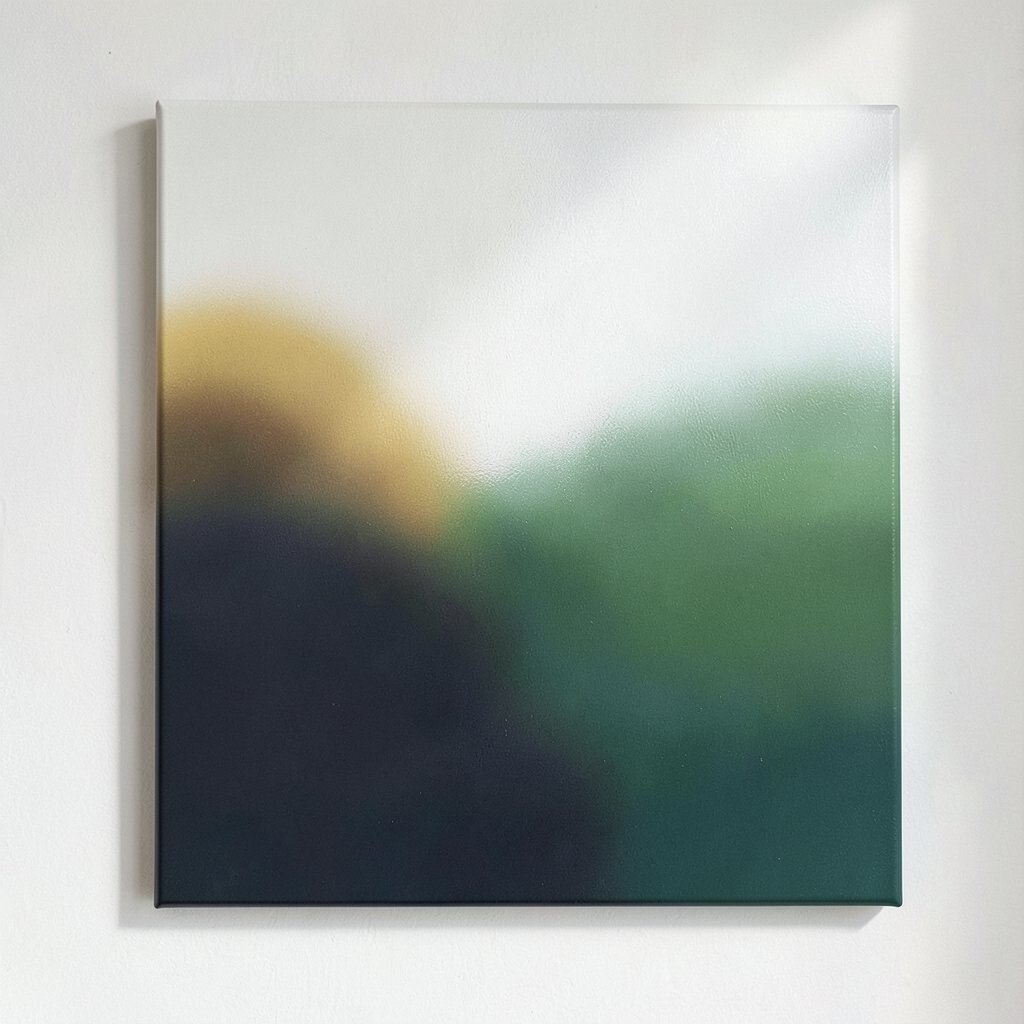
Spray paint makes it easy to create bold gradients, smooth shadows, and crisp stenciled patterns. You can layer lighter and darker tones to give the piece depth that looks store-bought.
Enamel paint can also be used for creative effects, especially when you want hand-painted details or tiny textures. It’s great for sign lettering, decorative trim, or touching up spots where spray overshoots. Try using a small brush for highlights while the main coat stays smooth and even.
For personalization, test a color palette that fits your room. Warm whites, deep charcoal, and earthy greens are trending because they pair well with natural materials. If you love bright styles, use a single bold accent color to keep the design eye-catching without feeling chaotic.
9. Consider Durability for Outdoor Use and Wear

Outdoor projects face sun, rain, and constant temperature swings, so durability matters. Spray paint can perform well for the right surfaces when you choose an exterior-rated product and apply it with even coats.
Enamel paint is often chosen for its strong, hard finish that can handle bumps and daily use. Many people like it for furniture, doors, and items that get handled often. Still, you’ll get the best results by letting it cure fully and adding protective clear topcoats when the item will face the elements.
Visual clues help you choose the right product. If the finish looks too soft or doesn’t harden evenly, it may wear faster under weather or friction. Choose your paint based on how much the item gets used, not just how it looks on day one.
10. Budget Smart by Watching Waste and Application Effort

Cost can feel tricky because both spray paint and enamel paint vary by brand and coverage. Spray cans can be convenient, but wasted overspray can add up quickly when you’re painting large surfaces.
Enamel paint can be cost-effective when you’re comfortable applying with a brush or small roller. You often use less product per area once you learn the right thickness, but you may spend time cleaning tools. Think about what you value more, quick convenience or lower material waste.
A practical way to estimate budget is to measure the area and compare coverage listed on labels. Buy a little extra if your color is darker or if you plan multiple layers. When you plan carefully, you’re less likely to run short mid-project and pay for emergency extra cans.
11. Plan Cleanup and Tool Care Before You Start
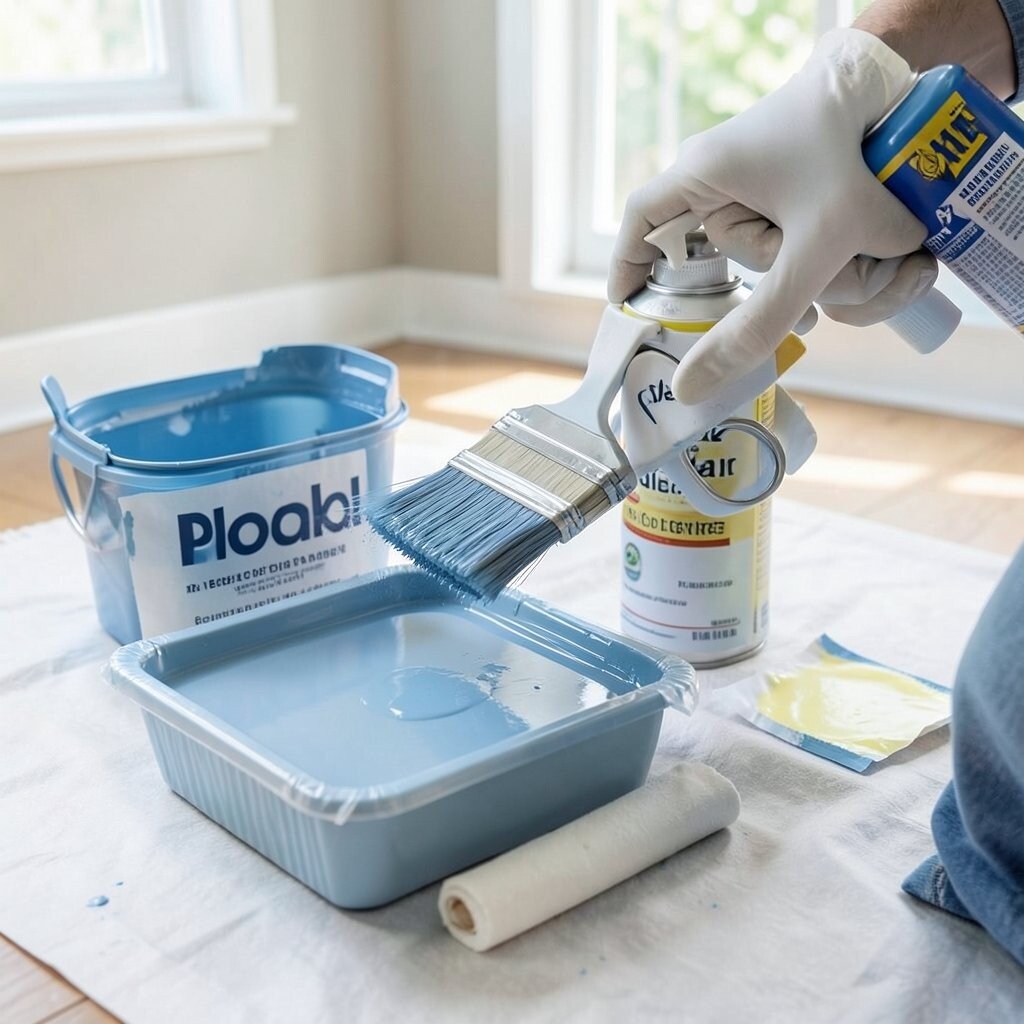
Cleanup is part of the project, and it can influence your choice of paint. Spray painting usually keeps tools simple because you can discard or reuse minimal items like tape and paper.
Enamel paint often needs proper brush or roller cleaning right after painting to avoid stiff, ruined tools. If you wait too long, you may spend more time scraping dried paint than you do painting. Keep a safe solvent or cleaning method ready, and protect your hands and workspace during cleanup.
To make cleanup easier, use disposable liners for trays and keep a dedicated cleaning container. You’ll move faster, and you won’t end up with dried paint splatter on your next project. When your tools stay in good shape, the next paint job feels smoother and more enjoyable.
12. Choose Finishes That Match Your Style Goals
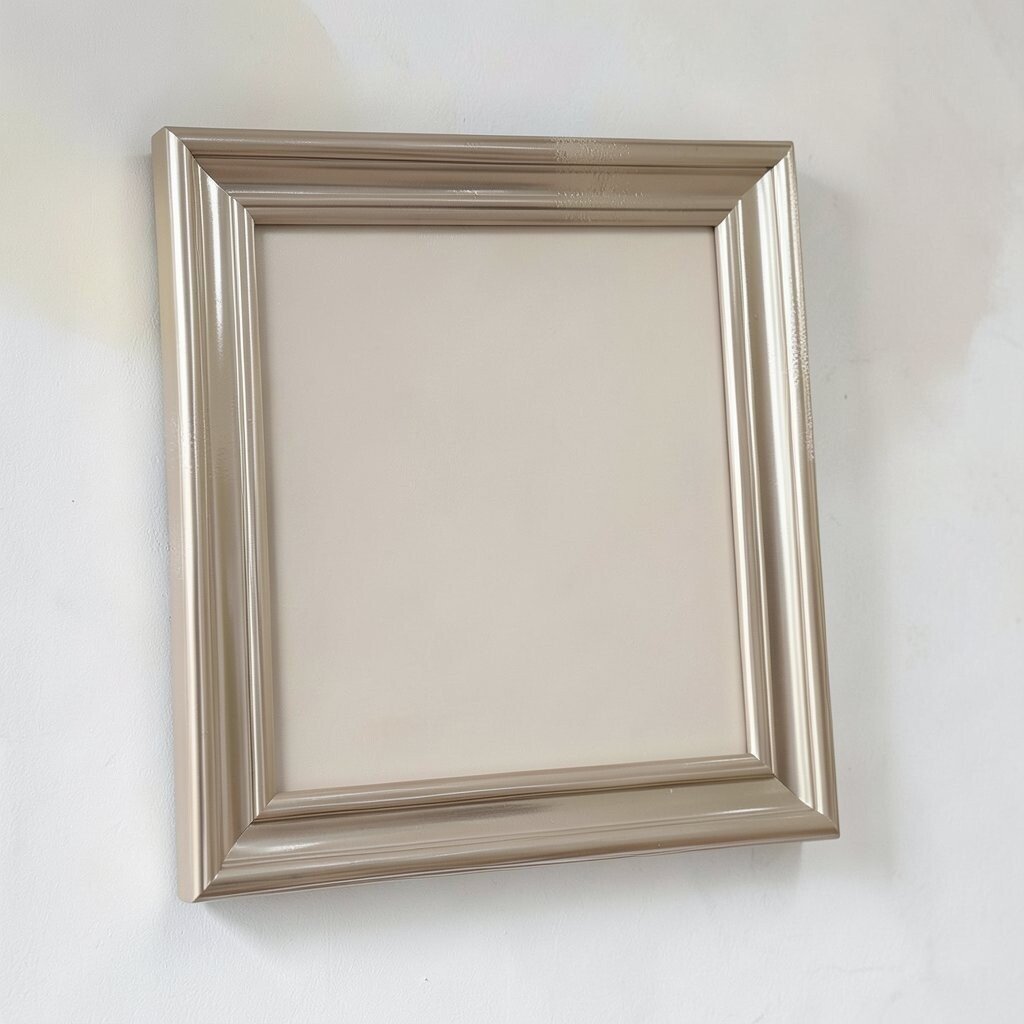
Finish choices change the entire mood of your project, from smooth and modern to cozy and vintage. Spray paint often offers a range of sheens, and you can decide between matte, satin, and glossy looks based on the vibe you want.
Enamel paint finishes also vary, and glossy enamel can look striking on frames and trim. Matte enamel can hide small imperfections better, which helps when you didn’t sand as perfectly as you planned. If you’re painting a piece that gets touched often, consider how sheen will show fingerprints and scuffs in real life.
For a unique look, mix finishes carefully by using a consistent topcoat strategy. A satin base with a glossy accent stripe can feel artsy without looking messy. Always test your sheen choices on a scrap so you don’t get surprised after the paint fully cures.
13. Stay on Trend with Thoughtful Topcoats and Techniques

Current trends often favor finishes that feel practical, not just pretty. People now look for durable coatings, smooth leveling, and colors that match everyday spaces like kitchens, hallways, and garages.
Both spray paint and enamel benefit from a protective clear topcoat when the item needs extra resistance. A clear coat can add depth, control how the surface handles moisture, and make colors look richer. It also helps unify multiple layers so your project reads as one clean design.
To personalize while staying trendy, use stencils, paint pens for fine lines, or layered masking for geometric patterns. Try a two-tone approach with one neutral and one accent color to keep the style fresh. The best part is that you can tailor the look to your home, your favorite colors, and how you want the project to feel every time you walk past it.