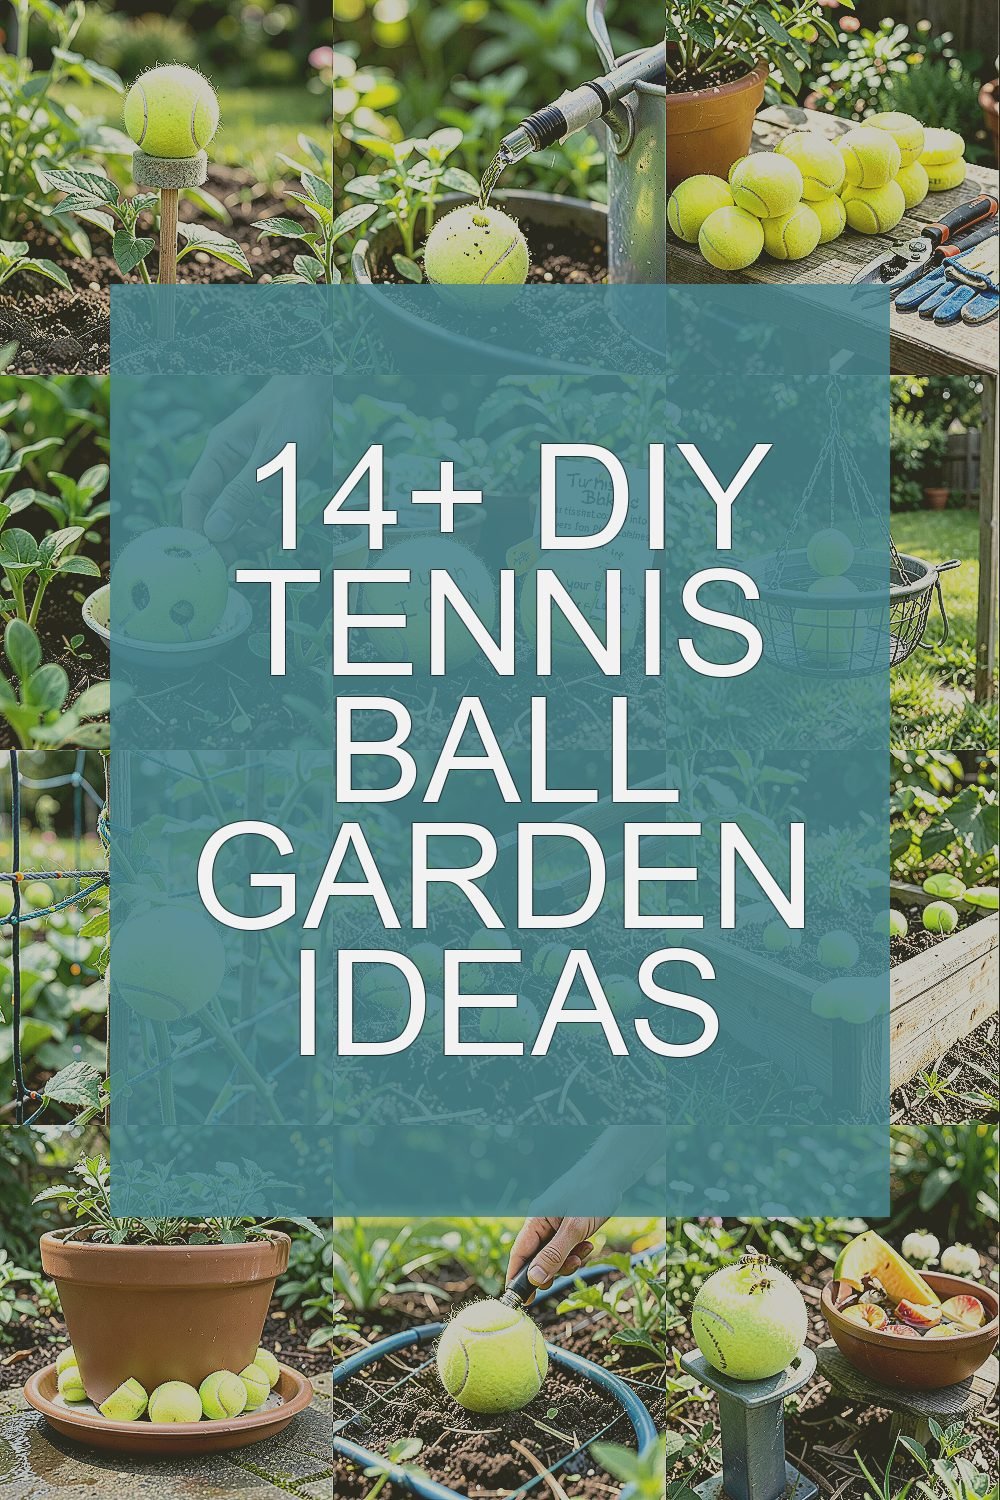
The garden can feel playful and productive at the same time. With simple tennis balls, you can solve small problems and create fun new spaces.
These ideas are budget-friendly, easy to adjust, and great for hands-on projects. Use them to protect plants, help tools, and add bright touches that look homemade and charming.
1. Cushion Stakes for Softer Plant Growth

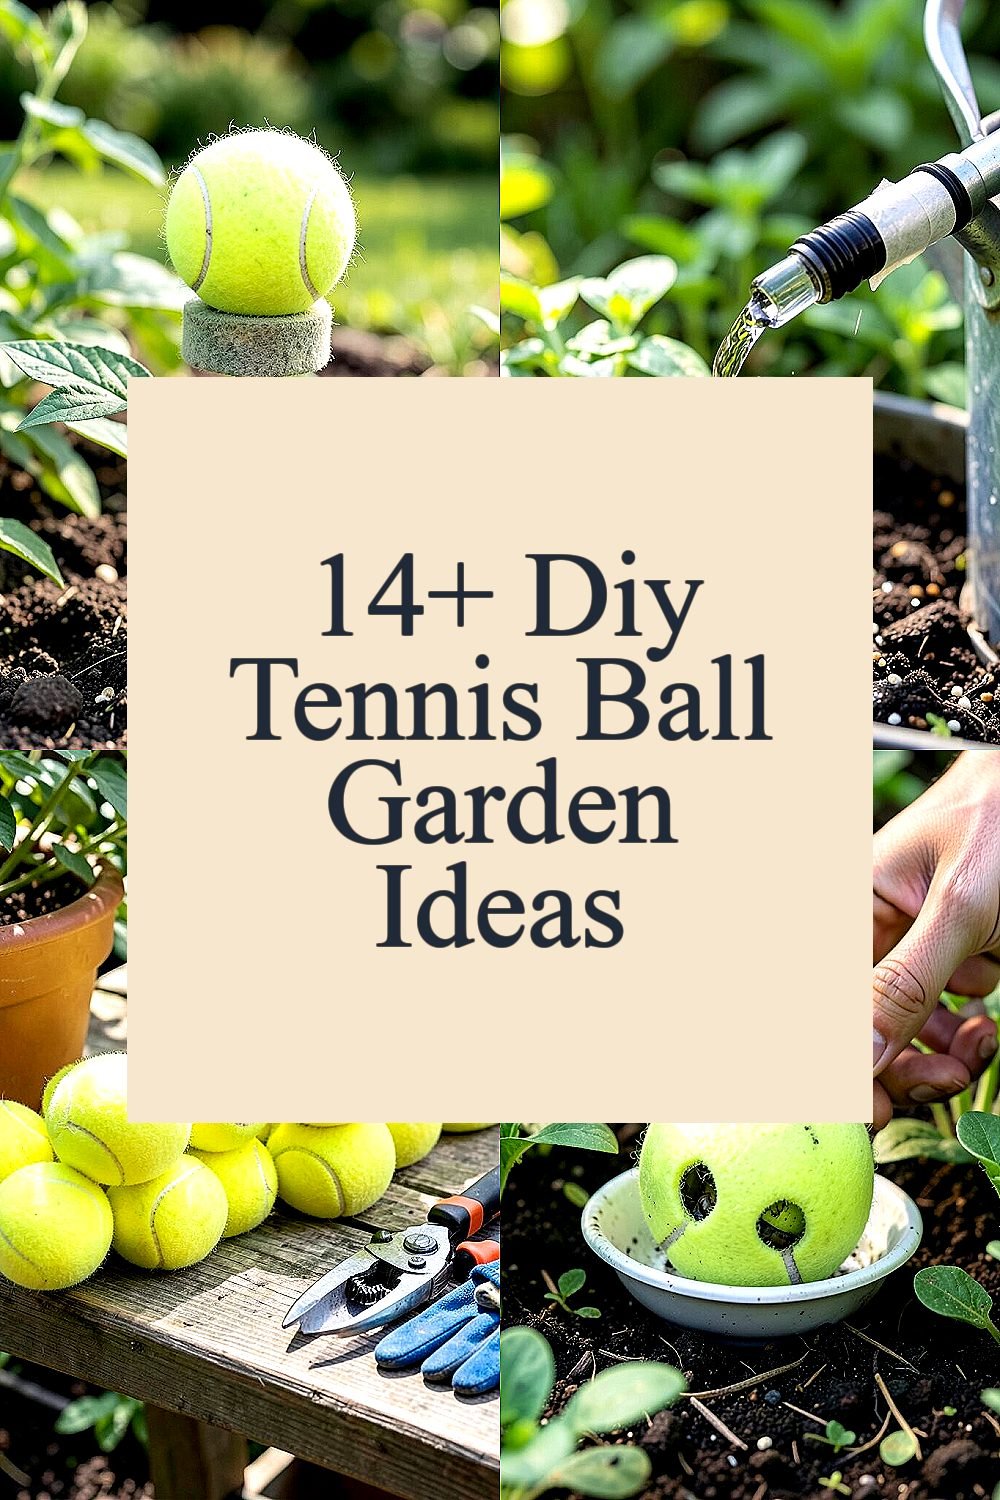
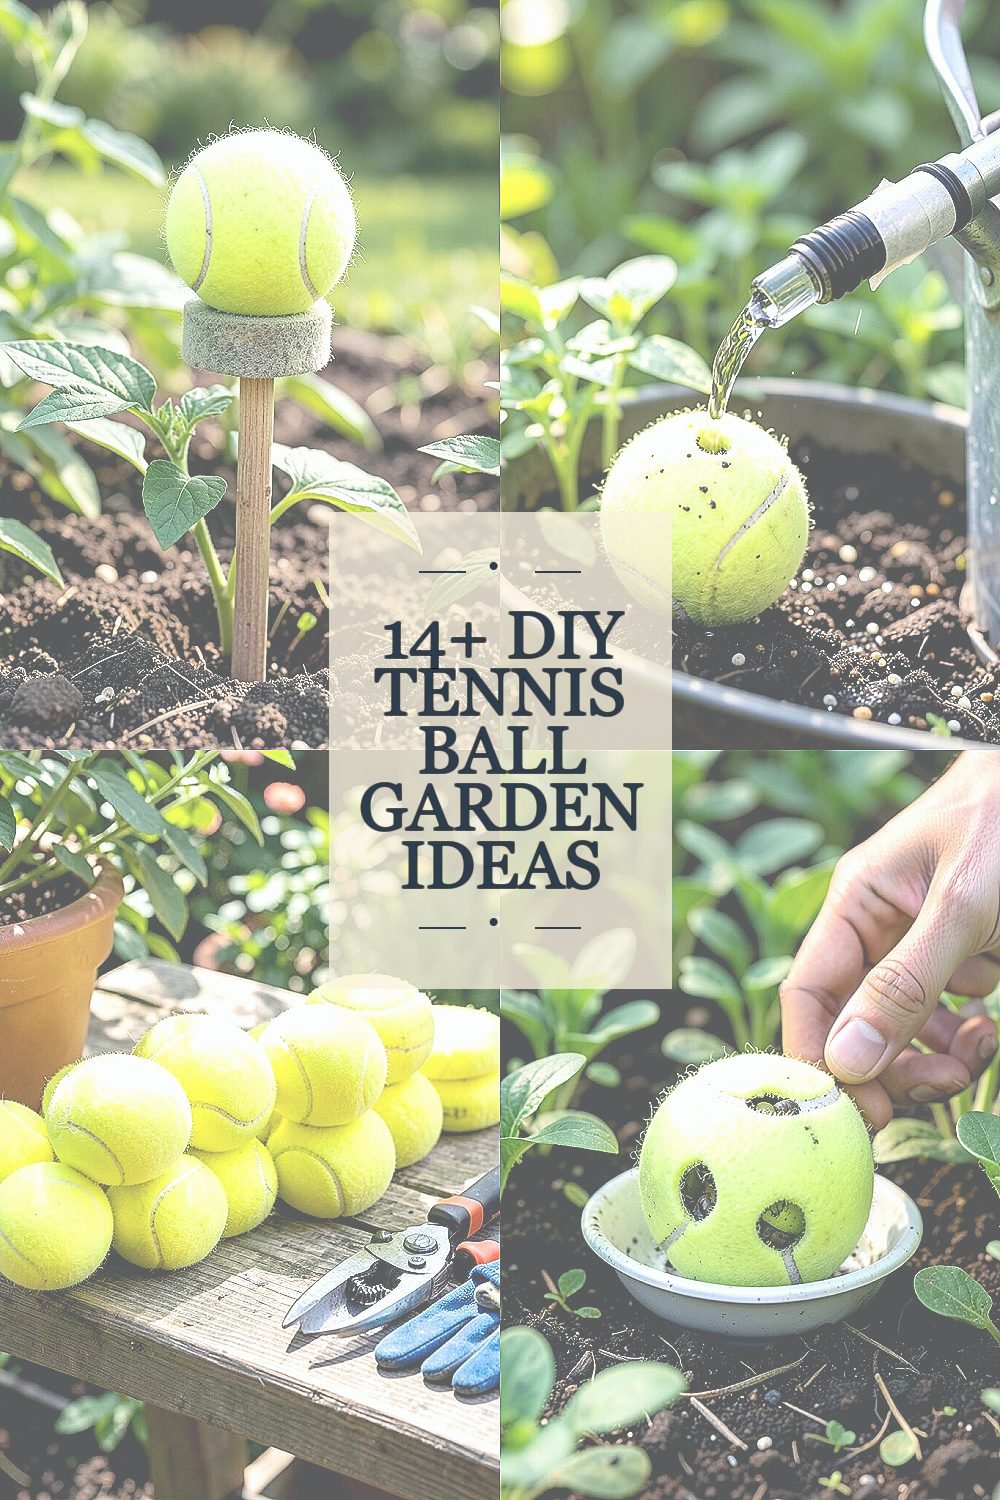
Slice a tennis ball in half and place it around the top of a stake before you push it into the soil. The soft surface prevents rough rubbing against stems and helps young plants stay comfortable as they grow.
Choose a stake that matches your plant type, then slide the ball halves on so the stem sits in a gentle cradle. You will notice less damage from wind and from gentle contact when leaves sway.
2. Make a DIY Seed-Starting Dropper for Gentle Watering

Poke a small hole in a tennis ball and attach it to the end of a watering can spout using tape or a tight rubber band. Water drips out slowly, which helps seeds avoid getting knocked loose.
This little “soft sprayer” spreads moisture more evenly while keeping the soil from washing away. For best results, water in short bursts and watch how the top layer darkens.
If you want extra control, experiment with different hole sizes and note which one feels right for your seed tray. It is a great way to personalize the flow for tiny seeds like lettuce or basil.
3. Create a Garden Tool Rest That Protects Handles

Cut tennis balls into thick pads and place them on the edge of a potting bench or shed shelf. Tools rest more securely, and handles stay cleaner because they are not directly on rough wood.
The visual is simple but satisfying, with bright yellow cushions lined up like mini bumpers. You will also reduce slipping when you set down pruners, trowels, or small hand rakes.
To personalize, stack two pads for longer handles and keep a pair near your gloves. If you are working in bright weather, the color makes it easier to spot tools fast.
Over time, the balls wear down, so plan on replacing them every season. Still, the cost is usually lower than buying specialty racks, and you can reuse leftovers for other garden uses.
4. Stop Slugs from Reaching Tender Leaves

Place a tennis ball in a shallow saucer and cut small openings so you can position it near vulnerable plants. The idea is to create a small barrier zone where damp pests struggle to move through tight gaps.
Pair this with hand-checking in the evening and you get better control than using one method alone. You will feel proud when your seedlings stay sturdier and leaves look smoother.
5. Turn Tennis Balls into Low-Cost Plant Labels

Press a tennis ball lightly so it dents and then carve a few shallow letters with a craft knife. Add a line of paint or marker, then let it dry before placing the ball beside your pots.
Bright labeling stands out against soil, so it is easier to remember what you planted in each container. This is especially helpful for seed mixes where shapes and colors look similar at first.
If you want personalization, use different colors for vegetables, flowers, and herbs so your garden map is easy at a glance. Keep a small container of marker caps so you can update labels as plants grow taller.
6. Build a Floating Water Tray for Hanging Baskets

Cut a tennis ball in a ring shape and slip it onto a hanging basket chain or support cord. The ring acts like a buffer, and it also helps keep water flow from soaking the same spot on brackets.
When you water, the ring gives you a cleaner look and reduces messy drips that stain nearby surfaces. You might even notice fewer streaks on walls or fences from repeated watering.
For practicality, use two rings on each side so the basket stays level. If you live in breezy areas, add a second support point to keep the basket steady.
7. Make a Soft Tie for Trellises and String Training

Slice tennis balls into small strips and wrap them gently around stems where you tie to a trellis. The soft material helps avoid pinching and keeps twine from digging into delicate growth.
This trend of “soft support” is popular with gardeners because it reduces plant stress during training. You can also adjust tension easily since the ball compresses a little as leaves expand.
Personalize by painting tiny dots on the ties to match plant rows. When you review your garden every week, the colored markers help you track which vines need attention.
8. Create a DIY Compost Aeration Helper

Smack tennis balls with a hammer to make a few cracked spots, then toss them into a compost pile for extra air pockets. The soft pieces shift and create small channels that help airflow and drying in the outer layer.
You get a practical boost for gardeners who want compost to smell fresher and break down more evenly. Add the balls lightly, because too many can slow things down if your pile stays too bouncy.
To personalize, use them only in one section of the pile and compare how that section breaks down over time. Keep moisture balanced by checking whether the mix feels like a wrung-out sponge.
9. Use Tennis Balls as Protective Covers for Raised Bed Corners

Cut tennis balls into corner caps and place them over exposed bed edges or sharp posts near paths. The result looks bright and friendly, and it keeps feet and knees from bumping during chores.
These corner cushions are great around raised beds that sit close to walkways. They can also reduce wear on wood and help the corners last longer through repeated weather.
10. Turn Tennis Balls into Shock-Absorbing Planter Spacers

Slice tennis balls into small wedges and place them between a heavy pot and a saucer or stand. The cushioning reduces sliding and prevents the bottom from staying stuck to wet surfaces.
You will notice less water pooling and fewer rings on patios after watering. This also makes lifting and moving pots easier since you are not wrestling a stuck base.
For personalization, choose wedges that match the weight of your planters, with thicker pieces under heavier pots. If you have plants that need consistent drainage, keep the saucer slightly off-level using the spacers.
11. Make Quick Covers for Small Drip Lines During Repairs

If you adjust a drip hose and need a temporary seal, press a tennis ball over a connection point. The elastic bounce helps the cover sit snugly while you test flow and fix leaks.
This practical trick saves time because you can pause a watering section without shutting down your whole setup. It also keeps soil from flooding around the connection while you work.
To personalize, cut a small groove in the ball so it fits a particular hose size. Keep a pair of these near your garden shed so you can respond fast when something loosens.
12. Create Fun Pollinator Feeders with Simple Ball Holders

Cut a tennis ball to make shallow pockets, then place it near a water station or next to a fruit bowl on a safe stand. The pockets hold small amounts of water or softened fruit, giving pollinators a gentle landing spot.
This can be a friendly garden trend when you focus on small, welcoming habitats for beneficial insects. You might see more activity from bees and butterflies when the food source stays consistent.
For cost considerations, you can skip fancy feeders and use what you already have. Refresh the pockets often, especially in warm weather, so the water stays clean and safe.
13. Build a Tennis-Ball Seed Pusher for Even Rows

Push a tennis ball with a thumb-sized opening across the soil where you want seeds. The ball rolls lightly and helps guide spacing so you do not accidentally scatter too heavily.
This visual method looks playful, almost like a garden game, yet it gives real benefits. Even spacing can help seedlings compete less and grow more evenly.
To personalize, adjust the opening size for seeds of different thickness and test it in a small corner first. Keep a light hand so you are placing seeds gently rather than digging them in too deep.
If you notice seeds bunch up, slow down and use less pressure. After a few tries, the rhythm becomes easy and you will enjoy the steady row look.
14. Protect Patio Steps and Garden Path Edges

Glue or secure tennis balls as bumpers on the bottom of planters that sit near steps. The cushioning reduces loud clanks and helps protect the ground surface from repeated movement.
Gardens with stone or wood walkways often show wear in corners first, and this simple fix slows that down. You will also feel safer when moving items in the dark with a flashlight.
15. Make a Cozy Windbreak for Young Plants in Containers

Place tennis balls at the top of container stakes like little caps that reduce direct rubbing from wind-tossed leaves. Then position the stakes so the leaves catch calmer air before the strongest gust reaches them.
This idea feels unique because it uses soft materials instead of rigid guards that can block light. When plants look healthier, you will know the protection is working.
Personalize by painting the caps to match your container colors or labeling each set so you can move them with the season. For practical results, remove the windbreak caps once plants are stronger so air can move naturally.
Over time, you may replace the balls, but it is usually cheap and fun to keep a small stash. Using tennis balls also supports a low-waste mindset that fits today’s garden habits.