Light can turn a regular scene into a mood you can almost hear. When you control it well, your photos start feeling alive.
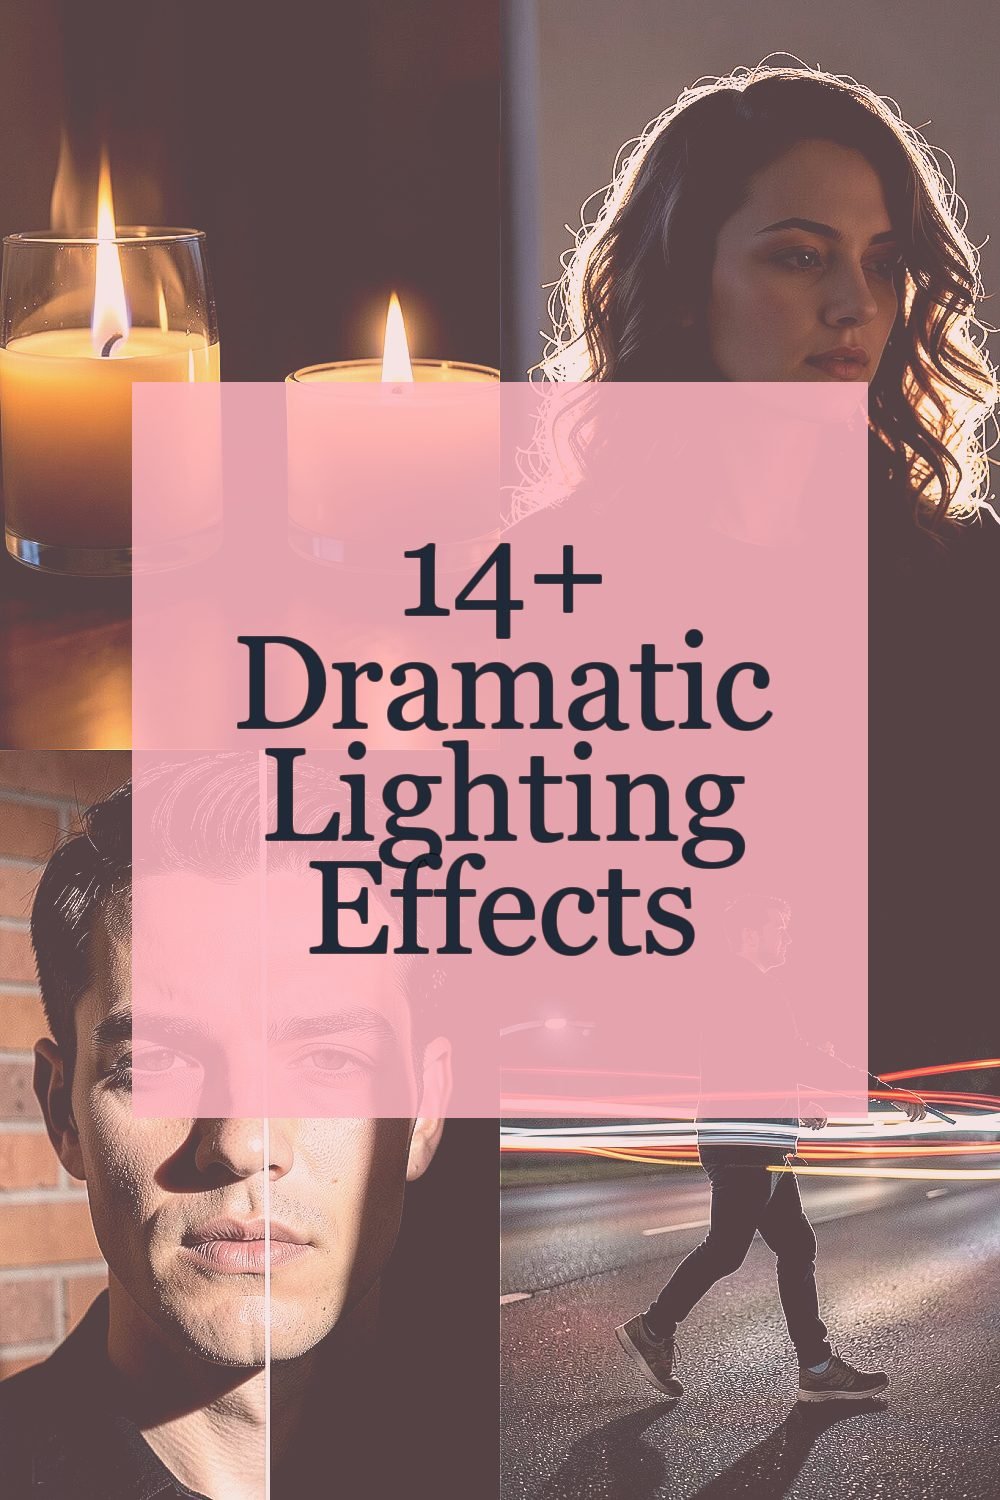
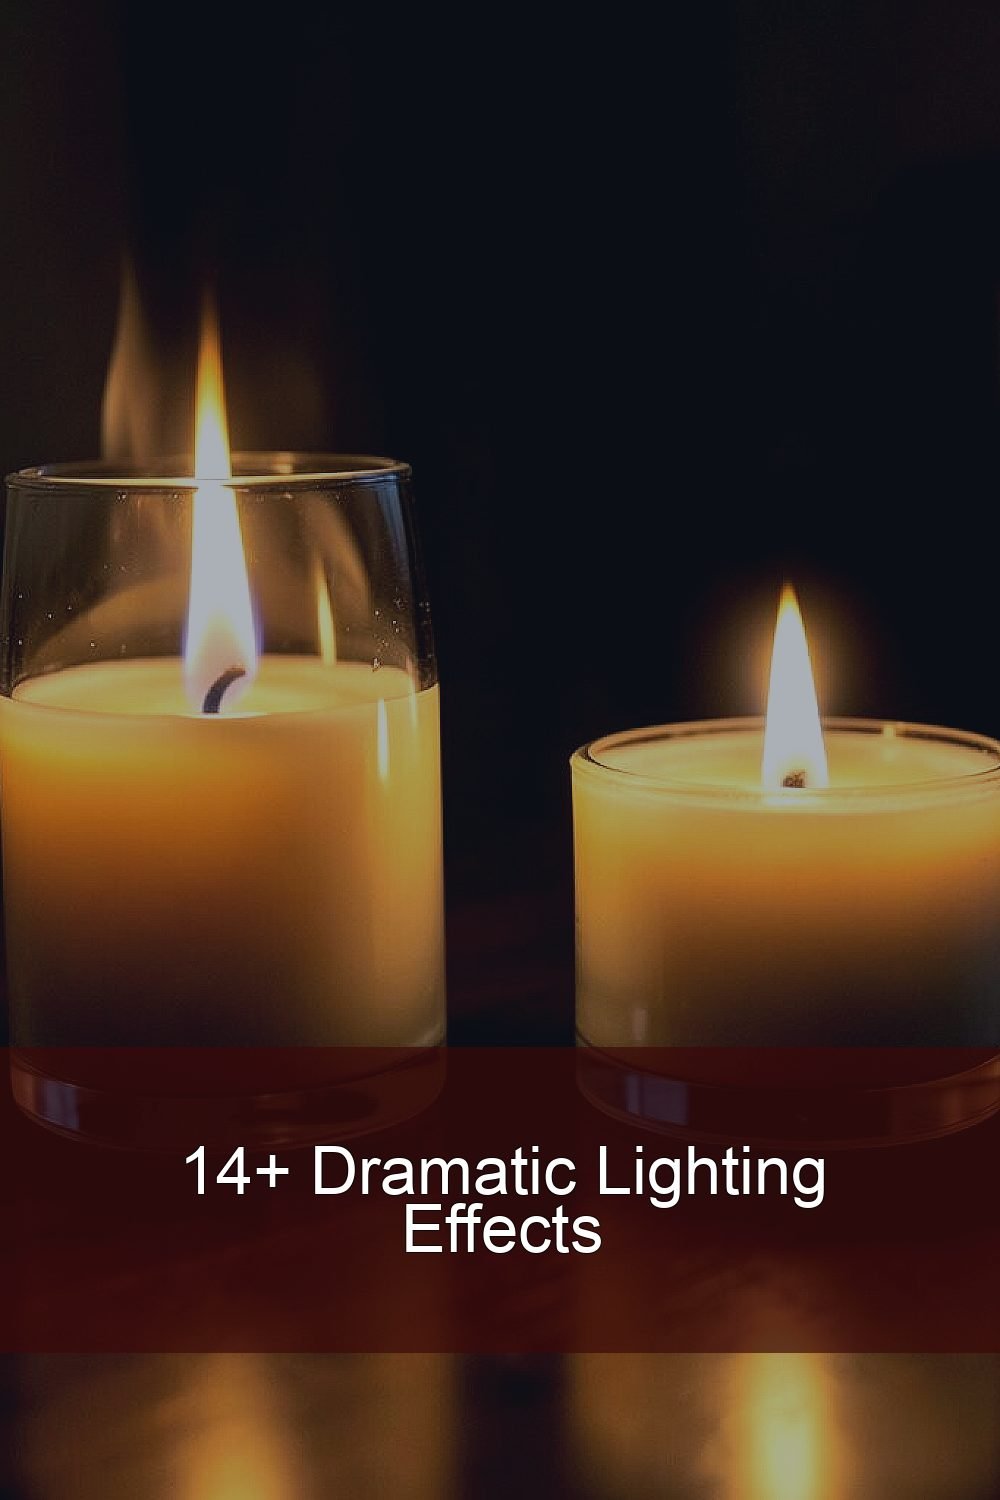
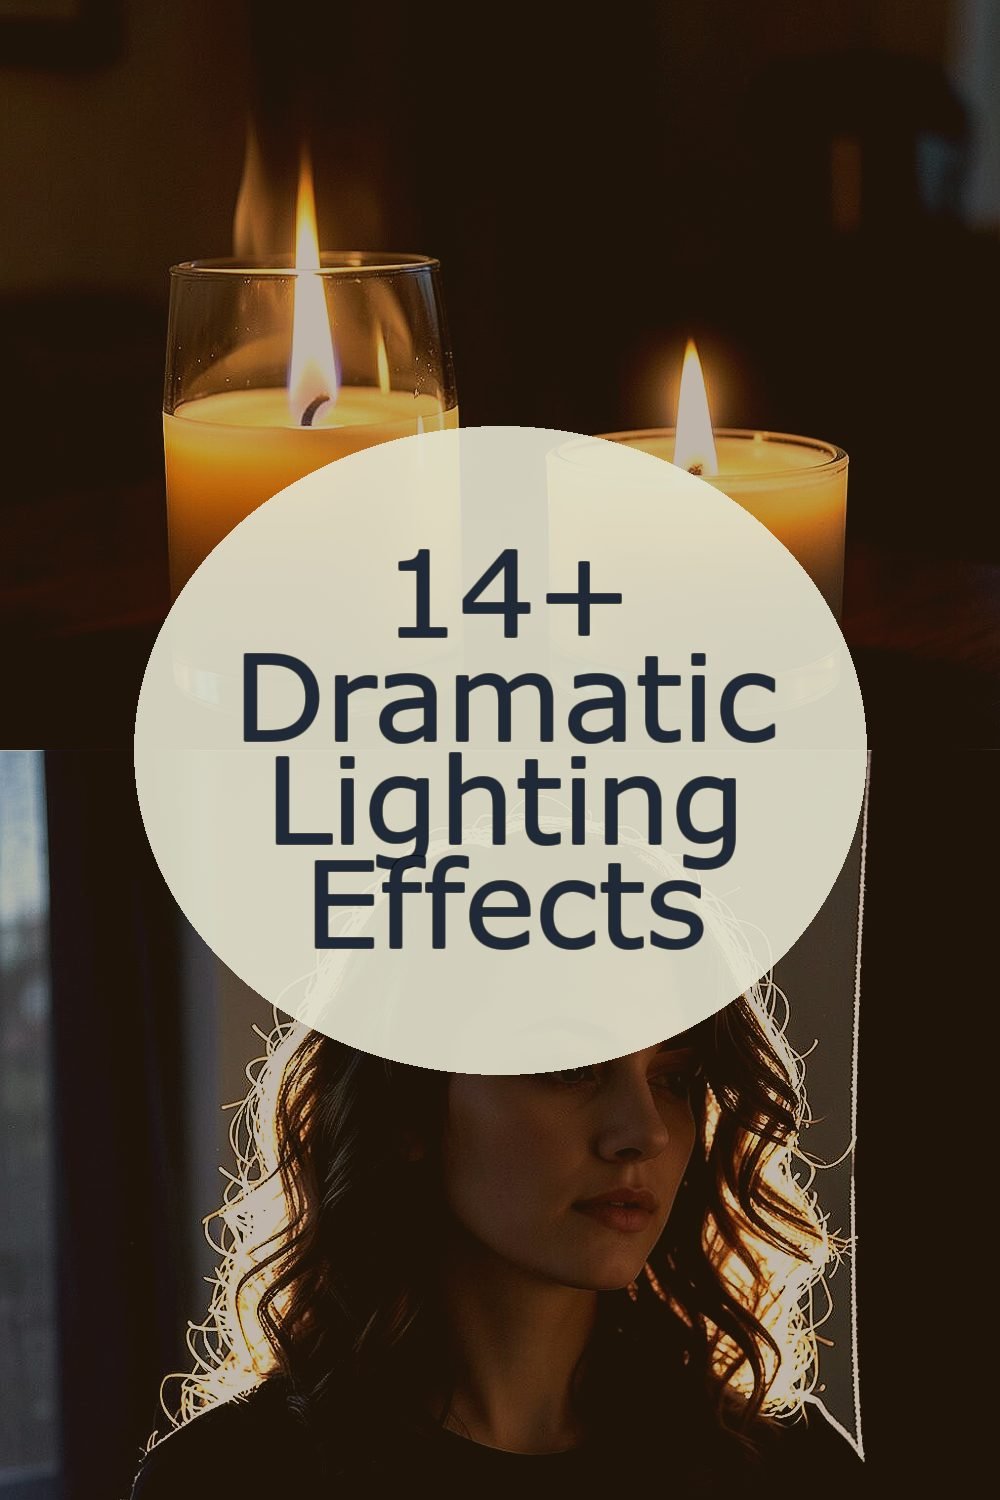
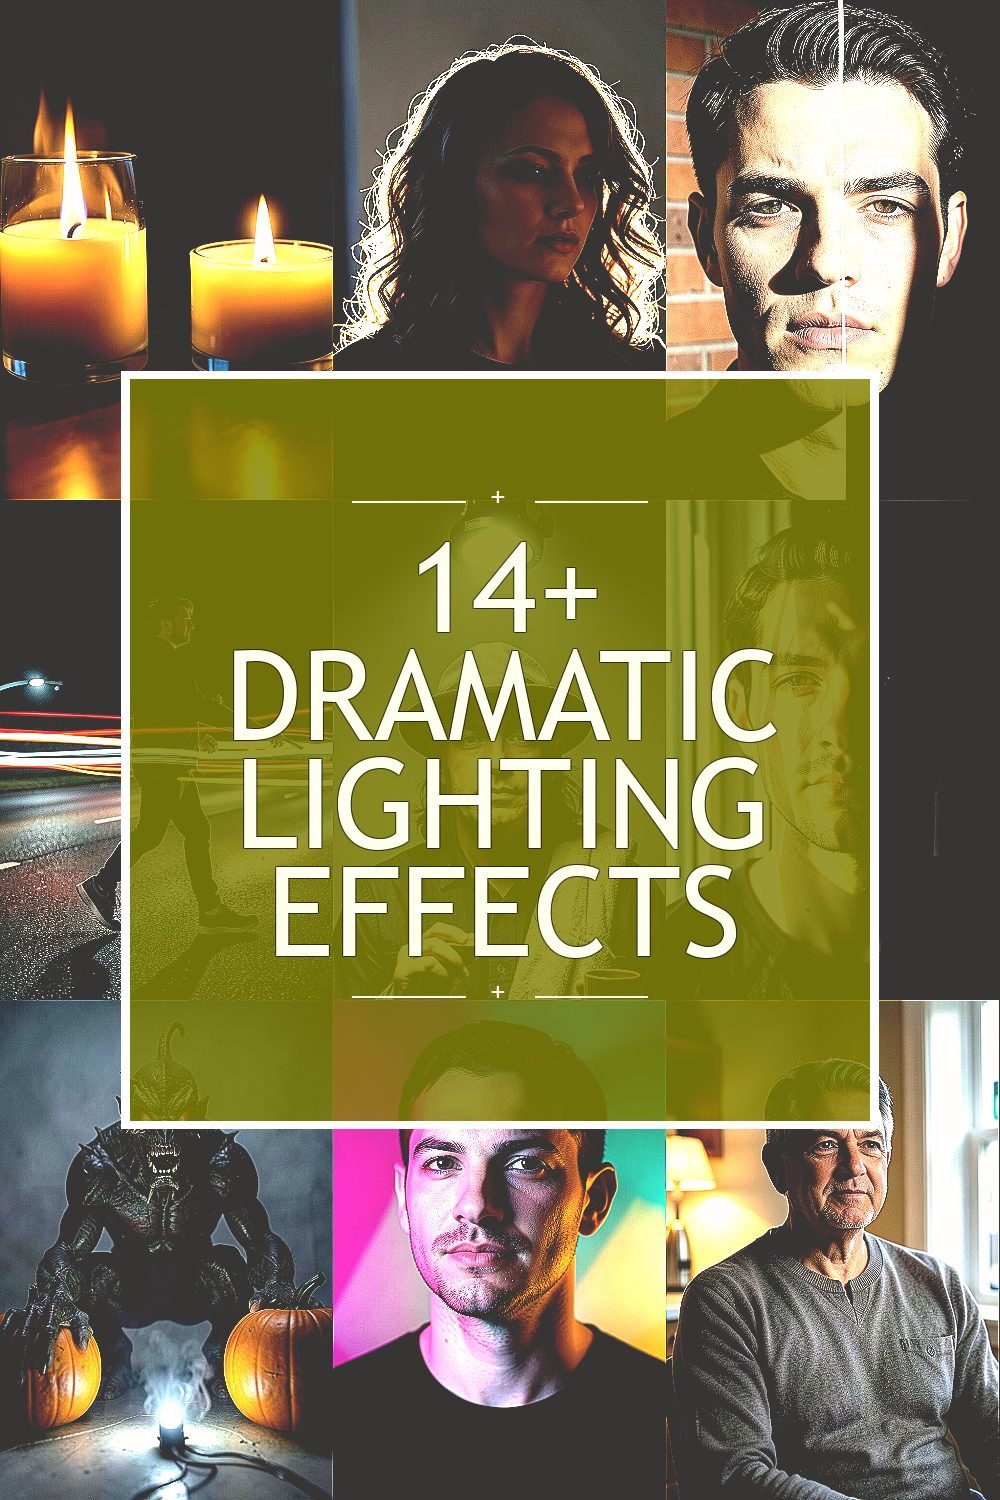
1. Candlelit Glow With Real Heat
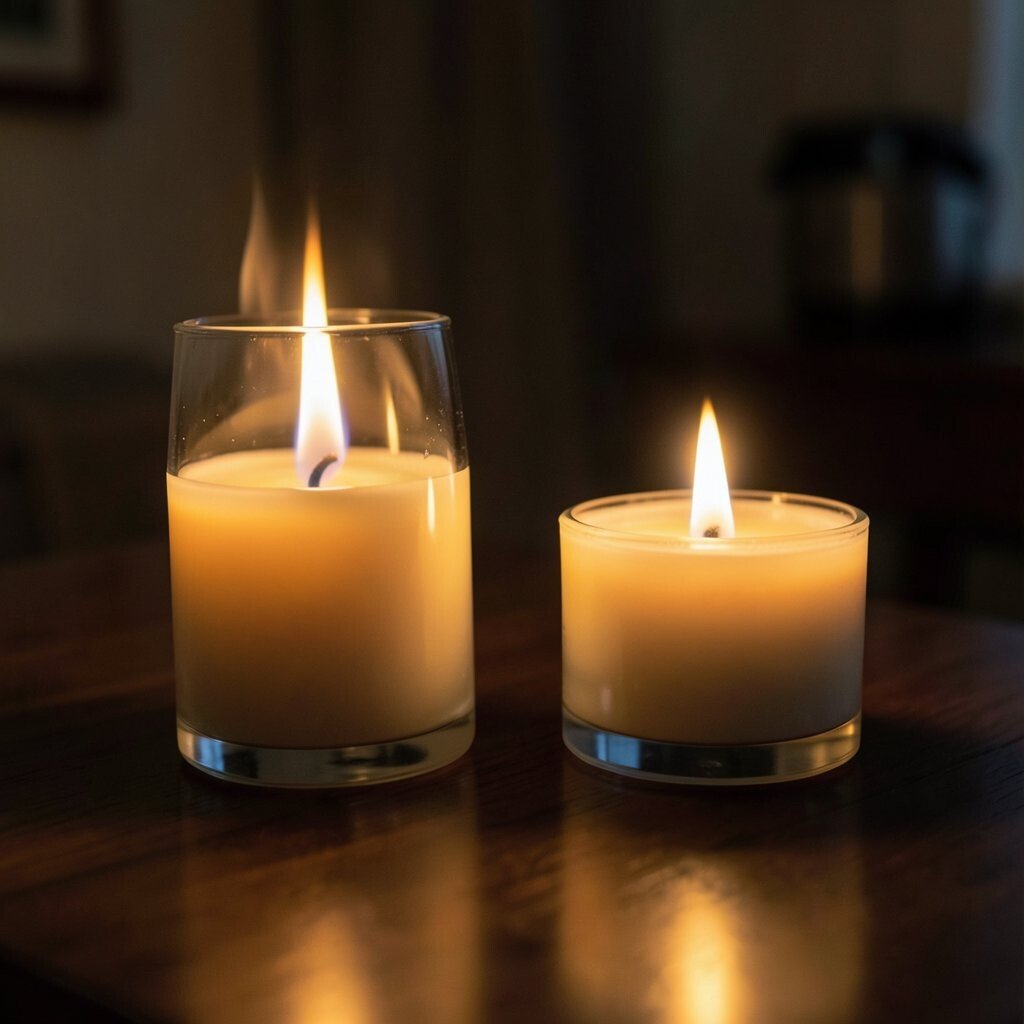
Imagine a softly lit tabletop where warm highlights bloom on glass and skin. The whole image feels cozy, like evening just arrived.
To get this look, place a candle near your subject and let it do the heavy lifting. Keep the flame safely out of direct view if you want a smoother, more flattering glow. Use a low angle and slightly off-center placement so the shadows fall with drama instead of hiding details.
2. Backlight Halo Around Hair and Edges
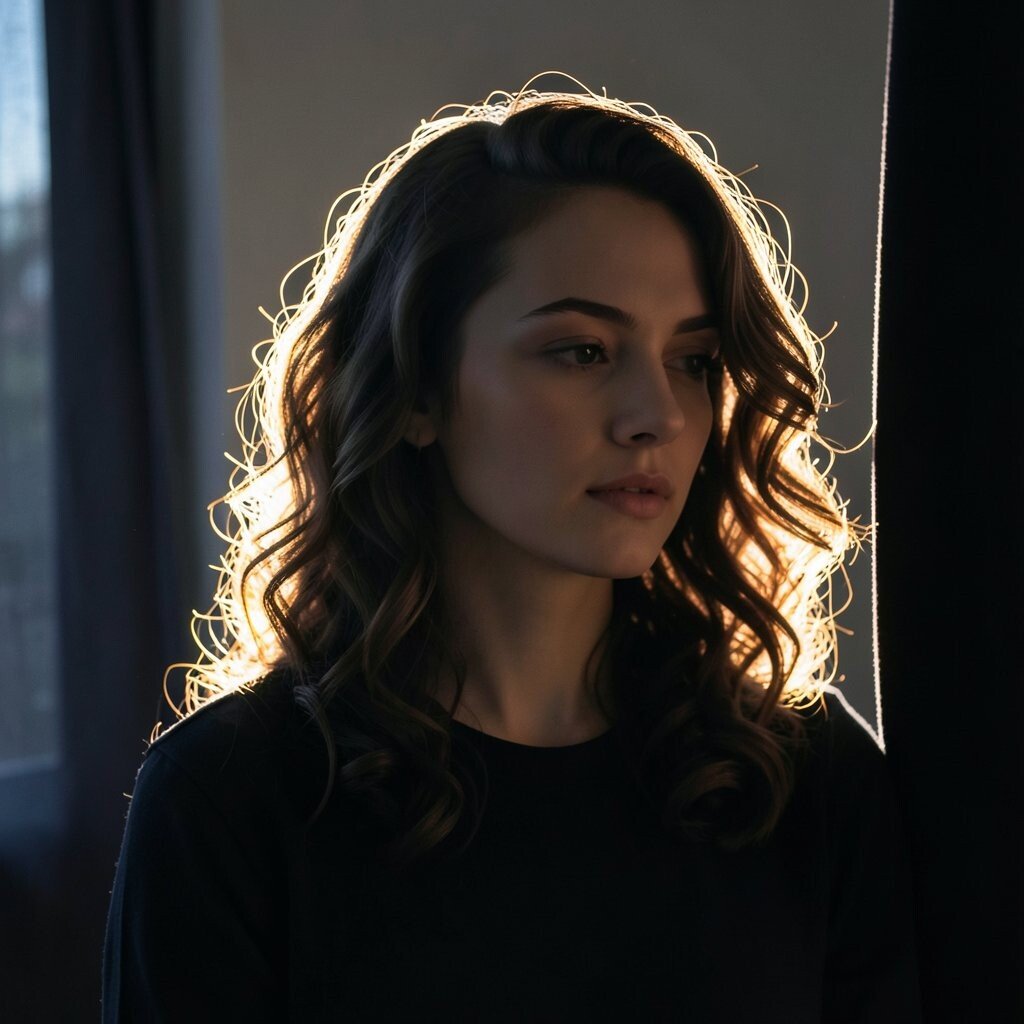
Place a strong light behind your subject to create a thin rim of brightness. You’ll get that cinematic separation from the background.
Try using a window, a lamp, or a small LED placed just out of frame. Adjust the distance so the rim stays crisp, and ask your subject to move a little so stray glare doesn’t flatten everything. If you want more intensity, reduce background clutter and use darker clothing or a deeper-toned wall.
For personalization, experiment with different hair textures and silhouettes, since curls catch backlight in a magical way. If you use a window, shoot near dusk for a gentler backlight and fewer harsh spots. To control spill, drape a dark cloth on one side like a simple shield.
3. Split Lighting That Cuts The Face Like Cinema
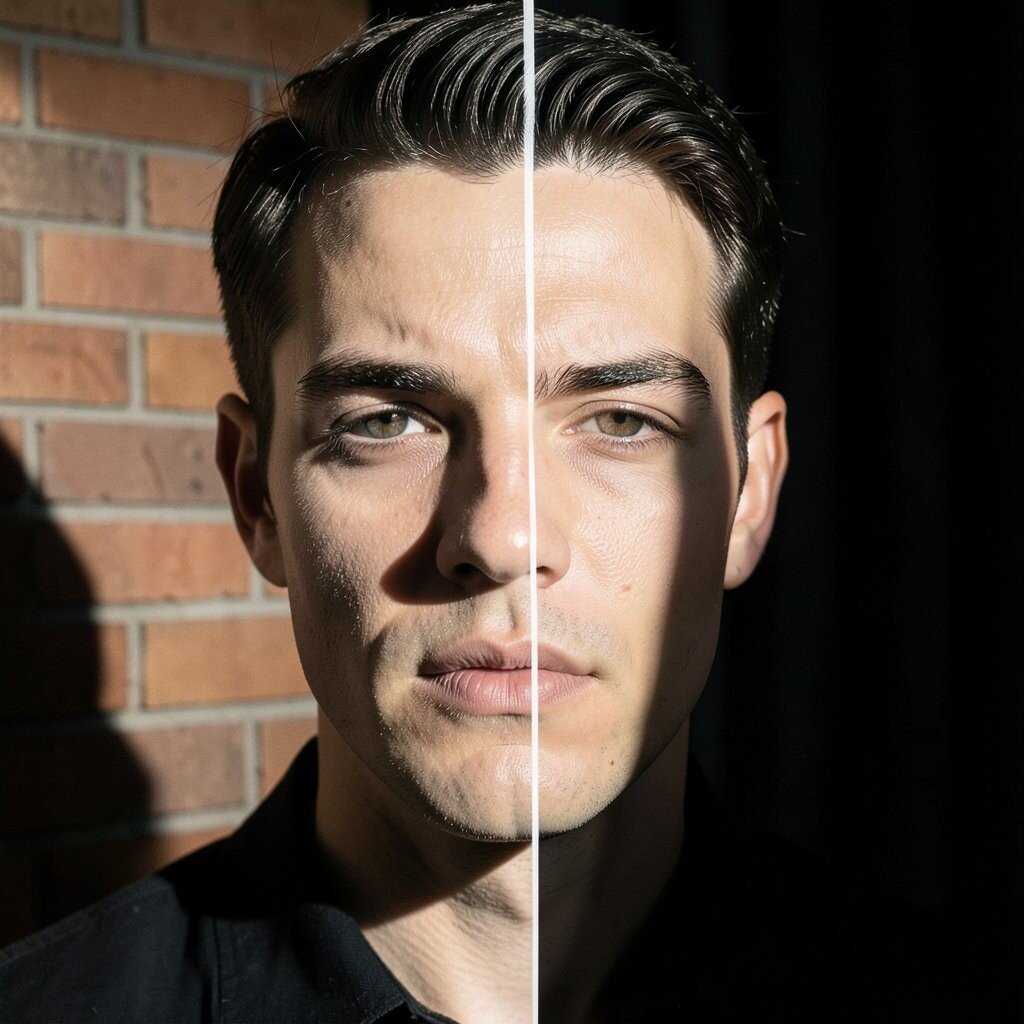
Watch how one side of a face turns bright and the other side drops into shadow. The contrast makes the expression feel stronger and more story-like.
Position your light at about a forty-five degree angle and keep it slightly above eye level. Then turn your subject’s face until the shadow line looks clean and intentional. If you have a reflector, bounce a small amount back into the dark side so it stays detailed rather than muddy.
Try pairing this effect with a bold background like brick or a dark curtain to make the shadow shapes pop. A single adjustable lamp or a small flash can get you surprisingly close. For cost control, start with one light and practice angles before buying extra gear.
4. Long-Exposure Light Trails With Motion Magic
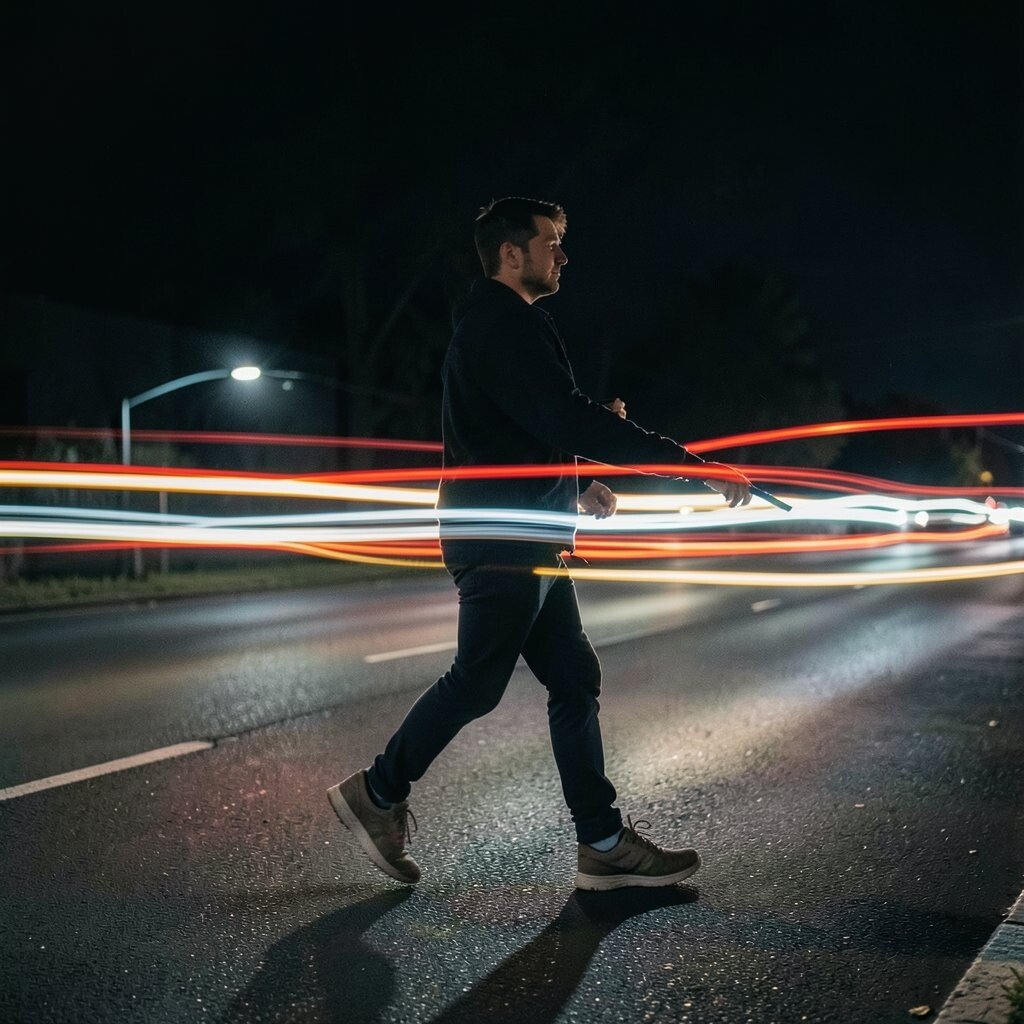
Set your camera to capture motion and suddenly moving objects draw bright lines through the air. Even a simple walk across the frame can look like a stylized art piece.
Use a tripod, lower the shutter speed, and keep your subject moving at a steady pace. If you’re using phone settings, look for a night mode or long exposure feature, then test on something easy first. For best results, head to a darker area with fewer stray lights.
5. Overhead Spotlight That Creates Mystery
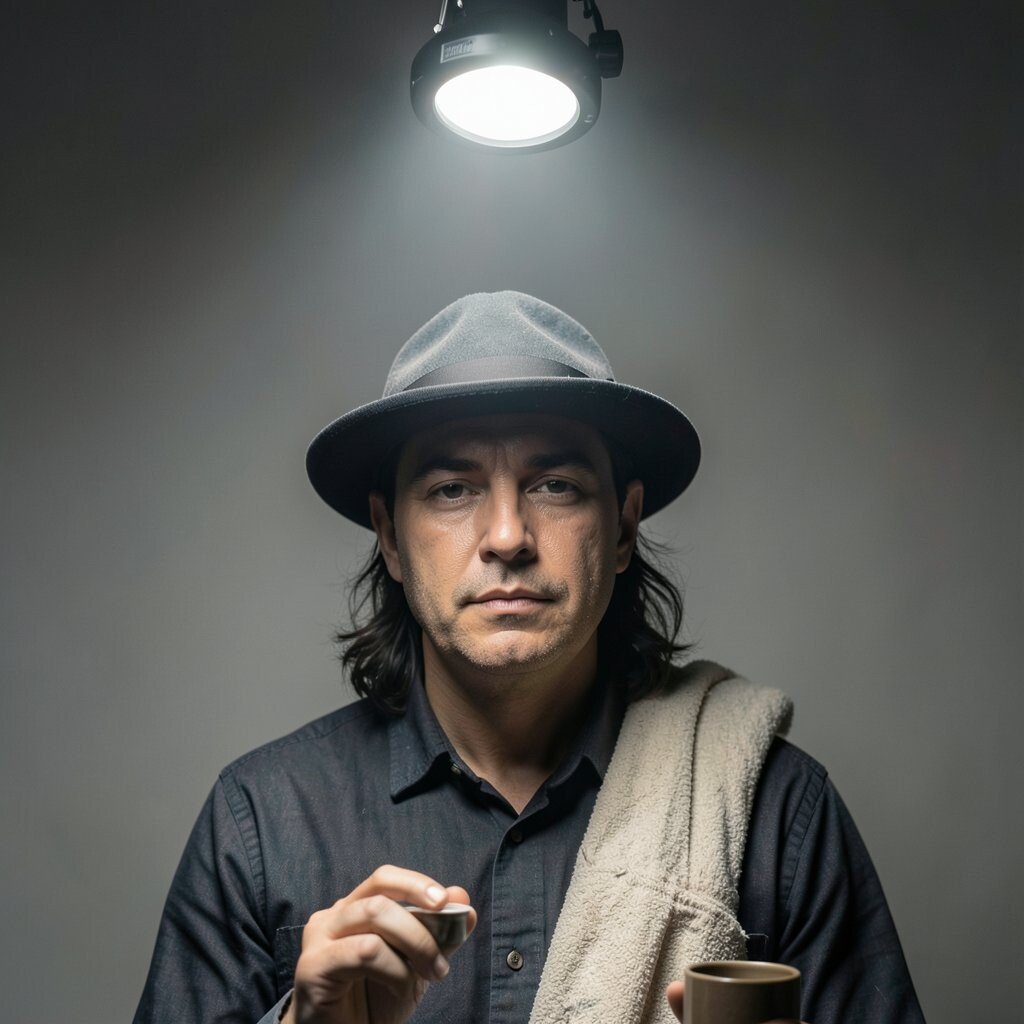
A bright light above a subject makes the scene feel theatrical. Shadows stretch downward and add depth to every cheek, hat brim, and collar.
Place the light overhead, like a desk lamp, ring light on a boom arm, or a strobe held high. Then angle the lamp slightly so it concentrates on the face or hands. Use a simple backdrop like a plain wall to keep attention where it belongs.
If you’re working indoors, turn off overhead room lights so the spotlight looks intentional. This effect also flatters portraits because it can shrink the appearance of jaw shadows when positioned carefully. To personalize, try different props such as umbrellas, cups, or folded fabric that catch the beam with texture.
6. Window Light With Dramatic Shadows
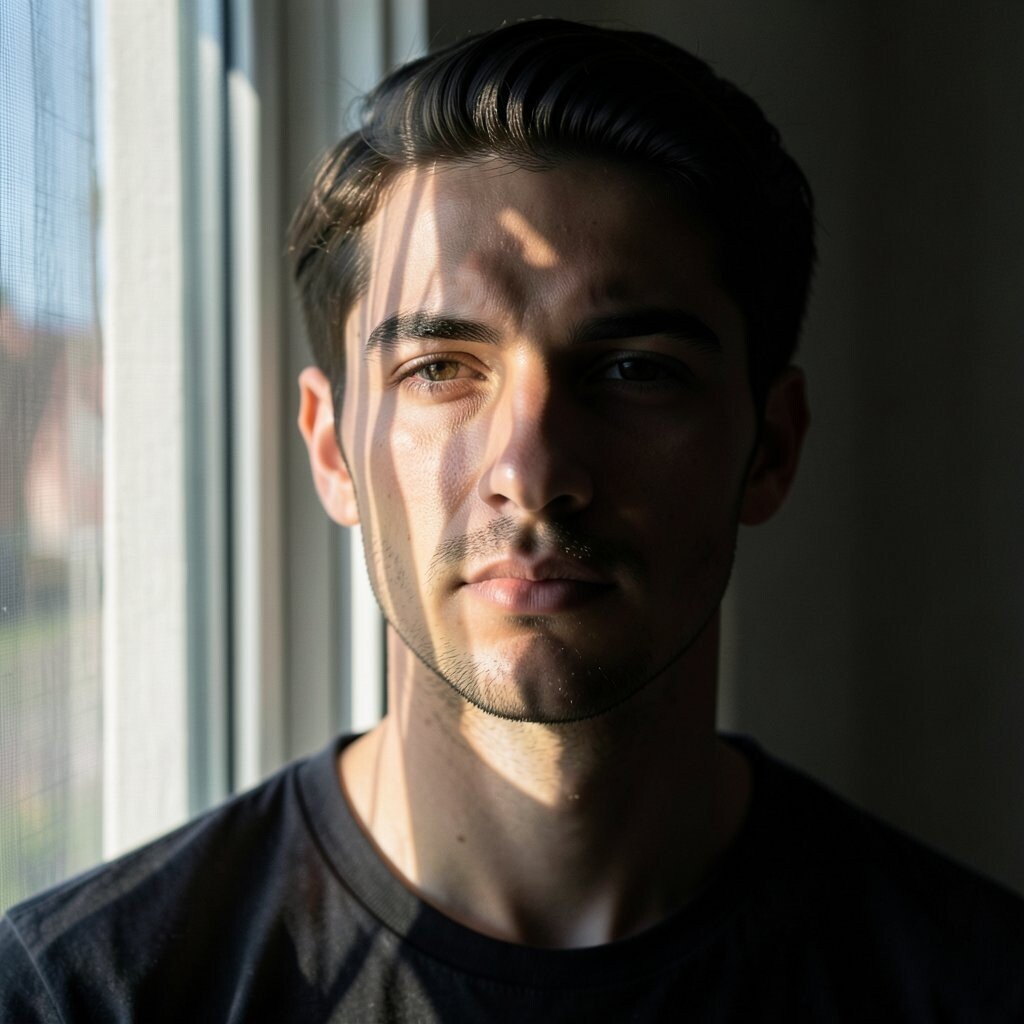
Natural window light can look soft, yet it still creates bold, sculpted shadows. A single beam across the face makes your photo feel thoughtful and real.
Face your subject toward a window and place them close enough that the light wraps but doesn’t fill the entire room. If you want more contrast, move them farther from the window and let shadows deepen. For extra control, use a thin curtain like a natural diffuser, or avoid it for a harder, more graphic look.
7. Underlighting That Turns Everyday Props Into Monsters
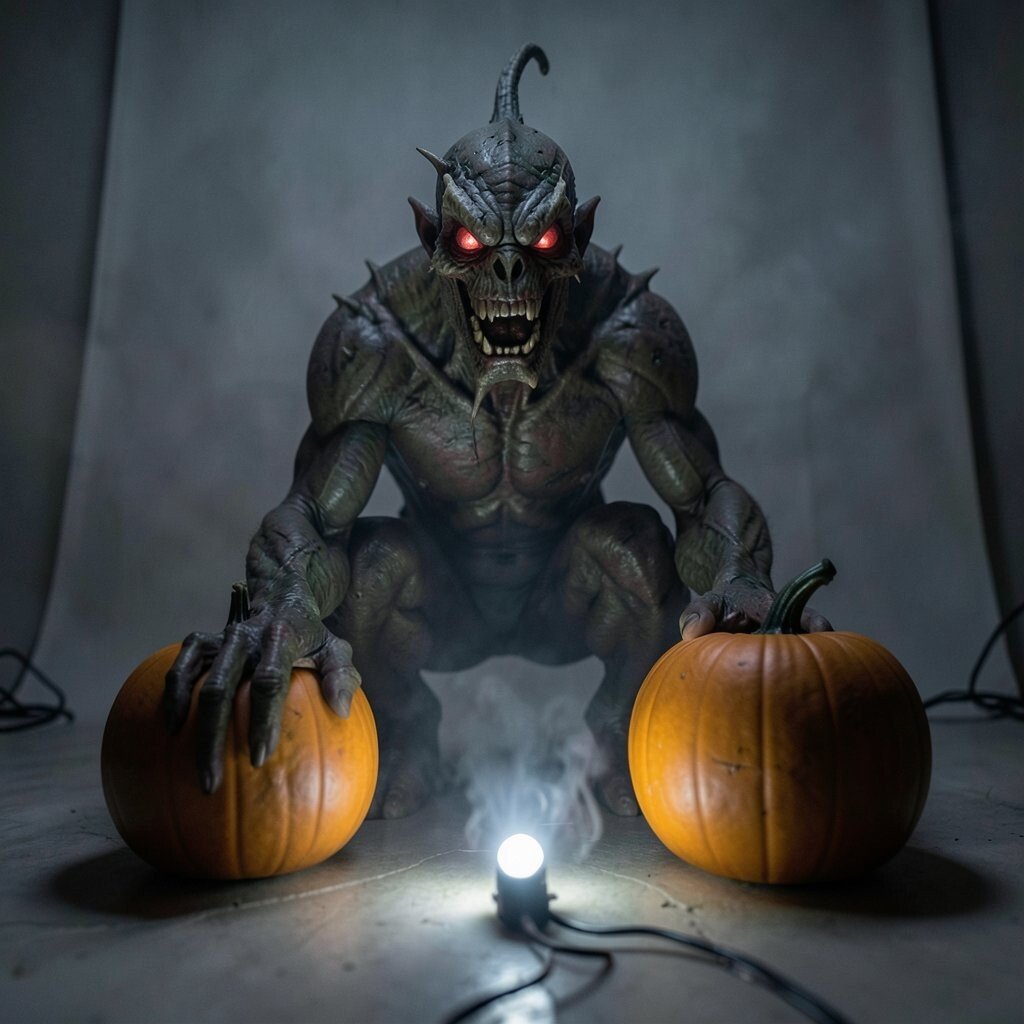
Shoot your subject from below with a light placed near the floor. The result looks eerie, playful, and instantly more dramatic than front-facing illumination.
Try using a small LED or phone flashlight on the ground, pointed upward. Keep the beam narrow so you get defined shapes instead of a washed-out scene. Add fog or a bit of steam for extra atmosphere, but keep it subtle so the photo stays crisp.
For personalization, use objects like pumpkins, toys, or even a simple glass bottle to create surprise silhouettes. This style is popular for short-form content because it feels bold and instantly readable on small screens. If you’re cost-conscious, a clamp light and a cheap diffuser can deliver the same mood.
8. Colored Gels for Nightclub Vibes
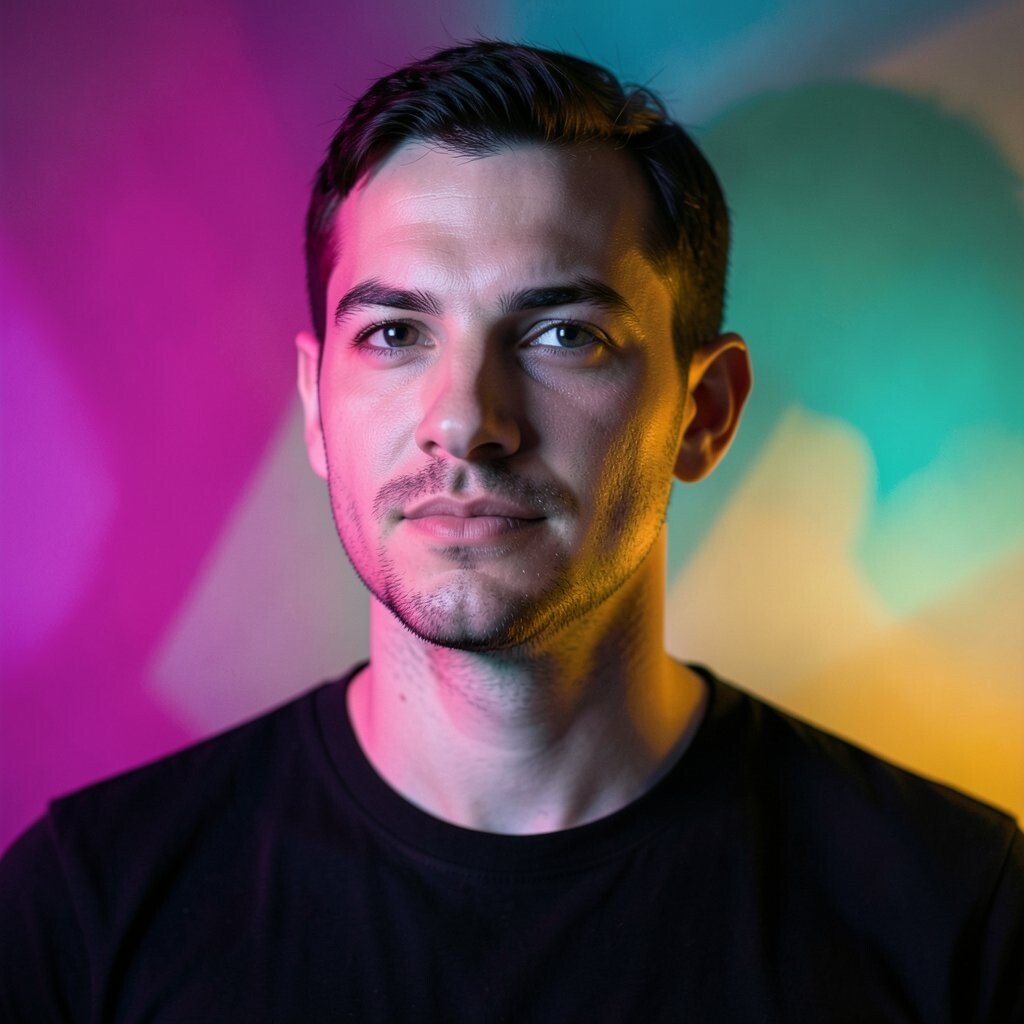
Swap plain light for colored light and your photo instantly feels like a music video. Magenta, teal, and amber can make skin tones and backgrounds look like they belong in the same dream.
Use gel sheets, colored transparency, or even craft plastic taped in front of a flashlight. Place the color light at an angle so it hits the background and creates a layered look behind your subject. Then balance skin lighting with a separate white light so your face stays flattering.
9. Motivated Lighting With Practical Sources
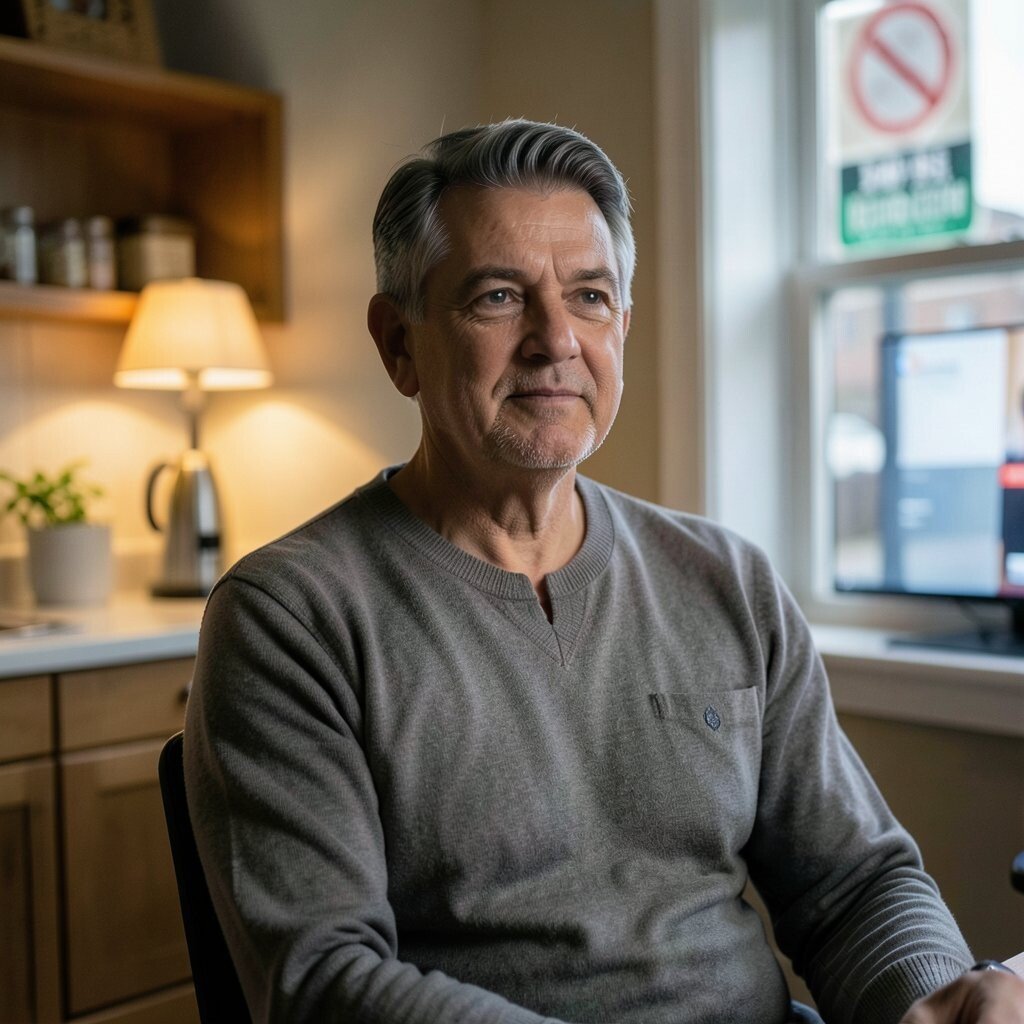
Motivated lighting means the light looks like it comes from an obvious source in the scene. A lamp in the frame, a street sign outside a window, or a glowing screen can guide the whole mood.
Turn on a practical light and position your subject so it naturally sits in that illumination. Use the camera exposure to protect highlights so the practical light looks bright without turning into a blob. If the room lighting is too weak, add a small bounce card nearby and keep it hidden behind your subject.
For personalization, match the light source to the story you want, like warm kitchen lighting for comfort or cool monitor light for late-night tension. This approach is trending because it feels believable and avoids the flat, staged look. Since it uses lights you already have, it can be one of the most budget-friendly effects.
10. Rim Light + Fog For A Floating Atmosphere

When haze enters the air, rim lights start glowing and the scene feels deeper. Small highlights turn into a soft halo that makes everything look cinematic.
Use fog carefully by lightly misting the air with a safe haze or using a handheld humidifier in a controlled way. Place your light behind the subject and keep it just off-axis so the halo surrounds edges. Make sure the camera doesn’t overexpose; haze looks best with preserved detail in the brighter areas.
11. Chiaroscuro With One Tough Light
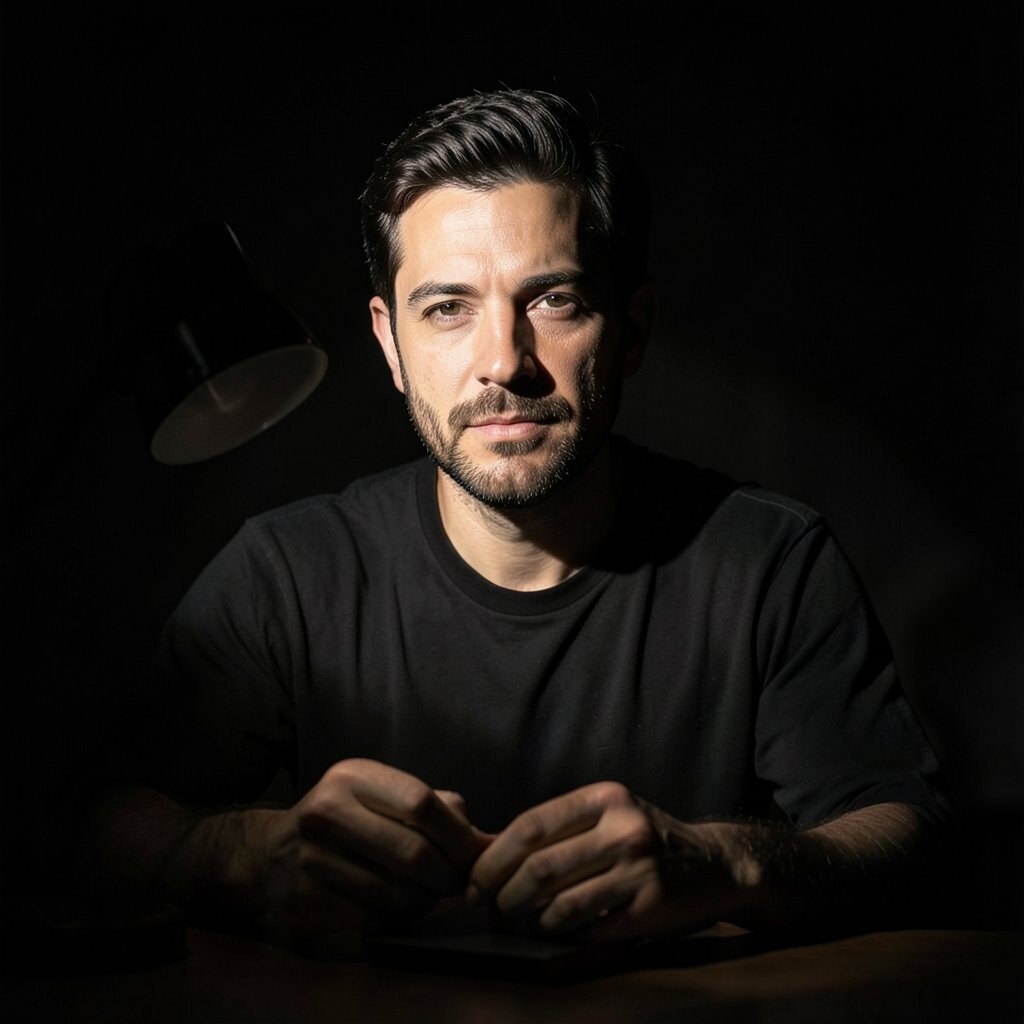
Chiaroscuro is bold contrast, where light and shadow share the frame like characters. Your subject looks dramatic even without fancy sets.
Use one directional light such as a spotlight, bare bulb, or small flash with a flag to limit spread. Create a dark background and block spill so only the important parts get illuminated. Move your light until the shadow shapes feel intentional, then use your camera’s metering to keep skin tones from turning too dark.
To keep it practical, try it with a desk lamp first and black paper around it to shape the beam. Unique outcomes happen when you change where the light hits, like cheekbones, hands, or clothing folds. The cost is often low, because the key tool is light control, not expensive equipment.
12. High-Key Soft Light For Clean Drama
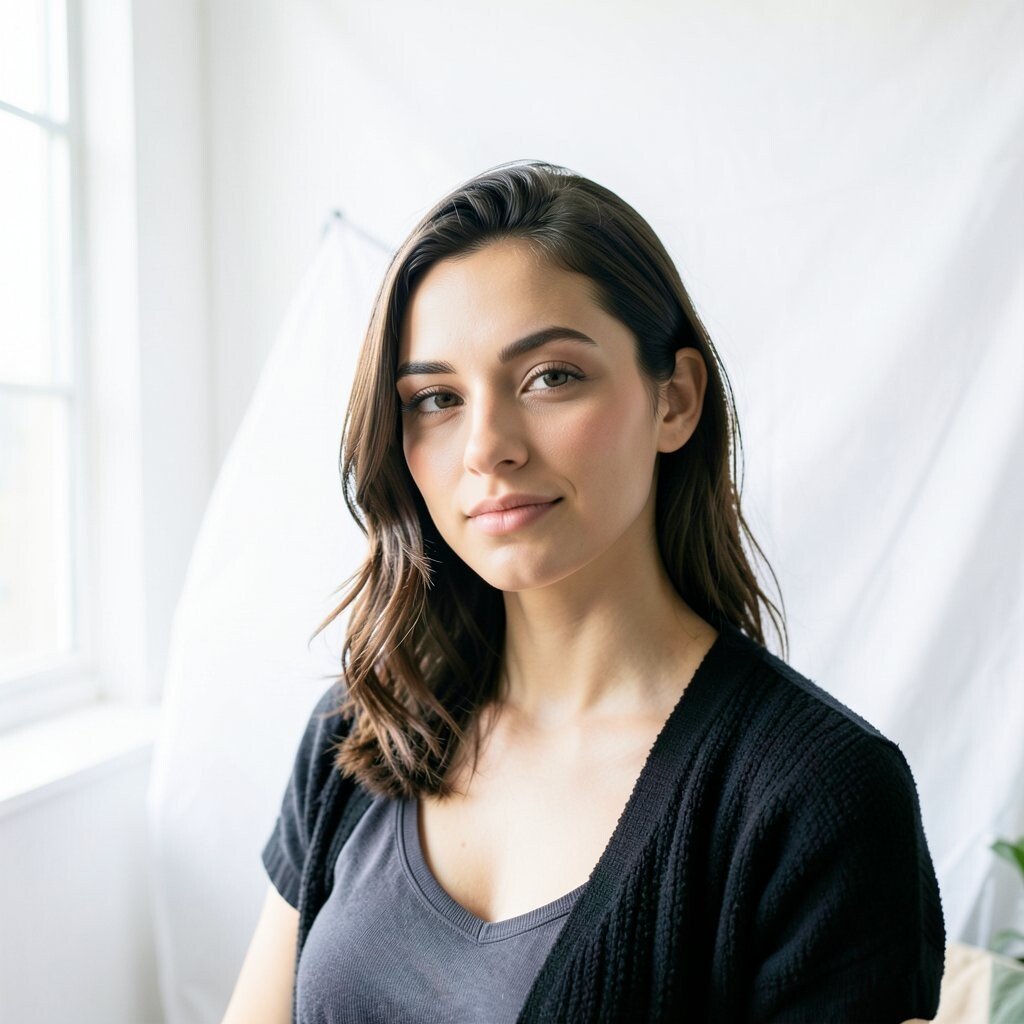
High-key lighting looks airy and bright, but it can still feel dramatic. The drama comes from crisp separation and clean highlights.
Use a bright window, a white wall, or diffused artificial lights to lift shadows while keeping your subject’s edges defined. Place a light source behind or to the side, then aim a reflector to prevent harsh under-eye shadows. If you want a unique look, photograph against a white sheet and wear colors that pop without needing heavy contrast.
For cost considerations, a simple white umbrella diffuser can upgrade cheap lights fast. This effect is popular for lifestyle portraits and product shots because it reads clearly on feeds and prints. Personalize it by adding one dark prop or textured fabric so the bright scene still has visual tension.
13. Far-Shadow Sunlight For Graphic Ground Patterns
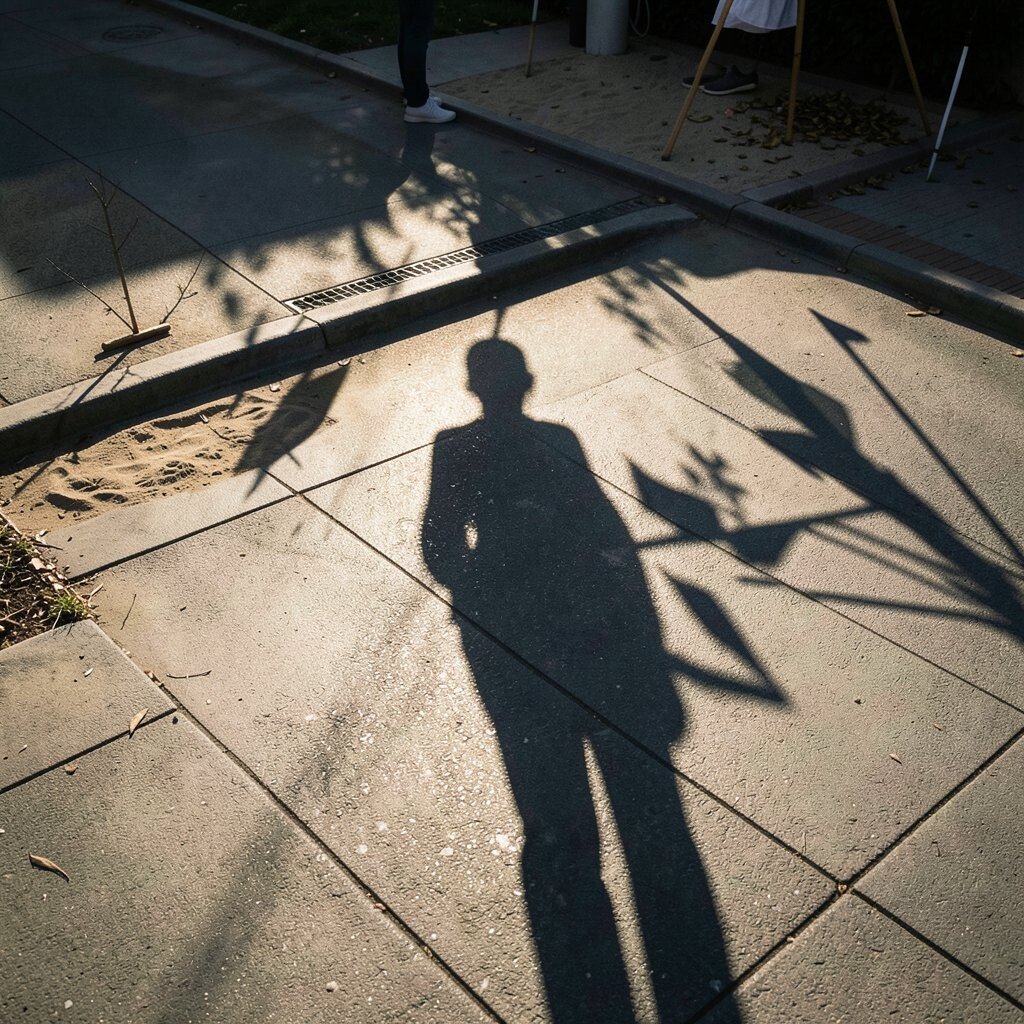
When the sun is low, shadows stretch and turn the ground into a design. A person standing in long shadow looks bold and instantly more cinematic.
Head to early morning or late afternoon so the light angle creates strong, visible shapes. Place your subject so their shadow lands on a clean surface like pavement, sand, or a wall. If the background is busy, shift your frame slightly until the shadow becomes the main subject.
To personalize, use props like sticks, leaves, or umbrellas that create interesting shadow silhouettes. This style is trending because it turns everyday streets into art without extra gear. Since you’re using natural sunlight, your cost is basically time and planning.
14. Flash With Rear Curtain Blur For Punchy Depth
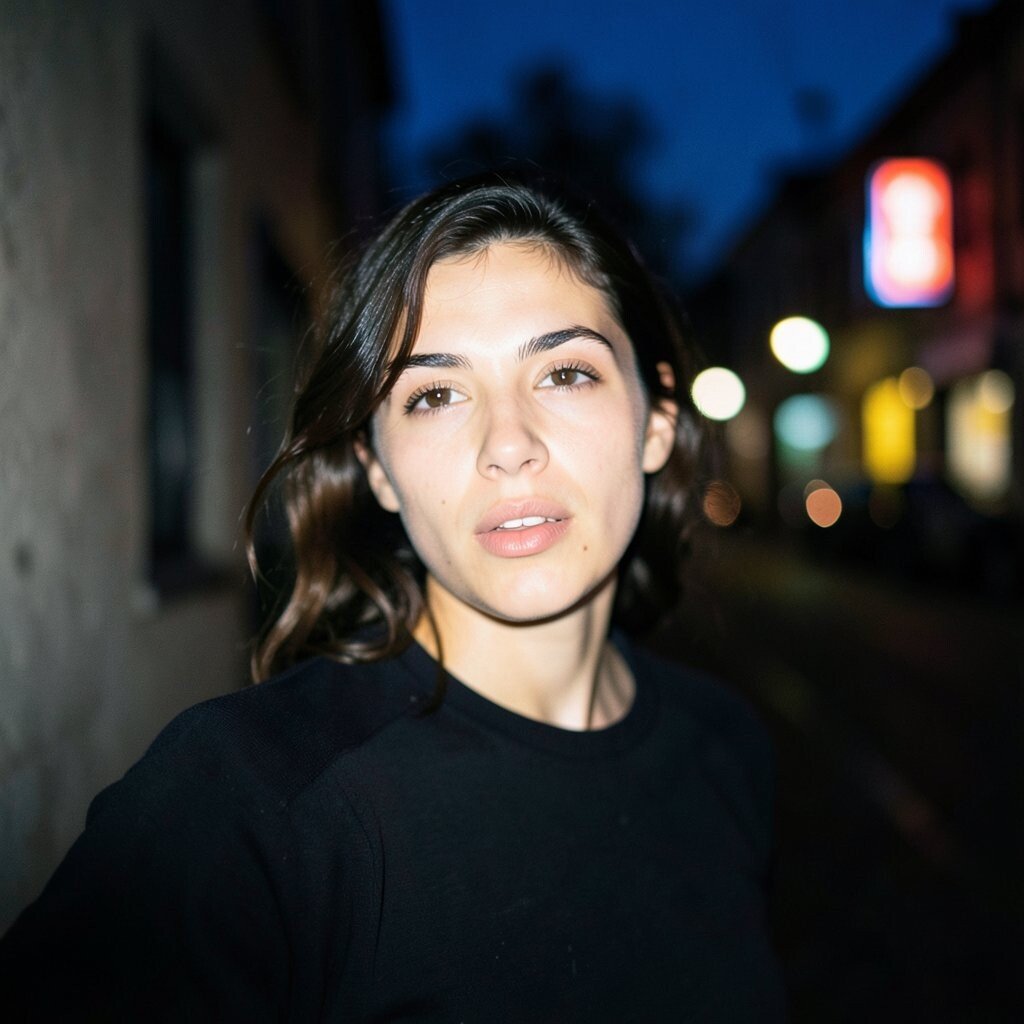
A fast flash can freeze your subject while the background blurs into a soft curtain. The contrast makes the subject feel sharp and energetic.
Work in a dark place or near dusk, then set your flash to expose your subject strongly. Use a longer shutter speed for the background blur while keeping your subject still enough for sharpness. Try letting your subject move slightly, but keep their face controlled so you don’t get motion smears on eyes.
For practical tips, use a wide aperture to help blur the background and keep the focus on the subject. Personalization comes from choosing where the blur goes, like a wall, lights on a street, or colored signage. If you’re cost-conscious, use your existing flash and spend time learning distance and angle instead of buying a new system.
15. Mirror-Reflected Light for Surreal Sparkle

Mirrors can bounce light into unexpected angles and create tiny sparkles across the frame. The whole image looks playful, surreal, and more layered than typical lighting.
Hold a small mirror near your subject and move it slowly until highlights appear where you want them. Then shoot with the mirror just enough to catch light but not so much that it overwhelms the image. If you use colored light, the mirror can amplify it and make backgrounds feel richer.
For personalization, try mirrors with jewelry, water droplets, or glass so reflections turn into texture. This effect is unique because it mixes real-world physics with creative placement, and it often looks magical in close-up portraits. Even on a budget, you can use a small craft mirror or a compact reflective surface, then refine the angle for dramatic results.