The room feels instantly more playful when a plain tennis ball gets personality. These ideas are simple enough for busy days and still look great on display.
Each craft uses easy materials, quick steps, and chances to make it yours. You’ll find practical ways to decorate that also help your stuff stay organized.
1. Painted Constellation Glow Balls
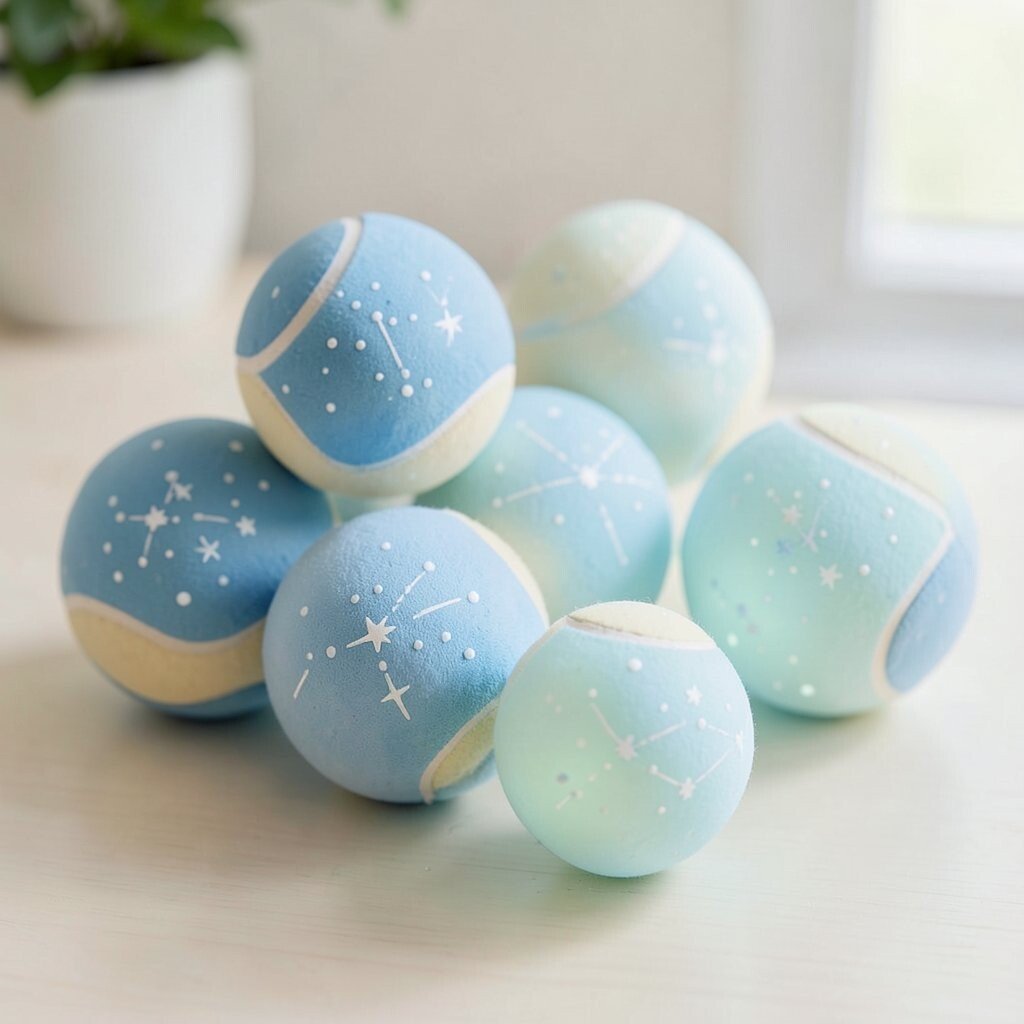
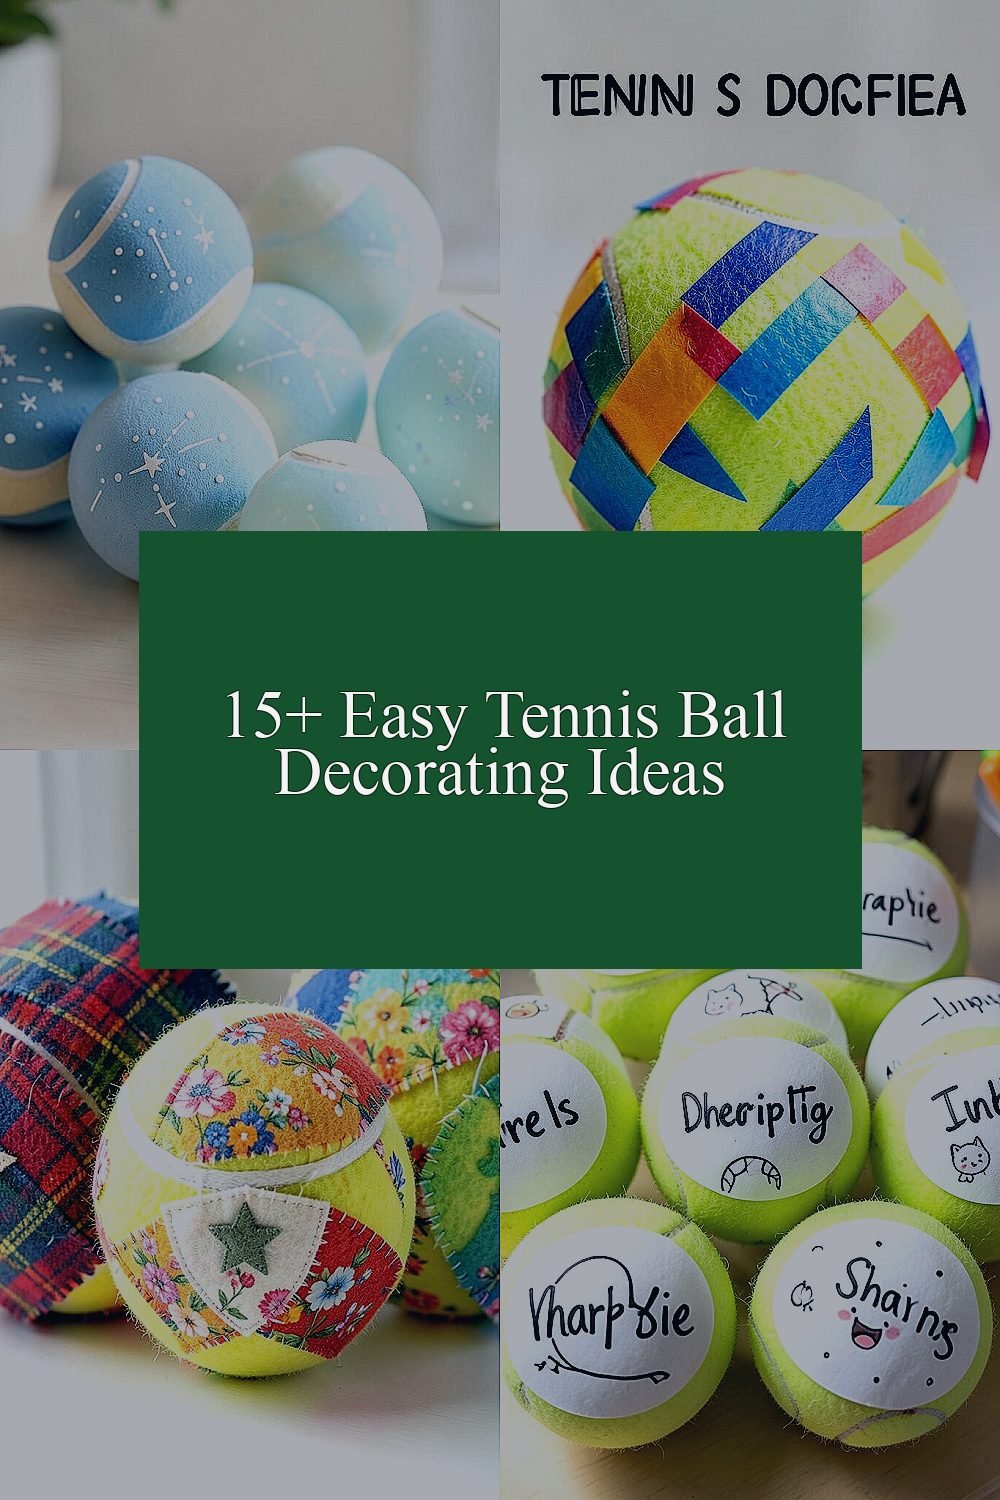
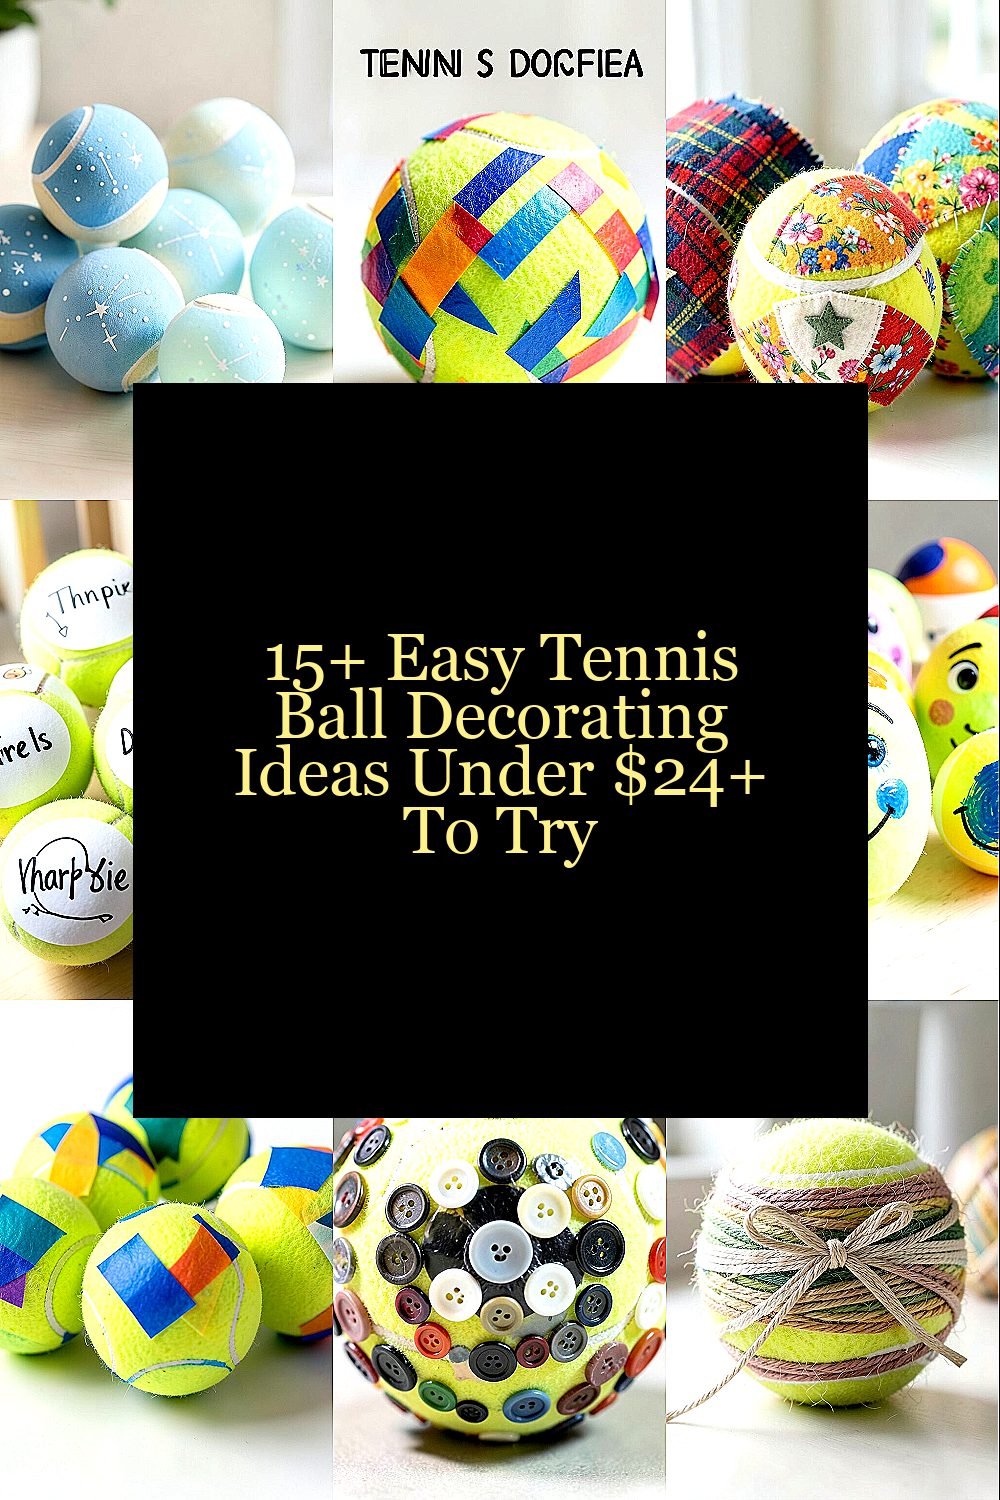
Grab a few tennis balls and paint tiny dots in neat clusters like stars. When the paint dries, you’ll have a mini night-sky vibe that looks fresh on shelves.
Use white or light blue paint for the dots and add a few short lines for star patterns. This helps you spot your craft space items fast, and the smooth painted surface is easy to wipe if it gets dusty. For practical personalization, pick a favorite color theme that matches your bedroom or office.
To keep costs down, use craft acrylics you already own or choose a small multi-pack. A current trend is mixing simple shapes with a calm color palette, so soft blues and creams will feel modern. If you plan to use them on a desk, seal the top coat gently to reduce scuffs.
2. Patterned Washi Tape Pop Art
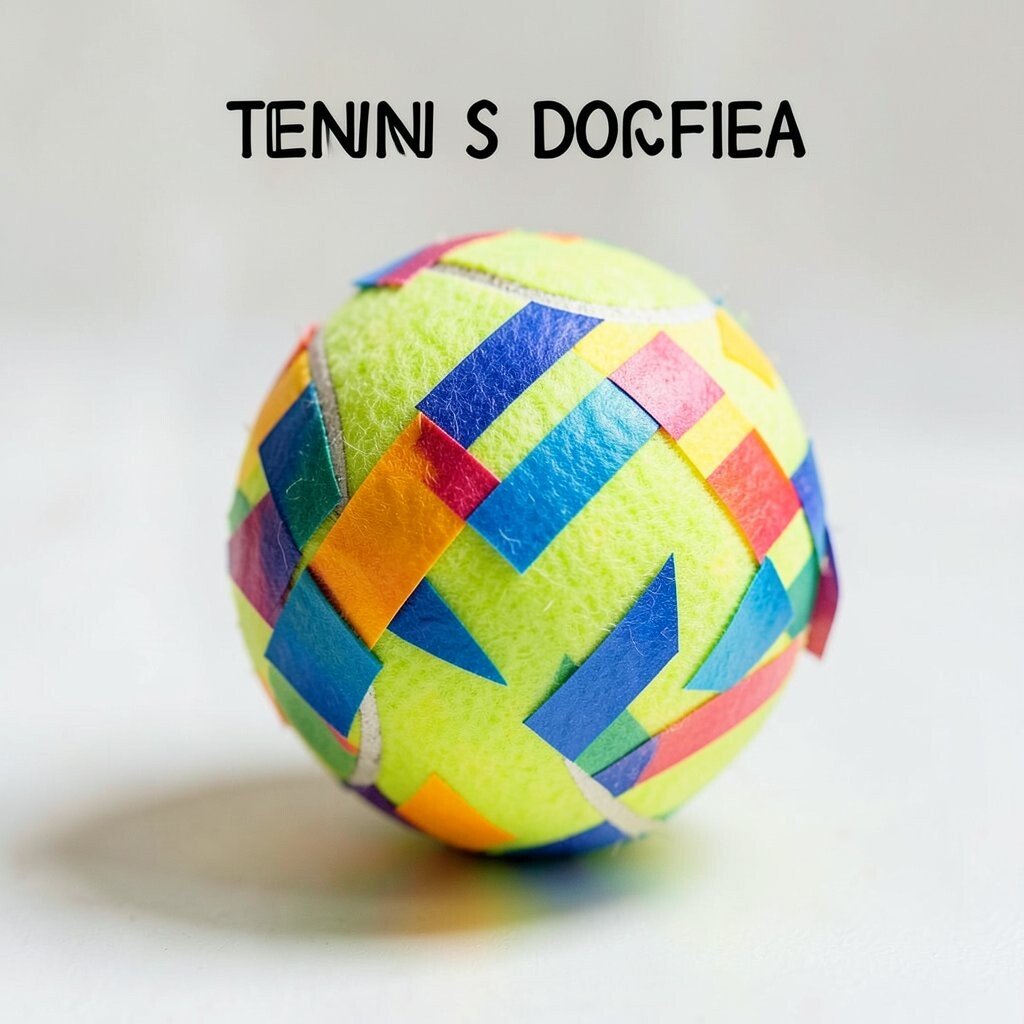
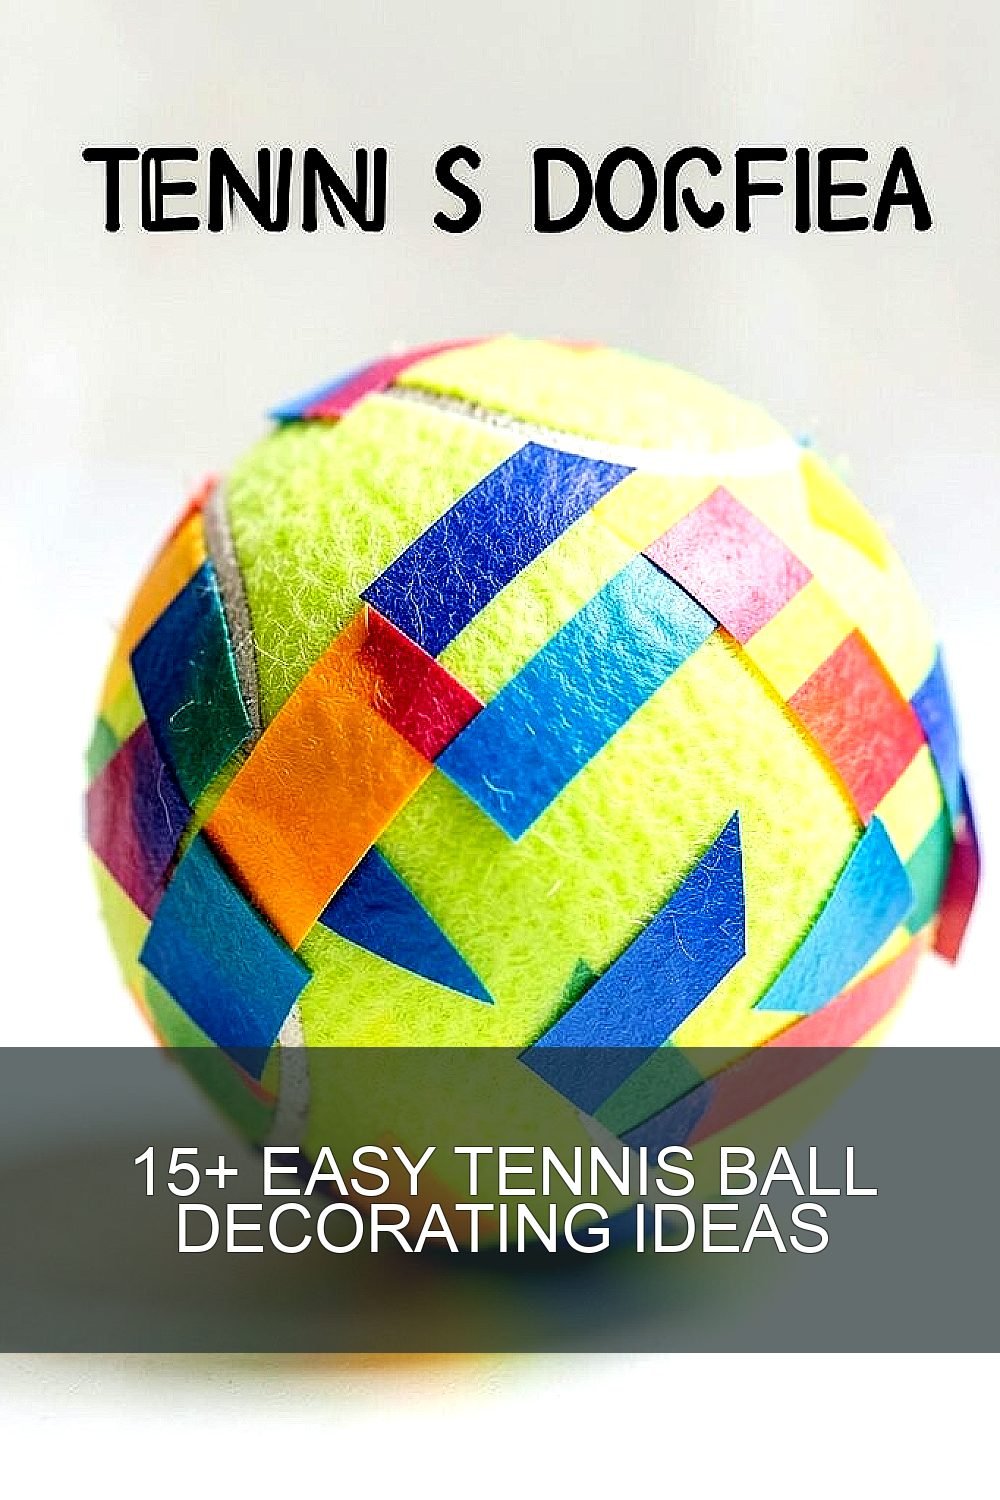
Wrap tennis balls with colorful washi tape strips in bold, overlapping shapes. You’ll get instant energy that looks like pop art without needing fancy tools.
Washi tape is easy to handle, removes without heavy mess, and lets you change designs fast. It also protects the fuzzy surface so the ball stays cleaner longer, which is handy for desk decor or toy storage labels. Try making stripes, zigzags, or a checkerboard using two or three tape styles.
For personalization, match the tape colors to your favorite hoodie or your room’s accent wall. Many people are using tape crafts right now because they’re quick, cheap, and photo-ready. If you buy tape, look for small rolls to stay within a budget.
Press each tape edge firmly so it sticks evenly, and trim rough ends with small scissors. Store extra tape so you can keep adding new patterns as your style changes.
3. Fabric Scrap Cozy Covers
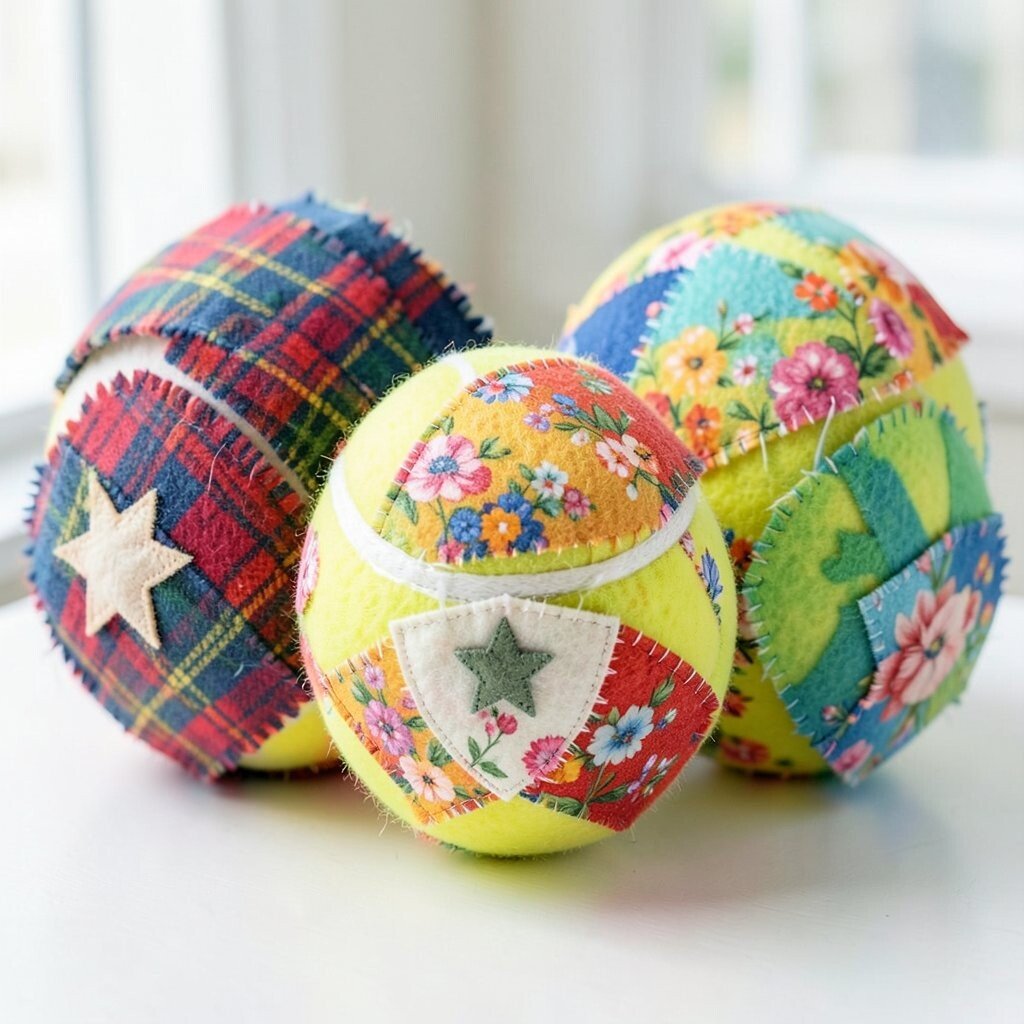
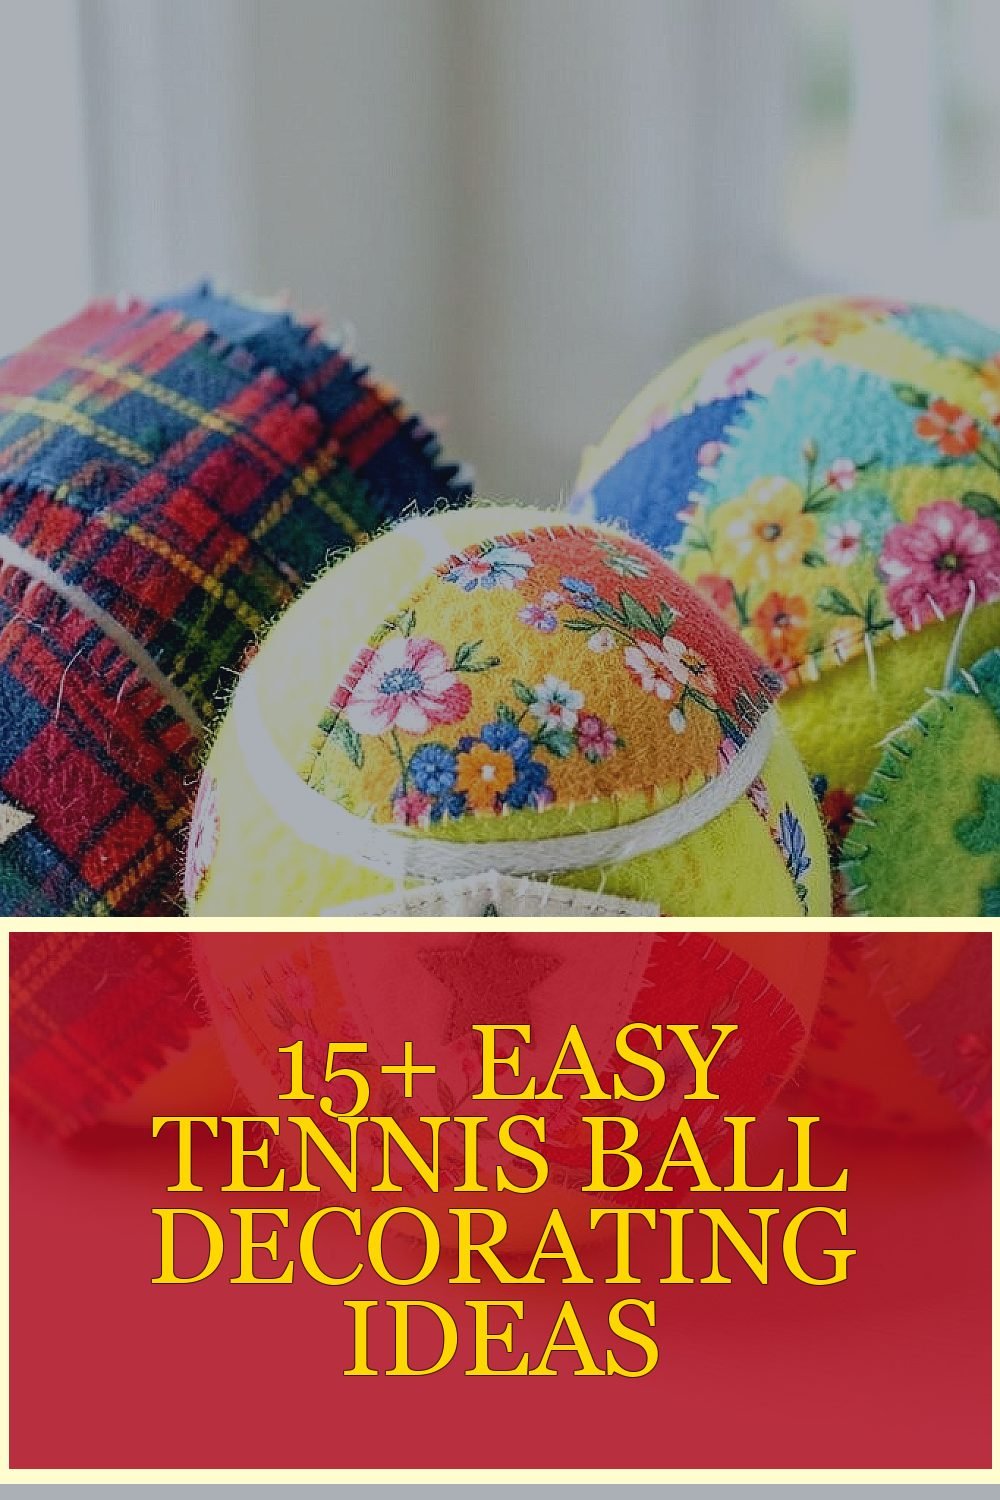
Cut small fabric squares and wrap them around tennis balls like mini cozy pillows. You’ll see a soft texture instantly, especially with felt, cotton scraps, or old T-shirts.
Glue the edges or use a tight wrap with a thin layer of glue on the seam areas. This gives you a tactile look that feels warmer than paint and helps you grip the ball if you use it as a light training prop. Pick a fabric that matches your season mood, like plaid for fall or bright florals for spring.
For cost control, raid your fabric bin and use scraps that you would normally toss. A popular home trend is mixing patchwork textures, and these balls fit right in for cozy decor. To make them extra durable, use a fabric glue that holds well and let them dry fully before handling.
Personalization is easy by adding a tiny patch at the front, like a star or a tiny heart you cut out. If you want a cleaner finish, trim the fabric into circles first so the wrap sits flatter.
4. Sharpie Name Tag Kennels
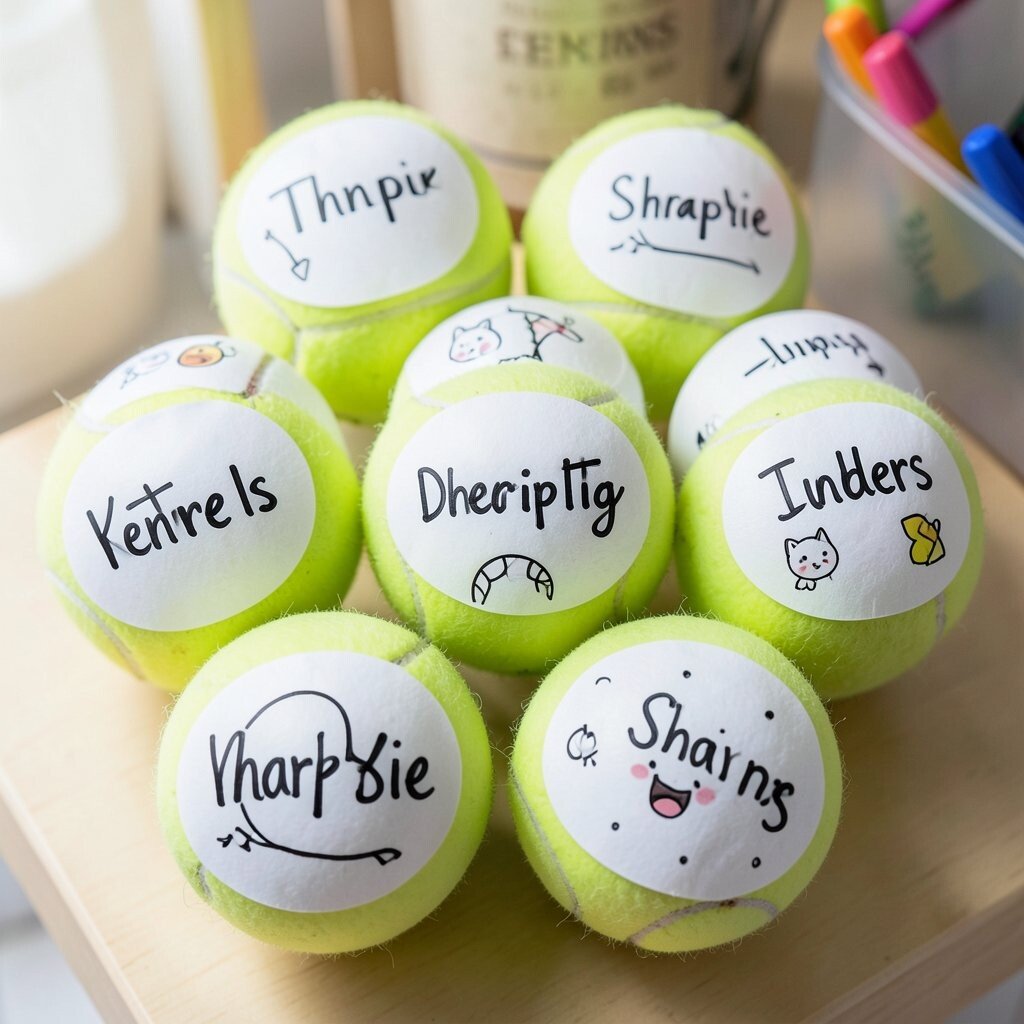
Draw simple name tags on tennis balls using a black Sharpie. It’s surprisingly cute when each ball has a clear label and a small doodle.
For practical use, you can create a set for organizing things like game balls, desk items, or even craft supplies in bins. Clear labels make sharing easier and help everyone grab the right item without guesswork. Personalize each one with a fun nickname, a tiny cartoon face, or a favorite sports symbol.
This idea works well because markers cost little and you can keep adding details over time. A current trend is minimal doodle art, and clean handwriting plus one small image looks modern. To keep it lasting, let the ink dry for a while and avoid heavy rubbing.
5. Galaxy Resin-Look With Glitter Steps
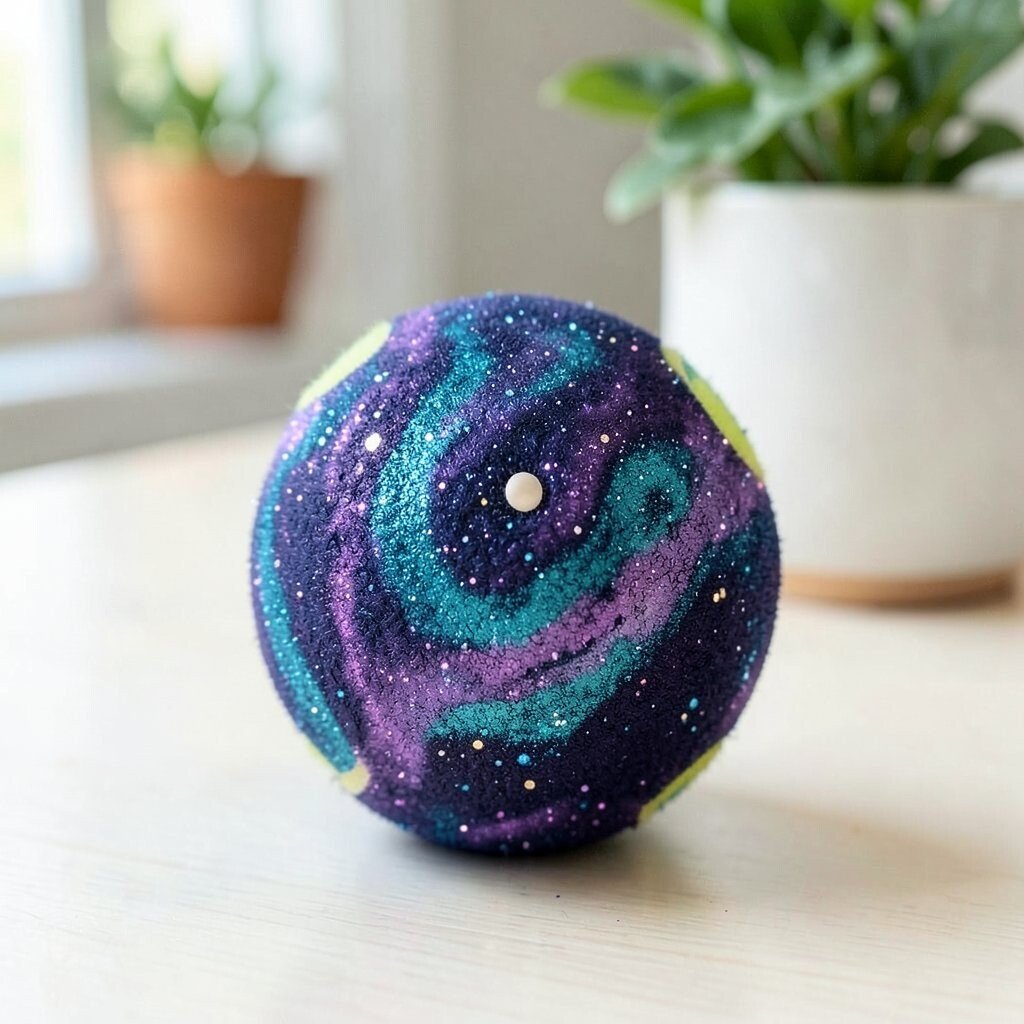
Paint the tennis ball with dark colors, then swirl in lighter shades like purple, navy, and teal. Finish with a light glitter layer so it looks like a galaxy at your fingertips.
This creates bold visual interest that stands out on a desk or near a plant. It also feels unique because no two swirl patterns match, and the ball can become a tiny conversation piece. Add a small highlight dot with a light color to make the “stars” pop.
To keep things under budget, use craft acrylic paints and a small glitter container you can stretch across several balls. Many people are enjoying glitter finishes right now, especially when paired with deep color palettes. For best results, apply glitter in thin coats and press gently so it doesn’t flake as much.
Personalize by choosing colors that match your favorite hoodie or room decor. If you want extra protection, use a clear sealant spray after the paint fully cures.
6. Kids’ Fingerprint Emoji Faces
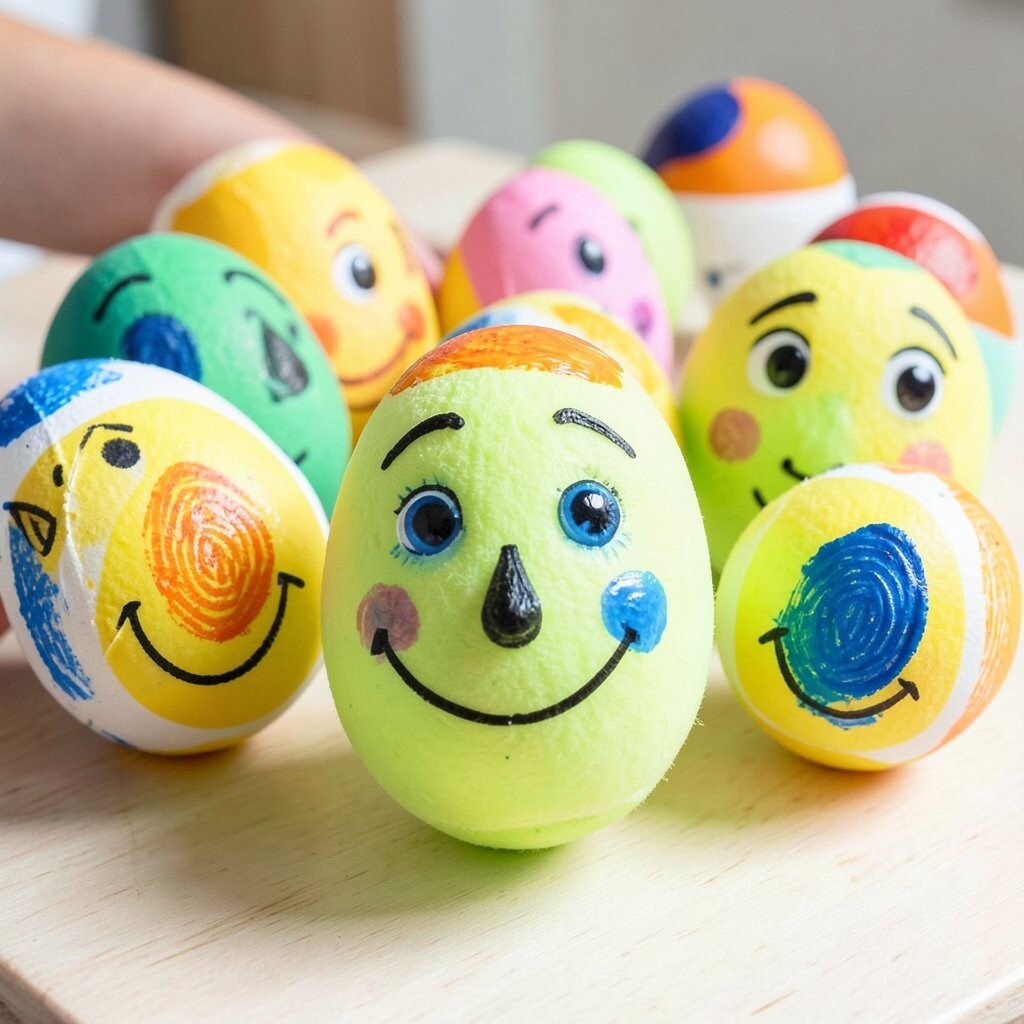
Make emoji faces using fingerprints and washable paint. Each print becomes a cheek, a dot eye, or a tiny nose that feels playful and handmade.
This decor looks adorable and also helps kids recognize their own items quickly. It’s great for personalization because every fingerprint has its own shape, giving each ball a one-of-a-kind personality. Use bright primary colors or stick to a simple two-color style for a cleaner look.
For cost considerations, washable paint is usually affordable, and you can reuse paint you already have. A friendly trend is using imperfect art that looks like it was made in real life, not like a store product. Let the paint dry slowly so it doesn’t smear.
Try adding small smile lines with a marker once the prints dry. If you want more durability, seal lightly with a clear varnish meant for craft projects.
7. Geometric Tape Triangles
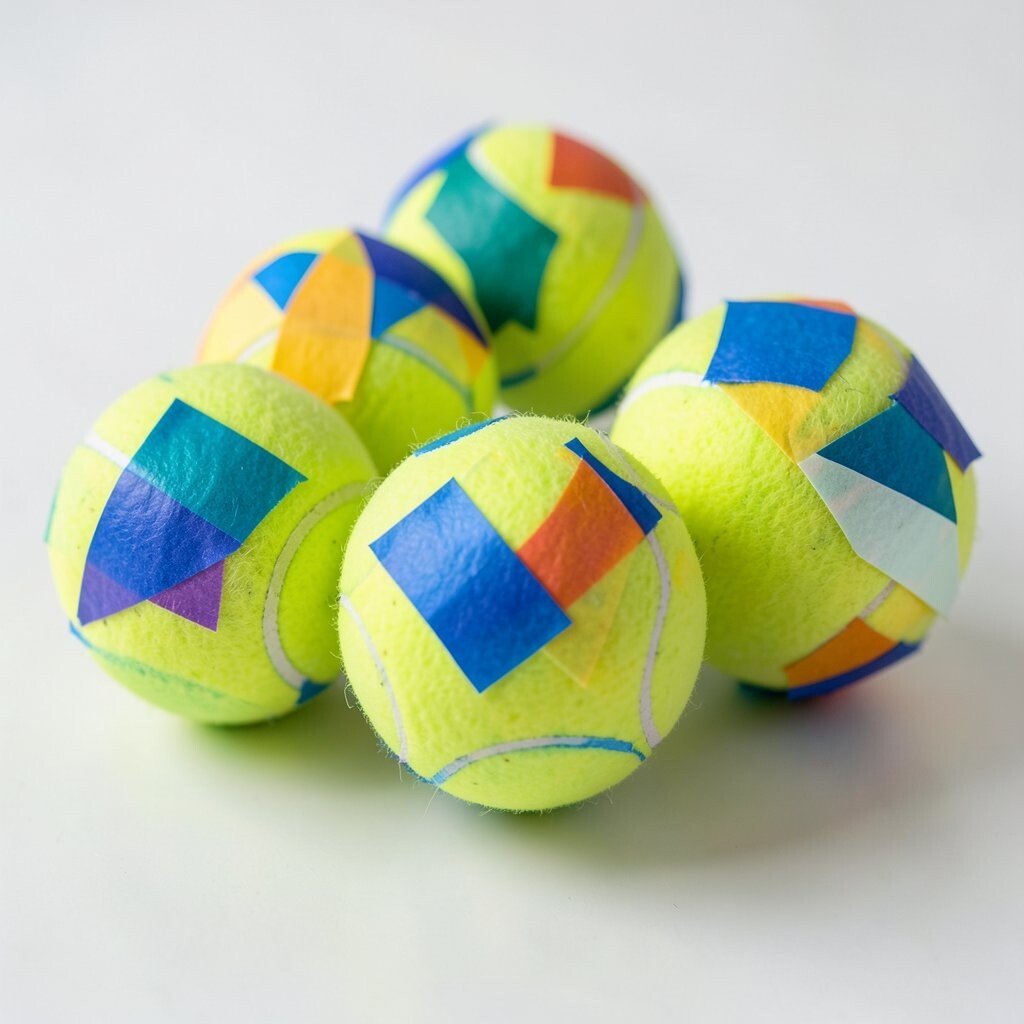
Create clean geometric designs by taping off triangle shapes on the tennis ball. Paint over the exposed areas and peel the tape for sharp edges.
The visual effect is crisp and modern, and it makes the ball look more “designed” than “crafty.” This kind of pattern also makes it easy to personalize by choosing your favorite color set or theme. For practical handling, tape helps keep the paint from smudging into fuzzy areas.
Use painter’s tape for better control, then choose a single accent color to keep costs low. Geometric art is a current trend in home decor, and these balls look great in a cluster. If you plan to display them, use a clear coat to reduce paint scuffing.
Keep the triangles small for an even finish, and let each paint layer dry before adding another color. You can also create a simple logo-like shape for each ball.
8. Button-Scattered Texture Collage
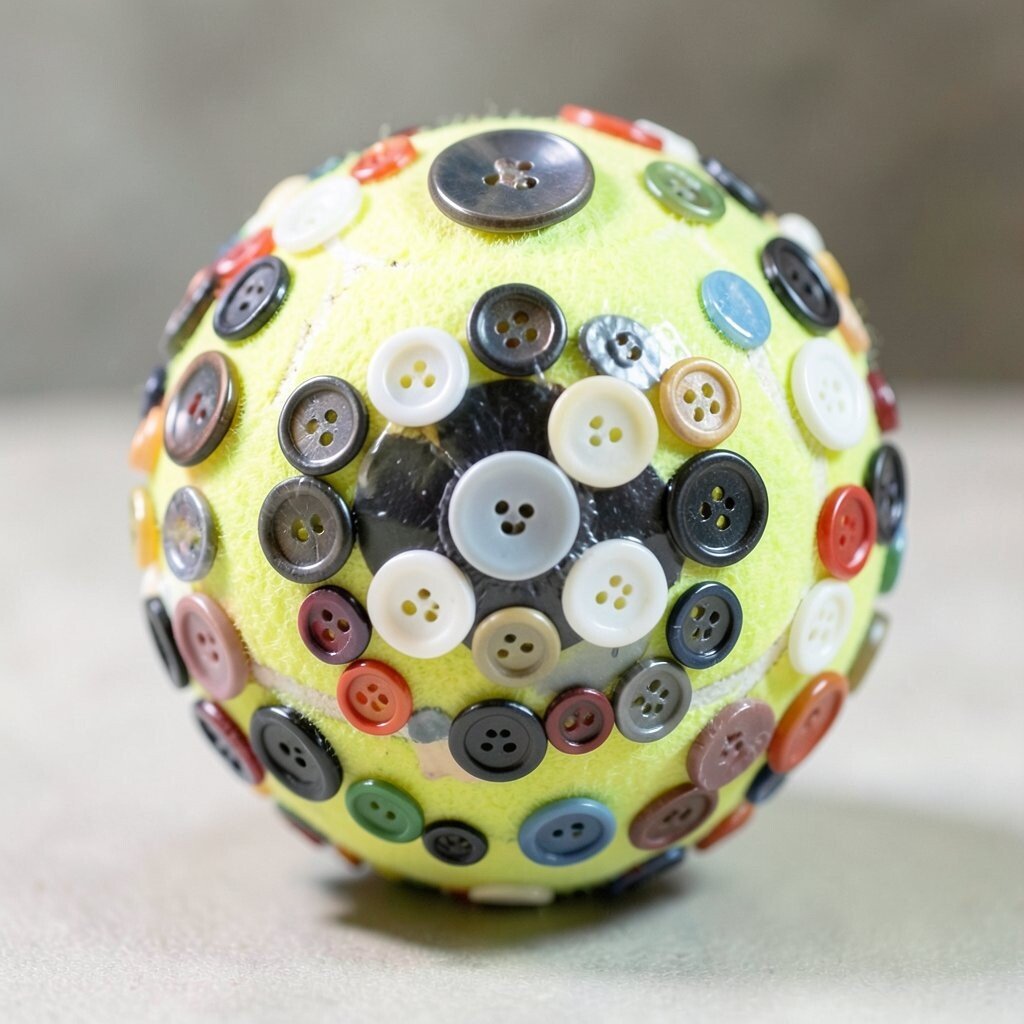
Glue different buttons onto the tennis ball to make a textured collage. You’ll get a raised, shiny pattern that catches light when you move it.
This is a fun way to reuse supplies and turn spare buttons into something useful. The extra texture is also helpful if you want a grip-like feel when holding the ball for a quick game or stress break. Personalize by matching button sizes to create a border or a central “flower.”
Cost stays low if you use thrift-store buttons, old clothing extras, or a craft bin find. A trending look is mixed-media texture, and this fits right in with modern decor styles. For a clean finish, keep the glue points small and allow drying time between layers.
Try adding one “statement” button near the top so each ball feels special. If you want it to last outdoors, use a strong fabric or craft adhesive.
9. Yarn Wrap Friendship Twine Balls
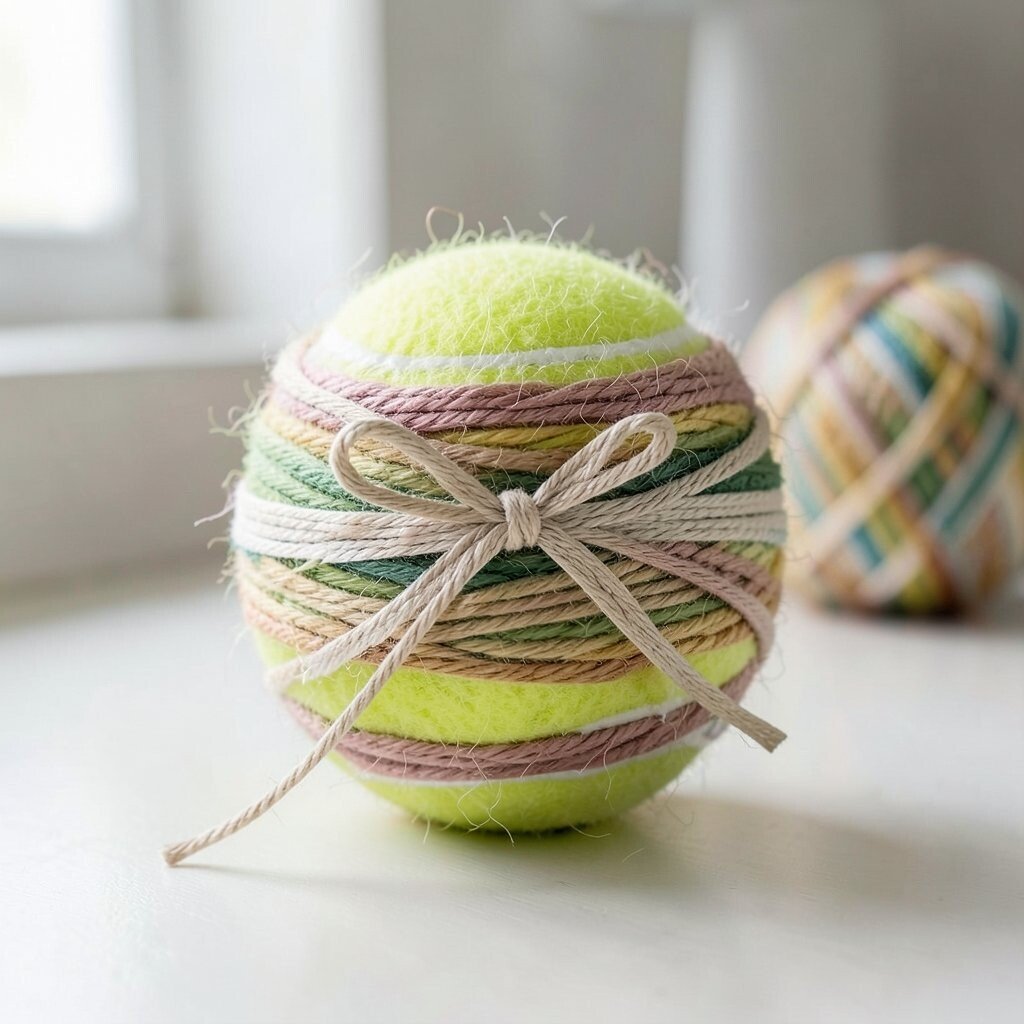
Wrap a tennis ball with yarn or twine, then secure the ends with craft glue. The result is a cozy, stringy look that feels warm and friendly.
This simple craft can double as decor and as an easy-to-grab desk fidget. Yarn also helps hide the fuzzy texture, so the ball looks neat and intentional. For personalization, use your favorite yarn colors or create stripes and spirals.
To keep costs under control, use leftover yarn skeins or discounted craft store bundles. People love rustic textures right now, and yarn-wrapped items bring that vibe instantly. For better staying power, apply glue in small sections as you wrap so it grips evenly.
After it’s fully wrapped, tie a small ribbon bow if you want extra charm. Choose a ribbon color that matches your season decorations.
10. Sticker Mosaic With Finish Coat
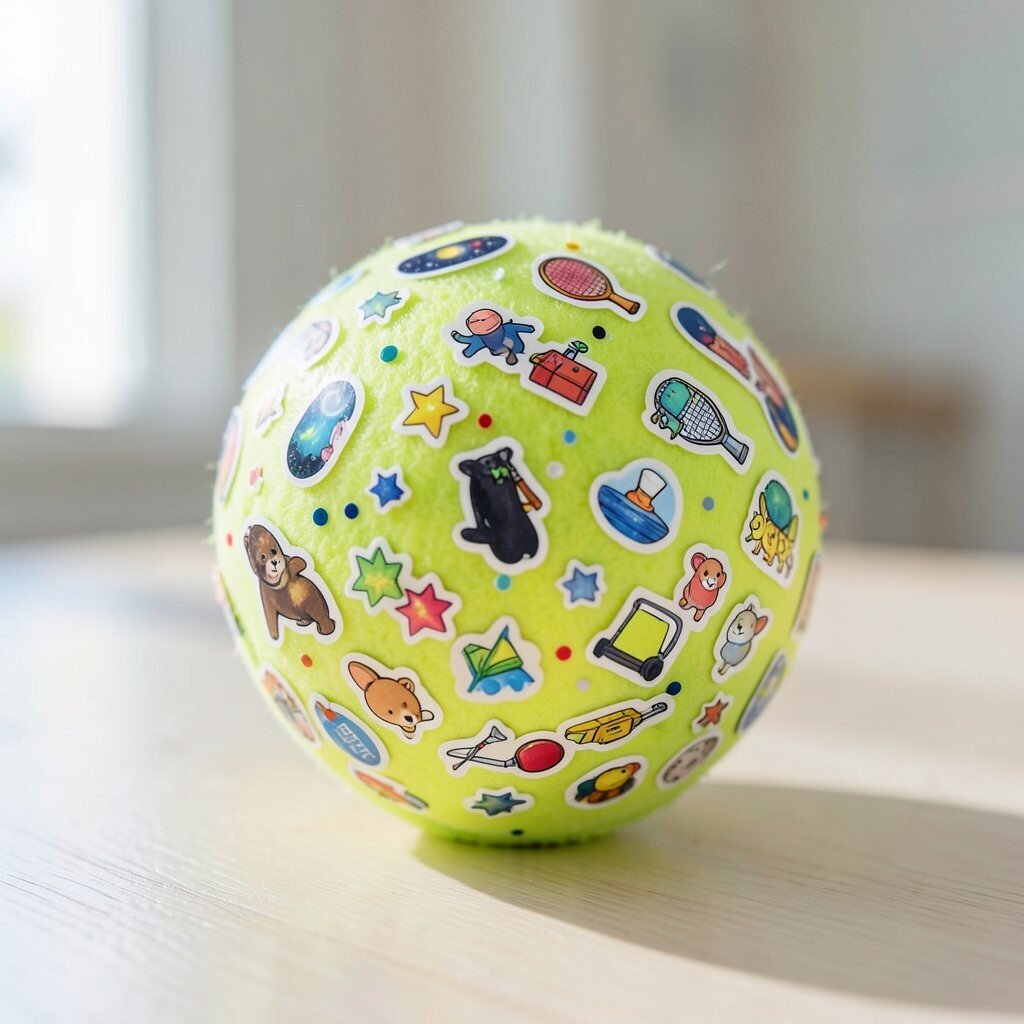
Cover a tennis ball with small stickers like stars, dots, and mini icons, then press them firmly. As you layer them, you’ll get a mosaic look that feels bright and playful.
This works well because stickers are quick to apply and easy to personalize for any mood. The layered design also adds a smooth visual surface that’s fun to spot across a room. Choose sticker sets with a theme like space, sports, or animals.
For cost, look for small sticker packs or bargain sheets, since you only need enough pieces to cover the ball. A current trend is bold sticker art in everyday spaces, and this method fits perfectly. Once everything is placed, seal the surface with a clear matte or glossy coat to help stickers last longer.
Arrange stickers in patterns instead of random scatter for a cleaner look. If some edges lift, add a tiny dot of glue under the edge.
11. Washable Marker Doodle Sports Scores
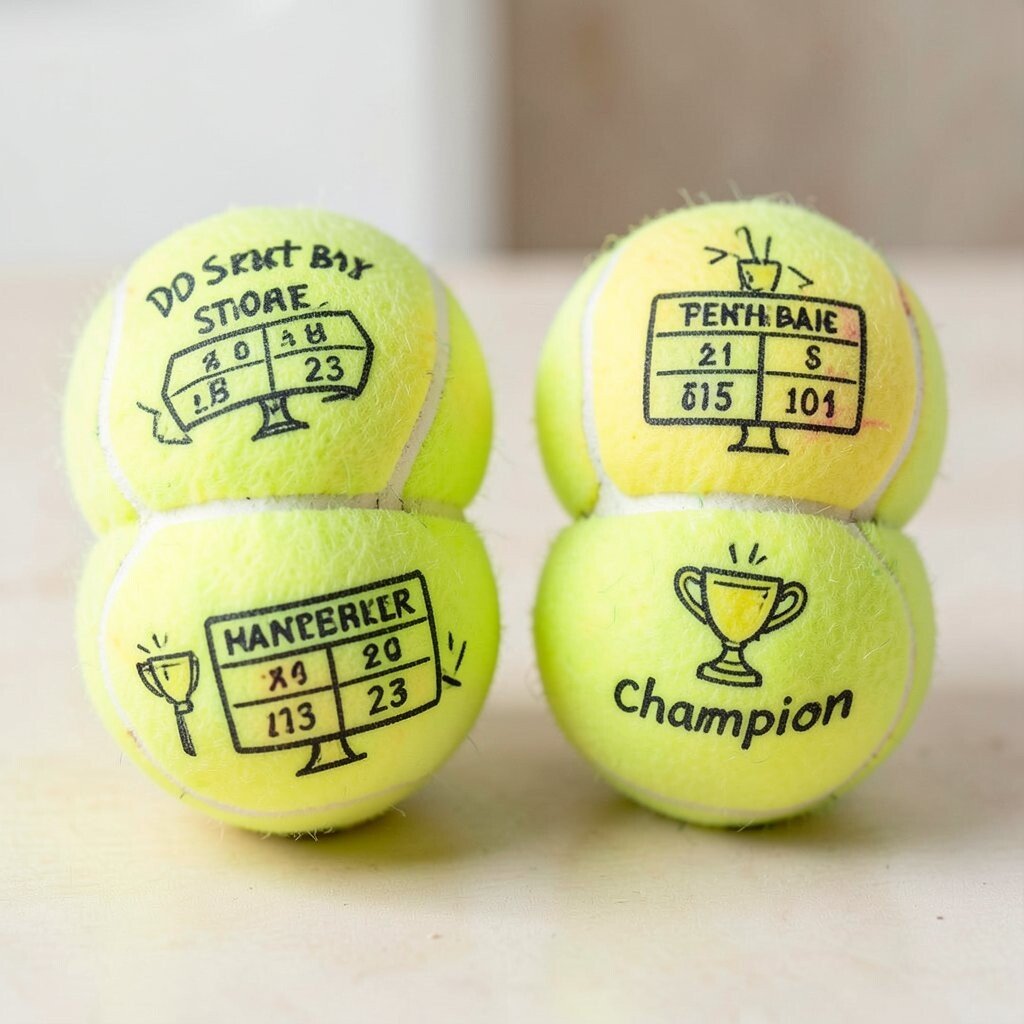
Draw sports scoreboards, team names, or tiny trophy icons on the tennis ball. Use bright marker colors so the art looks like it belongs in a game day poster.
This is a practical decor idea because it makes the balls feel like themed collectibles. It’s also easy to personalize by using your favorite team colors or a playful “record” for each ball. The fuzzy surface helps marker ink grip better than you might expect, but you still want to let it dry well.
Cost stays low because markers are usually already in your supplies, or you can buy a small pack. Many people are sharing sports-themed crafts right now, especially for desks, gaming rooms, and party tables. For durability, consider a thin protective spray after the ink dries.
Try using a small stencil for consistent letters, or freehand everything for a looser style. Make one ball your “starter” and another your “champion” for a fun set.
12. Ombre Sponge-Paint Color Fade
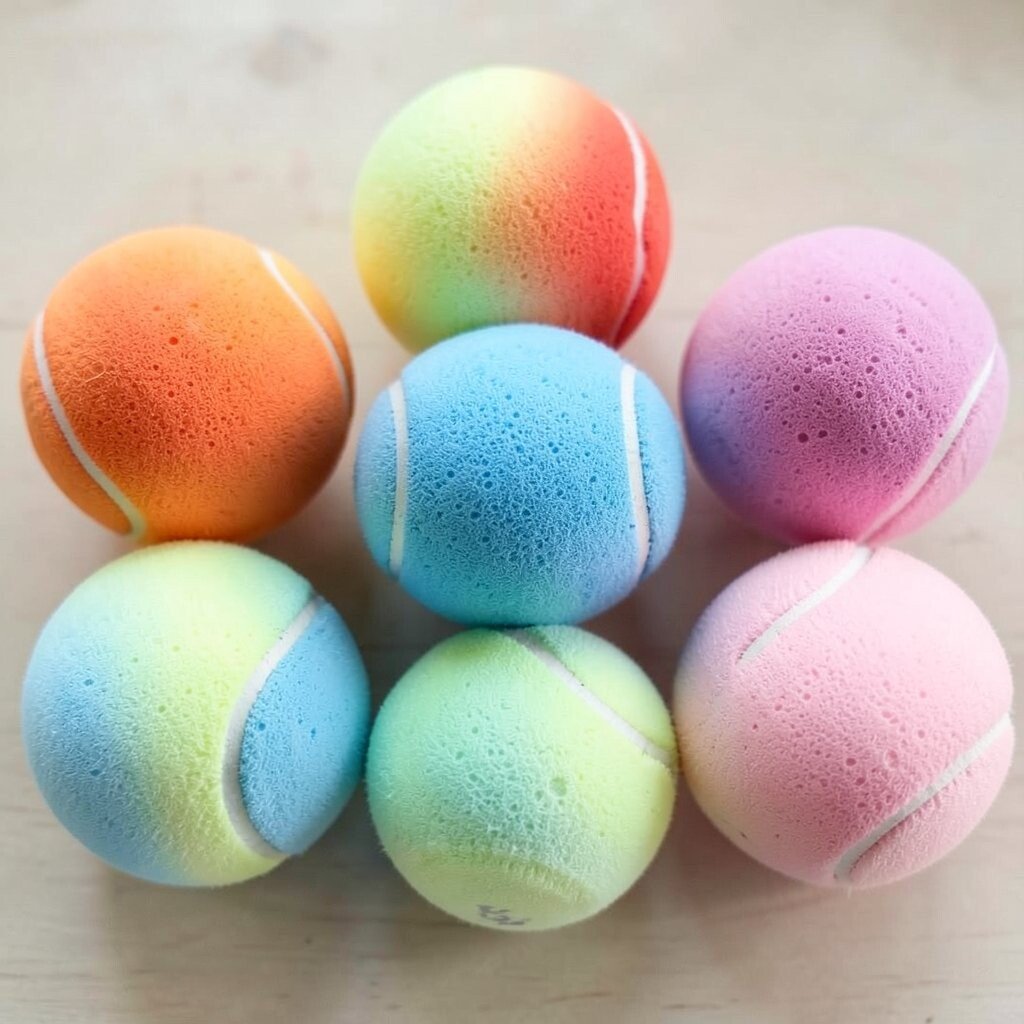
Make an ombre effect by dabbing paint with a sponge from one side of the tennis ball to the other. The fade creates a smooth look that feels artistic and modern.
This design is unique because the texture of the tennis ball changes how the paint spreads, so each ball becomes one-of-a-kind. It also looks great in groups since the color gradient makes the set feel intentional. Personalize by choosing shades like sunset orange, ocean blue, or soft pastel pink.
To keep the process budget-friendly, use a few affordable paint colors and sponge tools you already own. Ombre looks are still trending in home decor because they feel calm and stylish. Work slowly and build color in thin layers so you don’t end up with harsh lines.
Let each layer dry before adding the next color, and wipe the sponge between shades for cleaner blending. A clear seal will help the finish hold up to light handling.
13. Mini Photo Memory Keepsakes
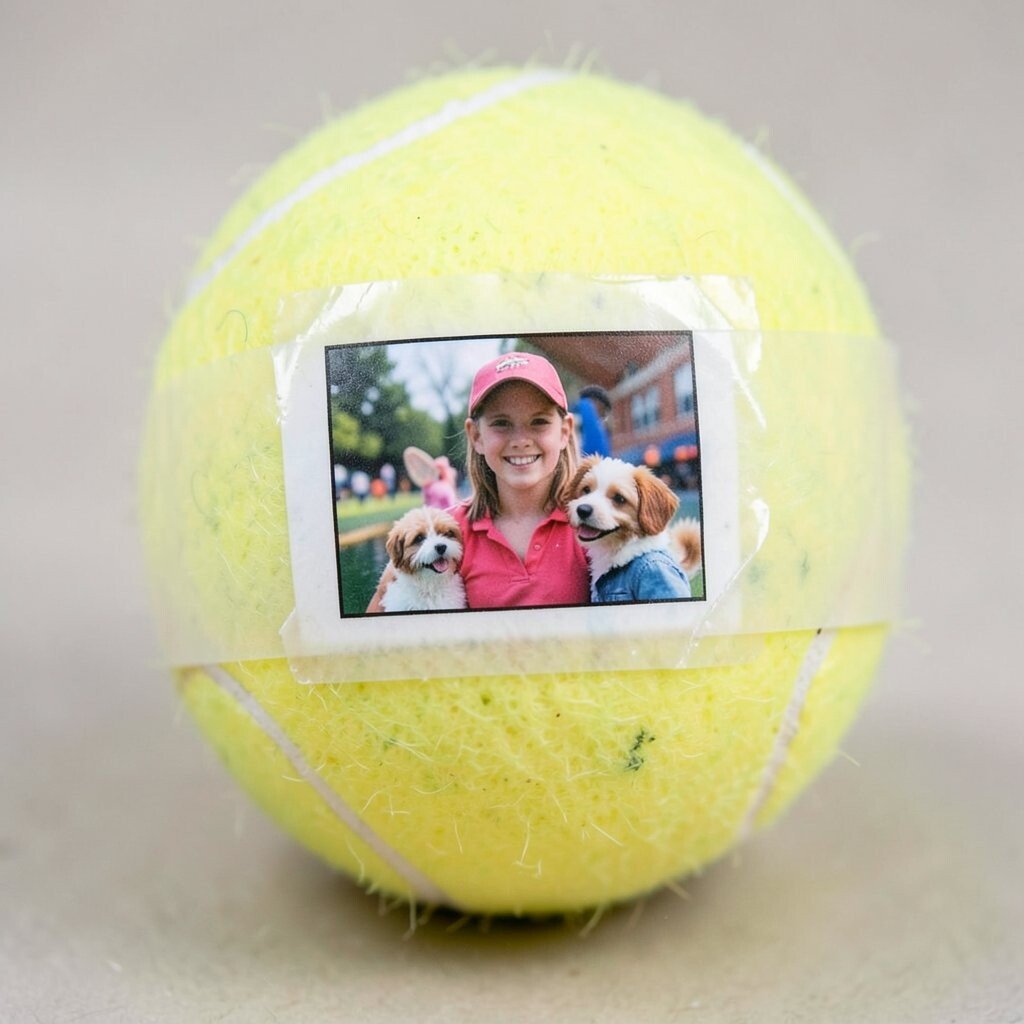
Wrap a thin strip of clear tape around the tennis ball and attach a tiny printed photo or photo cutout. Add a few frames of tape edges so the picture sits flat and protected.
This idea creates a sweet, personal keepsake and turns the ball into a mini memory holder. It’s especially useful for gifting because you can choose photos that match the recipient’s personality. Personalize by using small pictures of pets, vacations, team moments, or inside jokes.
Cost consideration is easy here since you can print small images at home and use tape you might already have. A current trend is sentimental decor that feels human, not perfect, and this fits beautifully. For a sturdier finish, you can layer a thin clear coat over the tape surface.
Choose photos with bold colors so they stay visible even from a distance. If your picture is small, add a simple border doodle for extra clarity.
14. Leafy Pressed Nature Wrap
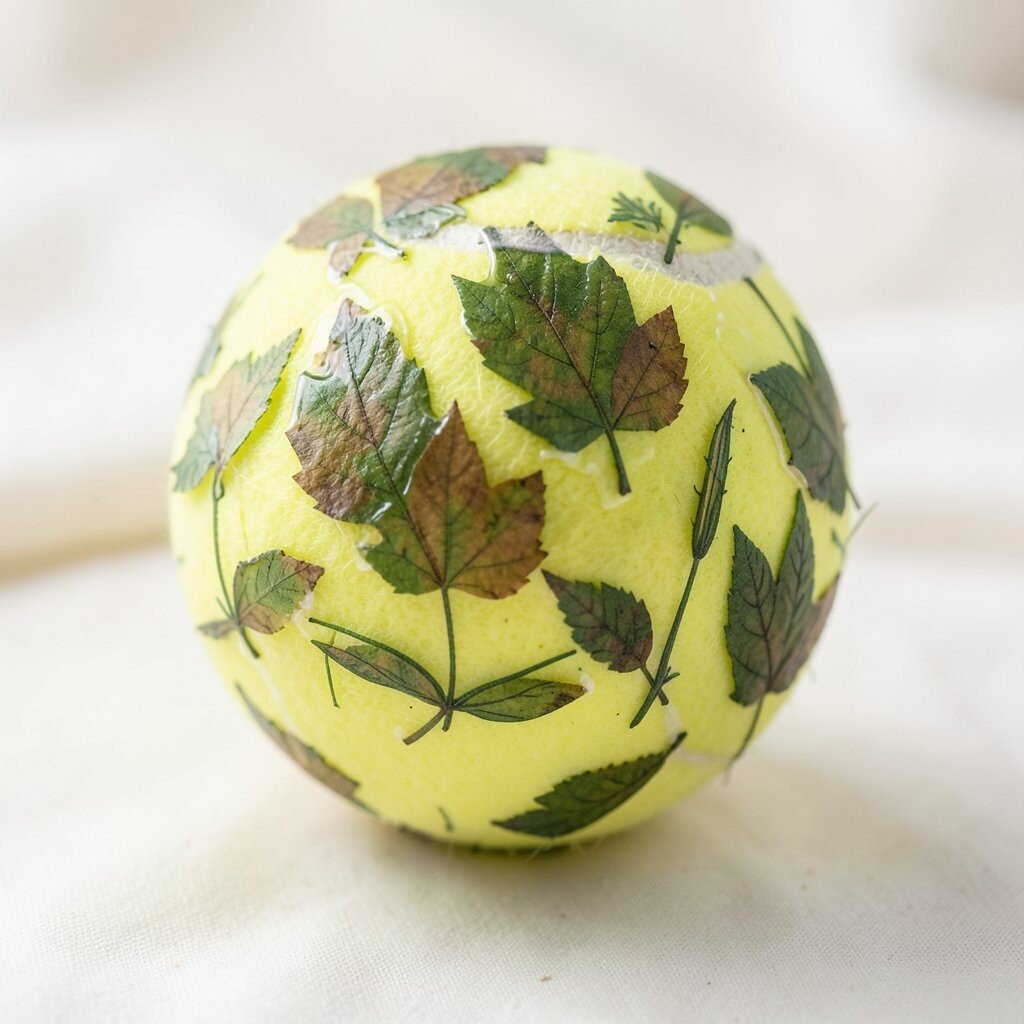
Press small leaves or thin greenery between pages of a book, then glue them onto the tennis ball. Once sealed, you’ll see an earthy, natural pattern that looks like mini botanical art.
This gives you a unique look that stands out from typical painted crafts. It can also feel grounding, and the texture makes the ball look more detailed than a simple surface coat. Personalize by collecting leaves from your favorite walk, school garden, or neighborhood park.
Cost stays low because nature supplies are free, though you may need glue and a clear sealant. People are loving nature-inspired crafts right now, especially when they feel light, organic, and imperfect. Use a clear, non-yellowing seal so colors don’t fade too fast.
Apply glue carefully around the edges of each leaf to reduce lifting. Let the ball sit undisturbed for a full dry time so the pressed pieces stay in place.
15. Glow-In-The-Dark Star Stickers and Constellations
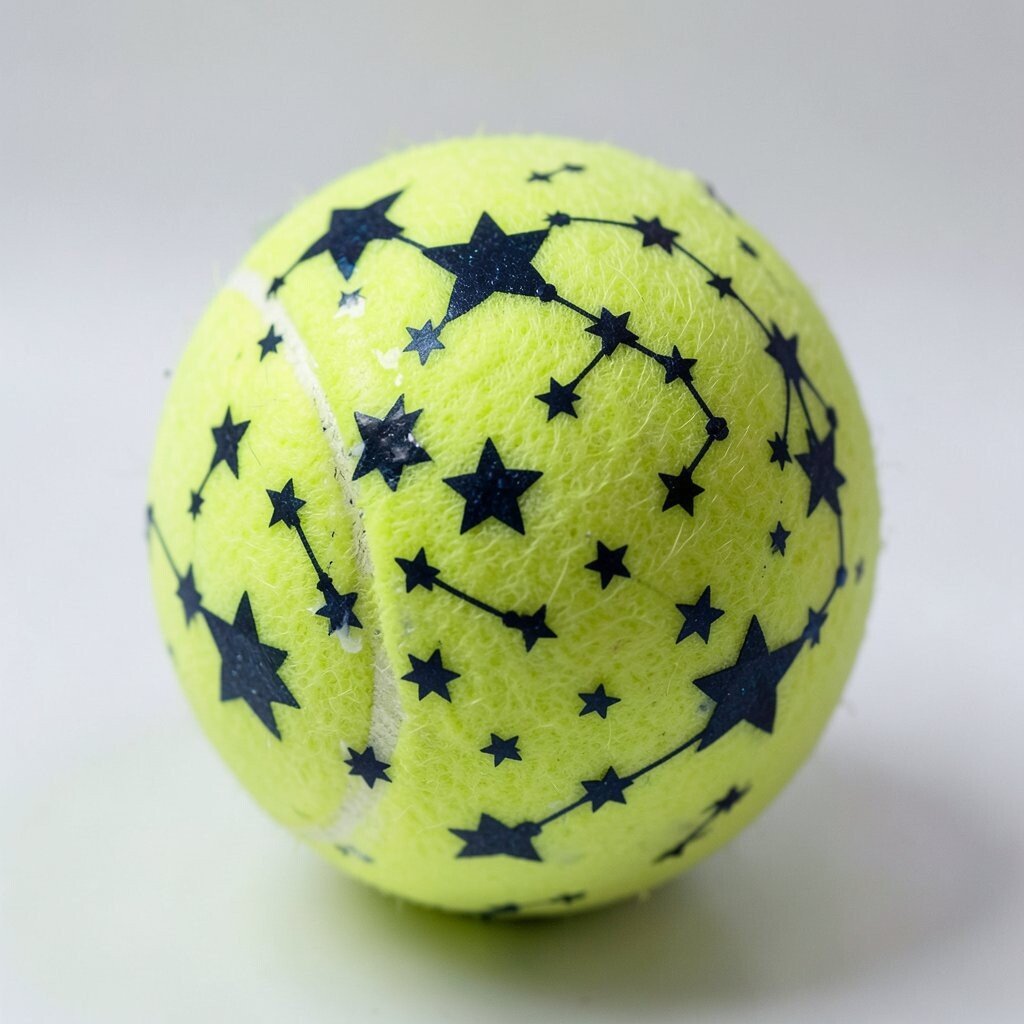
Stick glow-in-the-dark star stickers onto a tennis ball and cover gaps with a few extra mini points. Under light, it looks simple and cute, then at night it becomes a magical little sky.
This craft is beneficial for making nighttime spaces feel cozy without turning everything into complicated decor. The visual effect is unique because each ball’s star placement is different, like a random sky map. Personalize by placing stars in a shape that reminds you of your zodiac sign or a favorite character.
Cost considerations are friendly since sticker packs are usually affordable and you only need a portion for one ball. A current trend is using subtle glow accents for bedrooms and reading corners, and these fit that style well. If the sticker adhesive is weak on fuzzy texture, add a small spot of clear glue over the edge after placing.
Charge the stickers with bright light before your first night display. Store the ball somewhere safe between uses so it stays in good condition.
16. Repurposed Socks Face Buddies
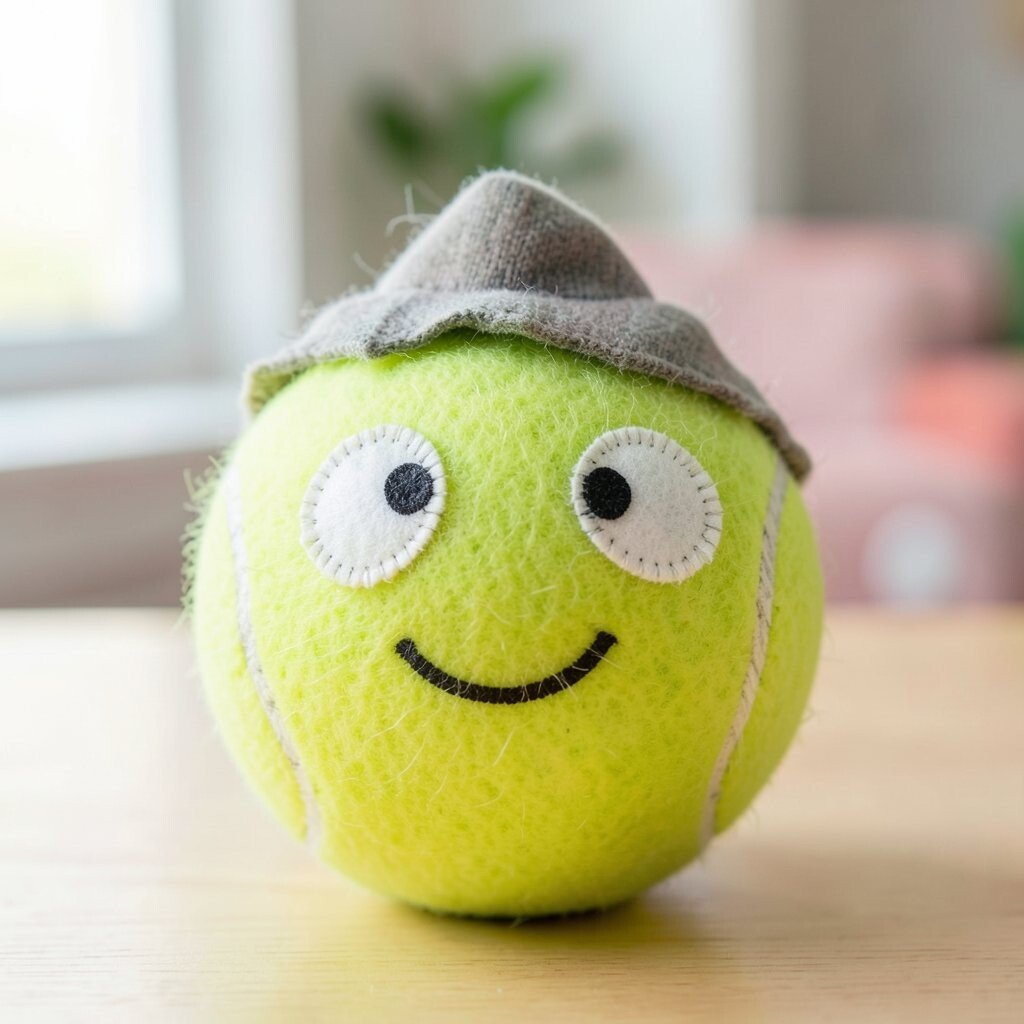
Turn two short sock scraps into a face buddy by cutting simple eyes, a smile, and a little hat or hair. Glue or stitch the fabric pieces onto the tennis ball for a soft, character-like look.
This is a fun way to reuse old socks and create decor that feels friendly instead of cluttered. The fuzzy sock texture also helps hide any uneven areas and makes each buddy feel warm and unique. Personalize by making one ball a “sleepy” character, one a “silly” one, and one a “cheerleader” with a tiny fabric pom.
Cost stays low because old clothing saves money and reduces waste, which feels good. Cozy character decor is popular right now, especially for kids’ rooms, craft tables, and holiday corners. For a neat finish, choose sock fabric that isn’t too thick so it bends smoothly over the curve.
Let each glued piece dry fully before adding more layers. If you want them removable, attach with a small amount of glue only at the edges.