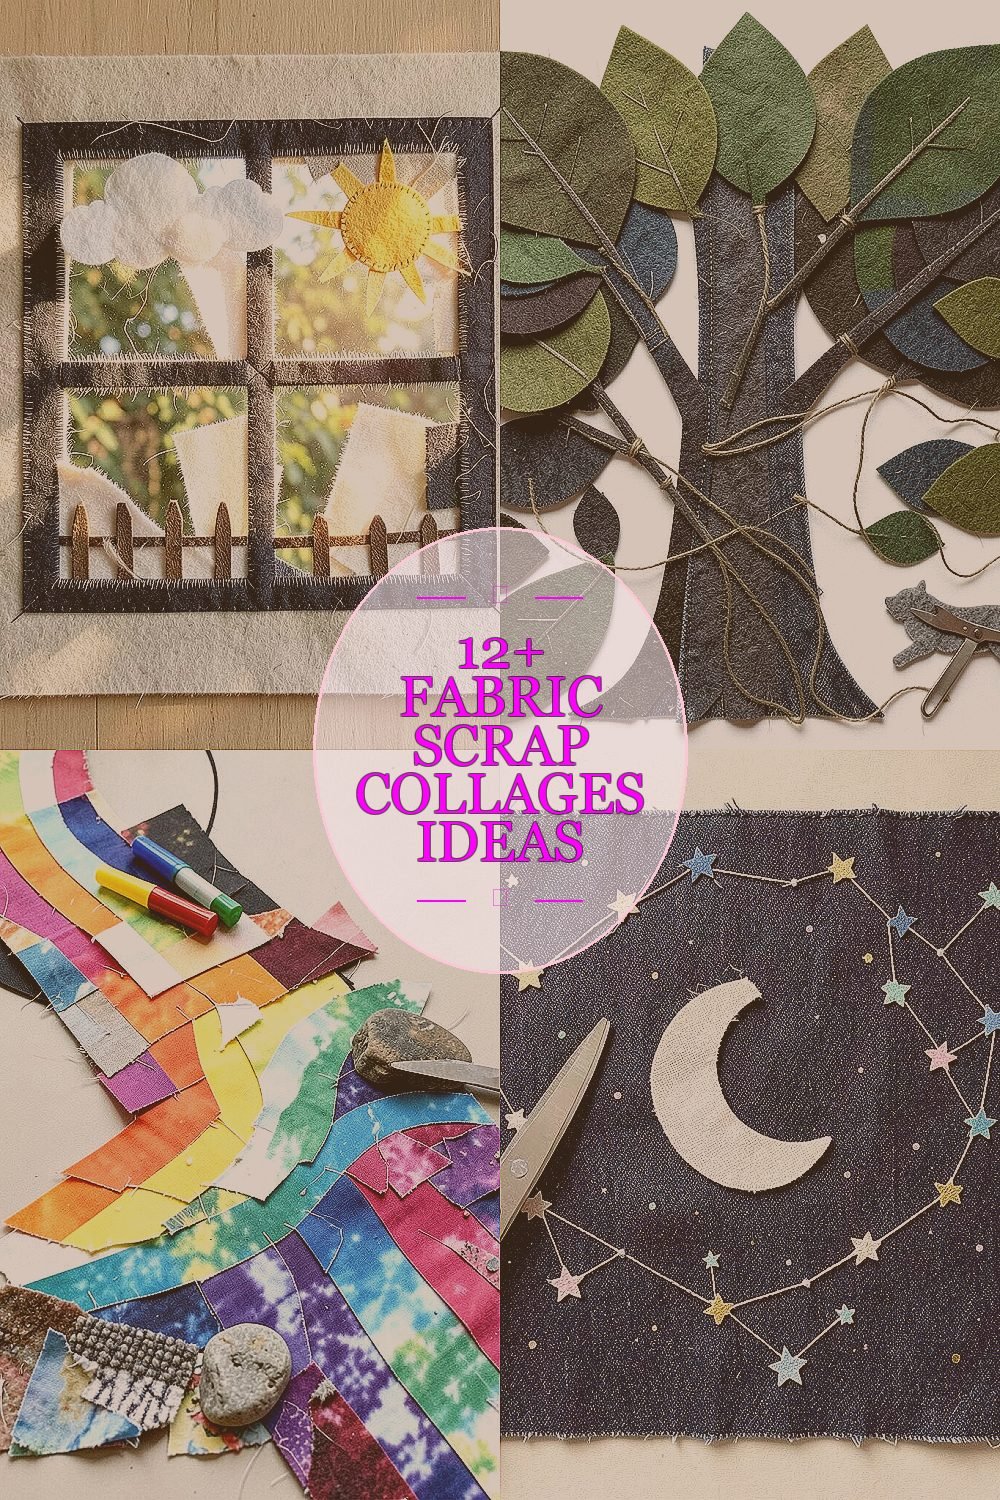
Old fabric scraps can turn into something you can hang, gift, or wear. With a few snips and a glue stick, your wall can start telling stories.
These ideas are playful, budget-friendly, and great for using up odds and ends. You’ll find lots of practical steps, ways to personalize each piece, and modern touches that fit today’s crafting vibe.
1. Quilt-Patch Window Scene

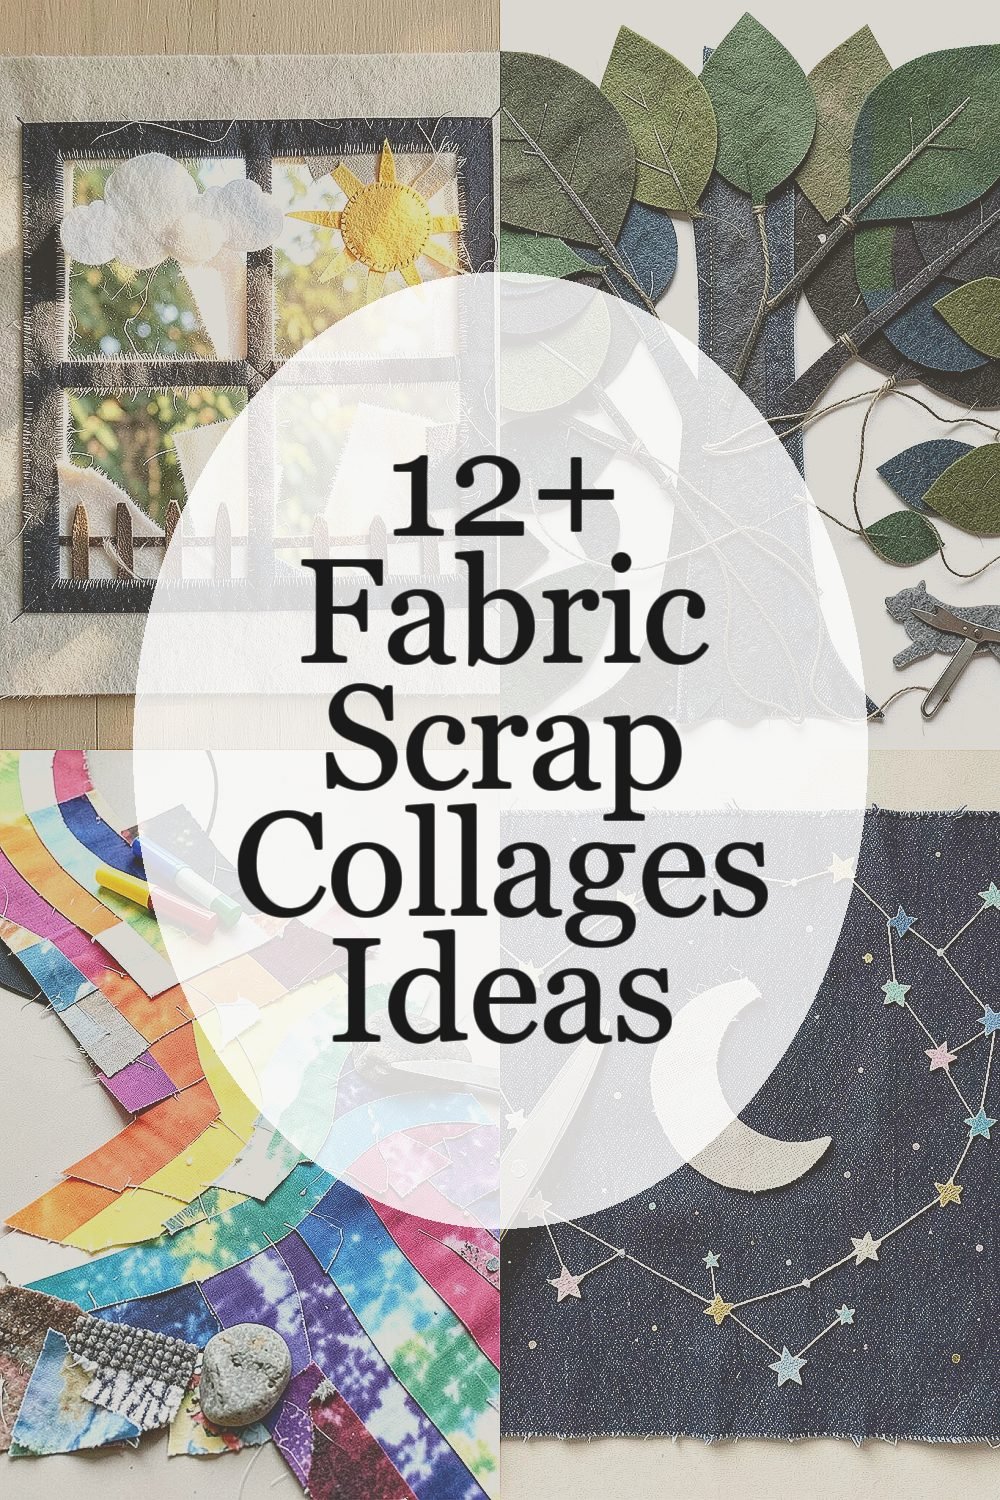
Imagine looking through a stitched window made of leftover cotton and soft knit pieces. Sunlight feels warmer when it hits layered squares, arcs, and torn edges.
Start with a sturdy backing like felt or a scrap of canvas, then outline a simple window shape with a darker strip. Cut tiny scraps into clouds, a sun circle, and a short fence line, and glue them in layers from back to front. Use frayed edges as “breezy” texture so the collage looks lively instead of flat.
2. Moody Forest With Layered Leaves

A forest collage can look surprisingly deep when each leaf is glued at a different height. Think of olive, moss, and charcoal scraps stacked like shaded branches.
Cut leaf shapes from felt, denim, or old T-shirts, then vary sizes so some feel close and others feel far away. Build a trunk with straight strips and add branches by overlapping thin strips and small knots of fabric. Finish by gluing a few thread-like vines and letting some edges curl for a more natural look.
For personalization, add a small animal silhouette made from a contrasting scrap like gray fleece or bright cotton. This kind of collage benefits from glue stick control, since you can press and reposition quickly before it sets. If you’re keeping cost low, use whatever stable scraps you already own and only add one “special” fabric for the focal leaf color.
3. Rainbow Scraps in a Sweeping River

A rainbow river made of fabric scraps feels cheerful and calm at the same time. You can picture it flowing across a backing like a soft ribbon.
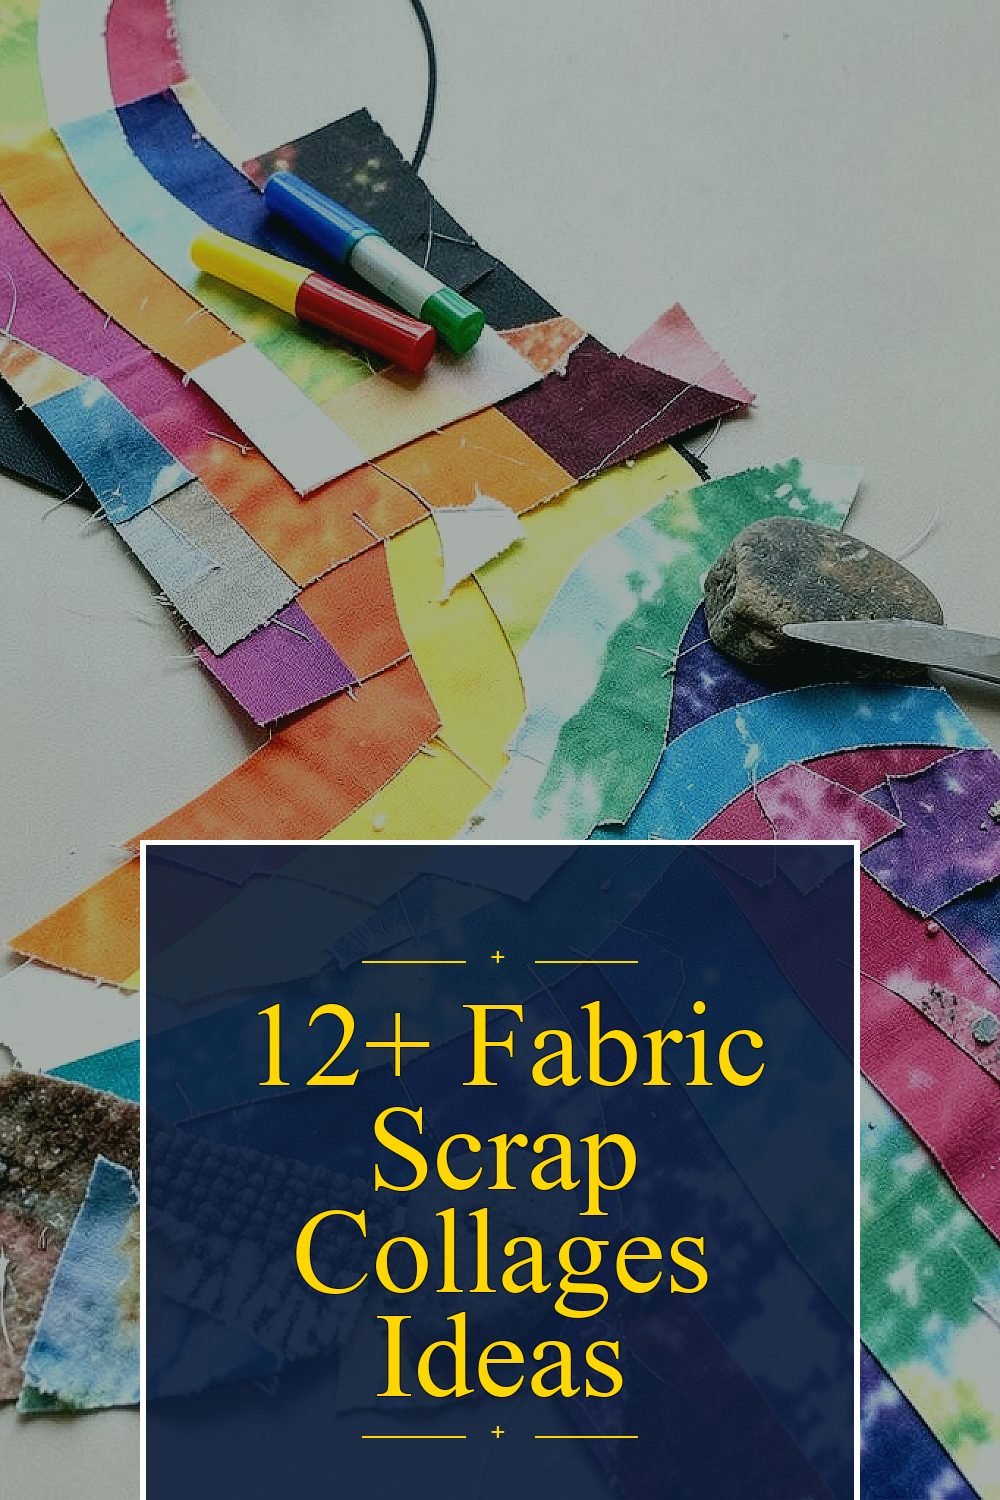
Cut long strips for the river path and arrange them in a gentle curve, then glue the bottom layer first. Add waves by trimming the top edges with small snips, and glue the next fabric strip slightly higher to show water movement. Blend colors by using leftover scraps that have mixed prints, like tie-dye offcuts or patterned jersey.
Make it unique by adding “rocks” with small textured bits like boucle or corduroy. This project is budget-smart because even small scraps work as long as you keep the strip shapes consistent. If you want a current trend look, pair bright rainbow bands with a minimal background like plain black or neutral beige.
When you press the fabric down, work from the center outward so the glue spreads evenly. Trim the edges after the glue dries to keep the river crisp and readable from a distance.
4. Starry Night With Denim Constellations

Denim scraps can create a starry night that feels rugged and cozy. The texture catches light and makes the stars look like they’re twinkling.
Cut small triangle and dot shapes for stars, then stitch-free glue them onto a dark backing. Use thin strips of denim for connecting lines, keeping the constellation shapes simple at first. Add a crescent moon from a pale fabric remnant to give a clear focal point.
To personalize, draw a constellation pattern from memory and match star colors to your own favorite fabric hues. Glue stick use helps because you can reposition a star before the bond fully sets. This idea can be low-cost too, since you can rely on thrifted jeans or old clothing you already have.
5. Butterflies With Patterned Wings
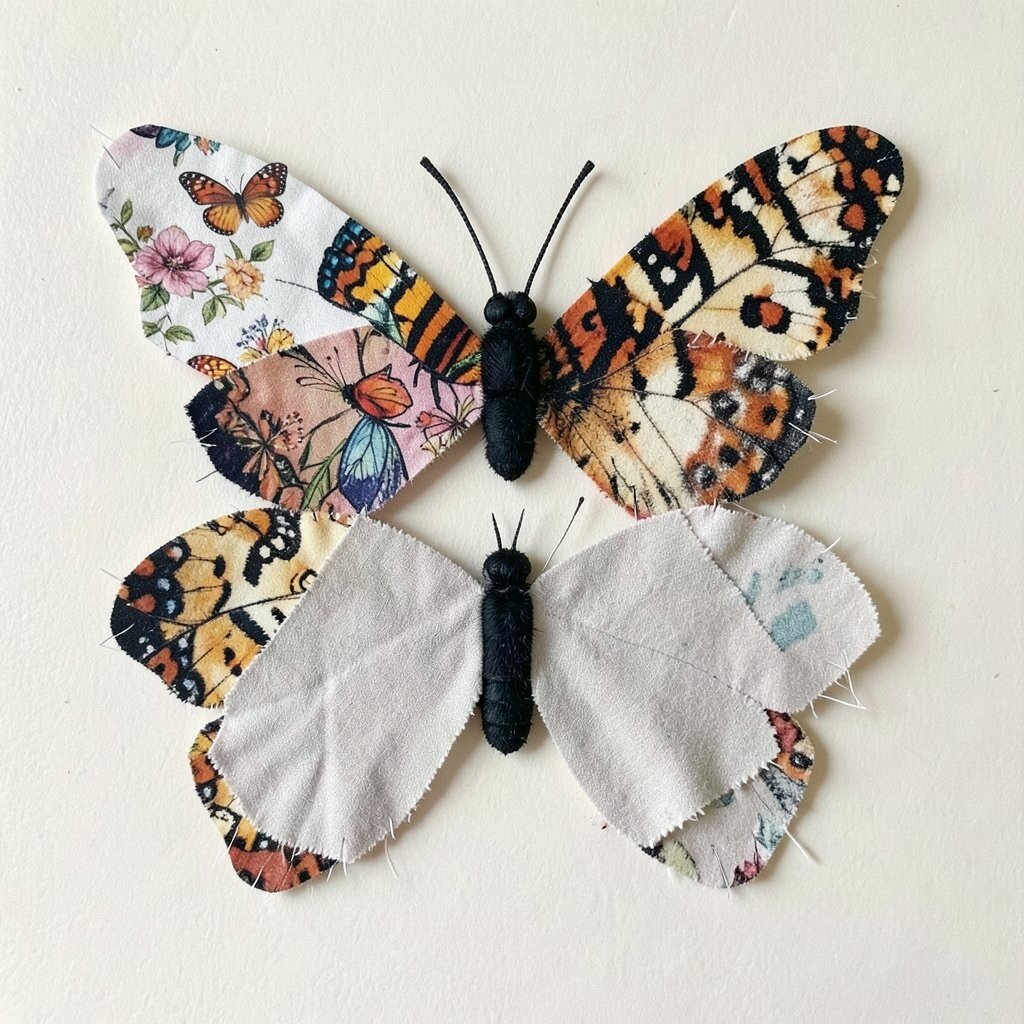
Fabric scrap butterflies look like wearable art even when they’re only meant for a wall. The wings can be playful when each section uses a different scrap print.
Start by cutting two matching wing shapes, then mix prints while keeping the outline consistent. Add small strips for body and antennae, and glue them in a layered stack so the wings feel dimensional. If you’re working with slippery jersey scraps, lightly roughen the back with scissors by making tiny edge nicks so glue holds better.
For uniqueness, use one fabric that has a strong pattern for the top wing and a softer solid for the lower wing. Personalization can be as simple as choosing colors that match a bedroom theme or your favorite seasonal palette. Glue sticks are great here because you can press each wing carefully and avoid messy drips.
6. Seashell Mosaic on a Beach Cardboard Base
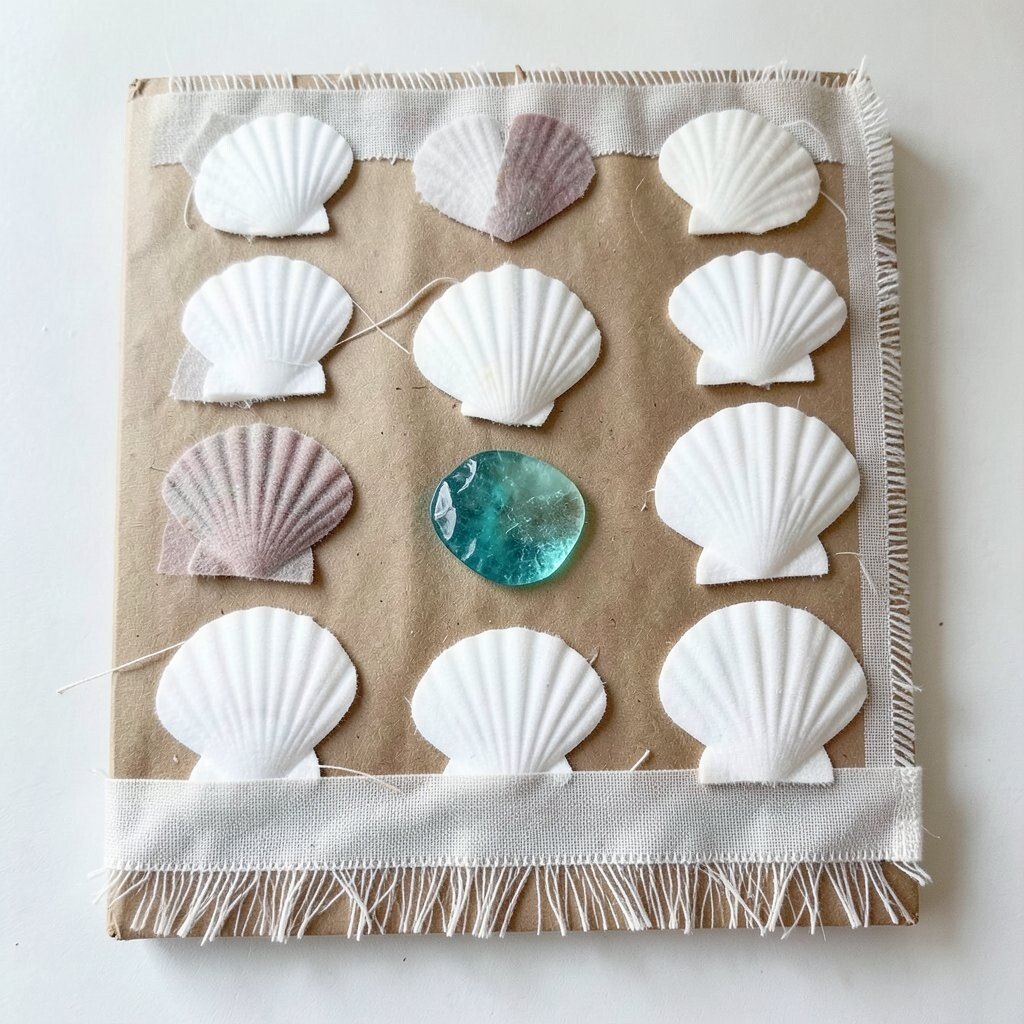
A seashell collage can look like a mosaic even when you use random scraps. Small curved pieces glued side-by-side create a natural shell pattern.
Use a cardboard base covered with fabric, then cut shell shapes from thin scraps like cotton, linen, or lightweight felt. Glue the pieces in rows, trimming edges as you go to keep the shell reading clear. Add a fringe of “sand” with tiny strips left slightly uneven so it feels like grains, not a border.
This project benefits from cost-smart choices because you can use small bits that don’t fit anywhere else. For personalization, include a single teal or sea-glass fabric accent for the most eye-catching “water” shell. A current trend in cozy crafts often favors tactile, natural textures, so this mosaic vibe fits right in.
Let each layer dry a minute before adding more pieces so the shape stays smooth. Finish by adding a thin fabric band that looks like shoreline foam.
7. Monster Friends From Scraps and Buttons

Scrappy monsters are instantly fun, and they make great gifts. When you glue mismatched fabrics, their personalities show up in the colors and textures.
Cut a simple head shape from one main fabric, then glue on patchy “fur” areas using contrasting scraps. Add big eyes made from small fabric circles or felt, and attach extra detail with button scraps if you have them. For practical control, keep the mouth shape small and glue it last so you can adjust the expression.
To make them unique, vary the monster style with different features like zigzag teeth from white scraps or wavy horns from fleece. This idea is budget-friendly because you can use tiny leftover cuts and spare buttons you’ve saved. Current crafting trends love characters with bold silhouettes, so keep your shapes chunky and easy to recognize from across the room.
8. Geometric City Skyline in Clean Bands

A geometric skyline collage feels modern and organized. It’s also a smart way to use strips from old projects that are already neatly cut.
Sketch building rectangles lightly on your backing, then cut fabric rectangles that match the shapes. Glue the tallest pieces first, and add windows with smaller scrap squares or even thread-like strips for a light pattern. Use a limited color set like navy, cream, and rust so the collage looks polished instead of busy.
For personalization, add one “signature” building using a fabric with a favorite print, like tiny stars or a vintage pattern. Glue sticks help you keep crisp edges because you can press firmly without soaking fabric. Cost-wise, you can get a clean look with thrift-store linens or cheap felt remnants, since most of the work is shape and layout.
9. Floral Bouquet With Torn Petal Layers

A bouquet collage can look delicate when you let fabric edges stay slightly torn. Torn seams mimic the soft shape of petals and give a handmade charm.
Choose a backing like off-white felt, then cut flower centers from small circles. For each petal, use scraps of cotton or satin-feel fabric and tear the edges for a natural border, then glue petals in overlapping rows. Add leaves using angled strips and vary the green tones so it looks like real plants.
This benefits from careful layering, since the top petals should slightly cover the bottom ones. Make it unique by mixing one unexpected fabric, like a metallic scrap for the flower center, to catch light. Personalization is easy too, since you can arrange the bouquet to match your favorite flower colors or a gift occasion.
If you want a trend-friendly look, choose a simple background and keep the floral cluster centered with lots of breathing space.
10. Sports Jersey Letter Banner for a Door

A fabric scrap letter banner turns leftover pieces into something you can actually hang. It feels personal, and it’s great for birthdays, game days, or any celebration at home.
Pick one letter shape you want to make, then cut it from a main fabric and glue smaller scrap pieces inside. Use glue stick sparingly to prevent lumps, pressing as you go so the surface stays smooth. Add a simple border with a solid fabric strip to frame the collage and make the letter readable.
For uniqueness, include tiny details like stripes, team colors, or a subtle pattern that matches the theme. This kind of project is cost-effective because you can use old clothing and leftover trim, especially if you only need a few hero pieces for the center. Current trends show a love for bold typography and home decor that looks handmade but neat, so keep your letter edges crisp.
11. Forest Floor With Textured Moss and Rocks

A forest floor collage can feel realistic when you combine soft moss colors with rough rock textures. It’s like making a miniature scene out of what you already have.
Use a dark green backing, then glue small tufts of felt for moss patches and add pebble shapes with gray fabric or denim scraps. Create depth by layering larger pieces first and adding smaller specks on top to look like scattered stones. If you have fabric with texture like boucle, use it for the “rocks” because it already has natural bumps.
Personalization comes from the choices you make for scale and mood, like adding a tiny mushroom from red or brown scraps. Glue stick works well here because you can control placement and press the textures down evenly. Cost considerations are gentle since you can cut irregular pieces from scraps and only buy a new fabric if you want a specific color.
To keep it looking tidy, trim your final edges after everything dries so the moss doesn’t creep into the border.
12. Art Deco Frame With Metallic-Feel Strips

An art deco fabric collage brings a fancy vibe without needing expensive materials. Strips and triangles can look crisp and stylish when you use the right colors.
Create a decorative frame on your backing with cut strips that form repeating shapes like zigzags and fan patterns. Use scraps that feel metallic or glossy, such as satin remnants or shiny thread-knit fabric, for the standout lines. Glue the base frame first, then add inner details like small triangle pieces to build a layered look.
This idea is unique because deco style loves symmetry, so you can mirror patterns left to right for a clean effect. Personalization is easy by swapping colors, like choosing jewel tones for a richer look or neutrals for something modern. Since glue sticks are simple to use, you can avoid extra tools and keep costs low by relying on clothing scraps and thrifted textiles.
If you want a current trend feel, lean into bold contrast and keep the center simpler, so the frame becomes the star.
13. Abstract Sunburst on Soft Backing

An abstract sunburst collage is one of those projects that makes you smile fast. It’s bright, it’s graphic, and it looks great in a modern room.
Cut many angled strips from varied fabric scraps, then glue them radiating from a center circle. Use a thicker scrap for the center so it feels like a sun, and choose color groups that fade from warm to cool, like orange to yellow to green. Leave small gaps between some rays for a lighter, airier look that feels less heavy.
To personalize, add a fabric scrap that matches your favorite mug, pillow, or seasonal decor, so the collage feels part of your home. Glue stick benefits this design because you can carefully adjust ray alignment and press flat. Cost is usually minimal since the rays can come from the smallest leftovers, and you can stop adding pieces when the look feels balanced.
For a trendy finish, keep your backing neutral and use a limited palette with one unexpected pattern ray for a playful contrast.