Small gardens can feel like secret worlds. Pebbles and toy figures turn ordinary corners into places you want to visit again and again.
They are playful, calming, and surprisingly flexible. With a few materials and some patience, you can make scenes that feel personal, charming, and full of tiny stories.
1. Storybook Path With A Tiny Bridge
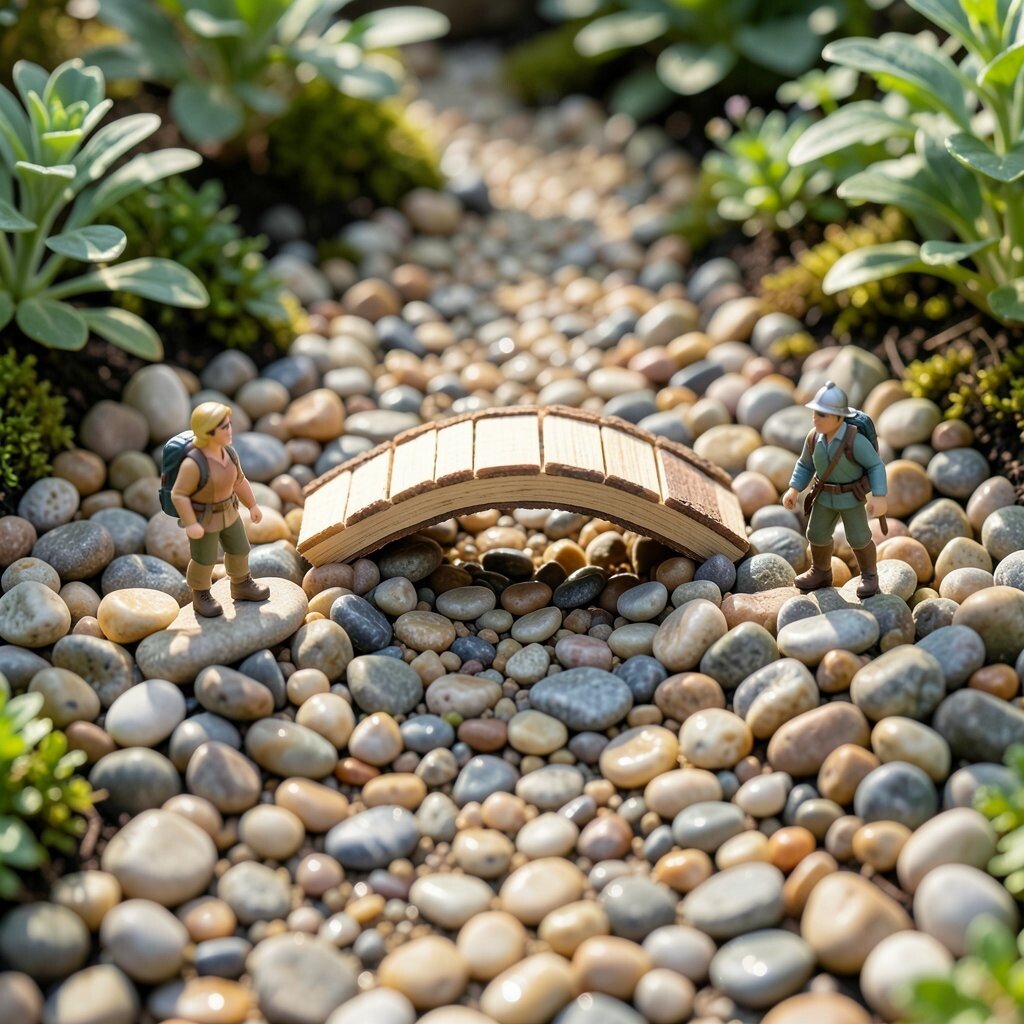
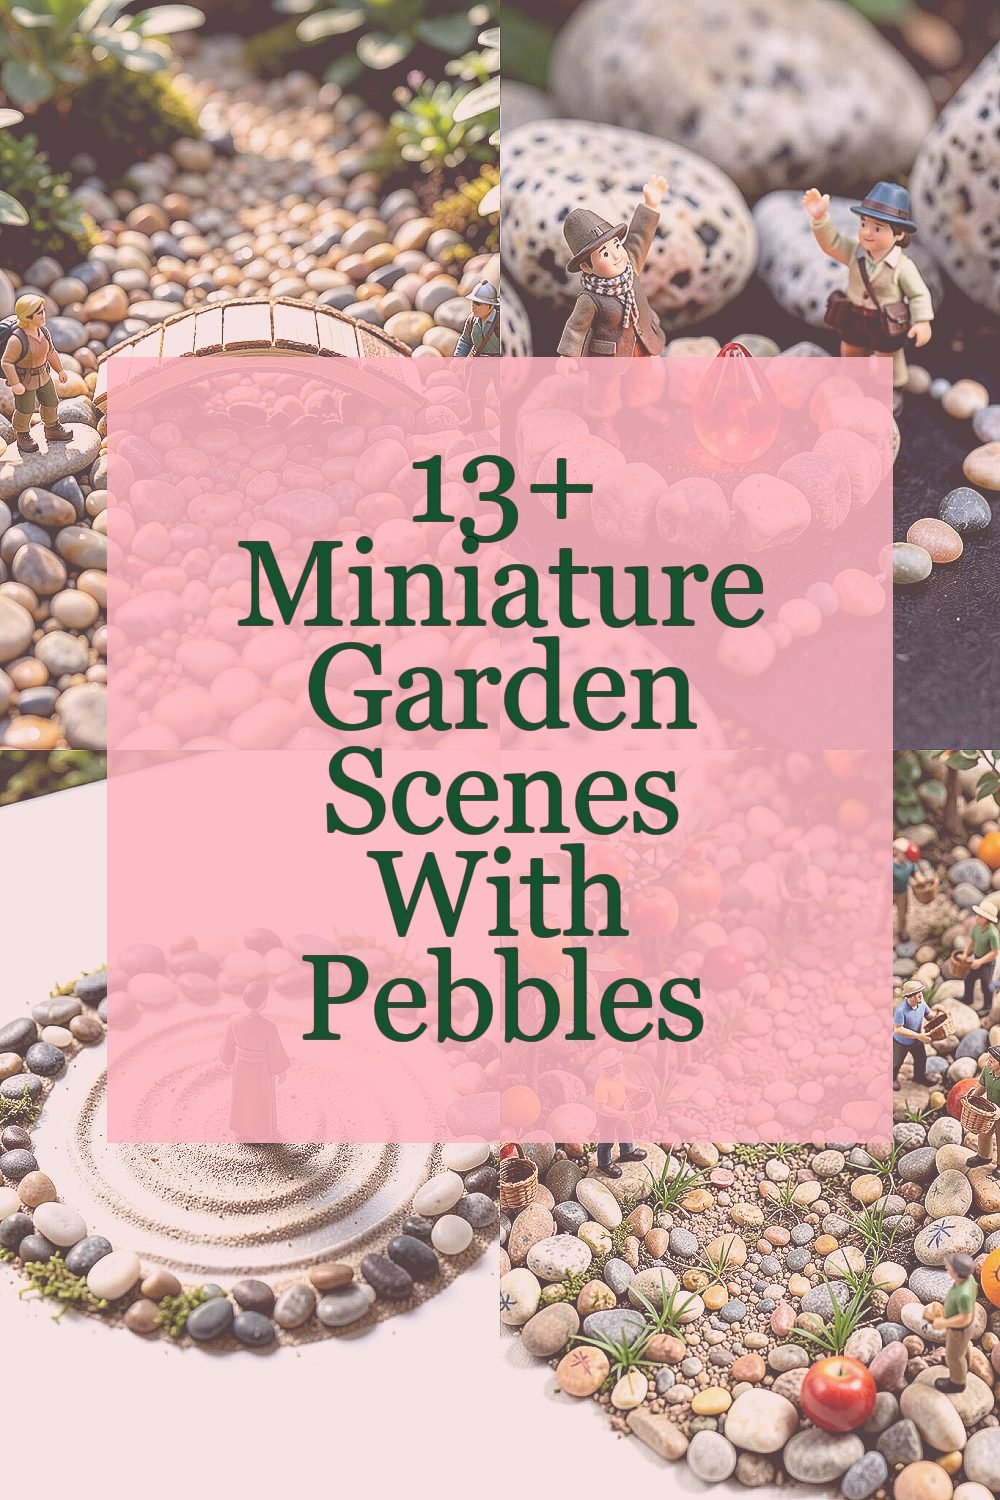
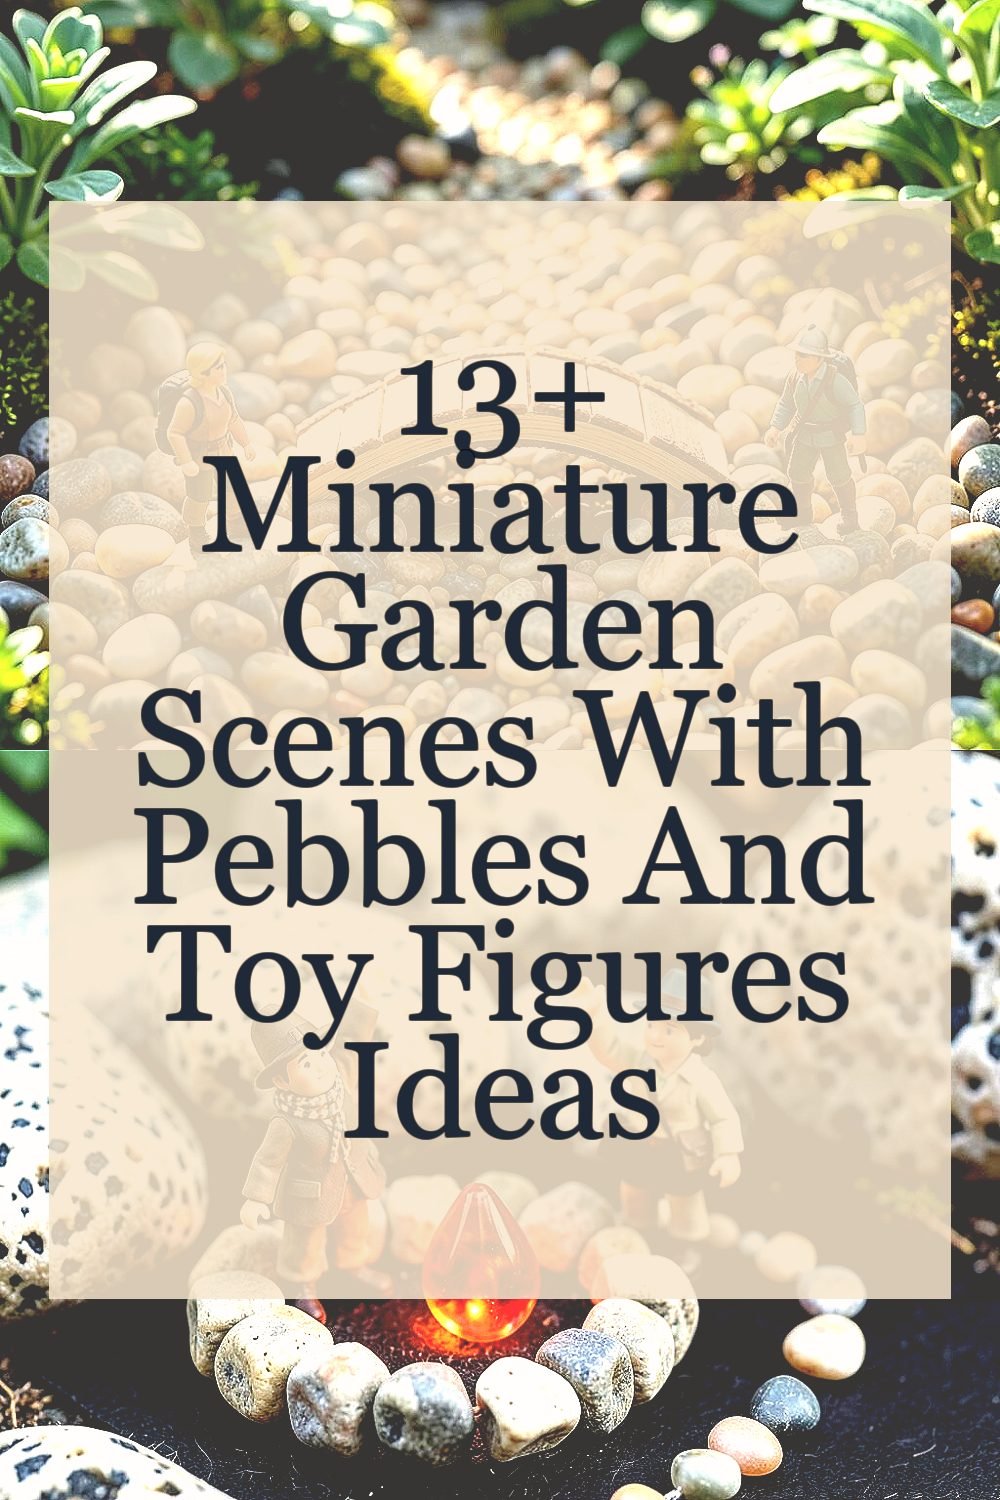
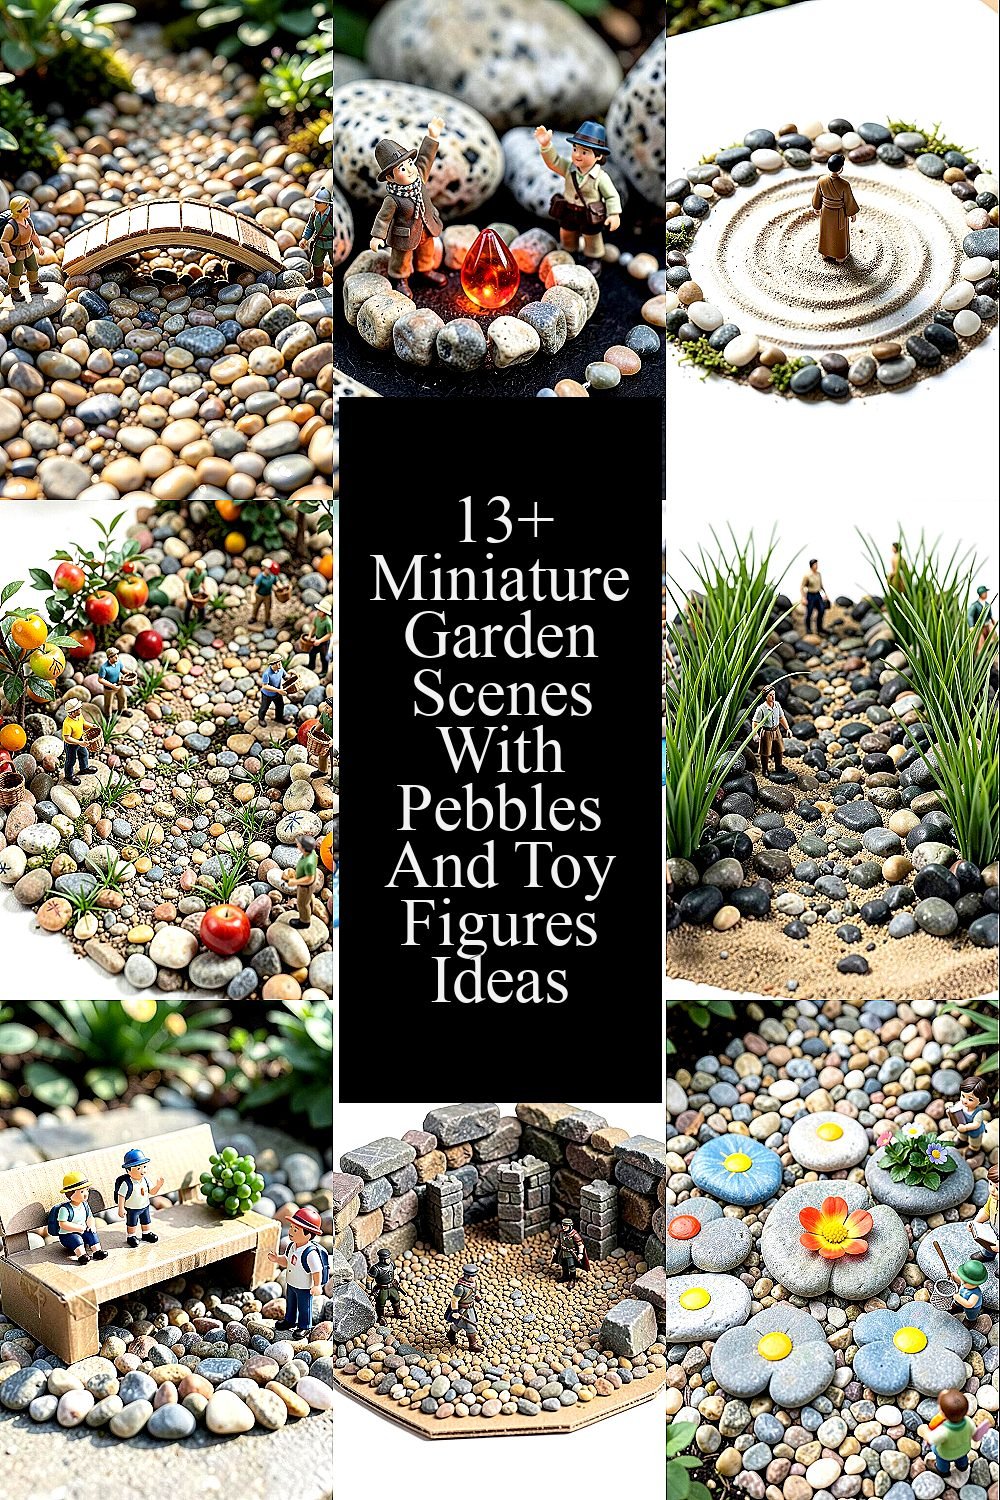
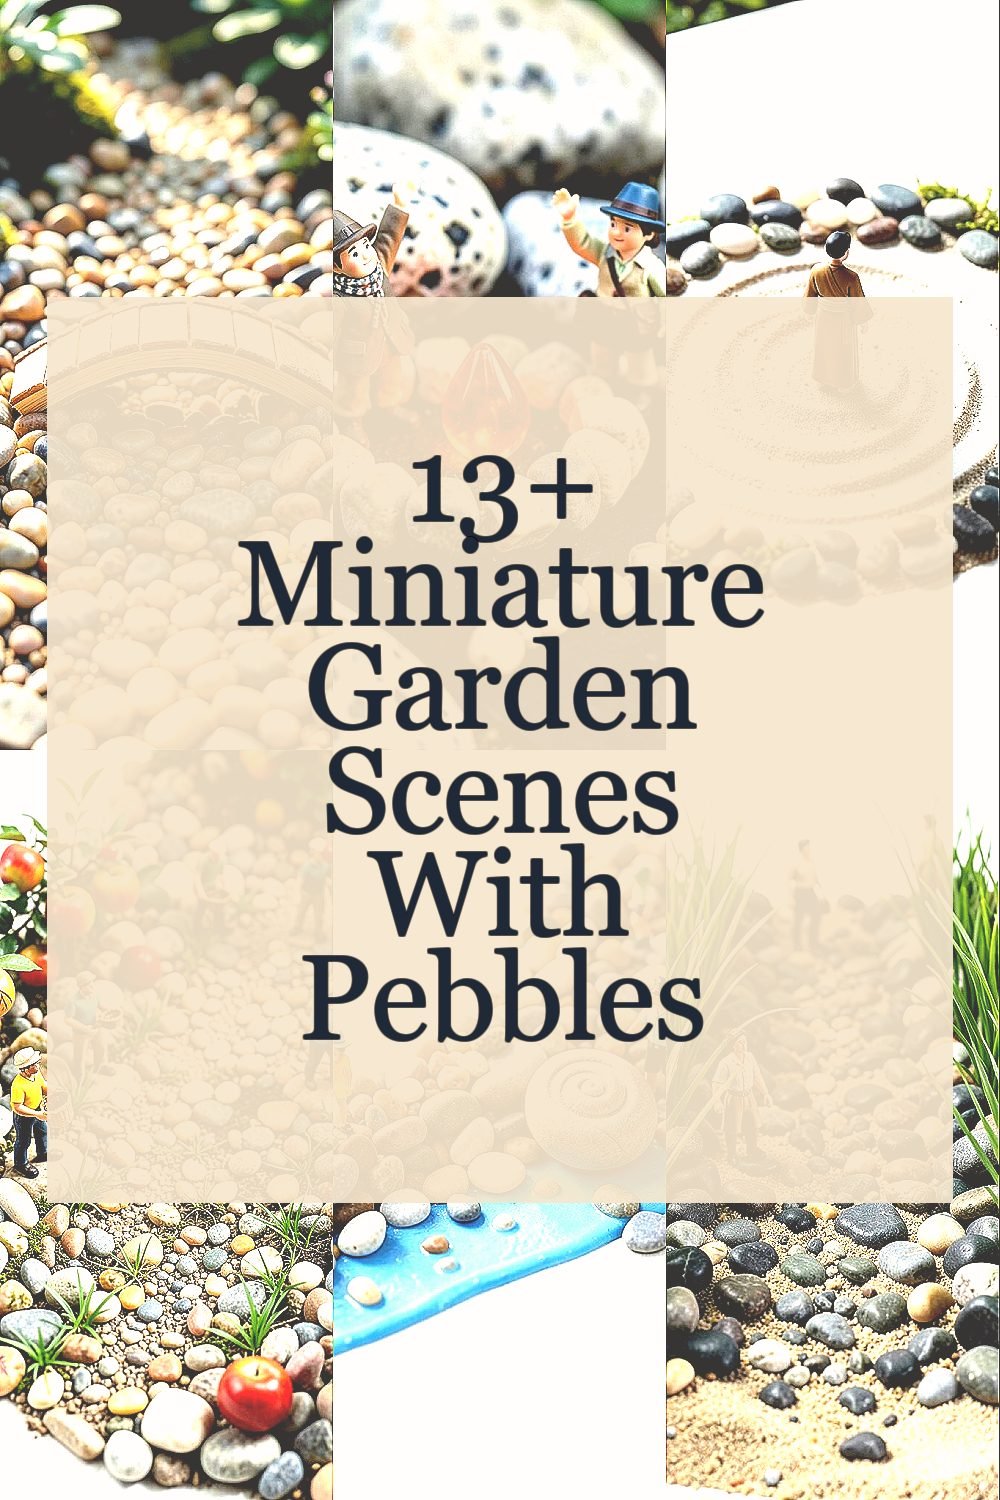
Picture a winding path made of smooth pebbles, glowing in the light as they catch tiny highlights. Place two toy figures on opposite sides and add a miniature bridge from a flat stick or craft wood strip.
To make it feel storybook-like, use larger pebbles for the “main walkway” and smaller ones to create soft edges. This setup is great for practicing careful spacing, and it also helps your hands stay busy while you relax.
For uniqueness, swap the bridge style each season, such as using a bark slice, a popsicle-stick arch, or even a tiny printed card folded into a bridge shape. You can personalize it by choosing toy characters that match a theme, like hikers, gardeners, or knights.
If you want an easy cost plan, use pebbles you already have from a yard or aquarium shop, and keep the bridge materials simple and recycled. A current trend is “textured realism,” where the ground looks layered, so try mixing pebble sizes to imitate distance and depth.
2. Fairy Campfire Ring Under Speckled Rocks
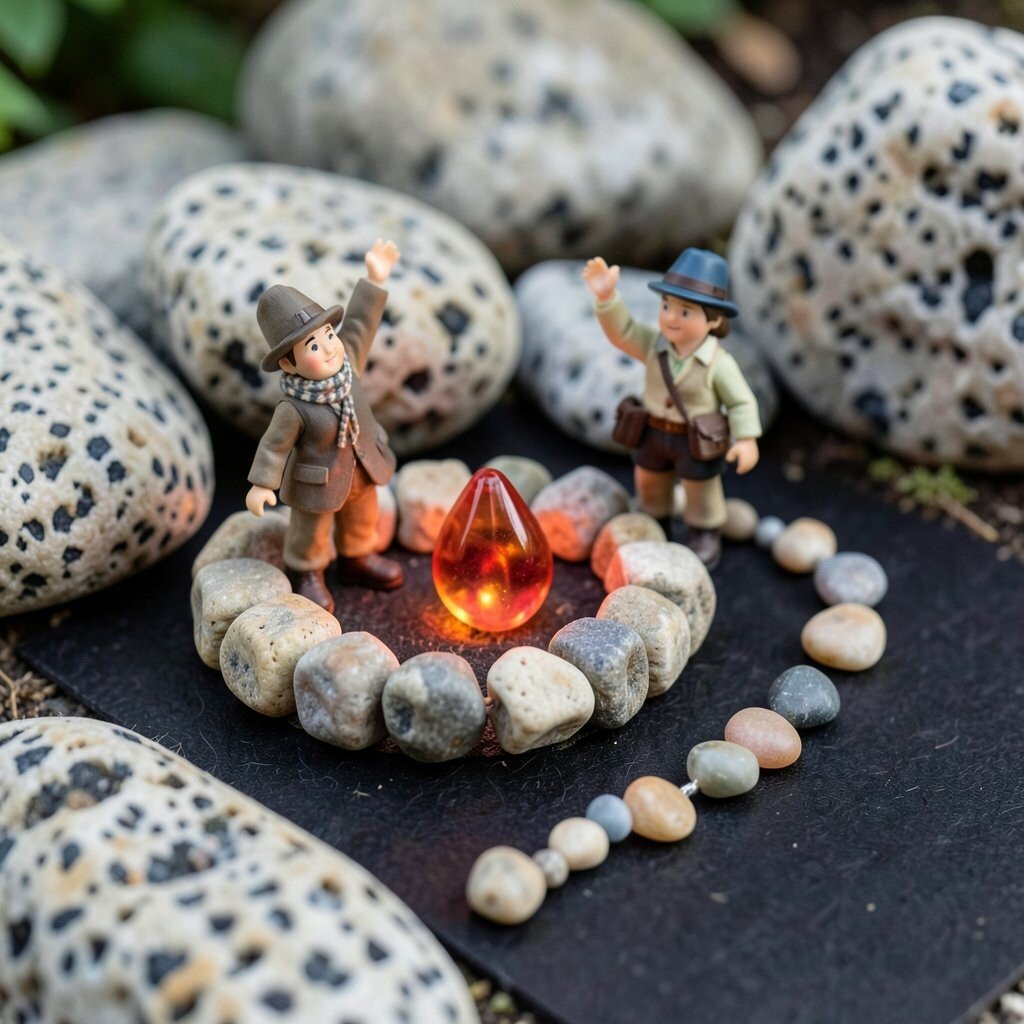
Set a circle of pebbles like a glowing campfire ring, then tuck a tiny “fire” made from a red or orange bead or a bit of transparent plastic. Put a small toy figure beside it with one arm raised, as if it’s warming up.
Use a darker base, such as a scrap of felt or a sheet of cardboard painted black or deep brown, so the ring pops. This scene benefits your focus because you’ll naturally move slowly, adjusting pebbles until they look balanced.
For personalization, add a second toy figure wearing a different “outfit” by switching small accessories like a bottle-cap hat or a tiny scarf. Consider uniqueness by placing a “trail” of pebbles leading away from the campfire, hinting at a journey.
If you’re thinking about cost, you can build the fire from inexpensive craft beads or leftover jewelry parts. Mini garden dioramas are trending right now in maker communities, and camp setups are popular because they feel cozy and cinematic.
3. Zen Ripple Garden With Calm Toy Visitors
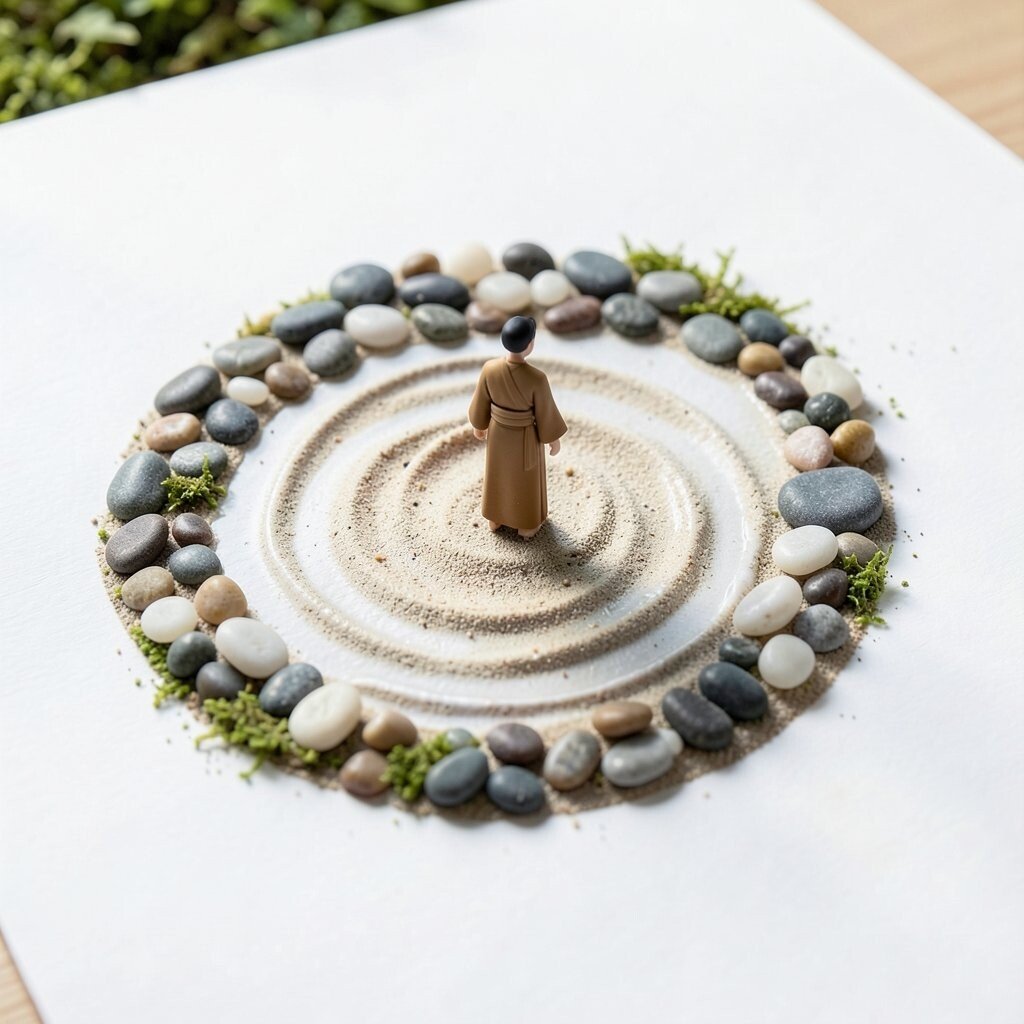
Create a peaceful layout by drawing gentle curves on paper first, then placing pebbles along the curves like ripples in water. Put a single toy figure at the center and another along a ripple edge to suggest a quiet walk.
For practical success, press the pebbles lightly into craft glue or a thin layer of sand so nothing shifts when you move the base. This scene is a great stress reliever because it encourages slow, repetitive placement.
Uniqueness can come from color choices, such as adding a few pale white stones for “light reflections” and using slightly darker stones for depth. Personalization is easy too, since you can swap figures for different personalities like a monk-style character, a pet, or a traveler.
When you think about cost, keep the palette simple with one main pebble type and only a few accent stones. A current trend is “quiet decor,” and ripple patterns match that look perfectly for desks, shelves, and nightstands.
To finish, add tiny bits of moss or crushed green material to the edges so the ripples feel grounded. Let the scene be mostly blank, because calmness often comes from space.
4. Mini Orchard Border With Pickers And Baskets
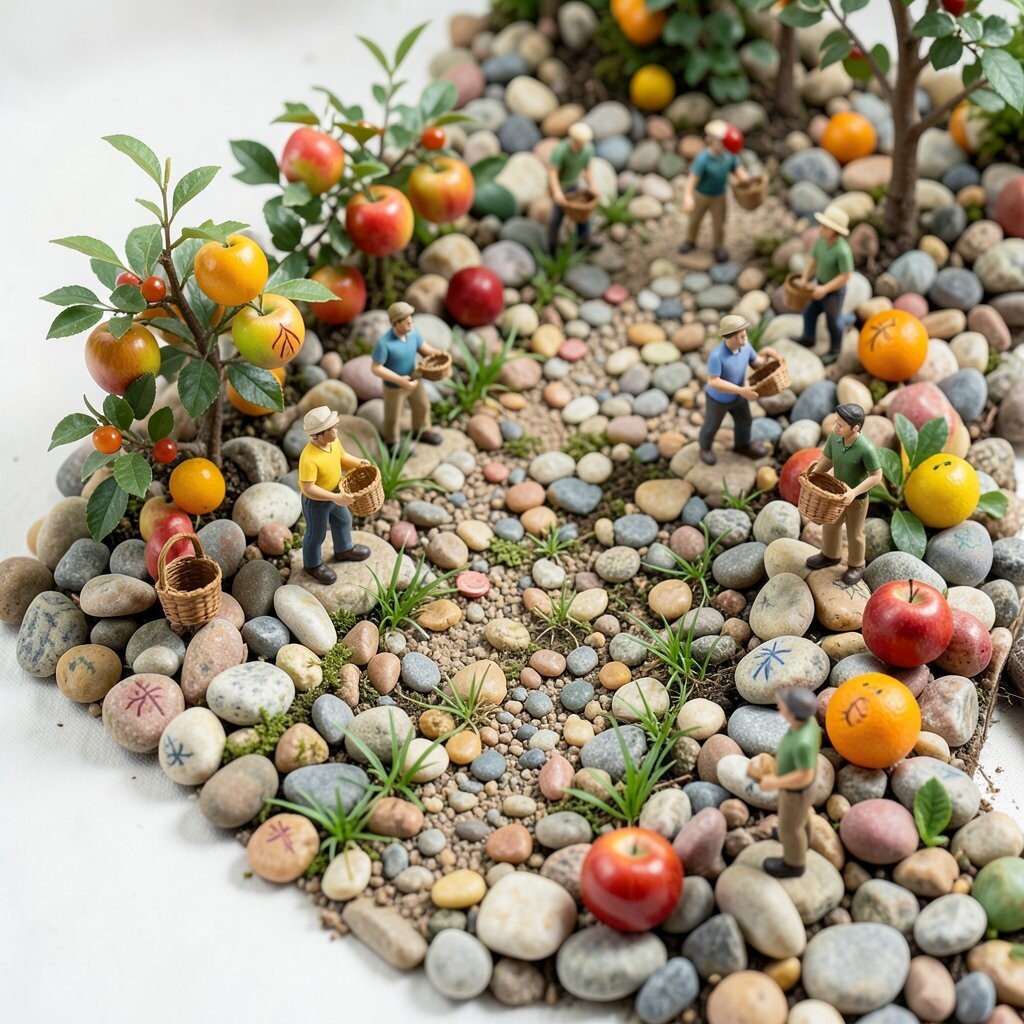
Arrange pebbles in a low “orchard border,” then tuck toy figures holding miniature baskets along the edge. To make the fruit feel real, use small round beads, bottle caps, or painted pebbles as apples or oranges.
For visual interest, keep the path slightly uneven by placing pebbles in clusters, then leaving small gaps where “grass” can grow. This benefits the design because natural irregularity makes it look more believable.
Make it unique by changing the orchard style, like a tidy row look with evenly spaced pebbles or a wild-corner look with scattered stones. Personalization is fun when you paint tiny marks on pebbles to act like leaf veins or stems.
Cost-wise, beads and painted stones are usually affordable, and you can reuse toy accessories from other projects. Garden crafts are trending toward “playful realism,” and orchard scenes fit because they feel both cute and practical.
5. Coastal Walk With A Shell-Shaped Corner
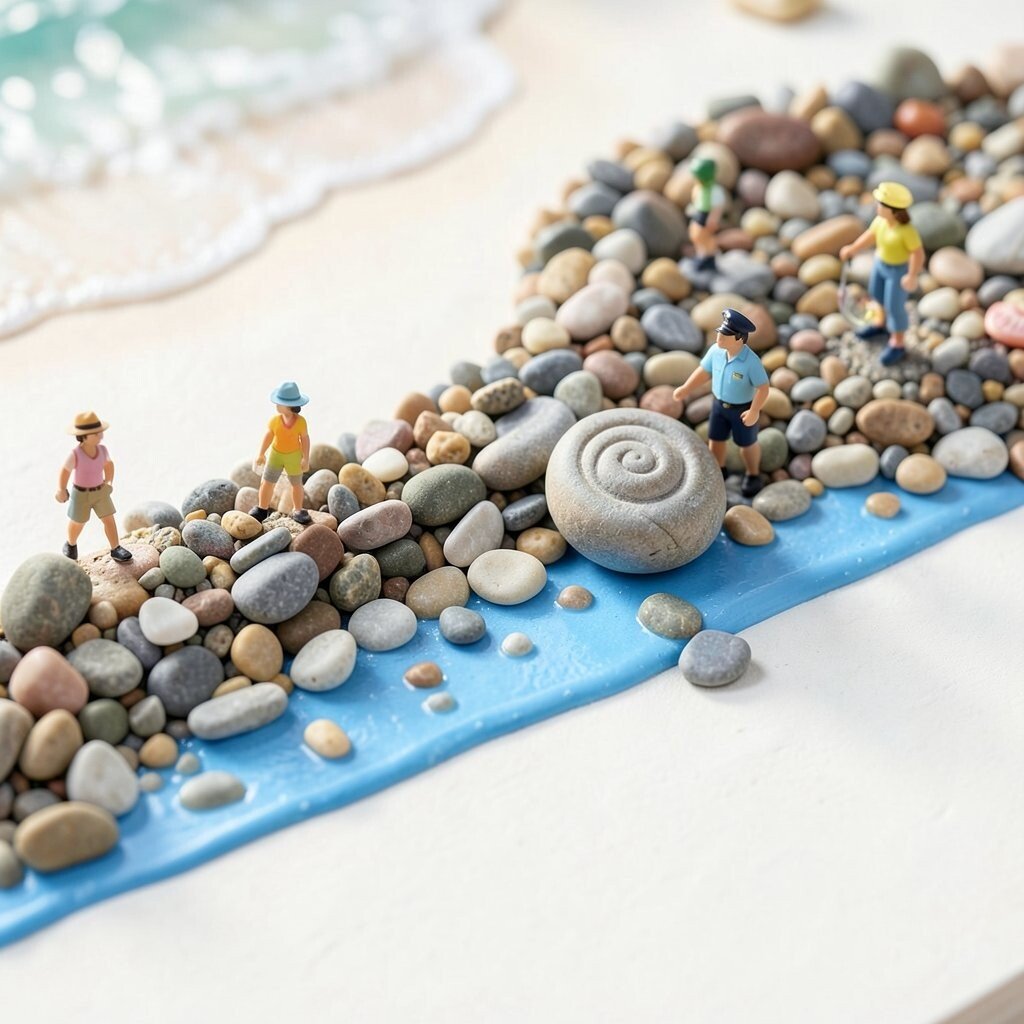
Build a shoreline corner by using pebbles to form a curved boundary like the edge of waves. Place a toy figure near a shell-shaped pebble or a smooth spiral stone to act as a landmark.
Use a thin layer of blue paint on the base between pebble lines to give the feeling of water, even if it’s small. This scene benefits your creativity because it lets you mix color with texture without needing lots of supplies.
For uniqueness, include a “tideline” by stacking a few lighter pebbles in a gentle arc. Personalization can be as simple as choosing toy figures that fit the mood, like a beachgoer, a lifeguard, or a curious explorer.
If you’re cost-conscious, gather sea-themed charms or shells from old craft leftovers, or use smooth stones you already own. This style aligns with current trend visuals of coastal calm, especially in small desk displays and seasonal decor.
6. Secret Path Through Tall Pebble “Grass”
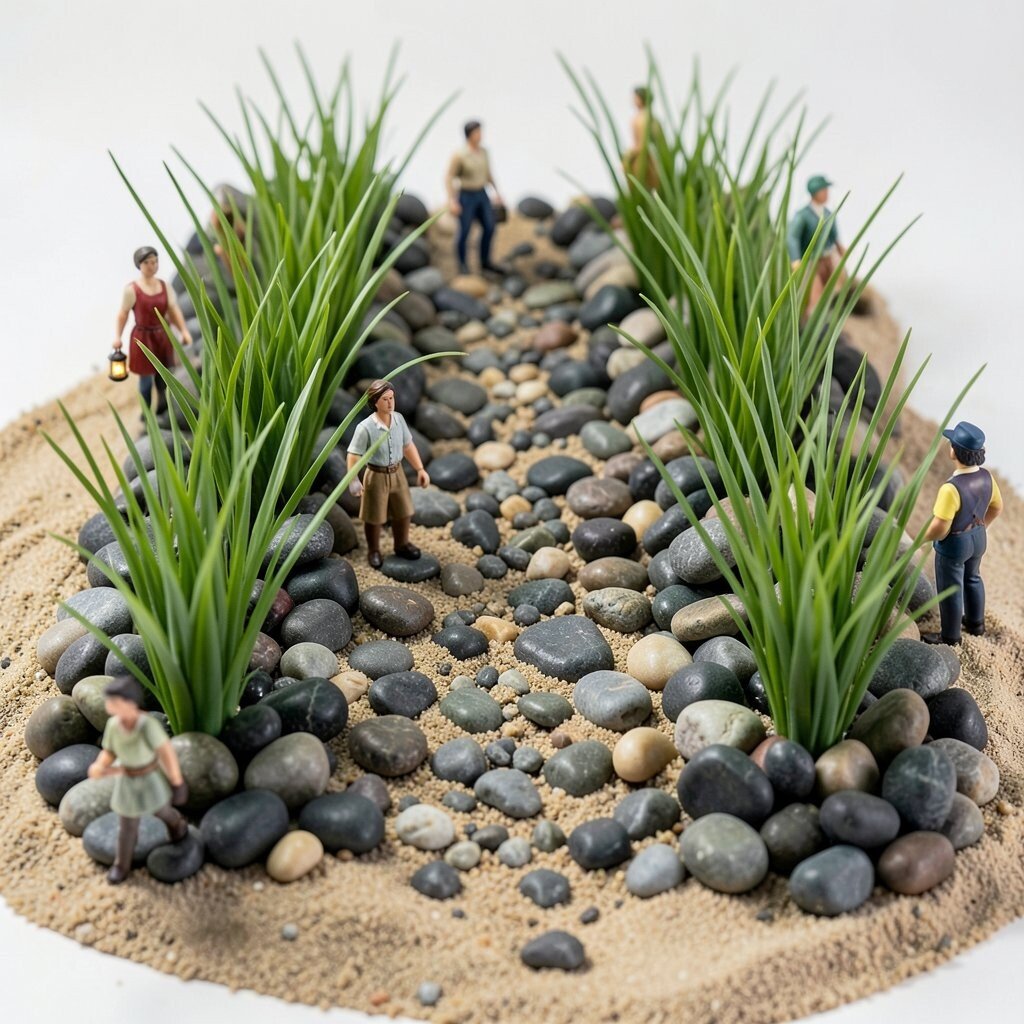
Instead of flat ground, make pebble “grass” by standing slightly larger pebbles upright in a loose row. Add toy figures at the “entrance” and “exit” like they’re walking through a tiny secret lane.
For a practical build, keep pebbles upright with glue or by pressing them into thicker sand on a base. This benefits the scene because it adds height, which makes even a small layout feel exciting.
Make it unique by using two pebble colors, such as dark stones for depth and lighter stones for the grass tips. Personalization is easy when you select figures with different poses, like one figure holding a lantern and another looking back.
Consider cost by using whatever stones you can find, even broken gravel, because the “grass” texture hides imperfections. A current trend in crafts is height layering, and standing stones create that layered look in a simple way.
7. Tiny Garden Bench With Two Friends
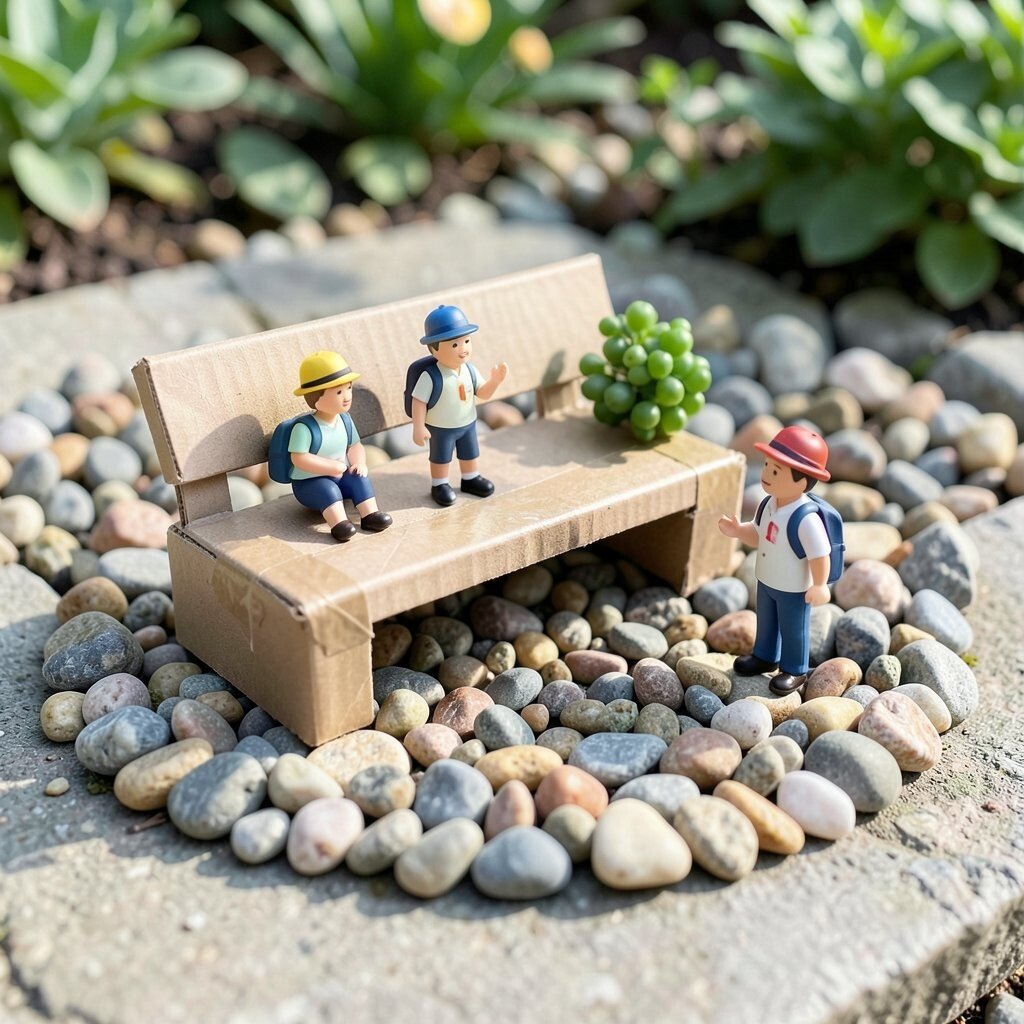
Make a miniature bench from a flat wood stick or even a sturdy piece of cardboard wrapped with tape for strength. Surround it with a tidy patch of pebbles shaped like a seating area, then place two toy figures talking quietly nearby.
For a friendly look, use pebbles in a tight circle so the bench feels framed like a real garden spot. This benefits your arrangement skills because it teaches you to create borders that guide the eye.
Uniqueness can come from tiny “plant” accents, like a small green bead cluster beside the bench. Personalization is simple too, since you can swap figures for siblings, friends, or pets with tiny hats or backpacks.
If you want to keep costs low, use cardboard, scrap wood, and pebbles from bargain bins. Outdoor-themed miniature decor is popular right now, and bench scenes look especially charming because they feel warm and social.
8. Rock Castle Courtyard With Guard Figures
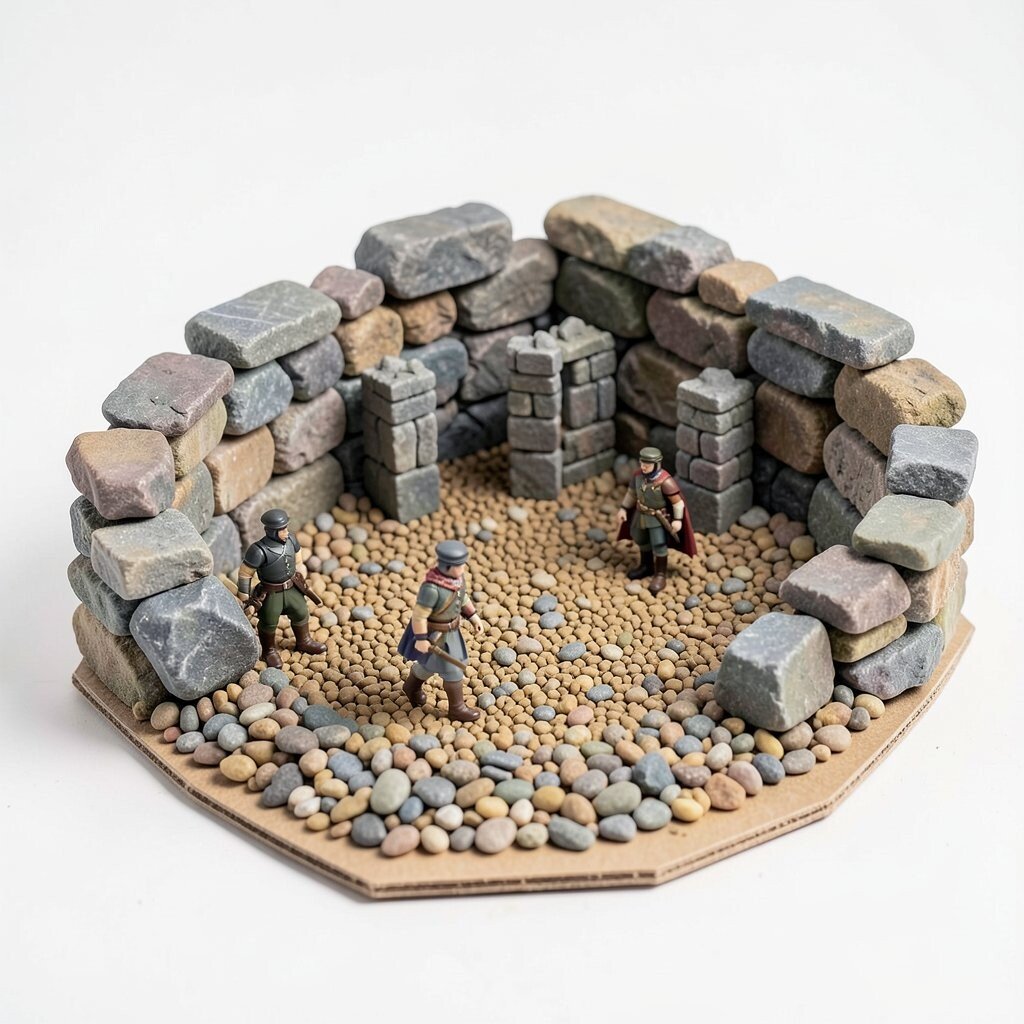
Layer pebbles into a courtyard shape, then stack a few bigger stones at the edges to feel like castle walls. Place a toy guard figure at one corner and another figure near the center as if they’re patrolling the grounds.
To make the castle feel sturdy, use a base that won’t warp, like thick cardboard or a small wooden plaque. This benefits your build because firm surfaces hold pebbles in place and keep your scene looking neat.
For uniqueness, add a “gate” using two small stone towers with a tiny gap, then place a figure walking through. Personalization works by changing the guard style, such as adding a cape using paper scraps or a tiny scarf from yarn.
Cost considerations are easy here because most of the structure uses stones you can gather, while the “castle” details can be made from inexpensive craft materials. A current trend is “micro roleplay,” where dioramas become settings for storytelling, and castle courtyards are perfect for that.
9. Butterfly Spotting Scene With Flower Pebbles
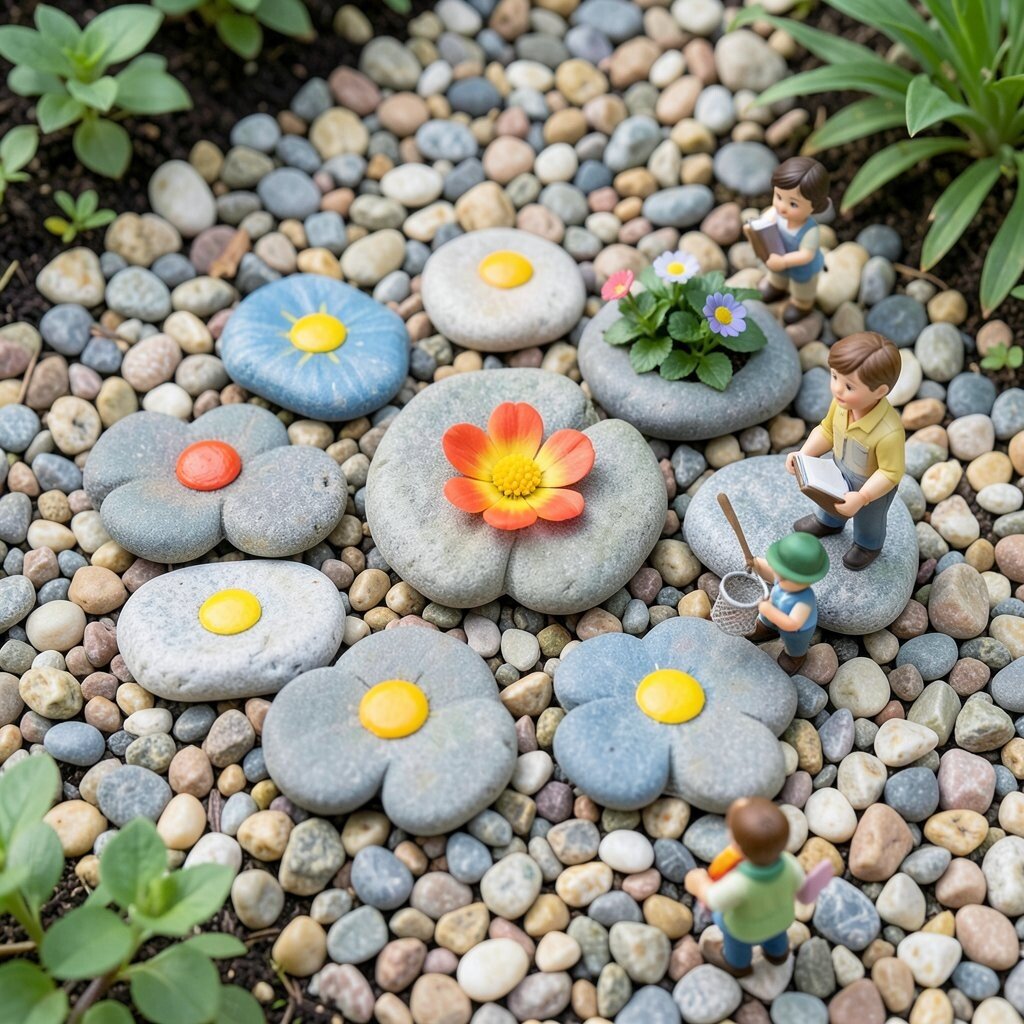
Create a small flower patch by placing flat, smooth pebbles in petal-like shapes, then add tiny painted dots on top to represent centers. Place a toy figure with a small “net” or cup near the flowers, as if it’s watching a butterfly.
For visual description, choose a few brighter accent stones so the flowers look lively against the rest of the gravel. This benefits the scene by giving your eye a clear focus point that stays interesting from different angles.
Make it unique by varying flower sizes, mixing tiny clusters and one “big bloom” as a centerpiece. Personalization can include toy figures that match nature themes, like a child holding a notebook, a gardener, or a curious scientist.
If you’re keeping costs down, paint inexpensive stones instead of buying special craft flowers. Eco-style decor is trending, and nature-inspired miniature scenes fit the mood of bringing the outside in.
10. Desert Lantern Way With Warm Sand Tones
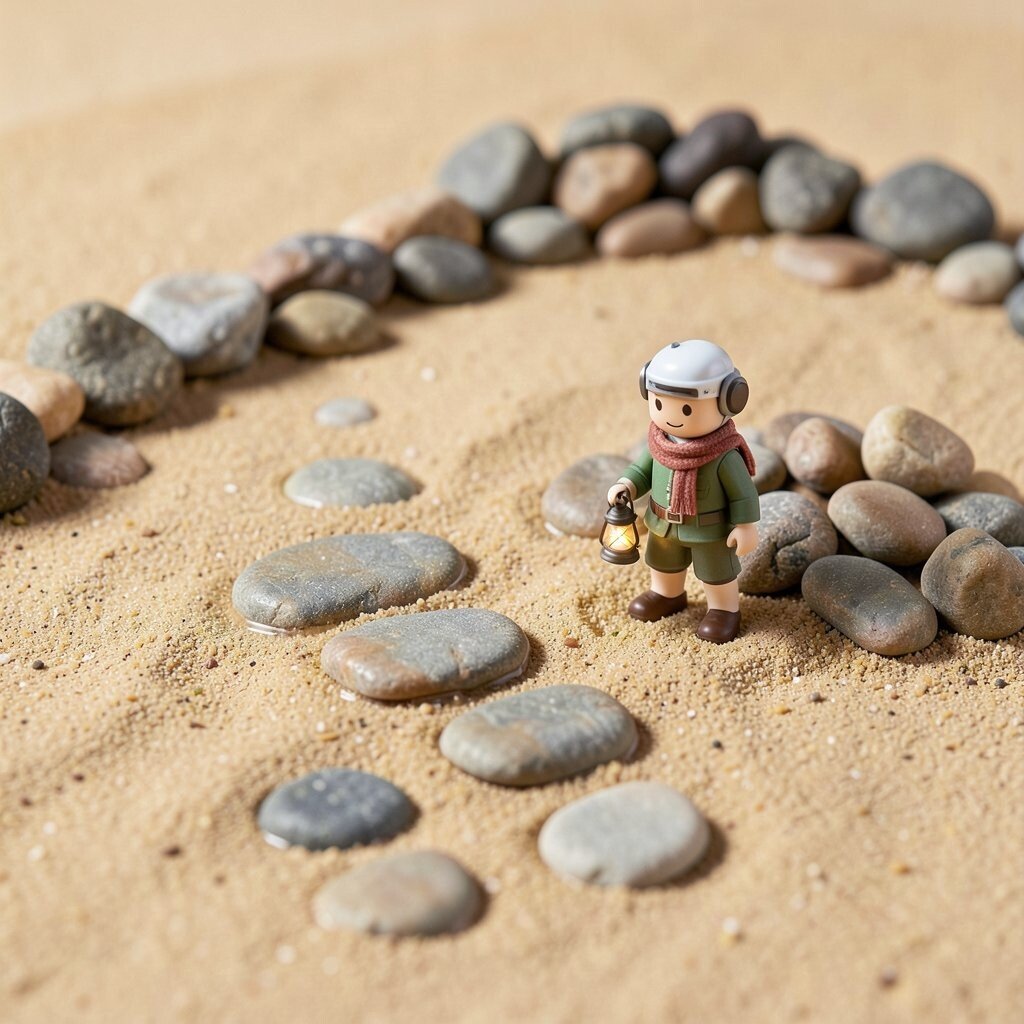
Use a base coated with tan or light-brown sand, then place pebbles like stepping stones in a gentle line. Put a toy figure holding a small lantern near a pebble cluster that acts like a campsite.
For practical tips, seal the sand lightly with clear glue so it doesn’t spill, and keep pebbles spaced so the path is easy to follow. This scene benefits your patience because you’ll want clean lines for the walkway.
Uniqueness can come from adding one “dune” curve of darker stones in the background to create depth. Personalization is fun when you change the toy character’s outfit style, such as a traveler with a tiny scarf or a robot “explorer” for a playful contrast.
Cost considerations are friendly because sand and stones are often cheap, and lanterns can be made from small clear beads or recycled bottle caps. Travel-and-craft aesthetics are trending online, and desert lantern scenes look warm, cozy, and different from typical gardens.
11. Pond Edge With Frog Figures And Reed Stones
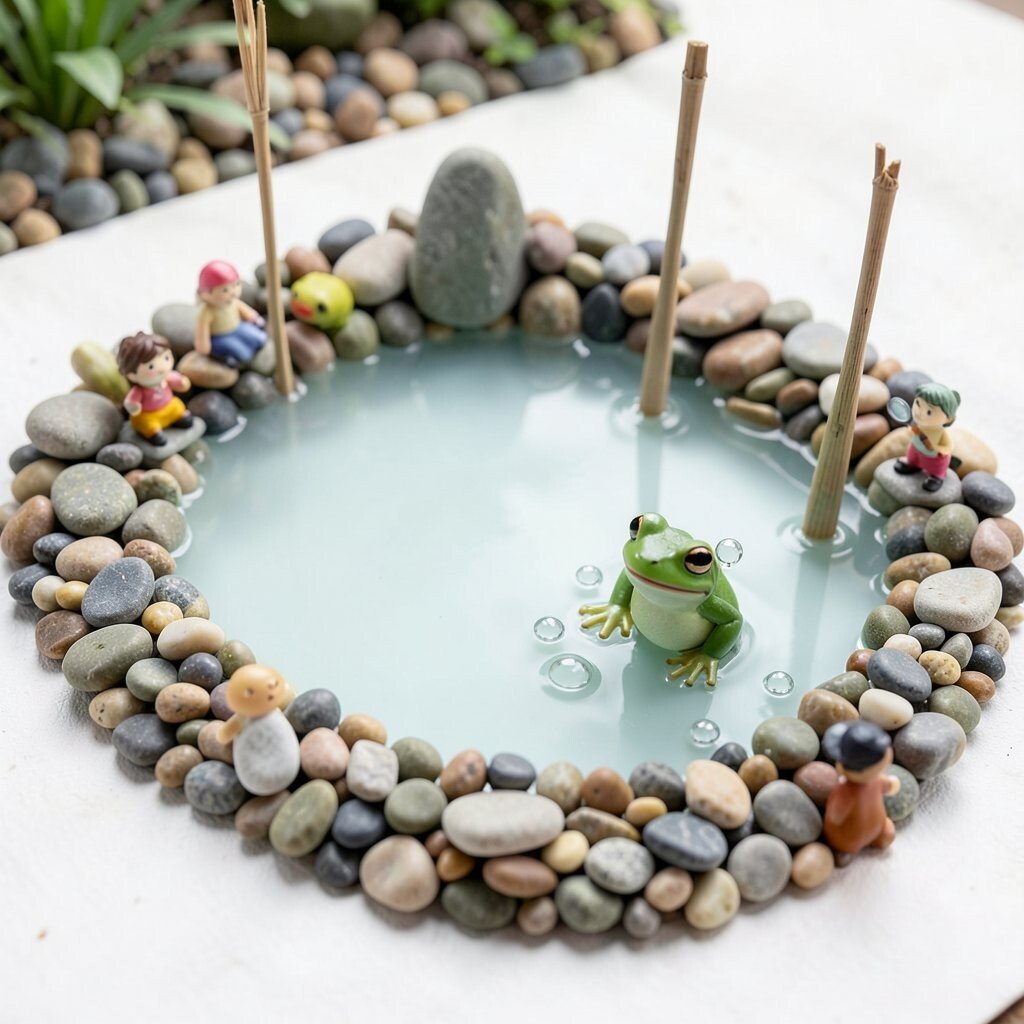
Build a pond edge by outlining a smooth oval of pebbles, then leave an inside space for “water.” Add a toy frog figure near the edge and tuck two or three slender sticks or thin stones upright like reeds.
For visual realism, use a light blue or green-tinted paint or clear resin-like glue layer in the water area. This benefits your scene by making the boundary feel natural and letting the figures stand out.
Make it unique by adding tiny pebble “bubbles” around the frog or by using a few reflective stones for sparkle. Personalization can include swapping frog characters for other tiny friends, like insects or a child with a magnifying glass.
Cost-wise, you can make reeds from old plant stems or craft sticks, which keeps the budget friendly. Nature micro scenes are popular right now, and frog-and-pond setups feel fresh because they add motion to an otherwise still display.
12. Autumn Leaf Lane With Rusty Pebble Mix
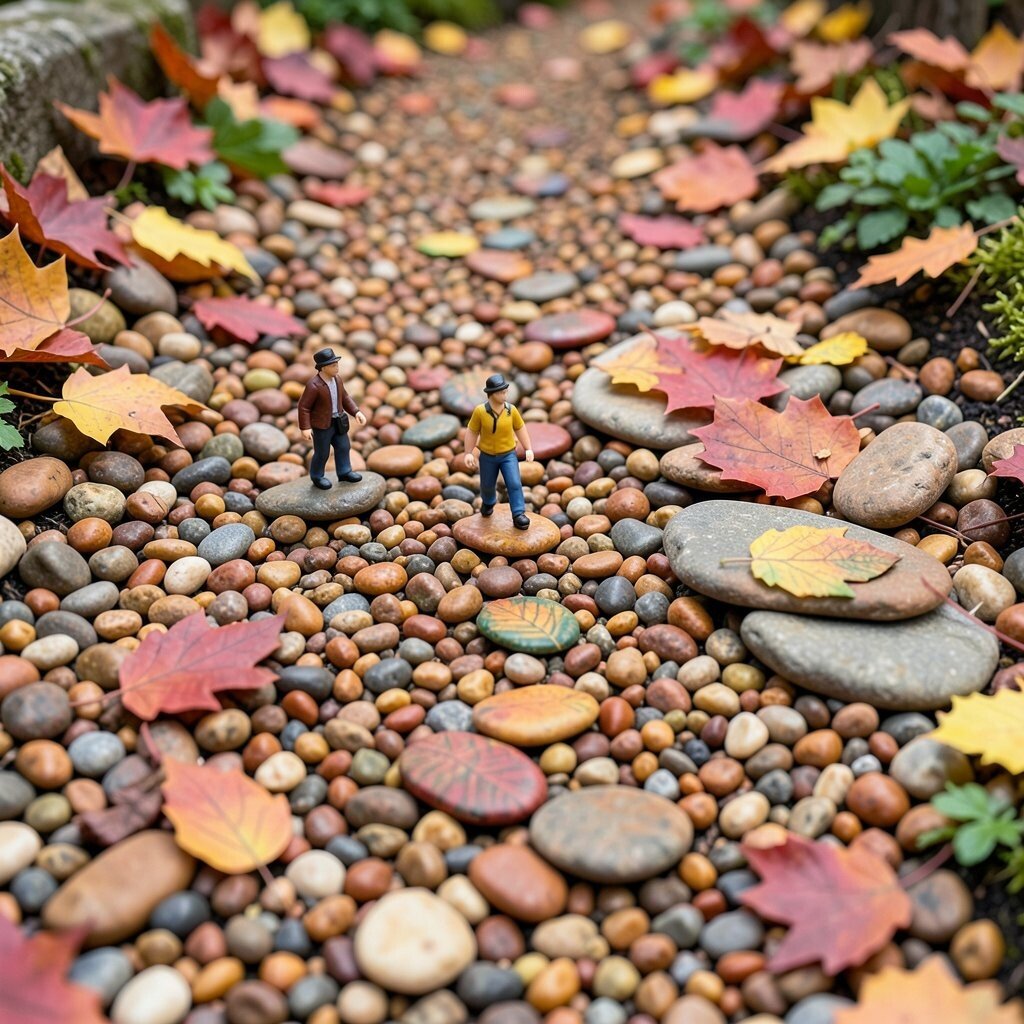
Choose pebbles in warm browns, reds, and muted oranges to create a leaf-lane feel. Place a toy figure walking through the lane and add a second figure near a “fallen leaf” cluster made from flat stones.
For practical tips, lightly arrange pebbles like leaf scatter rather than a straight pattern, and keep some empty spots so it doesn’t feel too crowded. This benefits your design because space creates a calmer scene.
Uniqueness can come from adding a “fallen leaf trail” where tiny stones step down in size as they move away. Personalization is easy when you paint small pebbles with leaf vein patterns or use safe craft paint for color accents.
If you’re cost-conscious, you can gather stones from local areas or use leftover gravel from previous projects. Autumn decor remains a strong seasonal trend, and leaf-lane dioramas look great on mantels or side tables.
13. Vegetable Garden Beds With Farmer Figures
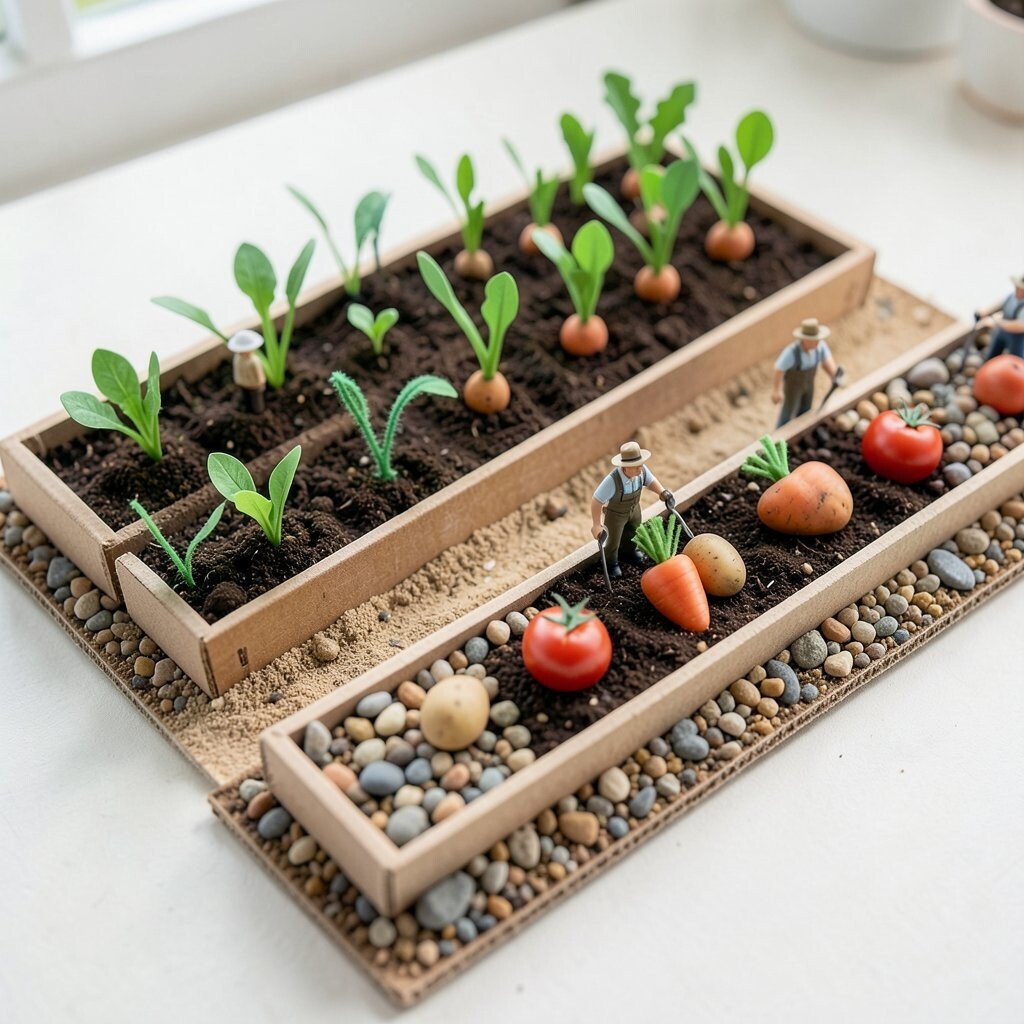
Make raised beds by placing pebbles into long rectangles and separating them with thin lines of sand or painted card strips. Add toy farmer figures with tiny tools, then place small round stones as carrots, tomatoes, or potatoes.
For visual description, choose one pebble tone for the soil and another for the paths so the beds look like they’re sitting above the ground. This benefits your planning because you’ll learn to create clear sections that make the scene easier to understand.
Uniqueness can come from “sprouts” made from short pieces of green yarn or tiny leaf-shaped paper cutouts. Personalization is great here because you can match the vegetable set to your favorite foods or a favorite story character.
Cost considerations are usually low since pebbles and cardboard are inexpensive, and plant sprouts can be scraps. Home-craft trends are leaning toward functional play, and a vegetable bed scene feels both cute and useful as a pretend-gardening activity.
14. Winter Snowy Courtyard With Penguin And Lantern
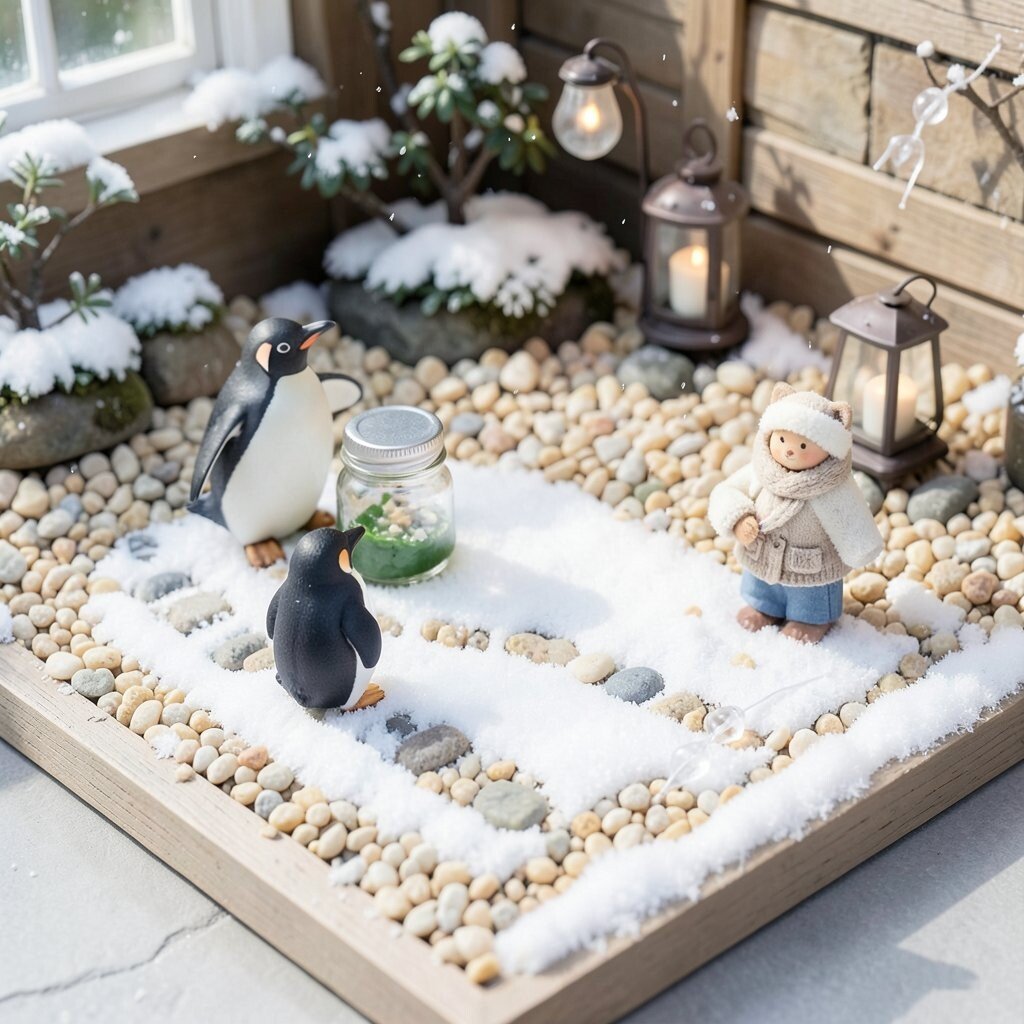
Use pale pebbles or light-colored gravel as “snow” and arrange them in a courtyard square. Place a toy penguin figure near a lantern stand made from a small jar cap or a wrapped bead, then add another figure bundled up for winter.
For practical tips, keep the snow look crisp by using a clean base and avoiding mixed dark stones in the main area. This benefits your outcome because snowy scenes rely on contrast to feel bright and frosty.
Make it unique by forming a few “footprints” using pebble tracks, such as small oval stones laid in pairs and scattered lightly. Personalization is easy when you paint a few tiny lines to hint at wind or snowfall direction.
Cost-wise, light gravel and recycled caps are often affordable, and paint is a low-cost way to add details. Winter miniature decor is a popular trend for cozy homes, and a snowy courtyard feels magical even on small shelves.
Finish by adding one or two tiny “icicle” details made from clear craft beads or thin white strings. When you rotate the base slightly, the texture and shadows make the scene look like real winter light.