The moment that glue gun warms up, your room starts to feel like a maker space. Small projects can stack up into big, satisfying wins.
From practical fixes to cute décor, hot glue is fast, forgiving, and full of creative potential. Keep a few supplies nearby and you’ll be surprised how quickly ideas turn into useful objects.
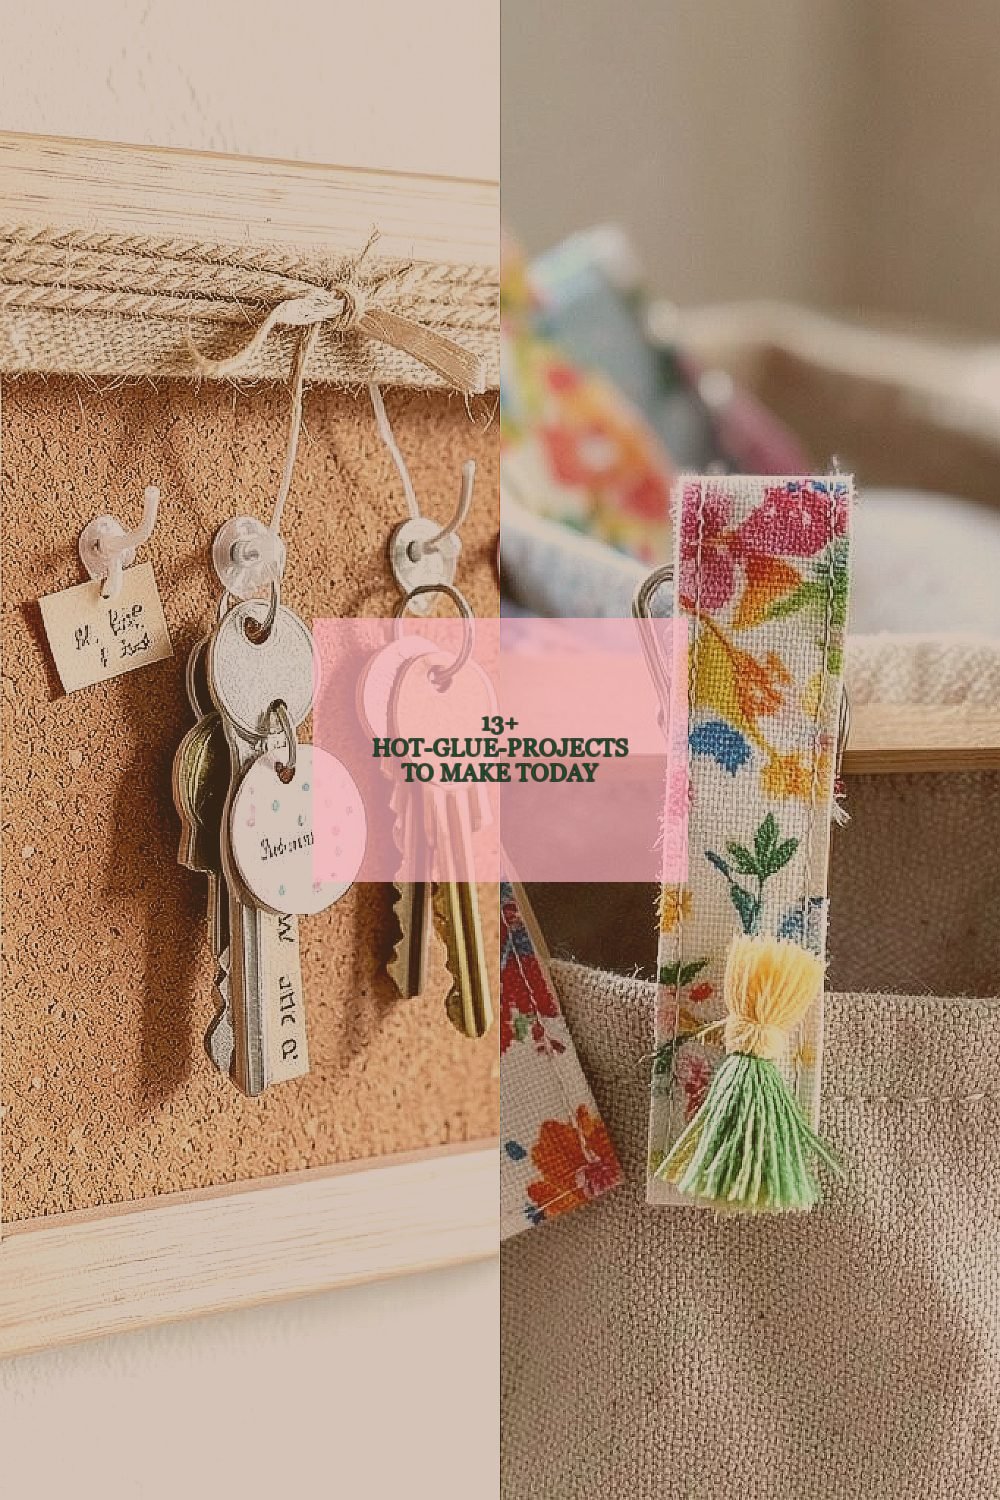
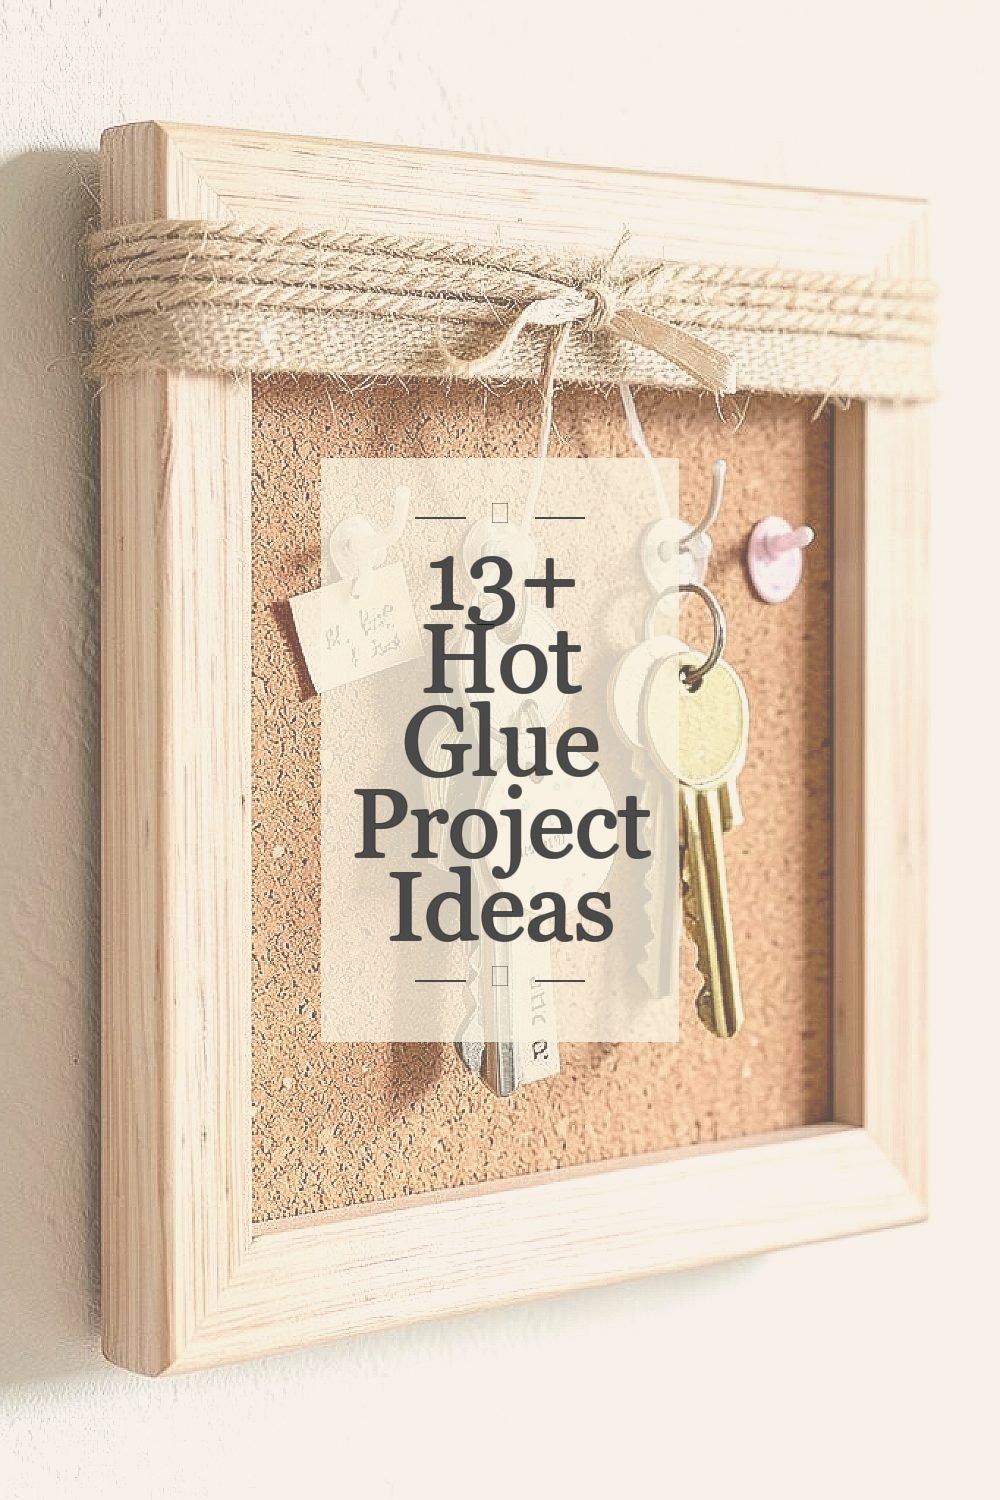
1. Cozy Entryway Key Catcher
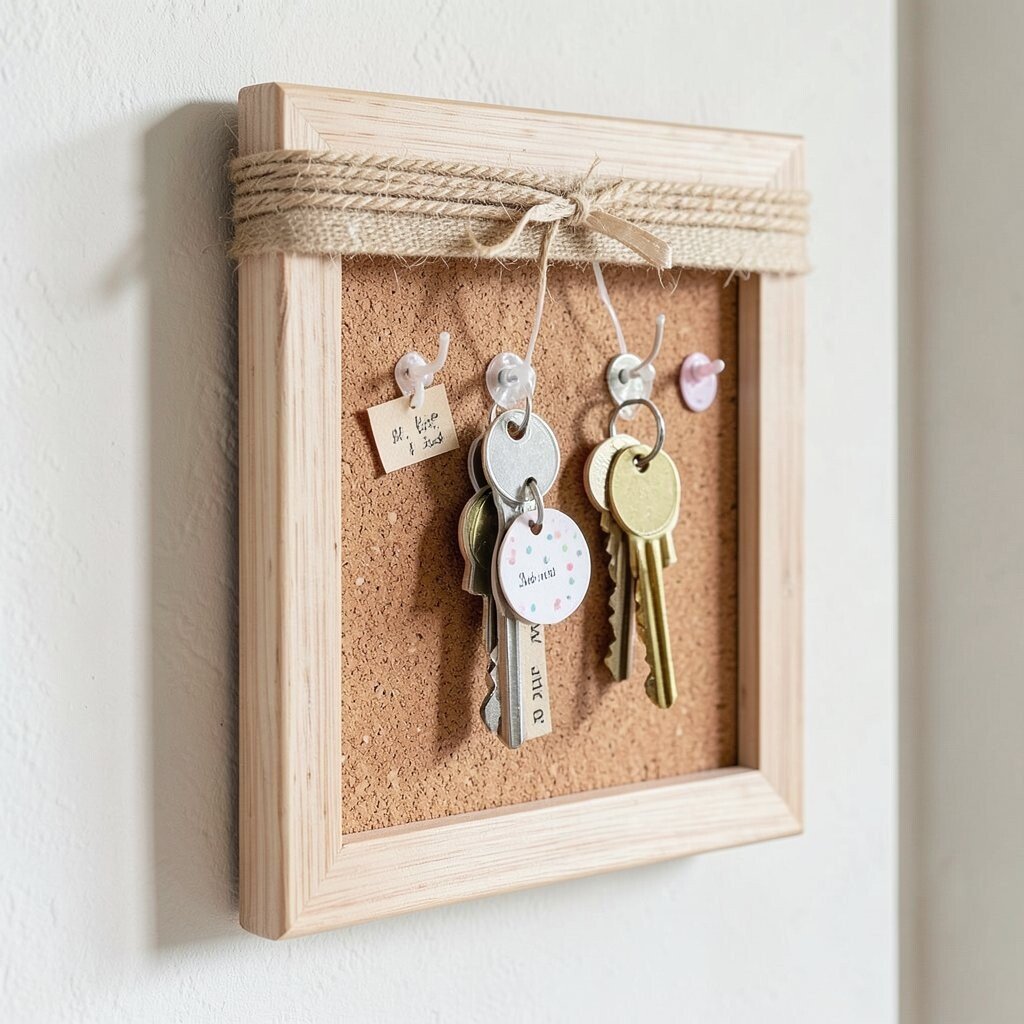
Picture a small wall-ready organizer that grabs keys the second they hit the door. A few beads of hot glue hold simple hooks or a strip of fabric-backed magnets in place so keys don’t vanish into bags.
Choose a plain wood board, cork sheet, or even a recycled picture frame backing. Press the glued anchors firmly, then add a top layer like twine, felt, or ribbon for a warm look. Personalize it by gluing on tiny labels, charms, or painted dots so each person’s keys feel easy to spot.
For cost, this project usually stays low because scrap boards and scrap ribbon are free for most people. If you want a trendy look, lean into mixed textures like jute plus matte paint plus shiny glue highlights. Trim the glue strings while they are still cool to keep the edges neat, and seal the board with a thin clear coat if you plan to use it outdoors.
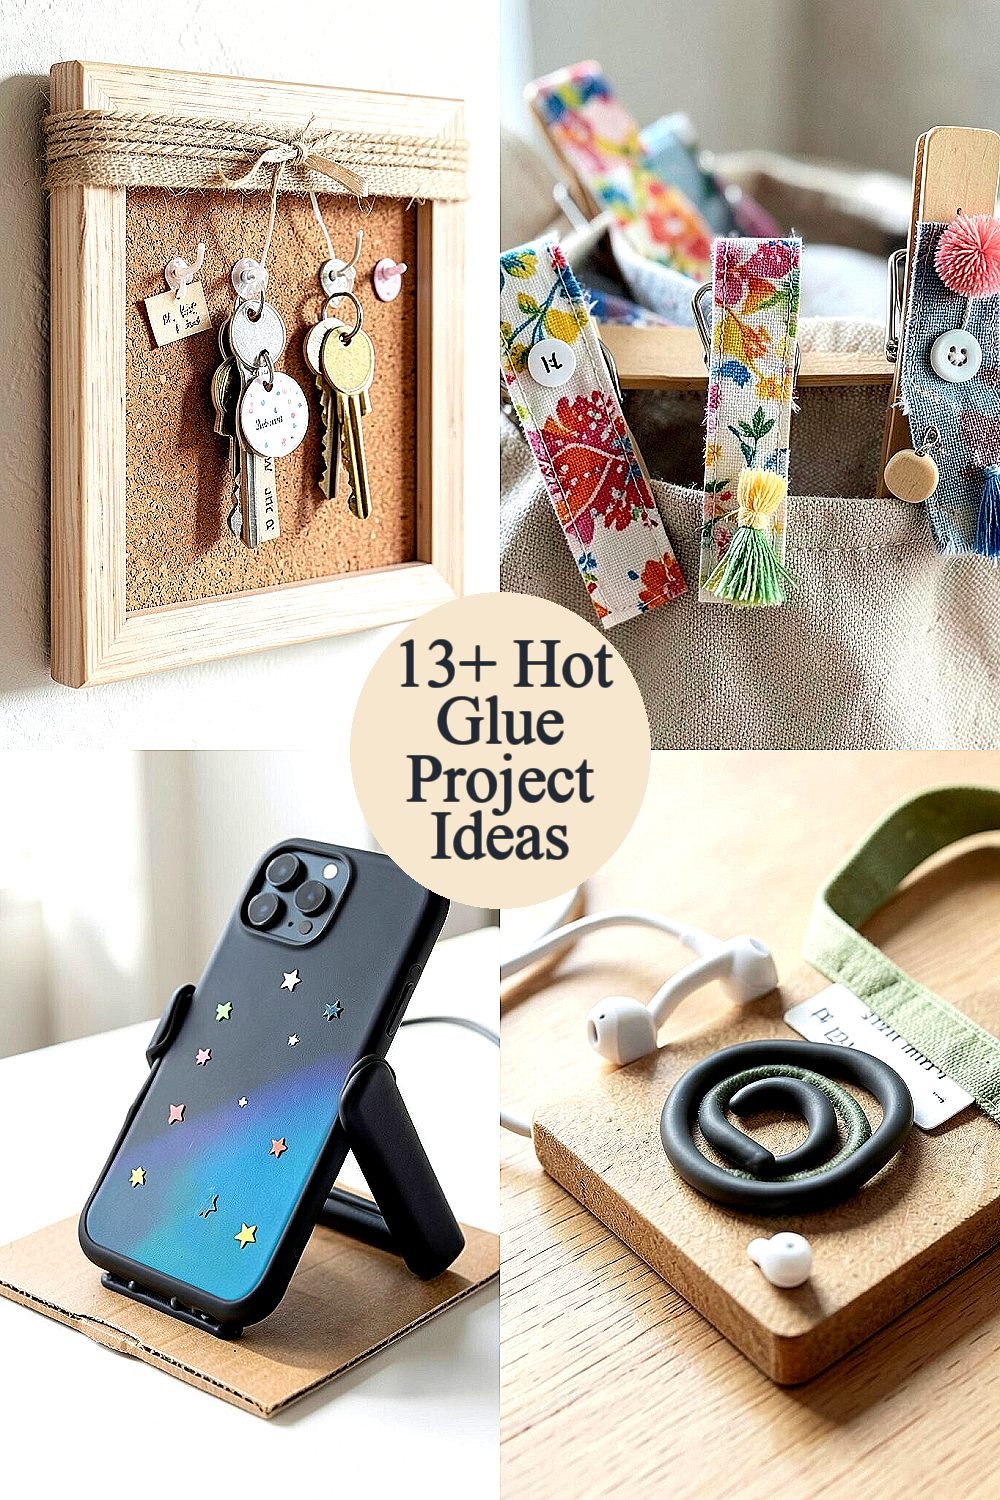
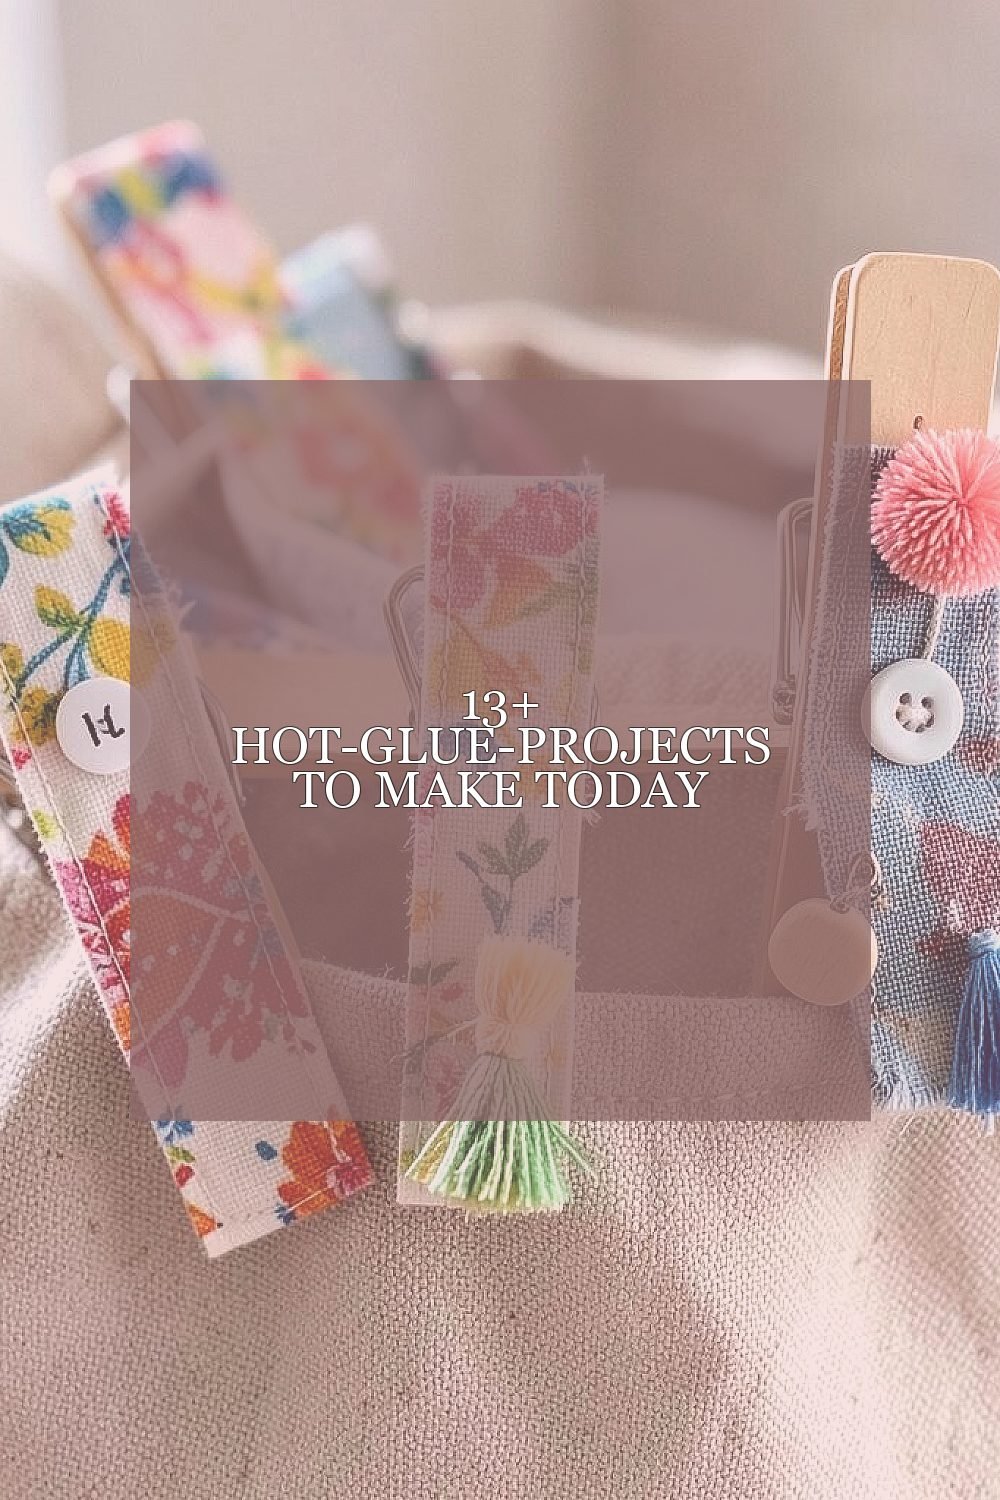
2. No-Sew Fabric Bookmark Clips

Make bookmarks that stay put without stitching, and they look adorable in a book bag. Glue a small fabric strip onto a clipped clothespin base so the reader can slide it into pages and let it grip gently.
Pick cotton scraps, patterned ribbon, or even old T-shirts cut into tidy tabs. Glue in layers so the fabric covers the metal or plastic edges, then add a small tassel or button for charm. If your glue gun tip tends to leave bumps, use shorter dabs instead of one long line.
These clips cost very little because clothespins and scrap fabric are easy to find at home. A current vibe is mixing bright patterns with simple neutrals, so pair a bold print with a plain clip. To personalize, glue on tiny letter stickers, mini pom-poms, or a small tassel in each person’s favorite color.
3. Phone Stand With Cable-Friendly Braces
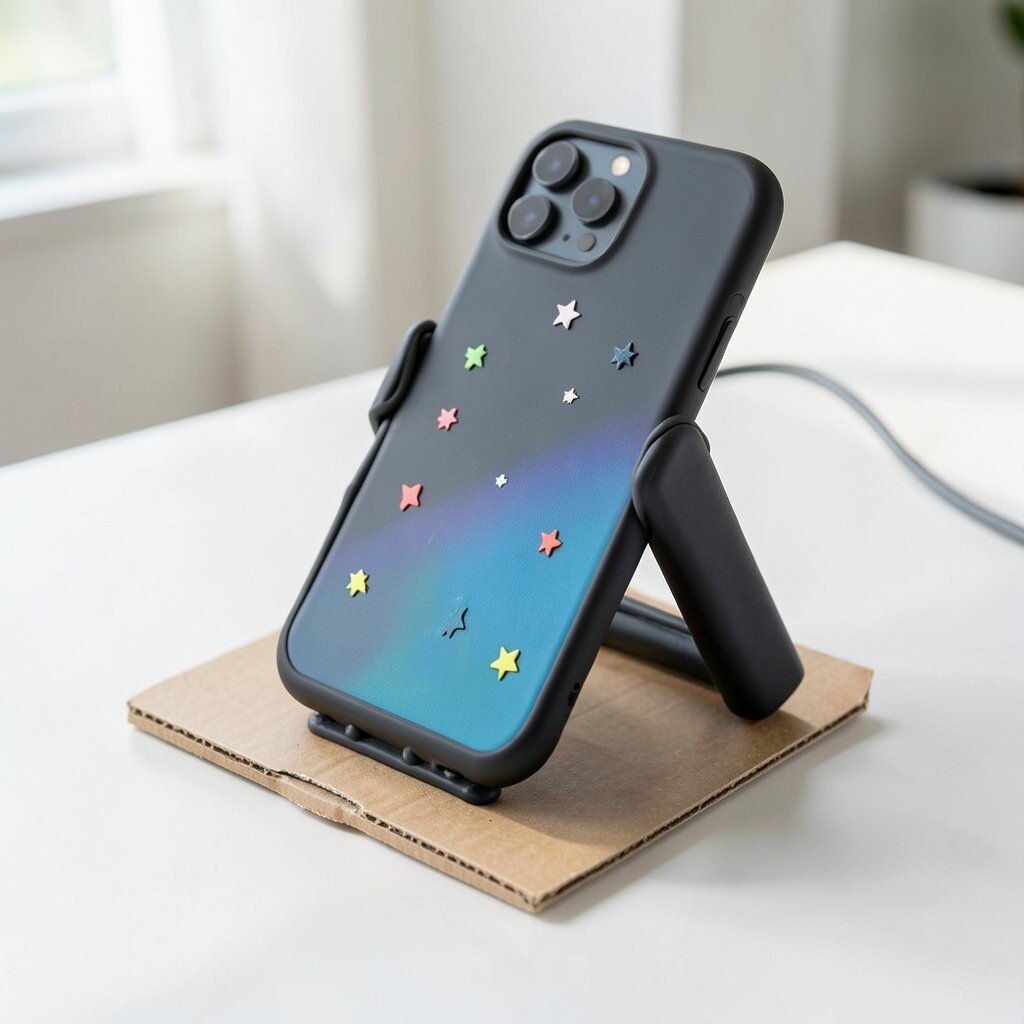
Imagine setting your phone down at the perfect angle, stable enough for video calls and recipes. You can build a stand using a curved base and two glued braces that cradle the phone while leaving room for the charging cord.
Start with a sturdy object for the base like a thick cardboard cutout covered in paper, or a scrap of acrylic left from a package. Build a gentle cradle shape with hot glue beads, then add two side rails that hold the phone without squeezing it. Let the glue cool between layers so the stand doesn’t wobble when you test it.
For practicality, keep the cable path open by gluing a small channel guide near the edge, like a raised loop of glue shaped to guide the cord. If you want a modern trend, go for a clean monochrome finish using matte paint over the glue texture. Personalize it with color blocks, tiny star stickers, or a gradient effect made with marker before you add a final thin coat.
If you use it daily, don’t forget to rough up smooth surfaces with a light rub so glue bonds better. This project is budget-friendly because you can reuse packaging materials instead of buying a new stand. When you’re done, wipe the surface with a dry cloth, and avoid pressing too hard at the hinge points.
4. Earbud Organizer With Sticky-Tidy Cords
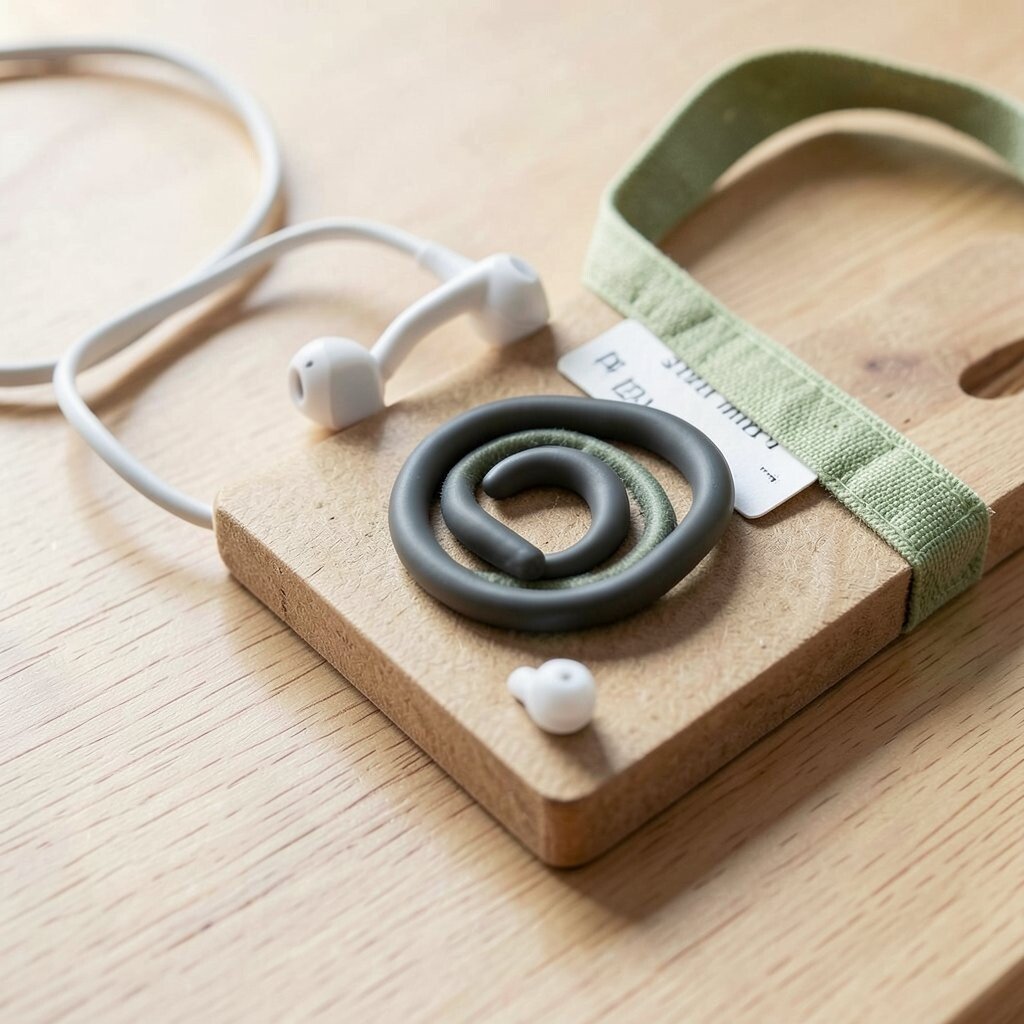
Think of your earbud cable as a little snake that can’t find its way. A compact organizer keeps the cord from tangling so you can grab it quickly and go.
Glue a few small loops of thick hot glue on a small board, or shape the glue into a spiral channel. Add a simple strap of elastic or fabric so the earbuds stay in place. For a cleaner look, cover the glue loops with a strip of felt and glue the ends down.
Use a tiny label maker or write directly on a scrap tag so each device has its own spot. This kind of neat setup fits today’s trend of “small routines” for everyday life. If you need cost savings, a spare bottle cap or cardboard coaster can become the base in minutes.
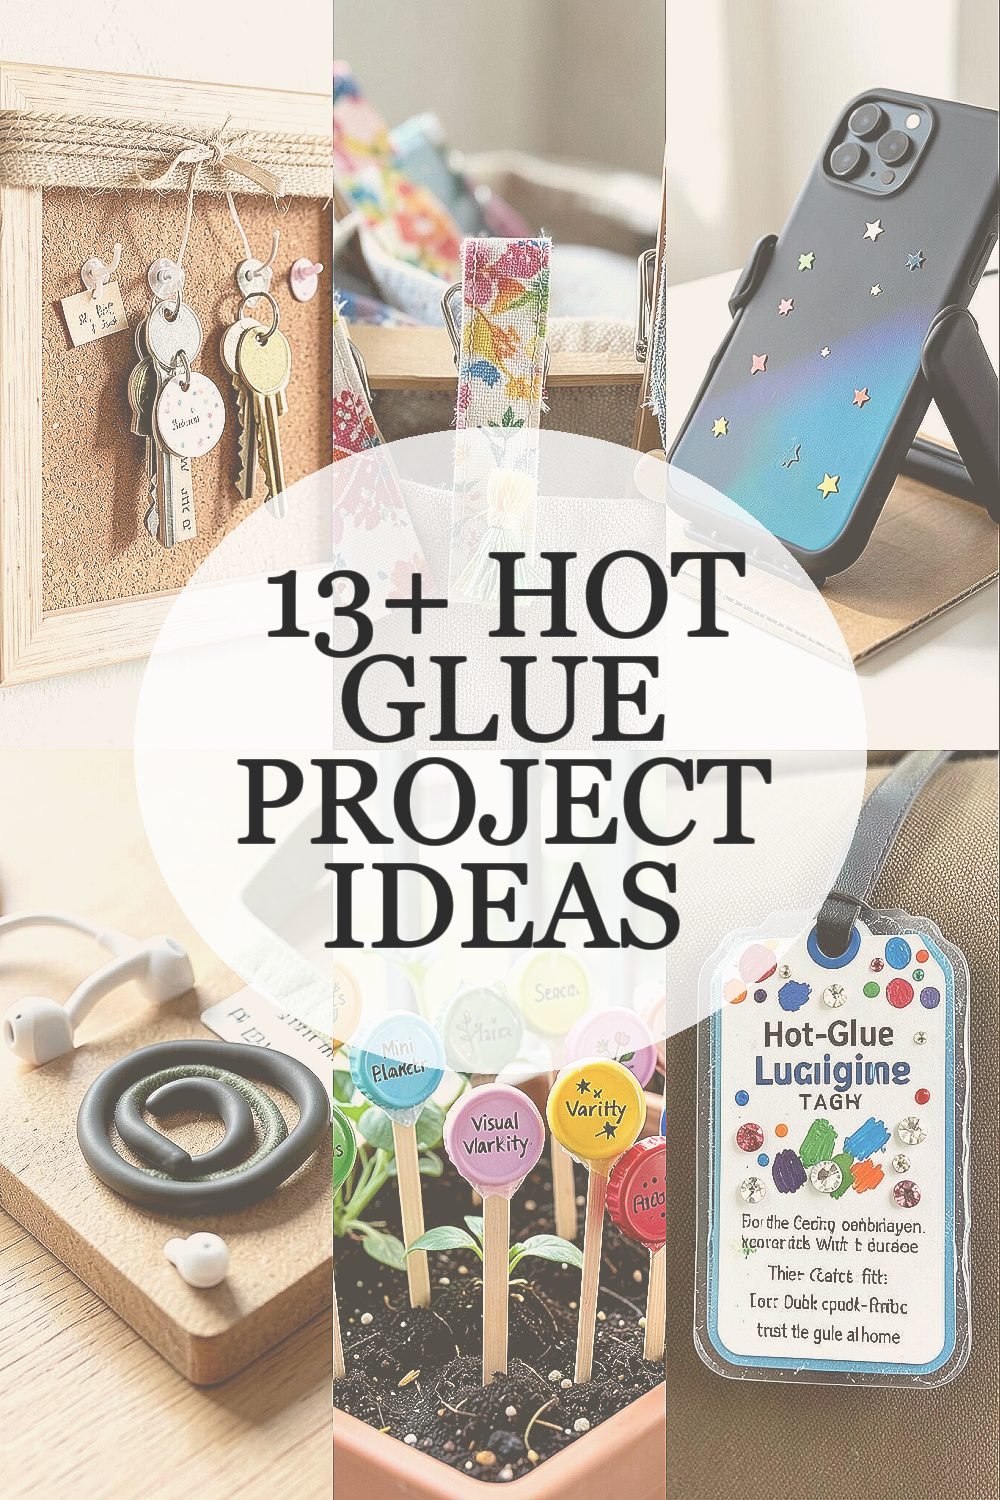
5. Mini Planter Markers From Bottle Caps

Picture a garden bed where each plant has its own name tag, even on a balcony. Bottle caps become crisp mini markers when you glue them onto short sticks or into a small soil-safe base.
Choose caps from different colors for quick sorting, then glue each cap to a wooden skewer, a trimmed chopstick piece, or a craft stick. Paint or write on the top with garden marker, and seal the writing with a thin clear layer if you have rain or watering splashes.
These markers are inexpensive and reusable, which makes them great for budget gardening. A fun trend is “visual variety,” where bright labels make small plant spaces look styled. Personalize them with tiny icons like hearts for herbs, stars for flowers, or simple dots for seed types.
6. Hot-Glue Luggage Tag With Tough Edges
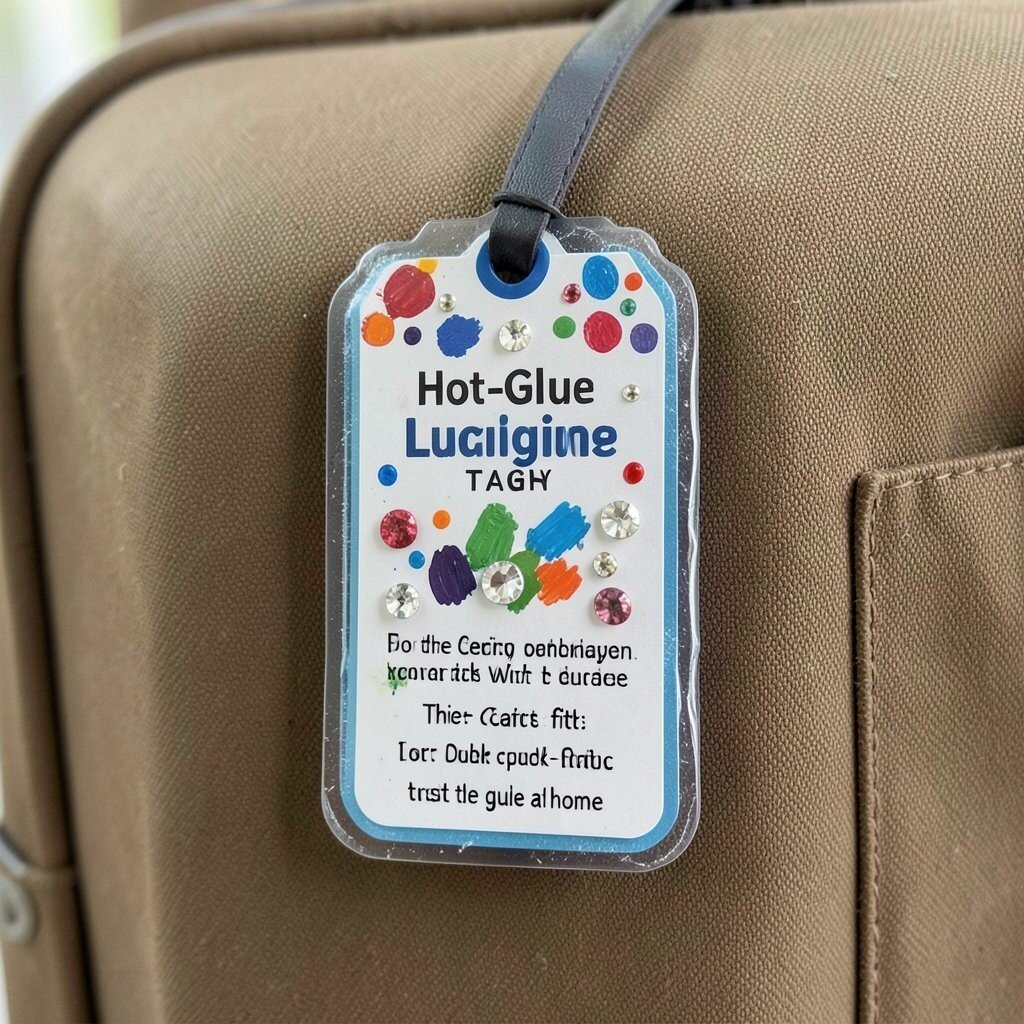
Your suitcase deserves something that stands out from the crowd. A custom luggage tag made with hot glue can be colorful and durable, with a stiff edge that resists wear.
Use a sturdy base like thick cardstock reinforced with a layer of glue along the border, then glue a clear plastic pocket or a paper insert backing. Press the glue around the edges so it forms a protective frame, and let it cure fully before you attach it to the bag. Add a bold design using paint, marker dots, or glued-on rhinestone shapes.
For practical use, include your contact info on the card and double-check readability. This project fits the current trend of personalization that still looks classy, not childish. Keep cost low by using scrap packaging plastic and card stock you already have at home.
To avoid peeling, rough up the smooth plastic slightly with sandpaper or a gentle scratch. Test the tag against a quick tug on the loop before your trip so you trust the glue bond.
7. Decorative Picture Frame Light Diffuser

Make a glow that feels warm, not harsh, by turning a simple frame into a light diffuser. Hot glue can help build a textured pattern that softens LEDs and gives your wall a cozy look.
Start with a flat frame backing and glue a pattern of dots, small swirls, or geometric ridges directly on a clear plastic sheet. Seal the edges so the sheet stays put, then place a small string light behind it. If you want it safer, use battery LEDs rather than anything that gets hot.
For uniqueness, choose a pattern that matches your room style, like soft circles for a calm vibe or sharp lines for a modern feel. This kind of décor matches today’s trend of textured lighting and cozy corners. Personalize by adding tiny color accents with marker on the plastic so the light shows subtle hints.
Cost stays reasonable because frames and LEDs can be found cheaply, and glue itself is a small part of the budget. Keep the glue texture even and don’t overdo thick blobs, since uneven lumps can block light. When testing, turn off overhead lights so you can see how the glow spreads.
8. Smart Candle Jar Lid Switch Reminder

For forgetful moments, a visual cue can save your day. You can make a glue-built reminder for a candle jar lid so it’s obvious when the lid is open or closed.
Glue a small raised arrow, latch tab, or color dot on the lid that catches your eye. Pair it with a matching dot on the jar so you instantly know what state it’s in. Use a quick layer of glue, let it cool, then add a top coat of paint or glitter glue if you want sparkle.
This is useful for daily routines, especially when you’re rushing out the door. It also fits the trend of clever little home hacks that look neat instead of messy. Cost considerations are easy here because you’re using leftover jars and scrap paint, not buying special tools.
Personalize it by matching the colors to your room theme or adding a tiny symbol like a flame, a check mark, or a moon. If the candle area is near food prep, keep any decoration on the outside portion only. Trim glue edges so it doesn’t snag on tablecloths or hands.
9. Geometric Coasters With Sealed Glue Tiles

Set down a drink and let your table look stylish instantly. Hot glue can create neat geometric coaster patterns that act like tiny puzzle pieces.
Cut thick cardboard squares or use old cork tiles as the base, then outline shapes with glue beads to form triangles, zigzags, or checker lines. Press a little glue inside each section to make it look filled, then let it cure completely. Seal the top with a thin clear sealant or several light layers of clear glue to keep moisture away.
For personalization, pick colors that match your dishes or your wall art. The current trend of bold shapes and “modern craft” designs makes this project feel right at home. Keeping costs low is simple since cardboard and cork come from leftovers, and glue and paint are usually already in the craft stash.
To keep the edges neat, smooth the glue with a slightly warm damp cloth after it sets but before it fully hardens. Don’t soak the coasters; wipe them clean instead so the finish lasts longer.
10. Custom Drawer Pulls With Mini Glue Studs

Ugly drawers can feel better fast when the handles look nicer. Glue-on studs can create custom pulls that are easy to grip and look fun.
Find a drawer knob base like flat wood pieces, small plastic scraps, or even thick cardboard strips covered with fabric. Glue raised studs on the front in a pattern, then reinforce the back with extra glue so the grip feels solid. Paint over the studs or leave them glossy for a bold texture.
To make it practical, place the studs where your fingers naturally land when opening the drawer. This project fits today’s trend of upgrading small items instead of replacing whole furniture. Cost stays low because you’re giving a second life to old drawers with what you already own.
11. Desk Cable Clips That Route Wires Cleanly

Tangled cords make a desk feel messy even when everything else is tidy. Cable clips made with hot glue help guide wires into neat paths and reduce the constant pull.
Glue small clip tabs onto a scrap strip of cardboard or directly onto the underside of a desk. Use a curved shape so the cord sits inside and doesn’t slip out easily. After it sets, test gently by tugging the cable so the clip can handle normal daily movement.
For personalization, match clip colors to your setup, or add small icons like lightning bolts for chargers and headphones symbols for audio cords. This aligns with the trend of minimalist workspaces that still feel personal. Cost considerations are friendly since you’re using glue and scrap board instead of buying a full cable management system.
If you’re gluing onto painted wood or laminate, test one spot first because hot glue can pull delicate finishes. Better yet, mount clips on a removable backing like a thin sticky mat covered with cardboard.
12. Hot-Glue Wind Spinner for a Balcony Breeze
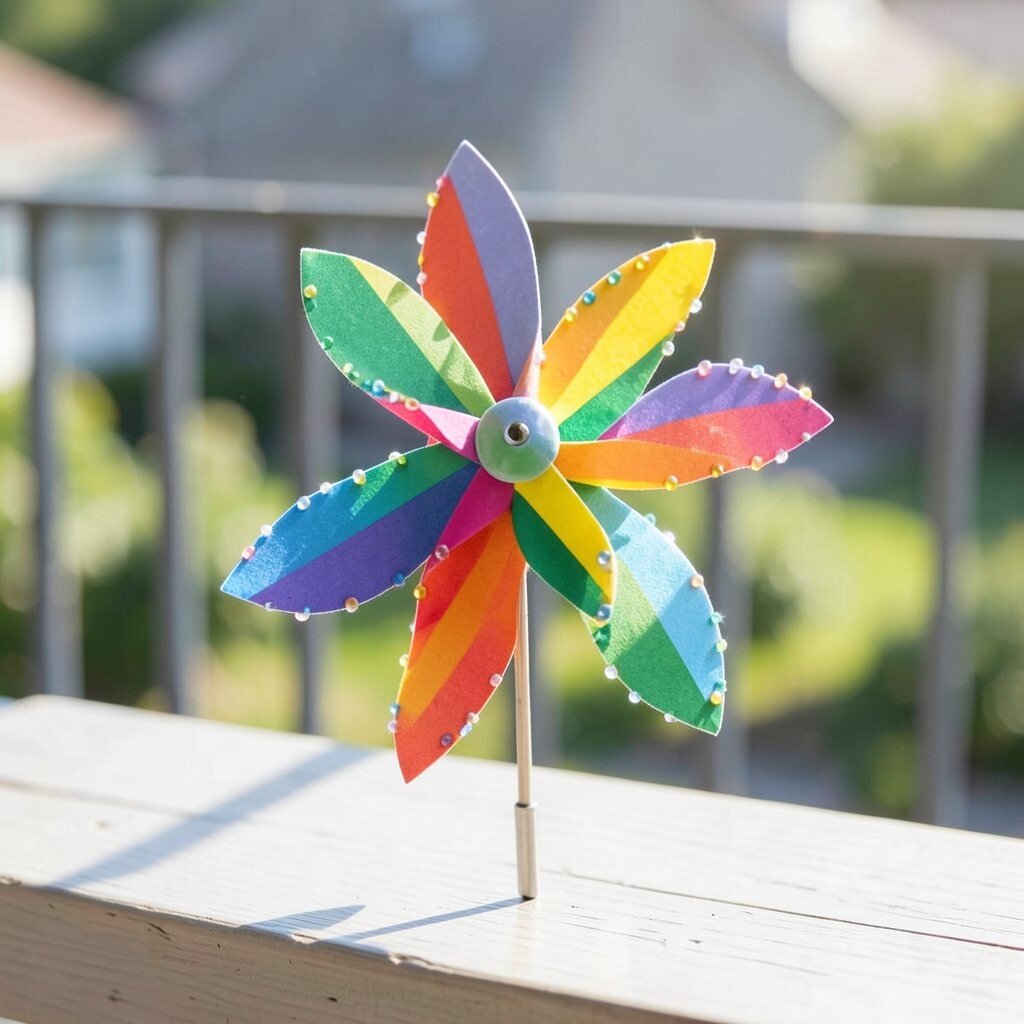
When the breeze starts, a small spinner can turn into a tiny moving artwork. Hot glue helps you stack lightweight layers into a fun shape that catches sunlight.
Use lightweight materials like cardstock circles, thin foam sheets, or old plastic lids cut into petal shapes. Glue layers into a pinwheel style and add a small center fastener hole for a metal skewer rod. Once assembled, paint or marker-color the pieces in bright stripes so the spinner looks lively.
This kind of craft feels unique because you can make it from scraps and still get a crisp, colorful result. For cost, it’s easy because recycled plastics and leftover craft paper do most of the work. Personalize by adding tiny glued-on beads along the edges so the light sparkles when it spins.
For best results, keep shapes balanced so the spinner turns smoothly instead of wobbling. A current trend is playful “outdoor cute” décor, so this piece fits porch life and balcony life alike. Make a small hook attachment and place it where the air naturally moves.
13. Soft Felt Hot-Glue Wall Patch for Socks and Gloves
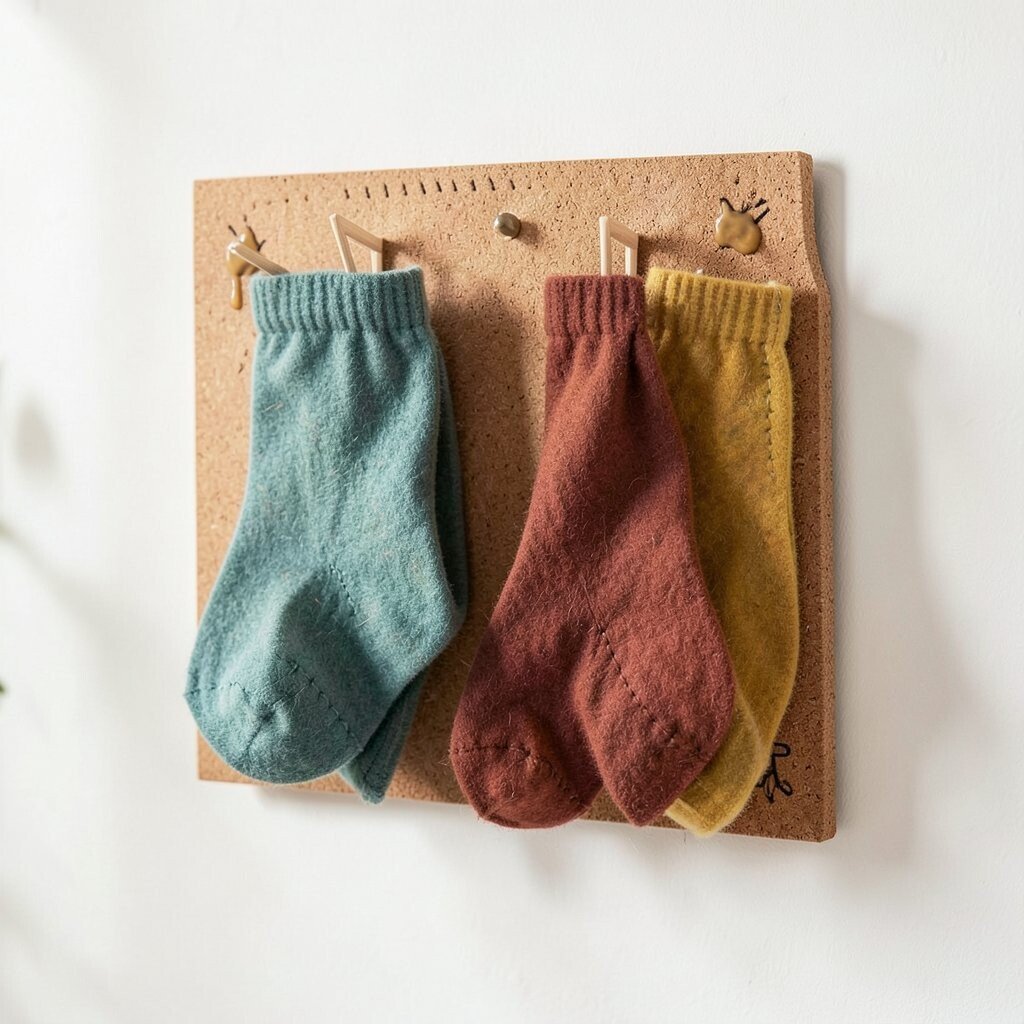
Winter gear usually ends up on chairs, and that’s when the room looks cluttered fast. A wall patch that holds gloves and socks can give you a clean spot to hang everything.
Cut a rectangle from felt or thick fabric, then glue it to a small board like a cork square or a scrap wood offcut. Add a few raised glue loops or small stitched-looking lines made with glue to create grab points. Then glue on simple pegs using short wooden dowels, or attach mini pockets using fabric scraps.
Benefits show up right away because gear stops piling up and you can grab what you need without digging. It’s also a good way to use old felt sheets and leftover fabric, keeping cost low. Personalize with matching colors from your room, or add a tiny glued-in symbol that marks the spot for each family member.
If you want a trend-friendly look, go for earthy tones plus one bold accent color like mustard, teal, or terracotta. Make sure the board mount is secure if you hang heavy gloves, and keep glue amounts moderate so the patch stays flexible.
14. Hot-Glue Photo Magnet With Layered Frames
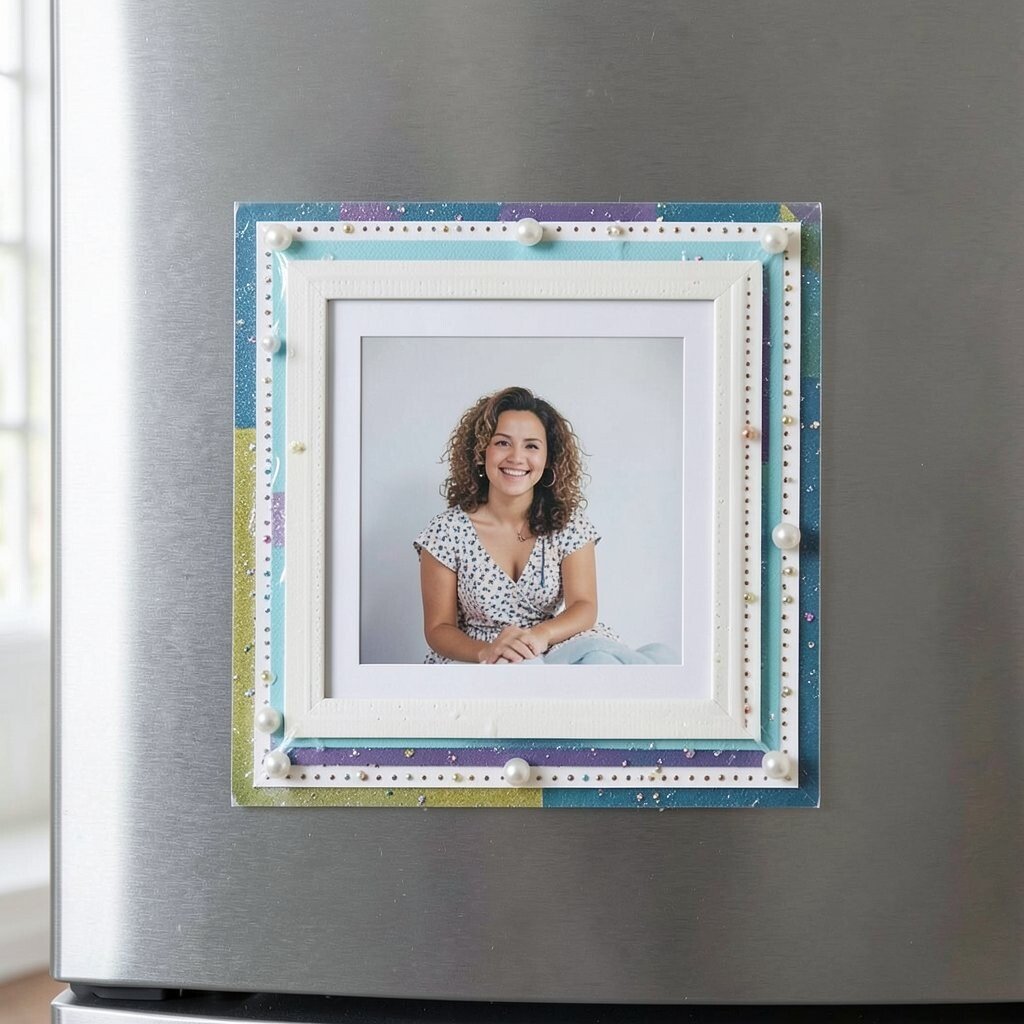
A fridge can look plain, but it doesn’t have to. Turn one favorite photo into a small magnet art piece that feels like a mini display.
Glue thin layers of cardstock or scrap frames around a printed photo, then attach a magnet backing to the rear. Build a layered border using hot glue dots or stripes so the frame looks dimensional rather than flat. Finish with a clear protective layer to help it resist everyday splashes and smudges.
This project is unique because you control the style, from vintage photo frames to modern geometric borders. It’s also budget-friendly because you can use magnets from old packages and scrap paper frames you already have. Personalize with tiny glued ornaments like faux pearls, glitter edges, or a small painted initial.
For practical tips, keep magnets centered so the photo sits straight, and let all glue cure before moving the piece. A current trend is “micro décor,” meaning small, meaningful items that bring personality to common spaces. If you plan to gift these, pick photos that match the recipient’s style and use their favorite colors for the border.
Choose a photo with a clean background so the layered frame stands out, and avoid printing too dark or too blurry for the best look.