Bright color can feel like instant daylight on dull surfaces. With a few smart spray habits, you can get clean, lively results fast.
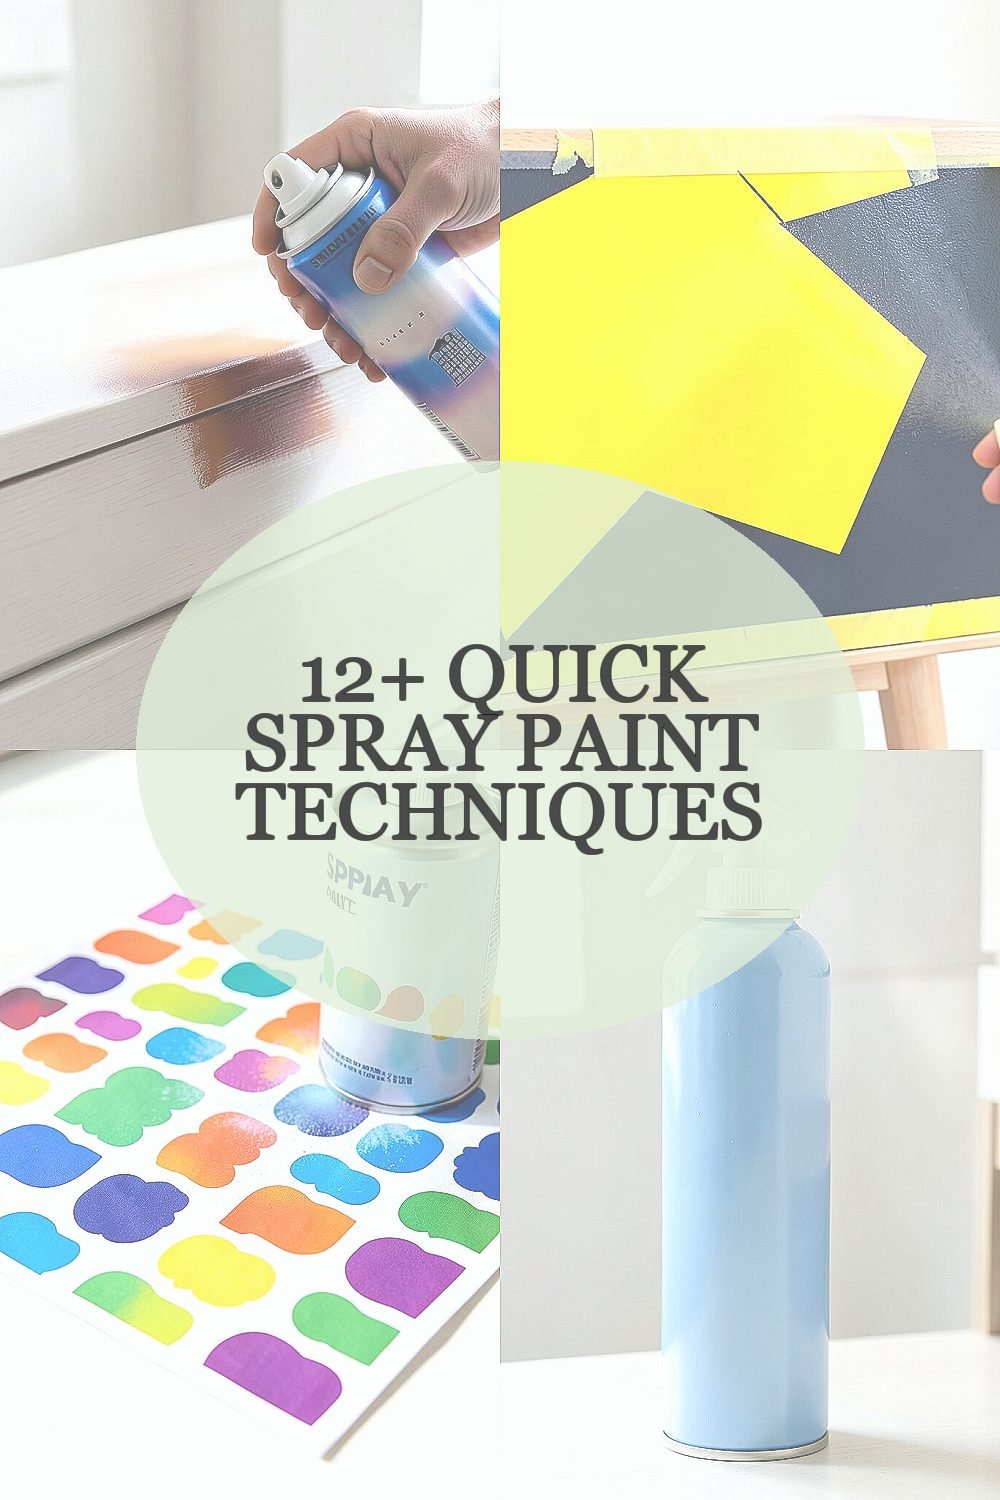
1. Crisp Color Fade With Controlled Distance

Start by testing your spray on scrap so you can feel the trigger rhythm. Then hold the can at a steady distance and sweep in smooth passes.
You’ll see the surface pick up color in a soft gradient, with darker tones near the start of each stroke and lighter tones at the end. This technique makes plain items look styled, and it hides tiny flaws because the fade spreads attention.
Move your hand like you’re painting with a wide brush, not like you’re trying to spot-douse a spot. If you want it more vivid, use fewer long passes and give each coat a quick moment to flash off before the next.
For personalization, match the fade direction to the object shape, like going left to right on a dresser drawer. A satin topcoat will make the finish look current and clean, and it won’t cost much more than extra color coats.
2. Sharp Mask Lines Using Painter’s Tape
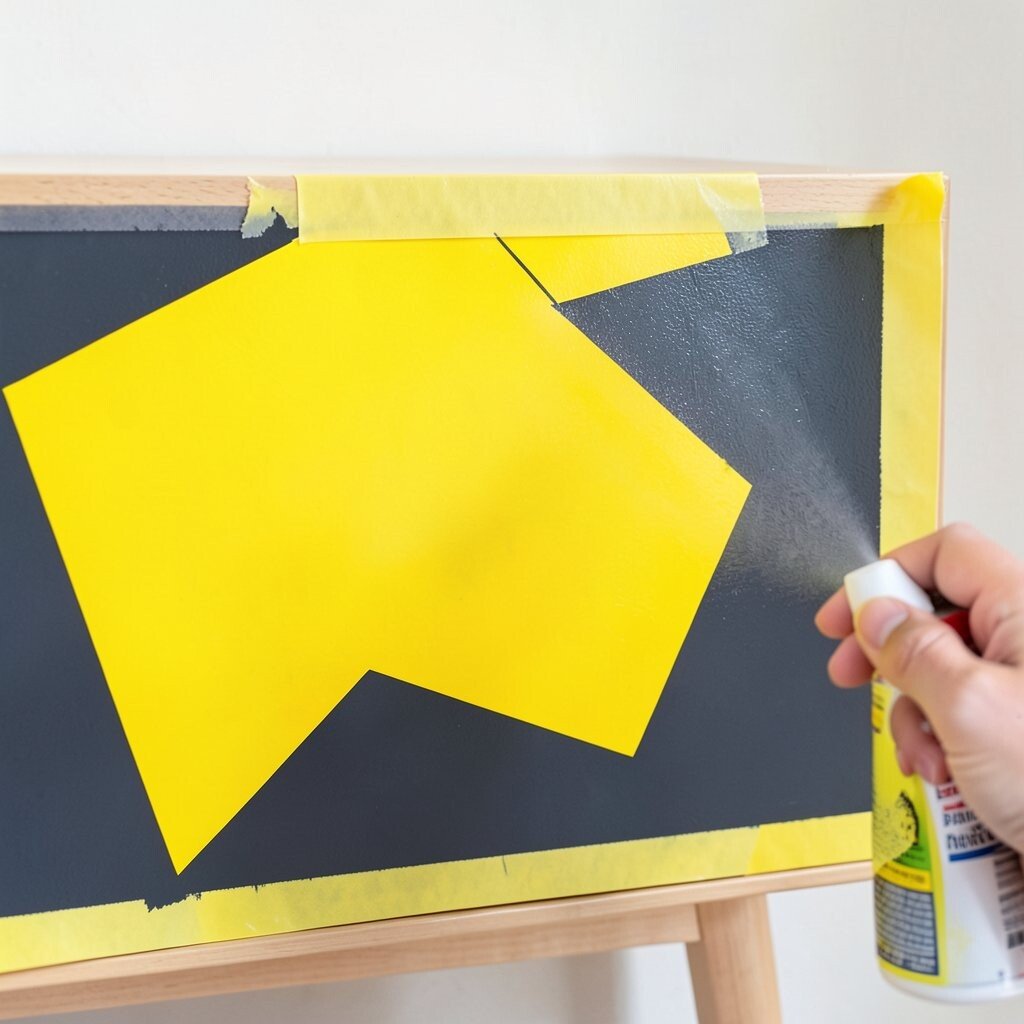
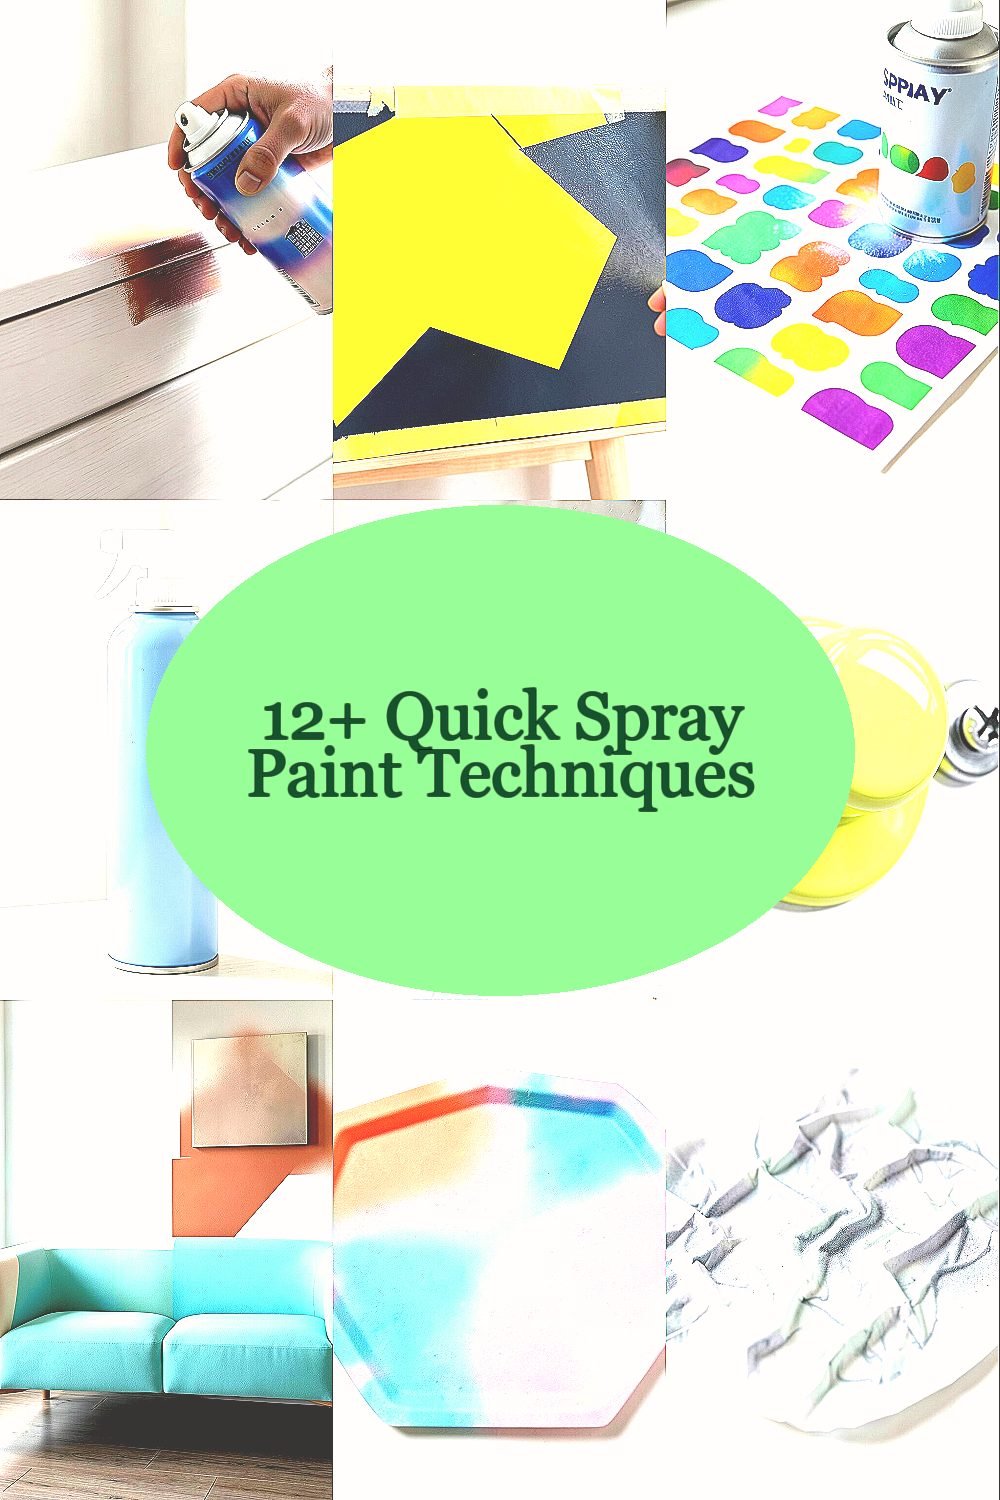
Use painter’s tape for crisp borders that look store-bought. Press it down firmly along the edge so color can’t creep underneath.
When you spray, keep your wrist moving and your spray angle consistent. Peel the tape while the paint is still slightly tacky to keep the line sharp and bright.
This method is great for creating modern geometric shapes on furniture fronts, planters, or even picture frames. It also saves time because you can build bold sections without labor-intensive brushwork.
For a fresh look right now, try pairing high-contrast colors like sunny yellow with deep charcoal. Choose low-tack tape for delicate surfaces so removal stays easy and doesn’t pull old paint.
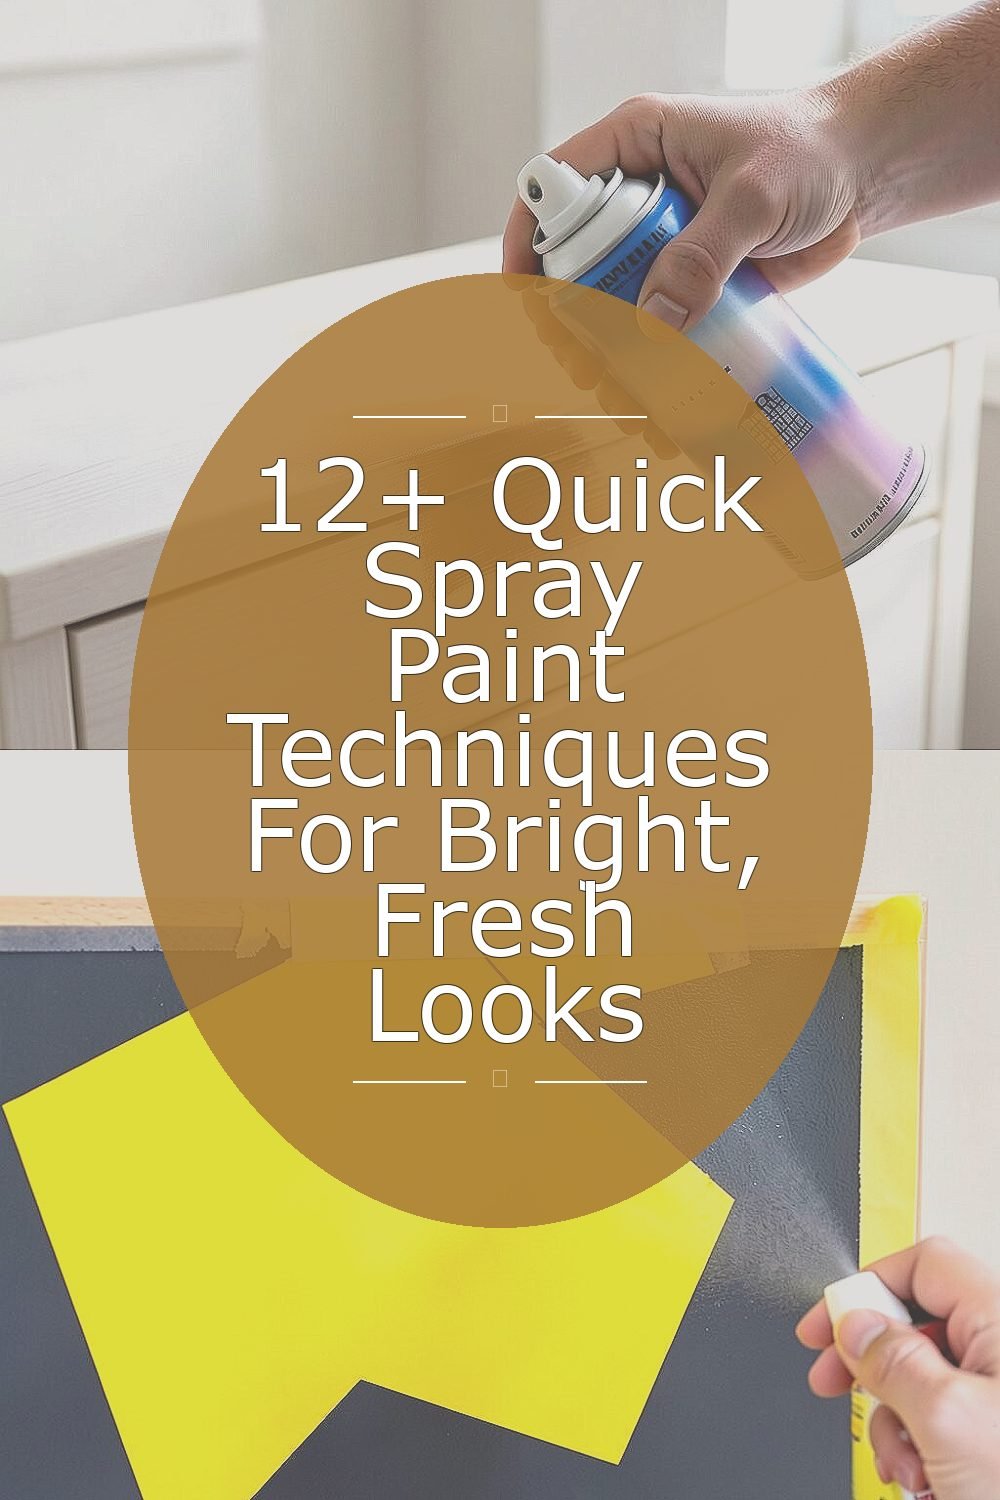
3. Stencil Pop for Clean Patterns
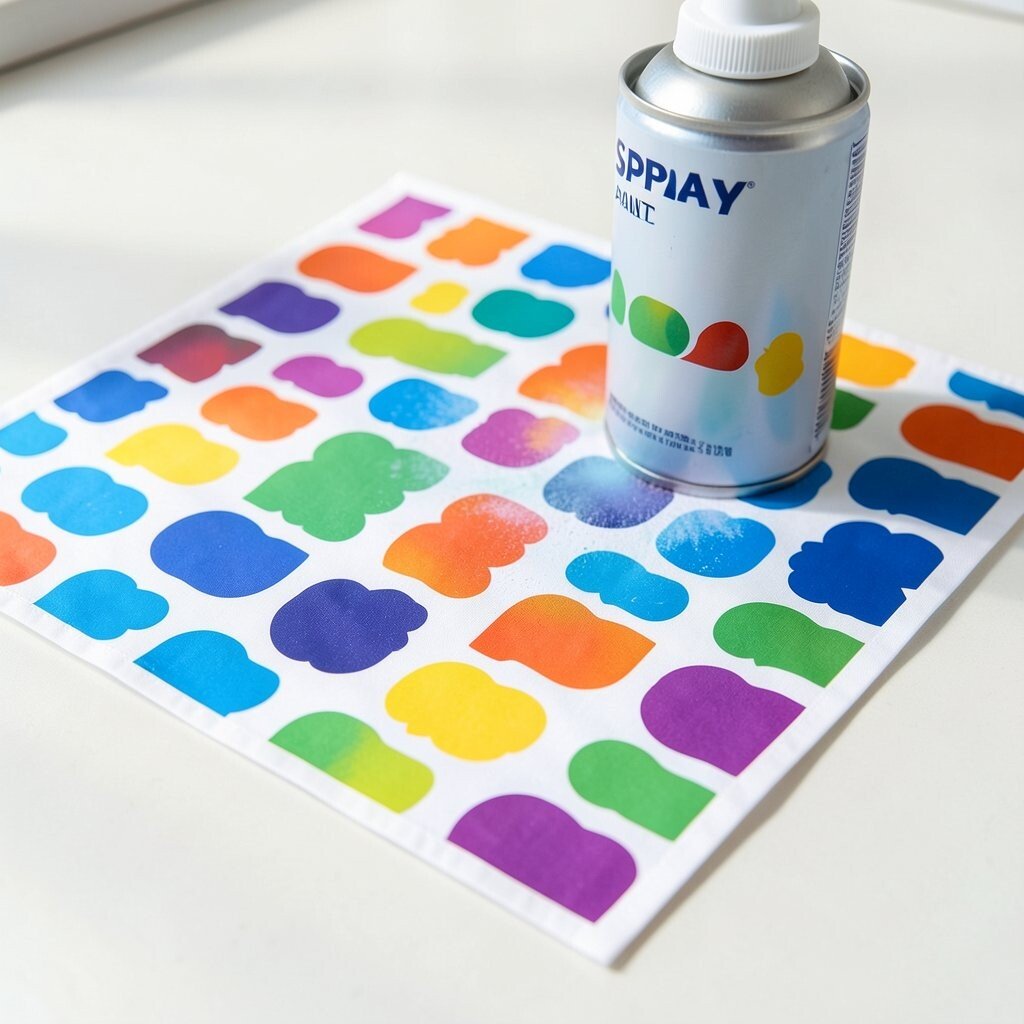
Lay a stencil flat and secure the edges so it doesn’t shift mid-spray. Use short bursts instead of long sprays to prevent heavy buildup.
Hold the can slightly back and spray in layers so the pattern stays crisp. The result is a bright repeat pattern that feels playful, like a modern print on fabric.
Stenciling is unique because it gives you a designed look without complicated skills. It also helps you cover scuffs quickly, since the pattern acts like a bright disguise.
Try a single accent color for a classy vibe, or use two colors for a lively, artsy feel. If you’re working on a budget, reuse washable stencils on several projects and keep one extra stencil brush for touch-ups.
4. Light Dust Coats for No-Drip Shine
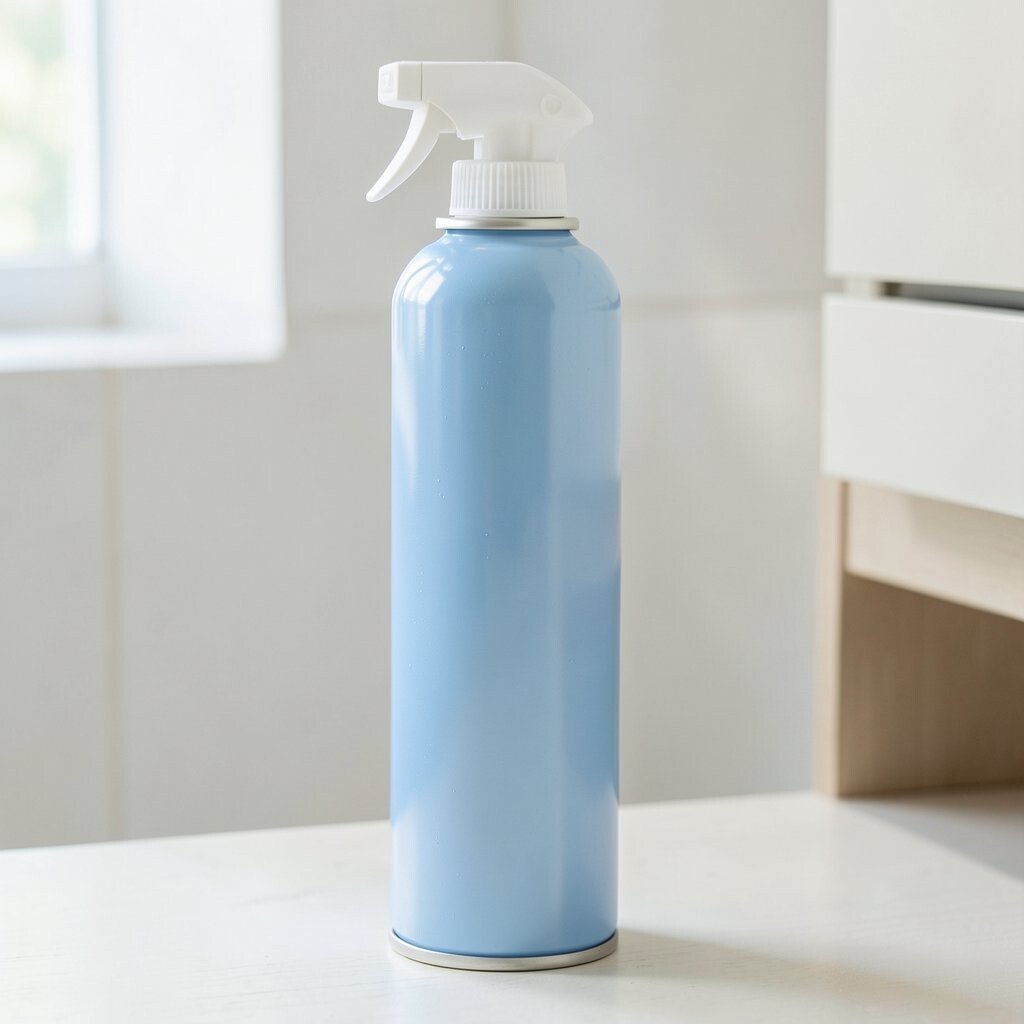
Instead of blasting the surface, start with a light dust coat that barely looks wet. Wait a moment, then add another thin layer, building color gradually.
This makes bright paint look smoother because thick coats tend to run. You’ll notice fewer drips and a cleaner finish, especially on vertical pieces like chair legs or cabinet doors.
For practical control, spray in quick passes that overlap just a little. Keep your can upright and never stay in one spot too long.
If you want extra pop, choose a color-matched clear coat after the base is dry. Glossy topcoats feel bold and current, while satin options look fresh and easier to maintain.
5. Dry Brush Effect With a Light Overspray Pass

After your base coat dries, aim the nozzle farther away and spray a small amount through the air. You’re creating a soft “streak” effect that looks like lightly brushed paint.
This gives depth without heavy texture, so the piece still looks smooth and bright. It’s especially great on wood grain, metal, or plastic where highlights can make shapes look more defined.
Uniqueness comes from the randomness, because each overspray pattern lands slightly different. For personalization, angle the can at different heights so the highlights feel natural, like sun hitting a curve.
6. One-Color High Gloss With Final Wet Pass

Choose a bright color and plan to do mostly thin coats. Finish by using a slower, more even pass right before everything fully cures.
This technique helps you get a glossy, fresh look that catches light. It also makes the color feel richer, since the surface becomes more uniform.
Keep your motion steady and reduce pressure on the trigger as you pass the edges. If you notice a heavy patch, pause and let it level out instead of adding more paint right away.
For cost considerations, you may need fewer extra colors because the one color will do the heavy visual lifting. Pair it with clean hardware, like fresh screws or a new knob, for a big impact on a small budget.
7. Color Blocking With a Spray-First Undercoat
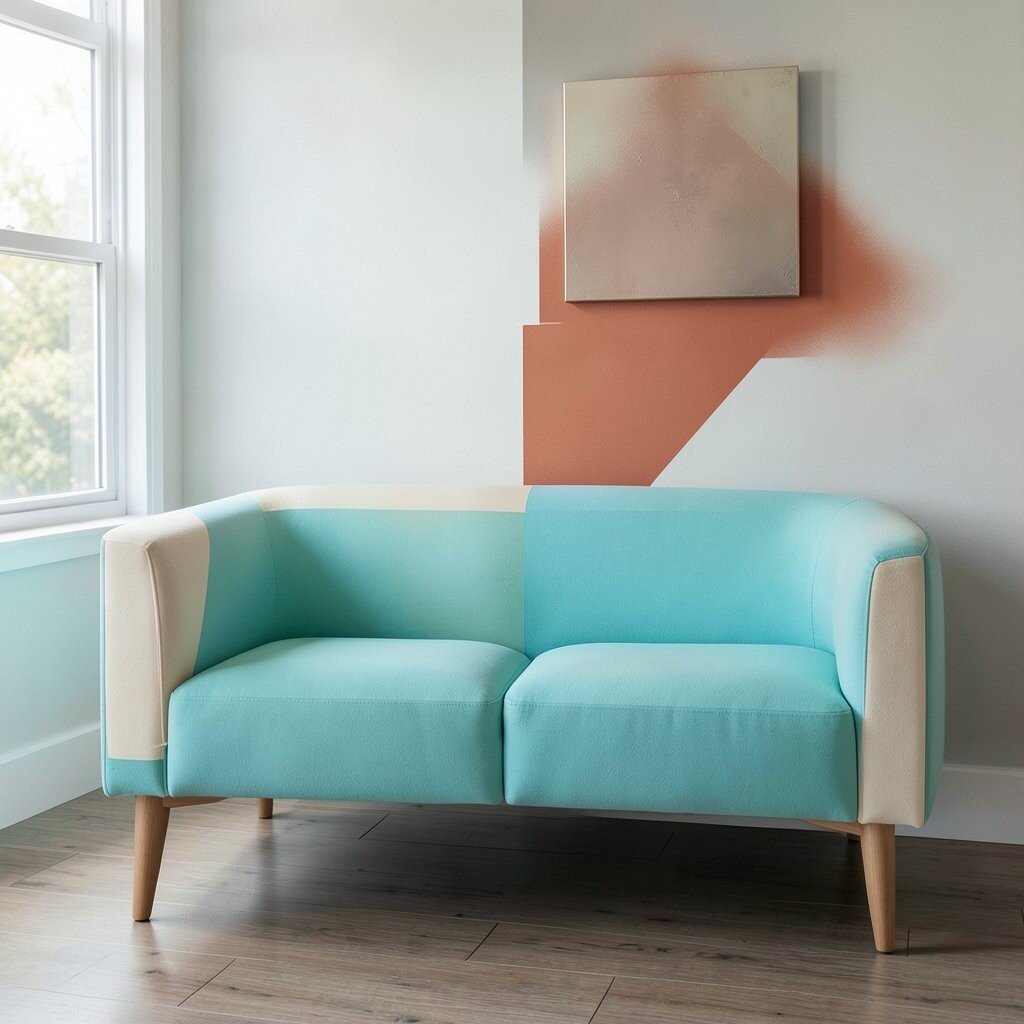
Before you block in colors, spray a neutral undercoat so the bright shades stay true. A light primer or base color prevents dullness, especially on dark surfaces.
Next, mask off sections and spray the first block, then remove the tape once it’s ready. Repeat for the next block so the colors stay crisp and separated.
You’ll get bold contrast that looks modern, like playful wall art but on furniture. It’s practical because you can fix small mistakes by re-taping and re-spraying instead of starting over.
Try trend-friendly palettes such as mint with warm terracotta, or bright teal with cream. If you want a more expensive look without spending more, use one metallic accent block carefully near the corners.
8. Ombre Repetition With Two Matching Hues

Pick two close colors, like coral and pink or blue and teal, and spray them in overlapping zones. Use a light hand so the merge looks blended instead of striped.
You’ll see a gradual shift that feels smooth and airy. This is a fun way to make flat surfaces feel layered without using brush techniques.
For uniqueness, repeat the ombre in sections, such as around panel edges or along a tray border. It looks intentional and gives the eye a path across the object.
To keep it practical, tape off a soft boundary and gradually mist across it. Keep ventilation strong, and plan for a longer dry time before stacking or reassembling parts.
9. Faux Marbling With Crumpled Plastic Motion

Start with a base coat that matches your desired vibe, like icy white or soft gray. Then lightly spray a second color and quickly dab and drag with crumpled plastic.
The plastic creates twisty lines that resemble natural stone. It gives instant personality, especially on trays, small shelves, or even plant stands.
You can control the feel by changing the size of the crumpled bits, using smaller pieces for finer veining. For practical tips, dab lightly first, then drag once more to blend the edges.
Pair marbling with a satin topcoat so it looks fresh but not slippery. If you’re watching cost, marbling usually uses fewer coats because you rely on patterns instead of building thick layers.
10. Metallic Rub Glow With Light Back-to-Back Sprays

Apply metallic paint in thin passes so it doesn’t clump or create dull patches. After the first coat flashes, add a second coat with gentle overlap.
Then let it dry enough to stay workable, and lightly buff with a soft cloth. This makes tiny highlights pop and gives that “just finished” glow people love in bright spaces.
Metallic looks unique because it changes with the room lighting, shifting from warm to cool tones. It also pairs well with modern trends like clean minimal decor and sleek accessories.
For personalization, spray metallic only on edges, corners, or a small accent panel. That way you get shine without needing much paint, which helps keep spending in check.
11. Speedy Layering With Vertical Stripe Spray

Hang or support the item so you can spray comfortably without touching wet paint. Start at the top and spray vertical stripes in even rhythm.
This creates a bright, airy stripe look that feels energetic and fresh. It’s also practical for hiding uneven spots, because stripes break up visual surfaces.
Use a light touch so the stripes remain crisp, not heavy. If you want a smoother look, keep the nozzle distance consistent and overlap each stripe slightly.
Try personalization by mixing narrow stripes in one color with wider stripes in another for a custom layout. For budget-friendly results, focus your brightest color on the stripes you want to stand out most.
12. Color-Through Highlights With Clear Glaze Mist

After your base color dries, spray a very light mist of a contrasting color mixed with clear or a translucent finish. Keep the spray far enough away that it turns the highlight into a veil.
You’ll get bright highlights that seem to glow without fully covering the base. This gives depth and a polished, “designer” look that still feels light and modern.
The uniqueness comes from layering color rather than repainting everything. You can also tune it to your space, because the highlight color changes depending on wall color and natural light.
For practical tips, do multiple tiny mists instead of one strong pass, and check from different angles as it builds. It can save money because glaze-style misting often requires less paint than going solid all over.
13. Two-Stage Antiqued Brightness With Quick Edge Drying

Spray your main bright color and let it set just until it feels tacky at the edges. Then lightly mist a darker or complementary shade only on corners and raised details.
This creates a bright-but-warm antique vibe, where the highlights stay cheerful while the shadows add depth. It’s actionable because you’re controlling the contrast with targeted spraying, not complicated carving.
Uniqueness happens when the darker mist catches only the edges, creating natural-looking depth. For personalization, choose a tone that fits your style, like warm copper shadows for a cozy feel or deep navy shadows for a crisp modern look.
If you’re concerned about cost, this is efficient because the darker color covers only small areas. Finish with a protective coat matched to your use, especially for items that get frequent handling.