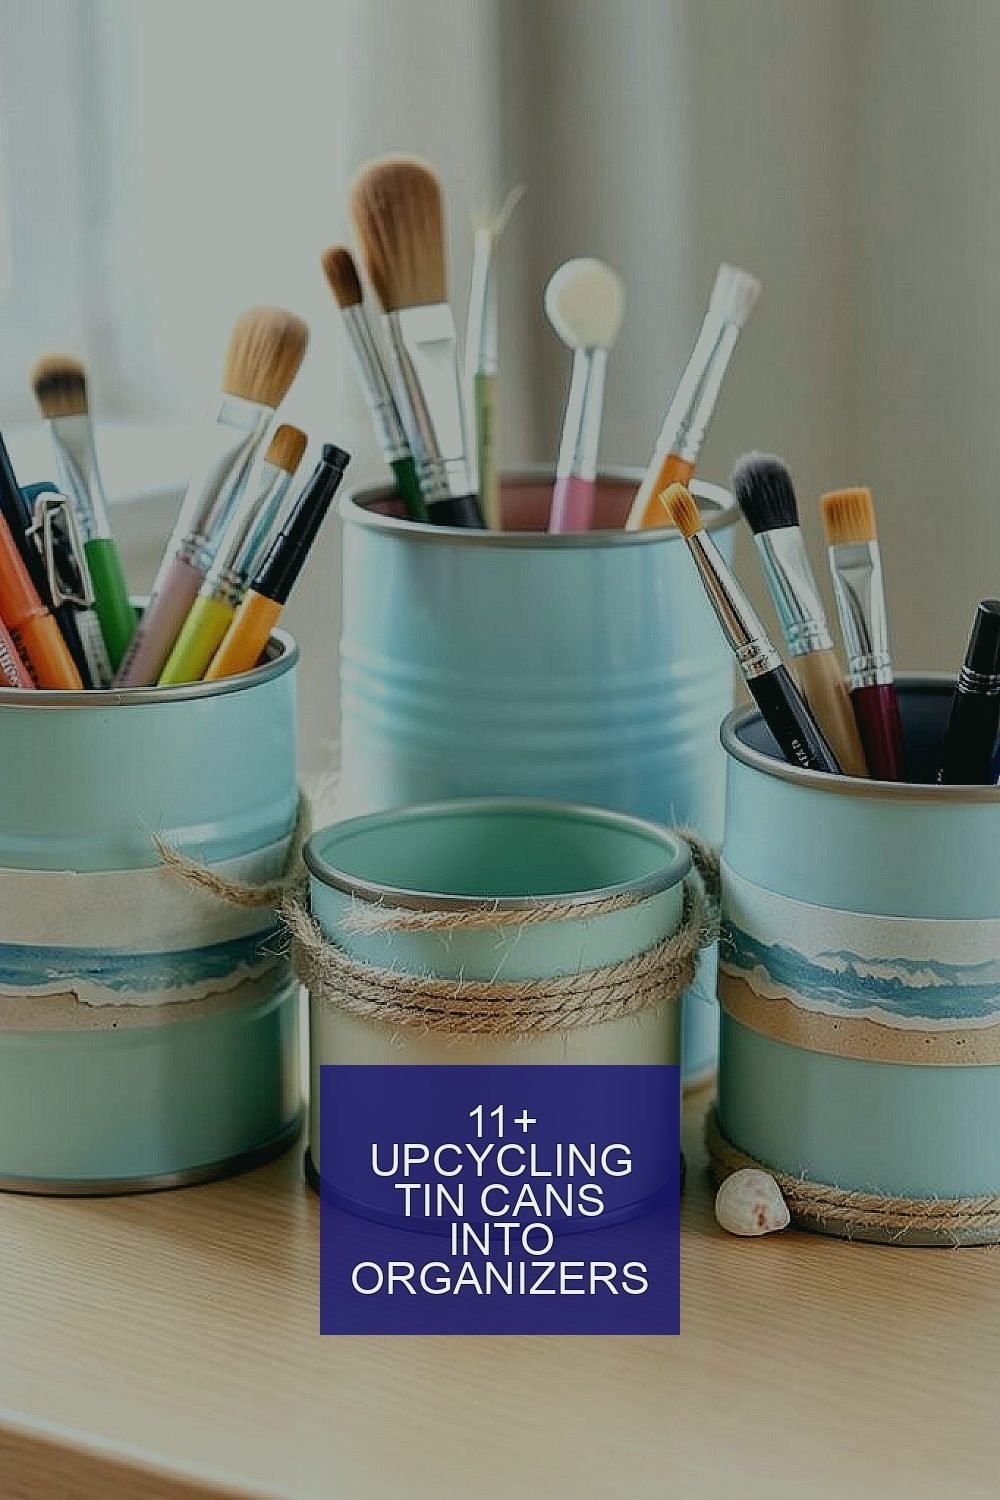
Old tin cans have a way of finding new purpose. With a bit of care, they can look neat, charming, and useful.
1. Coastal-Themed Desk Caddies
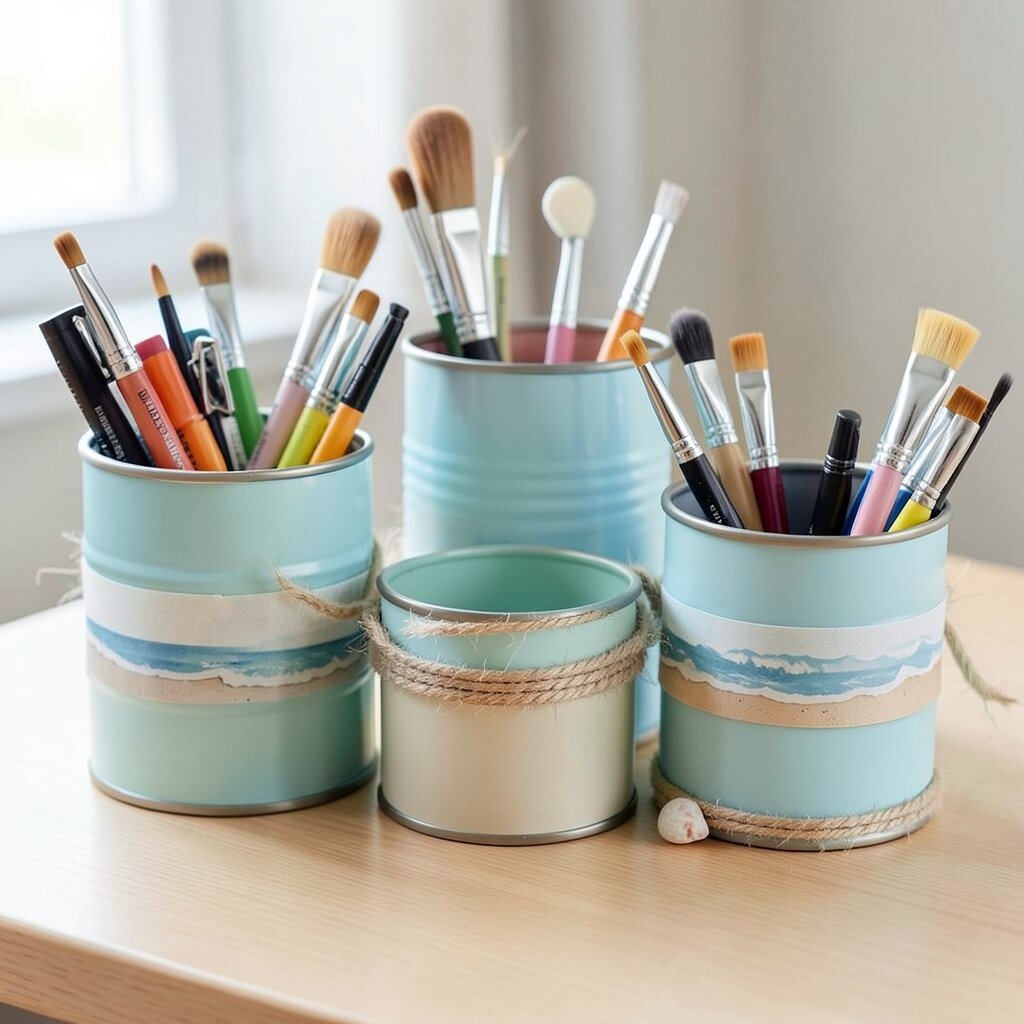
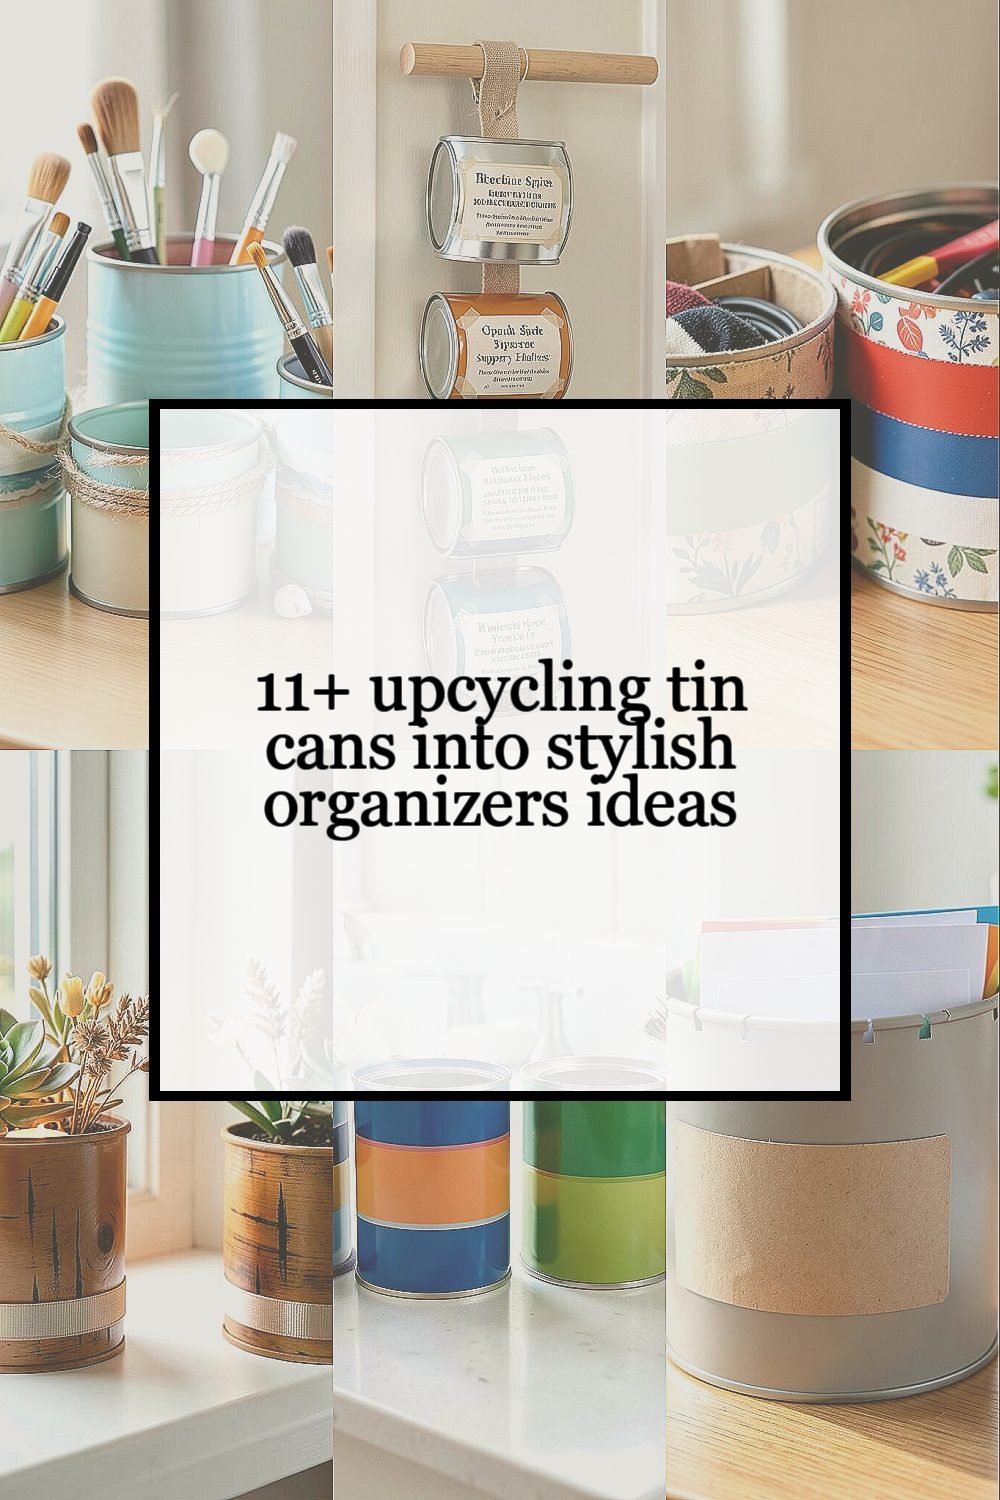
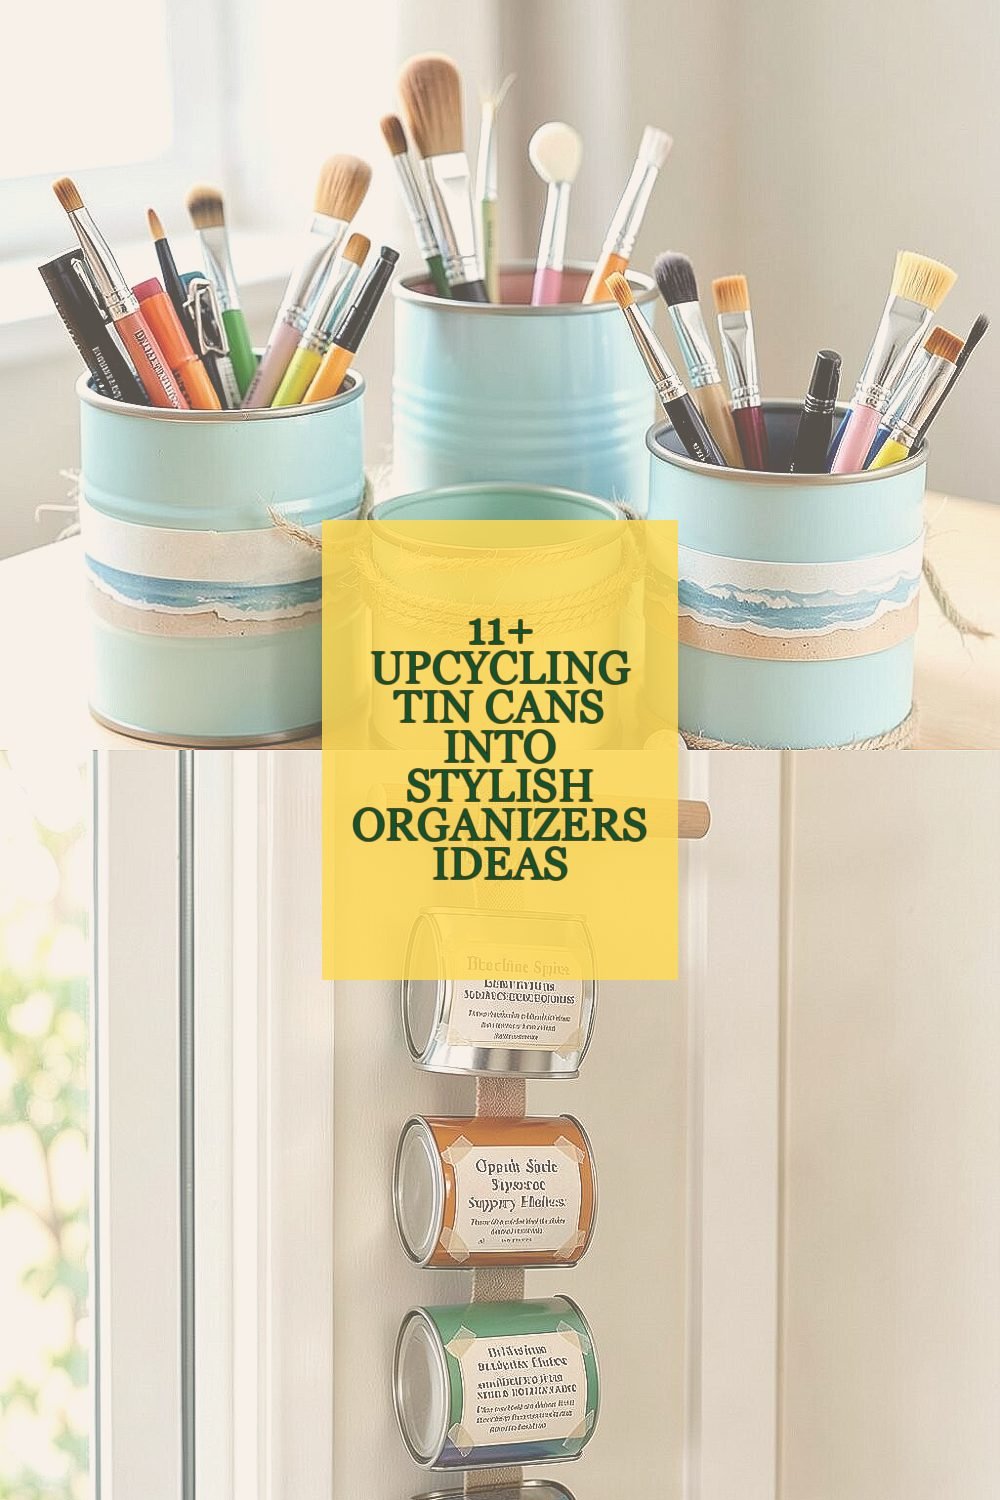
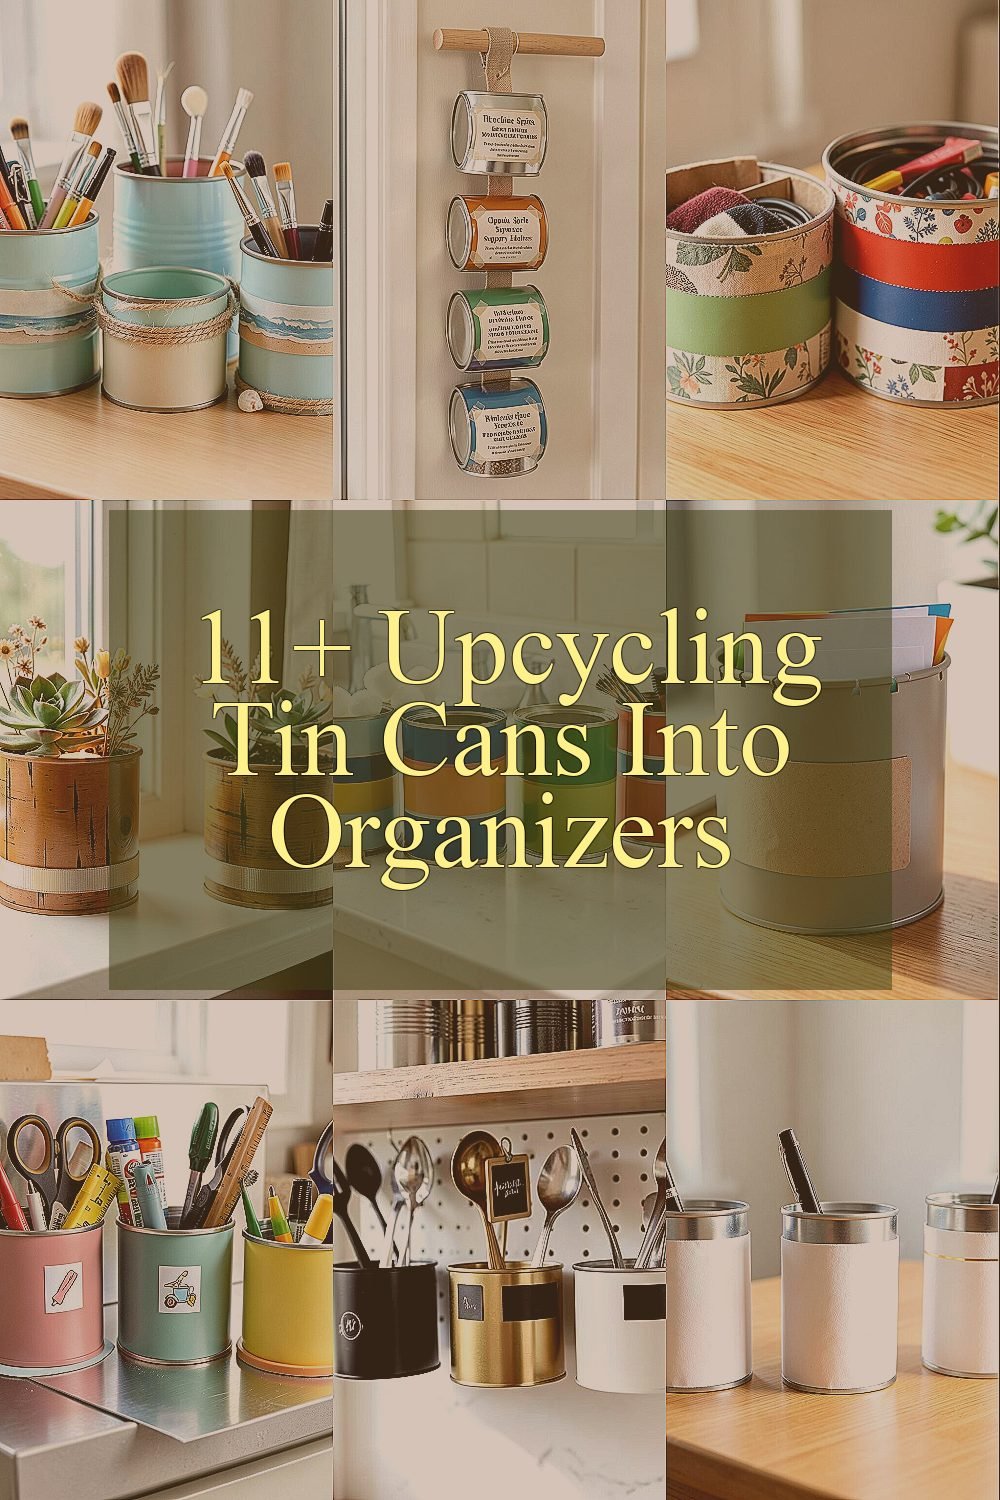
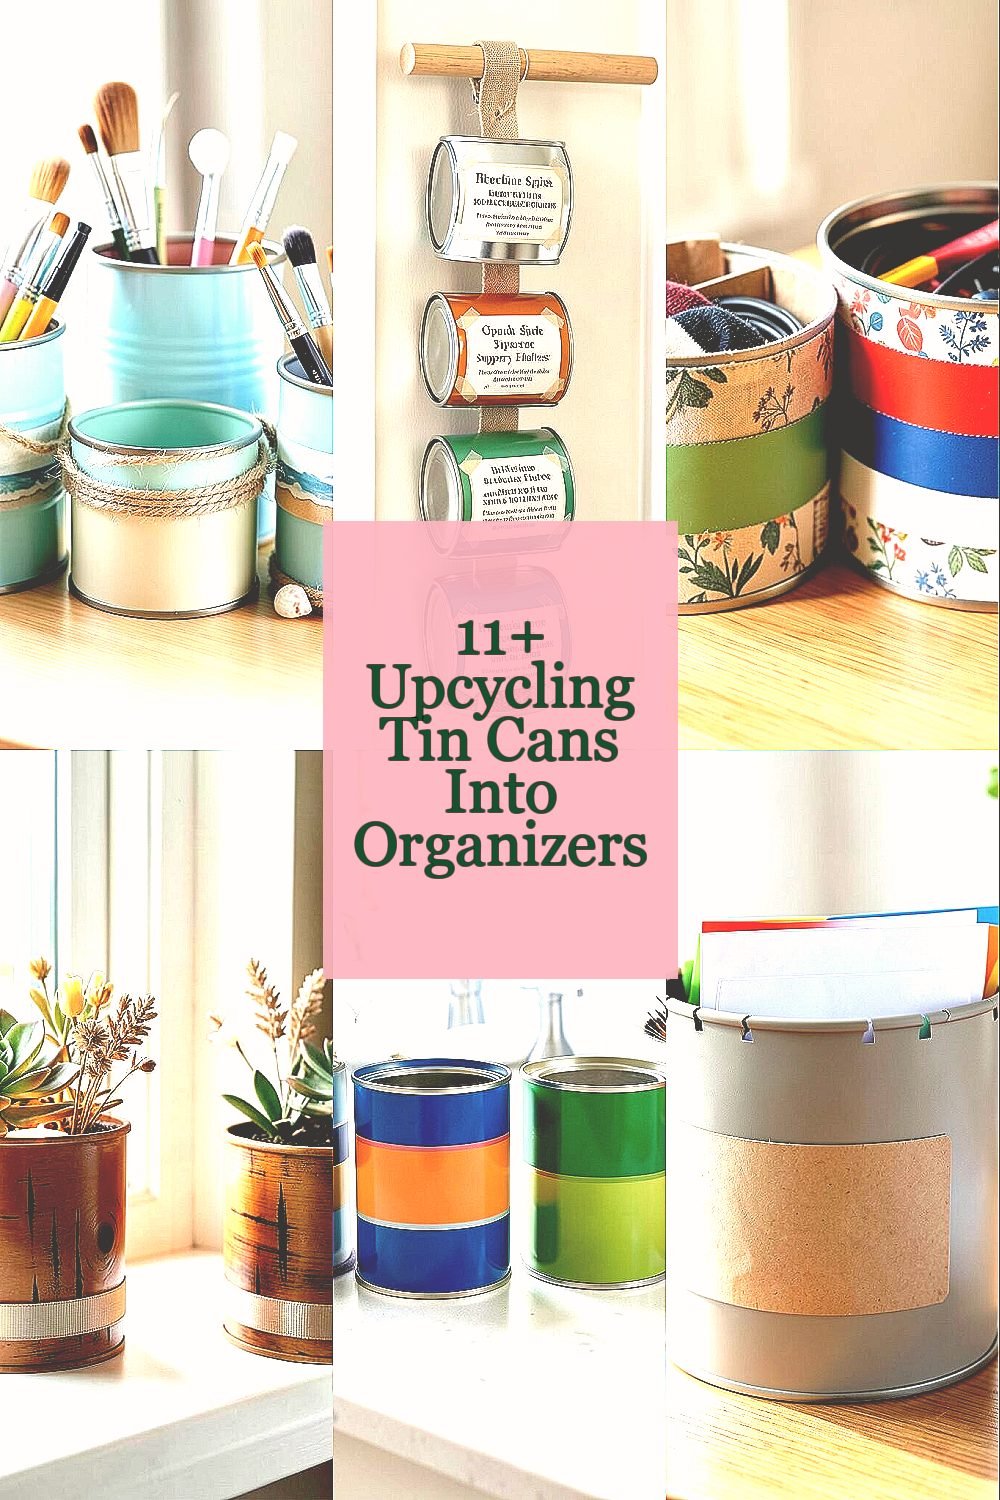
Paint the tin cans in seafoam, sand, and sky blues for a calm desk vibe. Add a strip of masking tape like gentle “waves” and then pull it off before the paint fully dries.
Cluster several cans together to hold pens, clips, paintbrushes, or makeup tools. This setup keeps small items easy to grab and reduces countertop clutter. For personalization, wrap twine around the rims and tuck tiny shells you find in craft supply stores for a clean coastal look.
2. Vertical Hanging Spice and Supply Holders
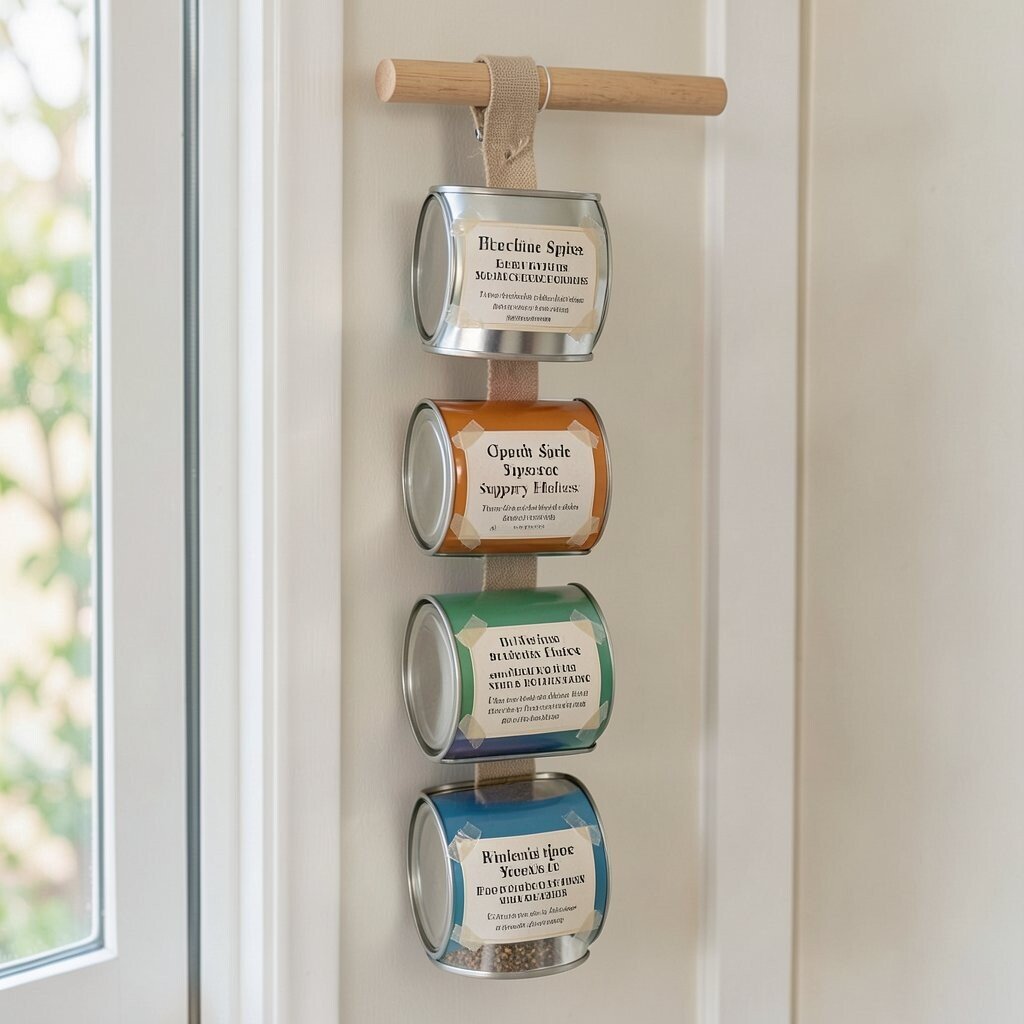
Use tin cans with their lids removed for a tall hanging organizer that fits on a pantry door. Paint the cans in matching colors, then add labels on paper that you seal with clear tape for a tidy feel.
Attach each can to a wooden dowel or a sturdy piece of cardboard covered in fabric. Drill small holes for twine or use zip ties to keep everything secure. You’ll love how you can see everything at once, and it’s great for small kitchens and craft rooms.
For practical tips, leave a little space between cans so you can grab them easily. Choose lighter-weight items like spices, tea packets, or craft threads to avoid extra strain on the hangers. Keeping the cans consistent in size also makes the whole display look more stylish.
3. Drawer Divider Sets for Socks, Cables, and Odds
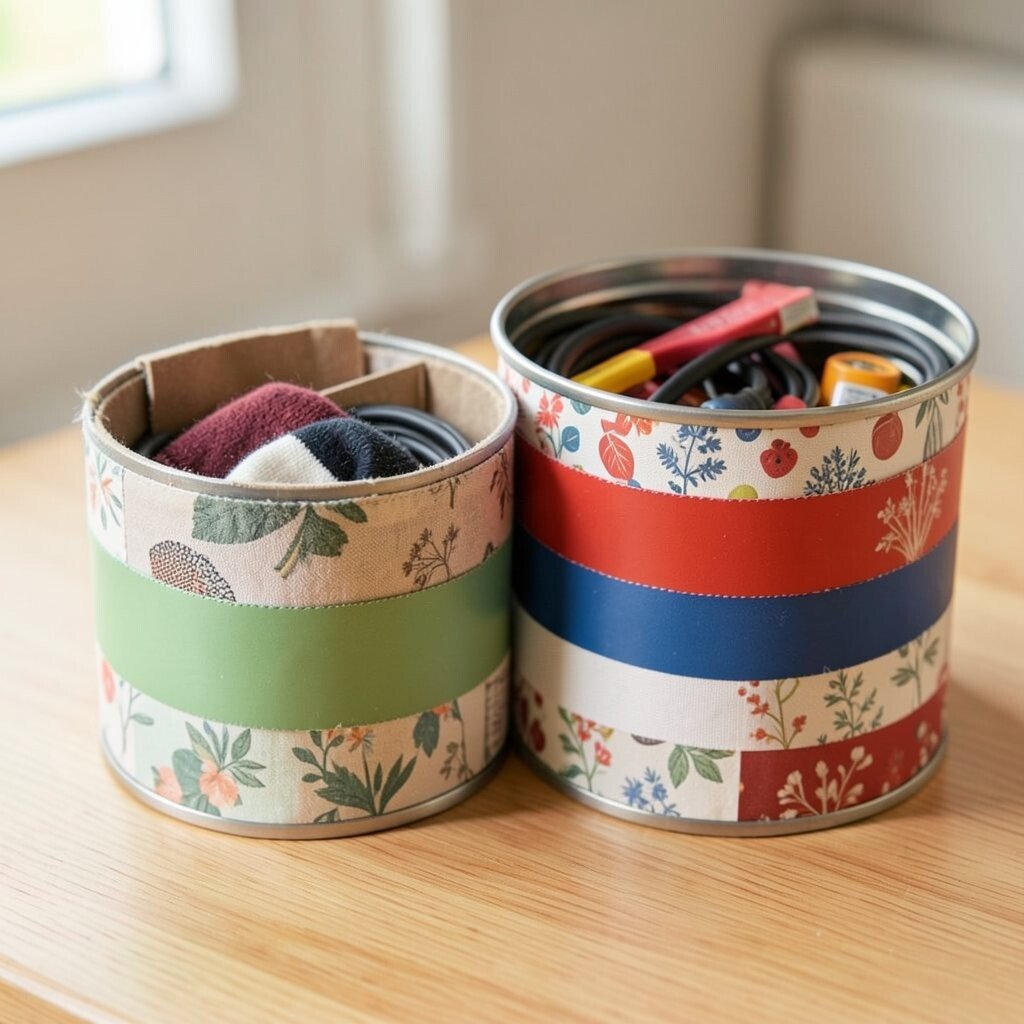
Make quick dividers by cutting a short strip of cardboard and gluing it to the inside edge of a tin can. Cover the outside with patterned paper or fabric scraps for a soft, homey look.
When you group two or three cans side by side, you create tidy sections for cables, batteries, socks, or tiny tools. The rounded walls help prevent items from sliding into each other. Personalize each can with a different color band so you can find what you need faster.
To keep it practical, sand any sharp rim edges and add a thin layer of felt to reduce scratching. If you want a smoother finish, mix a little craft glue with paint to help the surface feel less “metallic.”
4. Faux-Wood Planter Lanterns for Windowsills
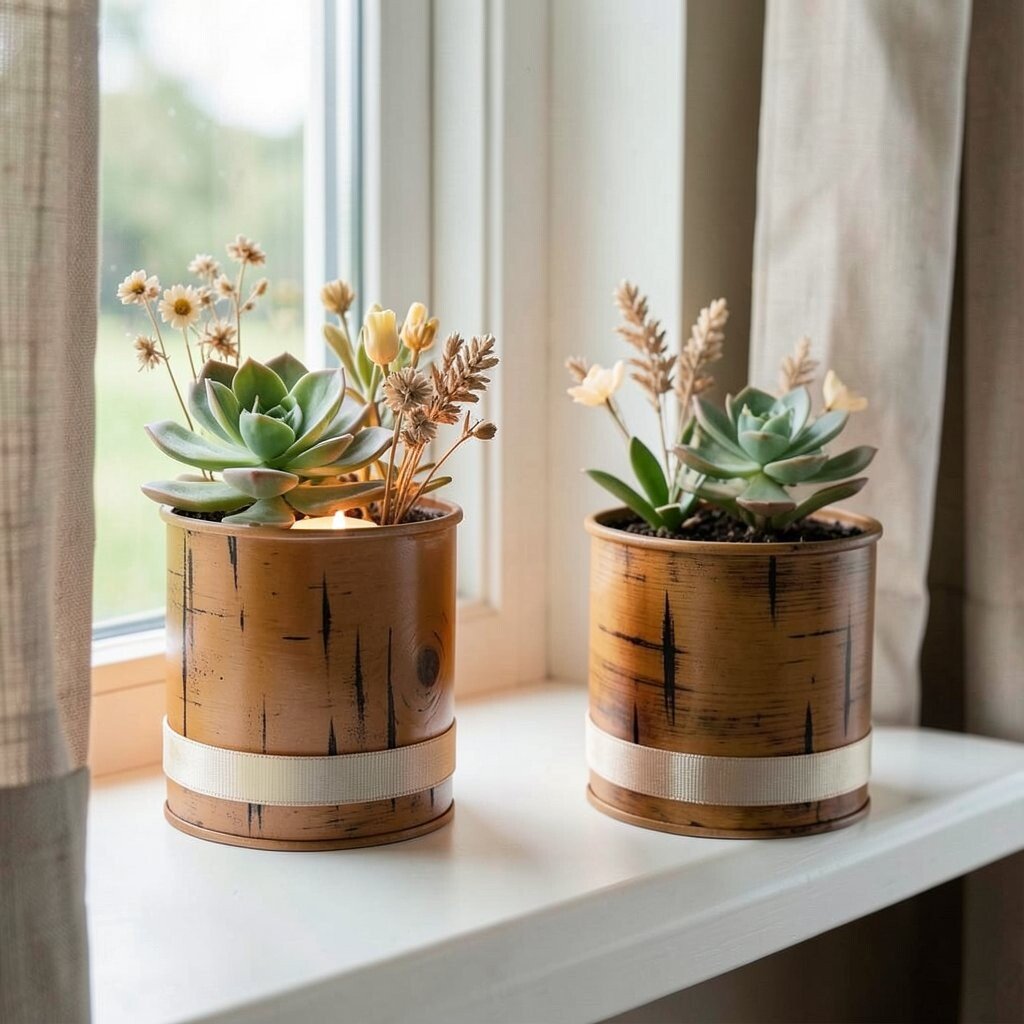
Spray paint tin cans in a warm “faux wood” color, then lightly dab darker paint to mimic grain lines. Finish with a clear matte coat so the surface looks more like real wood and less like metal.
Place small artificial succulents, dried flowers, or a tea light inside to make a gentle glow near a window. These planters add charm and make your space feel cared for without needing expensive decor. For personalization, wrap the can base with ribbon in a color that matches your curtains.
5. Color-Blocked Bathroom Counter Organizers
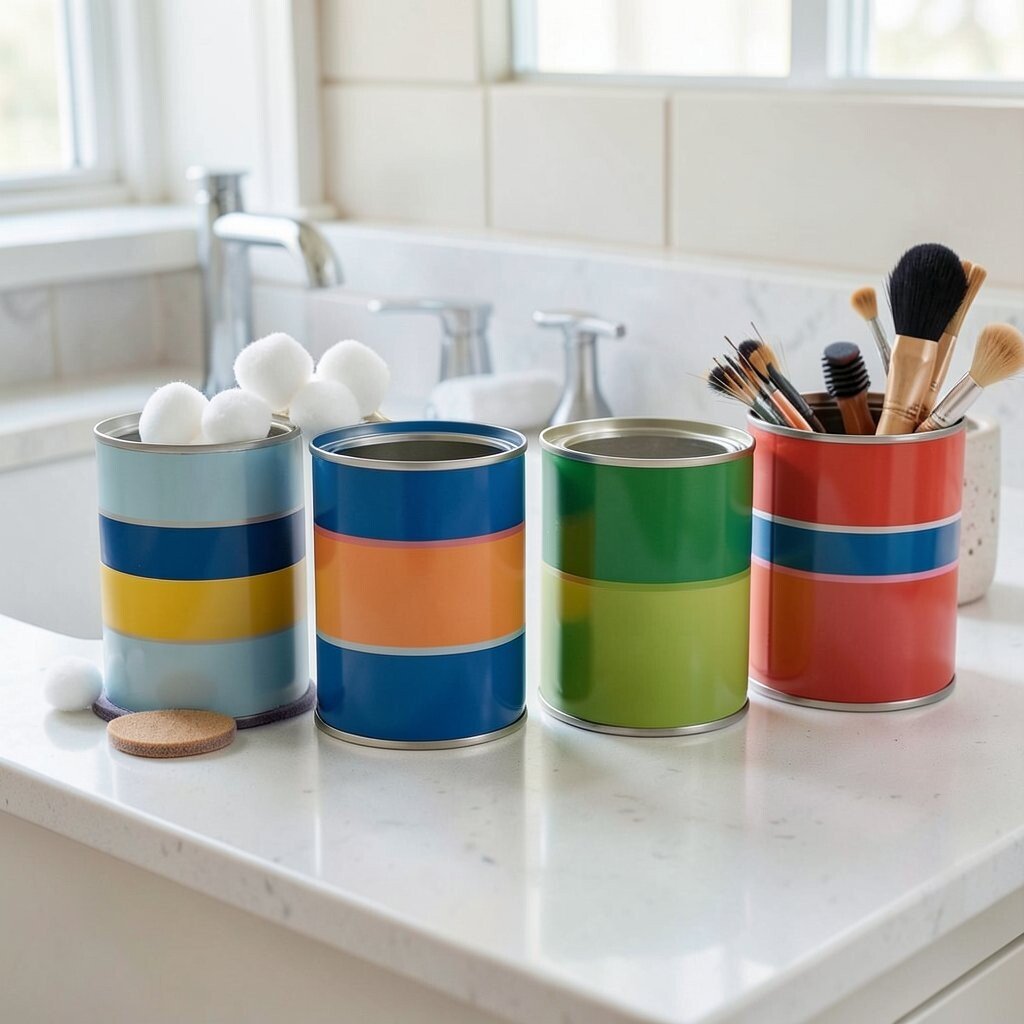
Paint each can a bold color, then add one thin stripe in a contrasting shade for a modern “color-block” style. Use a semi-gloss paint so it wipes clean when splashes happen.
Set them near the sink for cotton balls, Q-tips, hair ties, or spare makeup brushes. You get an easy routine and a bathroom that looks neat even when products are used daily. If you like organization that still feels fun, match the colors to your towels or soap labels.
For practical tips, seal the inside bottom with a thin coat of clear glue so it’s less likely to absorb moisture. Add small felt circles to the base to protect countertops and reduce slipping.
6. Desk Mail and Letter Sorting Funnels
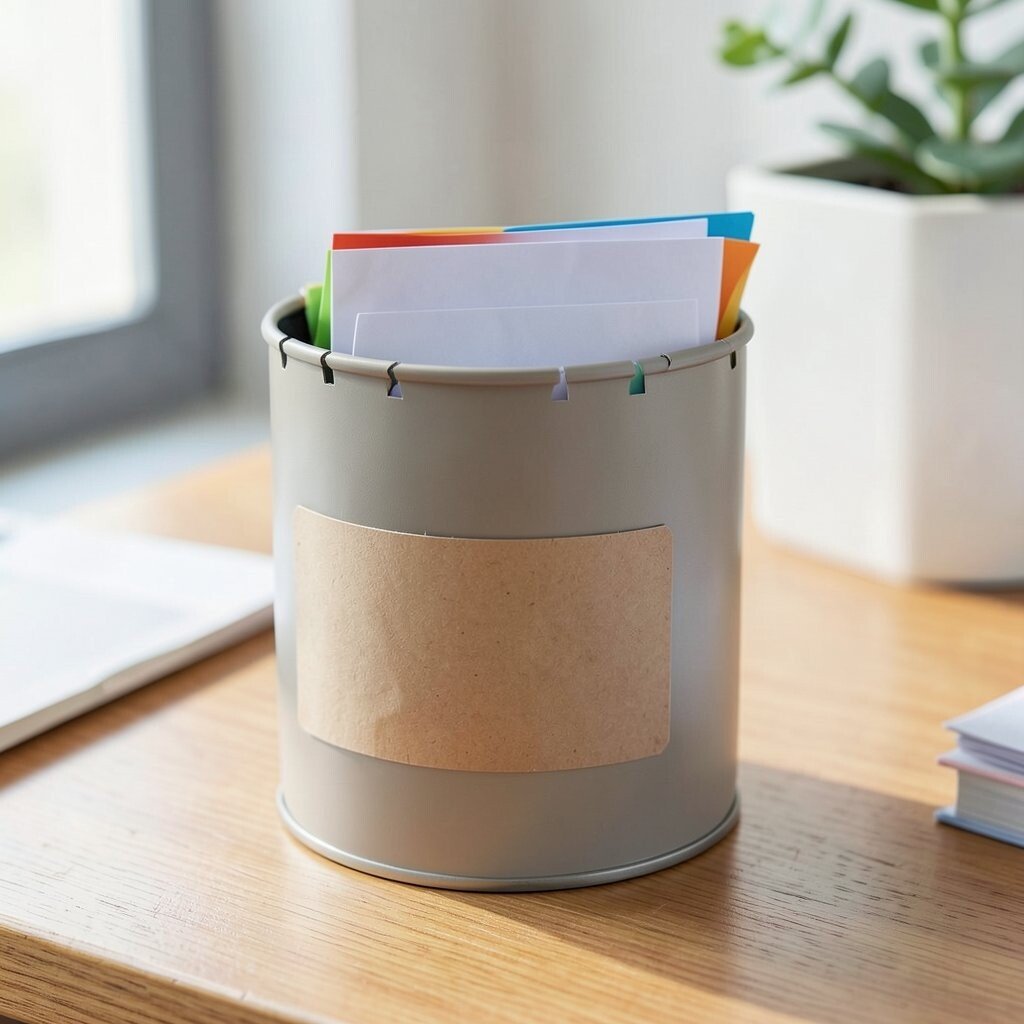
Turn a tin can into a simple sorter by cutting small slots around the top edge. Bend a few tiny tabs outward to help catch envelopes and keep papers from sliding in.
Paint the outside in a neutral tone, then add a removable label sleeve made from cardstock. Sorting becomes faster because mail has a clear spot, and your desk stays calmer between tasks. For personalization, use different colored tabs to represent bills, letters, and “to file.”
7. Craft Tool Holders With Magnetic Base
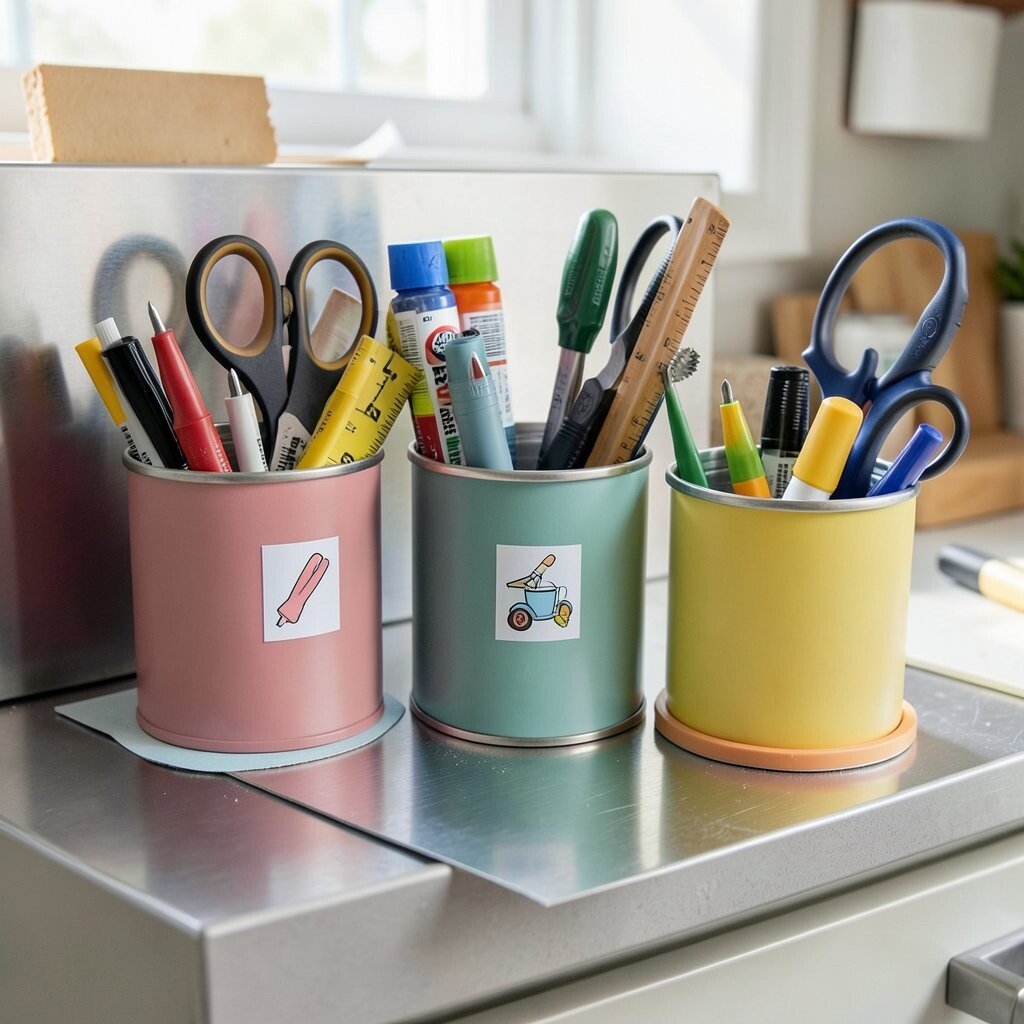
Glue a strong magnet sheet to the bottom of each tin can and set them on a metal board or filing cabinet door. Paint the cans in a consistent theme so your storage area looks intentional.
Store scissors, mini screwdrivers, paint markers, or rulers so they’re easy to reach during projects. This is a great benefit for makers because nothing is buried in a drawer. To personalize, add a small icon sticker on each can so you can spot tools even from across the room.
For practical tips, check magnet strength before loading heavy items and keep the base flat. If you’re worried about rust, use a primer first and let it cure fully. A smooth finish also makes cleaning easier when glue dust collects.
8. Hanging Utensil and Bar Tool Sets
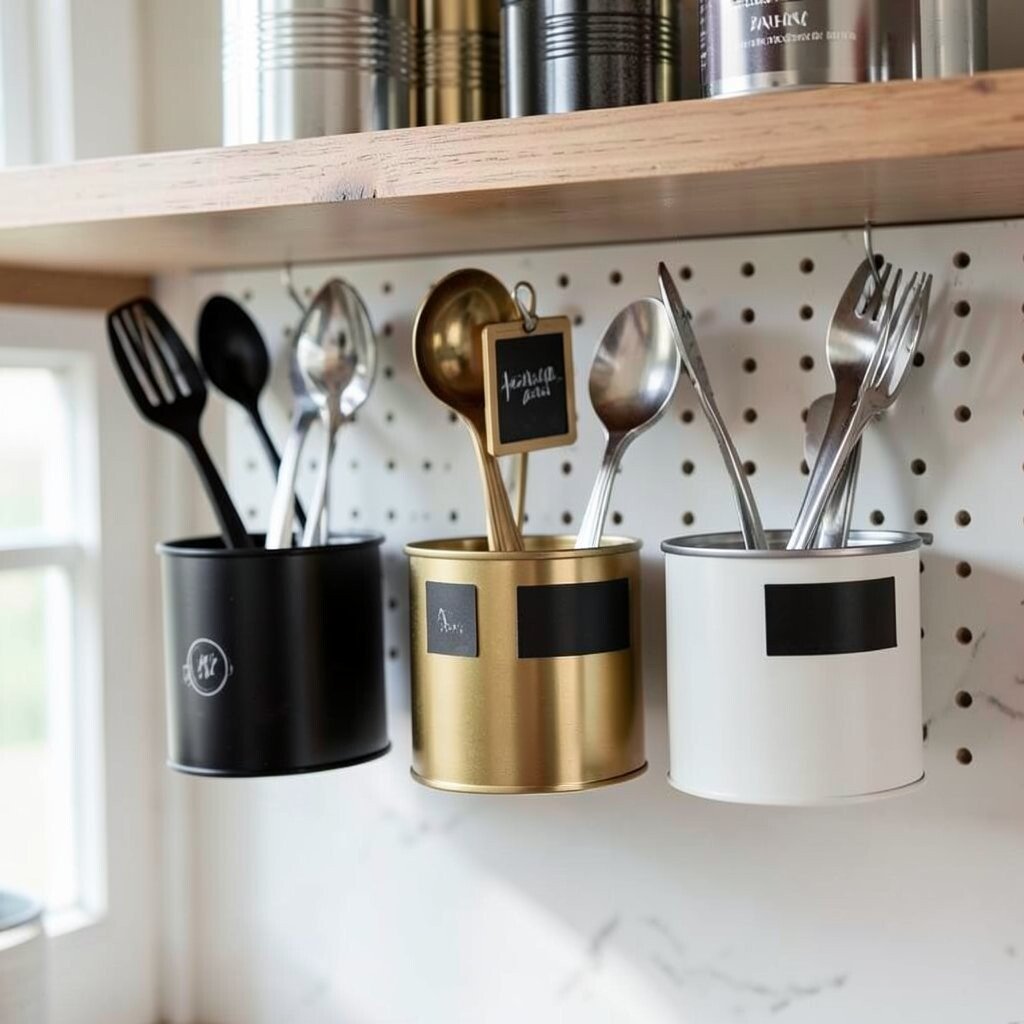
Create a hanging organizer for spoons, stirrers, and bar tools by mounting cans under a shelf. Paint the cans in black, brass, or matte white for a clean modern bar look.
Use hooks or a pegboard to secure each can so tools stay visible and ready. This helps you reduce countertop mess and makes entertaining feel effortless. For personalization, add a small chalkboard-style label area where you can write what each can holds.
9. Minimalist Pen and Pencil “Museum” Trays
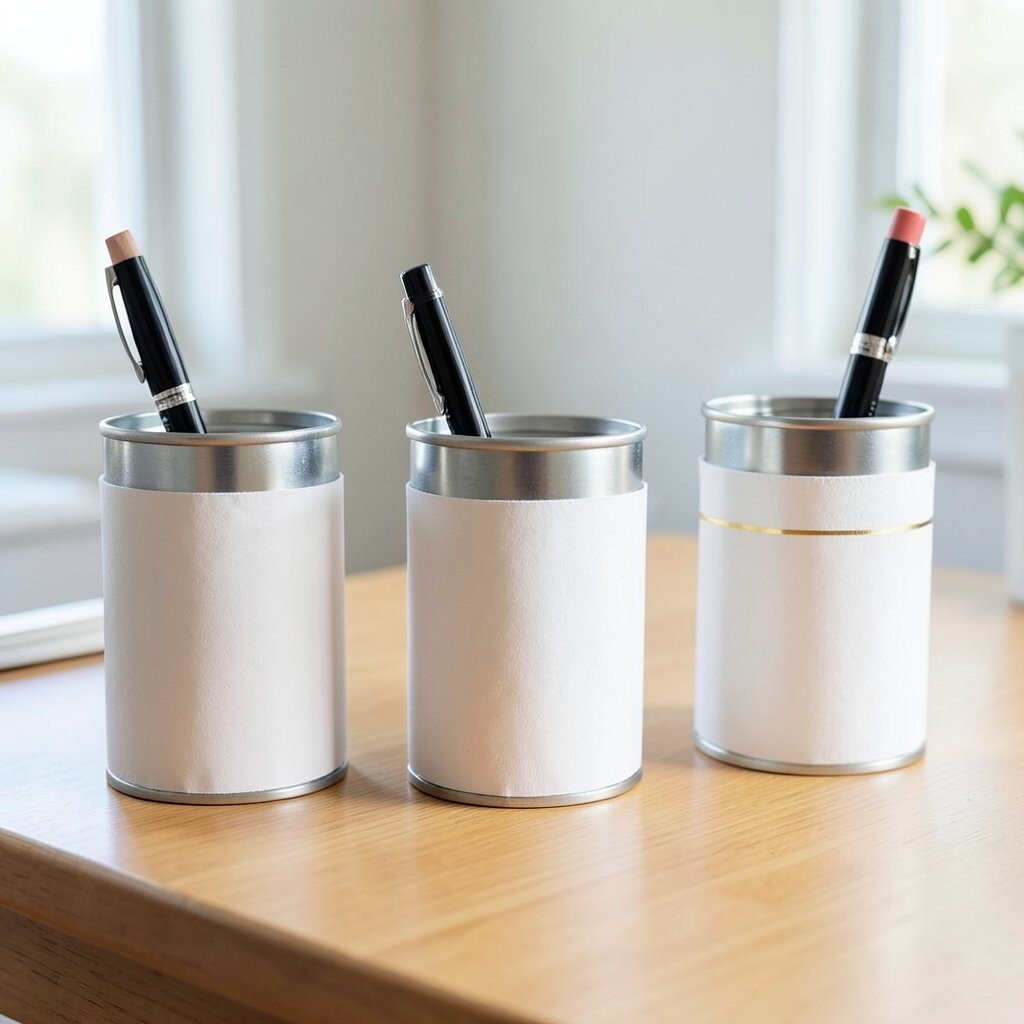
Clean tin cans thoroughly and wrap them with simple paper sleeves that match your color palette. Keep details small by using only one accent like a thin gold line or a single fabric band.
Stand the cans in a row on your desk so each pen looks like it belongs on display. This arrangement feels unique and adds personality without being loud. For practical tips, use a hot glue dot to secure each sleeve edge so it stays tight and smooth.
10. Seasonal Holiday Gift Wrap and Ribbon Storage
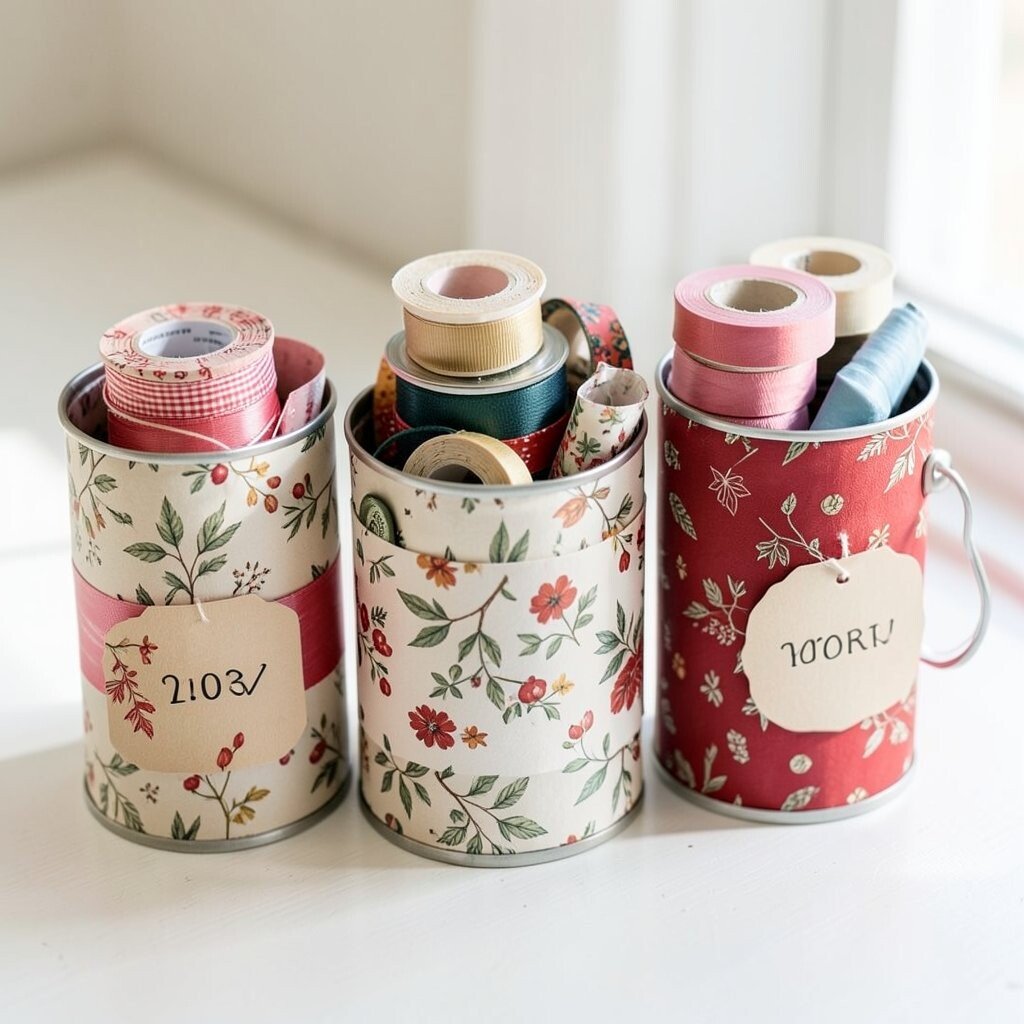
Use tin cans to hold ribbon spools, small rolls of wrapping tape, and even thin gift tags. Wrap the cans with patterned paper that matches each season so storage looks like decor.
When holidays roll around, you’ll spend less time searching because everything has a dedicated spot. This is a real cost saver because you won’t buy duplicates just to replace missing supplies. Personalize by adding a simple year tag using a removable label so you can refresh for the next season.
11. Rolling Snack and Pantry Grab Containers
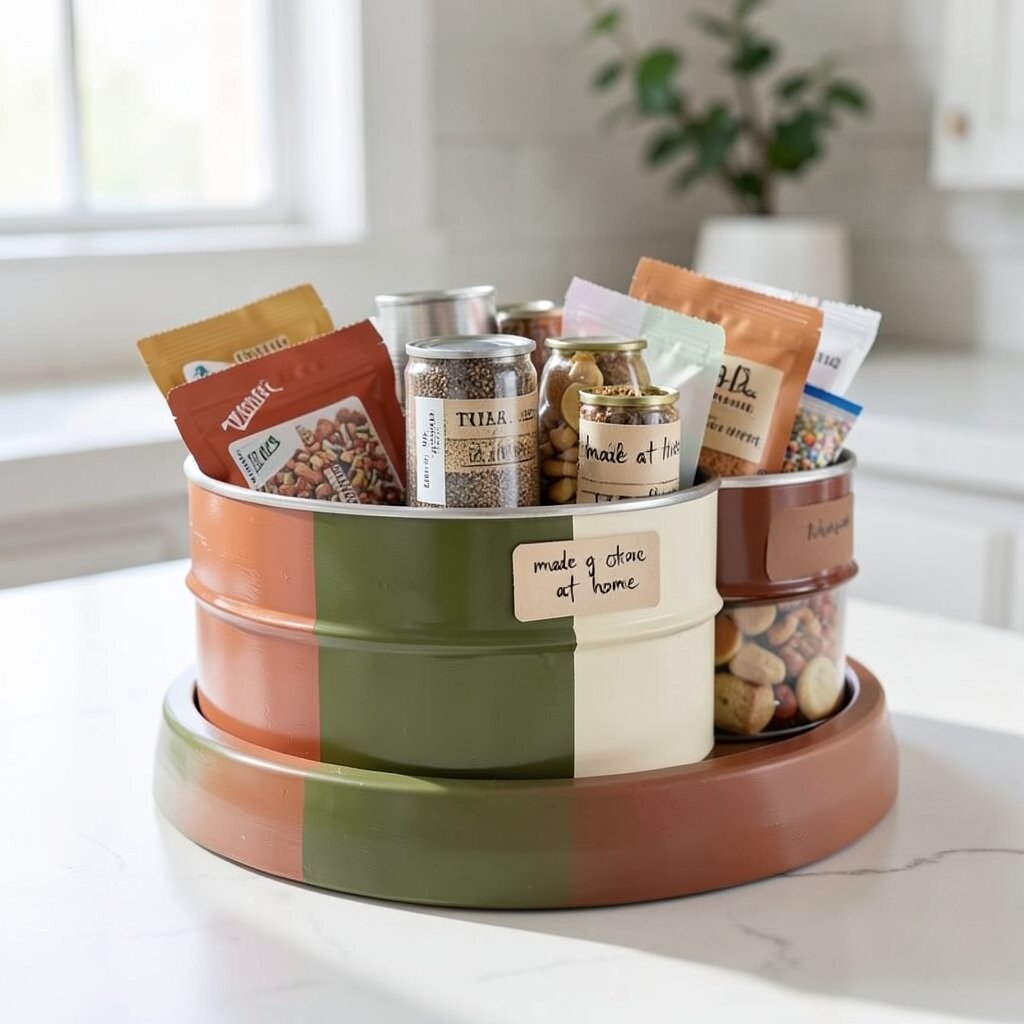
Make grab-friendly pantry organizers by enlarging tin cans with a sturdy base ring so they sit securely. Coat the outside with food-safe-looking craft paint and then seal it with a protective clear layer.
Use the cans for snack mix scoops, tea packets, or small baking items like sprinkles. You get the benefit of quick access and fewer messes in cabinets. For practical tips, avoid storing foods that can touch bare metal and keep everything dry and sealed in small pouches.
To keep the look on trend, choose earthy tones like terracotta, olive, and cream, which pair well with many modern kitchens. Add small handwriting-style labels for a cozy “made at home” feel.
12. Entryway Keys, Tags, and Tiny Mail Catchers
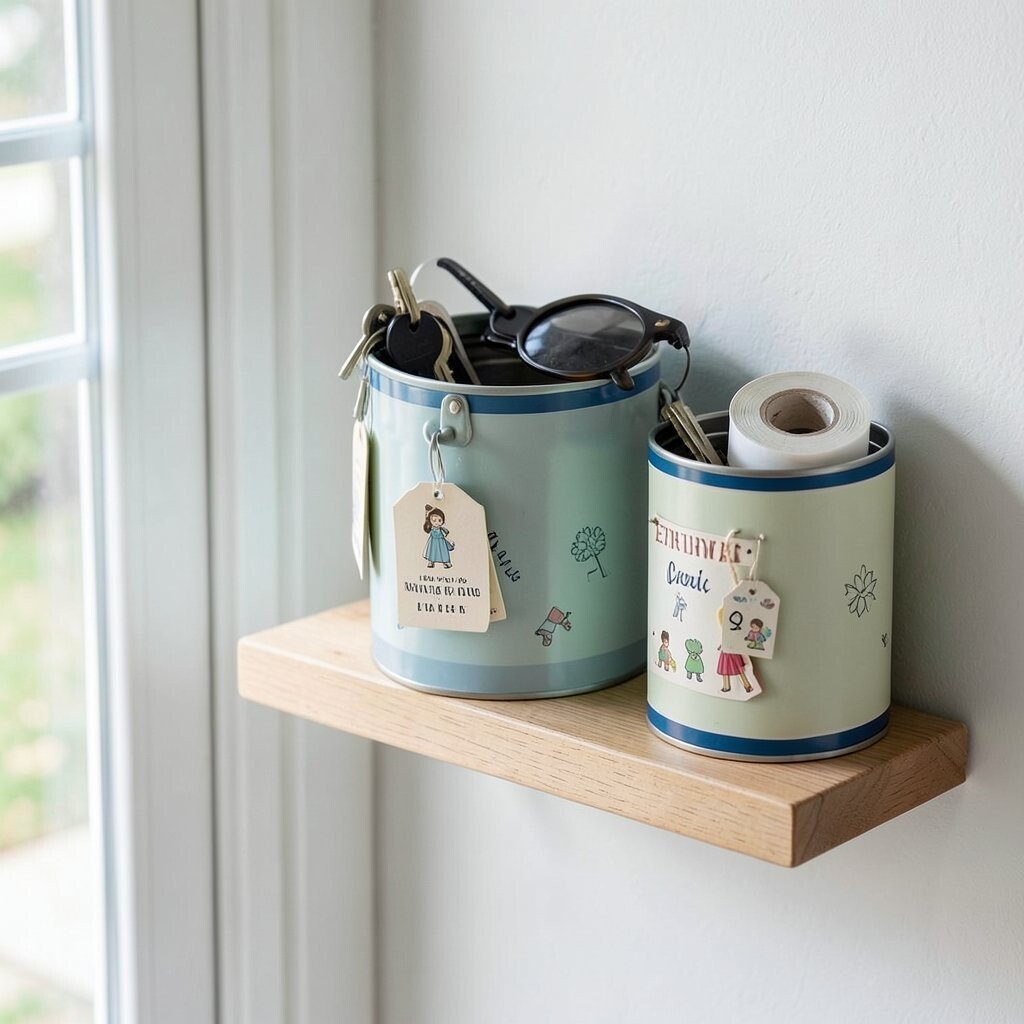
Place two or three tin cans on a small wall shelf near your door for keys, sunglasses, and tiny everyday items. Paint them in a friendly shade and add a border of contrasting color for a polished finish.
When you arrive home, you’ll love how simple it is to drop items in the right spot and head out again faster. This kind of organizer brings order to daily routines and makes the entryway feel welcoming. Personalize the set with small symbols for each family member and keep a tiny roll of tape inside one can for last-minute fixes.