Old stuff can turn into something that feels brand new. When you make art from what you already have, the process feels personal and fun.
1. Bottle Cap Mosaic Coasters
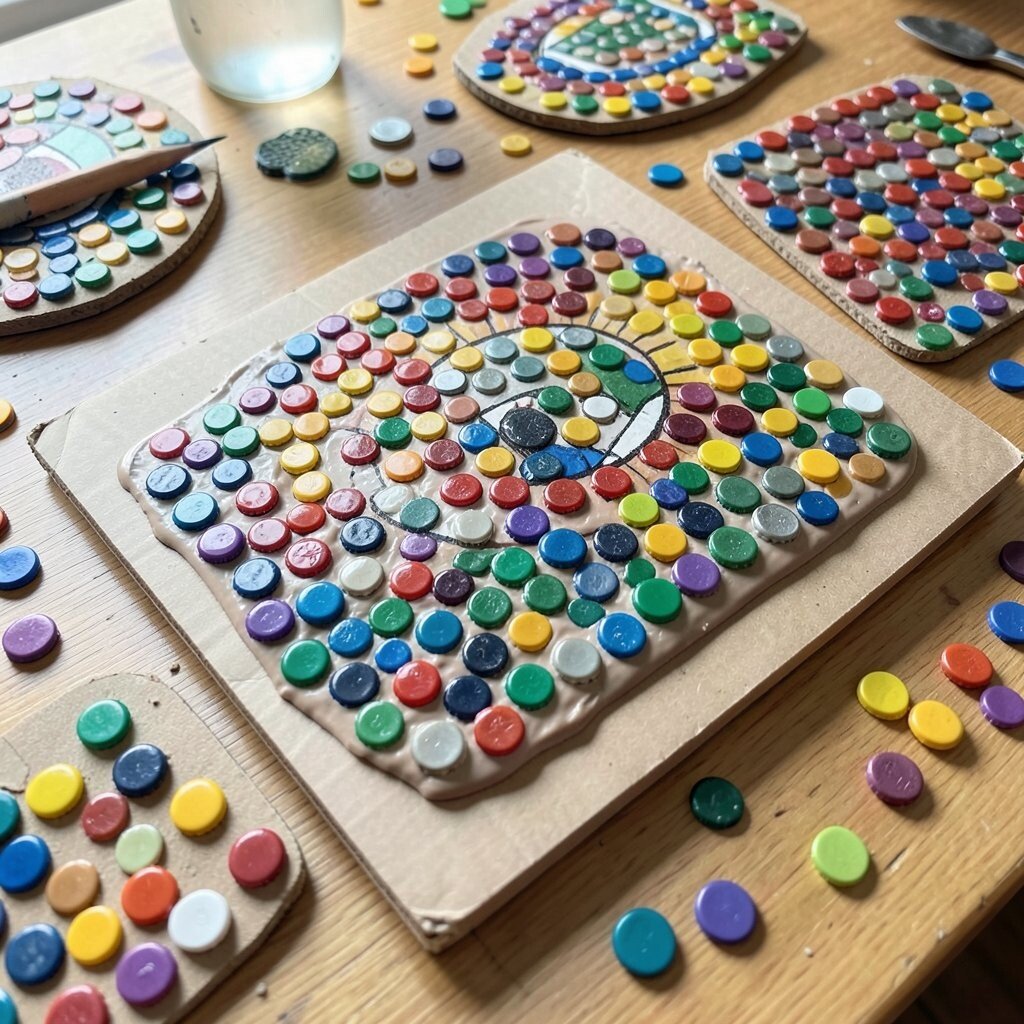
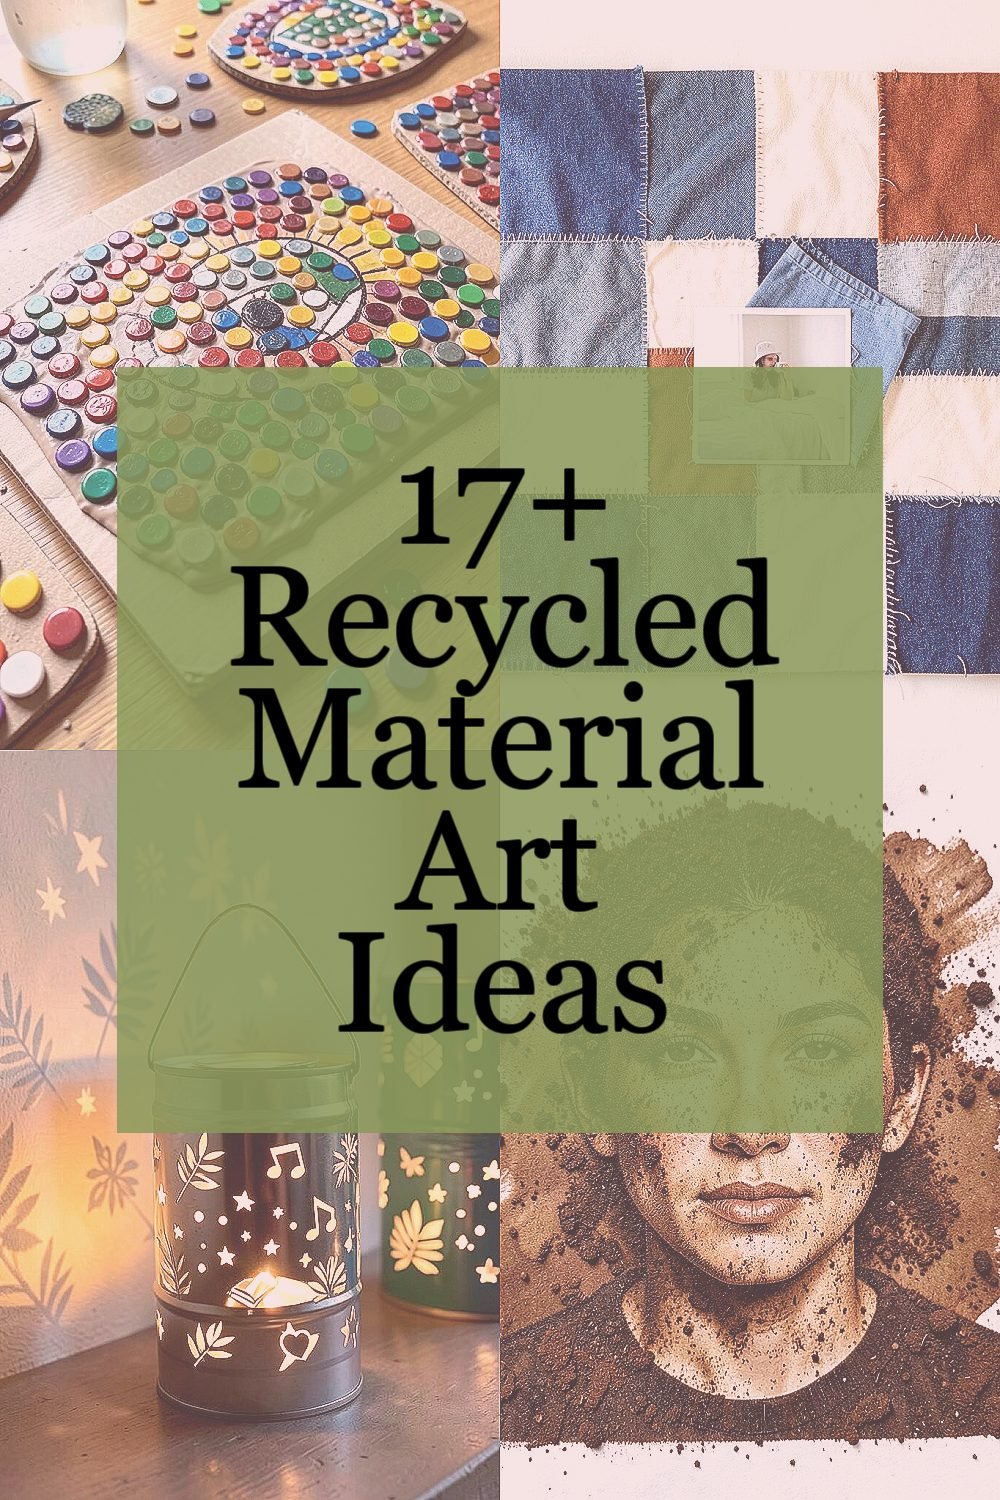
Picture a tabletop scattered with tiny colorful circles made from bottle caps. You can press caps into a strong base and make patterns like waves, sunbursts, or even a favorite sports logo.
Grab a board or thick cardboard, then sketch a simple shape with a pencil. Arrange caps tightly, glue them down, and use grout-like filler or a skim coat of craft paste to lock everything in. Finish with a clear sealer so your coasters can handle water from a mug.
2. Scrap Fabric Patchwork Wall Art
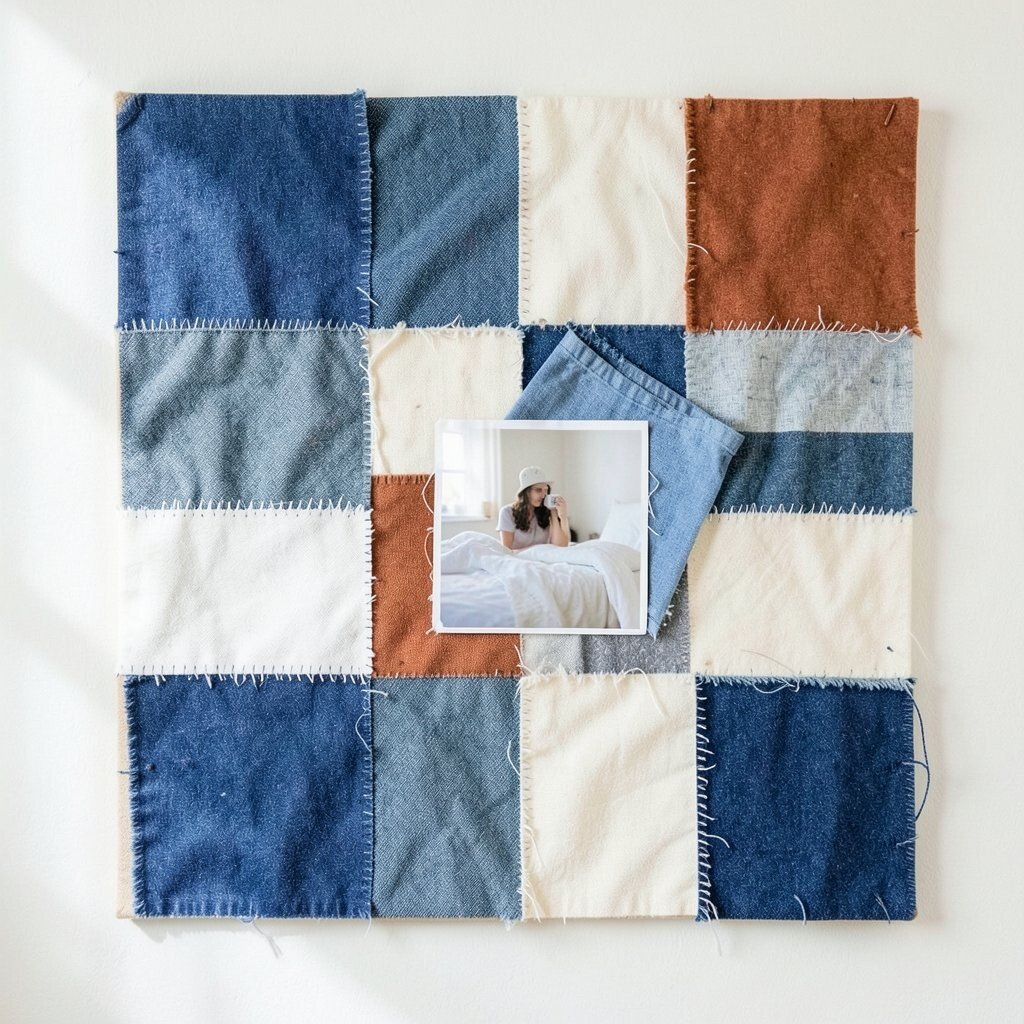
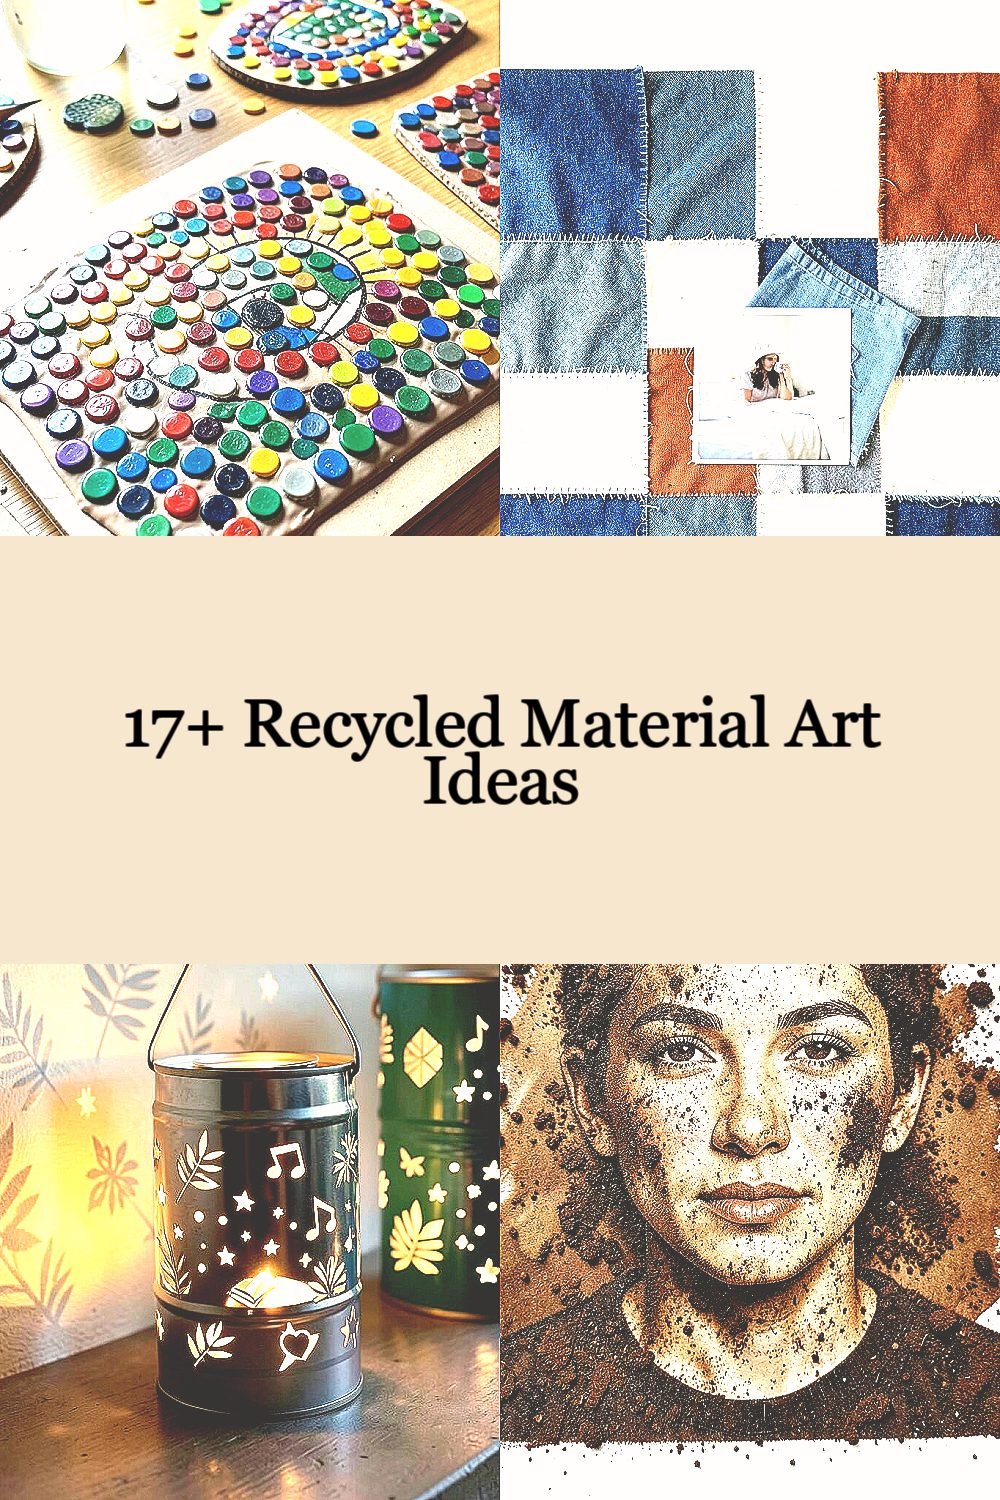
Think of a patchwork panel that looks cozy, like a quilt for your wall. Old T-shirts, bedsheets, and worn fabric scraps can become bold blocks with soft texture.
Cut fabric into squares or strips, then sew or glue them onto a backing canvas or cardboard. Mix smooth and stretchy pieces so the surface has variety when light hits it.
For a modern look, use a limited color range like denim blues, cream, and rust. Add a personal touch by printing a small photo on fabric transfer paper and tucking it into the design as a focal spot.
3. Tin Can Lanterns With Cut-Out Patterns

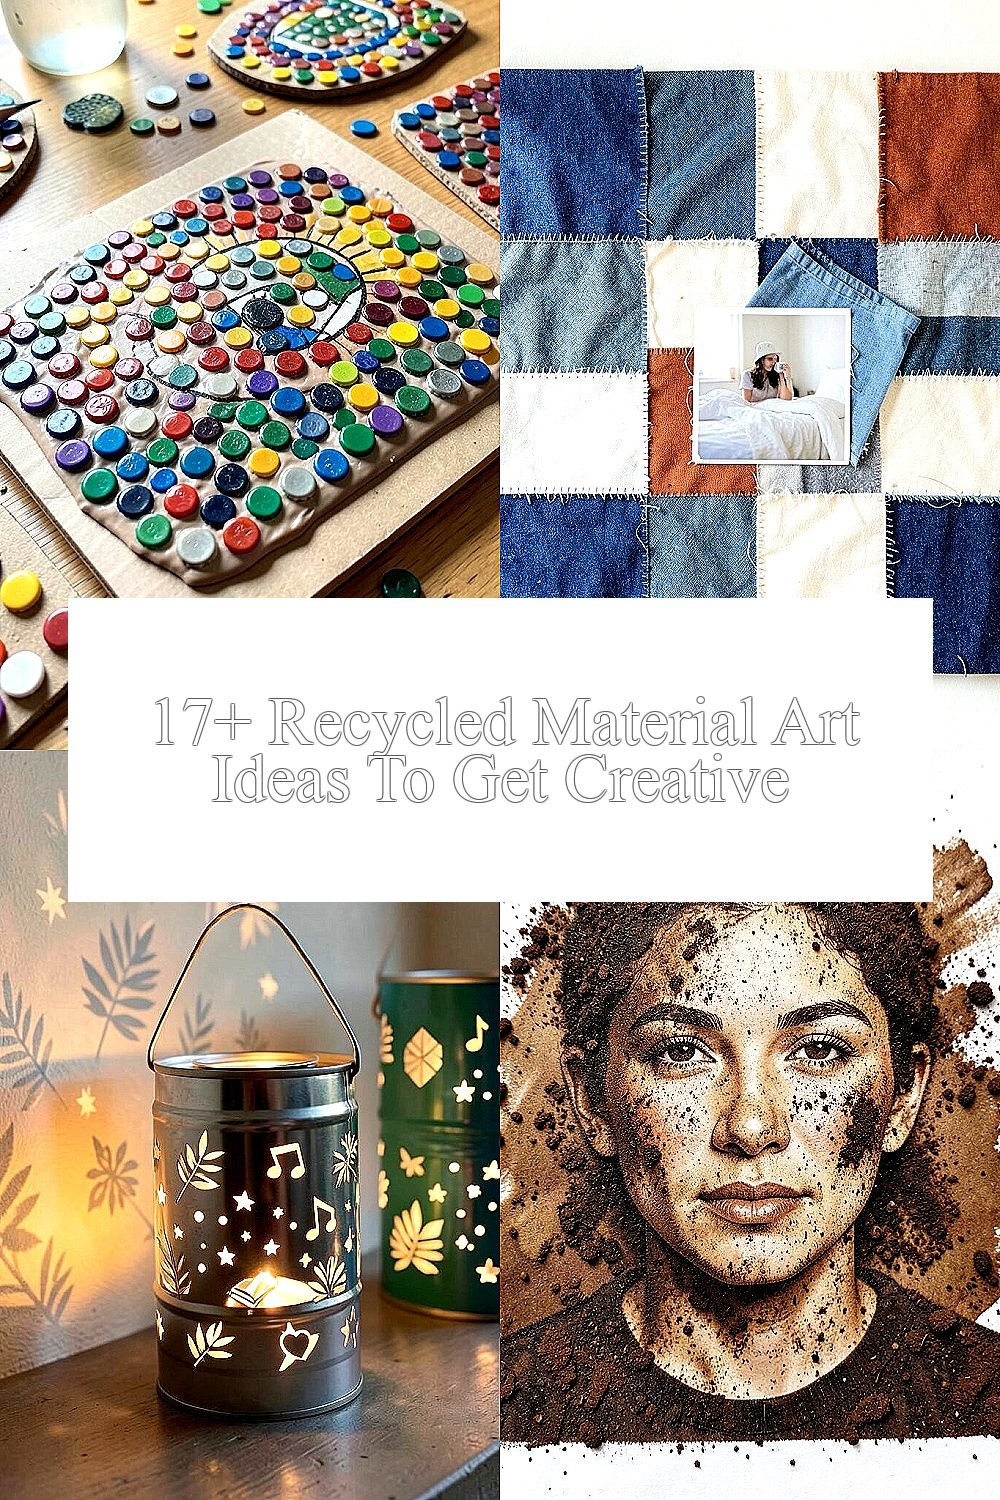
Imagine a warm glow shining through tiny shapes cut into a metal can. It can cast leaf patterns, stars, or playful geometric designs across a wall.
Clean the cans well and paint them if you want a bold base color. Use a nail and hammer or a craft punch to create holes, then add a tealight-safe holder inside.
To keep things safe, use non-dripping adhesives and place the lantern on a stable surface. These lanterns are low cost since cans are easy to find, and right now handmade outdoor lighting is trending for patios and balconies.
Personalize by cutting shapes that match your hobbies, like musical notes, books, or a small heart for gifts.
4. Coffee Grounds Texture Paper Portraits

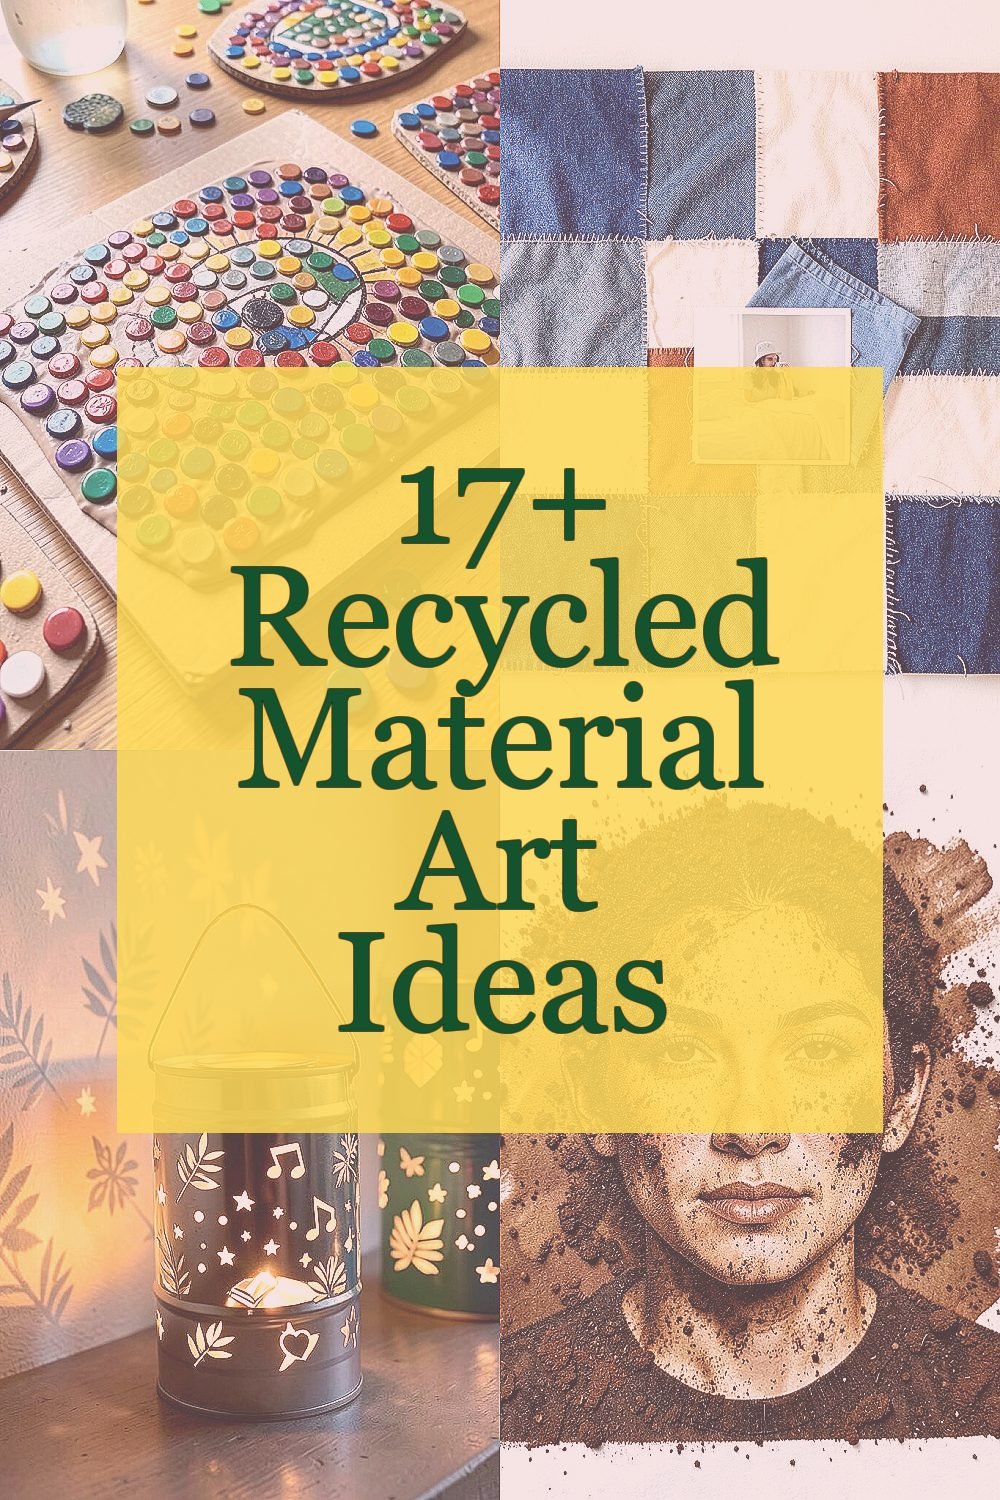
Picture paper that looks like soft, earthy skin, with speckles and natural browns. Coffee grounds can add a gritty, interesting texture that makes portraits feel layered.
Mix used coffee grounds with a little flour or glue to create a paste, then spread it over paper in the areas you want shadow. Build faces in simple shapes first, then add texture where hair, cheeks, or clothing would feel darker.
5. Old Cardboard City Skyline Models
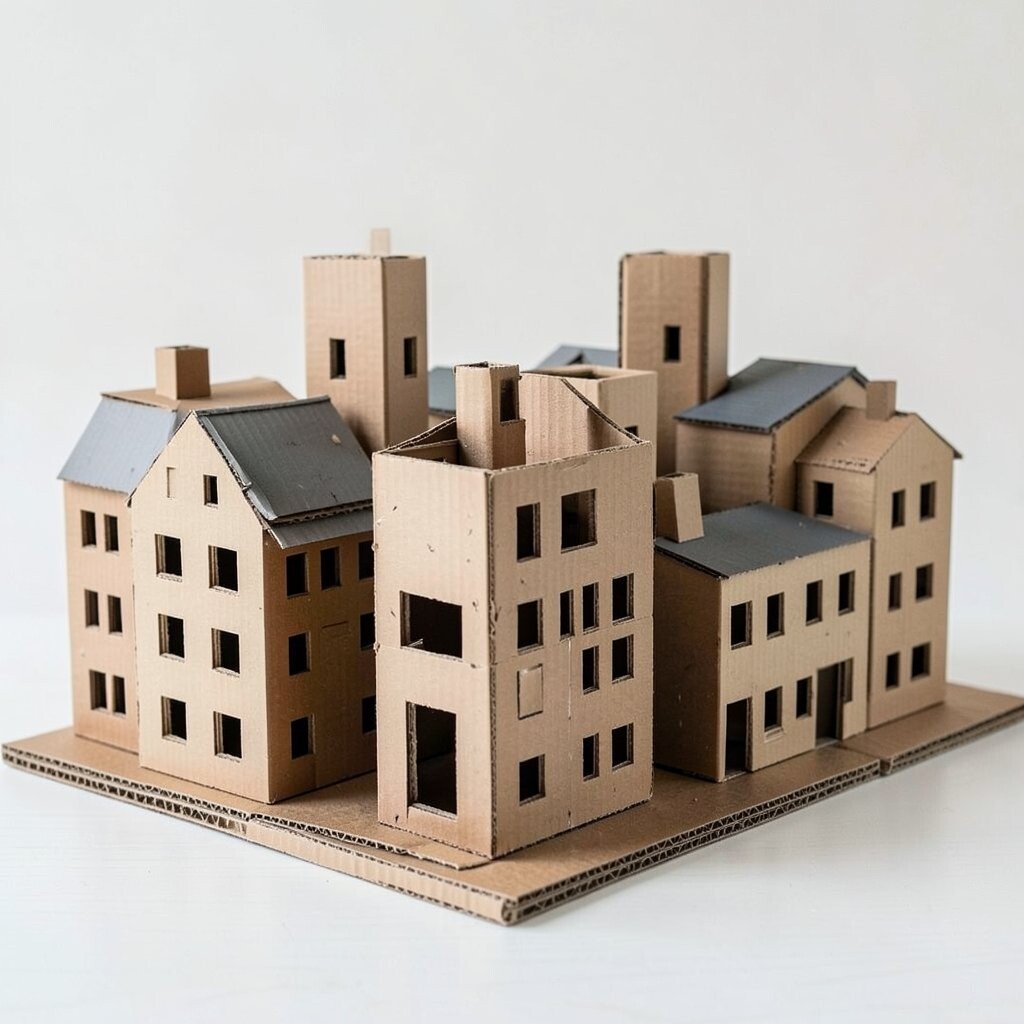
See a skyline made from flattened boxes and scraps stacked into real-looking buildings. You can cut windows, add rooftops, and paint details so it feels like a tiny neighborhood.
Use corrugated cardboard for sturdiness, then score lines to fold walls and corners. Stack layers for depth, and cut neat rectangles for windows using a craft knife or scissors.
For cost savings, keep shapes simple and reuse packaging you already have. A popular trend in maker circles is “small world” dioramas, and cardboard is a perfect base for that style.
6. Magazine Collage Rainbow Wall Art
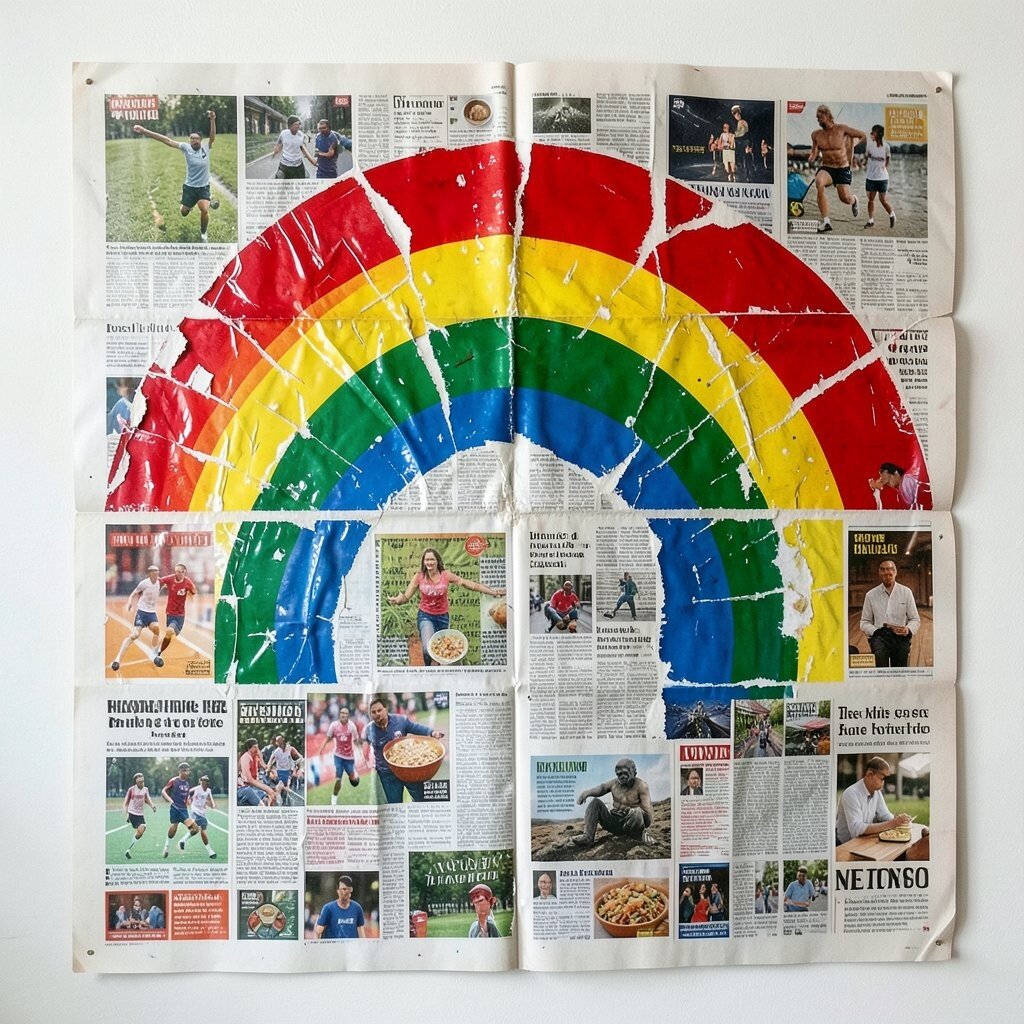
Imagine a bold rainbow made from torn magazine pages, where each color has its own personality. Glossy ads and old articles can give your art a shiny, lively look.
Tear pieces into different sizes, then arrange them on a sheet in rainbow bands. Glue them down and press gently so the pieces stick without bubbles.
Try personalizing by using pages from topics you love, like travel, sports, or cooking. If you want it to last, seal it with a clear matte medium so colors stay bright.
7. Reclaimed Wood Letter Signs
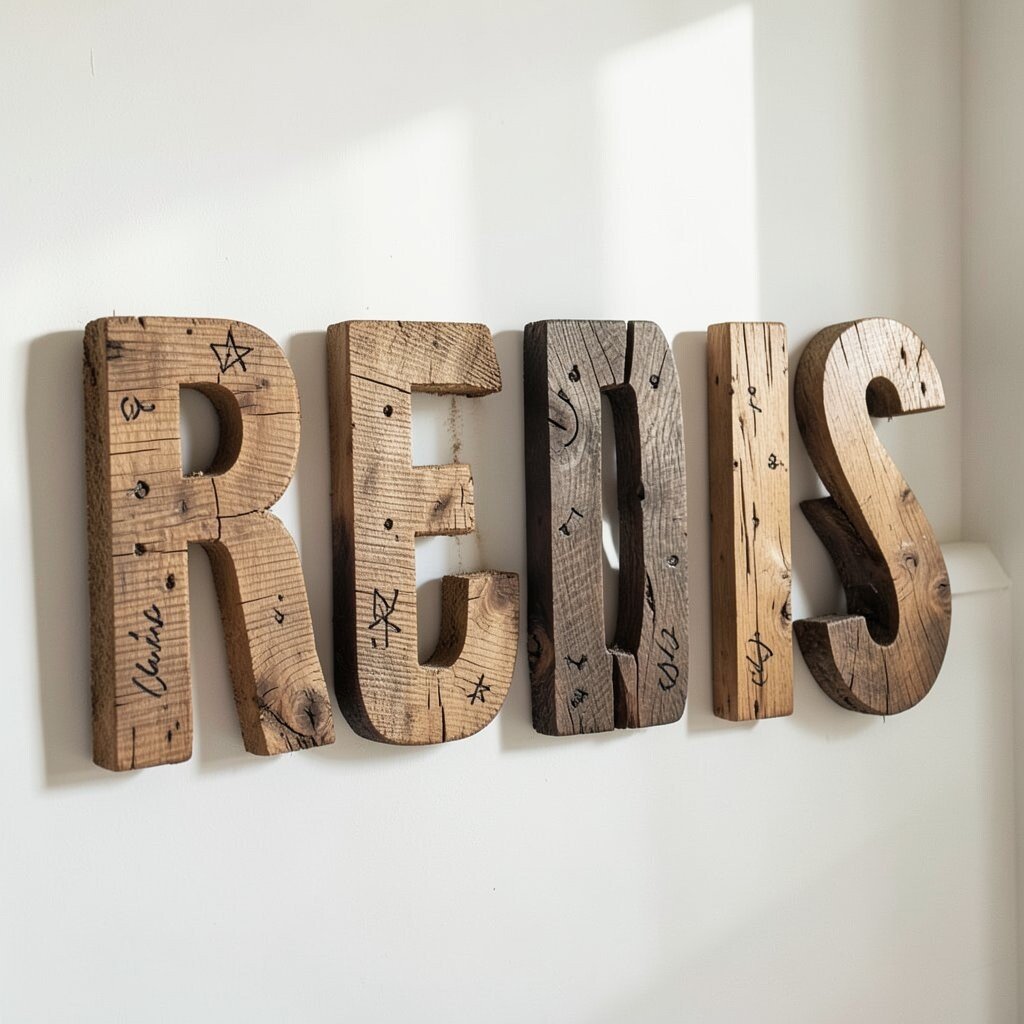
Picture a set of chunky letters made from scrap wood, with grain lines visible like natural handwriting. These signs look great in a home office, hallway, or bedroom.
Cut letters from scrap planks or plywood scraps, then sand edges so they feel smooth. Paint or stain lightly, and keep some wood unpainted for a warm, rustic vibe.
To make it feel modern, use a clean font shape and a limited color palette like black and natural wood. This idea is budget friendly because reclaimed wood is often free from leftover projects or local listings.
Personalize by adding small engraved dots or tiny stamped symbols that match your initials or family tradition.
8. Egg Carton Flower Garden Wall Decor

Imagine flowers that look like they’re growing right from your wall. Egg cartons turn into petals with gentle curves and lots of little ridges.
Cut out the cups, then shape petals by trimming the edges. Paint them, add pipe cleaner stems, and glue onto a backing board like a bouquet.
For extra realism, mix paint shades so some petals are brighter and others are faded. This kind of textured decor is popular right now because it looks handmade, not store-made.
9. Lid and Spool Steampunk Keychains
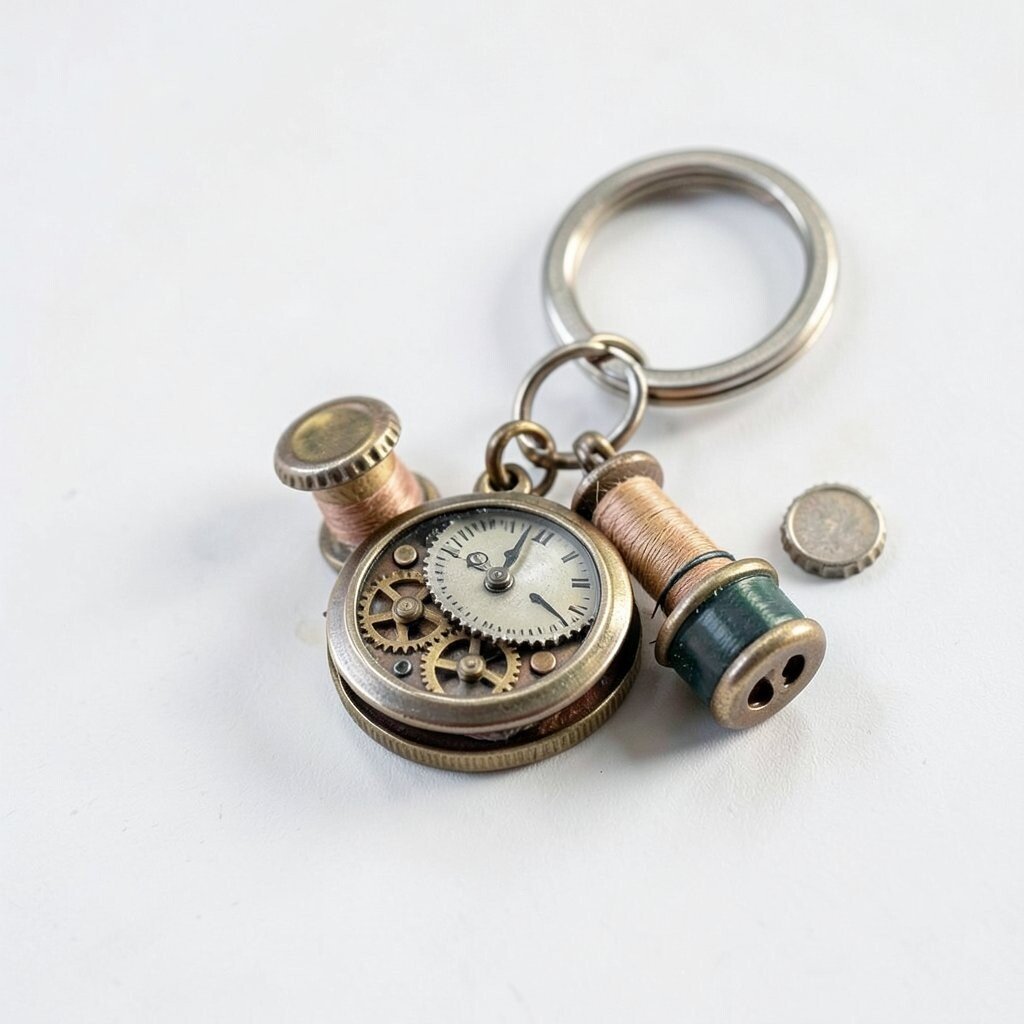
Picture a keychain that swings slightly and catches light with metal-like details. Bottle caps, thread spools, and jar lids can build small steampunk gadgets.
Layer pieces with strong glue or small split rings, then paint accents with metallic colors. Add a jump ring for the keys and a few tiny charms if you want movement.
Make it personal by matching the colors to your bag or outfit. You can keep costs down by using spare hardware from old craft jars.
Uniqueness shows up in the tiny choices, like whether the “watch” face is a cap or a button.
10. Candy Wrapper Shimmer Ornaments

Imagine decorations with a shiny, crinkly sparkle that moves when you touch them. Clean candy wrappers or snack bags can create eye-catching shapes.
Cut foil-like wrappers into strips or triangles, then fold them into geometric ornaments. Tie them with string and punch a hole at the top so you can hang them easily.
These are great gifts because they look special but cost almost nothing. For a current trend, try minimalist shapes with lots of negative space, then cluster them on one branch or wreath.
11. Paper Bag Stencil Nature Art

Think of soft, earthy patterns made from a humble paper bag. When you cut stencils and spray or sponge paint over them, you get crisp shapes with a handmade feel.
Draw a leaf or feather stencil, then cut carefully and place it on cardboard or thick paper. Use a sponge brush to apply paint in light layers so edges stay clean.
Personalize by collecting real leaves and using their outlines, then repeating the shapes in different sizes. It’s an easy, low-cost way to add natural texture to your home.
12. Broken Tile Photo Frame Revival
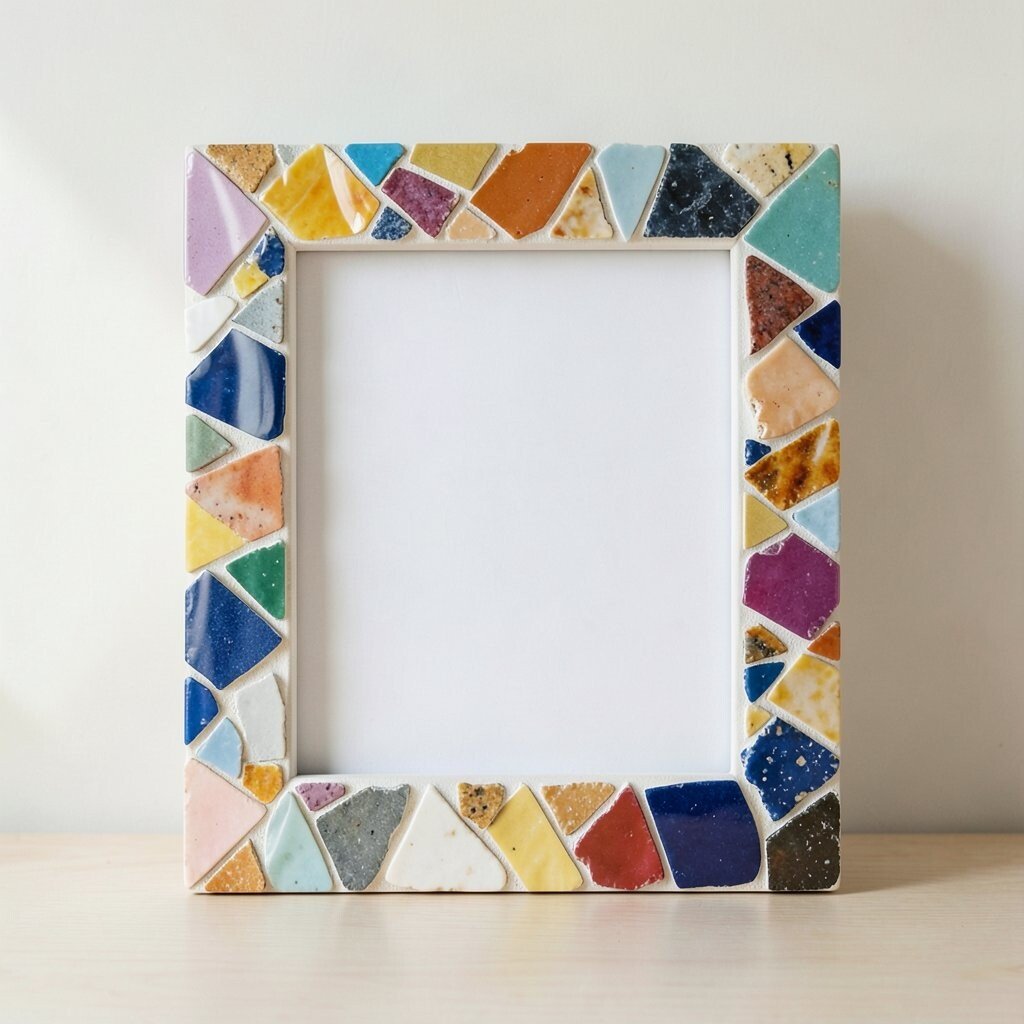
Picture a plain photo frame that suddenly has a mosaic edge. Broken tiles, ceramic chips, or even colorful plate fragments can add color and shine.
Clean and sort pieces by size, then glue them around the frame border. Leave tiny gaps for character, and grout if you want a smooth finish.
To keep it practical, choose a sealant that protects against dust and moisture. This style has been popular for years, and it still fits modern spaces because tiles create a clean, geometric look.
13. Plastic Bottle Planters for Upcycled Herbs
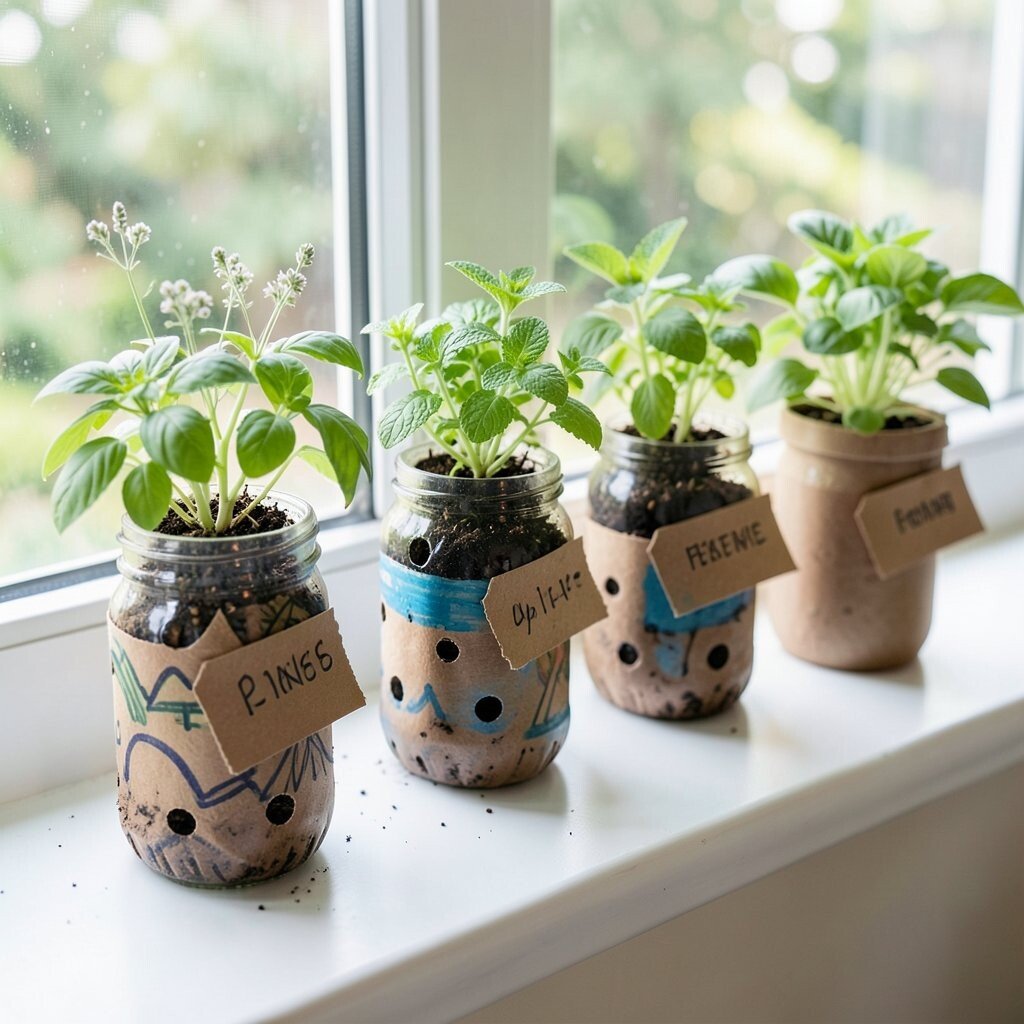
Imagine tiny herb planters lined up on a windowsill, each one shaped from a bottle you would have tossed. Growing something small makes the art feel alive every day.
Cut bottles, punch drainage holes, and decorate with paint or marker patterns. Add soil and seeds, then label the planters with handmade tags for a cozy, personal touch.
Use lighter plants like basil, mint, or lettuce so they grow well in small containers. The cost is low if you already have bottles, and home growing has become a popular trend for people who want calm, green corners.
Uniqueness comes from the shapes, so try different cuts for different plant vibes.
14. Puzzle Piece Memory Wall Collage
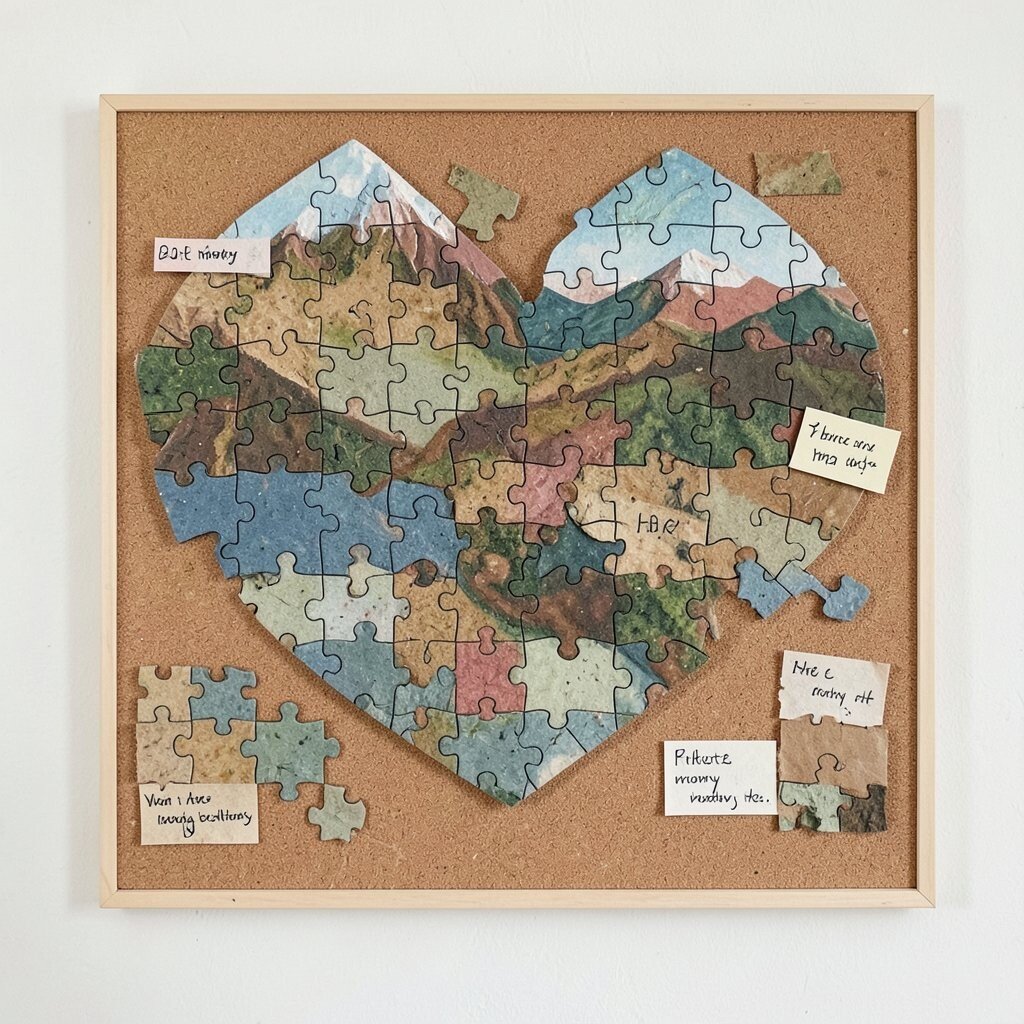
Think of a wall display built from old jigsaw puzzles that used to sit in a box. Each mismatched piece becomes part of a larger story.
Arrange pieces on a canvas or cork board to form a loose scene, like a mountain or a heart. Glue them down, then add small labels by writing on strips of paper and placing them near the pieces.
For personalization, include dates, names, or short memories written in your own handwriting style. This kind of personal collage is trending because it feels sentimental and creative at the same time.
15. Tin Foil Relief Art for Abstract Designs
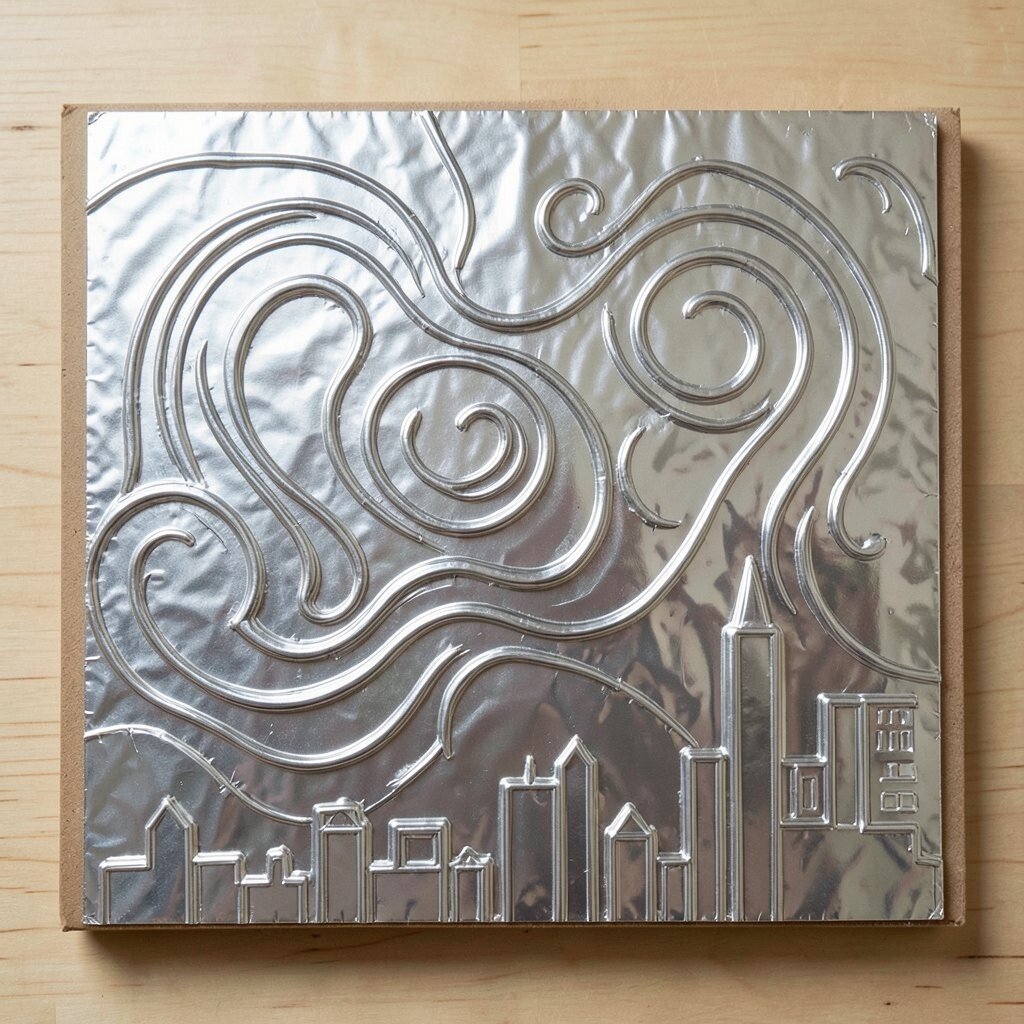
Imagine abstract shapes that look like they were carved from metal. Tin foil relief art creates raised lines and shiny highlights that change with the light.
Flatten foil on a sturdy board, then press patterns into it using crayons, pens, or textured objects. Build a design with swirls, waves, or city outlines, then gently add highlights by burnishing with a soft cloth.
This method is quick and low cost since foil is easy to save from kitchens. Personalize by using objects you like as stamps, such as a bottle cap rim or a lace scrap.
16. Old Sweater Yarn Pom-Pom Garland

Picture a garland that feels fluffy and warm, like a cozy scarf turned into decoration. Old sweaters can become yarn that makes soft pom-poms quickly.
Cut the sweater into strips, wrap strips around a cardboard template, and tie tightly in the middle. Pull the loops apart to form pom-poms, then trim for neat shapes.
String pom-poms with twine or thread, alternating colors if the sweater had different shades. This is a practical way to reuse fabric, and it fits current seasonal decor trends that favor handmade texture.
To personalize, add tiny charms like star buttons or mini felt letters between pom-poms.
17. Recycled Paper Coiled Basket Bowls
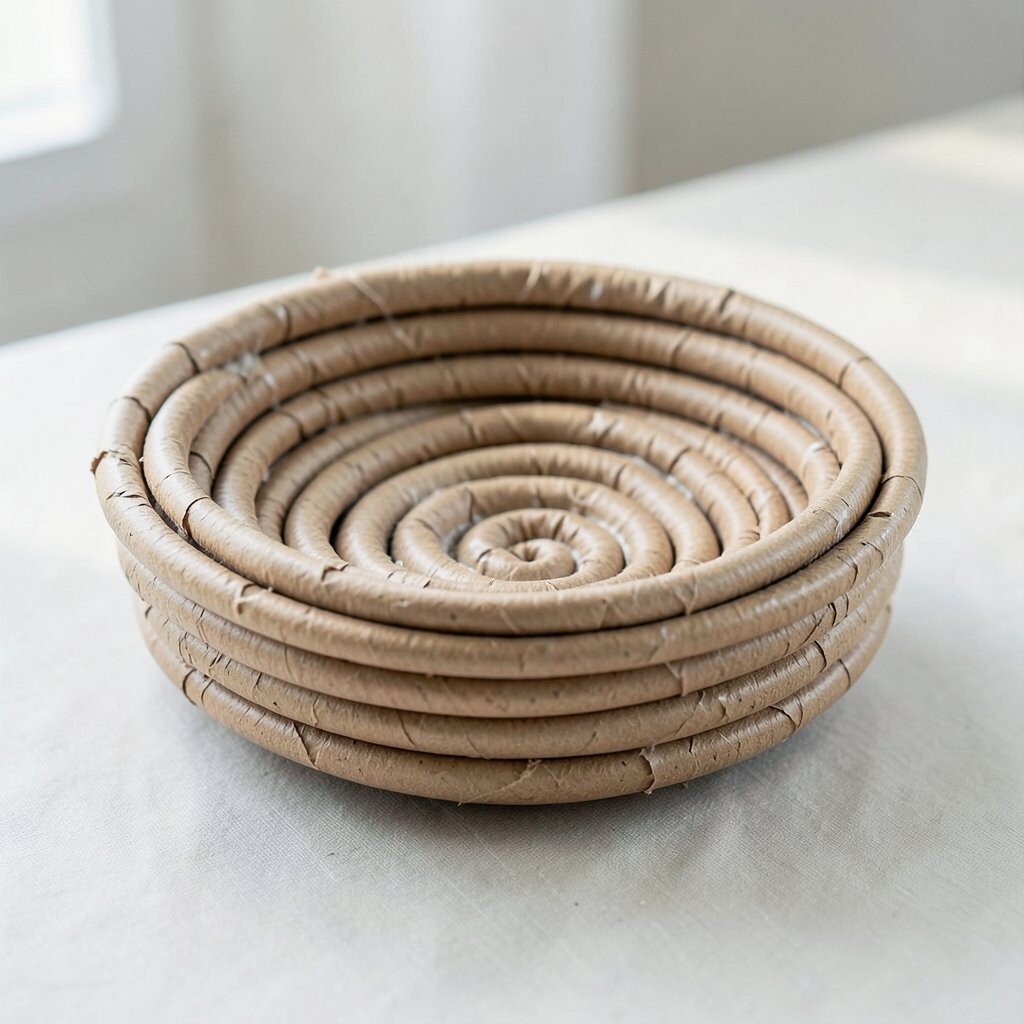
Imagine a basket bowl with a spiral texture that looks both neat and artistic. Coiling strips of old paper can create strong, lightweight containers.
Twist or roll paper strips, then coat them lightly with glue as you coil into a spiral. Build up walls gradually, then pinch the rim so it stays even.
After it dries, paint or seal it if you want a smoother look. This kind of upcycled craft is loved because it’s calming, inexpensive, and surprisingly sturdy for small storage.
18. Cookie Sheet Stained Glass Effects
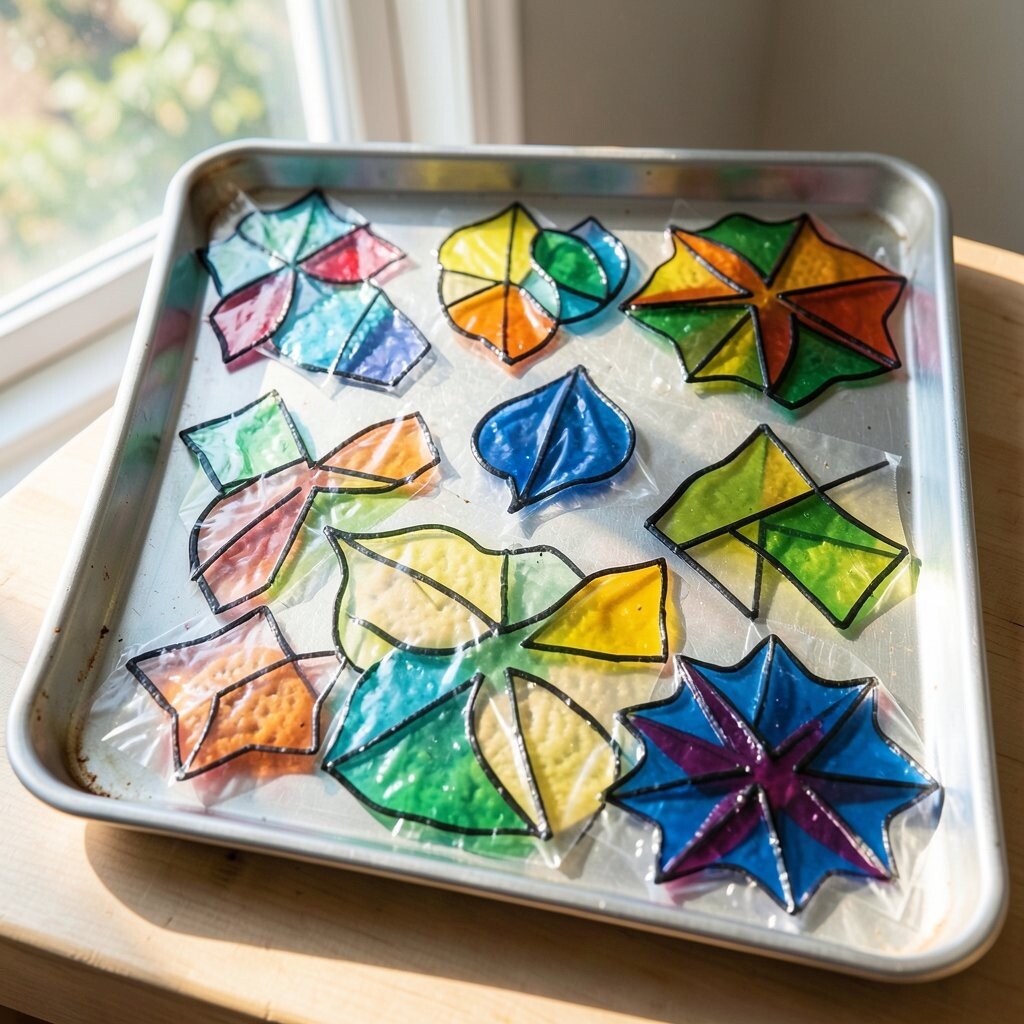
Picture a “stained glass” look made with old materials that catch the sun. You can use clear plastic packaging or thin bags to create colorful panels over a metal surface.
Clean a cookie sheet, then cut plastic pieces into shapes and tape them down. Add translucent layers with different colors, then outline sections with paint that dries clear or with permanent marker lines.
For cost considerations, this uses scraps from packaging and leftover craft supplies, so you can keep spending low. If you hang it in a window, it creates a bright effect, and sun-catcher art is a popular trend because it feels cheerful without big effort.
Personalize by choosing colors that match your room, or by making simple shapes like leaves, stars, or geometric bursts.