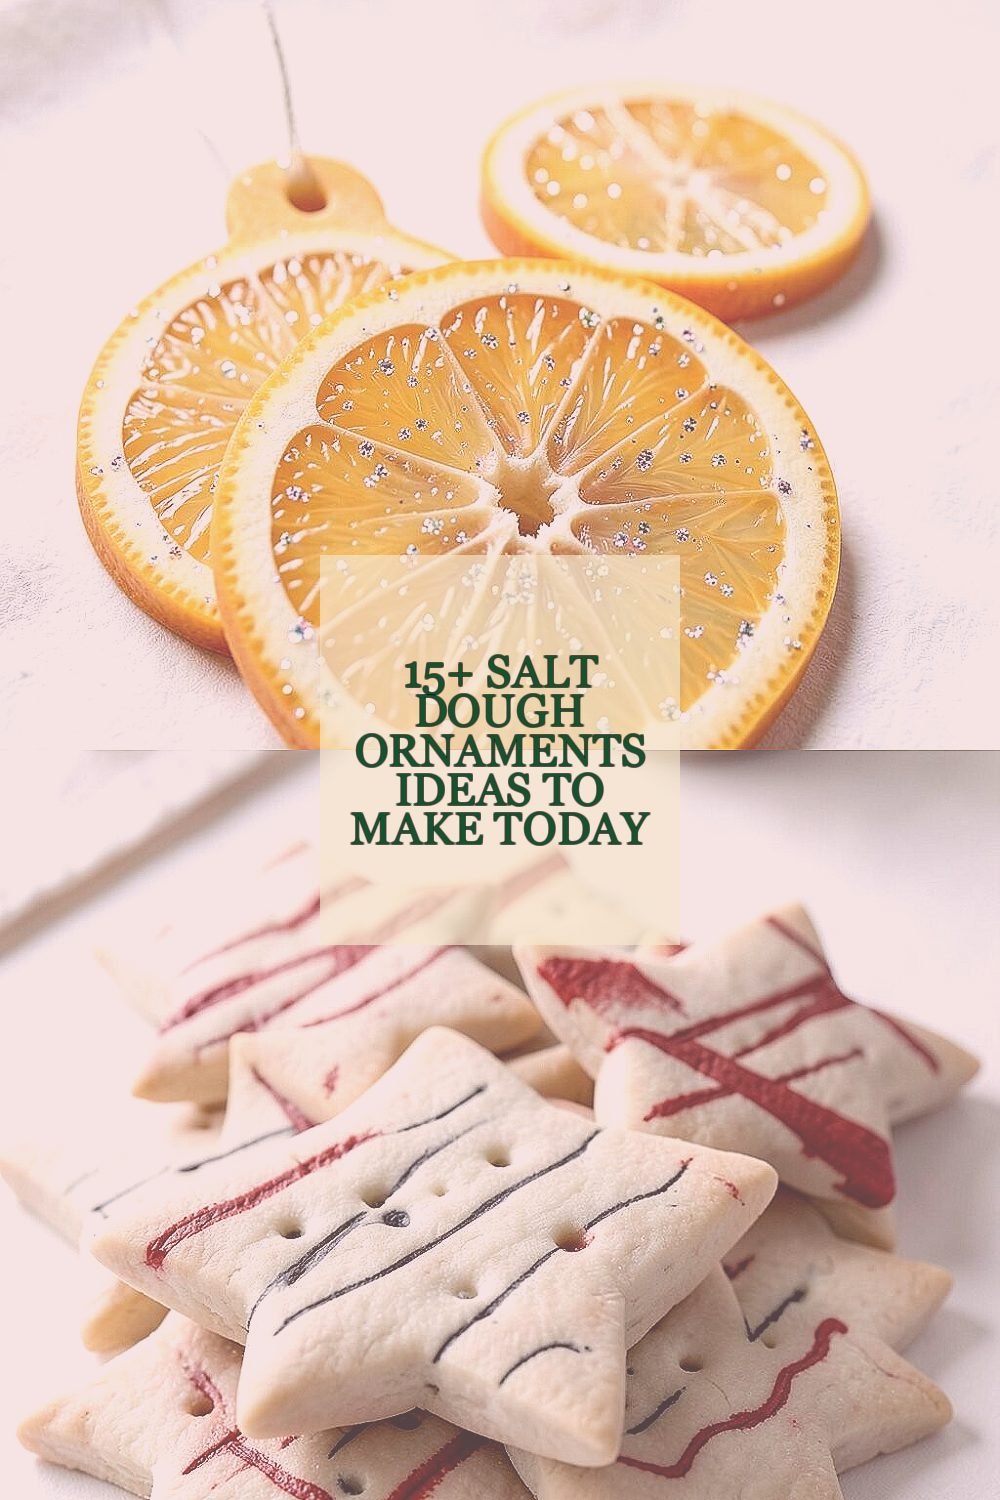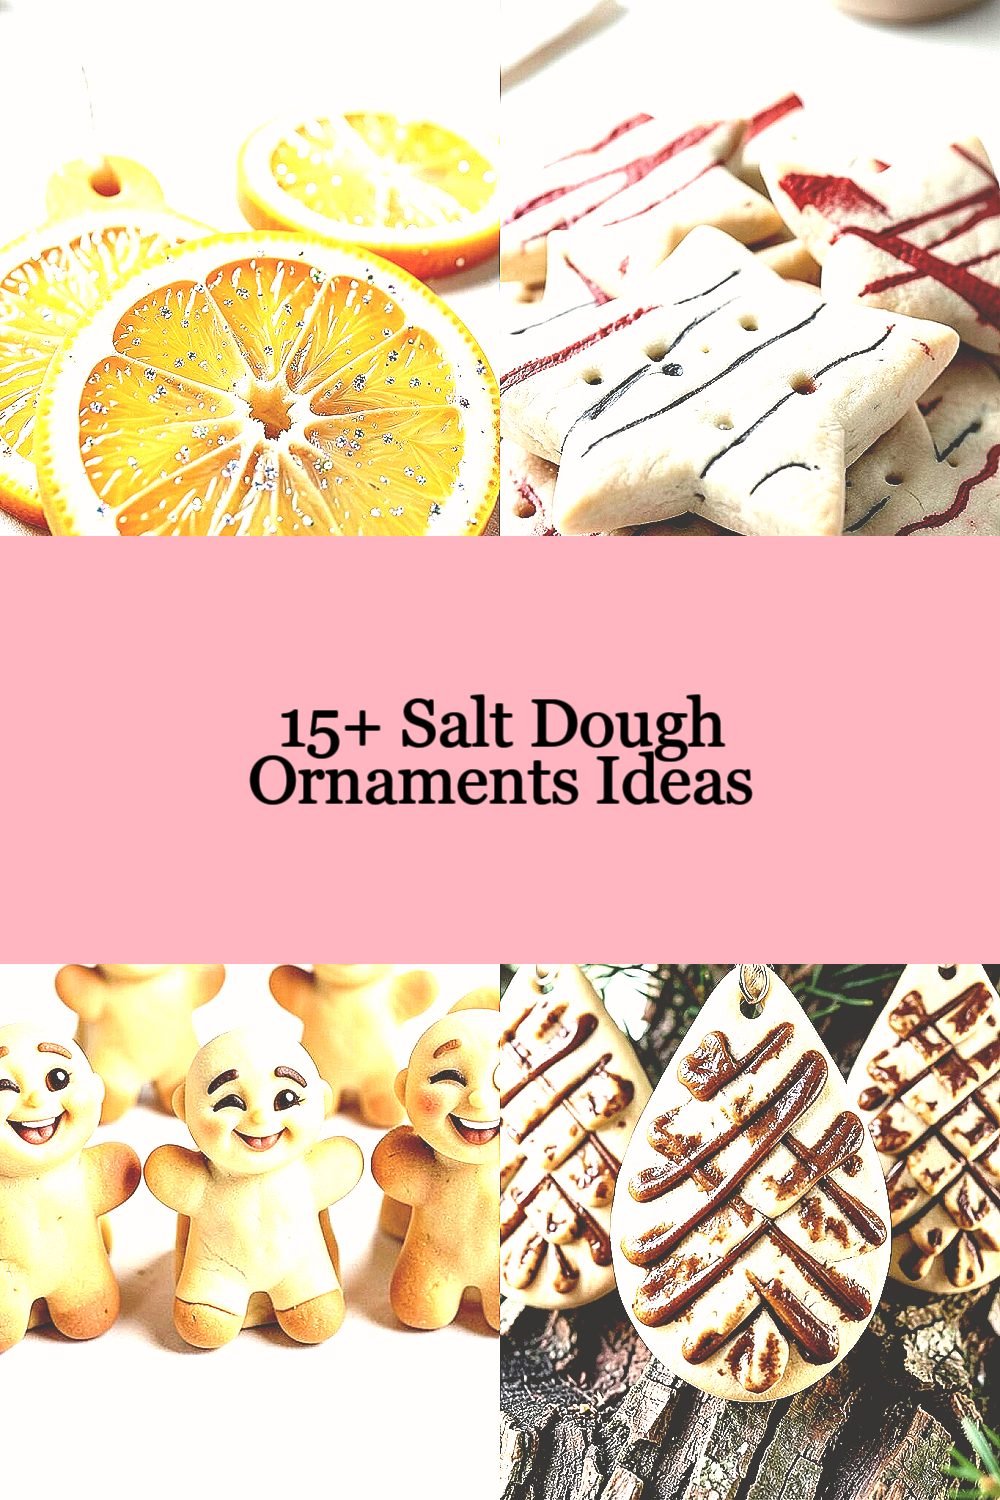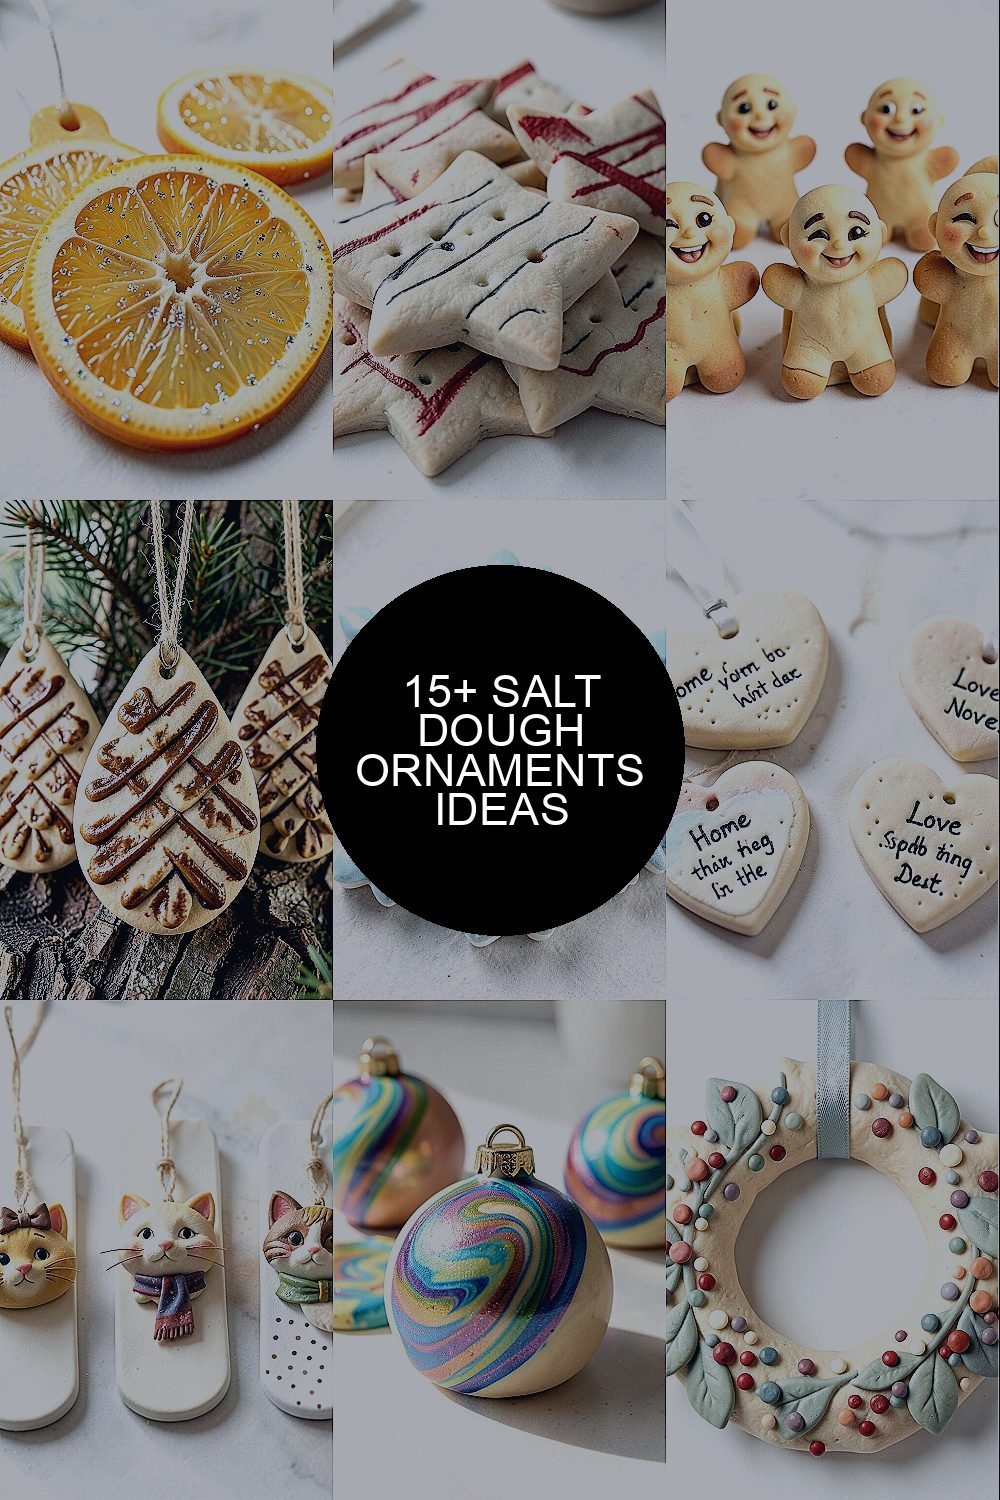
Something magical happens when flour, salt, and water turn into decorations you can hold. You’ll get cozy, creative results that look sweet on a tree and even better as gifts.
Gather your supplies and pick a shape that feels fun to you. These ornaments are simple enough for a busy day, yet special enough to keep year after year.
1. Citrus Slices With Sparkle
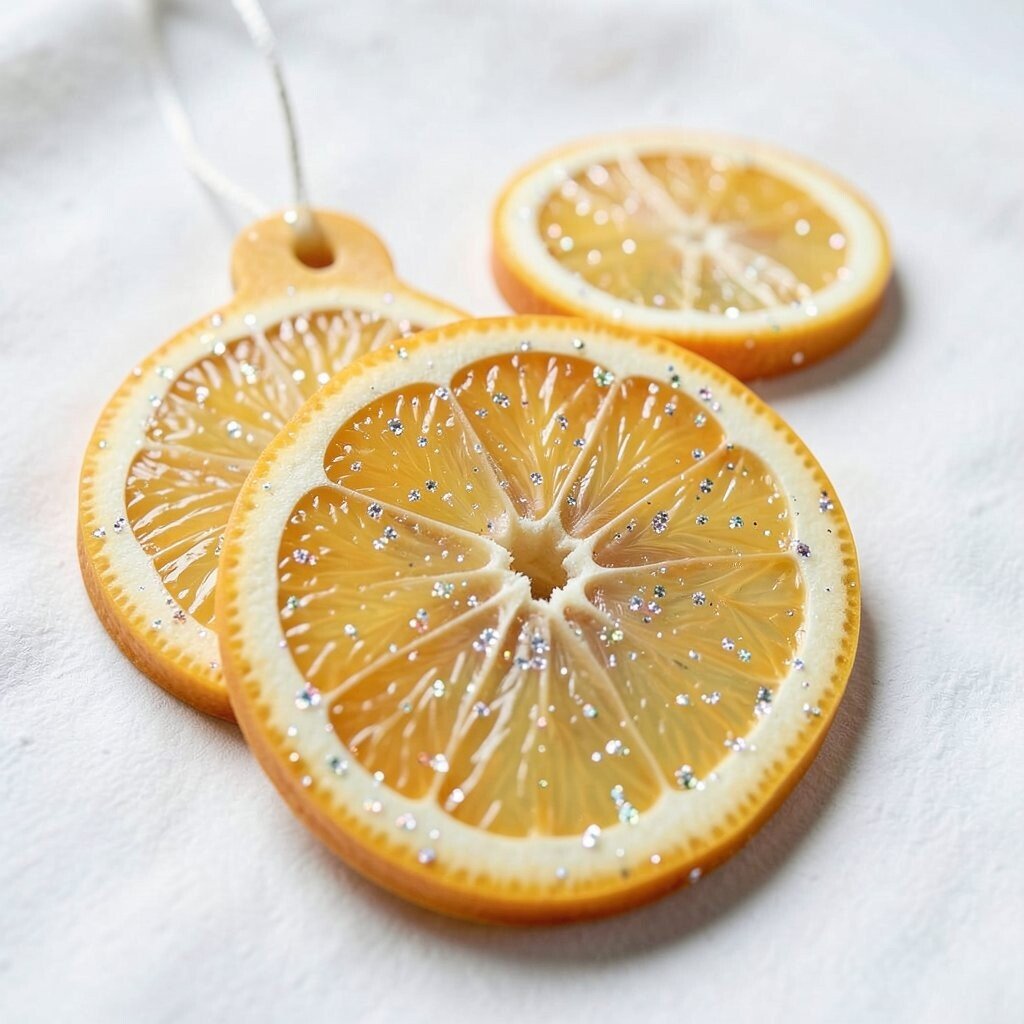
Slice a real orange in your mind and bring that sunny look to your dough. Shape thin rounds, press a few rind lines, and lightly shade the edges with a brush.
When they bake, the “citrus” color makes the ornament look fresh and bright. The dough is lightweight, so it won’t tug on delicate tree branches.
For a practical finish, poke a small hole near the top before baking so hanging is easy. Add a tiny bit of glitter to the raised ridges and let it catch the light from different angles.
2. Classic Stars With Hand-Drawn Lines
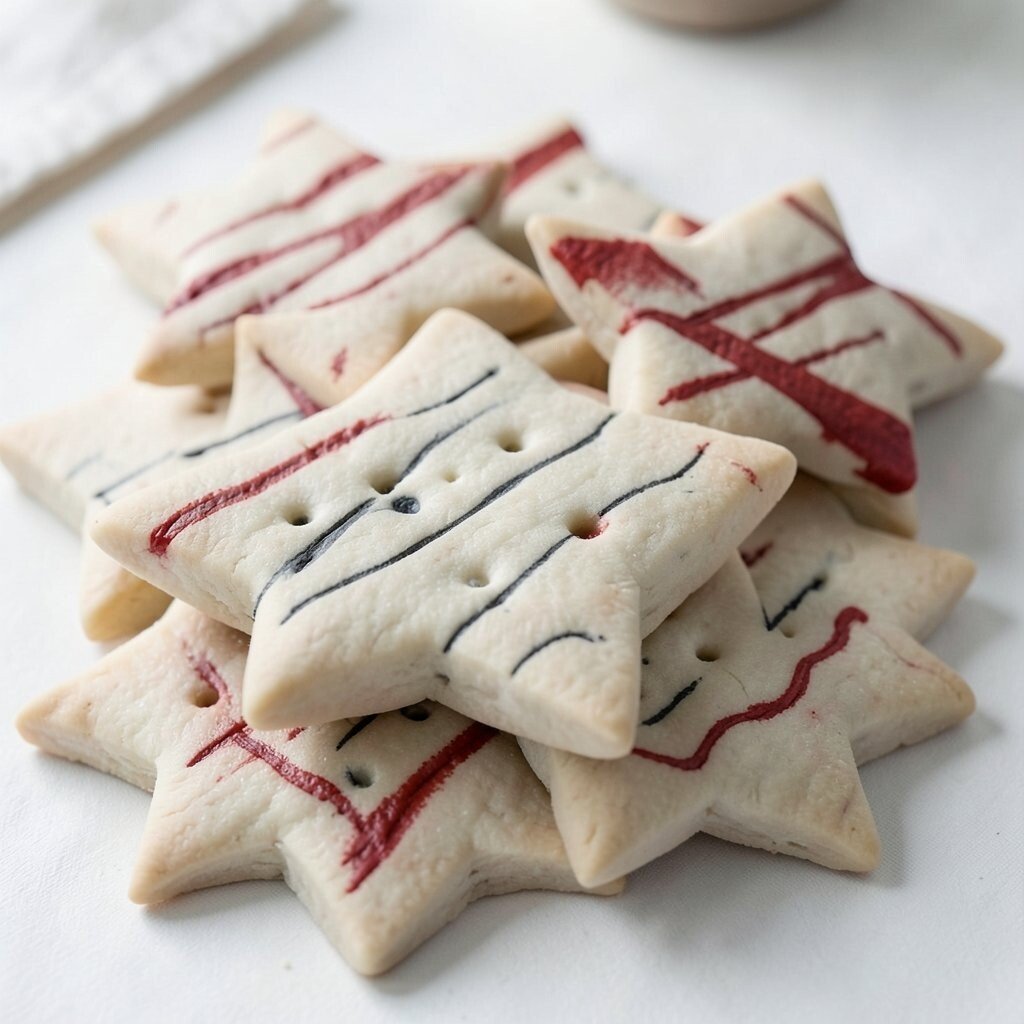
Roll the dough and cut crisp stars of different sizes for a layered look. After baking, you can paint simple stripes, dots, or wavy lines with a thin brush.
Stars always feel festive, but your marks make each one unique. Use a toothpick to lightly score tiny lines so the texture shows even if your paint is minimal.
Keep cost low by using inexpensive craft paint and reusing small caps for mixing colors. Personalize by matching the stripe colors to your home decor, like soft neutrals or bold reds.
3. Mini Gingerbread People With Big Smiles
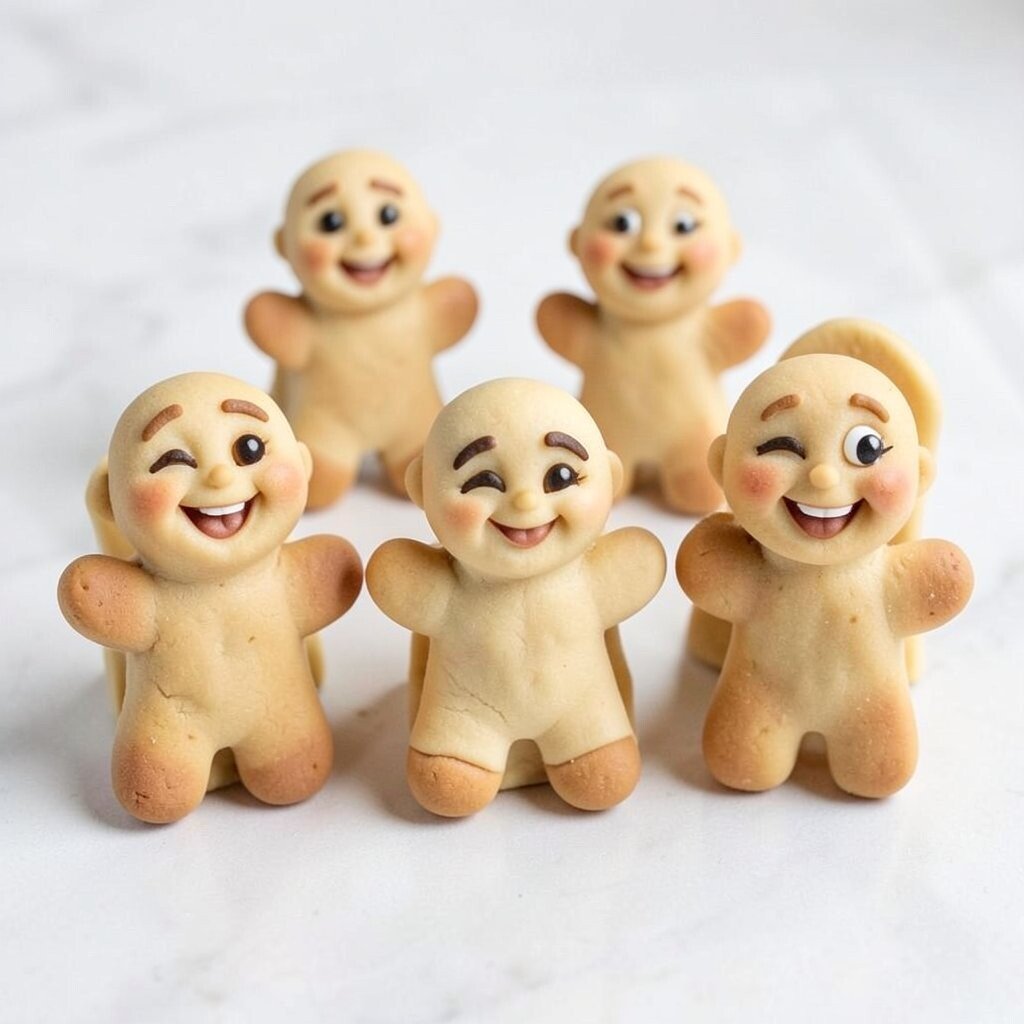
Form little bodies by rolling dough into small rectangles and pinching edges for arms and legs. Add a rounded head and press in eyes with a small end of a spoon.
Once baked, the faces look sweet and full of character, even when they aren’t perfect. This is one of those projects where kids can help and adults can still feel proud.
For practical tips, keep details shallow so they don’t break off. Let the ornaments fully cool before painting so the colors stay smooth and don’t smear.
Make them unique by using different expressions, like raised brows, wink eyes, or tiny cheeks. You can also add a slightly curved “stand” by attaching a small backing dough bump behind the figure.
4. Pinecone-Style Texture Ornaments
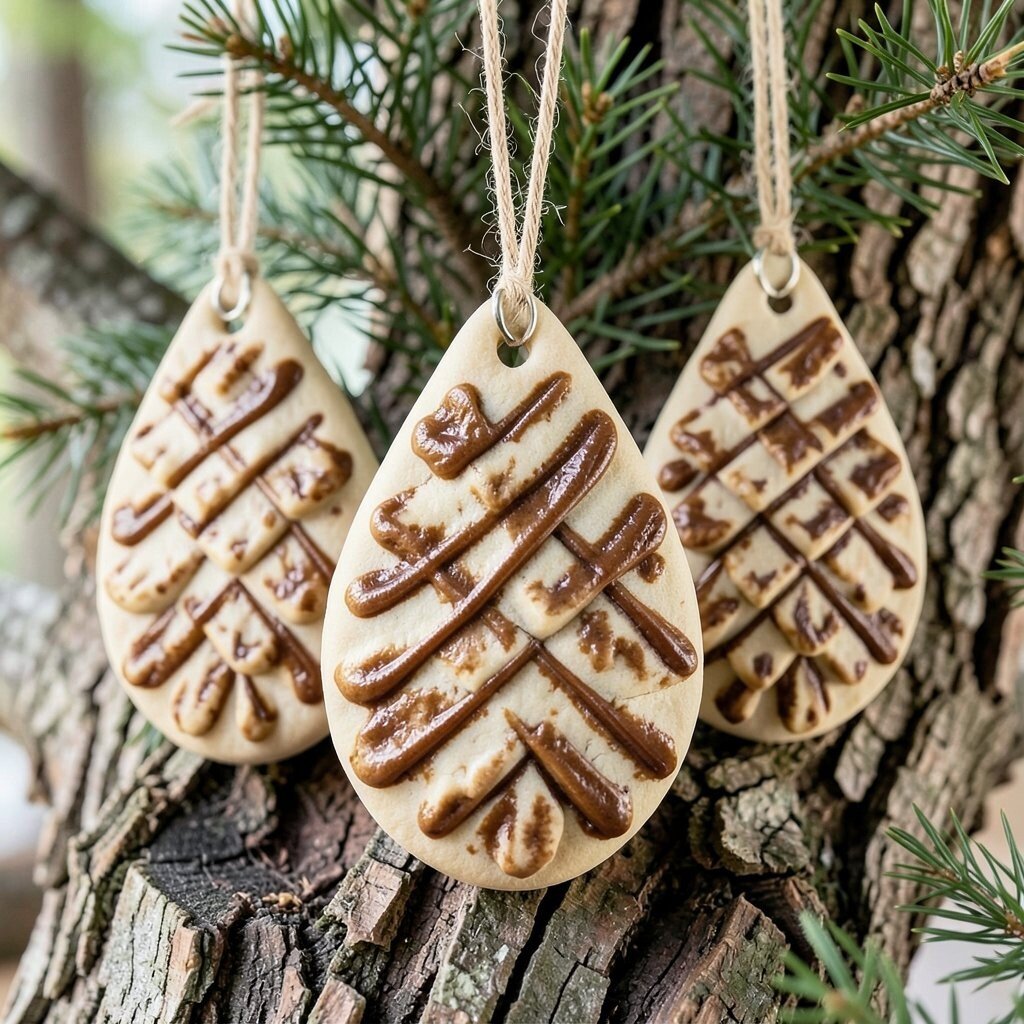
Press the dough with textured surfaces to mimic pinecones, like a fork, crumpled paper, or a patterned craft mat. Shape a teardrop or oval base, then press lines toward the center.
As they bake, the raised texture gives a cozy, woodland feel that looks great on rustic trees. These ornaments also make thoughtful gifts because they look “grown-up” and detailed.
To make hanging easy, insert a loop of twine or a small metal ornament hook through the top hole before baking. For personalization, paint only the ridges with a warm brown wash and leave the low areas lighter.
5. Snowflake Cutouts With Layered Centers
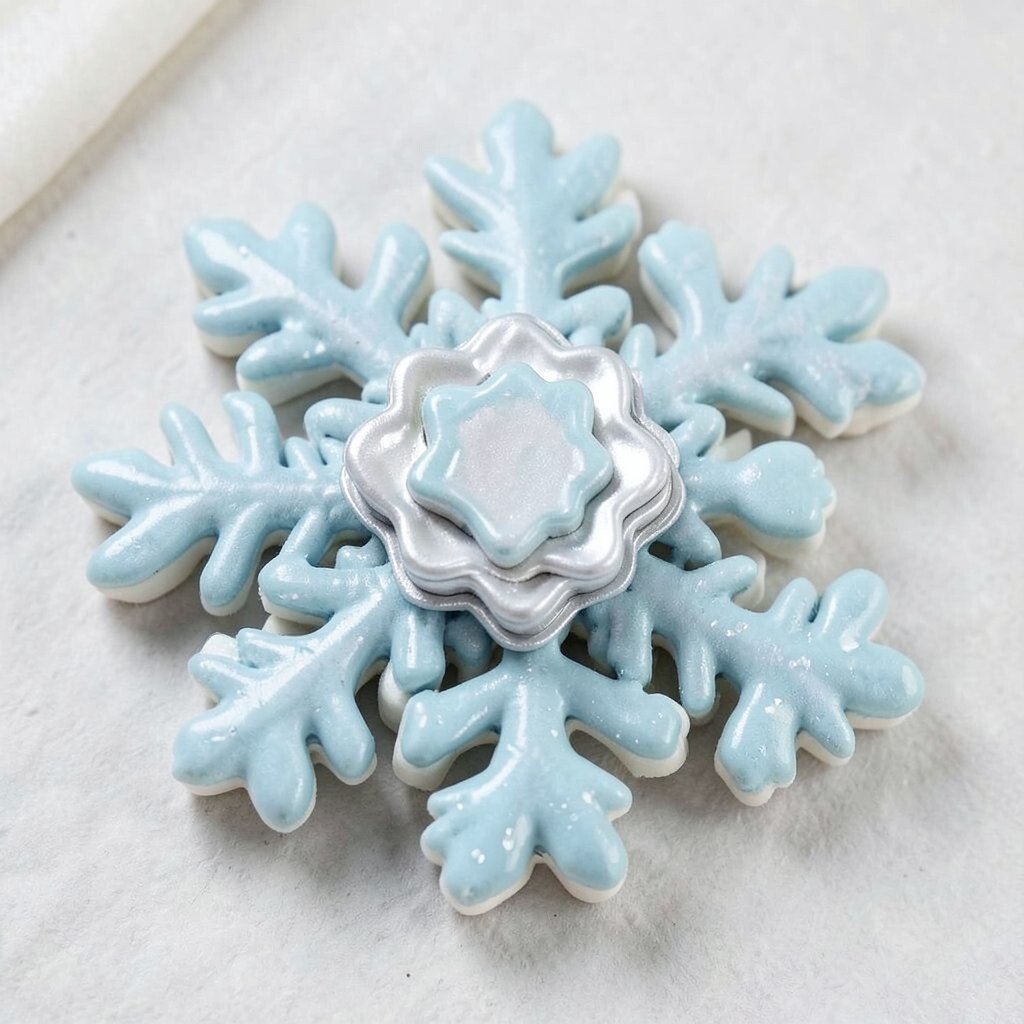
Cut snowflakes using cookie cutters, then cut a second smaller shape and stack it in the center. Lightly press the layers together so the ornament holds its shape.
Layering makes the snowflake look deeper and more interesting from every angle. The clear crisp pattern also works beautifully when you use a glossy finish.
Use practical steps like sanding rough edges gently with your fingertip once fully dry. Personalize by choosing paint tones such as frosty blue, silver, or white-on-white with pearl color.
6. Heart Ornaments With Tiny Message Notes
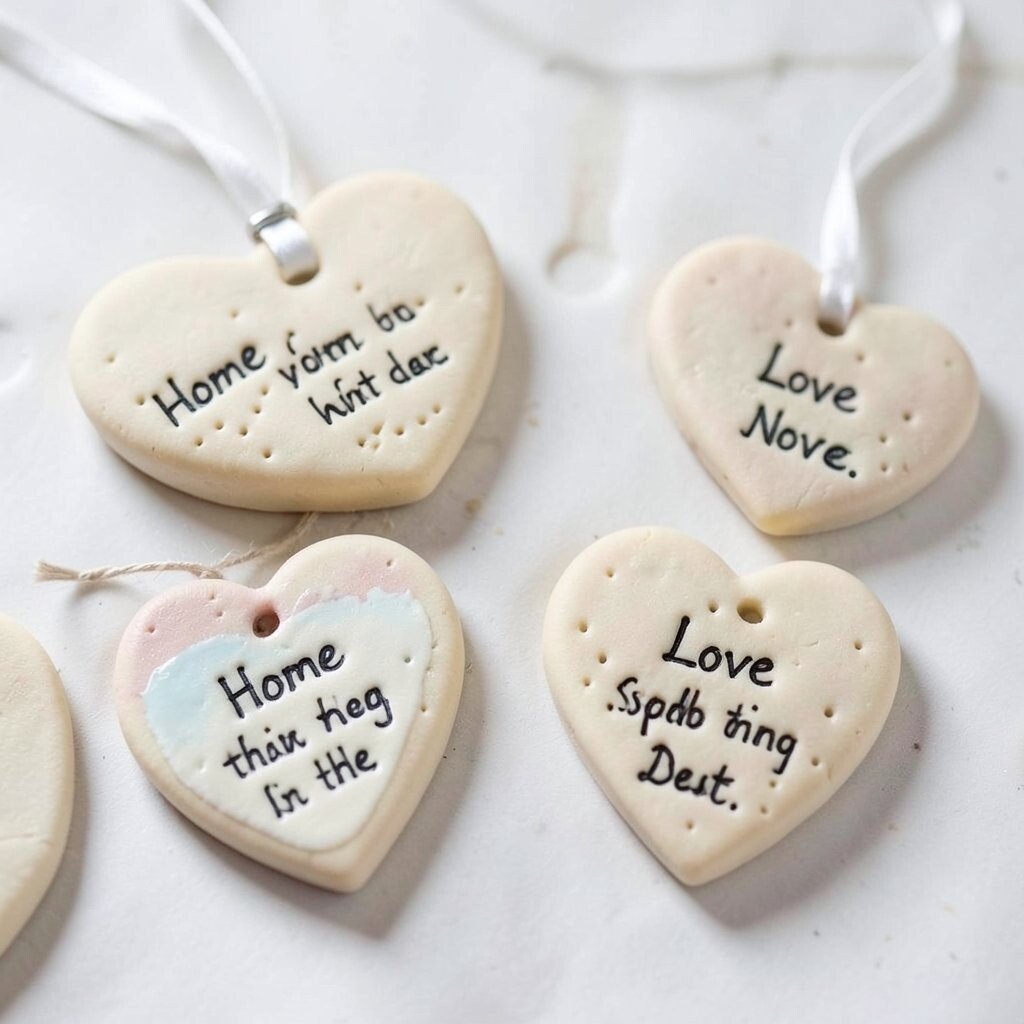
Use heart cutters or freehand hearts with a steady hand. Add small indentations across the surface where you can write short words later.
These hearts feel personal fast, especially when you paint them in colors your family loves. They’re also budget-friendly since most supplies come from a basic kitchen pantry.
Try writing short messages with a fine marker after baking, like “Home,” “Love,” or a special date. For a clean look, seal the marker with a thin coat of clear varnish so it stays bright.
To keep them durable, avoid thick dough lumps and bake until fully firm. A hole near the top lets you hang the ornament on a ribbon, a tiny clip, or a string tag.
7. Whimsical Animal Tags Like Cats and Birds
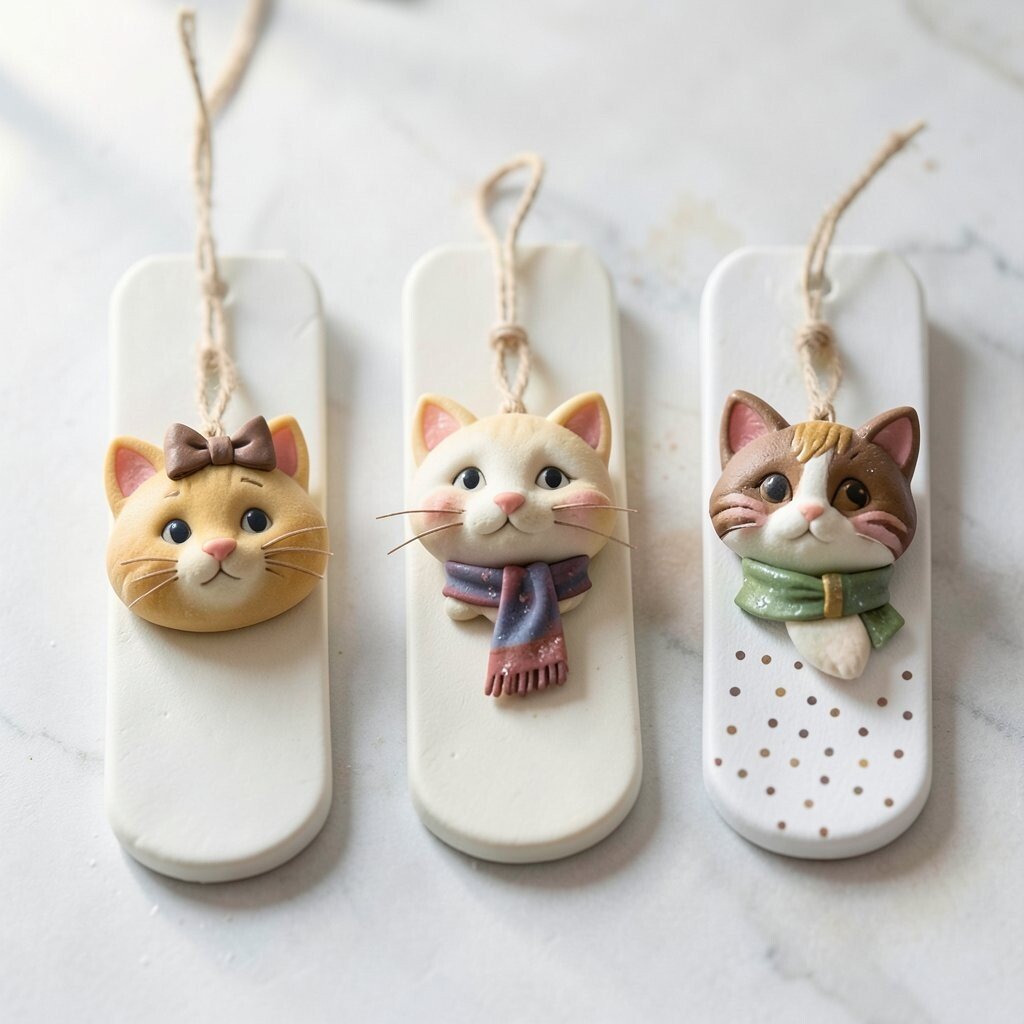
Shape small animal heads on top of tag-sized bases to create easy ornaments. Press in ears, beaks, or whiskers using simple tools, then smooth the edges with a damp fingertip.
Animal ornaments bring a playful vibe that still looks neat and festive. They’re a fun way to use up small scraps of paint and express your own style.
Cost stays low because you only need a few colors to make a big impact. Personalize each tag by giving one animal a bow, another a tiny scarf, and a third a dotted pattern.
8. Elegant Baubles With Marbled Paint Swirls
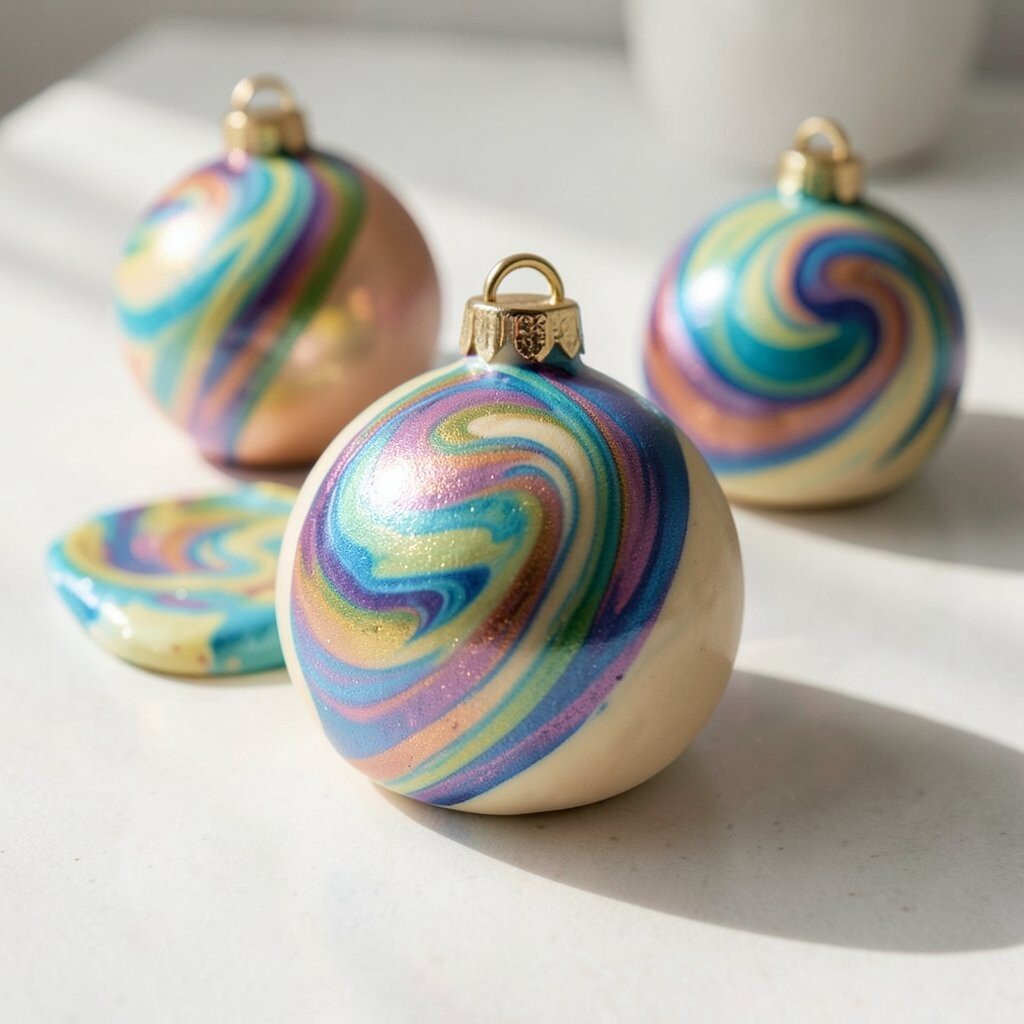
Roll dough into balls and flatten them slightly so they feel like classic baubles. Press a gentle ring around the middle and make a small top hole for a hanger.
After baking, paint marble-like swirls using two or three colors and a soft brush. The result looks fancy without requiring expensive supplies.
For practical tips, mix paint on a scrap plate and work quickly before it dries. Uniqueness comes from each swirl pattern, so no two ornaments ever look identical.
If you like current looks, try metallic paint for tiny highlights and a matte base for contrast. Seal with a clear coat so the shine stays even and the surface wipes clean.
9. Winter Wreaths With Confetti Dots
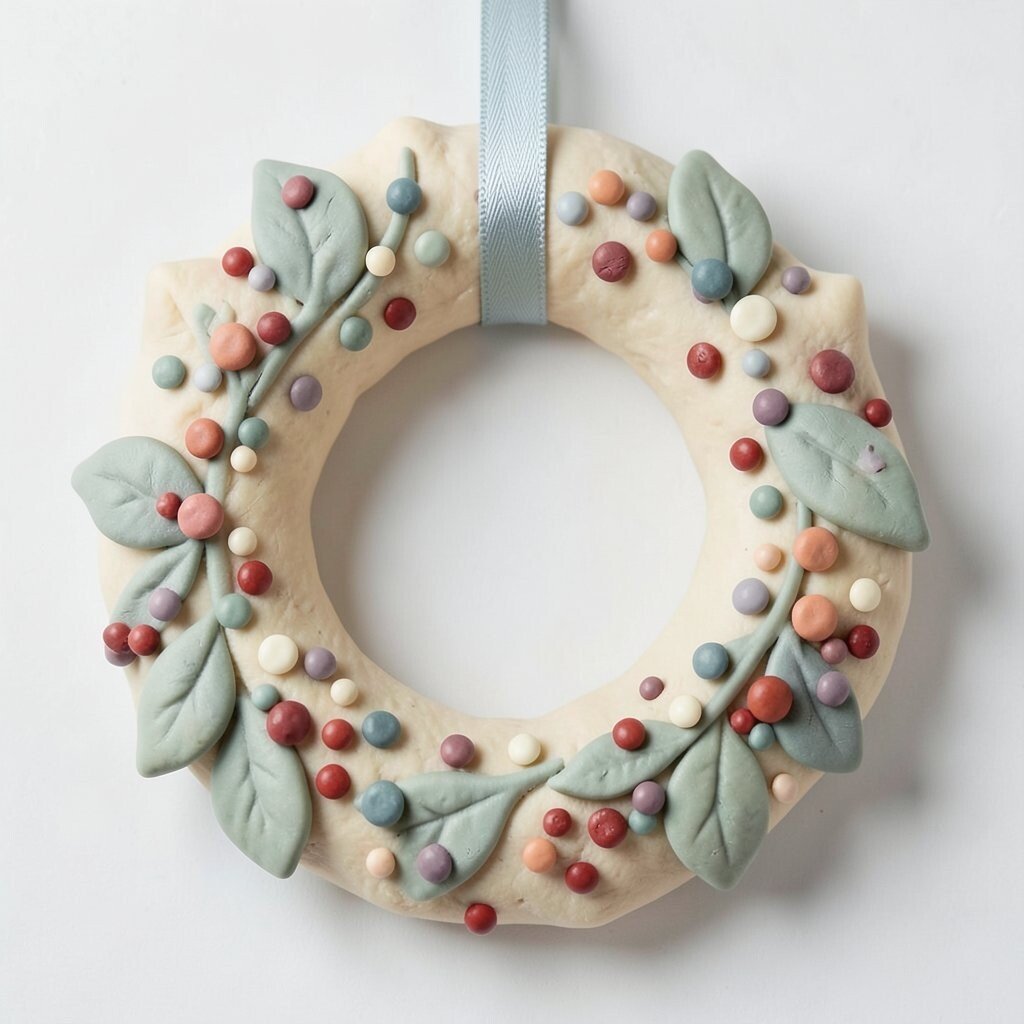
Form a circular wreath shape by rolling a thick ring from dough and pressing in a few leaf-like bumps. Add a cluster of small dot shapes around the wreath to mimic berries or confetti snow.
The wreath design makes the ornament look fuller, especially when you use contrasting colors for the dots. It also supports personalization since each wreath can have a different color theme.
Keep cost in check by using inexpensive craft paint and a single brush for most steps. For practical results, press the dots firmly so they don’t pop off during baking.
If you want a trend-forward look, use soft sage, muted red, and cream tones for a modern winter palette. Add a thin ribbon in a matching color for an extra polished finish.
10. Nameplate Ornaments With Glaze-Like Shine

Make a simple rectangular plaque, then cut a name shape into it using cookie cutter letters or careful hand-cutting. Smooth the edges so the plaque looks clean and friendly.
Personalized name ornaments feel extra special for family and friends. They also help you keep memories close since every year you’ll see the same spelling and design.
For practical tips, use a thin dough layer so the letters don’t become too heavy. Bake until hard, then apply paint, and seal with a glossy finish for a glaze-like shine.
11. Layered Lighthouse Scenes
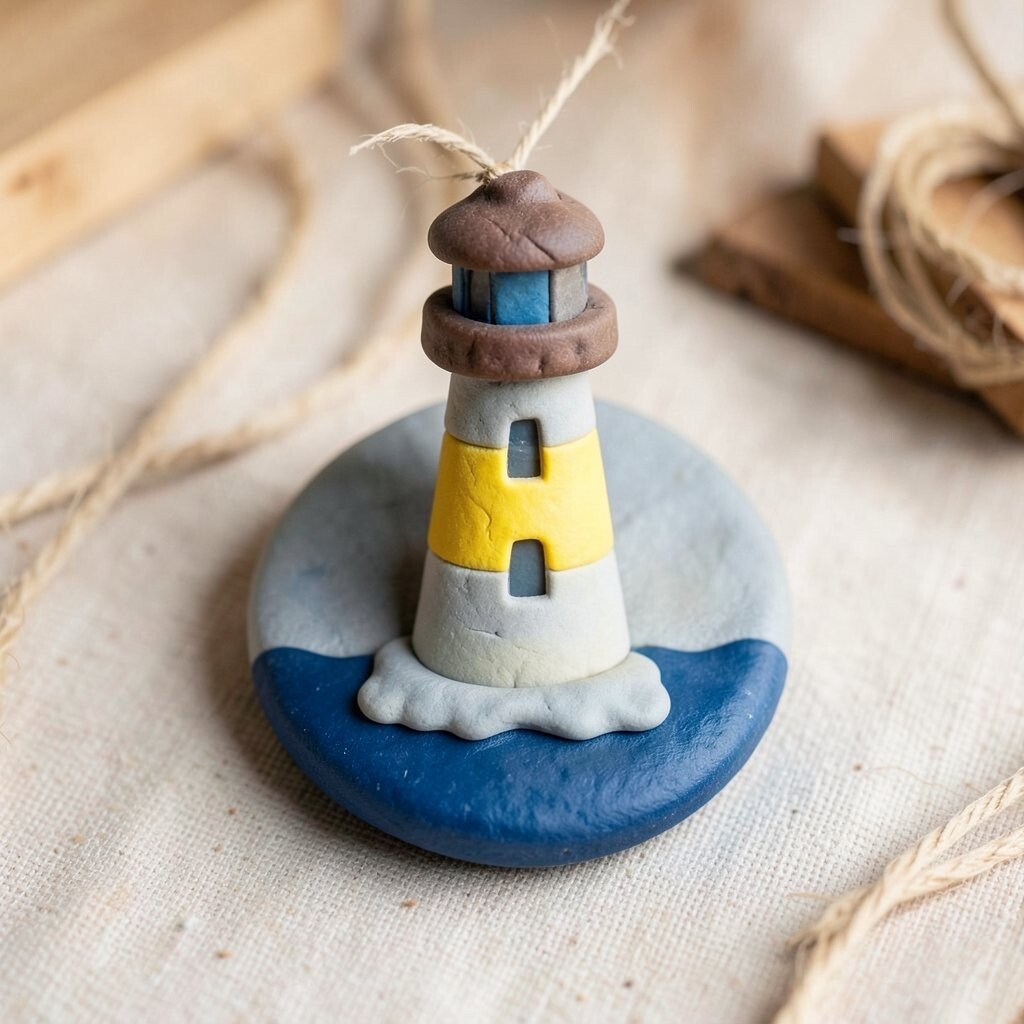
Roll dough into a small rounded base and shape a simple lighthouse tower on top. Add a tiny “sea” line at the bottom and a few angled windows using shallow indents.
The visual story gives your ornament a calm, coastal feel that stands out from typical holiday shapes. It’s also unique because the scene feels handmade, not mass-produced.
Try painting in gentle tones like storm gray, sunny yellow, and deep blue water. For practical durability, reinforce the lighthouse edges with extra dough at the base so it stays sturdy after baking.
If you like current home trends, pair this with natural twine and warm wood tones for a cozy, modern look. Cost stays low since a few acrylic colors can create a full scene.
12. Cute Snowman Buttons With Texture Details

Instead of a full snowman, create a snowman-inspired ornament that focuses on the face and classic button look. Roll a head, add a small carrot-like nose, and press small circles down the center.
This style looks adorable and gives you a fun way to highlight texture. The button circles add depth, and they also make painting easier because you can fill each spot separately.
Practical tip for smooth shapes, keep your circles consistent by using the same cap size for each button. Personalize by adding different scarf colors or a tiny hat with a slight tilt.
For cost considerations, use one base color and two accent colors to get a big look. Seal after painting so the surface stays protected when it’s handled during decorating season.
13. Candy Cane Ornaments With Stripes and Dots
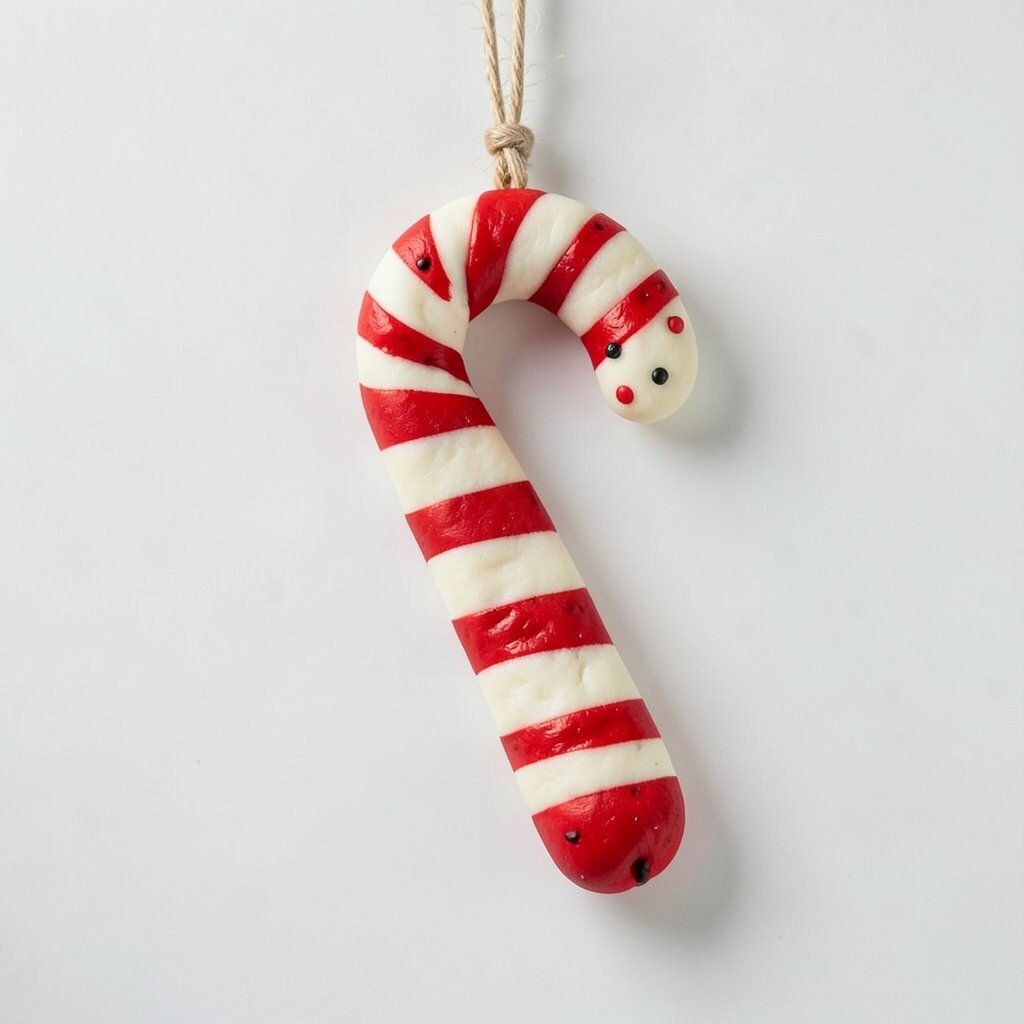
Shape a candy cane using a curved strip of dough and pinch the ends slightly for a classic hook. Add stripes by gently dragging a toothpick through paint or by pressing lines into the dough before baking.
The bright red-and-white look instantly signals the season. It’s also easy to personalize since you can add dots at the ends or create reverse stripes.
For practical tips, avoid making the cane too thin where it curves, or it may snap. Bake until firm and let it cool completely before you paint so colors stay crisp.
Keep costs reasonable by using basic red, white, and a tiny bit of black for tiny accents like buttons. This ornament pairs well with current cozy decor, especially when you hang it with simple twine instead of fancy hooks.
14. Starry Night Mini Moons and Planets
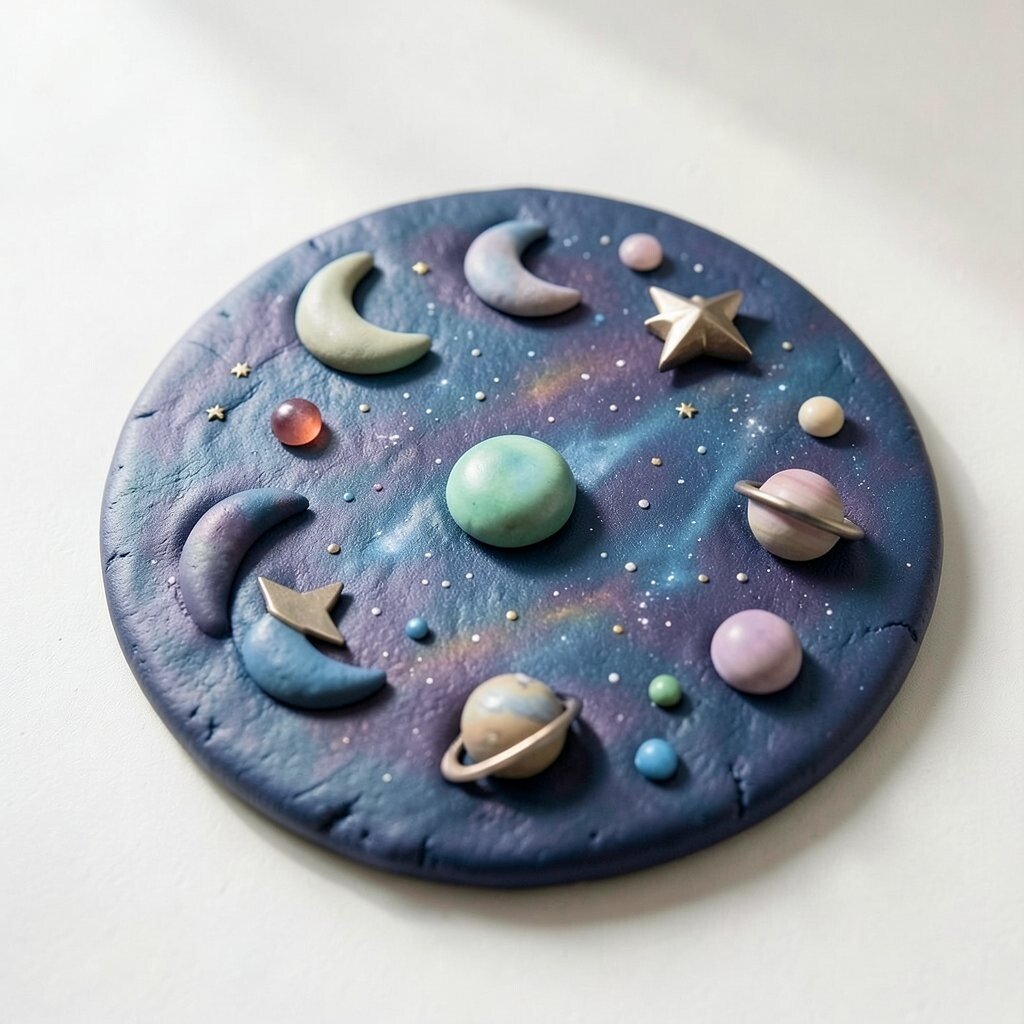
Cut crescent moons and small circles for planets, then arrange them like a mini sky scene on a larger base. Press gently so shapes stick, then bake as one piece.
The visual feels whimsical and slightly magical, even if you paint only a few colors. It’s a great choice for uniqueness when you want something different from typical holiday icons.
Try a practical approach by using a foam brush for smooth color blends and a fine brush for tiny dots. Personalize with birthstone colors or favorite shades you already have in your paint set.
If you’re following modern trends, consider a muted palette with one metallic star for contrast. Cost stays friendly because the “night sky” can be made with just a few acrylics and a clear top coat.
15. Festive Snow Globes on Small Bases
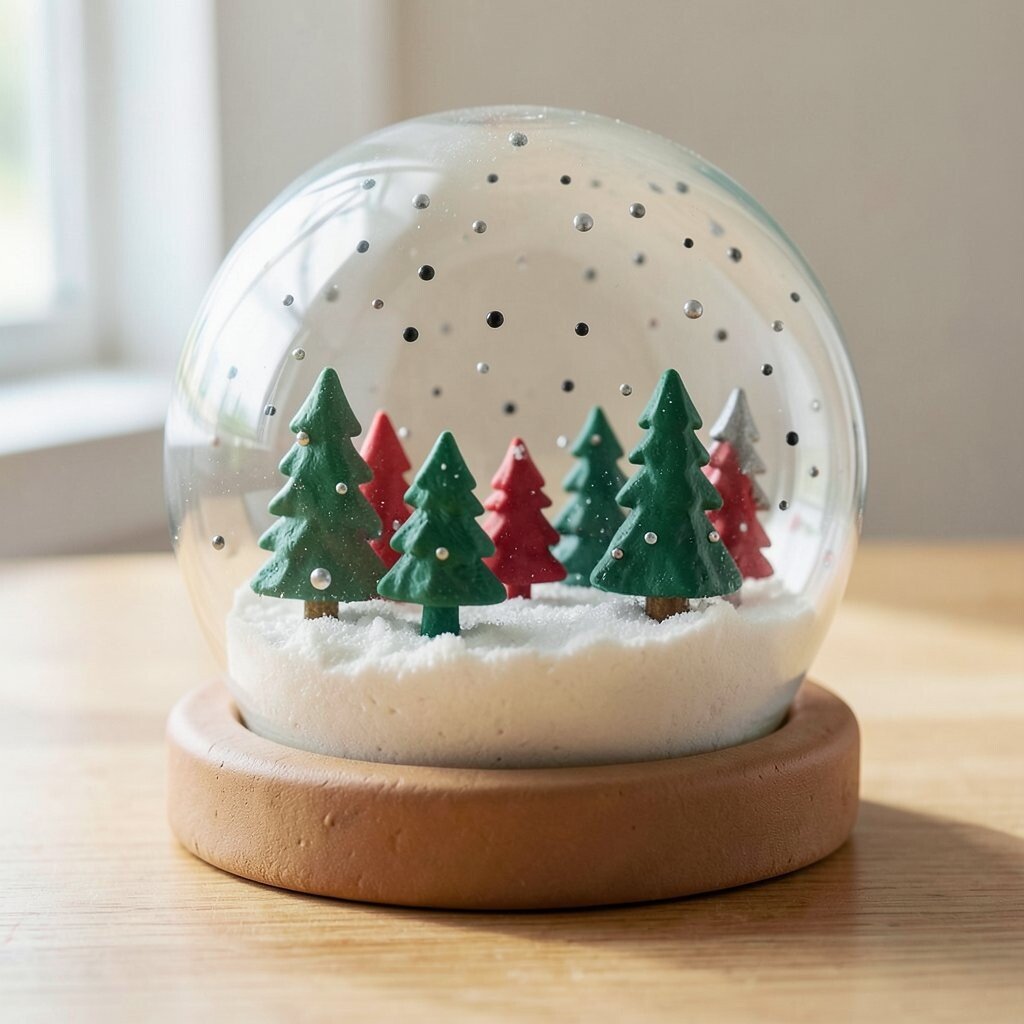
Create a domed top with dough and a flat base ring beneath it, like a little snow globe. Add small bumps inside the dome to suggest trees, stars, or falling dots.
Even without real liquid, the shape looks like it holds a tiny winter world. This is a fun way to get a “wow” look that still uses simple materials.
For practical tips, press the dome firmly to the base and make the dough thickness even. After baking, paint the inside scene first and then add a base rim so it looks complete.
Personalize by choosing theme colors, like classic green and red or modern black and silver. Cost is manageable since you can skip special effects and still get a polished result with good sealing.
16. Monogram Letters With Patterned Edges
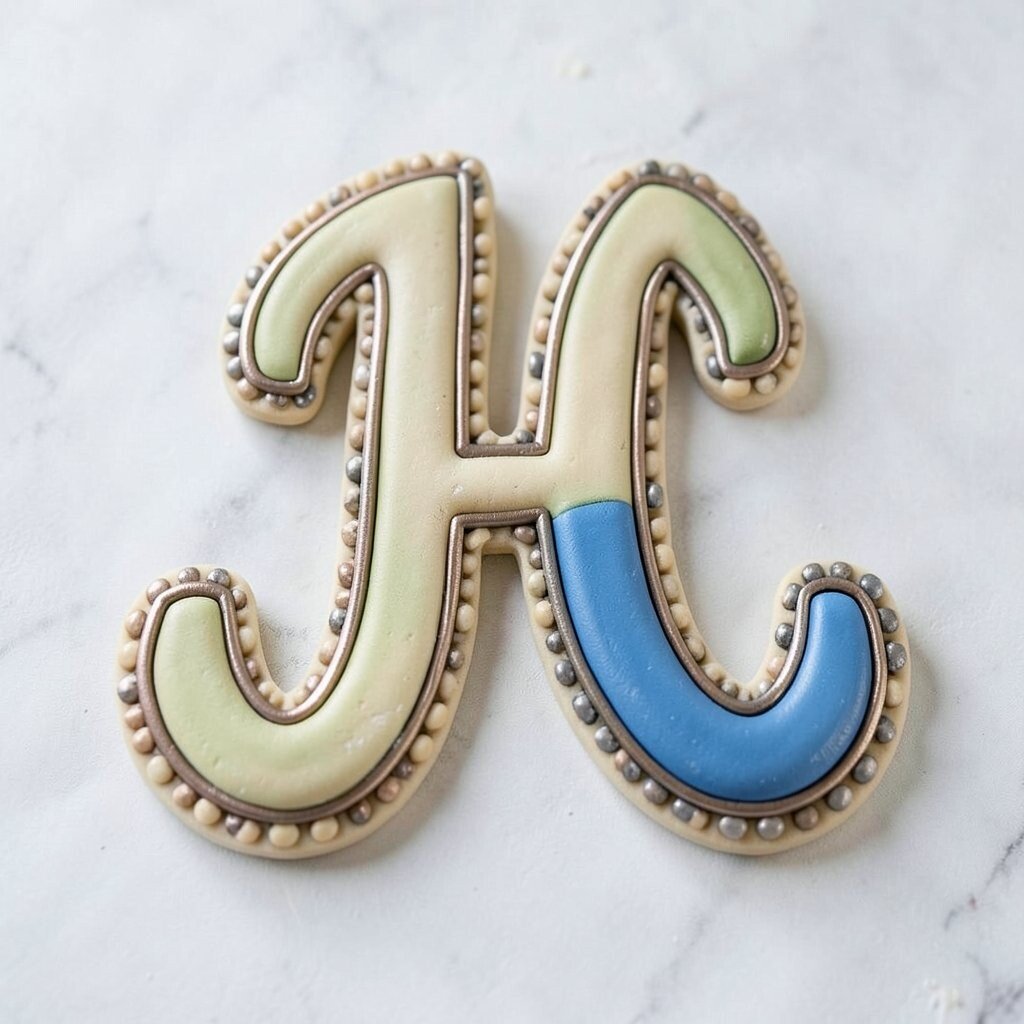
Cut a large letter from dough using cookie cutter letters or a traced stencil. Then add patterned edges by pressing small shapes along the border, like tiny circles or ridged lines.
Monogram ornaments look stylish and feel meaningful, especially when you choose the letter that represents someone you love. They’re also an easy way to personalize without making a full scene.
For practical tips, make the letter strokes thicker so details don’t crumble after baking. Once painted, seal carefully so the patterned edge stays crisp and doesn’t fade.
If you want a current look, use a bold single color for the base and add a contrasting outline in metallic paint. Cost stays low because the main effort is shaping and painting, not buying special supplies.