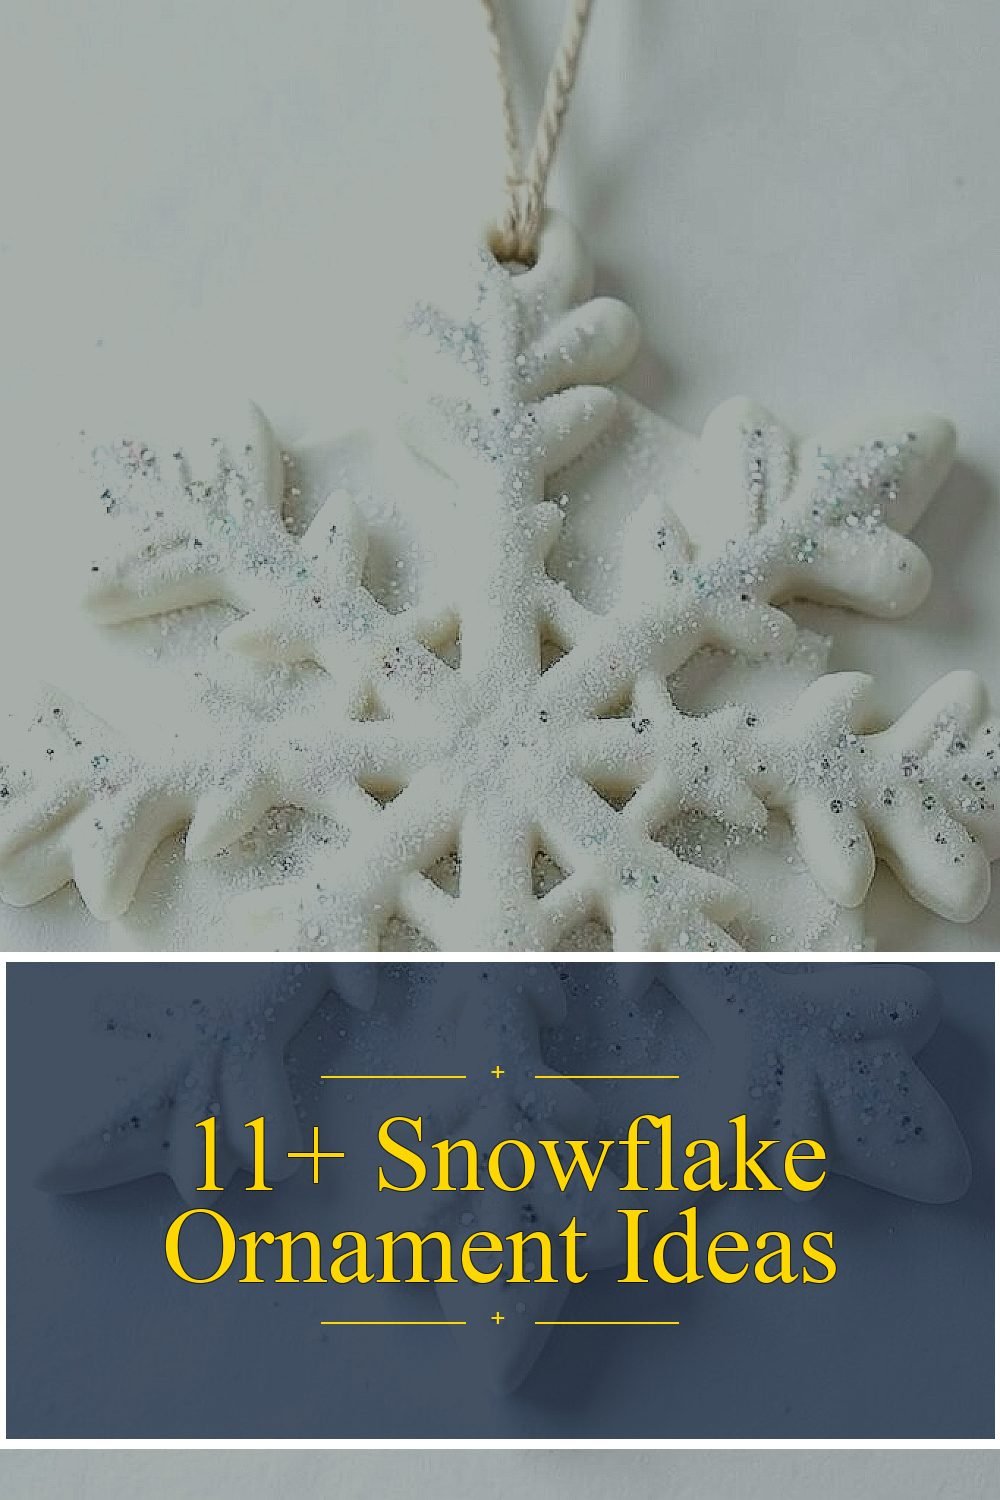
The tree lights start glowing the moment you add something handmade. A simple snowflake can turn your whole room into a winter scene.
These ideas are easy to start, fun to personalize, and kind to your budget.
1. Stenciled Paper Snowflakes With a Metallic Twist
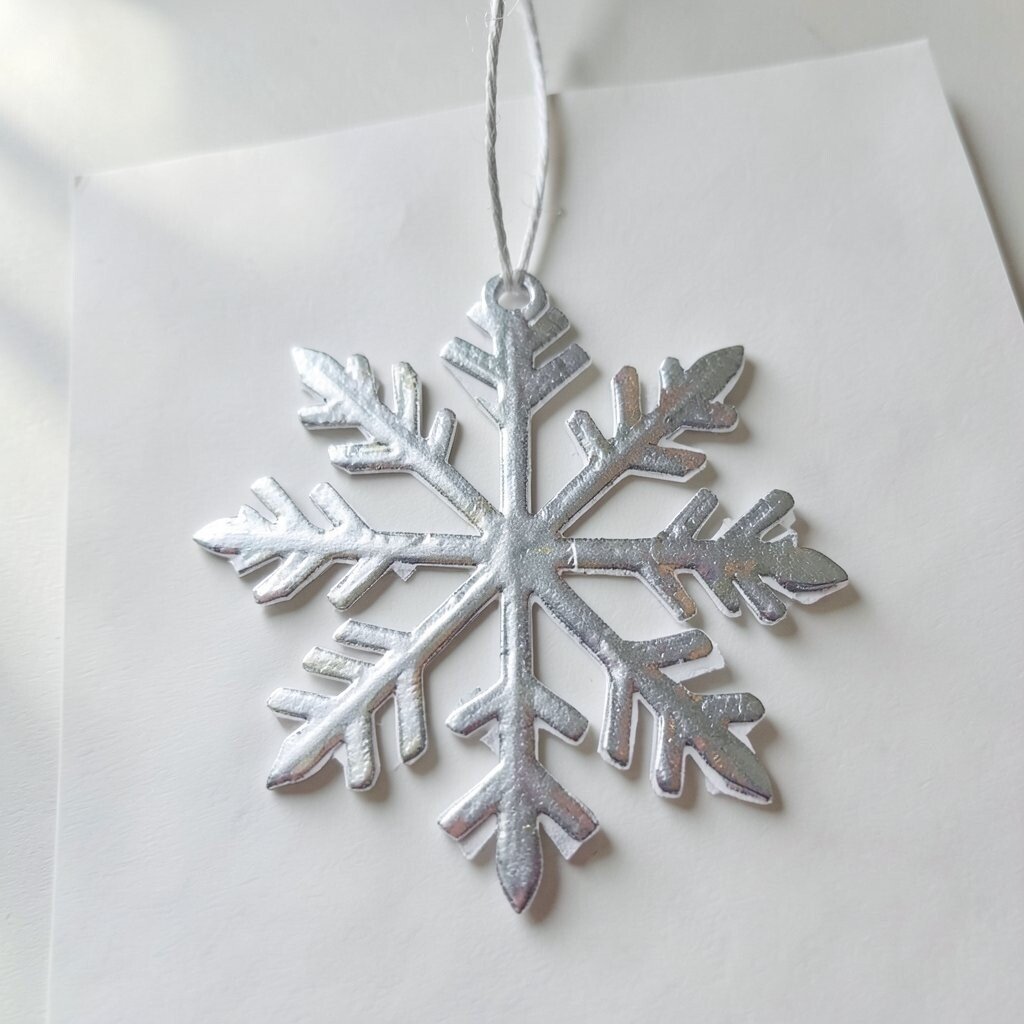
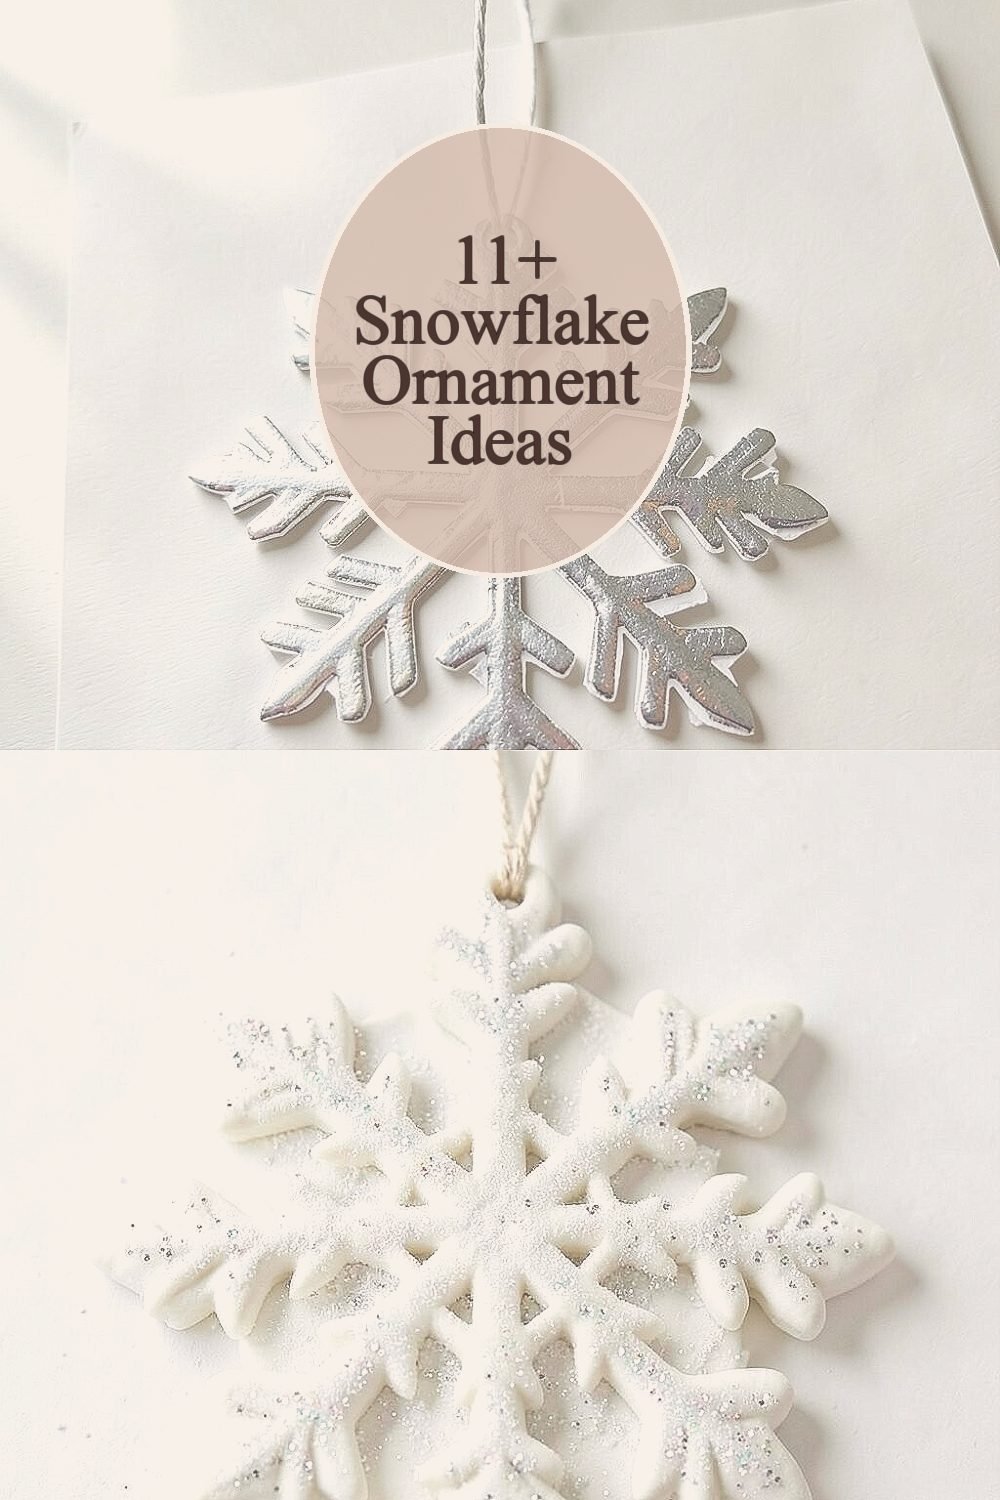
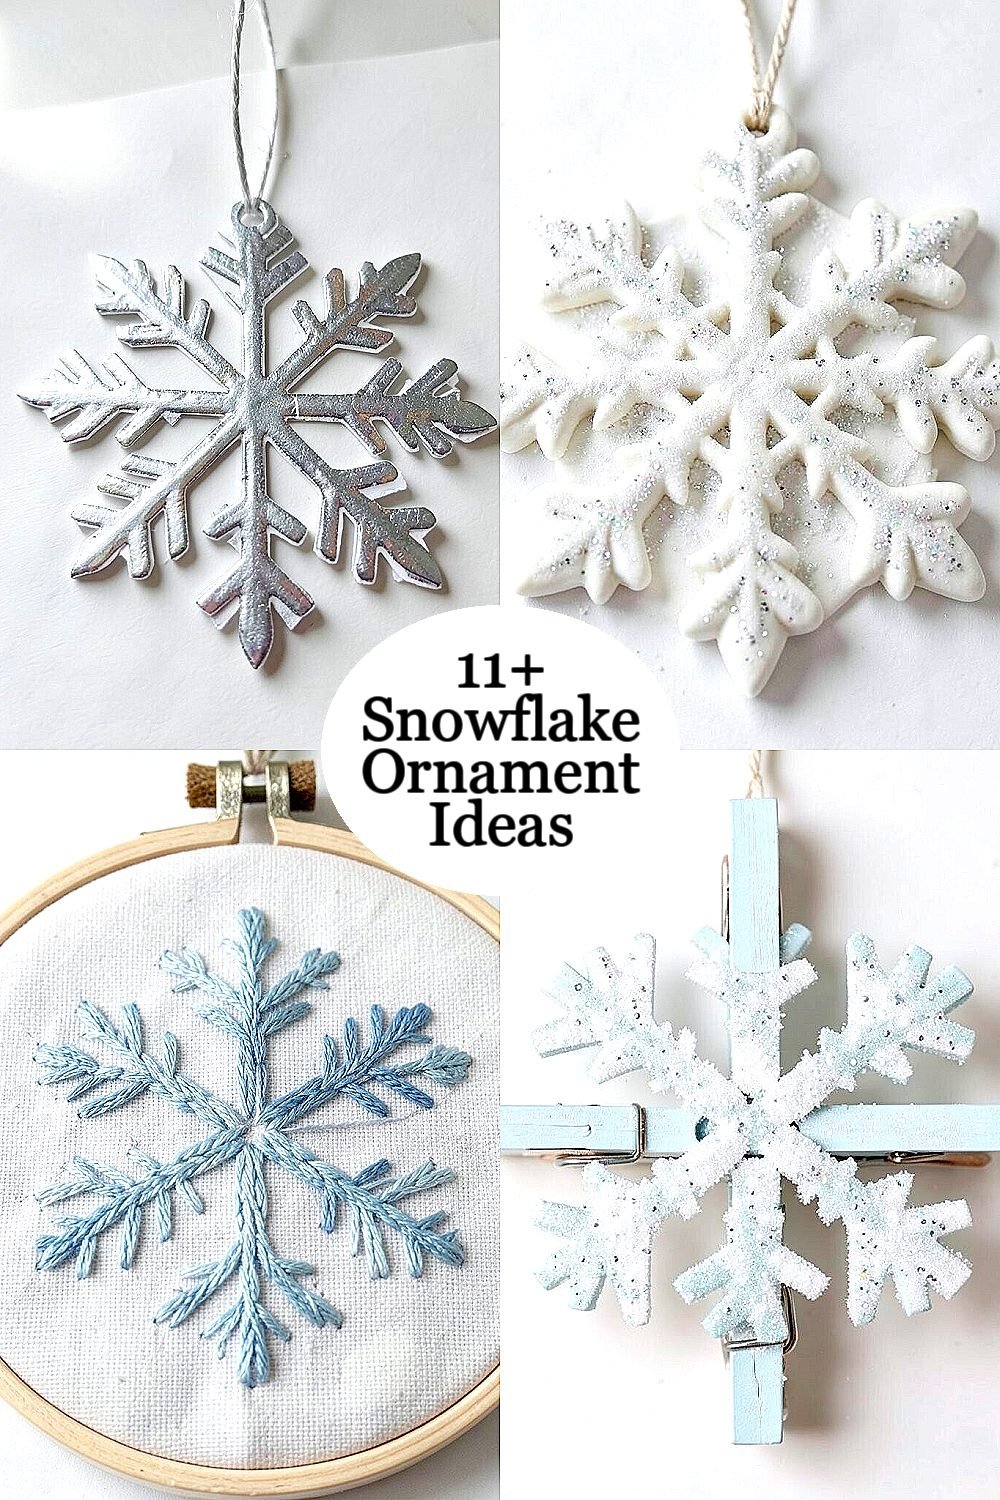
Pick a thick sheet of craft paper and cut snowflake shapes using a stencil you already like. To make them feel extra wintery, rub a small amount of metallic gel pen or craft paint over the edges before you glue on string.
Hang the finished pieces from a single loop so the snowflake sits flat and catches light. This style is lightweight, so it works on wreaths, garlands, and even a tabletop tree without weighing anything down. For best results, seal the design with a clear matte spray so it keeps its crisp lines longer.
Choose a color theme that matches your decor, like silver and blue for cool rooms or gold and white for warm lighting. If you want a modern look, use two layers of paper, one slightly smaller than the other, and offset them by a few millimeters.
2. Salt-Dough Snowflakes With Glossy Sparkle
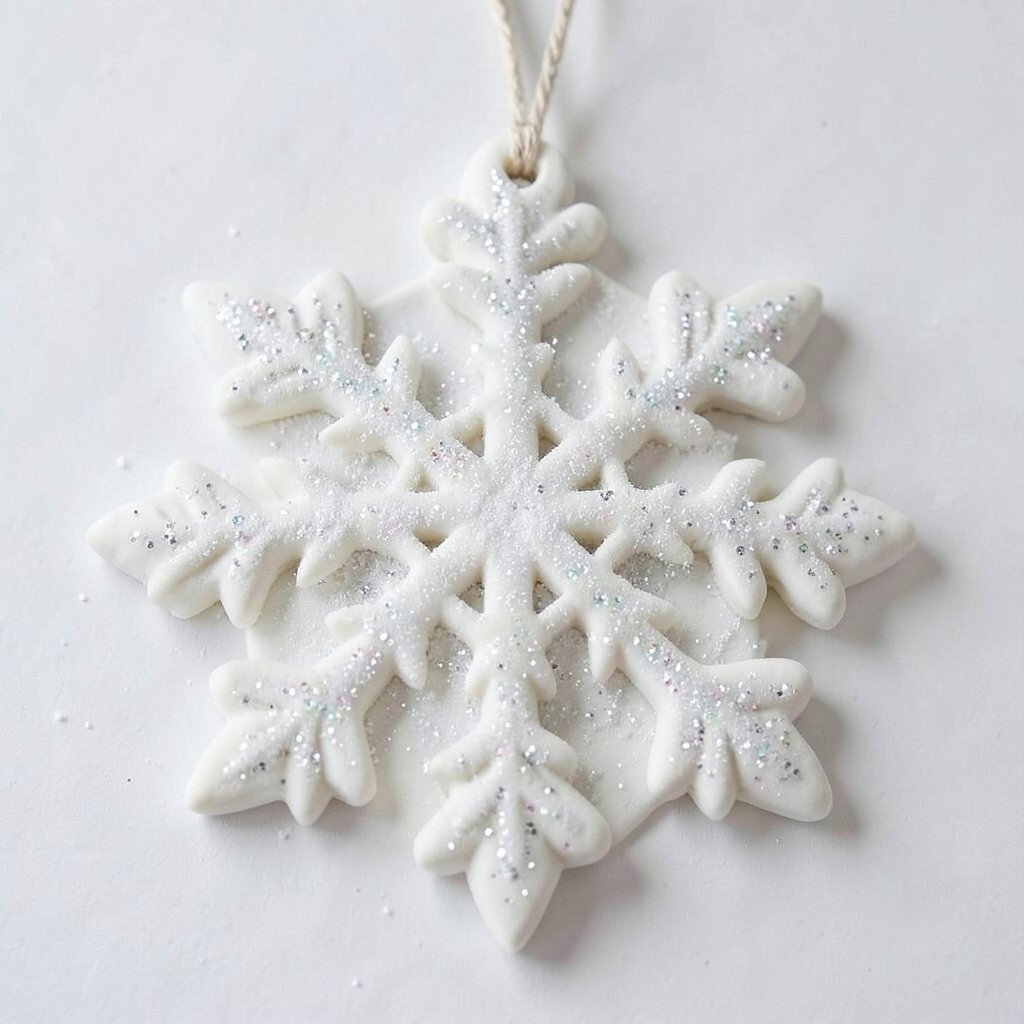
Mix salt dough with flour and salt, roll it flat, and cut snowflake shapes with cookie cutters. Press in tiny details so each one looks carved, then add a hole for hanging before baking.
Once the ornaments cool, paint them with white base coat and dust them with fine glitter on raised parts. These ornaments last a long time, and they give your home a cozy, handmade feel that looks great in photos.
For a more personal look, stamp small patterns on the dough before baking, like star shapes or mini dots. If you want them to feel sturdy, make them slightly thicker than you think you need and let them dry fully before painting.
3. Embroidered Floss Snowflakes on Fabric Backing
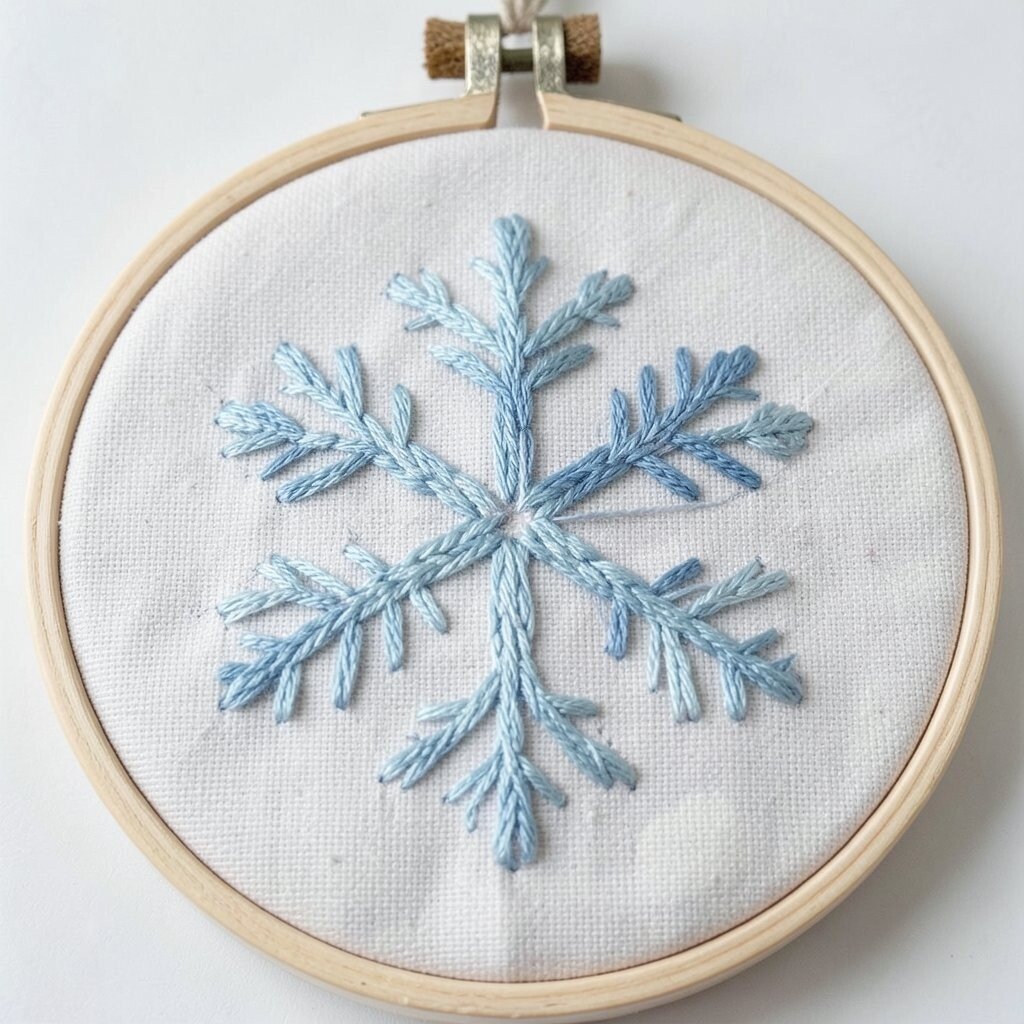
Trace a simple snowflake pattern onto fabric and then stitch over the lines with embroidery floss. Use a light hoop or a steady surface so the fabric stays flat while you work.
When you’re done, trim around the shape and add a backing so the stitching looks neat from both sides. This method feels special because the texture shows up in daylight and the little thread highlights look delicate and warm.
Try blending colors like icy blue with soft silver for a layered, shimmering effect. Keep it easy by using only a few stitch types, and secure the ends well so nothing loosens when ornaments are moved.
Fabric ornaments also help you save money because you can use scraps. If you want a current look, choose neutral thread shades and keep the design minimal with clean lines.
4. Clothespin Snowflake Ornaments for a Retro Look
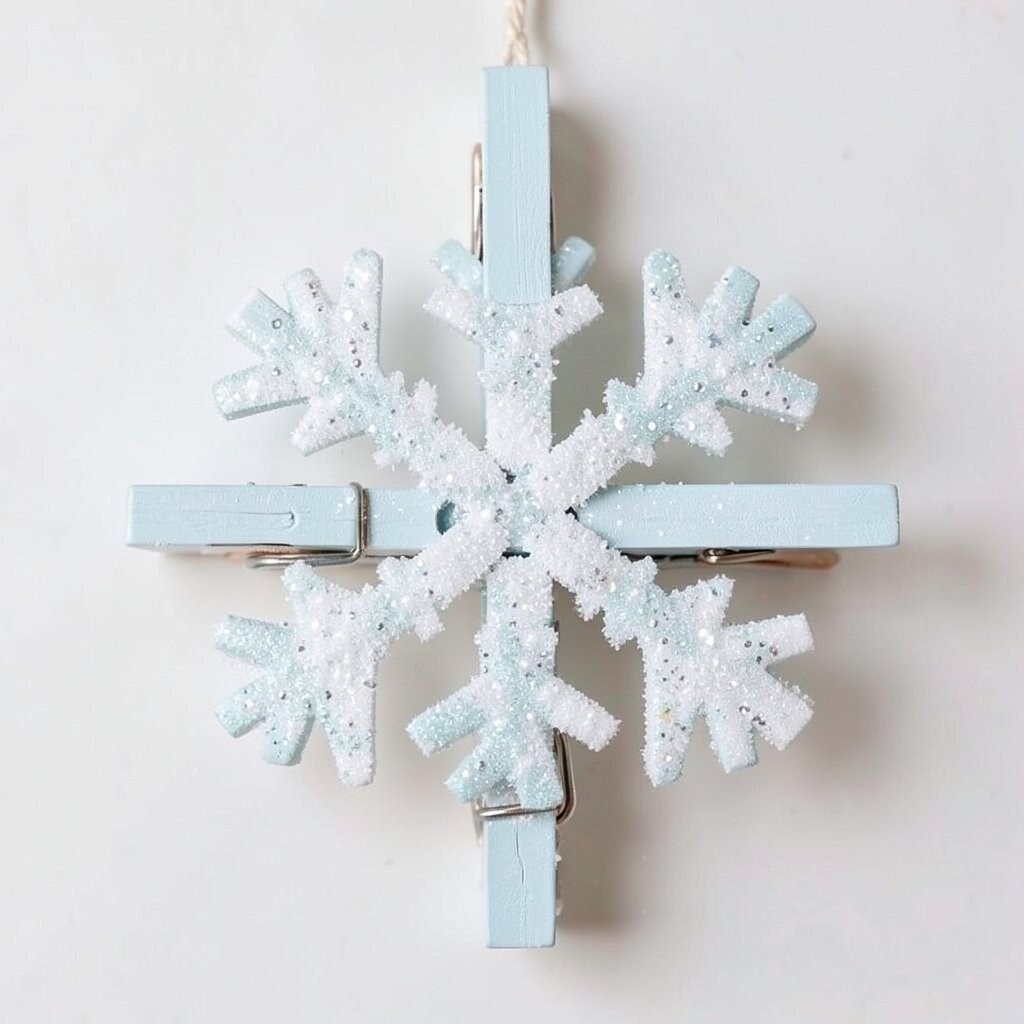
Use small wooden clothespins and paint them in white, pale blue, or brushed metal tones. Glue two clothespins in a cross shape, then add more around the center to form a chunky snowflake.
Once it dries, add tiny details with a toothpick dipped in glitter glue for a frosty finish. This design is quick, bold, and perfect if you want winter decor that feels playful and a little vintage.
5. Clear Plastic Snowflakes With Stained-Glass Color
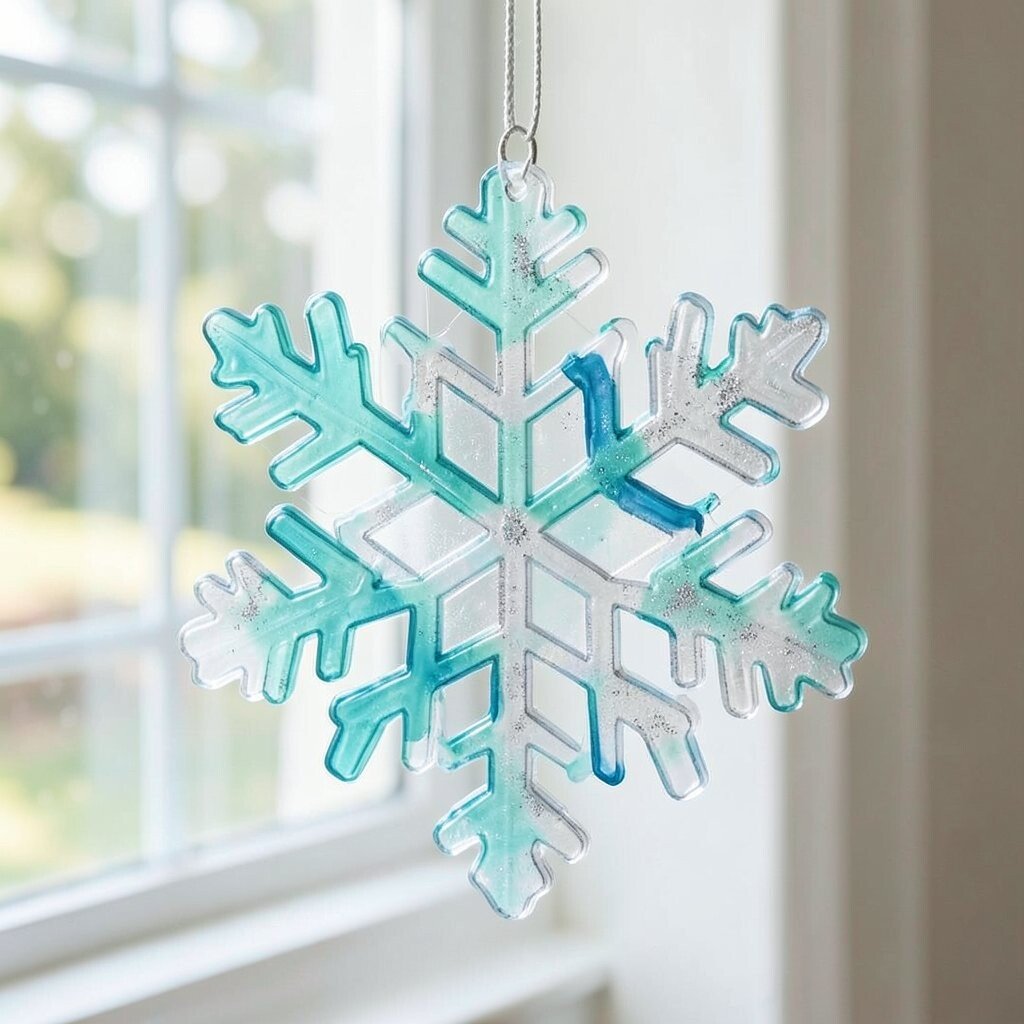
Choose clear plastic sheets from packaging or craft plastic, then cut snowflake patterns with sturdy scissors. Outline each shape with a permanent marker before you fill areas with translucent paint or craft ink.
After the color dries, reinforce the edges with a thin layer of glue so it looks smooth and neat. These ornaments feel modern because the light passes through, creating a stained-glass glow when placed near a window.
For personalization, use ombré colors like teal fading into icy blue so every ornament looks slightly different. If you prefer a classic vibe, stick to white and pale gray and add a few touches of silver glitter for shine.
6. Coffee Filter Snowflakes With Paper Snow Drama
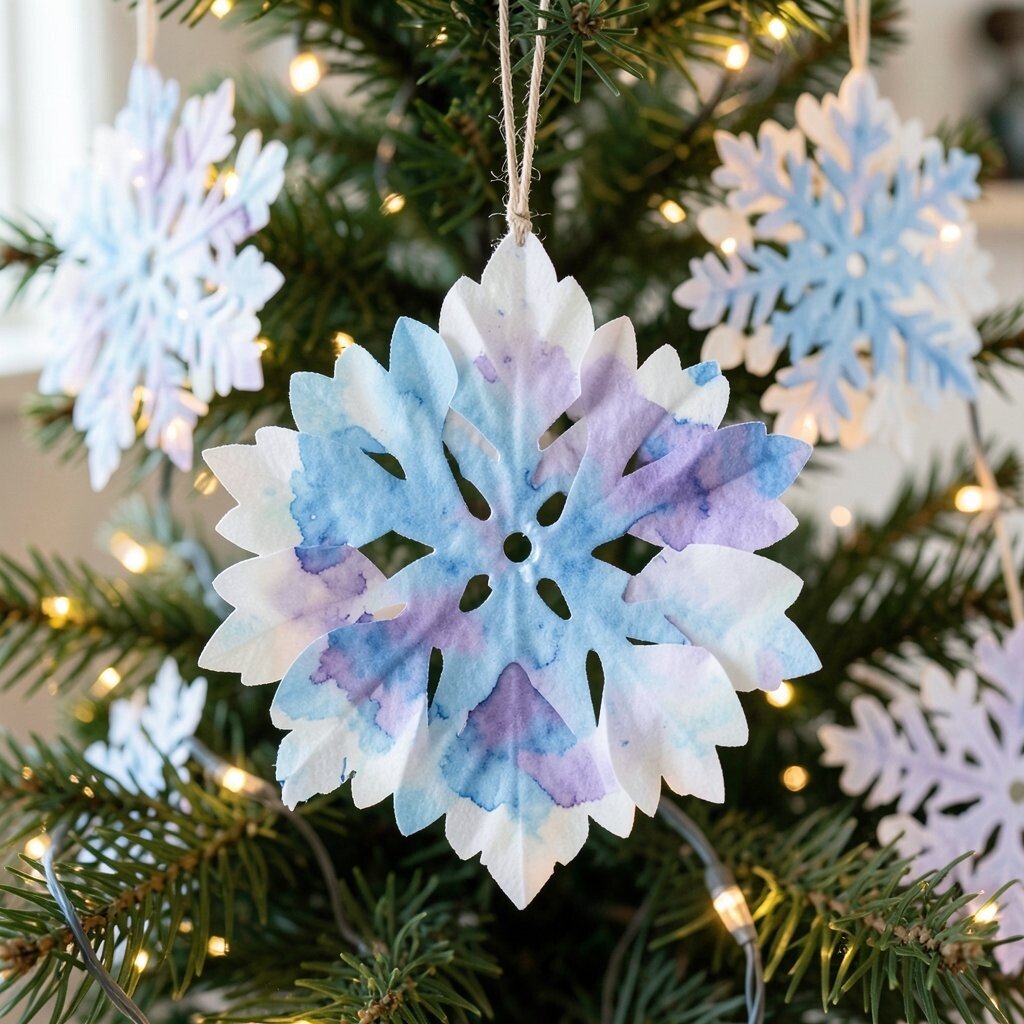
Fold coffee filters like you would for snowflake cutting, then snip patterns carefully with small scissors. Unfold each one to reveal soft, airy layers that look like real snowfall.
To add color, lightly spray or dab watered-down watercolor in blues and purples, letting some areas stay pale for a dreamy effect. These ornaments are unique because the texture is soft, and they look especially beautiful when the tree lights shine through the thin layers.
Use a toothpick to apply a tiny dab of glue at the center hole so the string holds securely. For cost savings, start with filters you already have and let them dry fully before hanging.
If you want to match current trends, keep the palette minimal and let the natural, delicate edges be the star.
7. 3D Snowflake Pom-Pom Ornaments With Cozy Texture
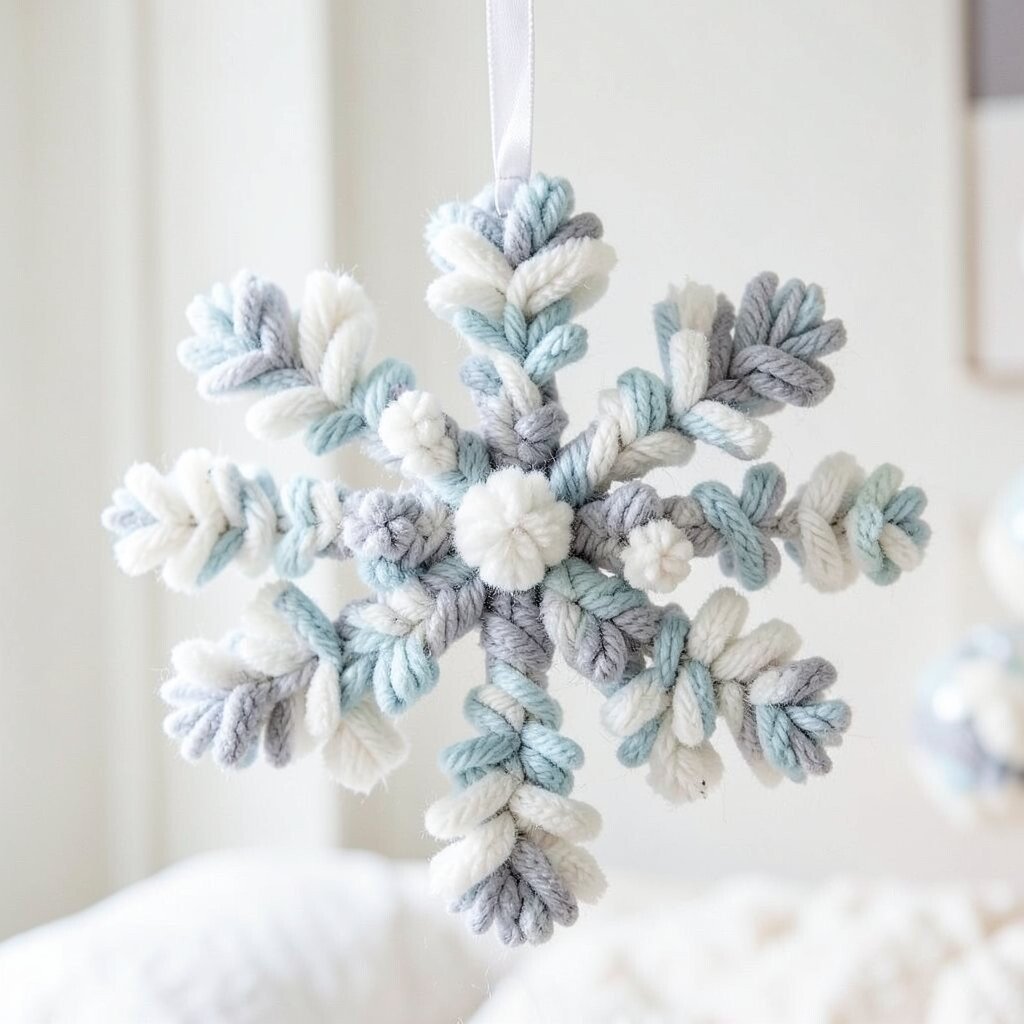
Create pom-poms using yarn, then shape them into a snowflake by connecting smaller ones to a central cluster. Use hot glue or craft glue to attach pieces so they hold up during storage.
Once you have the shape, wrap a short piece of ribbon around the top for a finished look. This style looks fluffy and cheerful, and it adds a cozy texture that contrasts nicely with shiny baubles.
Personalize by choosing yarn colors that match your home, like icy white and soft gray, or bright colors for a fun winter party tree. For a cleaner look, keep pom sizes consistent and build symmetrically so the snowflake feels balanced.
8. Starburst Snowflake Ornaments From Bottle Caps
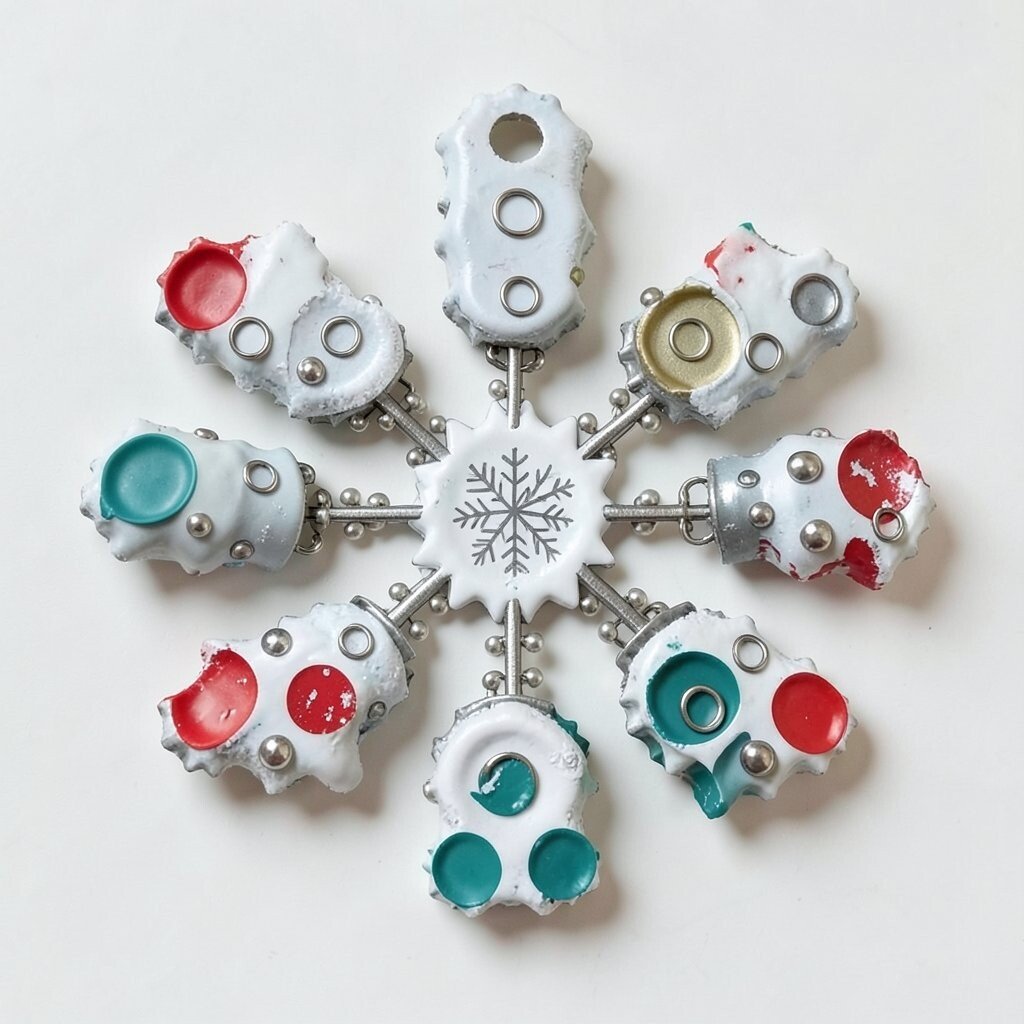
Paint bottle caps with a snowy base, then cover the top with small metal rings, plastic beads, or cut paper circles. Arrange the pieces like rays spreading out from the center so the ornament looks crisp and graphic.
Add a hole at the top edge using a craft punch or by carefully melting a small spot with a heated needle under supervision. These ornaments bring a playful upcycled vibe, and the metallic shine makes them feel festive with minimal effort.
To make them more unique, try stamping a tiny snowflake design into the center using a craft tool or a printed stencil under thin paint layers. If you’re keeping costs low, save caps from drinks all week and choose one color family so everything looks coordinated.
For a trend-forward look, pair matte snow colors with one bold accent like red or teal for a modern holiday pop.
9. Hanging Snowflake Bead Ornaments With Crisp Lines
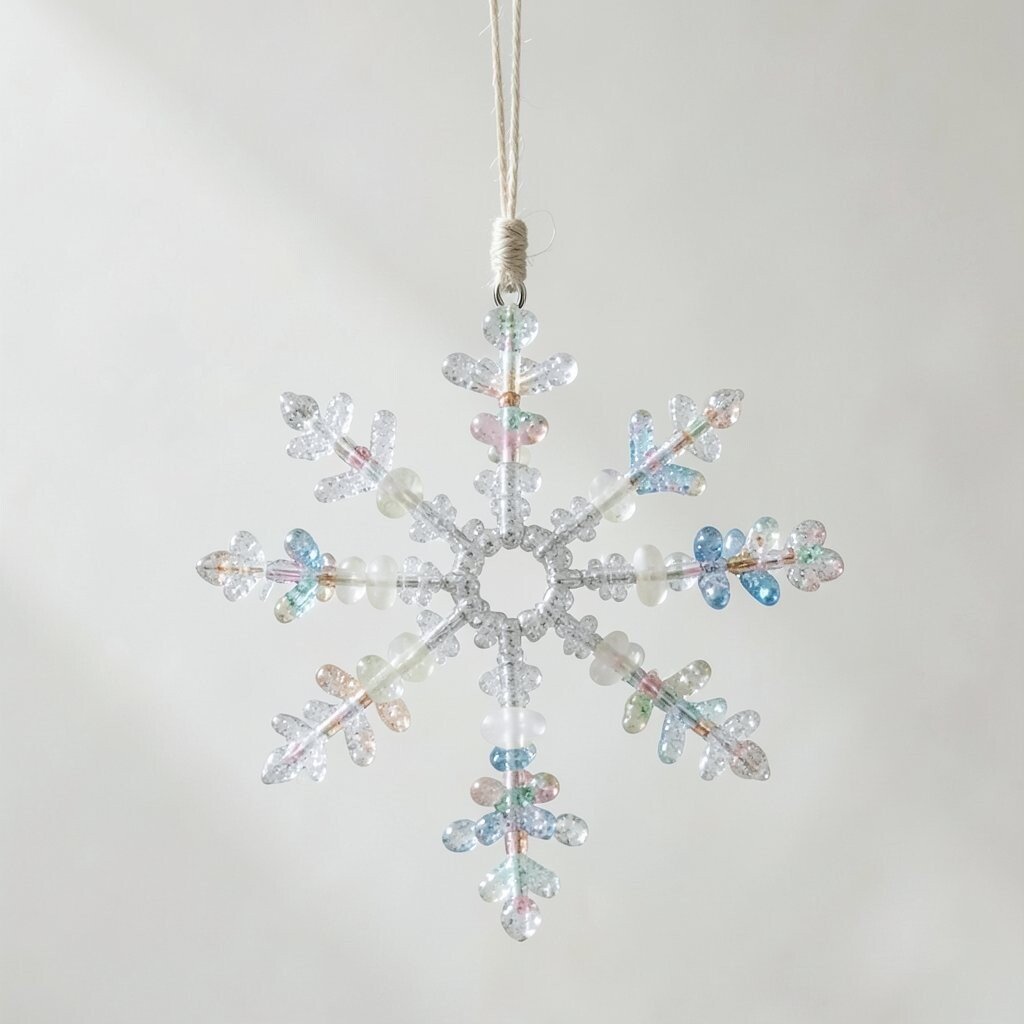
Thread beads onto fishing line or thin wire in a snowflake pattern, starting with a center ring and adding arms outward. Use small seed beads for fine details so the final shape stays sharp and tidy.
When the design feels right, secure the line tightly with knots or a crimp bead, then add a loop for hanging. These ornaments look elegant because beads catch light with tiny sparkles, and they hang beautifully without bulk.
For practical success, keep your pattern simple at first and make one arm repeatable so you can finish quickly. If you want personalization, mix bead finishes like clear, frosted, and metallic to create an icy gradient effect.
Cost matters here, so buy only a few colors you love and reuse bead mixes in small sections rather than covering every part. A small set can still make ornaments that look high-end when you choose consistent sizes and shapes.
10. Rolled-Quilling Snowflakes With Tight Curves
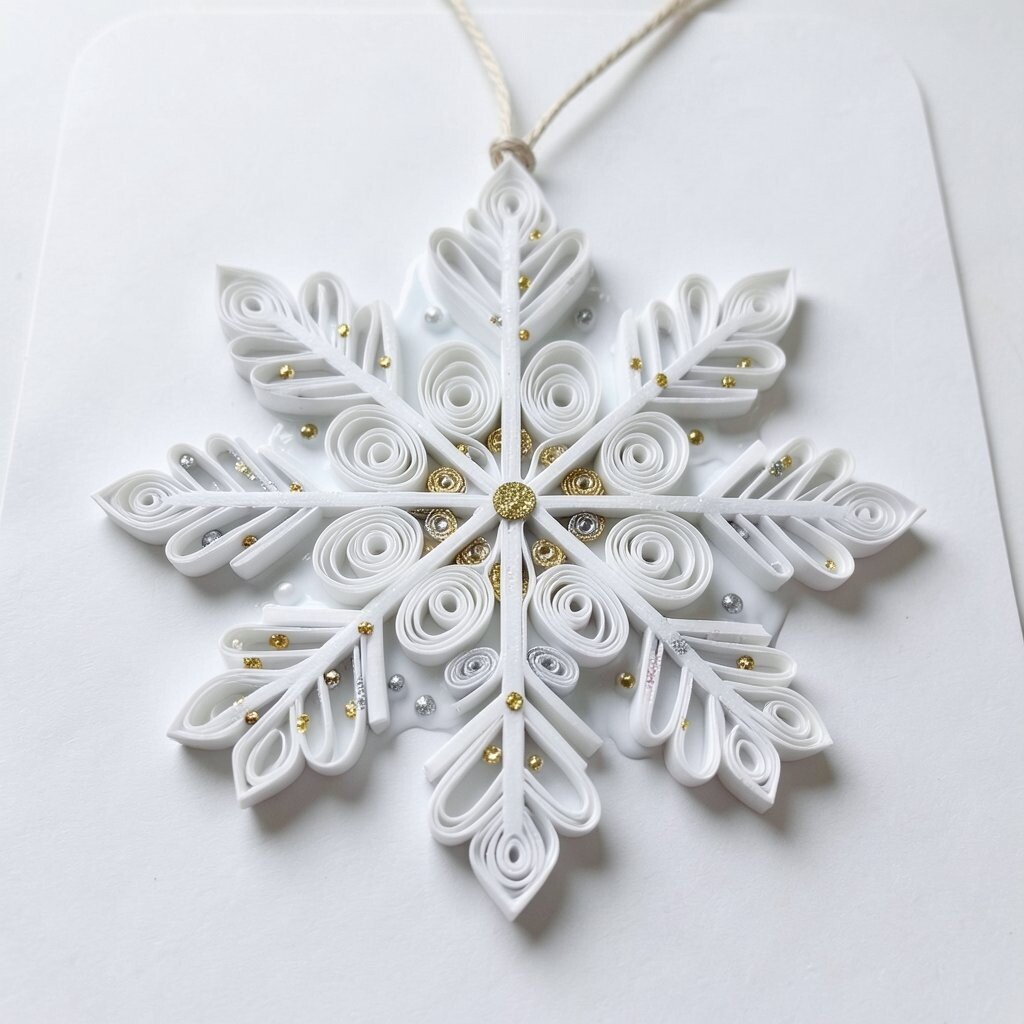
Use quilling strips or cut thin paper strips, then roll them into teardrops, coils, and tight spirals to form a snowflake. Glue the pieces onto a snowflake template and press lightly so shapes keep their form.
After the glue sets, brush on a thin coat of white paint or glitter gel to give that snowy finish. This is a great way to show off fine detail, and the layered curves create a delicate look that feels both vintage and fresh.
Personalize with tiny accent dots using gold paint or silver markers in the center and along a couple arms. For easier handling, keep the snowflake slightly larger and attach a sturdy thread loop so it doesn’t warp.
11. Upcycled Lace Snowflakes for Vintage Charm
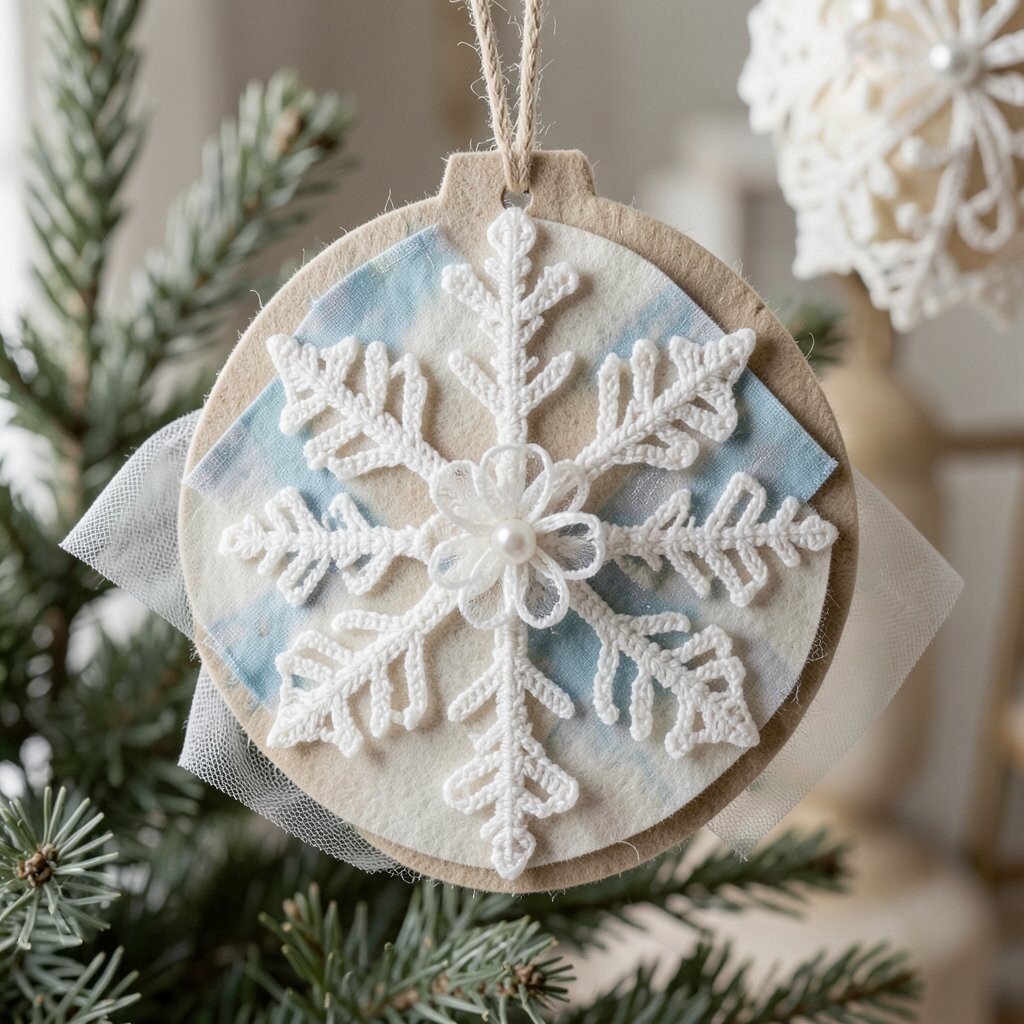
Cut lace fabric into snowflake-like shapes, then layer them over a stiff backing made from cardstock or craft felt. Add a small layer of tulle or sheer fabric underneath so the ornament looks airy and soft.
Glue the edges carefully, then add beads at the center like a little frozen flower. Lace ornaments stand out because they feel timeless, and they look especially lovely on neutral trees or in vintage-themed corners.
For a personalization twist, mix lace with fabric paint to add faint blue or silver streaks across the pattern. To keep costs down, use old tablecloth scraps or mismatched lace pieces that you can cut and combine.
If you want to match what many people are doing this season, focus on texture and keep colors calm, letting the lace details shine.
12. Ice-Effect Glitter Snowflakes From Clear Glue
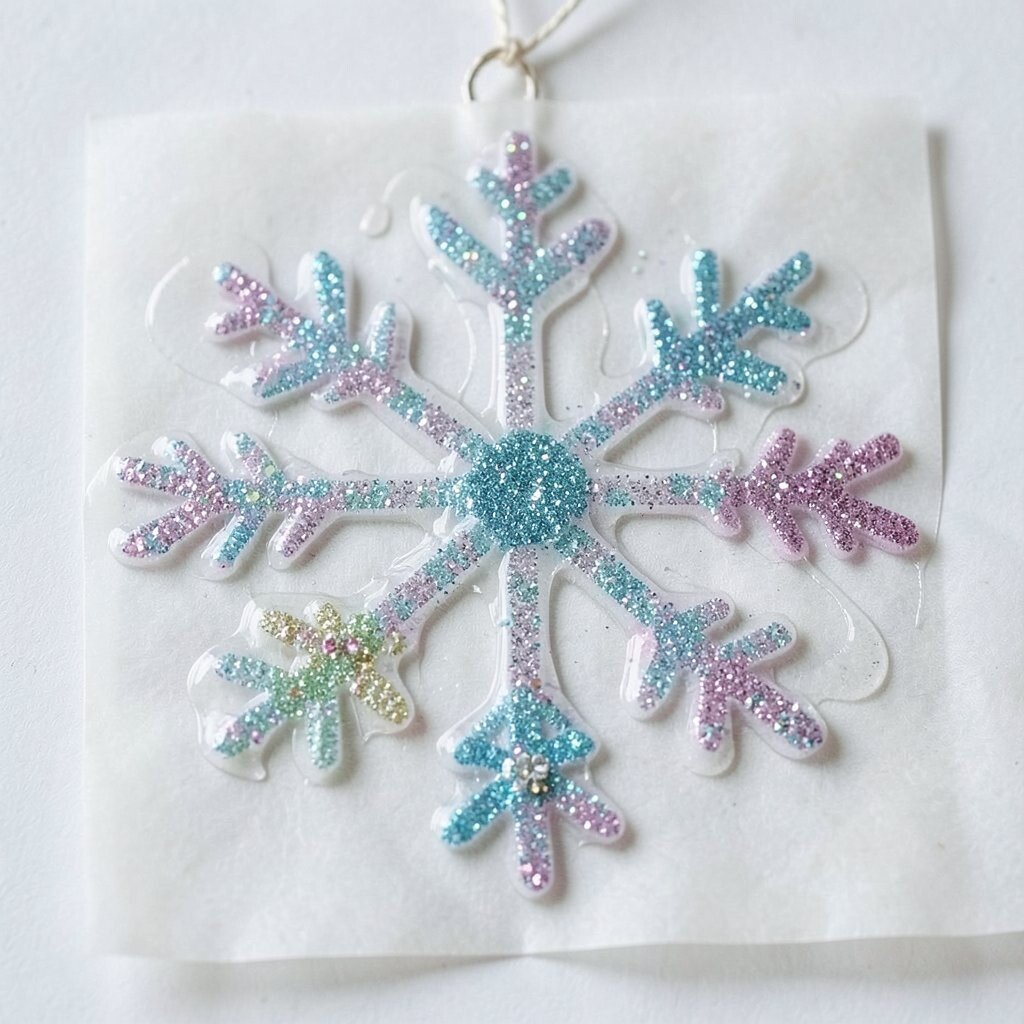
Draw snowflake shapes on parchment paper using clear craft glue, then shake glitter over the wet lines. Once the glitter sets, peel the ornament off and reinforce any thin spots with a second glue pass.
This method is surprisingly clean and fast, and the finished pieces look icy with a glassy sparkle. Because the ornament is flat and lightweight, it works great on a garland, around window frames, or hung from small hooks on a shelf display.
Personalize by using colored glitter only on the tips of the arms while leaving the center more translucent. If you want a cost-friendly approach, use whatever glitter you already have and save the brightest color for the center where it shows most.
Try a trend look by mixing micro-glitter with one chunky glitter accent, so the snowflake catches both soft and bold light.