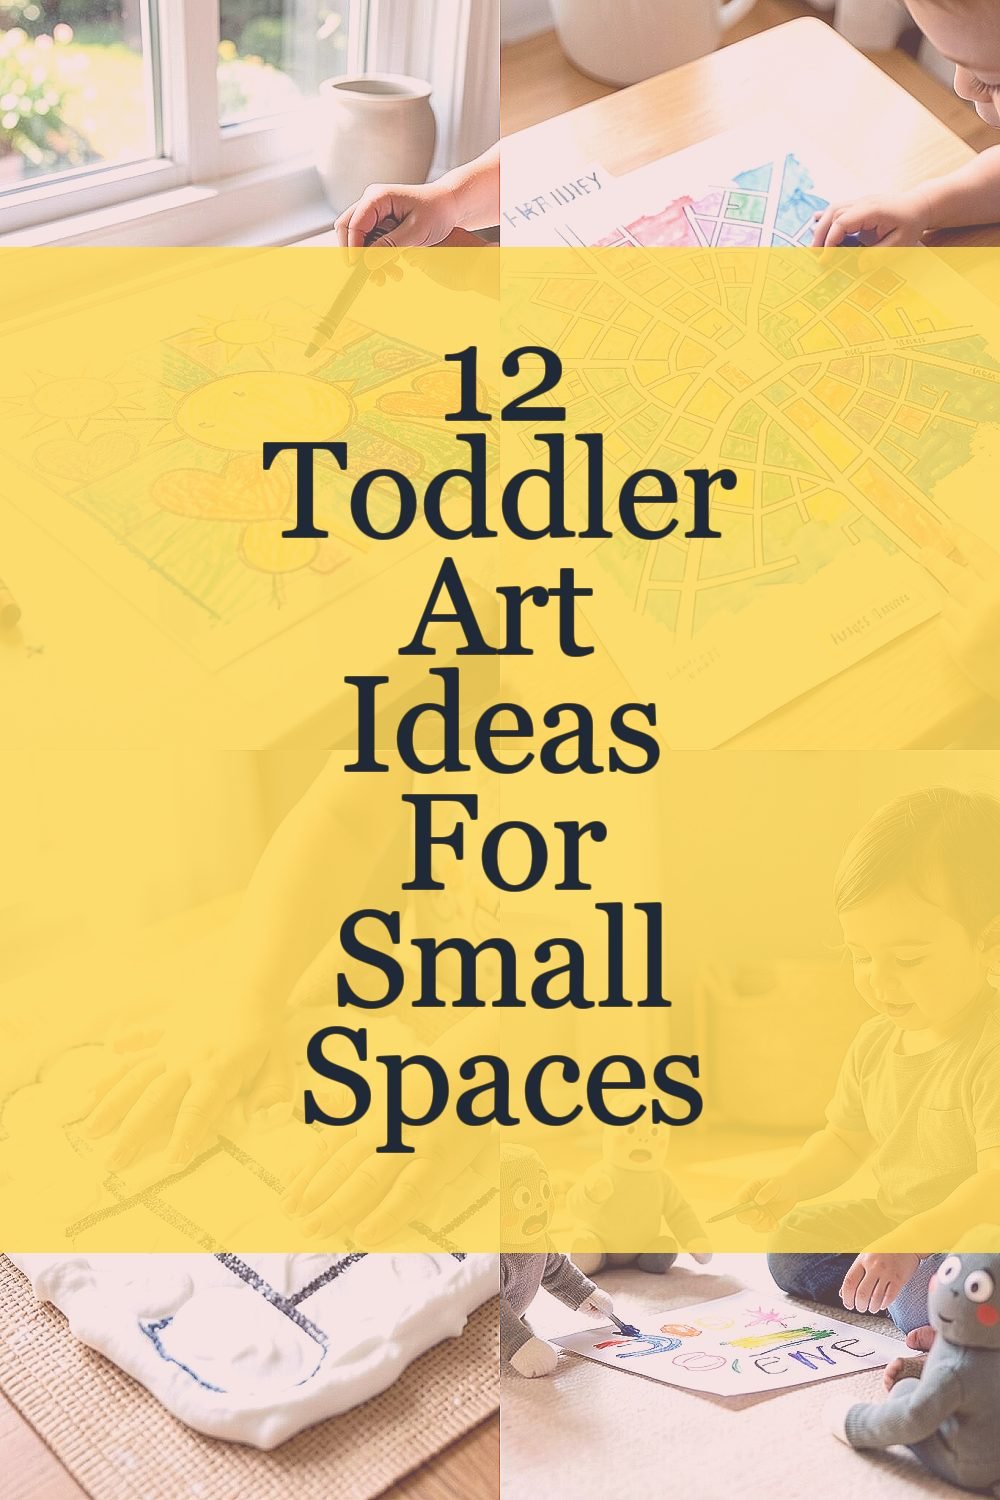
Your child can make art even when space is tight. Small moments with big materials can spark big imagination.
These ideas fit on a tabletop or rug and still feel special. You will get fun results without a messy makeover of your whole home.
1. Window Crayon Melt Pictures

Set a piece of clear plastic or a window sheet on the table and let your toddler draw with chunky crayons. The marks look like colorful stained glass, and the light passing through makes every line glow.
After they finish, place the sheet in bright light and gently move it to see how the colors “shift.” Choose wipeable crayons and keep a small cloth nearby to catch stray bits, since this style is fast and hands get busy quickly.
To personalize, invite them to draw favorite shapes like hearts, suns, or bouncing circles. This idea is great for tiny spaces because it needs almost nothing besides crayons, plastic, and a safe surface.
2. Tape Resist City Maps

Use painter’s tape to form roads on a sheet of paper, then let your toddler paint or sponge color over it. When the tape comes off, the clean lines look like a little city map.
It’s a simple visual trick that teaches cause and effect without lectures, because the “covered” areas stay bright. Keep the tape thin so shapes are easy to manage, and use washable paint for quick cleanups.
For personalization, add tiny labels using stickers or a crayon once the map dries. This kind of art is popular right now because it feels neat and graphic, even though it is made by little hands.
3. Puffy Paint Bubble Patterns

Mix shaving cream with a bit of liquid glue or kid-safe craft foam, then let your toddler press fingertips into the puffy mixture. The surface makes soft ridges, and when they lift their hands, the pattern looks like clouds or bubbles.
Let it sit briefly so it holds its shape, then use a bold crayon line or stamp on top for extra contrast. This is a tactile art moment that often becomes a soothing routine, especially when your child loves sensory play.
To keep it practical, cover the table with an old placemat and use one tray for colors so supplies stay contained. It also saves space because it is one surface creation rather than needing many tools.
4. Sock Puppets With Thumbprint Faces

Turn old socks into tiny characters by adding a simple thumbprint face using washable paint. The prints dry into cute eyes and cheeks, and your toddler can decorate with a few scraps of fabric or paper.
Make it interactive by acting out a “welcome” scene on the floor, where each puppet gets a turn. This builds storytelling and fine-motor control, since pressing a thumbprint and placing small pieces can be surprisingly skill-building.
5. Rainbow Rice Sensory Collage

Spread glue on thick paper in a small area and help your toddler sprinkle colored rice in careful piles. The final picture looks like a tiny landscape, with grains catching light and creating texture.
To keep the mess manageable, use a tray or rimmed baking sheet and do it over a washable surface. This is a low-cost option because rice is easy to buy, and you can reuse the tray for other art activities.
For personalization, ask what the picture is before they add grains, then support their idea with color choices. A current favorite among families is “textural art,” and rice collage fits that trend while still being toddler-friendly.
6. Shaving Foam Color Clouds on Paper

Squirt a layer of shaving foam onto paper and drop food coloring in small dots. When your toddler swirls with a plastic fork or popsicle stick, the color spreads into marbled cloud shapes.
It looks dreamy, like a soft sky, and the process is quick enough for small attention spans. Use a damp cloth for cleanup, and keep the activity on a tray so foam stays contained.
Personalize by choosing themes like ocean waves or outer space, then name each color as it spreads. If you have a fridge shelf of food coloring, this idea also feels budget-smart because the materials are already in your kitchen.
7. Crayon Rubbing From Cardboard Textures

Gather cardboard scraps and tape them flat over textured items like corrugated boxes or bubble wrap. Your toddler rubs with thick crayons and watches patterns appear like magic.
This art is unique because the design comes from the materials around you, not from a printed template. It also teaches observation as they notice how different textures make different marks.
To keep it easy, secure the cardboard to a firm surface so it does not slide. You can personalize by making a “texture museum” with each new pattern representing a place, like “garden leaves” or “brick wall.”
For cost considerations, look for textures you already own and cut them to simple sizes. Many families are enjoying natural-texture art lately, and this is a tidy way to join the trend.
8. Sticker Story Scenes on Reusable Boards

Give your toddler a reusable board like a small magnet board or a laminate sheet and provide a pile of stickers. They build a scene with quick placements, then can remove and rearrange for new stories.
The visual outcome is bright and playful, and the best part is how often the scene can change. This supports creativity because they learn that art can be edited and improved, not only finished.
To personalize, ask them to choose a character and then add “friends,” “food,” or “home” items around it. Keep sticker sizes small enough to be manageable, and store them in a small container so the space stays organized.
9. Paper Plate Animal Faces With Collage Teeth

Use a paper plate as the base and let your toddler add features with torn paper, yarn bits, and cotton for fur. The finished animal often looks funny and expressive, with “teeth” made from ripped strips or cereal-box cardboard scraps.
Because the base is one shape, the project works well in small spaces where you want to avoid lots of cutting. It also encourages individuality, since each collage version ends up with a different personality.
Personalize by making the animal match your daily life, like a pet they love or a creature from a bedtime book. For budget, you can use scraps from old magazines and packaging, which keeps costs low and recycling high.
10. Cardboard Tube Telescope Painting

Cut small cardboard tubes and press one end against a small paint pad, then “stamp” circles onto paper. Your toddler makes a constellation effect without needing brushes that fling paint everywhere.
The visual result feels like a telescope view, with repeating rings and dotted stars. This method is practical because the paint contact is controlled, so cleanup stays simple.
To personalize, paint “planets” with different colors and add a few finger-drawn moons. This also fits current trends toward stamp-based art, which is popular because it is fast, bold, and satisfying.
For cost considerations, tubes are easy to save from paper towels and wrapping, and you can use sponge pads made from old cloth.
11. Color Mixing With Frozen Crayon “Ice” Blocks

Grate or break a few crayons into a silicone muffin tin, add a tiny bit of water, and freeze. Your toddler can paint the paper by dragging the frozen blocks across it, leaving swirls as they melt.
The colors blend in soft streaks, like watercolor, but with a fun chilly twist. This sensory approach often holds attention longer, because the melting sound and movement feel different from regular drawing.
Keep it small-space friendly by using one tray and one paper sheet at a time. Personalize by creating a “mixing story” like making a sunset, then let your child choose which two colors meet first.
12. Shadow Tracing With Flashlight Shapes

In a dim room, use a flashlight to cast shapes of toys, leaves, or fingers onto paper taped to the wall. Your toddler traces the moving outlines with a crayon, creating a bold silhouette picture.
This idea is unique because the art changes as the light shifts, so their drawing becomes a record of motion. It also supports spatial thinking and hand control, since tracing around edges can strengthen steady movement.
To personalize, make a “night garden” by using leaf shadows and turning each outline into an animal. For cost considerations, you only need paper, tape, and a flashlight, which makes it one of the most budget-friendly options.
13. Mini Collage Garlands on String

Cut small paper squares, then let your toddler glue and decorate them with markers, stickers, or torn bits of fabric. Hang the finished pieces on a short string with clothespins, so the art becomes a wearable gallery.
The visual effect is charming because it turns each small square into a little banner with mixed textures and colors. This is ideal for small spaces since the display is vertical and uses minimal floor area.
Personalize by making a theme, like “ocean flags” or “dinosaur lights,” and let your child decide the order of pieces. If you want a cost-smart approach, use scrap paper, leftover yarn, and old greeting cards so you are not buying new supplies.
Many families are enjoying “rotating gallery” trends, and this garland lets you swap pieces easily while keeping the best ones for longer.