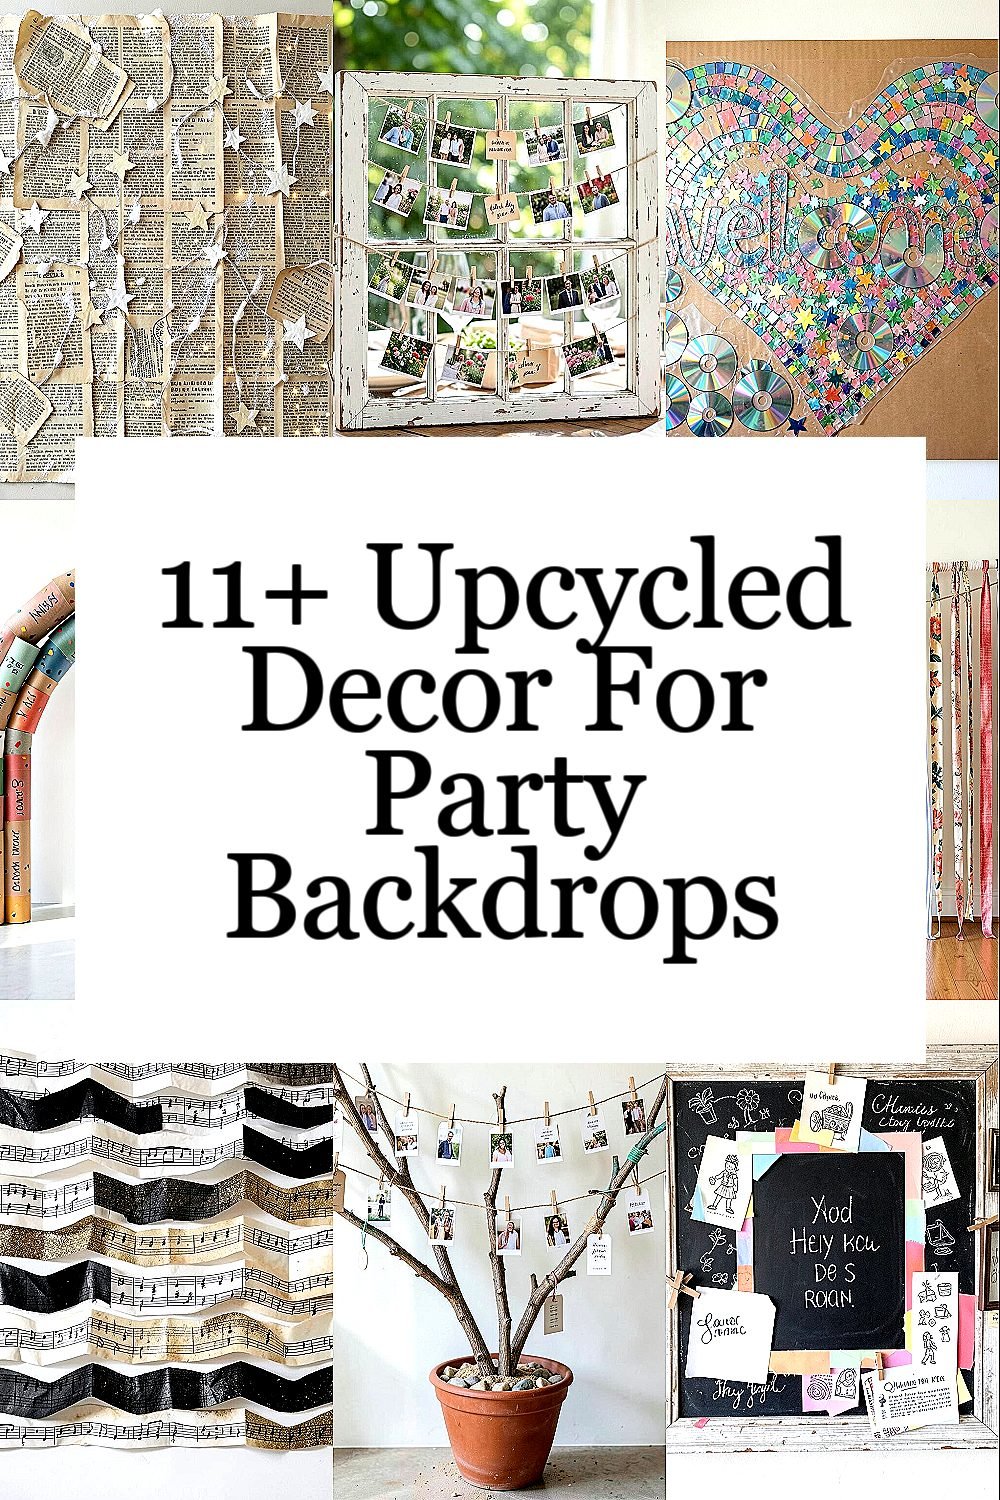
The right backdrop can make any celebration feel like a special place. Even better, you can build it from things you already have.
Upcycling turns everyday leftovers into eye-catching scenes that guests remember. With a little imagination and practical prep, you’ll get style without the usual price tag.
1. Vintage Book Page Starfield
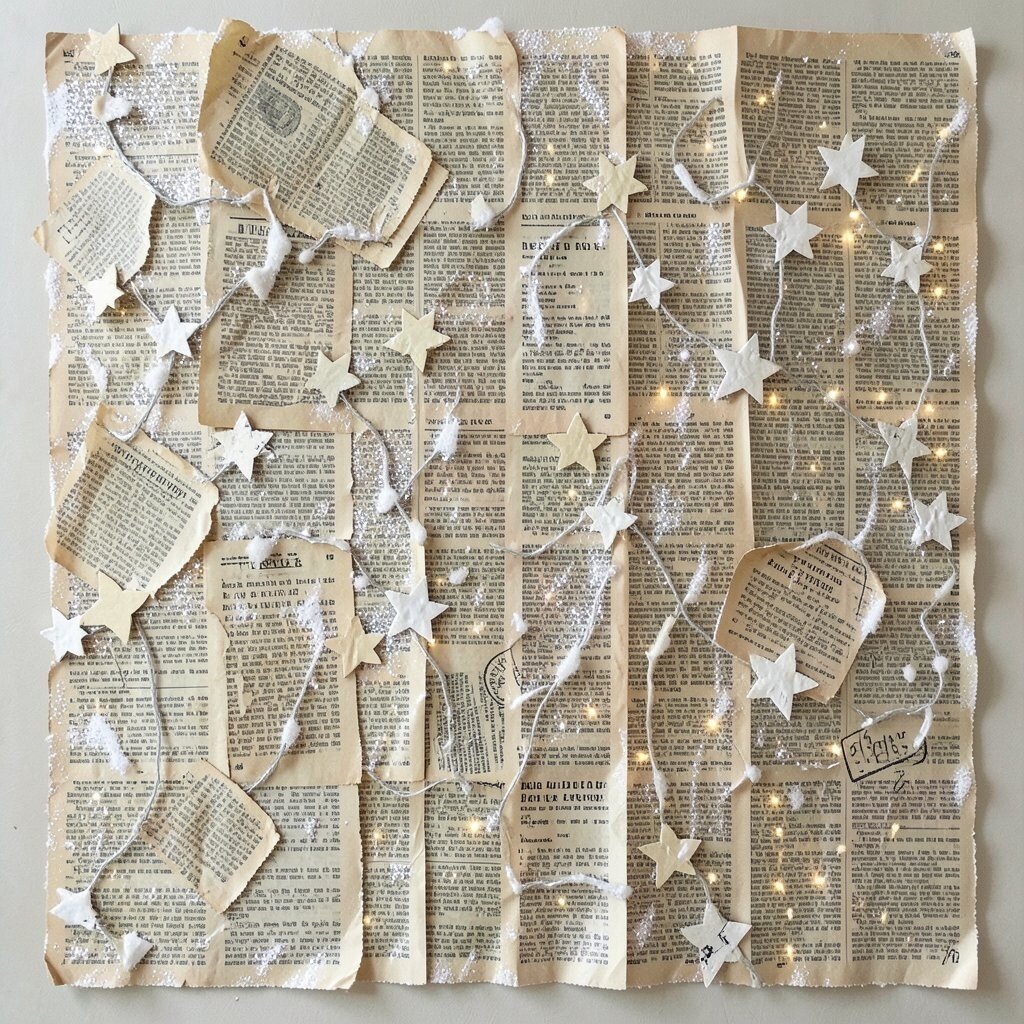
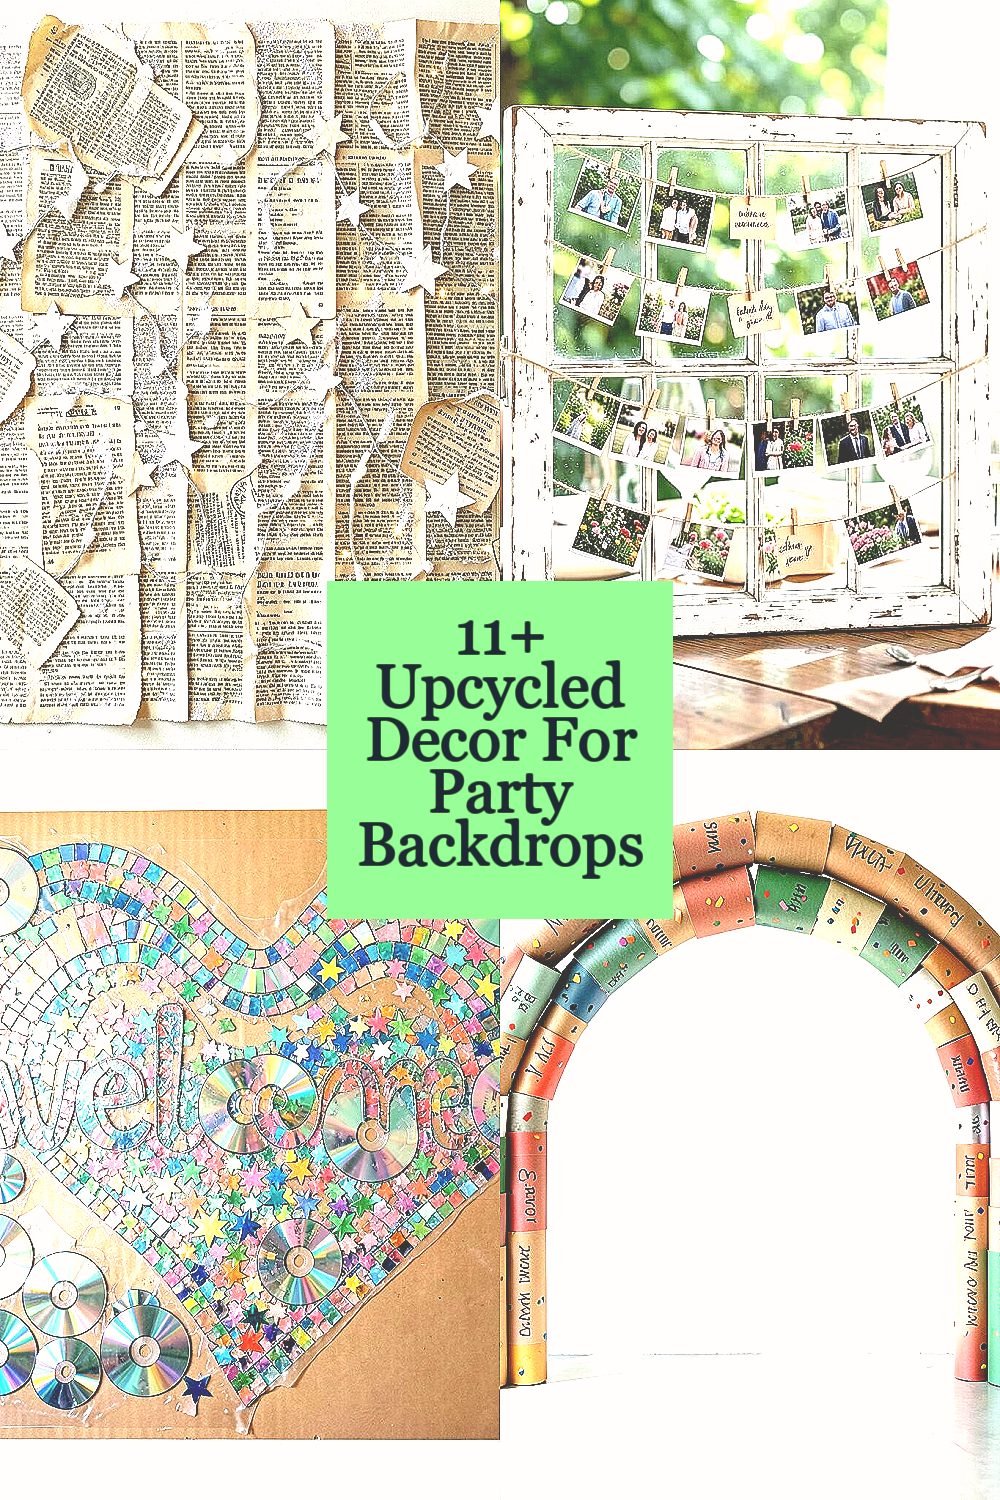
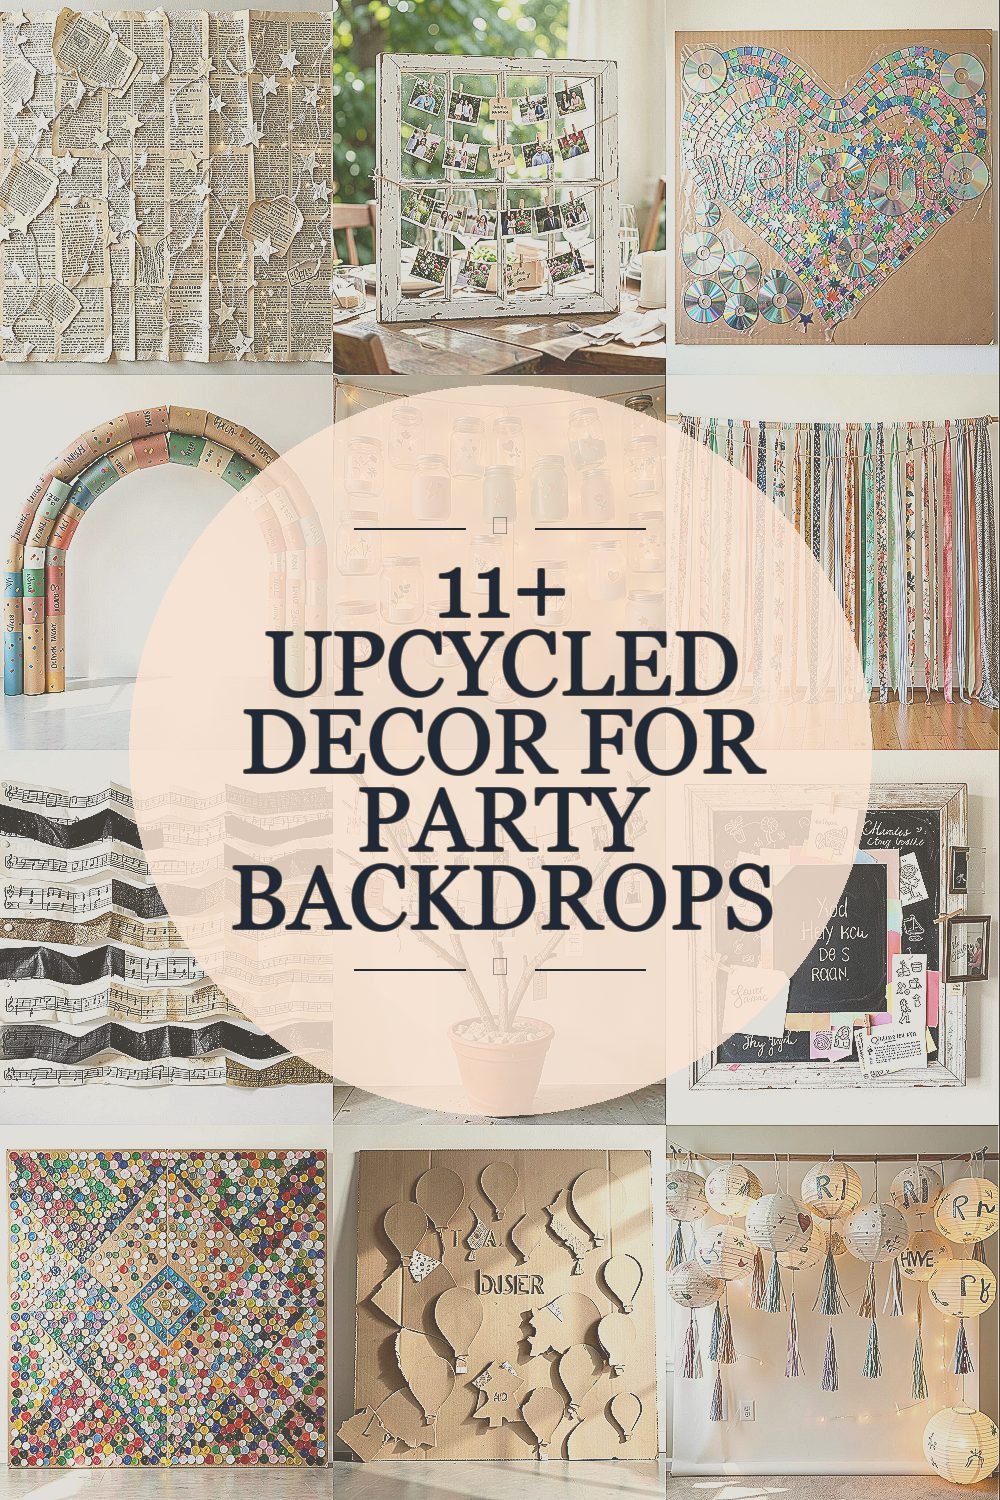
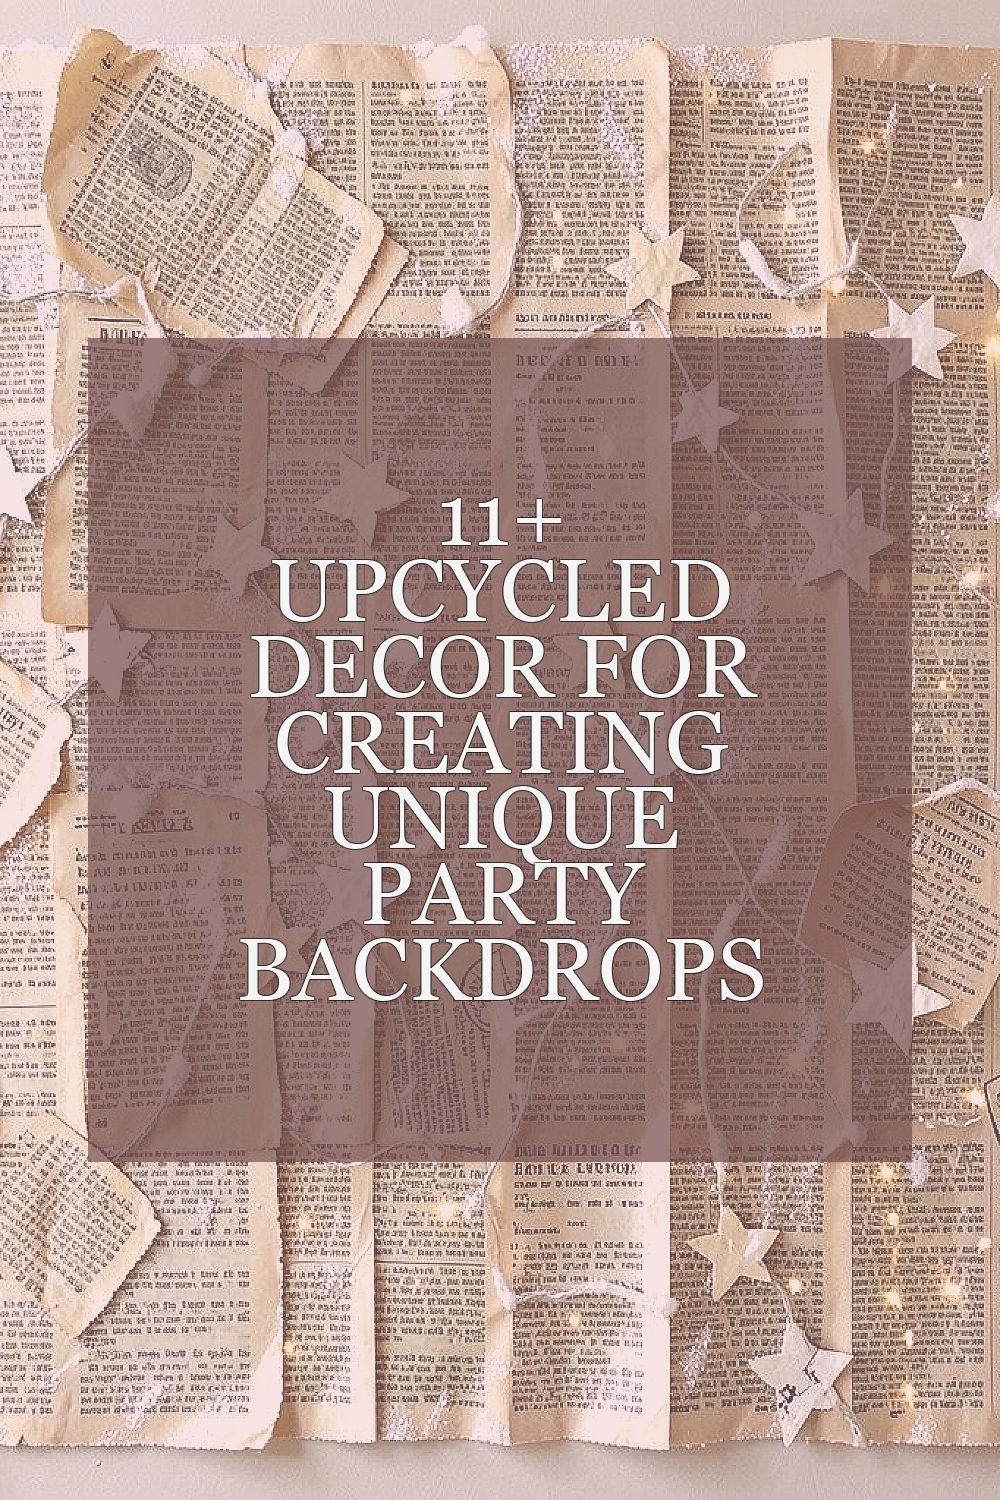
Rip or cut old book pages into tiny shapes and let them shimmer across your backdrop like a night sky. When you crumple the paper lightly and fluff it back out, the texture catches light in a cozy way.
Use strong cardstock as a backing so the pieces don’t droop, then attach them with a glue stick or craft glue in small clusters. For a quick glow effect, dust the edges with glitter or watered-down white paint and let it dry fully before hanging.
Choose a color theme by using only certain pages, like matching the font tone or keeping to one genre. You can personalize by stamping a date, adding short quotes from the pages, or wiring a few cut-out stars at different heights for depth.
2. Repurposed Window Frame Photo Garden
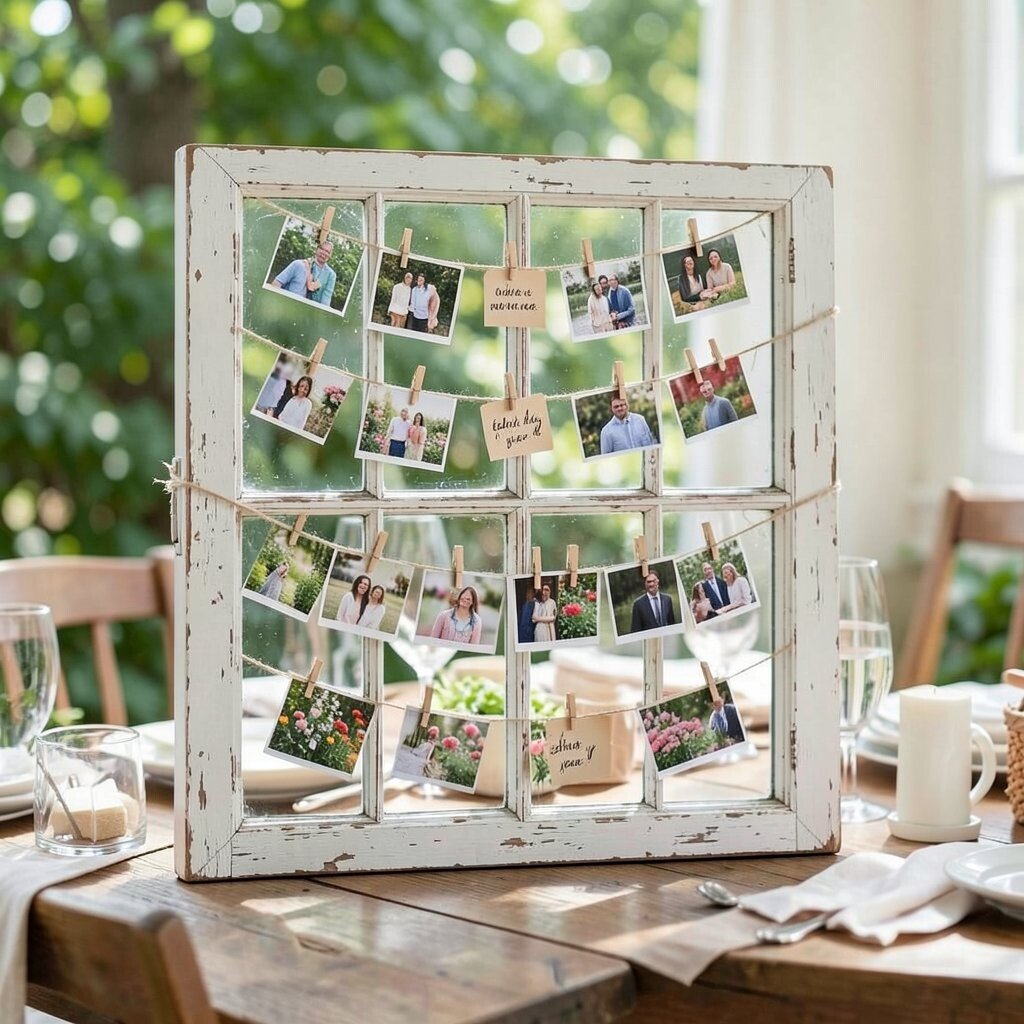
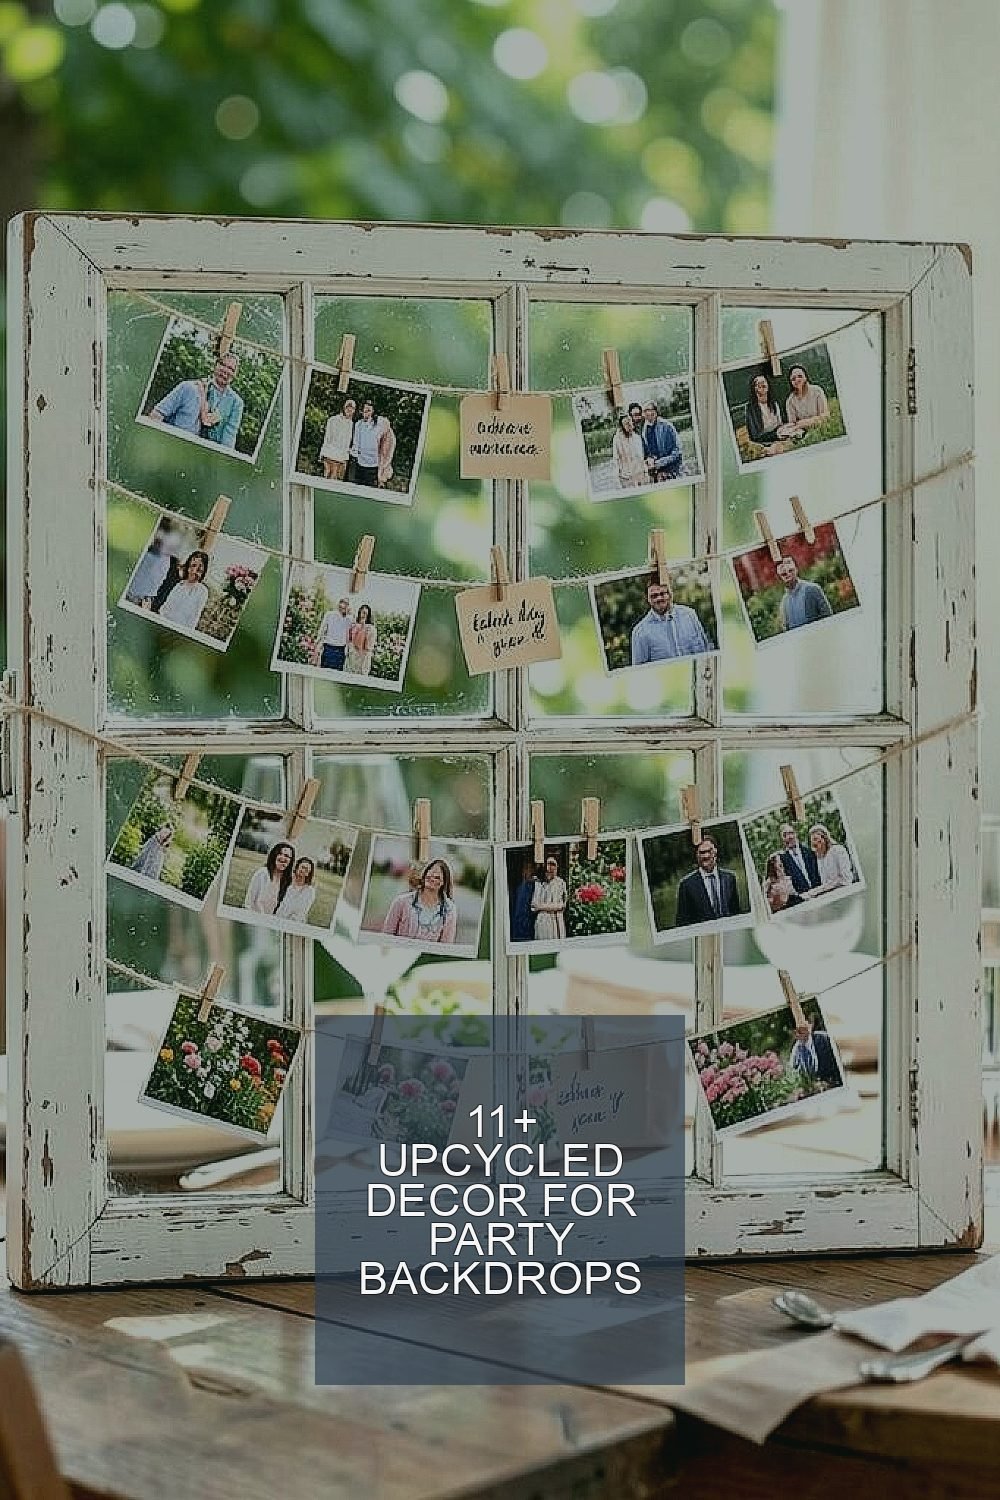
Find an old window frame from a flea market or a garage stash and place it as a centerpiece behind the party table. Inside the panes, string photo strips or small fabric pockets so memories look like a blooming garden.
Attach twine or thin wire across the frame, then clip pictures with mini clothespins for an easy swap. Guests love the “walk-up” photo moment, and you get a backdrop that feels personal without much effort.
To keep it practical, clean the frame first and make sure any loose hardware is tightened so it stays stable on a stand. Personalize it by adding handwritten captions on scraps of cardstock, then swap captions each year for a fresh look.
For cost considerations, you can skip buying a new display system and use scrap wood, leftover curtain rings, or even binder clips. A current trend is mixing warm wood with soft photo “micro displays,” and an old window naturally fits that vibe.
3. CD Mosaic Welcome Wall

Gather old CDs and break them into small shiny pieces to create a mosaic that flashes rainbow reflections. The visual impact is instant because every angle throws light onto nearby faces and decor.
Lay a sheet of cardboard or plywood as your base, then use strong glue to set the pieces in patterns like waves, stars, or a simple “welcome” shape. Let each section set before you add the next cluster so nothing slides.
Keep it safe and easy by wearing gloves while breaking CDs, since the edges can be sharp. Personalize by using your party colors, or by cutting a larger heart shape and filling it with mosaic tiles.
As a practical tip, add a clear top layer of Mod Podge or craft sealer to reduce dust and keep the surface tidy. Even with a small collection of discs, you can cover a single focal panel rather than the whole wall.
4. Cardboard Rolled Confetti Arch

Use flattened cardboard and roll it into tube shapes, then paint and coat the tubes for a playful confetti look. When the tubes form an arch, the backdrop feels festive from far away and still looks detailed up close.
Cut your cardboard into consistent strips, roll them tight, and secure the seam with tape before gluing the tubes onto a sturdy base. You can also layer the tubes in different sizes so it feels like a hand-made party burst.
For personalization, write names or short messages on a few tubes with a paint marker, then alternate colors across the arch. If you want a modern touch, keep the palette to two or three shades and add one metallic accent.
Cost is friendly here because cardboard shows up everywhere, from shipping boxes to old storage containers. This style matches current party trends toward bold shapes and minimal color palettes with lots of texture.
5. Painted Mason Jar Lantern Backdrop

Turn clean mason jars into hanging lanterns and cluster them to form a warm, twinkly backdrop. The glass catches candlelight or string lights, making guests feel like they’re standing inside a glow.
Paint the jars with washable acrylic or chalk paint, then let them dry before adding holes for twine. You can also leave some jars clear so the light looks layered instead of flat.
For practical safety, use LED tea lights or fairy lights rather than real flames, especially in crowded party spaces. Personalize the look by painting tiny icons, like stars, flowers, or tiny hearts, and placing each jar at a different height.
Cost considerations are simple because jars are often cheap at thrift stores, and the rest is paint and string. This lantern cluster trend fits nicely with cozy outdoor gatherings and even indoor birthday setups.
6. Scrap Fabric Ribbon Curtain Stage
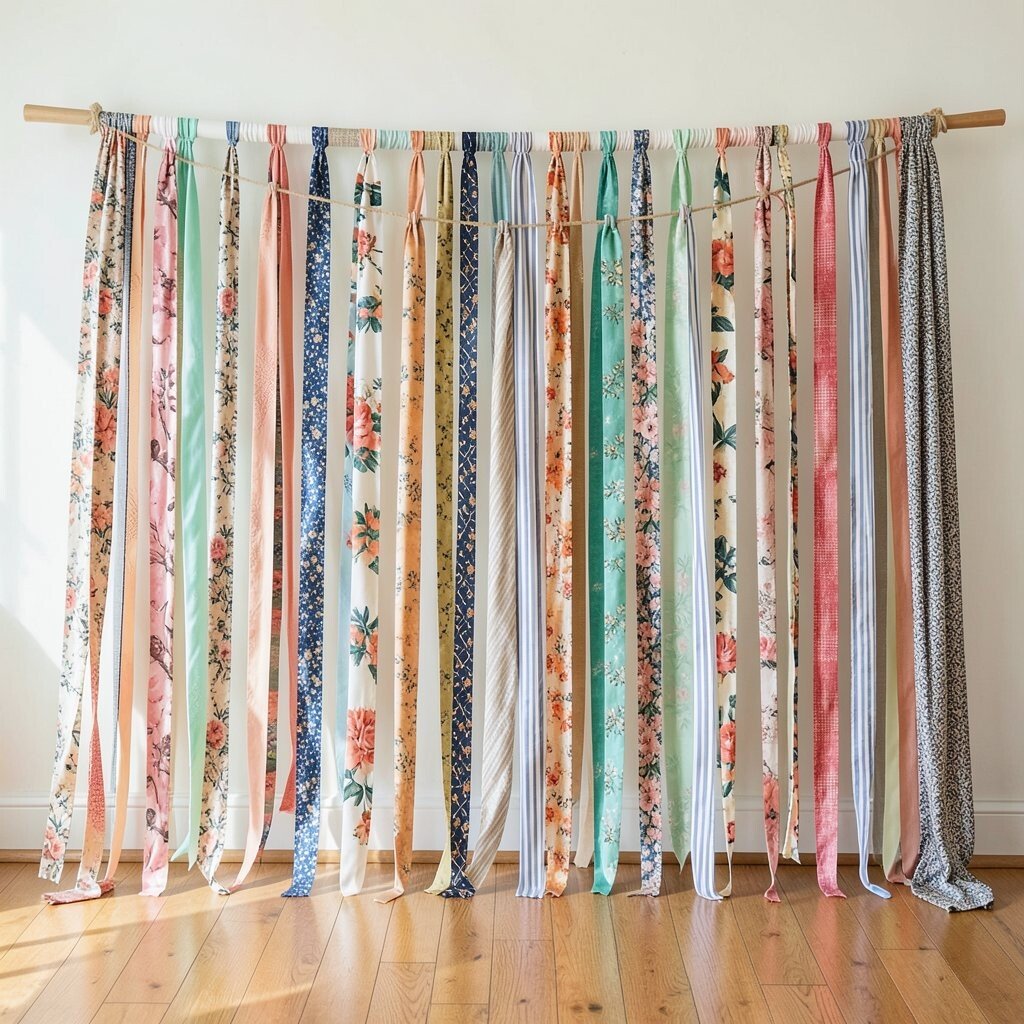
Collect leftover fabric scraps and cut them into strips to create a ribbon curtain that looks soft and lively. The backdrop swishes with movement, so your photos turn out more dynamic than a flat banner.
Stretch a length of twine or a curtain rod across your backdrop frame, then tie the fabric strips in evenly spaced bunches. To keep it practical, pre-measure the curtain length so the strips hang at a flattering height behind the guest area.
Personalization is easy because every scrap has its own story, from old scarves to nearly-matching bedsheet corners. You can also mix patterns and solids to match a theme, like beachy stripes or vintage florals.
For cost, this idea is great because fabric is often free to gather from closets and thrift boxes. A current trend is “textile layering,” and this curtain delivers that look with zero store-bought fuss.
7. Upcycled Sheet Music Paper Strip Waves

Use old sheet music to build wavy strips that curl and overlap, forming a backdrop with rhythm and charm. The notes create a subtle pattern that reads as artsy even when you keep the layout simple.
Cut strips of paper, then crumple them lightly and smooth them back out so they keep a natural wave. Attach the strips to a backing with glue dots, tucking edges under overlaps for a clean finish.
Personalize by switching between black-and-white pages and pages tinted with a light tea stain for a softer vintage feel. If you want a modern look, limit the color to crisp black and a single accent like gold glitter.
As a practical tip, test a small section first to see how the paper behaves when it dries, since humidity can change curl. This backdrop is also budget-friendly when you borrow or thrift music books you won’t miss.
8. Branch and Twine Hanging Name Tags
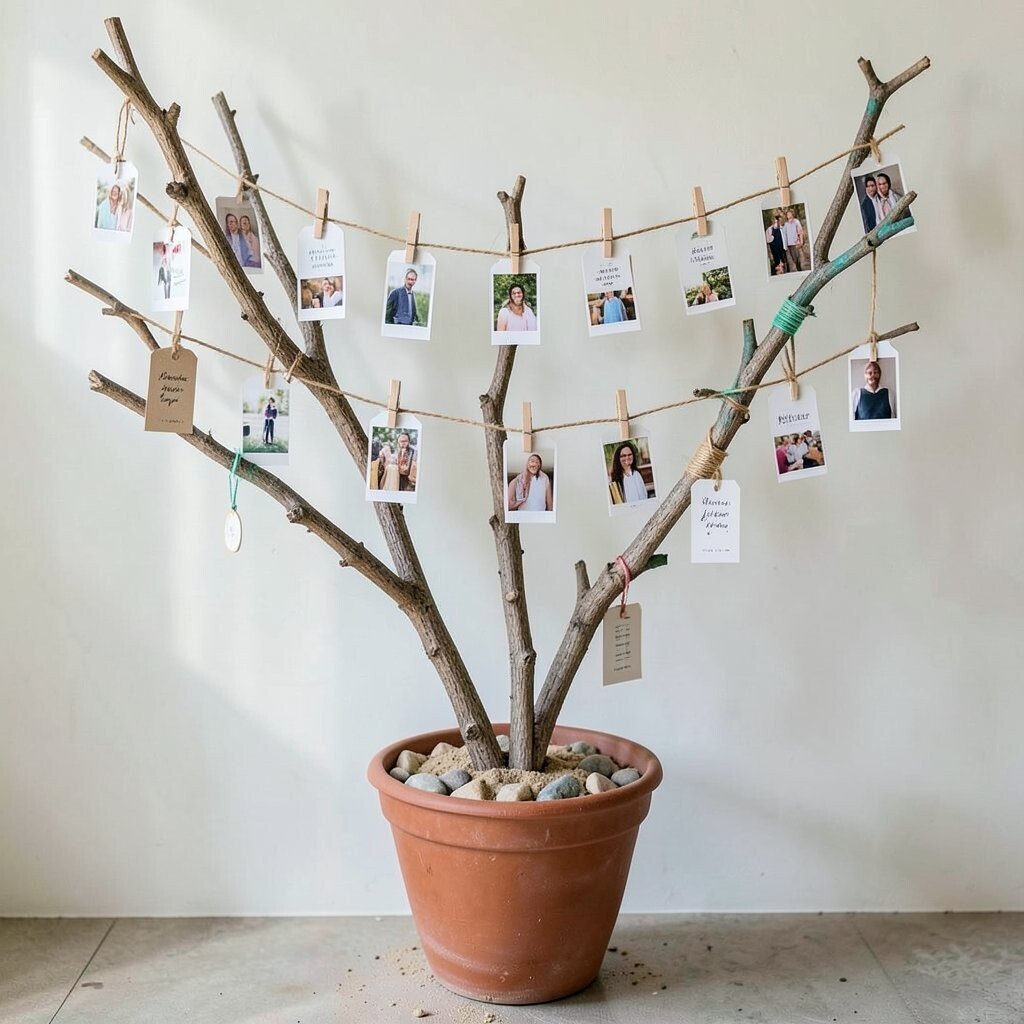
Find a few sturdy branches and clean them, then tie twine across them to create a natural hanging display. The visual looks rustic and airy, and it frames guests like a living photo border.
Hang name tags, small photos, or mini ornaments from the twine using clothespins or knots. This makes the backdrop interactive, because guests can search for their tag and feel included right away.
For personalization, paint a few branch tips with craft paint or wrap them with colored yarn to match your party theme. Cost stays low because branches are usually free, and you only need twine, clips, and a handful of decor pieces.
Keep it sturdy by anchoring the branch structure in a heavy pot filled with stones or sand. This style aligns with outdoor and eco-friendly party trends where natural textures take center stage.
9. Old Frame Chalkboard Collage
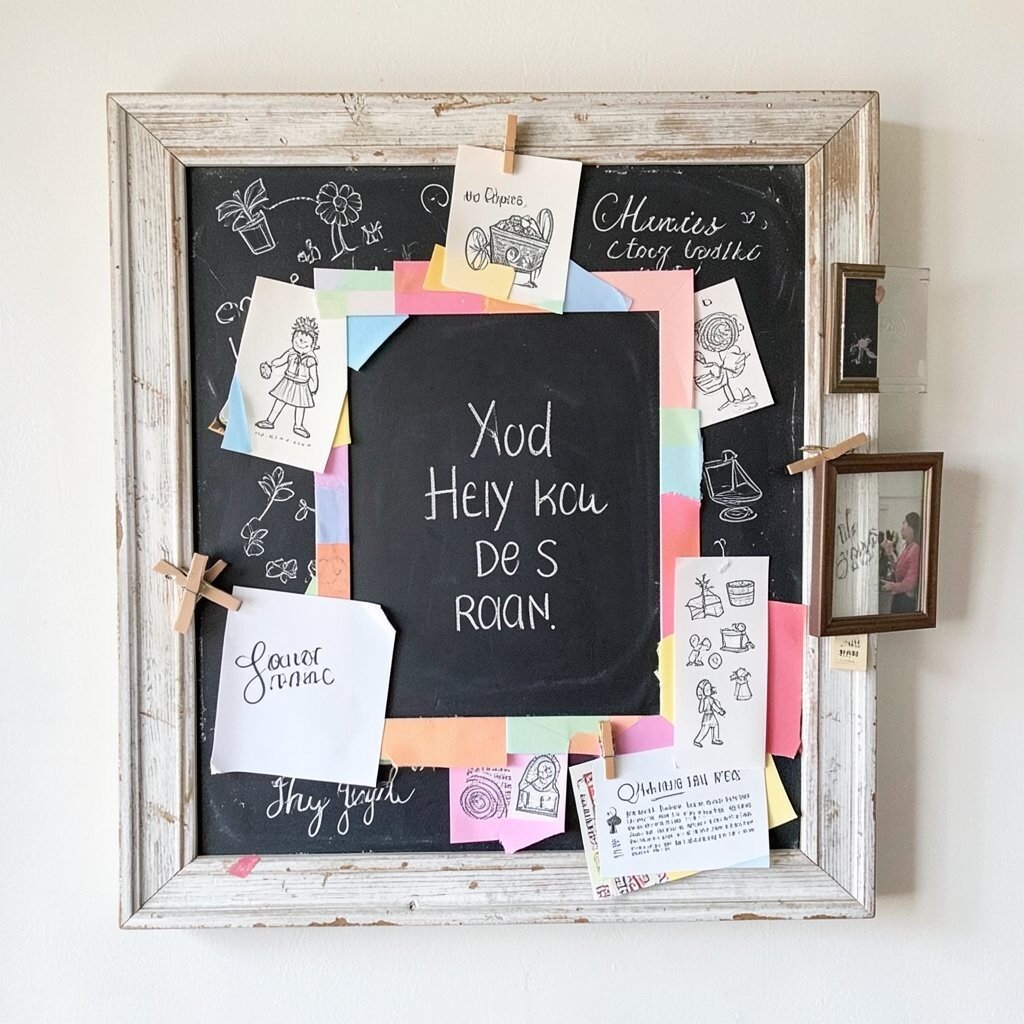
Repurpose an old picture frame into a chalkboard collage that’s perfect for writing greetings and doodles. The moment people read it, they feel the party energy shift from ordinary to special.
Remove the backing and replace it with chalkboard paper, then add layered scraps of colored paper around the center opening. Use a few small clothespins to hold extra note cards so the display changes throughout the event.
Personalize by writing a custom message, adding little chalk drawings, or stamping themed icons on paper strips taped behind the frame. You can also create a matching set by making several small chalkboard frames for a photo-friendly wall.
For practical tips, keep chalkboard paper dust under control by brushing it gently before guests arrive. Cost considerations are friendly because frames and chalkboard paper are often easy to find secondhand or on clearance.
10. Bottle Cap Geometric Spark Wall
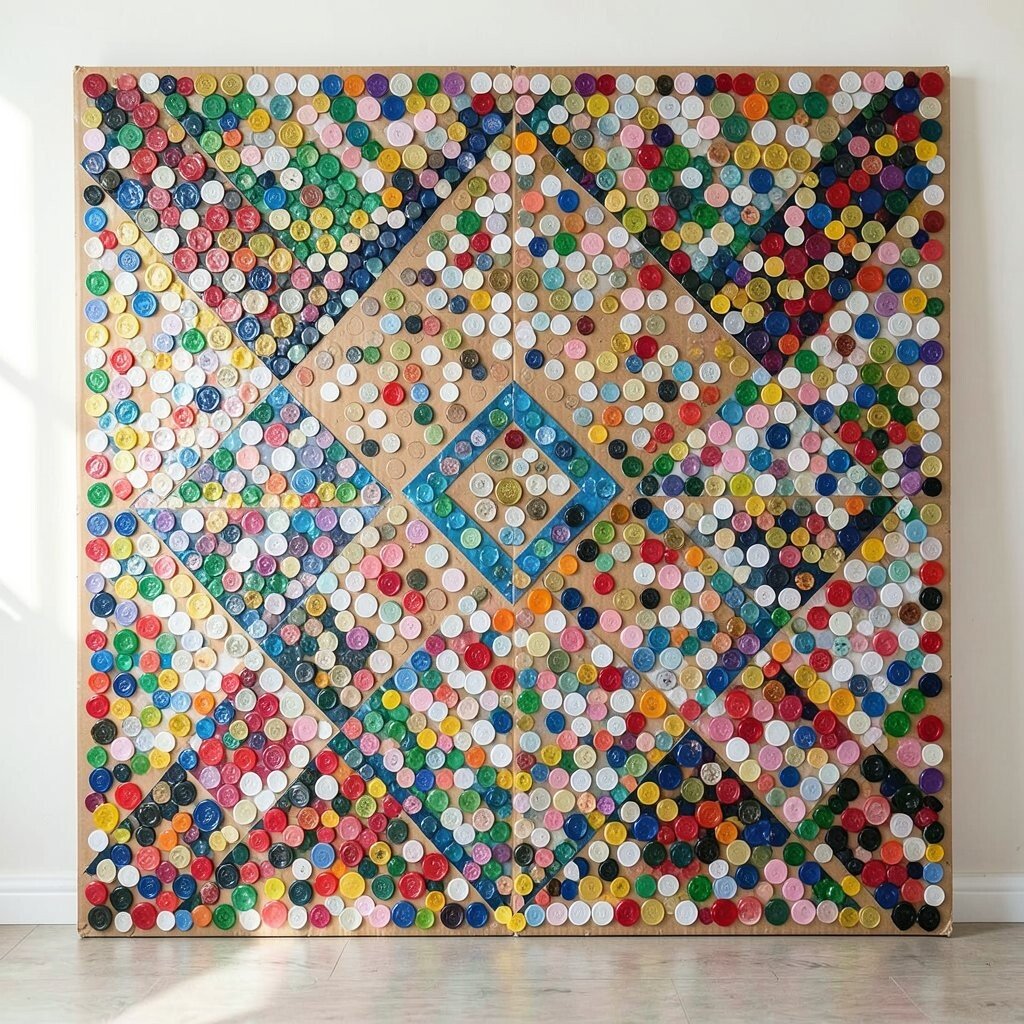
Collect bottle caps and arrange them in tight geometric shapes for a sparkling, modern backdrop. The surface catches light and creates an energetic pattern that looks great in party photos.
Plan your layout first on scrap cardboard, then glue caps in sections so you can correct alignment as you go. Use a strong adhesive and let it cure fully before hanging or propping the panel.
Personalize the design by mixing colors, creating a central symbol, or spelling a short word with caps. If you want a current trend look, choose a limited color range and keep the shapes crisp and clean.
For cost, bottle caps are usually free if you ask friends to save them, and you can often find extra caps at recycling centers. Practical tip for durability is to add a protective top coat when the glue has fully set.
11. Reclaimed Cardboard Layered Shadow Cutouts
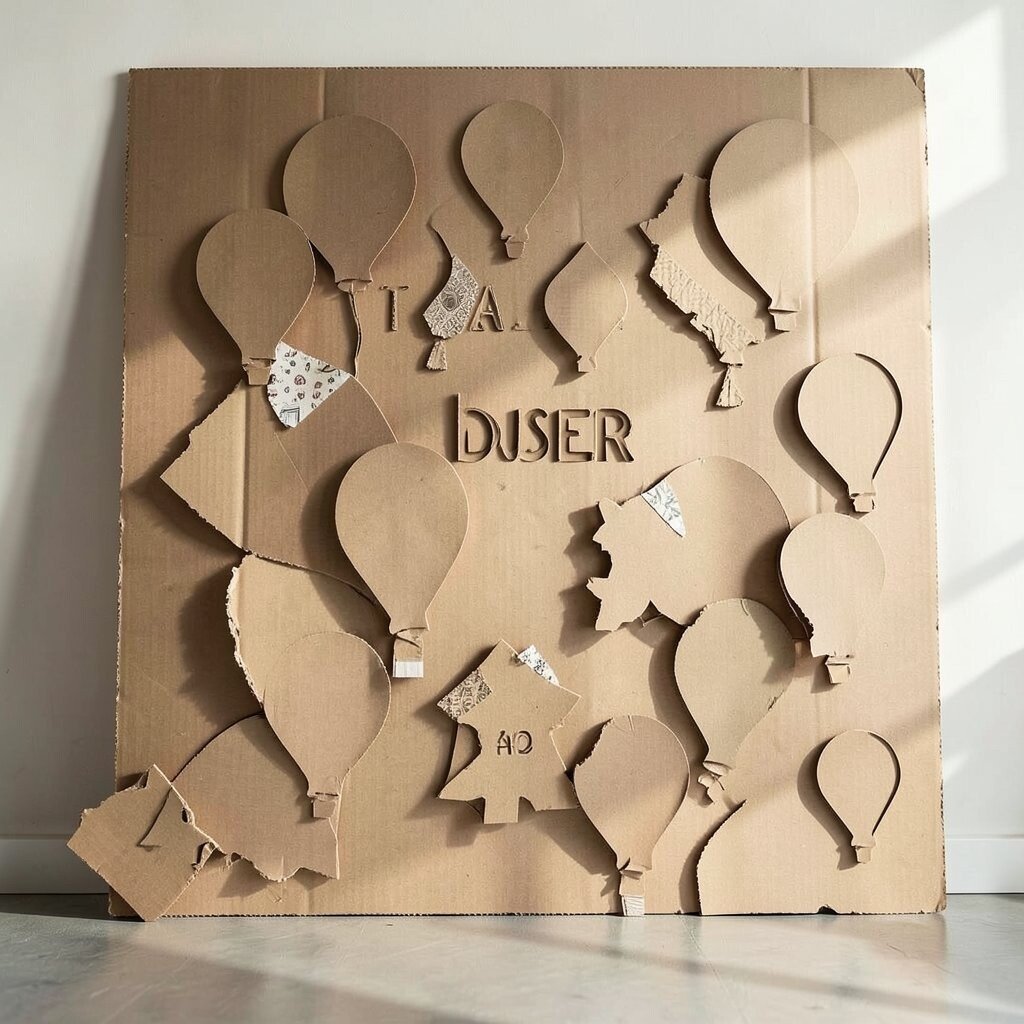
Cut shapes from layered cardboard to make a backdrop that looks like paper sculpture with bold shadows. When positioned near a light source, the layers cast depth that makes your scene feel higher-end.
Sketch your shapes first, like balloons, animals, or holiday icons, then cut multiple layers with different widths. Stack them with foam tape or scrap spacers so each layer separates and shows a clear silhouette.
Personalize by cutting names into the largest layer and filling details with patterned paper scraps. This technique also lets you keep things practical because cardboard is lightweight, easy to cut, and easy to store.
Cost is low when you use shipping boxes, and the setup is quick once you have templates. This style matches trends toward “shadow play” backdrops where depth and silhouette do most of the work.
12. Repurposed Paper Lantern Cluster With Tassels
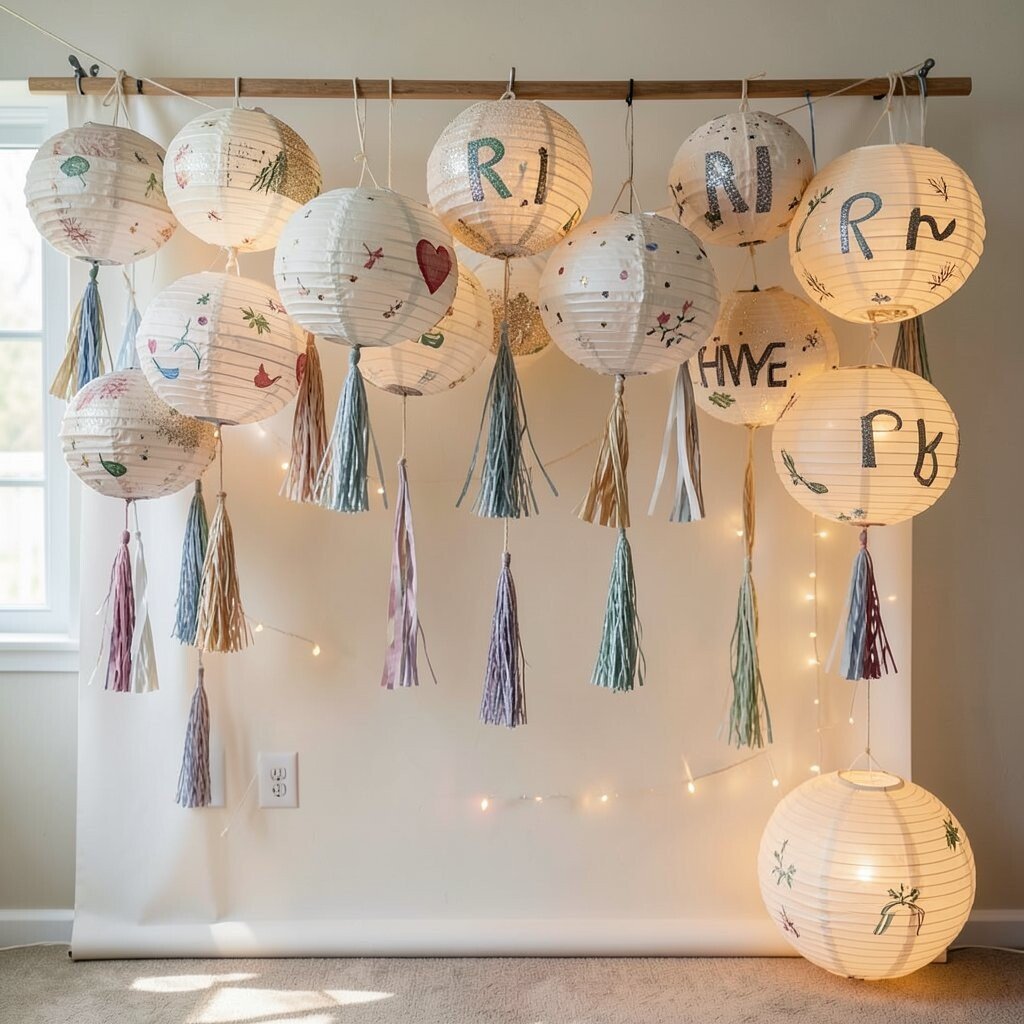
Create a dramatic backdrop by clustering upcycled paper lanterns and adding tassels for extra movement. Even a simple arrangement looks impressive when lanterns sit at varying heights.
Turn old wrapping paper, craft paper, or recycled cardstock into lanterns, then hang them from a beam or sturdy hooks. Attach tassels made from leftover paper strips so the whole backdrop sways when people pass by.
Personalize by painting small patterns, adding glitter accents, or labeling each lantern with a letter that forms a party message. For practical tips, use lightweight string and tie knots securely so the lanterns don’t tilt.
Cost considerations are great since you’re mostly using paper scraps, and you can scale up or down to fit the space. This cluster style is popular right now because it blends soft light with playful texture without looking cluttered.
As the party starts, position a few lanterns closer to the photo area so the glow frames faces. With a little care and clean paper edges, your upcycled lantern backdrop will look bright all night.