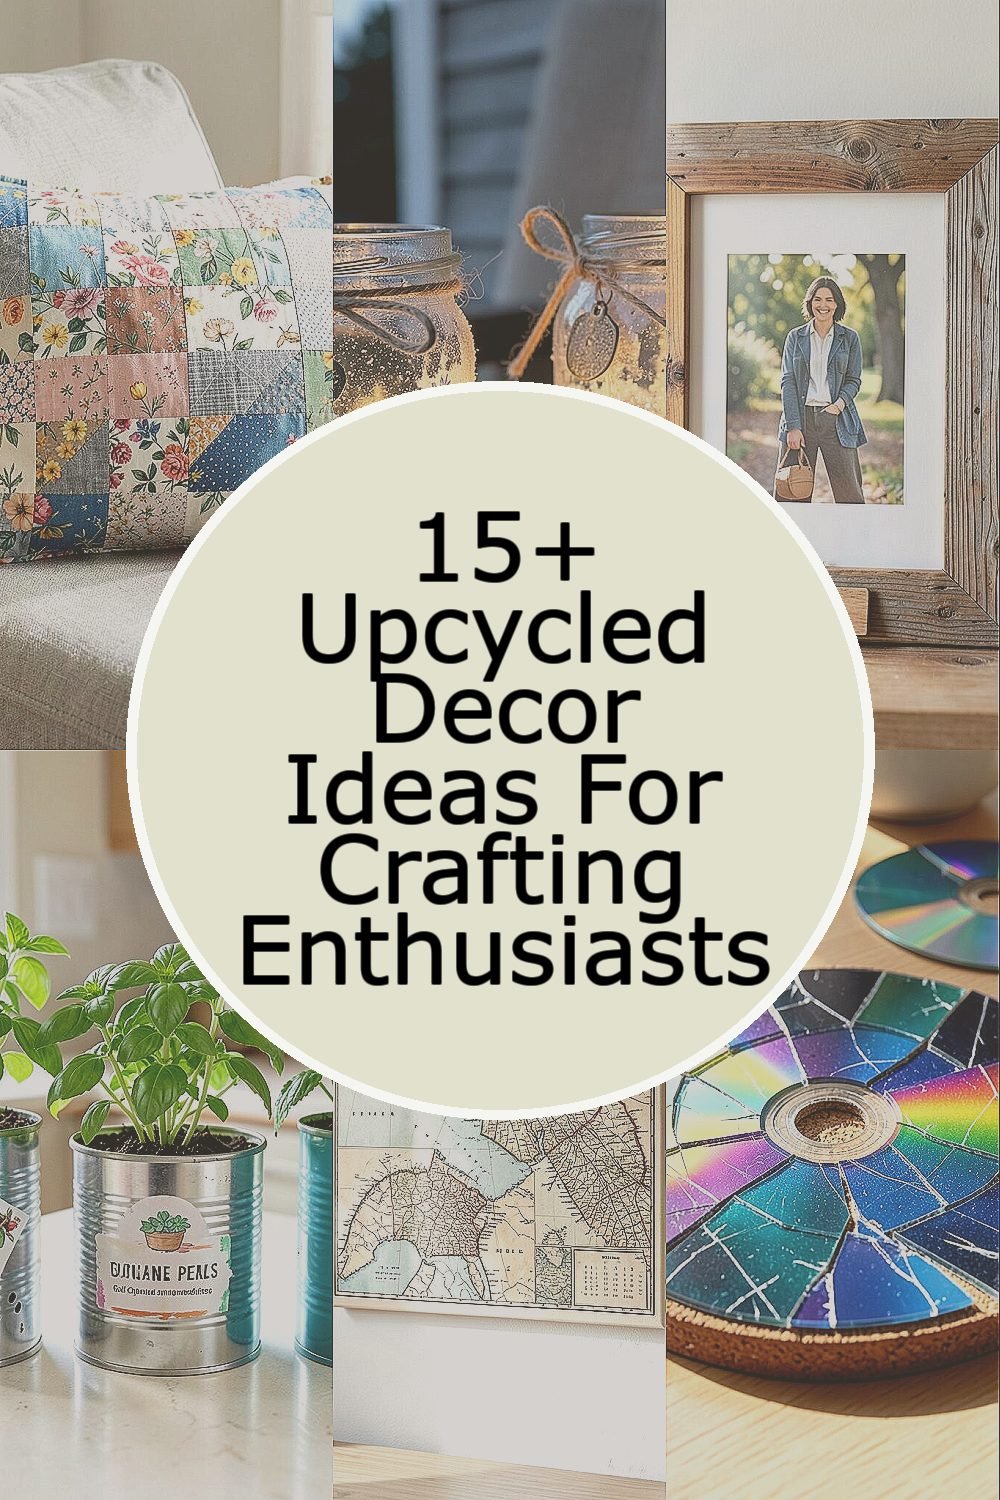
Scrap wood, odd jars, and worn fabrics can become room magic fast. Your leftovers already know how to shine when they get a new job.
With simple steps and a little patience, you can make decor that looks fresh, feels personal, and saves money at the same time.
1. Fabric Scrap Patchwork Pillow Covers
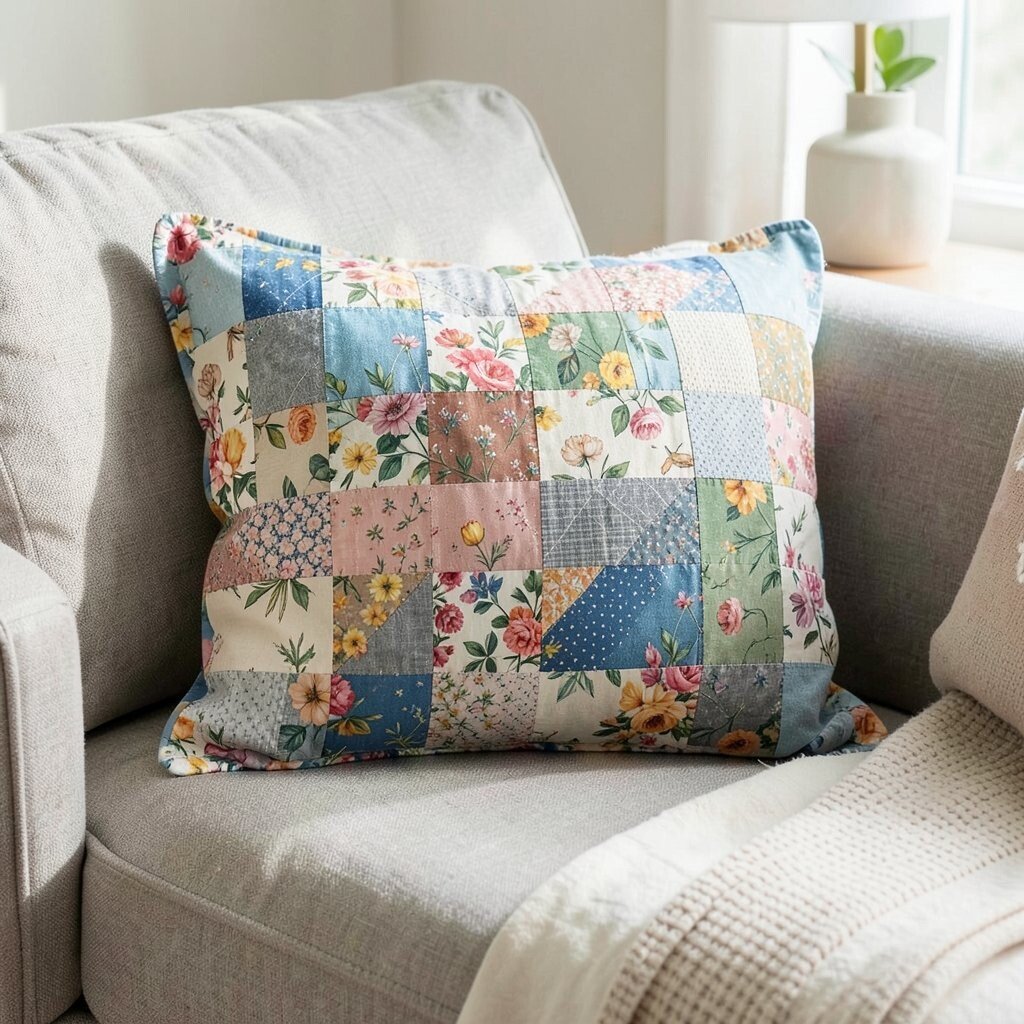
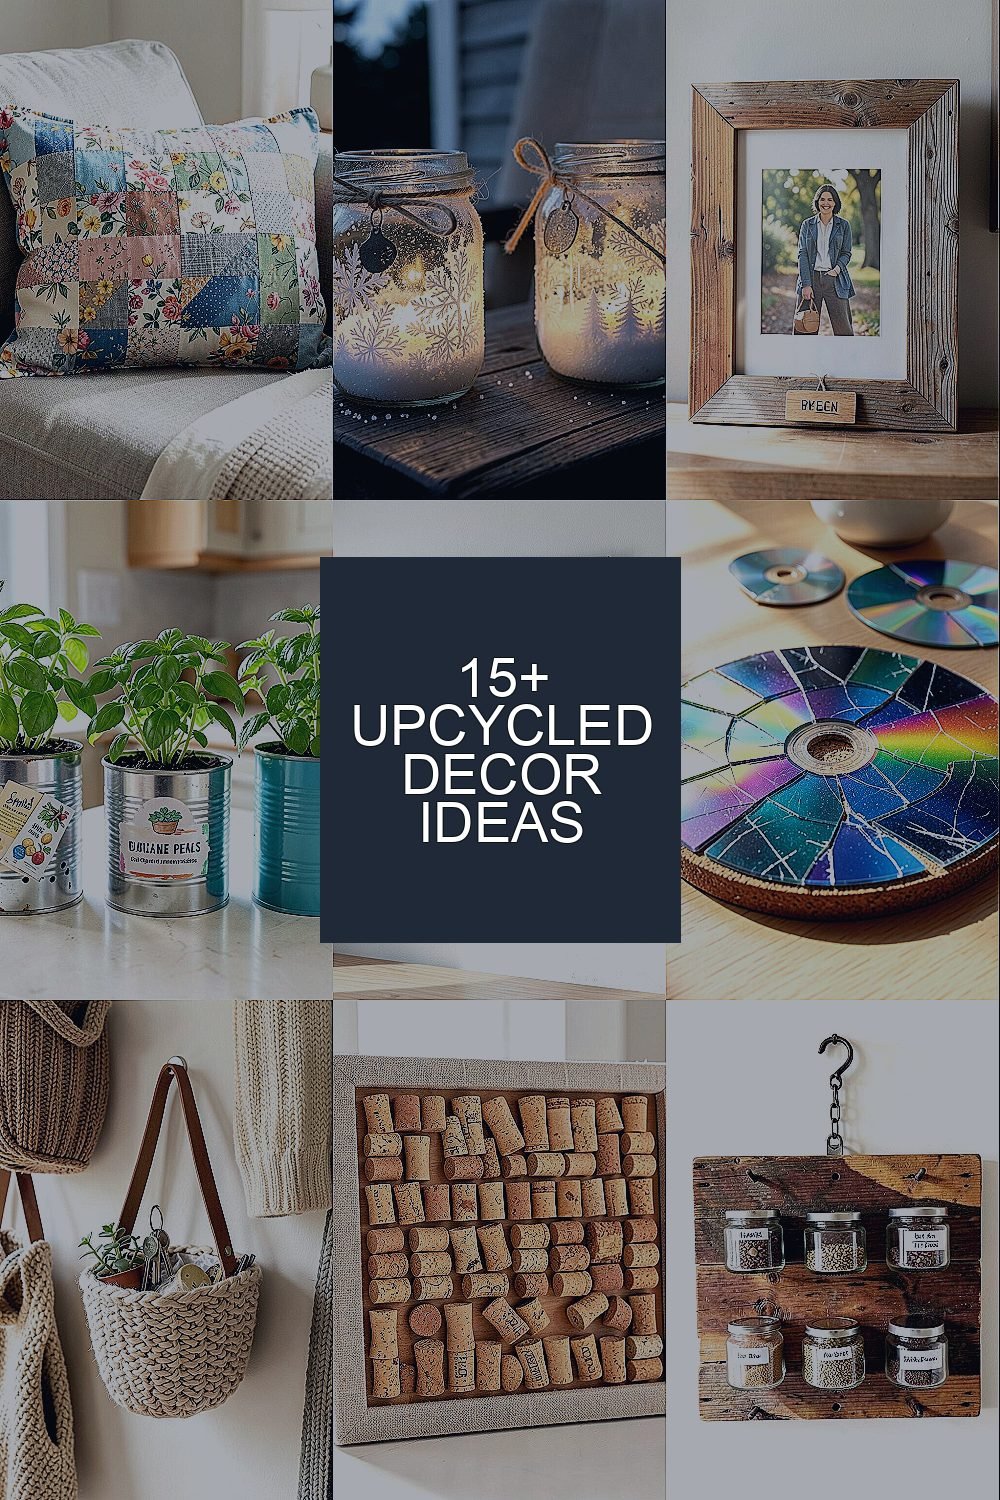
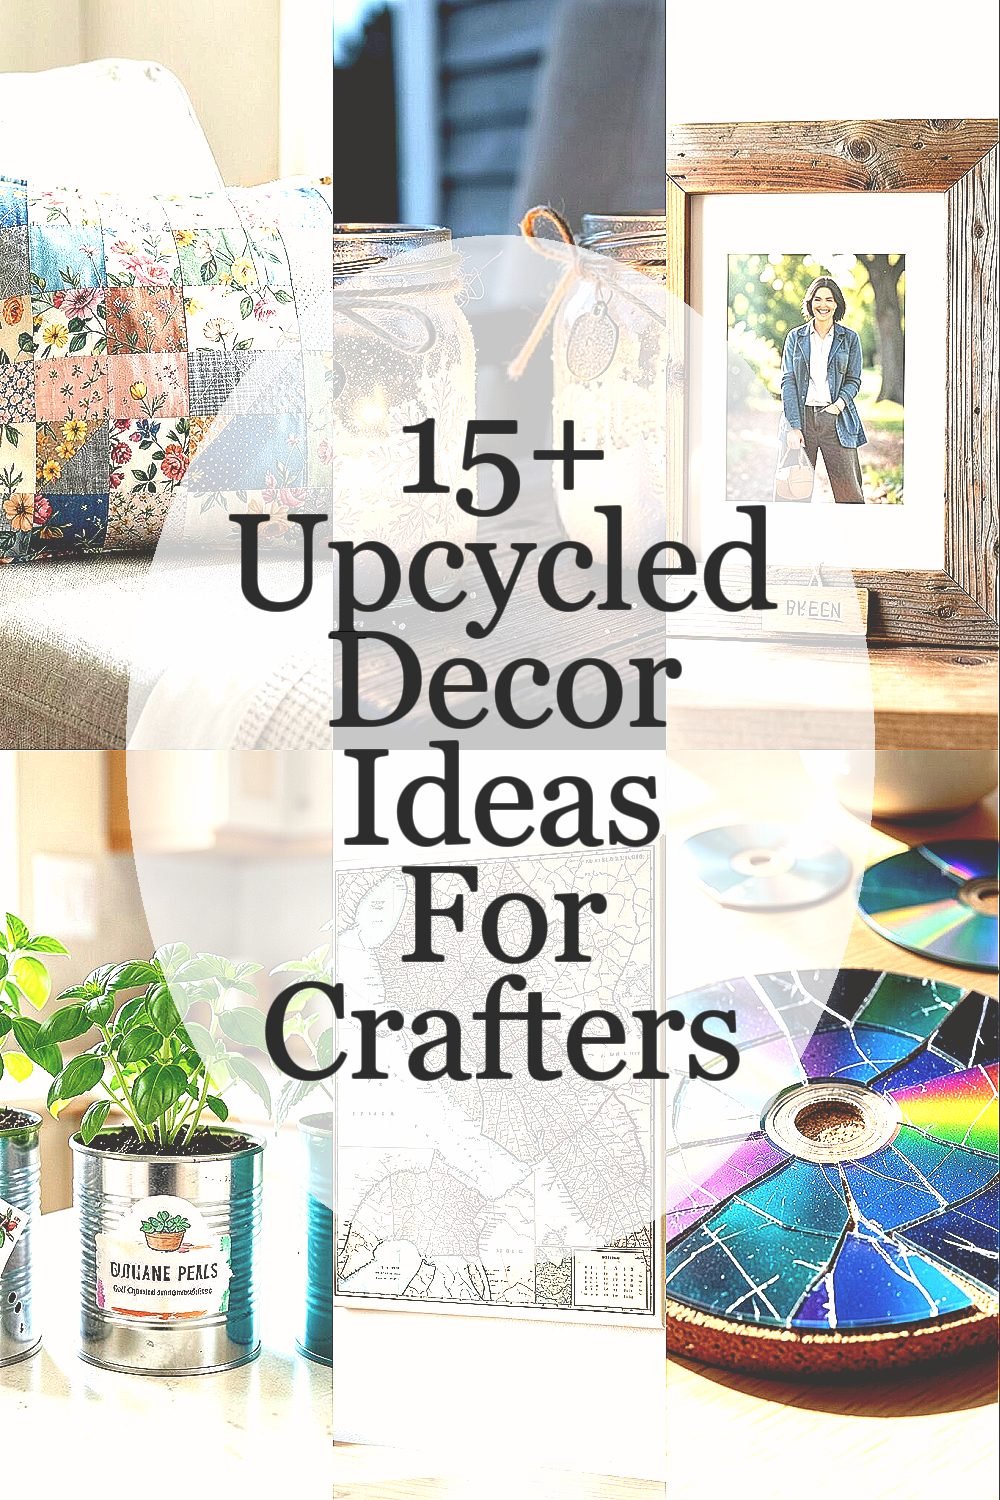
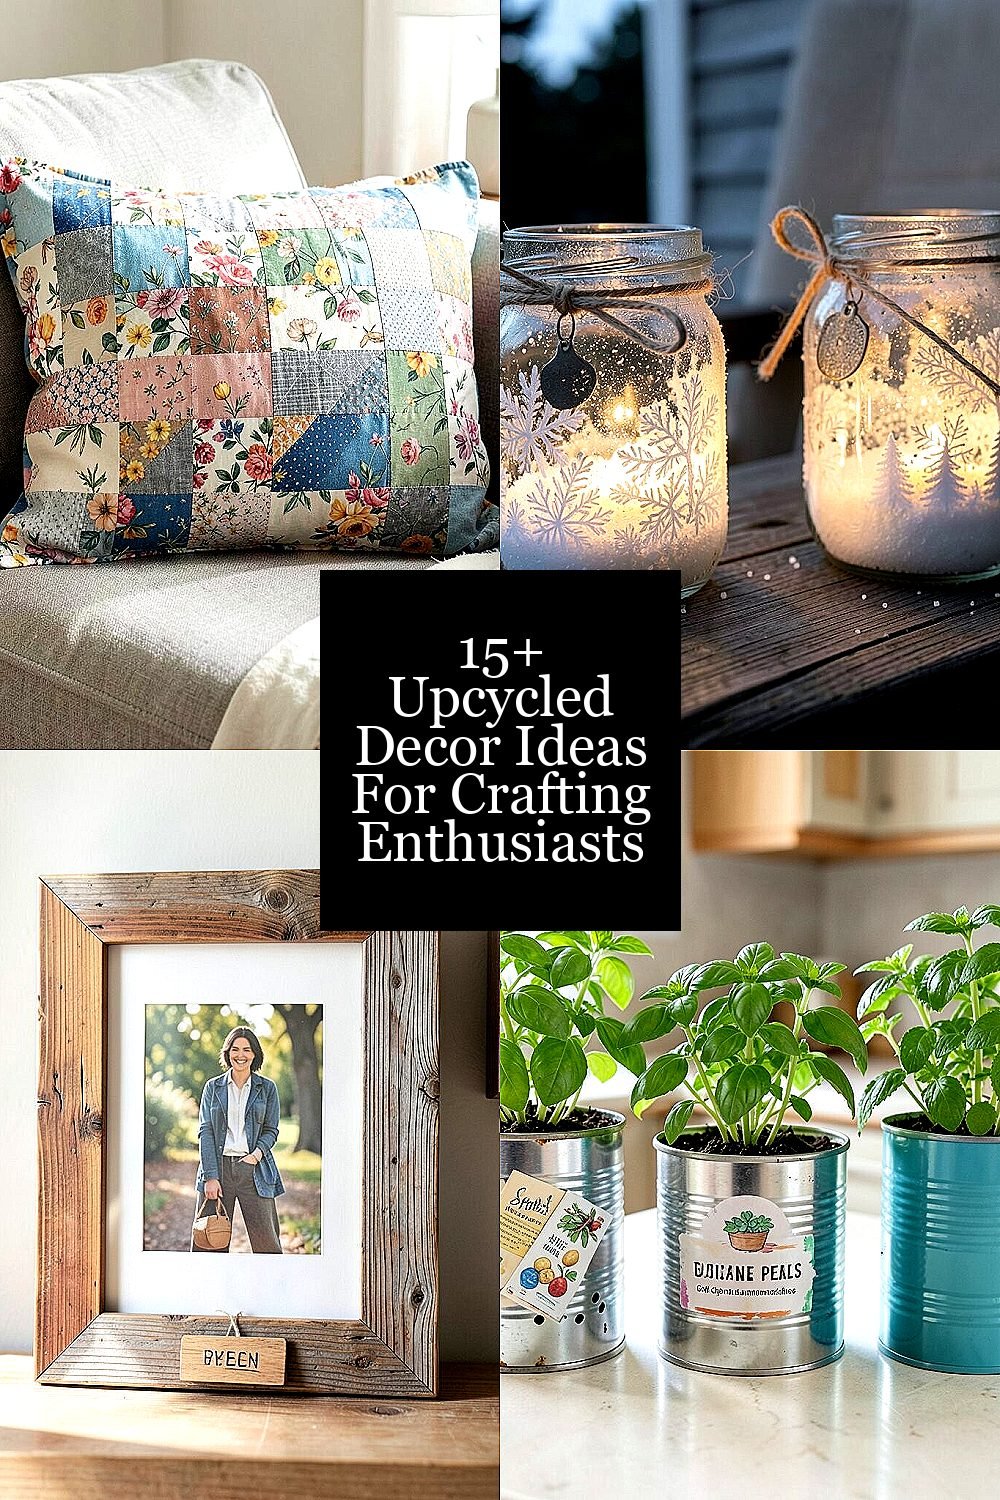
The room instantly looks cozy when you add a patchwork pillow with tiny fabric squares. Pick fabrics in similar colors or mix prints for a lively, casual vibe. You can feel the difference, too, because the texture makes your couch or bed look more inviting.
Use clean scraps, cut them into neat shapes, and sew them into a cover panel before attaching it to a backing piece. This kind of upcycling is great because it uses small leftovers that would otherwise get stored forever.
To personalize it, choose a theme like garden florals, old band tees, or vintage bedsheet patterns. For cost, most supplies are minimal since you can rely on leftover thread and buttons, and only buy a zipper or pillow insert if you need it.
2. Glass Jar Lanterns With Salt and Twine
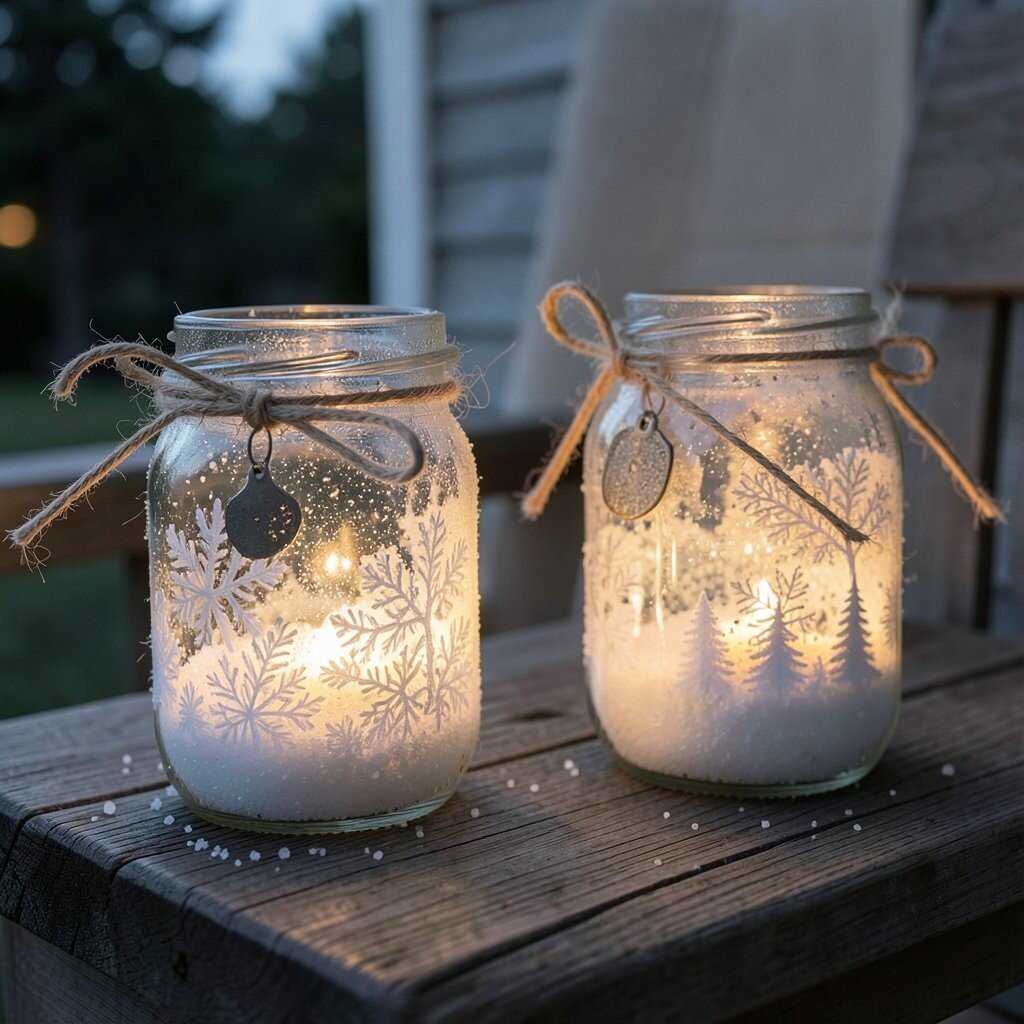
Old jars become soft lanterns when you wrap them with twine and add a simple layer of textured glow. Imagine a warm light shining through frosty patterns that look like tiny winter scenes. It feels magical on a porch or beside a reading chair, especially at dusk.
Clean the jars well, coat them lightly with glue, then sprinkle coarse salt for a sparkling finish. Tie a twine bow around the lid area, and add a small charm to make it feel extra special.
For personalization, try painting the glue in ombre tones using craft paint before sprinkling. This is a budget-friendly approach because jars are usually free or cheap, and salt and twine are easy to find.
3. Bookshelf Scrap Wood Picture Frames
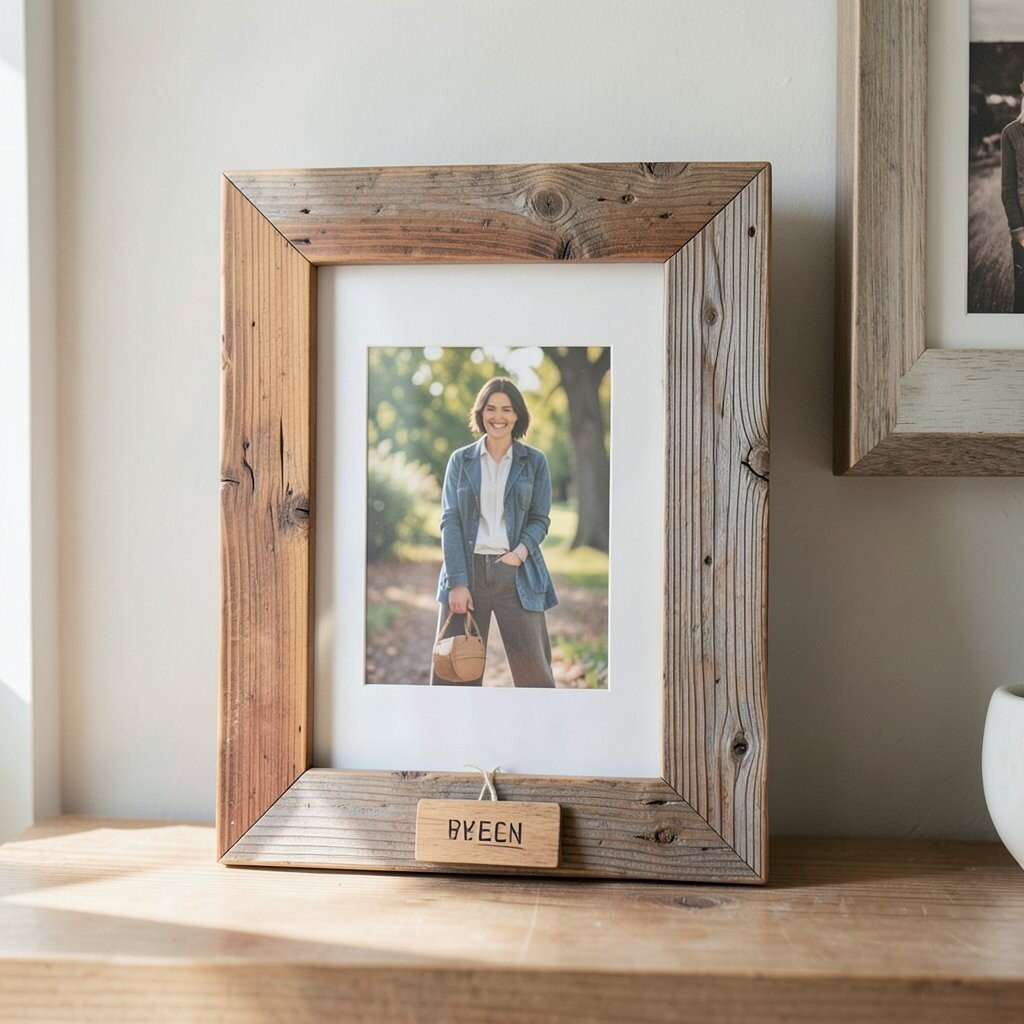
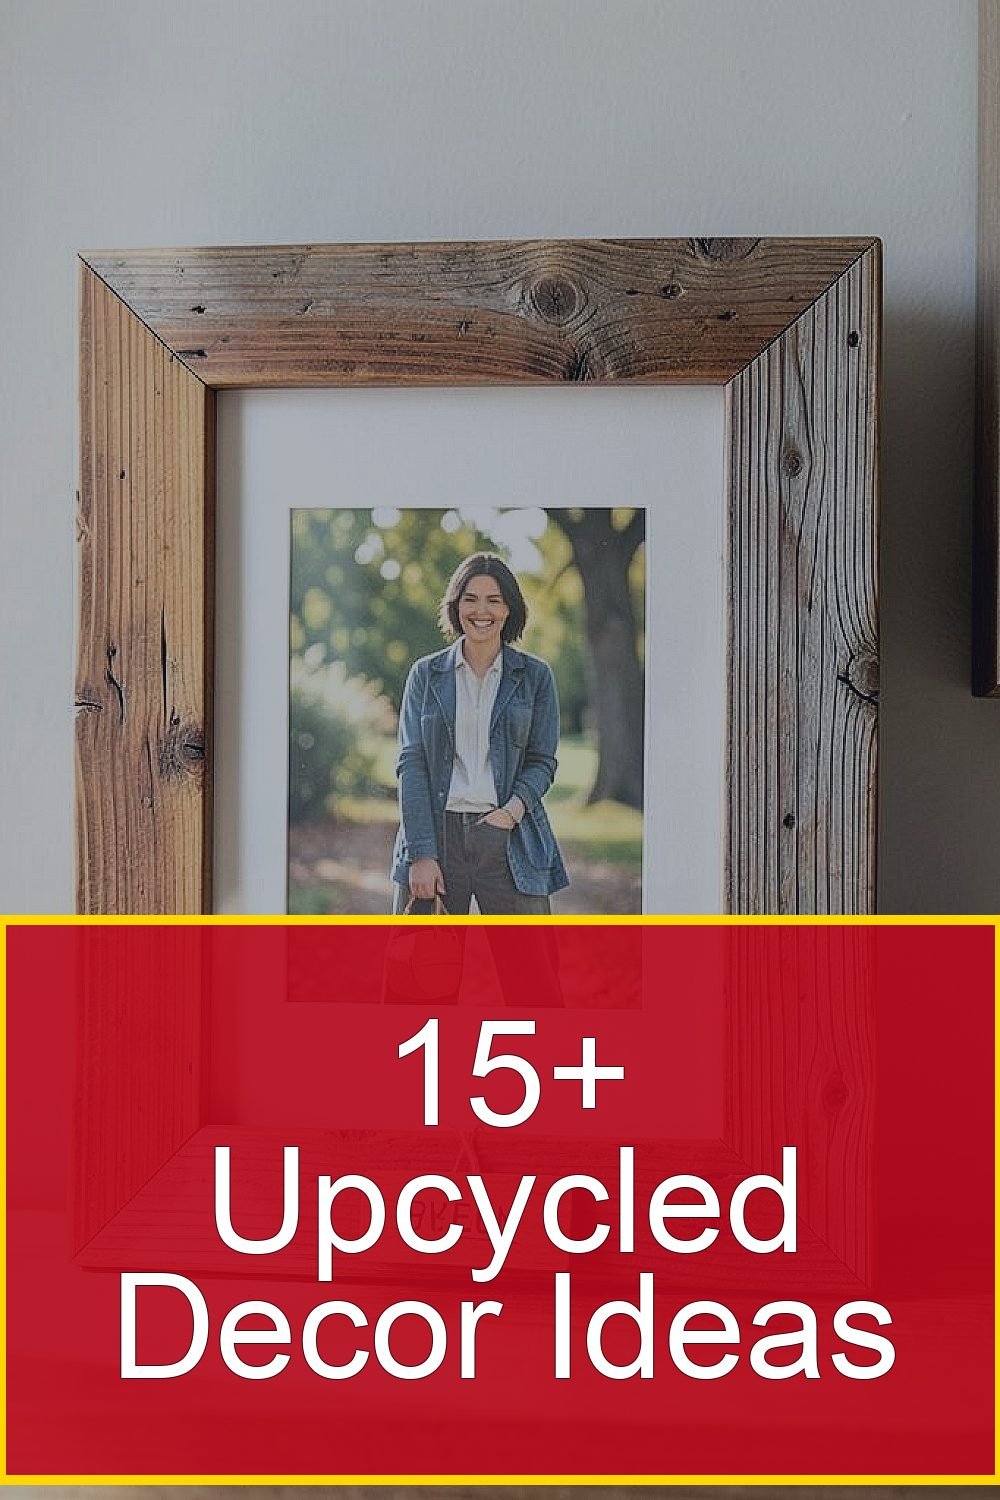
When you frame something with leftover wood, it looks like you built it just for your space. You can see the grain and little marks from old boards, which gives the frame a story. Even a simple photo or postcard turns into decor that feels warm and handmade.
Measure your photo, cut wood strips to fit, and glue the corners using a strong wood glue. After the frame dries, sand the edges lightly and finish with stain, paint, or clear varnish. This method helps you use odd scraps that are too narrow for bigger projects.
Try a personalization trick by adding a tiny scrap-wood nameplate or a small triangle hanger made from a different wood type. For cost, you can keep it low by using sandpaper you already have and reusing glass from old frames if you can.
Right now, layered wood textures and mixed finishes are popular, so pairing a stained frame with a painted backing can look very trendy. It also makes your gallery wall feel more collected instead of matchy.
4. Tin Can Herb Planter Centerpieces

Tin cans can become cheerful herb planters that brighten a tabletop instantly. Look for cans with interesting shapes, then scrub them until they look clean and ready. Add a little color so they pop against neutral kitchen counters.
Punch drainage holes, fill with potting mix, and plant herbs like basil or mint for a practical and pretty centerpiece. This turns decor into something useful, since you get fresh leaves while the room looks alive.
Personalize by decoupaging on seed packet collage, or by painting each can with a different shade from your kitchen style. Keep cost down by using cans you save, and use leftover paint when possible.
5. Old Map Wall Art on Reused Canvases
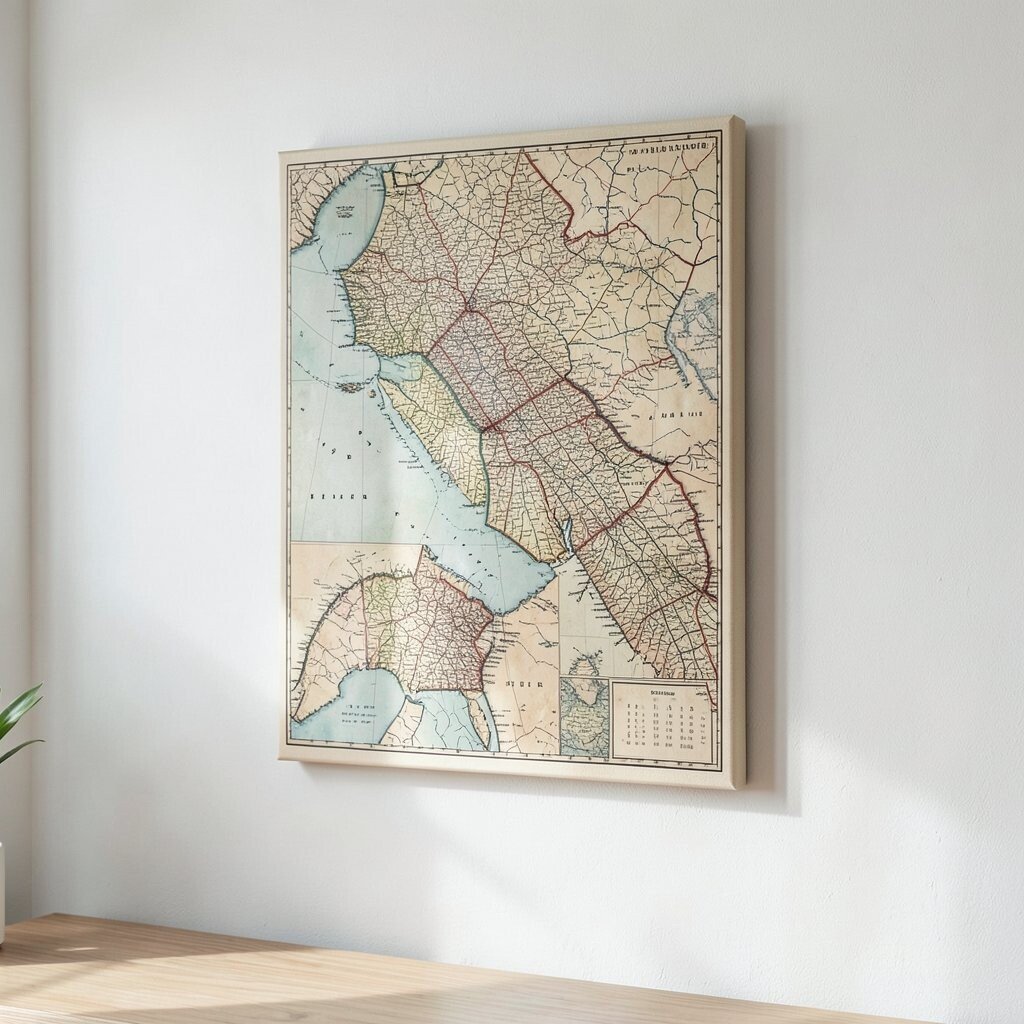
A reused canvas plus an old map can look like high-end wall art without the high-end price. You get a vintage pattern that feels thoughtful, and it instantly adds depth to blank walls. The lines and shapes also make your decor feel interesting from far away.
Stretch a canvas or use one you already have, then cut map sections to match the size of your surface. Seal it with a decoupage medium or a thin clear coat, and finish with a simple border using leftover paint.
To personalize, choose a map of a place you love, or mix regions so the composition feels like your story. This is trendy too, because travel-inspired textures and vintage graphics keep showing up in modern styling.
6. Scratched CD Mosaic Coasters
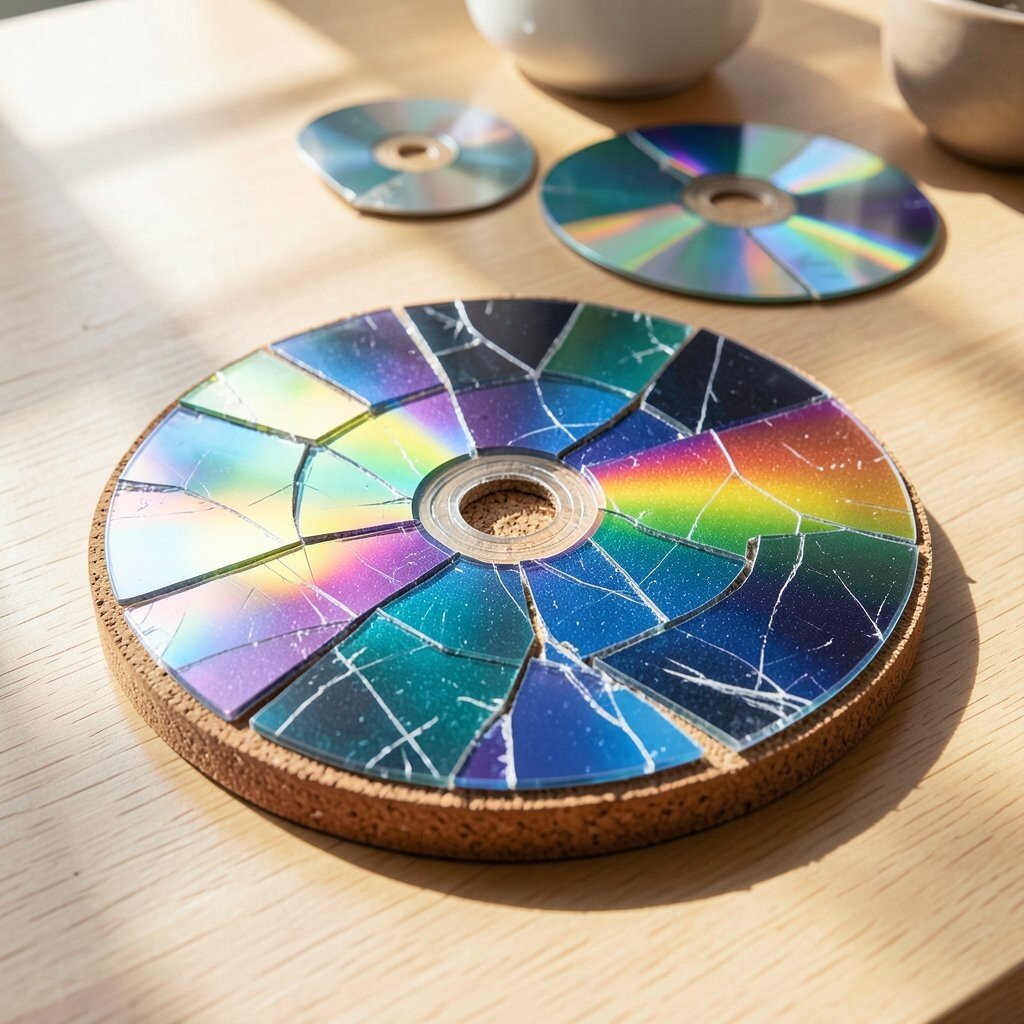
Broken CDs can sparkle as coasters with a fun rainbow effect. You’ll see light bounce across the room when the coasters catch sunlight. It feels lively and playful, even on everyday coffee tables.
Crack CDs into small pieces using safety gear, then glue them onto a sturdy base like a cork or thick cardboard circle. Seal the surface with grout-like sealant or clear epoxy so the edges stay smooth.
Personalize by arranging colors in gradients or by using darker pieces for a sleek night-sky look. This can be cost-effective because you can salvage CDs, and the main extra supplies are glue and sealant.
7. Upcycled Sweater Knit Wall Baskets
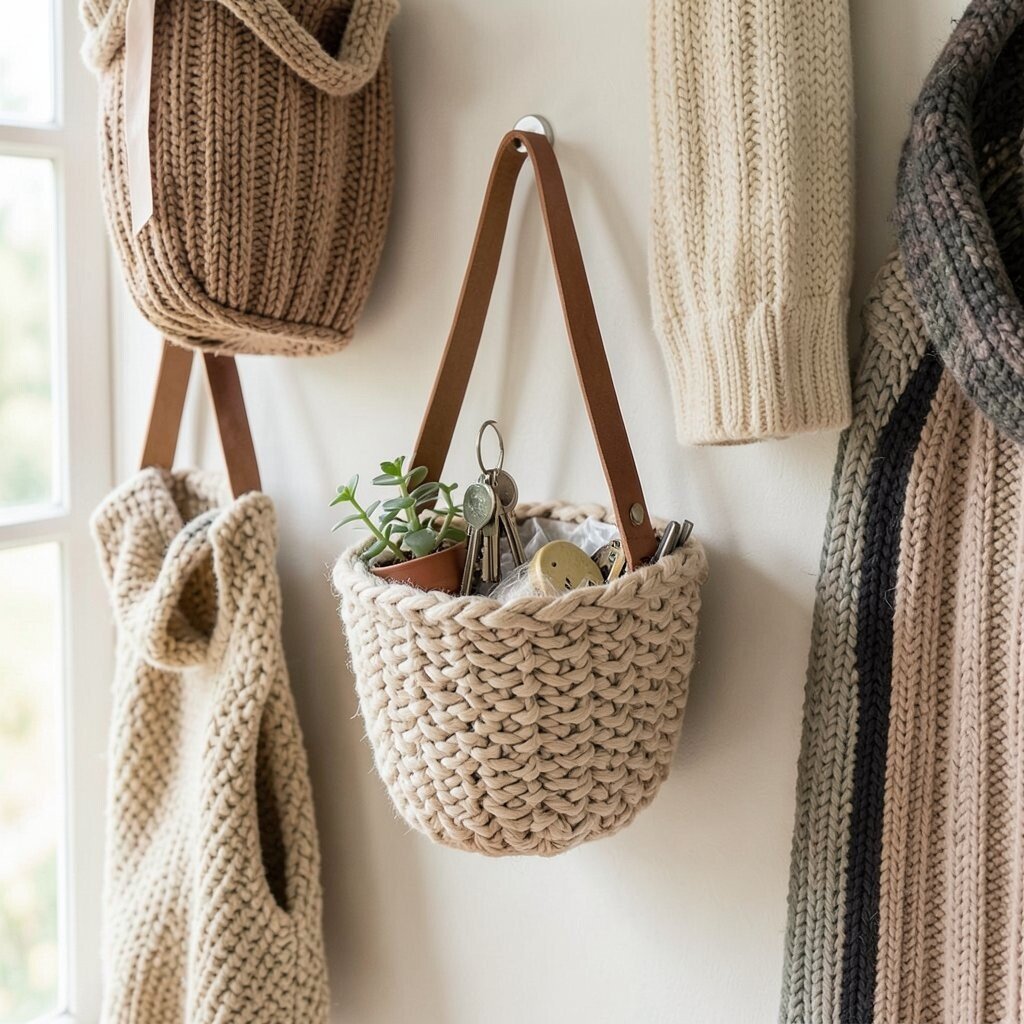
Those worn sweaters you can’t donate anymore can still look great as wall baskets. The thick knit holds shape in a cozy way, and it makes wall decor feel soft instead of stiff. You can picture it holding keys, small plants, or craft supplies.
Cut the sleeves and stitch the bottoms closed, then add a simple hanging strap made from ribbon or leather scraps. For sturdiness, line the basket with a scrap fabric panel or a thin plastic sheet cut to size.
Personalize by using different sweater textures across the wall for a mixed, cozy look. Since sweaters are often free from thrift stores, your cost stays low, and the results look surprisingly intentional.
Right now, knit textures and soft surfaces are trending because they make rooms feel warmer. Hanging knit baskets also adds a handmade touch without needing fancy tools.
8. Cork Wine Stopper Pinboard Frames
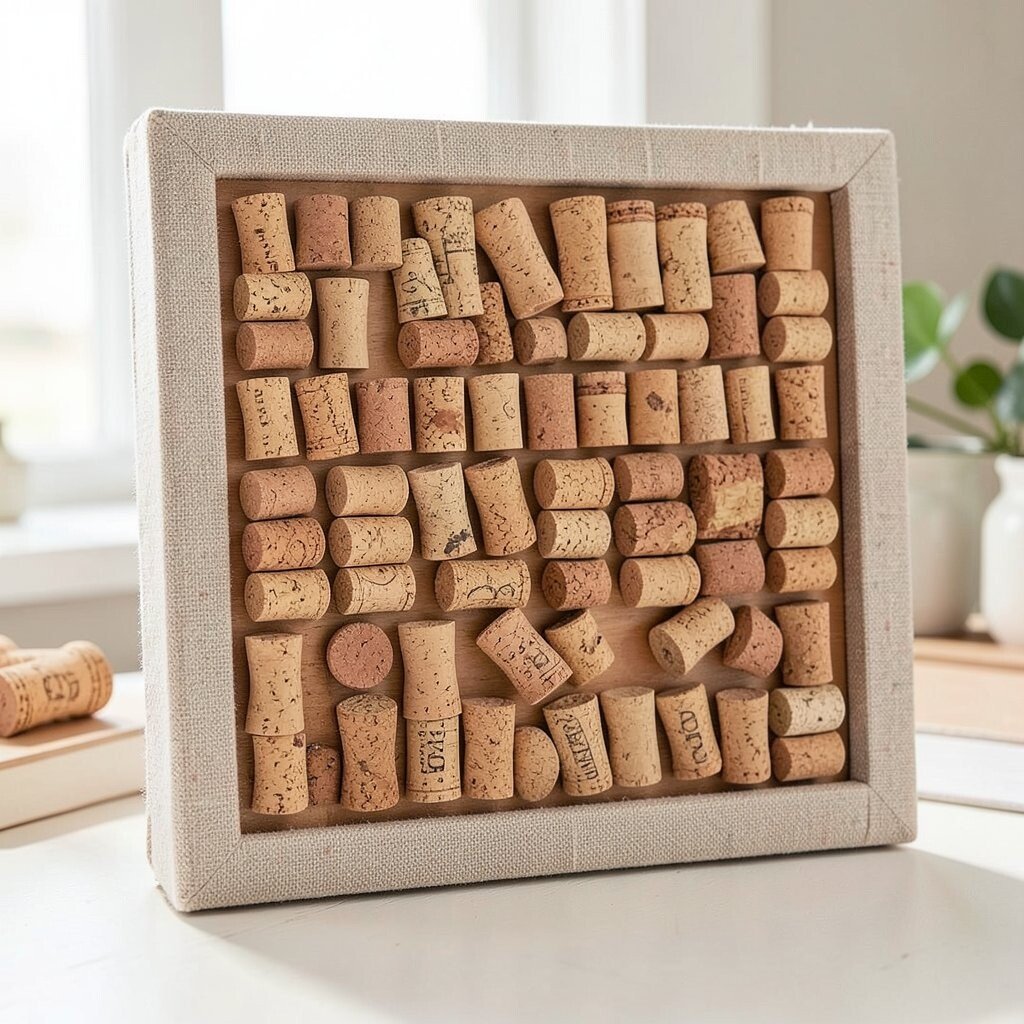
Wine corks are small, but together they make a pinboard that looks artsy and useful. You can see the natural swirl texture as it forms a pattern that no store-bought board matches. It’s a great place for reminders, photos, and quick notes.
Glue corks in rows onto a thin board, then frame it with scrap wood or cardboard covered in fabric. Seal the top with a clear spray so it looks polished and lasts longer in daily use.
For personalization, sort corks by color and group them into stripes, blocks, or a heart shape. Cost is usually low because corks can be saved over time, and you only need adhesive and a frame material.
9. Reclaimed Wood Hanging Spice Rack

Old wood scraps can become a hanging spice rack that looks neat and rustic. When you mount small jars or tins on a board, your kitchen gets a tidy, crafty vibe. It also keeps small items off the counter, which feels practical right away.
Sand the boards, drill or attach small holders, and then hang the rack using a sturdy hook and chain. Labeling can be done with marker, tape strips, or cut paper sealed under clear film.
Personalize by painting only the back panel, leaving the front raw for a warm contrast. If cost matters, use jars you already have and look for scrap wood in bins at home improvement stores or local recycling centers.
10. Rainy Day Plastic Bottle Planters
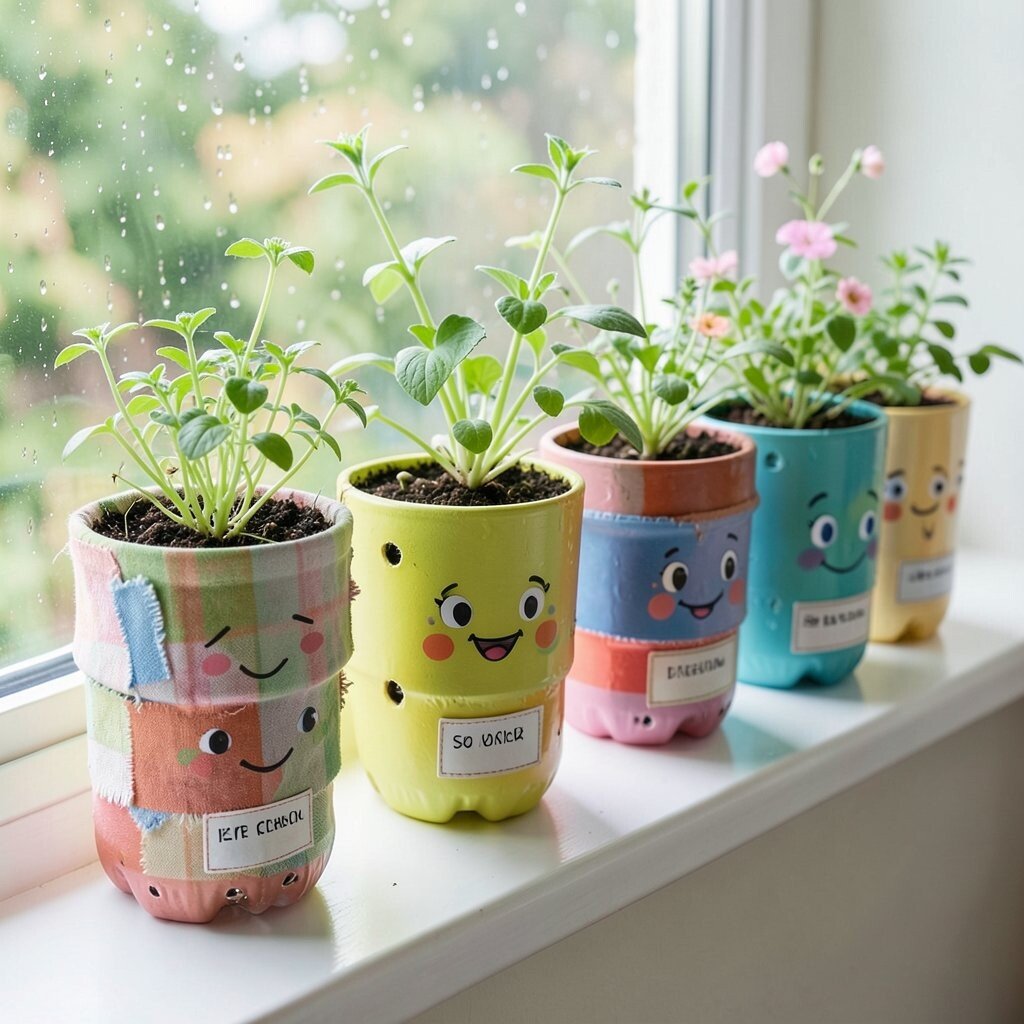
Plastic bottles turn into bright planters when you cut them into simple shapes. You get a practical container that’s lightweight and easy to place on a windowsill. The colorful look also feels fun, especially for small herbs or flowers.
Cut a bottle to create a cup, poke drainage holes, and paint or cover it with fabric scraps for a soft look. Add potting soil, then plant seeds or small seedlings and water them lightly.
To personalize, turn each bottle into a different character by adding painted faces or tiny labels. This keeps costs low because bottles are free, and you can use leftover paint and scraps.
Outdoor planters made from recycled materials are popular right now, so this idea fits modern eco styling while still being playful. Bonus points if you hang them in a neat row for a mini garden look.
11. Shoebox Drawer Organizers From Wallpaper Offcuts

Wallpaper scraps can make drawer organizers that look crisp and classy. You get a neat system without buying expensive containers, and the patterns make storage feel more fun. Even a messy desk can start to feel calm when small things have homes.
Cut shoebox pieces into compartments, then cover them with wallpaper, leftover wrapping paper, or fabric. Use glue to smooth edges, and add dividers so items like pens, beads, or hair ties stay separated.
Personalize by choosing one main pattern for consistency or mixing two that look great together. Keep cost low by using scrap paper and glue, and upgrade only the pieces that take the most wear.
12. Cardboard Tube Curtain Tiebacks and Hooks

Cardboard tubes from paper towels and wrapping paper can become clever hooks and tiebacks. They look surprisingly stylish when you wrap them in fabric or painted paper. The best part is that your wall or curtain area can feel organized without extra purchases.
Cut tubes into short sections, then wrap tightly with twine, cloth, or kraft paper and secure with glue. Attach small hooks or add a loop of cord so curtains can tie back neatly and stay in place.
For personalization, paint stripes, add a fabric flower, or stamp a pattern using leftover foam scraps. This is a budget-friendly project because the main material is already in your home.
Trendy decor now favors handcrafted textures, and these tube accents deliver that look with minimal effort. They also help you use cardboard scraps that usually end up in recycling.
13. Broken Tile Tray With Mosaic Edges
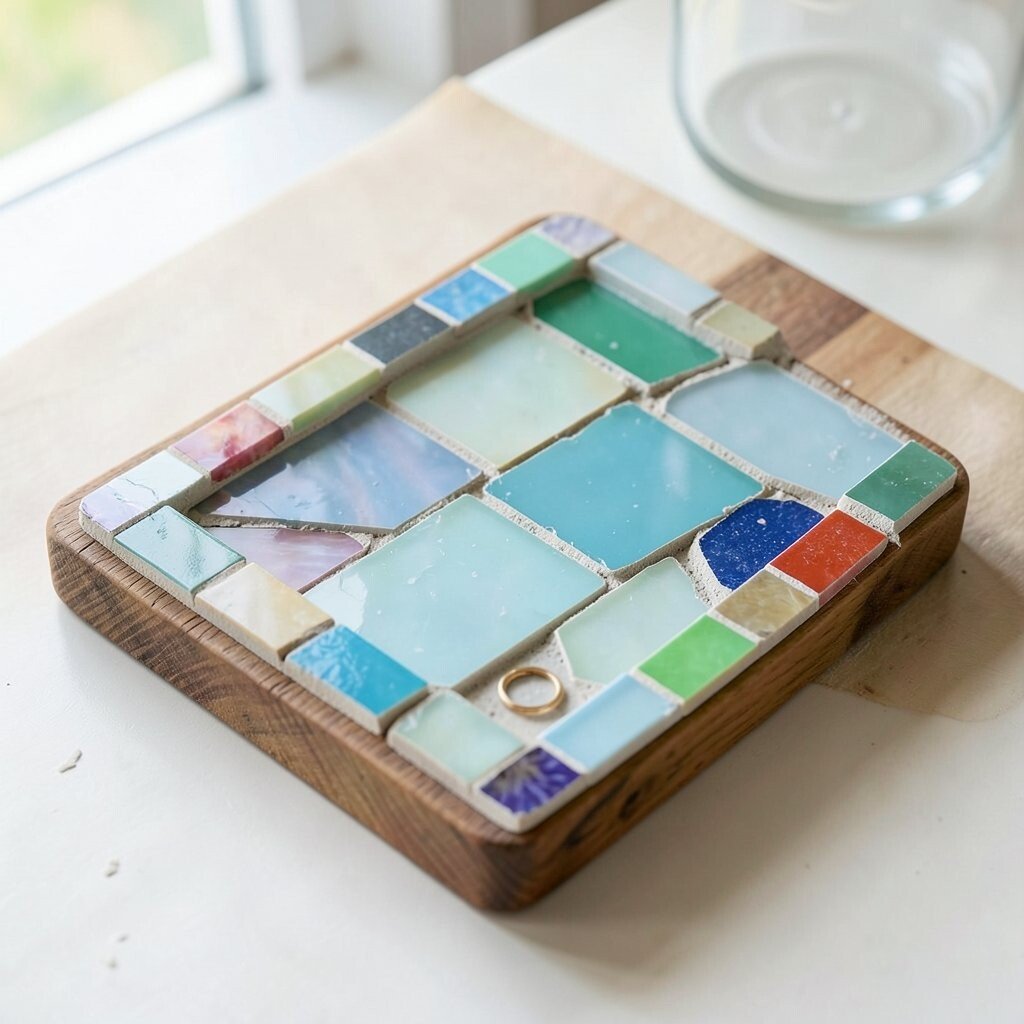
Old broken tiles can turn into a tray that looks like a tiny art installation. The mosaic edges catch light and make simple items feel special, like keys and rings on entry tables. It also feels sturdy when sealed properly.
Choose a tray base from scrap wood or a shallow piece of plastic, then glue tile pieces along the edges in a pattern you like. Fill gaps with grout or a grout-style filler, then wipe clean and let it cure fully.
To personalize, use a color theme such as sea glass tones or bold primary shades for a playful look. Cost stays reasonable since broken tile pieces are often free, and most other materials are reusable for future crafts.
14. Magazine or Scrap Paper Rolled Garland Frames
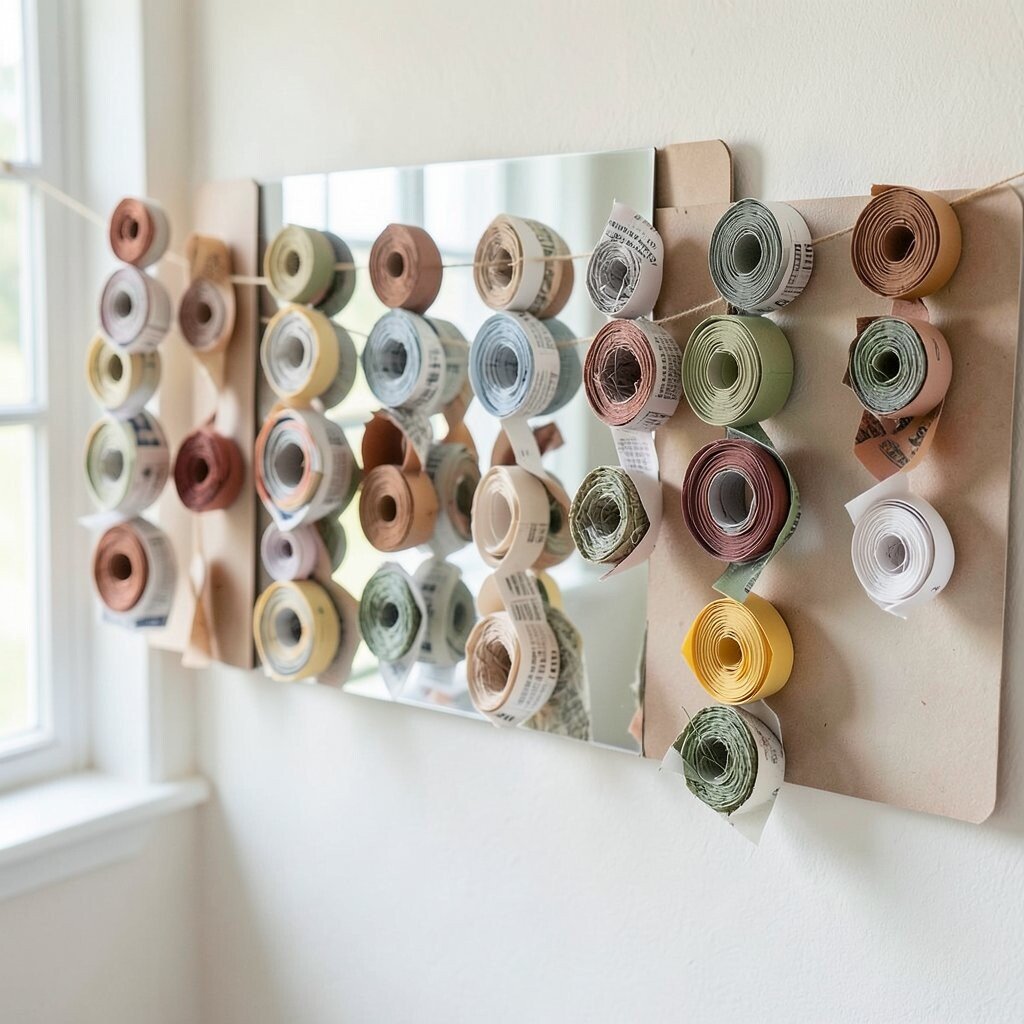
Rolled paper garlands make wall decor that looks delicate but still handmade. You can see the swirl shapes layered together, which creates a soft texture that stands out. It works great above a shelf, around a mirror, or as a backdrop for seasonal photos.
Roll strips of magazine pages or old wrapping paper into tight coils, then glue the ends and arrange them into a pattern. Build the garland on a thin string or mount coils onto a cardboard backing for a flat display.
Personalize by choosing paper colors that match your room, like warm browns and creams or bright bursts of color. This project is cost-friendly because paper scraps are plentiful, and the only extras are glue and string.
Right now, paper craft textures are popular in decor, especially when they look layered and modern. A simple garland like this can make your space feel artsy without clutter.
15. Reused Frame Mirror With Fabric Border

A plain mirror can look completely new with a fabric border made from leftover scraps. The frame instantly looks softer and more decorative, and it can match your curtains or cushion covers. It’s a lovely way to make your mirror look intentional even when the glass is the same old one.
Remove the backing if possible, then wrap the frame edges with fabric and secure it with glue or small staples. For a cleaner finish, add a trim made from ribbon scraps and press the corners carefully so they look neat.
Personalize by choosing a border style like scallops, stripes, or a patchwork edge. Cost is low because you likely already have fabric scraps, and the mirror itself can come from thrift or a garage sale.
16. Food Tin Pencil Cups With Chalk Labels
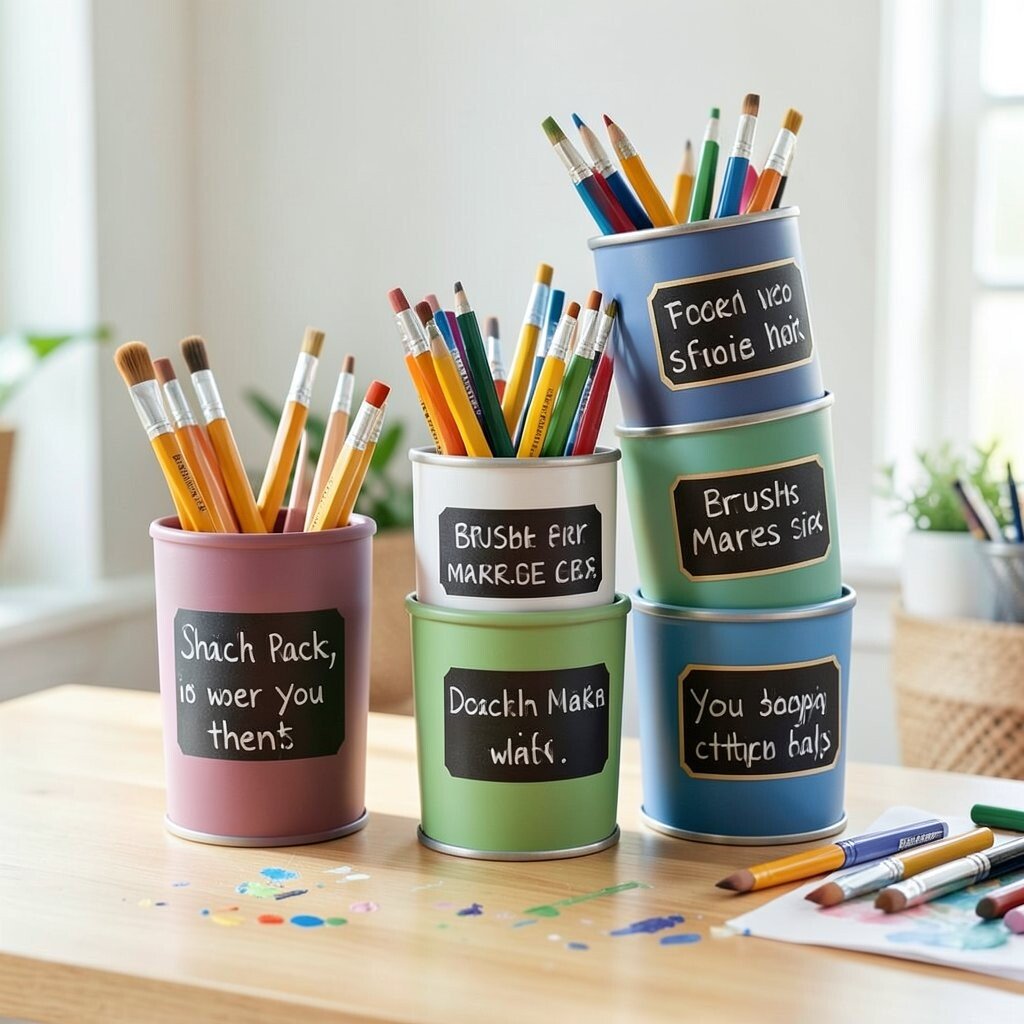
Food tins can become desk-friendly pencil cups that keep your workspace tidy and cute. The metal looks crisp, and the chalk labels make it easy to switch supplies. It’s the kind of decor that works hard while still looking fun.
Clean the tins, paint them in a matte color, and seal after the paint dries. Add a chalkboard-style label area using paint, then write categories like brushes, markers, or stamps when you need them.
Personalize by stacking tins in matching heights or by using different colors for each cup. For cost, tins are usually free, and chalkboard paint is the only purchase if you don’t already have it.
This idea fits current trends toward organized maker spaces, where tools feel part of the decor. A small label touch also helps you keep everything easy to find during busy crafting days.