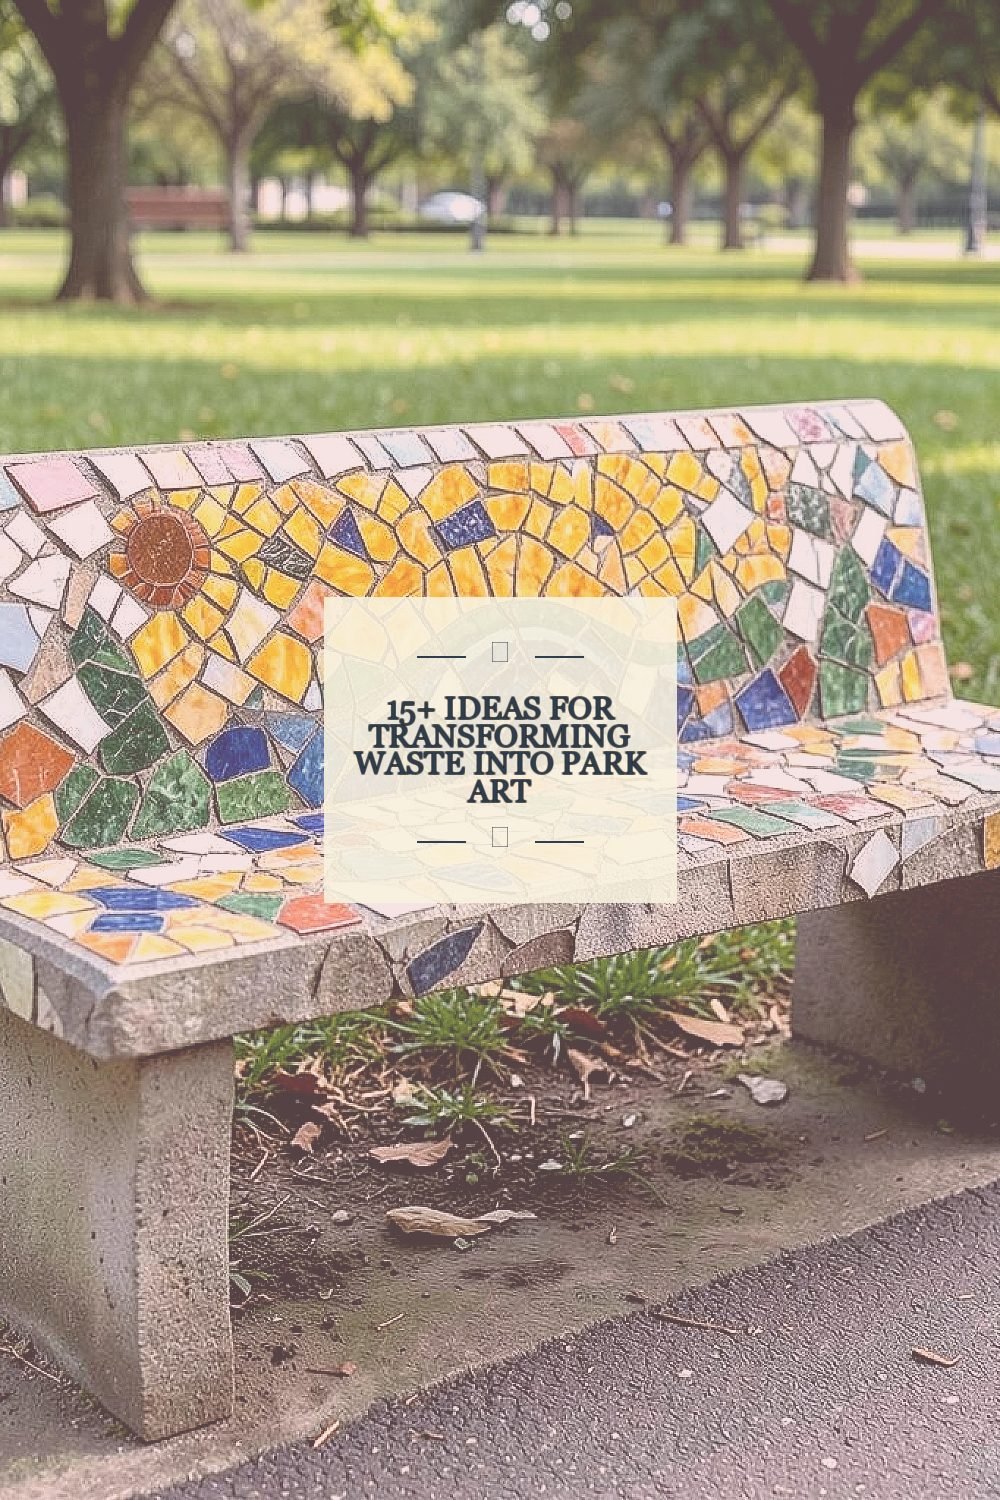
Old scraps can look magical when they get a second chance. In public parks, art made from waste can spark smiles, shade, and new habits.
Read on for friendly, practical ways to build art that feels local and alive.
1. Mosaic Bench Made From Broken Tiles

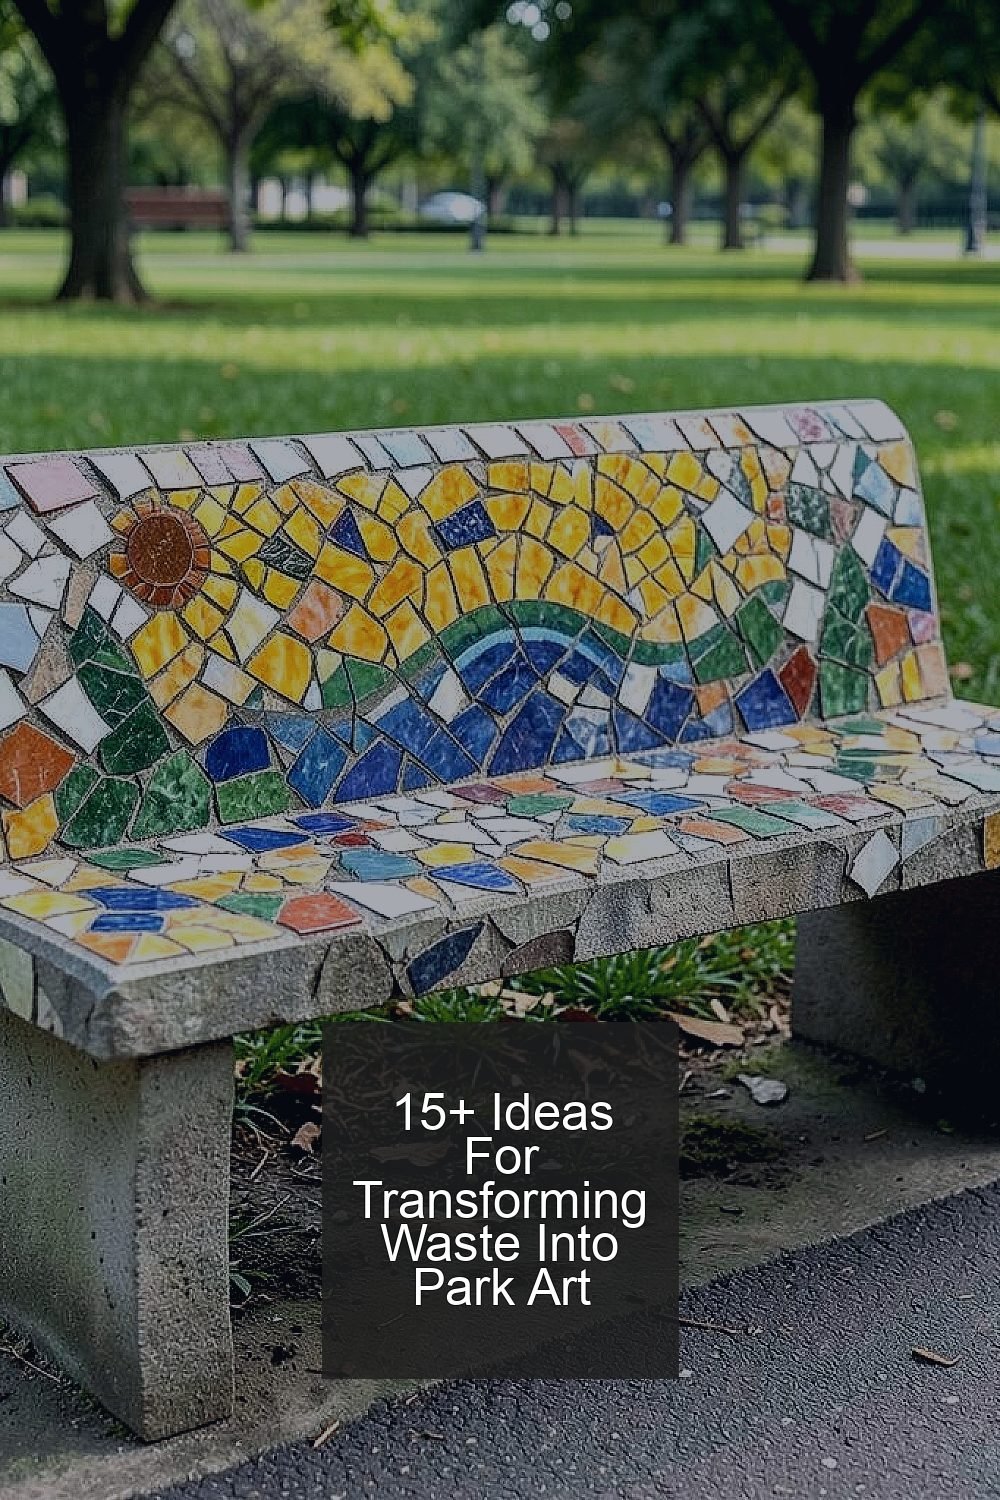
Gather cracked tile pieces, broken ceramics, and bits of stone from repair jobs or donation bins. Arrange them into a cozy pattern that looks like a sunny quilt under the seat.
Use a weatherproof base and grout made for outdoor use so the design holds up to rain and foot traffic. For personalization, add a small hidden “message” pattern near the backrest like a wave or leaf, so regular visitors notice it over time.
To keep the cost low, trade with nearby contractors for offcuts instead of buying new tile. This kind of detailed surface art is popular right now because it looks handcrafted and supports local reuse culture.
2. Bottle-Cap Pathway With Hidden Color Swirls

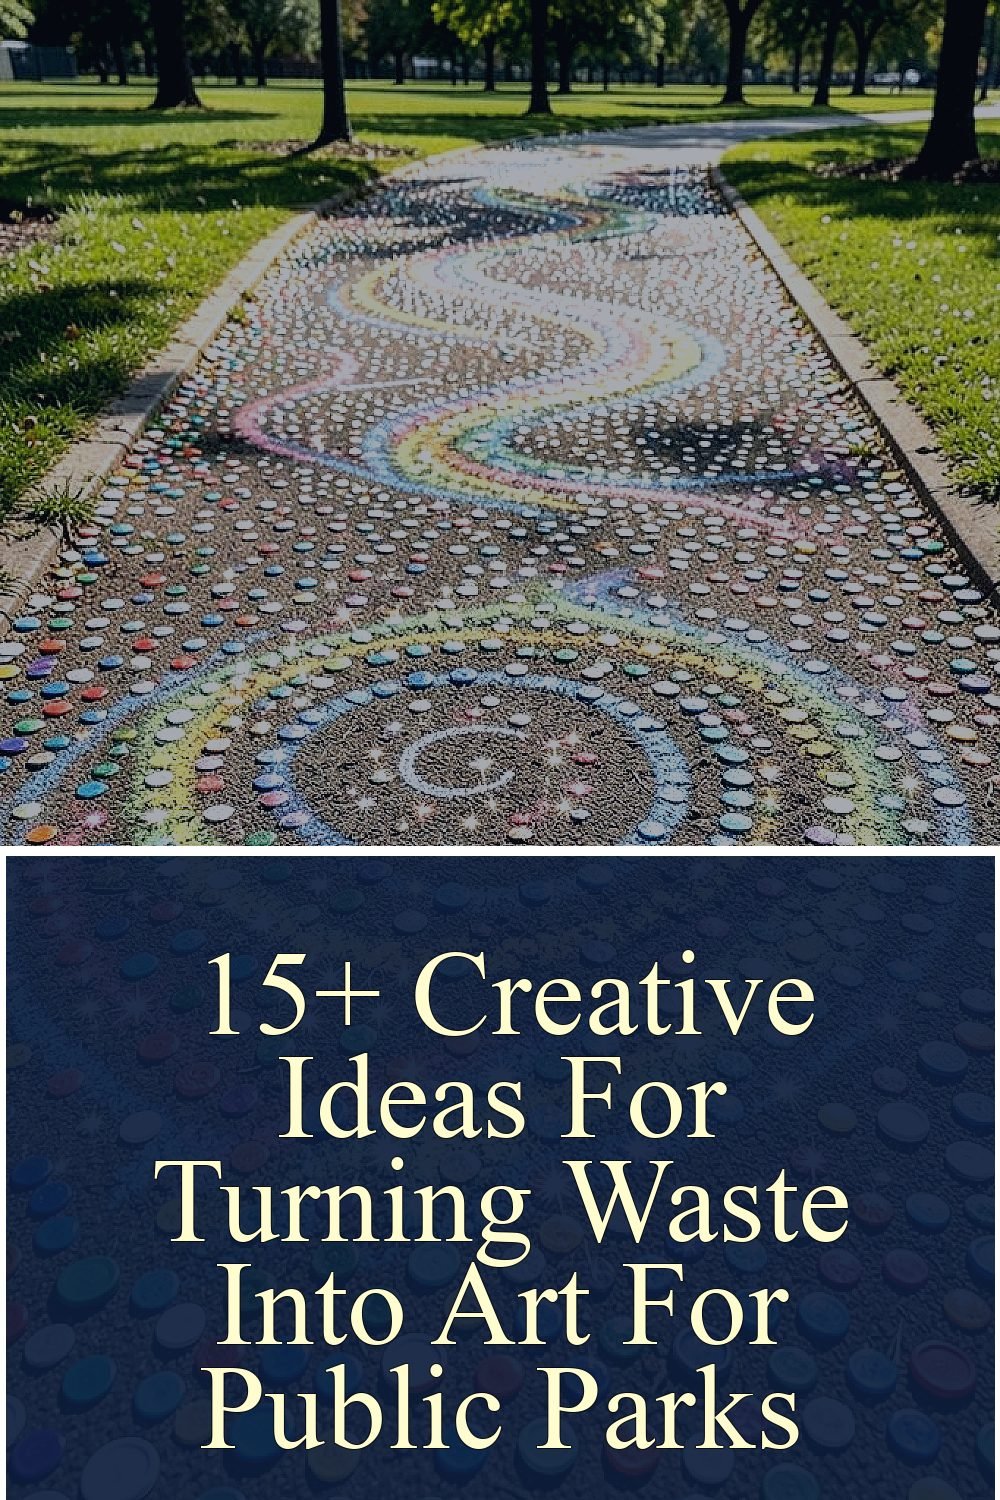
Sort bottle caps by color and press them into a sturdy outdoor mix to create a walking path that catches the light. When the sun hits, tiny sparkles appear like a star map across the ground.
Start by sketching a swirl design with chalk, then set caps tightly so weeds have less room. Use a sealant designed for pavement so the caps stay in place through seasons.
For uniqueness, include a local theme such as a river curve, a school mascot, or a seasonal pattern that changes with community events. Costs can stay manageable if you collect caps from cafés, restaurants, and recycling drives.
3. Reclaimed Wood Pallet Tree-Guard Sculptures

Turn old pallets and scraps into protective tree-guard sculptures that also look like friendly characters. Cut shapes for leaves, animals, or simple geometric patterns and attach them with corrosion-resistant hardware.
Paint with exterior-safe coatings so the guards resist weather and keep their bright look. You’ll benefit by reducing trunk damage while also making the park feel more playful and cared for.
To personalize, stencil names, bird silhouettes, or handprints in a small corner on each piece. This style fits current park trends that lean into “maker energy,” where visitors see how art is made.
If budgets are tight, focus on a few high-impact areas like entrances and popular trails, using donated boards as your main material.
4. Rain-Chain Wind Art From Cans and Spoons
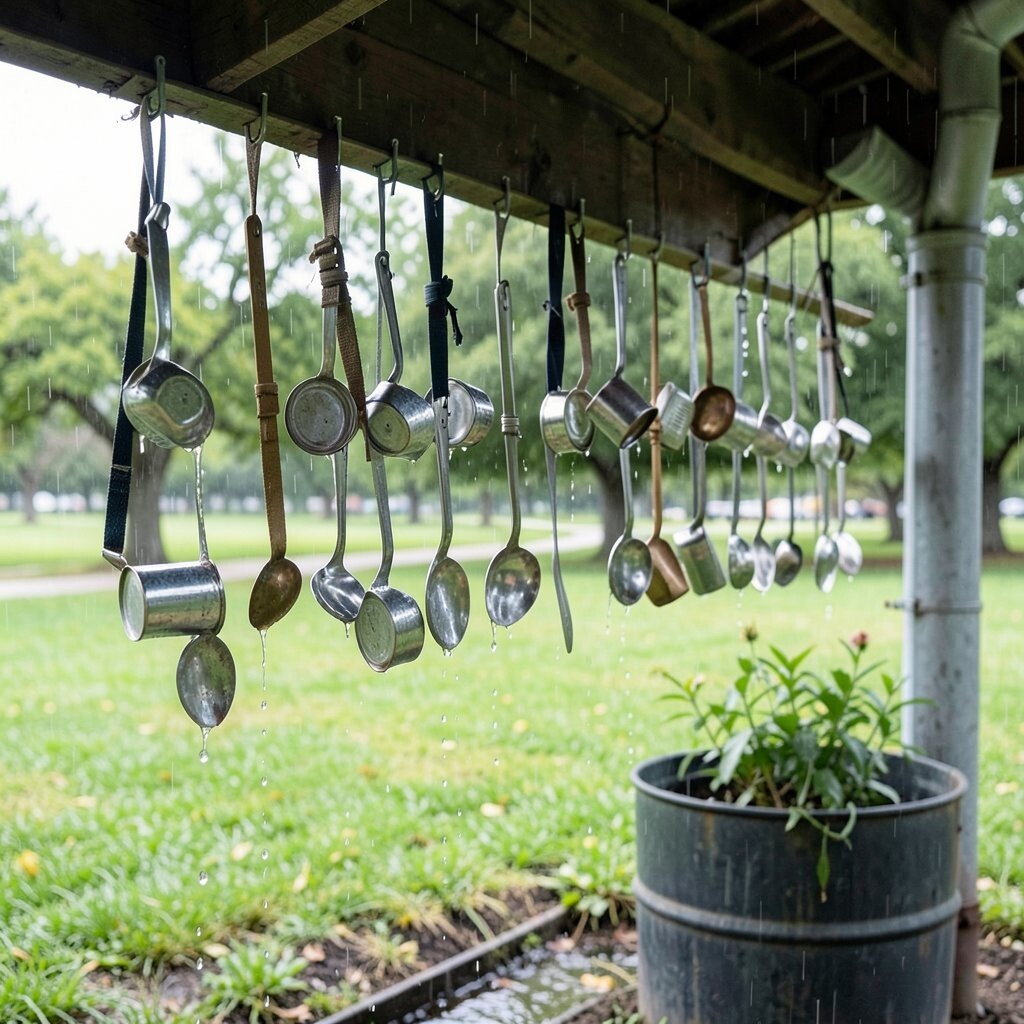
Hang mismatched metal cans, spoons, and small brackets in rows so they sway and chime when breezes pass. In rainy weather, the pieces catch drips and create a moving shimmer under the shelter.
Use sturdy straps and space items so they can swing freely without scraping walkways. Choose smooth edges and wear protective gloves during assembly for safety in public spaces.
For a practical twist, place the rain-chain near a downspout to guide water into a collection barrel for nearby plants. To keep costs down, collect clean cans from events and ask a local diner to save spoons that are no longer used.
5. Scrap-Metal Sunflower Wall for Community Photos

Build a tall sunflower wall using bent wire, scrap sheet metal, and bottle bottoms for the center. The petals can overlap like layers of real flowers, and the metal will reflect sky tones as people walk by.
Attach pieces onto a solid frame with outdoor-rated fasteners, then seal to reduce rust. This gives a strong benefit by creating a durable, low-maintenance photo spot that discourages graffiti and encourages good behavior.
Personalize the design by adding a few different sunflower sizes or stamping the park’s founding year on the frame. Current trends favor bold, metal textures because they look modern yet still feel handmade.
6. Tire-Planter Creatures With Painted Faces

Stack clean tires and fill them with soil to form planter “creatures” that peek out like gentle pets. Add facial features using recycled metal scraps, or paint simple eyes and smiles with outdoor paint.
Choose plants that match local sun and water, such as herbs, marigolds, or native flowers, so the art also helps pollinators. For personalization, assign each creature a color palette based on the neighborhood or the changing seasons.
For cost considerations, tires are often free through tire shops, but you may spend more on soil and compost. This idea stays popular because it turns ordinary safety barriers into something welcoming.
7. Colorful Glass-Bead “Lantern” Globes From Old Jars

Use clean jars as bases and glue small glass beads, pebbles, or broken mosaic bits around the outside. Light shining through the broken pieces makes a gentle glow, especially near paths and benches.
Apply a strong outdoor adhesive and let everything cure fully before installing. A practical win is that jar lanterns can guide foot traffic at night, improving comfort for visitors.
Personalize each globe by choosing bead colors linked to local landmarks, like sea blues for a coastal town or forest greens for a wooded area. You can also vary the patterns so each lantern has a different “personality,” keeping the park feeling fresh.
8. Broken-Glass Garden Edging With Safety-First Caps

Create sparkling edging by embedding small, well-sanded glass pieces into a firm border mix. The trick is to use crushed glass only if it’s been safely prepared so no sharp bits remain.
Use protective caps or a smooth top layer so kids and shoes stay safe during play. This also benefits the garden by keeping mulch in place and defining plant beds clearly.
For personalization, use repeating symbols such as triangles, circles, or simple waves that match the park’s signage style. Cost stays reasonable if you source glass from safe recycling streams or drop-off events.
9. Paper-Maché Waste “Cloud” Canopy Over a Seating Spot

Mix shredded paper, recycled cardboard bits, and natural pulp into shapes that look like soft clouds. Layer them over a frame, then paint with outdoor-safe sealants for a gentle, airy canopy effect.
This art feels unique because it turns paper waste into something you can actually sit under. A practical benefit is shade in the morning and a fun spot for reading groups, especially if the canopy is placed over a small bench area.
Personalize the cloud outlines by adding tiny embedded leaves or pressed textures from clean plant trimmings. Costs can be kept low with donated paper and cardboard, plus only a few buckets of paint and sealant.
10. Cardboard “Living Wall” Using Seeded Planters

Shape cardboard into small pockets and fill them with soil and seeds to create a vertical living wall. As plants grow, the wall becomes a living mural that changes through the year.
Choose durable, untreated cardboard and avoid inks that could harm soil. For practical setup, attach the planters to a simple frame with removable hooks so you can rotate pieces when certain plants take over.
Personalize by using a community stencil pattern like a local crest or a favorite animal silhouette. This fits current trends that highlight edible gardens and “green walls,” where art also supports environmental learning.
11. Scrap-Fabric “Flag Quilt” Along a Fence Line

Collect worn fabric like old shirts, curtains, and leftover upholstery pieces, then stitch them into small squares for a park quilt. Hang the squares on a fence or simple line so they flutter like bright flags.
Seal the edges and use strong outdoor thread so the fabric holds up to sun and wind. The benefit is clear comfort for visitors because the colorful wall can make blank fences feel welcoming instead of harsh.
To personalize, include fabric colors tied to community events, like school colors or holiday palettes. Cost considerations are easy since donations usually cover the fabric, while you may spend on thread and durable clips.
12. Upcycled Spiral Bird Feeder From Metal Offcuts

Build a spiral feeder by welding or bolting together scrap wire and small metal loops into a hanging tower. Birds will land along the spirals, while the metal catches light in a friendly way.
Make sure the feeder is stable and smooth, with rounded edges so it’s safe for public areas. A practical benefit is better bird viewing and encouragement for native species, which can also support garden health.
Personalize the feeder by adding a small shape near the top, like a heart or star, using scrap sheet metal. Costs can be minimal when you trade with local fabricators or request offcuts from a metal shop that already has waste material.
13. Sidewalk Chalkboard Mural With Recycled Tile Names

Install a low section of chalkboard surface, then frame it with recycled tile pieces to set it apart. Visitors can write messages, draw doodles, or leave kind notes that turn into a rotating mural.
Use a chalkboard coating made for outdoor durability and seal the tile frame against water. This benefits the park by giving a creative outlet that can reduce messy, unwanted markings elsewhere.
For personalization, arrange tile letters that spell neighborhood names, park rules, or a rotating “word of the week” chosen by community members. The cost can stay down if you salvage tiles and use donated chalk from schools or art groups.
14. Plastic Bottle Vertical Herb Garden With Drip Support

Cut plastic bottles into planters and hang them vertically, then add a simple drip support using an old hose segment. This creates a tidy herb garden that’s both useful and visually fun.
Use clean bottles and punch small drainage holes so plants don’t sit in water. The benefit is practical: herbs can support community cooking demos, and the garden also teaches visitors how reuse can feed life.
Personalize the arrangement by labeling each bottle with painted dots or simple symbols for different herbs. Cost considerations are favorable since bottles are plentiful, but you’ll want to budget for soil quality and a safe, long-lasting hose connector.
15. Old Skateboard Deck Kinetic Wind Spinner

Attach old skateboard decks, metal brackets, and a central bearing to create a kinetic wind spinner that twirls with breezes. The decks add color and movement, and the wheels or trucks can act like visual accents.
Balance the spinner so it turns smoothly, then secure it with strong bolts and protective covers. You’ll benefit from an eye-catching landmark that helps visitors find the same spot again and again.
For personalization, paint the decks with themed graphics like ocean patterns, mountain scenes, or community art from local students. This kind of kinetic upcycling matches current trends because it feels playful, interactive, and endlessly photogenic.
16. Warehouse Scrap Mosaic Map of Nearby Trails

Make a mosaic map showing nearby walking trails using scrap materials like tile, broken ceramics, and river stones. Outline the main paths in one color family, then use contrasting pieces for landmarks such as benches, playgrounds, and garden beds.
Use a durable base and outdoor grout, and seal the entire surface so it resists rain and sun. The practical benefit is wayfinding, which can help first-time visitors feel oriented and confident.
Personalize the map by including small “story markers,” like a tiny snail for a slow path or a leaf icon for a nature corner. Cost stays manageable if you collect scraps from community cleanups and partner with local tile stores for imperfect pieces.
Keep the look cohesive by limiting your palette and focusing on clean lines, which also helps the map remain readable at a distance.