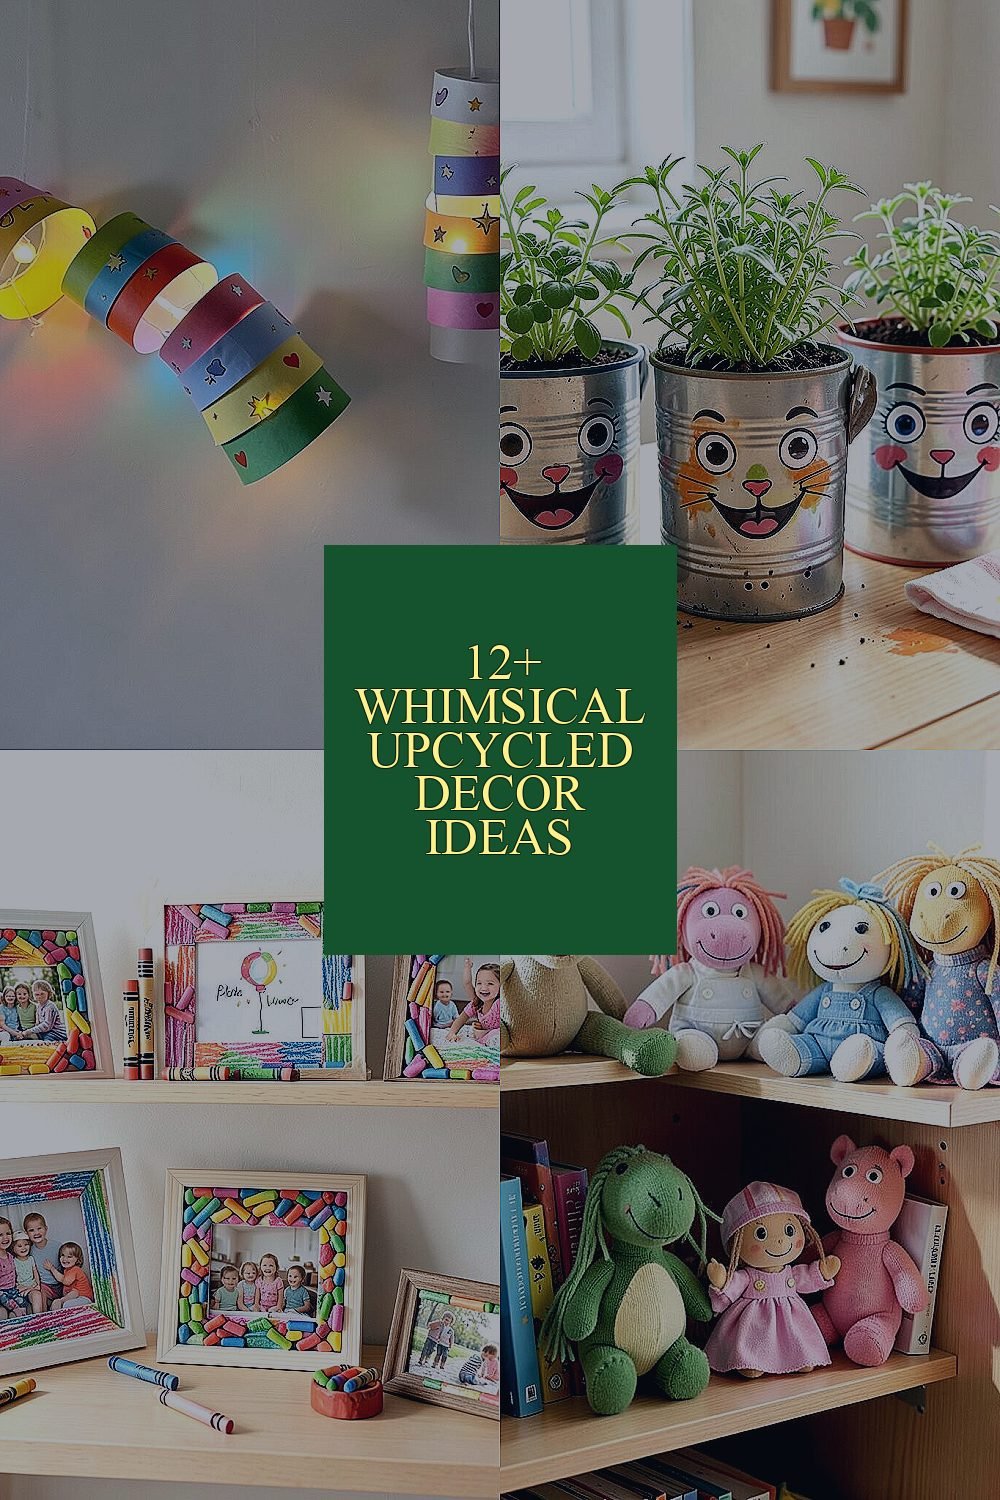
Some of the best room magic starts with things you already have. With a little imagination, old items can become bright, child-friendly treasures.
Upcycled decor helps you cut waste, save money, and add personality at the same time. It also gives kids a hand in creating a space that feels truly theirs.
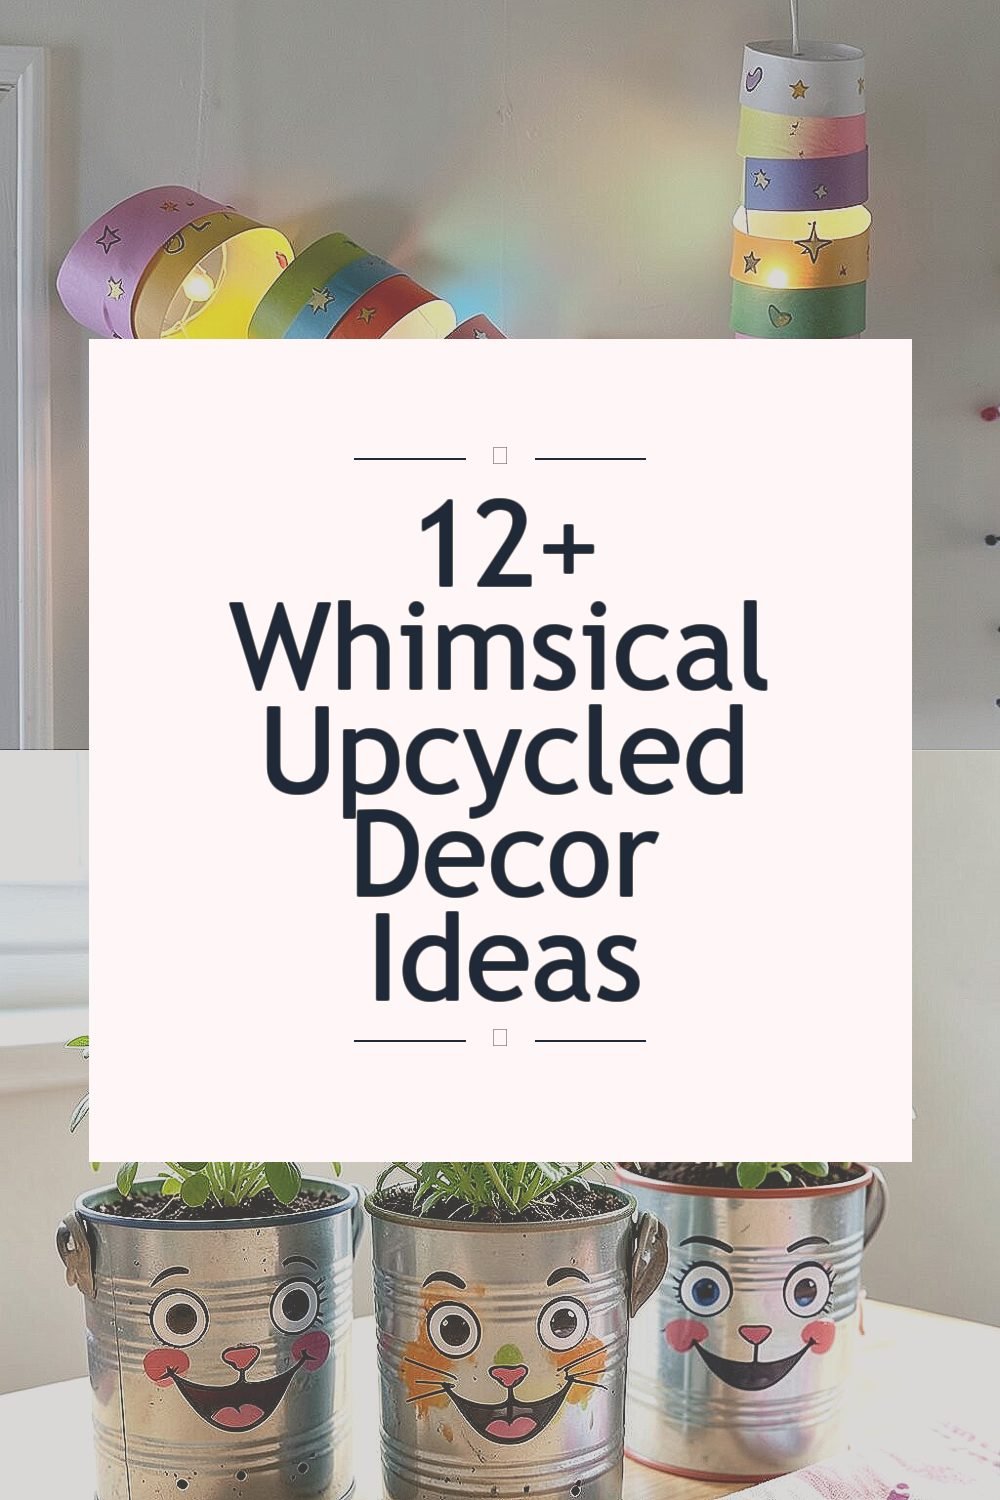
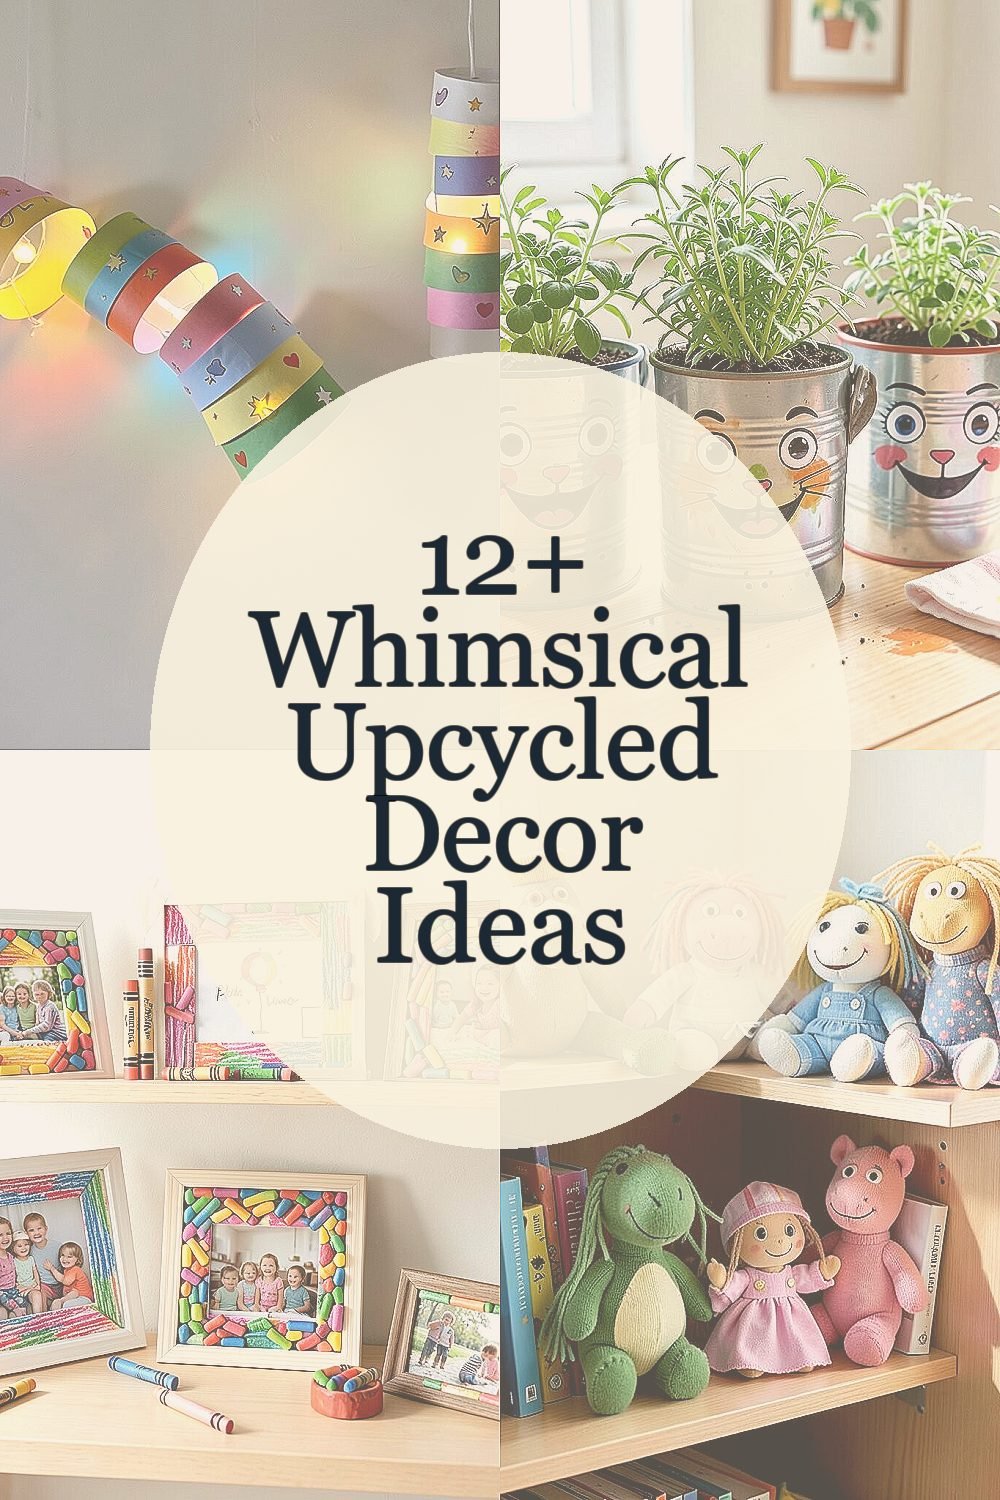
1. Paper Roll Rainbow Lanterns

Collect empty paper rolls, cut them into neat rings, and arrange them like a rainbow stripe. The lanterns cast soft, colorful light that makes even a plain wall look dreamy.
Use non-toxic paints or thick markers, and add small cutouts like stars or tiny hearts for extra sparkle. For safety, place a low-heat LED tea light or string light inside a sturdy liner so nothing touches hot surfaces. These pieces are lightweight, so they’re easy to hang high out of reach, and they’re simple enough for kids to help color. If you want a practical upgrade, coat the finished lanterns with a clear matte seal so they wipe clean after playful messes.
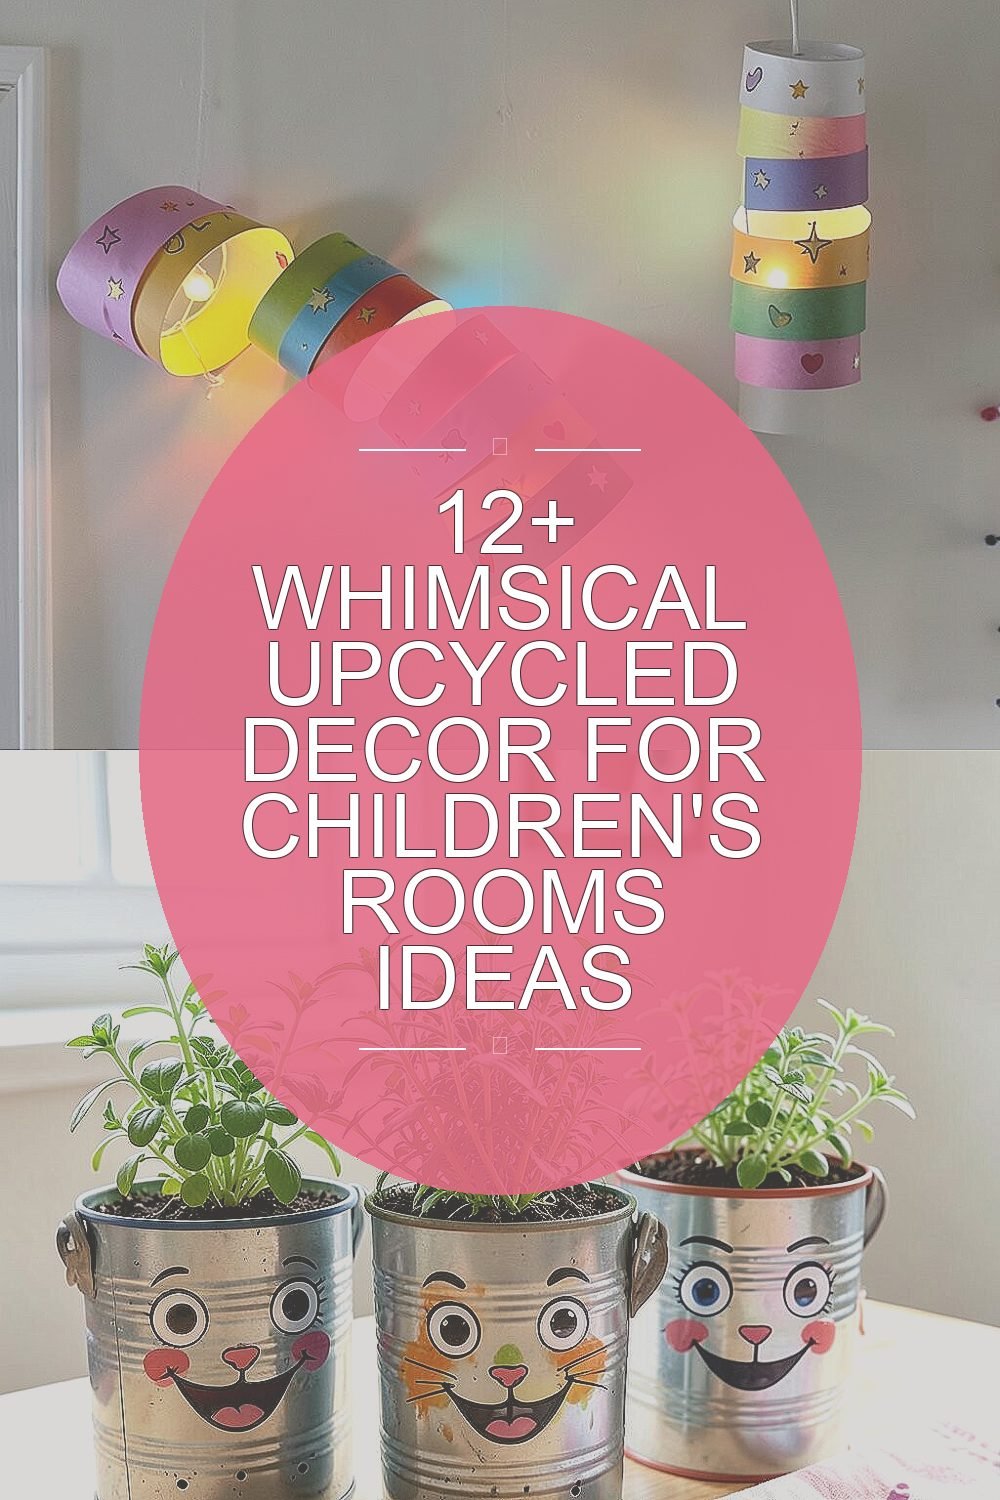
2. Vintage Tin Can Planters With Painted Faces
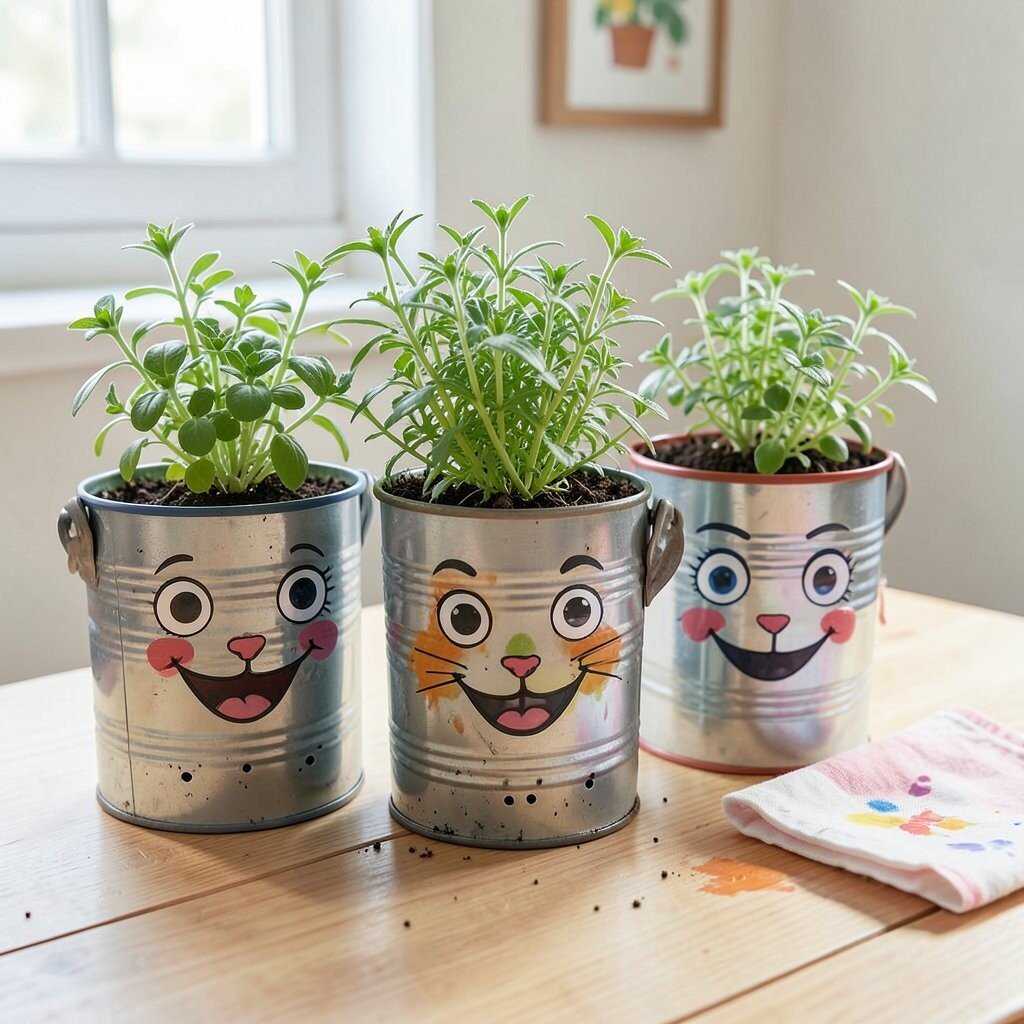
Grab clean tin cans, then give each one a goofy face with bold eyes and a smiling mouth. When you add a small faux plant or hardy herbs, the room instantly looks more alive.
Try drilling tiny drainage holes if you’re using live plants, and line the can with a thin plastic cup to protect surfaces. Kids love watering, and the predictable routine helps them feel responsible for something real. You can also personalize by matching each face to a child’s favorite animal or mood, like a cat for cozy days. If you keep it seasonal, swap plants and colors to follow current trends like “mini indoor gardens” and nature-inspired shelves.
For cost, you’re basically paying only for paint and soil, since the containers are free if you save them. Use water-based craft paint and keep a small cloth nearby so spills become part of the fun instead of a problem.
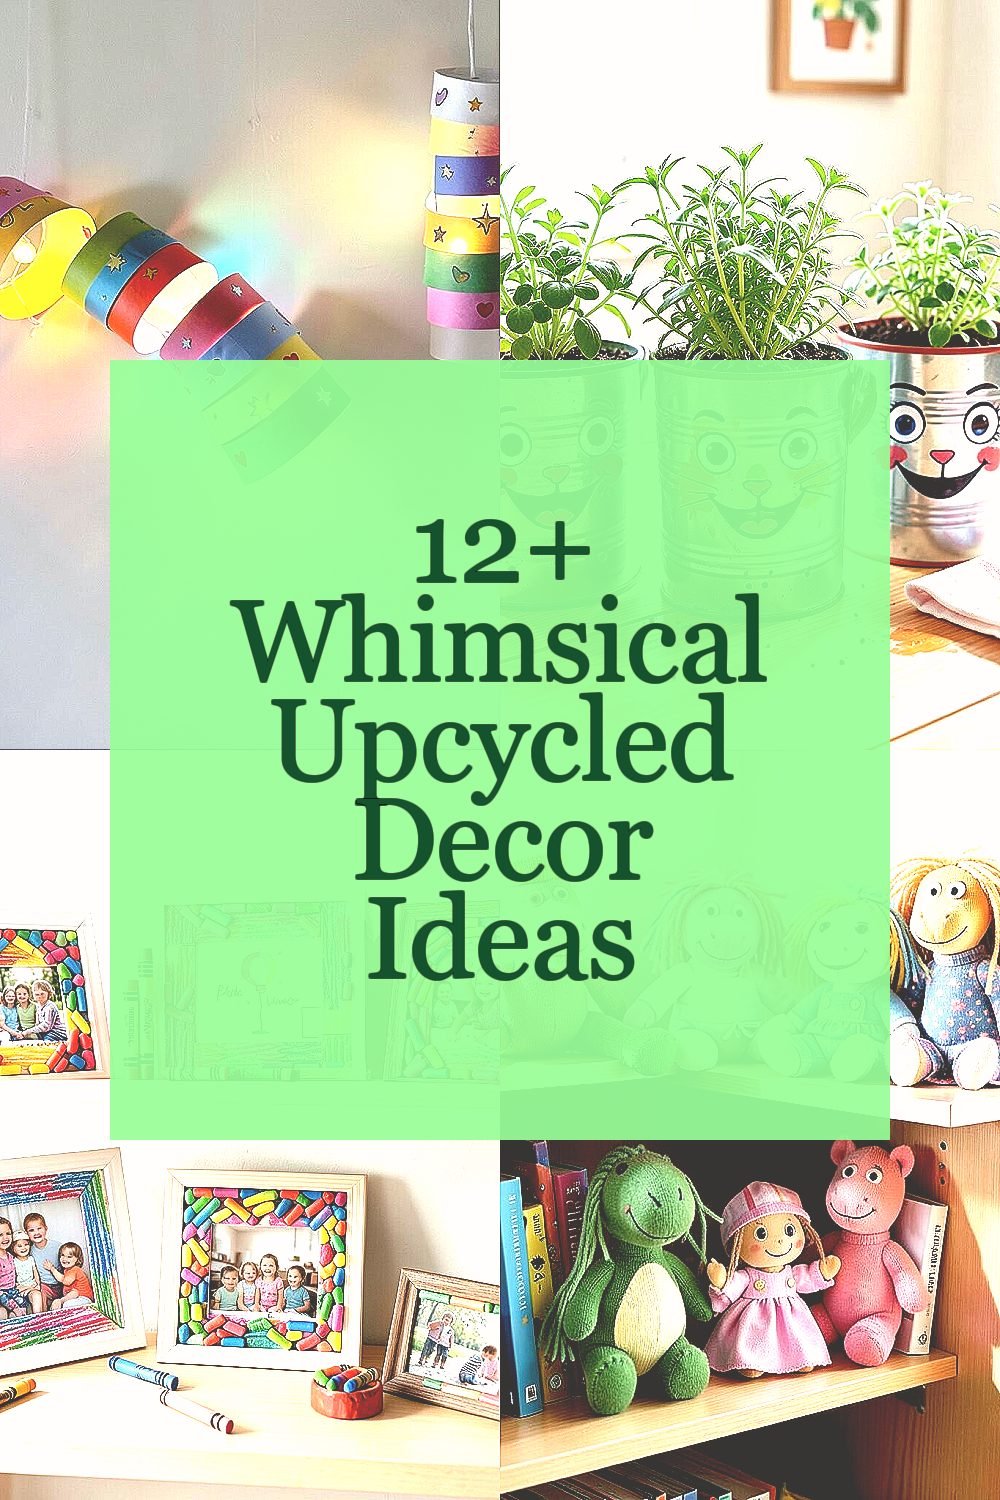
3. Crayon Mosaic Picture Frames

Break old crayons into small pieces and melt them slowly to create a streaky, colorful filling. The finished look is like candy stained glass, and it turns a simple photo frame into art.
Choose a plain frame, tape off the back, and arrange the crayon pieces by color so the pattern feels intentional. A heat-safe craft method works best, and adult help is wise when melting to avoid burns. Kids will love picking colors, and you can personalize each frame to match their hobbies, favorite shows, or a family memory.
This kind of decor is unique because no two melt patterns are ever the same, even when you copy the idea. It also supports creativity without needing expensive supplies, since used crayons and thrift-store frames can be the whole budget.
For a practical tip, use a clear protective sealer on the front after it cools so cleaning stays easy. Display the frames on a shelf or hang them at kid height so they can proudly change the photos.
4. Sock Puppets From Mismatched Pairs

Turn leftover socks into friendly puppet friends with button noses, yarn hair, and simple stitched smiles. They add instant charm to a bookshelf corner and encourage kids to “put on a show” anytime.
Use fabric glue for quick parts, and sew the bigger details for extra durability if your child is rough on props. This decor doubles as a toy, which makes it feel practical and fun at the same time. For personalization, choose themes like dinosaurs, astronauts, or princesses, and let your child decide the colors.
5. Upcycled Book-Page Wall Stars

Rip or cut pages from old books into star shapes, then layer them for a fuller, textured look. The wall catches light in a unique way, and it feels whimsical without being cluttered.
Soak the paper lightly if you want soft edges, or keep it crisp for a neat, modern vibe. You can glue stars onto cardstock backings, then mount them with removable adhesive dots so the layout can change. Kids get to pick favorite scenes from the old pages, and you’ll love how the letters add a hidden history to the art.
This trend-friendly style fits well with “storybook decor” and vintage reading vibes that are popular right now. It also costs next to nothing because old books are usually free if you have them around.
6. Fairy House Terrariums From Glass Jars

Clean a glass jar, then layer sand and tiny stones to create a miniature world. Even without real plants, the scene looks magical, like a little home for fairies.
Add moss, twigs, and small found treasures, then finish with a miniature sign made from cardboard. This is a fun way to bring nature into a bedroom, and it helps kids slow down and notice small details. Personalize each terrarium with a “house” theme, such as a forest hut or ocean cave.
For practical tips, keep the jar tightly sealed if you use live plants, and place it in bright, indirect light. If you want fewer mess worries, use faux moss and skip watering. These terrariums are also unique because the layout depends on what you gather, and that makes every jar feel one-of-a-kind. Since jars are often saved from pasta sauce or pickles, your real costs are mainly for sand and decor pieces.
7. Palette Wood Blocks as Story Shelves
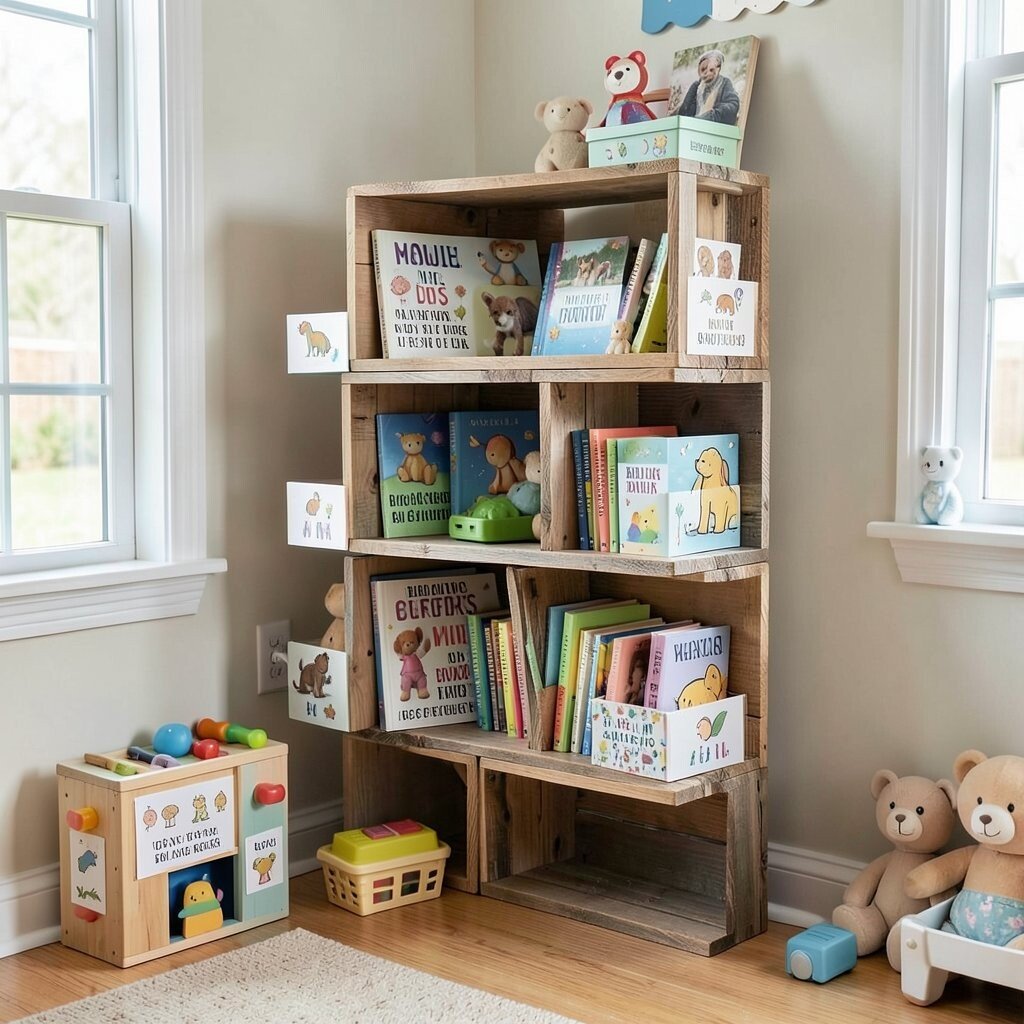
Stack and paint leftover wood pieces into sturdy block shelves, then line them with quotes or picture labels. The room gains a playful “building zone,” and the display becomes a place for stories to live.
Use sandpaper for smooth edges, and screw or secure the blocks together if you want extra stability. Kids can reach the shelves easily, which encourages independent book time and tidier play. Personalize the blocks with their initials, favorite colors, or a theme like space, zoo, or ocean.
If you’re thinking about cost, you can often source wood scraps from a hardware store discount pile or from a friend’s leftover project. It’s also a great fit for current trends in kid-friendly organization that looks like art. For an actionable touch, add a simple rolling label system with kid-drawn icons so books get returned without arguments.
8. Old Jewelry Organizer Wall for Craft Supplies

Reuse a small jewelry organizer, then hang it on the wall to hold markers, beads, or hair clips. The bright compartments make storage feel cheerful instead of boring.
Choose an organizer with adjustable hooks or clear sections, so kids can see what they’re grabbing. This supports quick cleanups and reduces the “everything is everywhere” problem that comes with creative play. Personalize it by painting the backing in a solid color and adding themed stickers, like clouds for a sky vibe or planets for an astronaut mood. If you want to follow a current trend, clear compartments with labeled icons are very popular in kids’ spaces because they make organization feel modern.
Cost is usually low since many organizers come from thrift stores or used cases you already own. For practical safety, mount it securely and avoid hanging it where it can be pulled down during high-energy play.
9. Cardboard Castle Playroom Backdrops
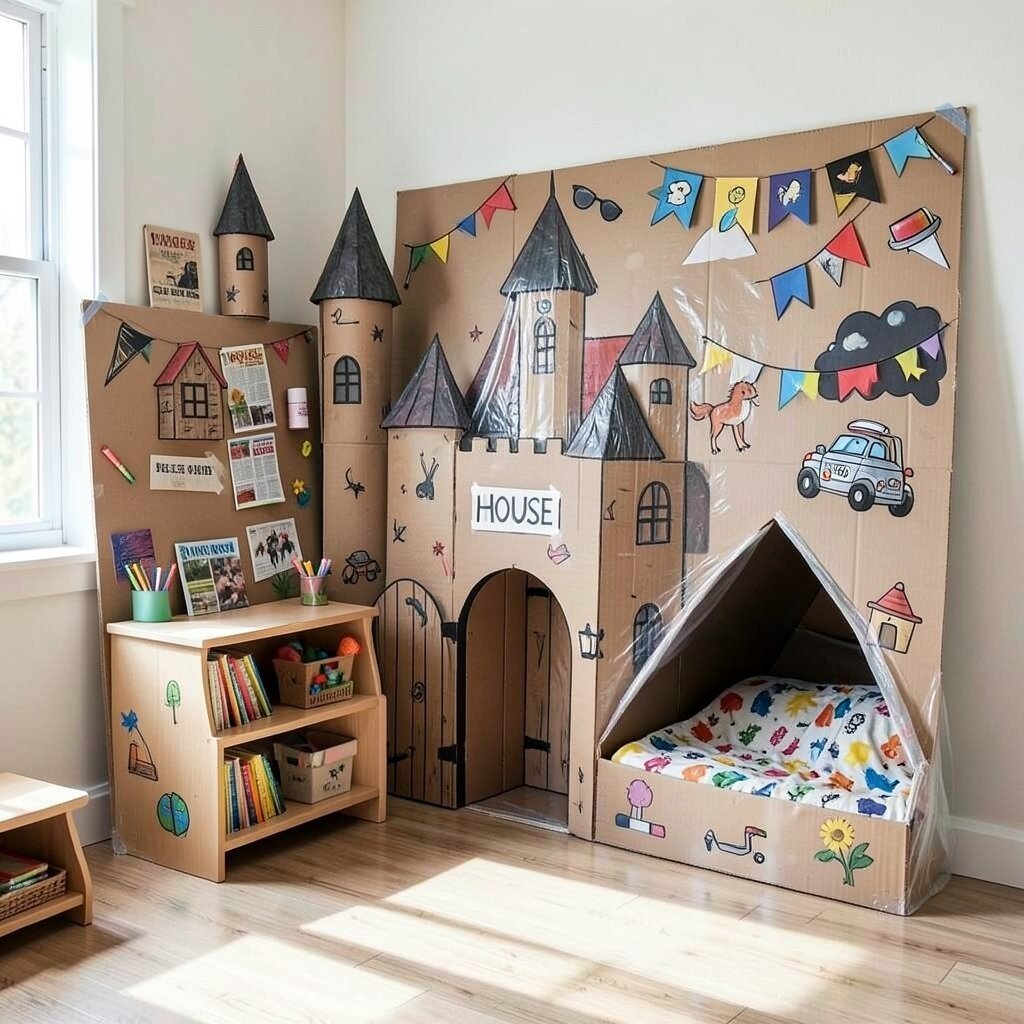
Cut big cardboard panels, decorate them with windows and towers, and prop them up behind a reading nook. The scene makes pretend play feel bigger, like your child stepped into a story.
Use paint, crayons, or even magazine cutouts to add banners and flags that match your child’s interests. Personalize it with a “house name” on the gate, plus a secret door that leads to a blanket fort. For practical tips, reinforce corners with tape and add a thin plastic sheet cover if it gets bumped often.
This decor is unique because it can grow with your child, changing from castle to clubhouse to space station as seasons pass. It also saves money since cardboard is cheap or free. If you want to make it trendier, add a few bold monochrome shapes mixed with bright accents for a style that looks graphic but still kid-friendly.
10. Bottle Cap Mosaic Name Signs

Glue bottle caps into a big letter shape to spell your child’s name, using bright colors like sunshine yellows and ocean blues. The sparkly surface looks playful in daylight and still charming at night.
Pick a sturdy backing like a scrap piece of wood, then plan the letter edges carefully so it looks clean. Kids can help sort caps by color, which turns a craft project into a learning activity without feeling like homework. Personalize it further by using caps that match favorite sports, hobbies, or special celebrations in your household.
Because the caps are upcycled, cost stays low, and your design becomes uniquely yours. For practical tips, use a strong adhesive that dries clear and keep the sign where it won’t get smacked hard. If you want extra protection, seal the top with a clear coat so it wipes clean from fingerprints and dusty play.
11. Paper Bag Theater With Scenic Coloring

Create a mini theater using a folded paper bag, then add a cutout “stage” window. Kids can pop in puppets or sock characters and perform stories with big, joyful reactions.
Color the backdrop with sky swirls, brick walls, or a rainbow stage curtain, then glue small bits of fabric for texture. This kind of decor is unique because it doubles as both room decoration and an everyday play tool. Personalize it with favorite characters, and let your child redesign the set each week so it never gets boring.
12. Reclaimed Frame Shadowboxes for Keepsakes
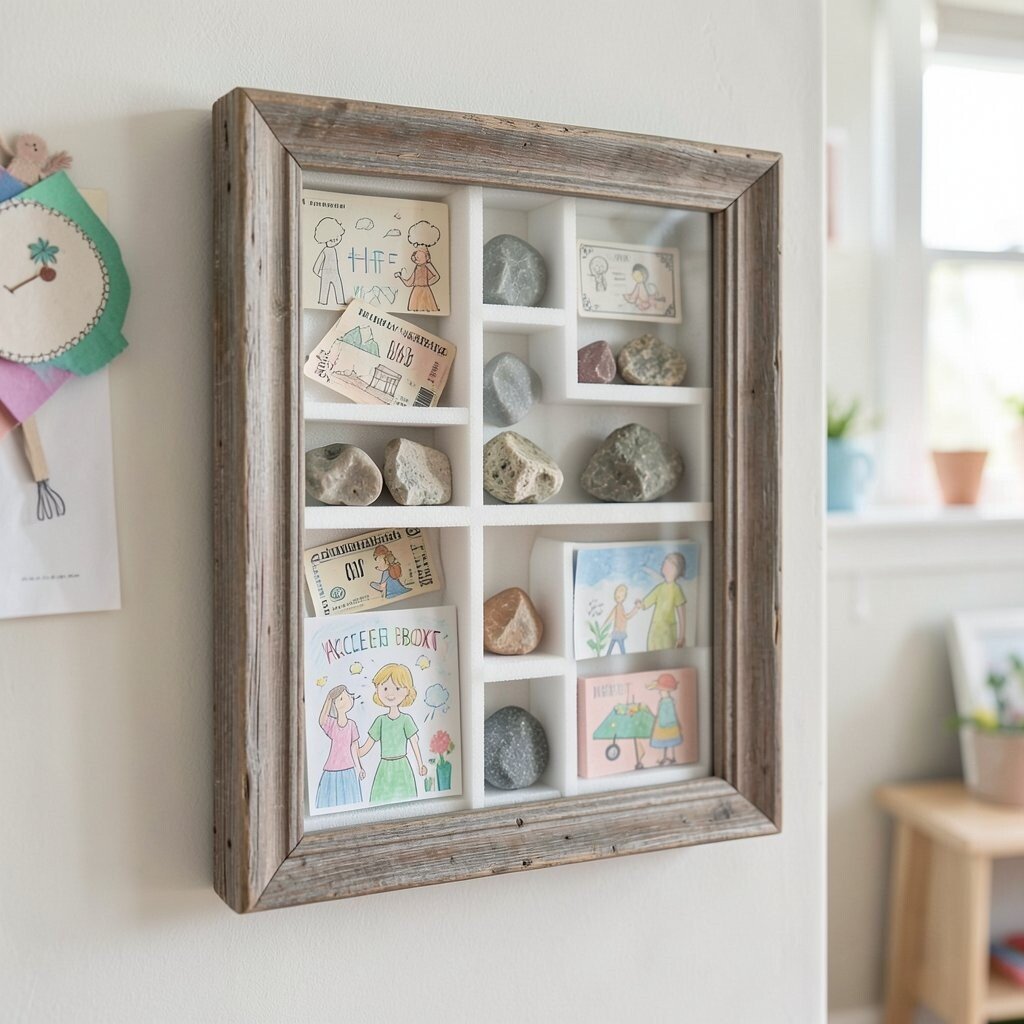
Find an old frame at a thrift store or use a spare one, then build a shadowbox collage inside. It turns ticket stubs, tiny drawings, and special rocks into something that looks like display art.
Layer items using lightweight foam so they sit at different depths, which creates a rich, floating look. This decor helps kids feel proud of their memories, and it’s a practical way to keep small treasures from getting lost in drawers. Personalize it by making “achievement boxes” for art projects, or “travel boxes” for souvenirs that matter.
Cost can be very manageable since frames can be inexpensive, and you can reuse glass if it’s in good shape. This also fits current trends in personal, gallery-style kids rooms that feel curated but not stiff. For a helpful tip, use acid-free glue or removable tape so you can update the collage as new keepsakes arrive.
If the frame is fragile, secure it carefully on the wall and avoid heavy hanging spots where it could be bumped.
13. Recycled Fabric Patchwork Wall Banners
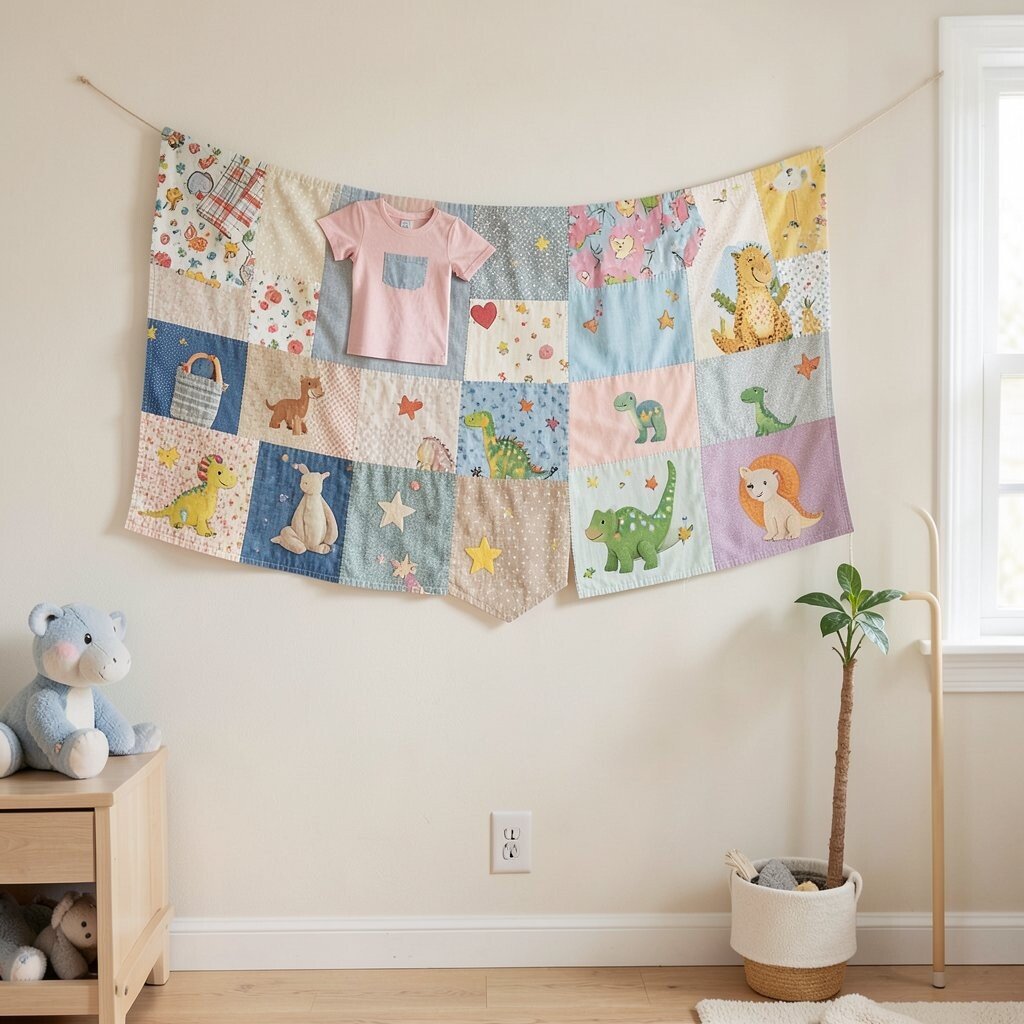
Cut up old T-shirts, sheets, or fabric scraps into cheerful shapes, then stitch or glue them into a banner. The texture feels cozy and soft, and it adds warmth to blank walls.
Mix patterns and colors in a way that matches the room, then add simple appliqué details like stars, dinosaurs, or hearts. Kids love touching the fabrics, and that sensory element makes the room feel friendly and lived-in. Personalize the banner with fabric from meaningful items, like a favorite hoodie you’ve outgrown or a passed-down blanket.
As a practical choice, use washable materials and keep the banner where it won’t get drenched from play. The cost stays low because scraps are usually free, and you can stretch supplies by using a lightweight backing. This idea also matches current trends in “soft walls” and textile decor that brings comfort while still looking stylish.
For extra ease, use iron-on adhesive for quick assembly if you want fewer stitches, but always follow fabric safety directions and get help with the iron.