Your next practice session can feel brand new with something simple. Ten minutes with a tennis ball can turn into real skill you can see and feel.
These projects are beginner-friendly and fun, and they use common items you may already have at home. Each one also gives you a clear way to improve timing, control, and confidence.
1. Target Wall Toss Game

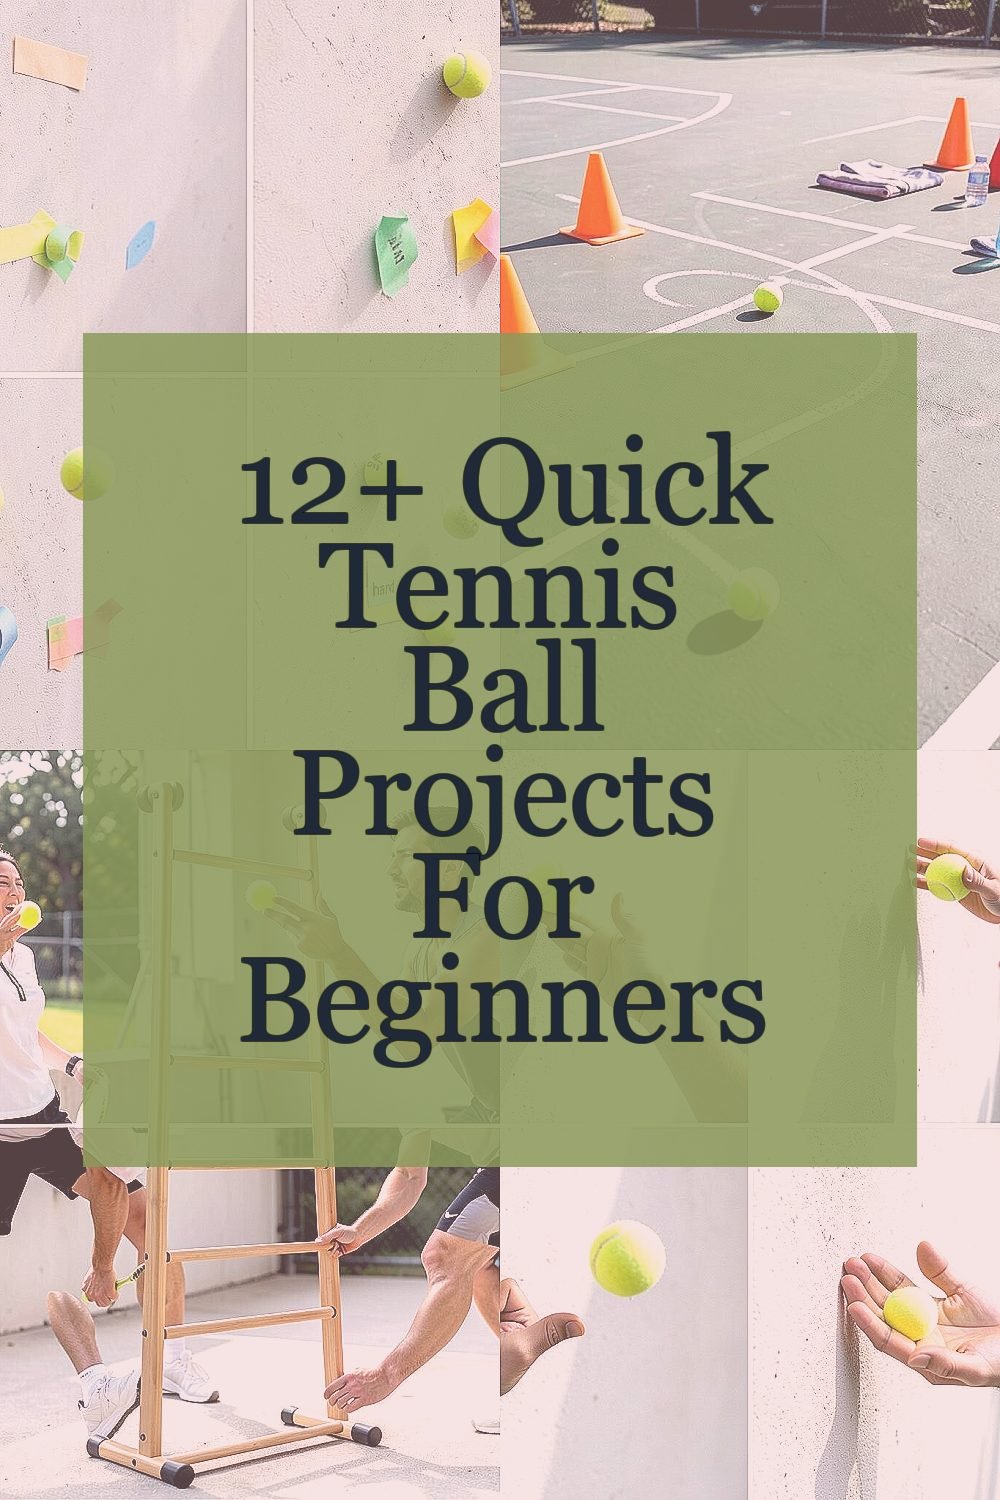
Pick a flat wall and mark a few spots with tape at eye height and a little lower. Stand a comfortable distance back and toss the ball to hit those spots without bouncing it first.
Try adding a gentle underhand throw, then switch to a sidearm roll-toss so the ball travels with different angles. This builds aiming and teaches you how much force to use. For a personal touch, use colored tape for “easy” and “hard,” and record which spots you hit most so you can set a small goal. If you want it to feel like current training trends, keep the targets tight and focus on repeat accuracy instead of long-range power. Tennis balls are inexpensive, and tape is basically free, so the cost stays low.
2. Court Marking With Ball Trails
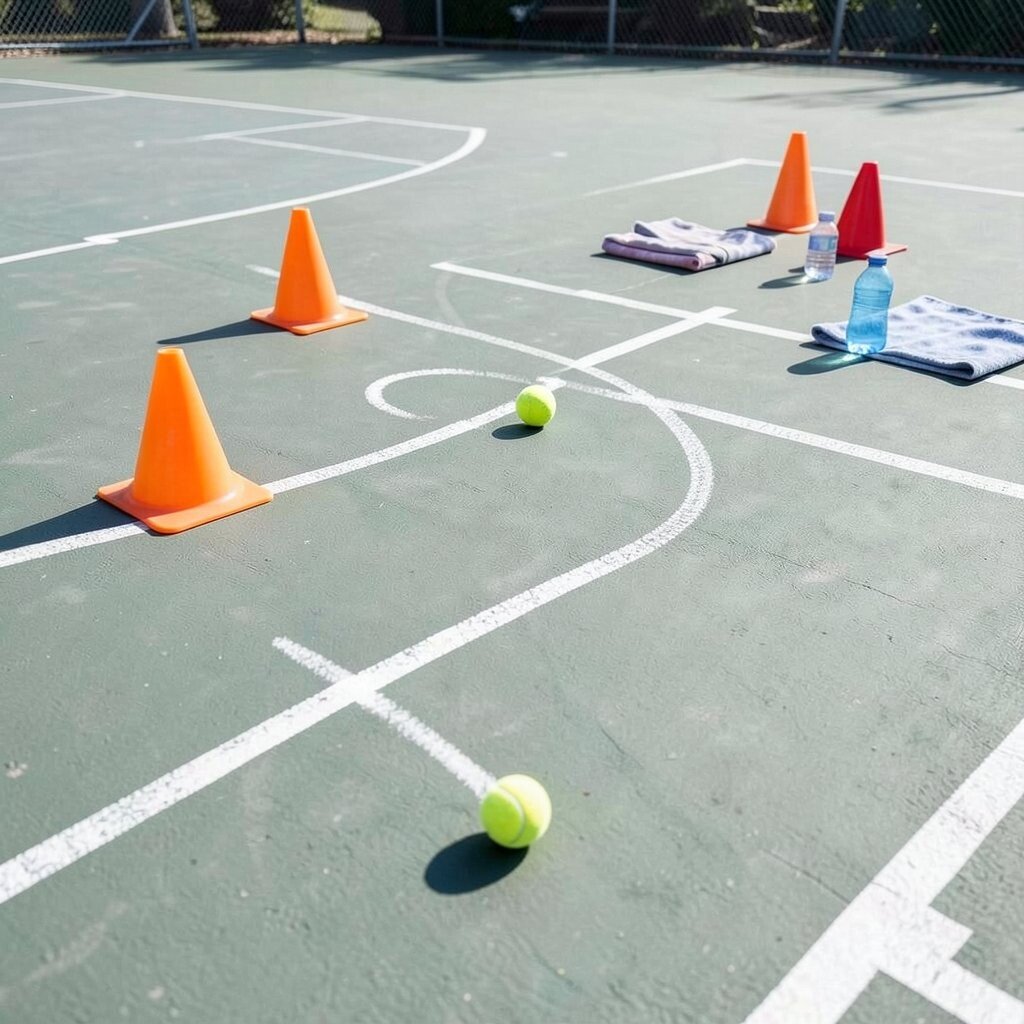
Place a few objects on the ground like cones, water bottles, or folded towels to form a mini path. Toss or roll a tennis ball along the floor so the “trail” shows you whether your path is straight and smooth.
Next, try to stop the ball near each object without knocking it over. This helps your footwork rhythm because you learn to move, check your body position, and adjust quickly. To personalize it, use your school colors for the objects and make a “race course” that matches your mood. For cost, you can replace cones with socks or shoes, which keeps everything budget-friendly.
Watching the ball’s path is surprisingly visual, since you can see wobble and drift right away. Many coaches now emphasize small, clear feedback loops, and this gives you that instantly. Try recording a short clip on your phone so you can compare your “clean trail” days with the days you rush.
3. Solo Bounce and Catch Ladder
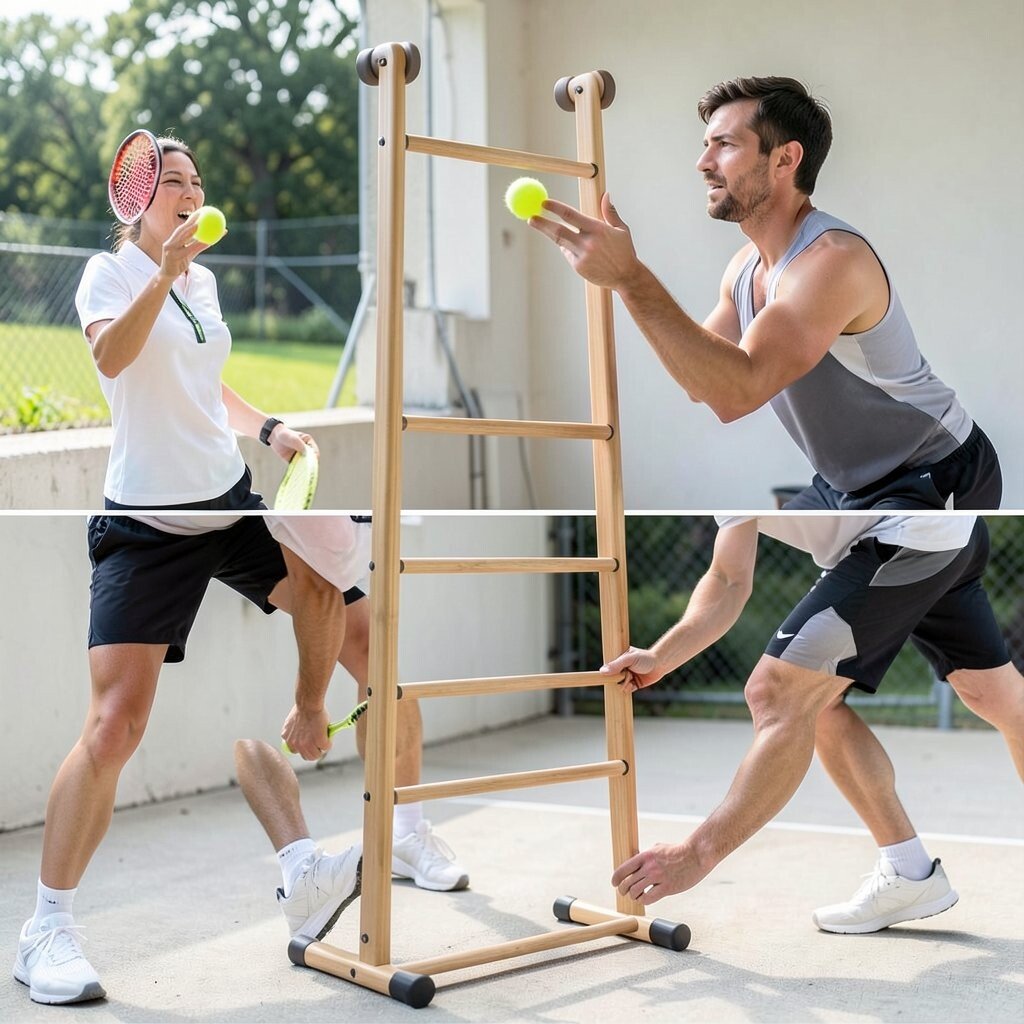
Find a spot where you can safely bounce a tennis ball and catch it at chest height. Start with slow, steady bounces and focus on catching the ball with soft hands rather than snatching.
Once you feel calm, change the pattern by bouncing once, twice, and then catching right after the last bounce. This strengthens hand-eye timing and teaches you how high to send the ball for an easy catch. The uniqueness here is that the ladder grows inside your own space, so you can do it on a driveway, balcony, or quiet hallway. Personalize it by catching with different stances, like side-on or slightly crouched, to mimic ready positions you use in tennis.
Cost stays minimal because you only need one ball and a little floor space. A current trend in beginner practice is short “quality sets,” and this project matches that idea well. If your catch is too hard, try a larger target like a folded towel or a small bucket mouth to guide your timing.
4. Spin Control With Wall Side Throws
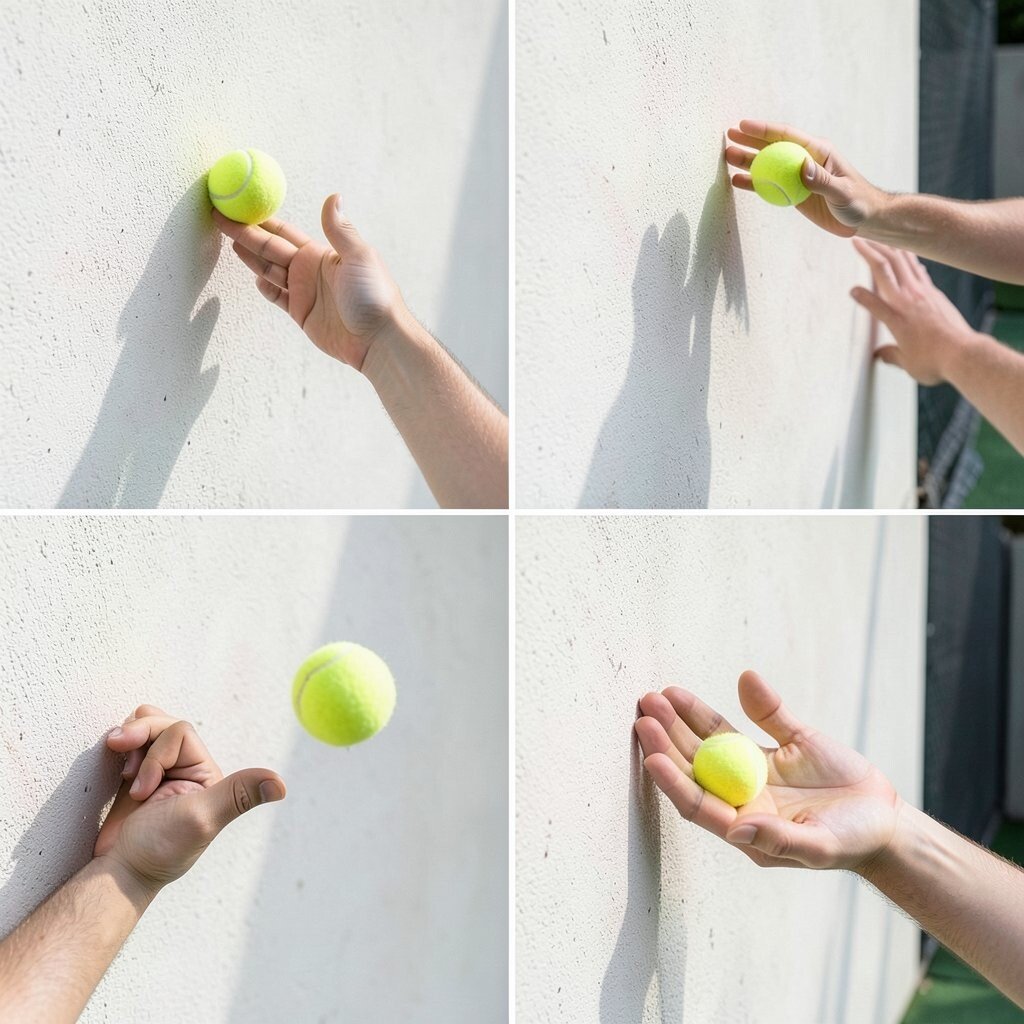
Stand near a wall and throw the ball gently at an angle so it returns. Pay attention to how the ball comes back when you brush it with your palm for slight spin.
Try three kinds of side throws: neutral, topspin, and sidespin, then compare how the return changes. This improves feel, making it easier later when you add spin to serves and groundstrokes. For practical tips, keep your wrist soft and let your arm finish naturally, since forcing the motion usually makes your throws unstable. Personalize the project by using different hand positions, like your dominant hand, then your other hand, to balance your control. Tennis balls are cheap, and the wall becomes your “gear,” so you can keep your setup almost free.
5. Backhand Shape Practice With Sock-Ball Fakes
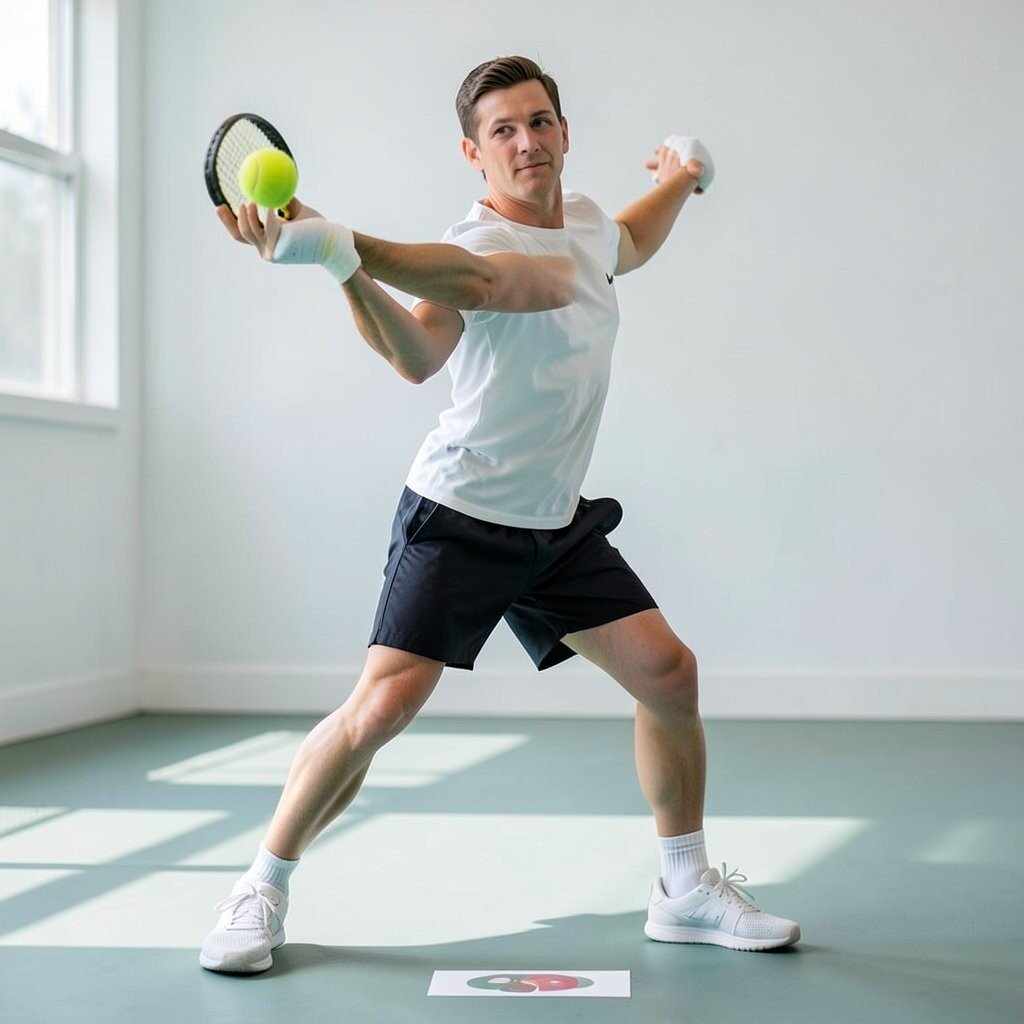
Grab a tennis ball and also wrap a sock around it with a little tape so it feels softer and slower. Use the sock-ball to practice the motion of a backhand swing without the fear of a hard impact.
Stand in a ready stance, then swing across your body like you are preparing for a backhand return. This helps you build the right body shape and teaches smoother timing, especially for beginners who feel awkward with full-speed swings.
The visual feedback is great because you can see your shoulders rotate and your follow-through land where it should. To personalize, place a small sticker on the floor for where you want your feet to land after the swing. Cost stays low since socks are common, and the tennis ball stays the main tool. If you like current trends, think of this as “technique first” training that prioritizes form before intensity.
6. Doorway Reflex Rally
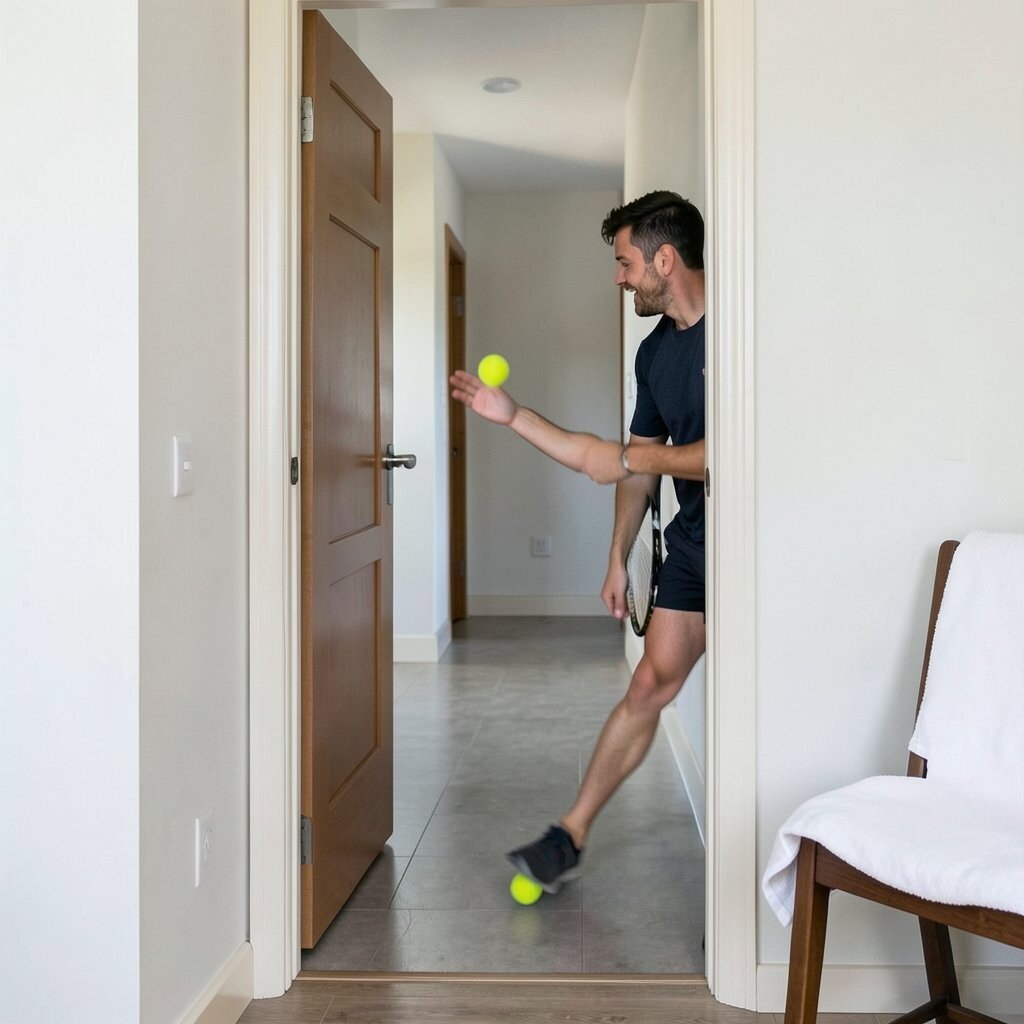
Choose a doorway or a hallway space where it’s safe to move. Toss the tennis ball lightly toward a wall and practice quick taps or gentle rebounds to keep it moving back and forth.
Focus on quick reaction instead of power, using short arm movements and small body shifts. This sharpens reflexes and teaches you how to stay balanced when the ball changes direction. Personalize the difficulty by changing the bounce height, like tapping it low so it feels quicker, or tapping it higher so you have more time. For cost, you can use any soft surface for catching, like a towel on a chair, as long as it’s safe.
7. Precision Underhand Roll To Zones
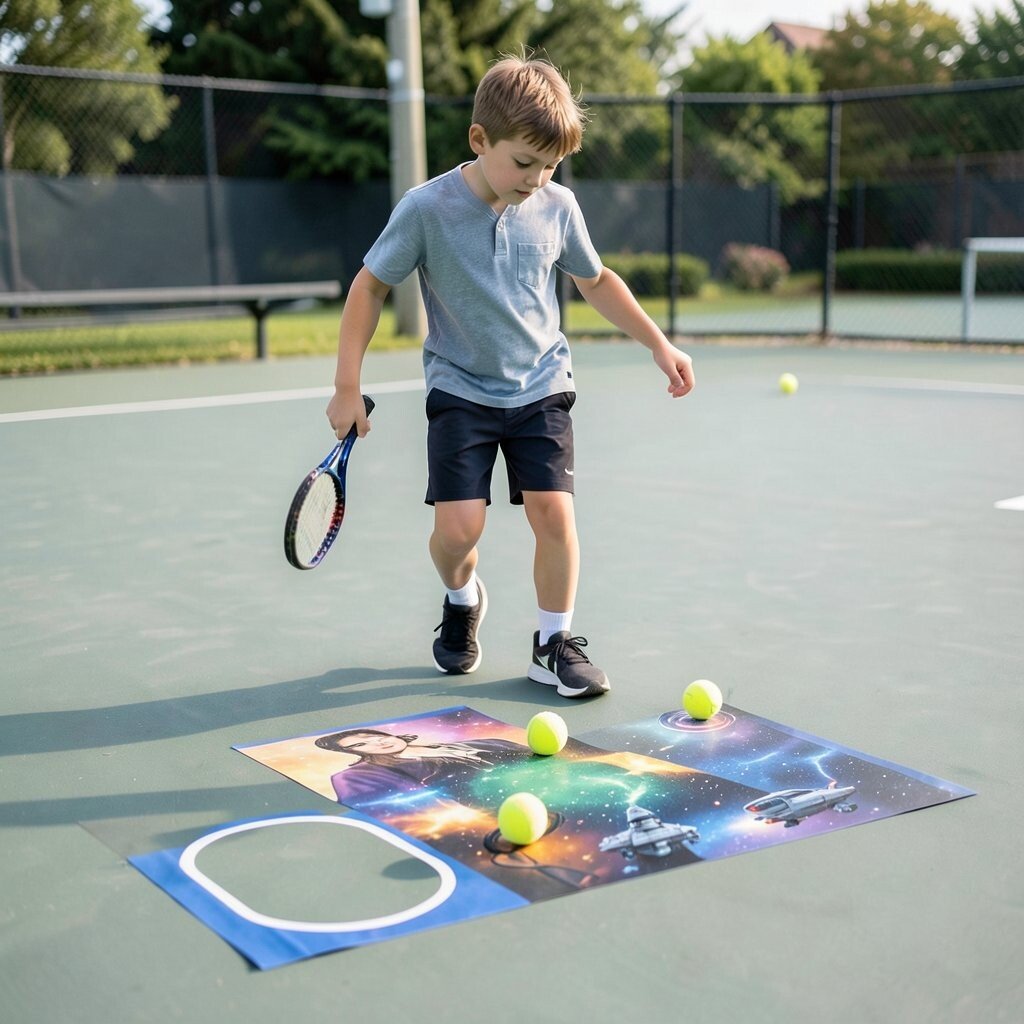
Draw or tape three zones on the ground, then roll the tennis ball into the right zone each time. Stand facing the target and keep your rolling motion simple and controlled.
After you can hit the closest zone, try the middle, and then the far zone when you feel steady. This project builds accuracy and teaches you how to manage speed, which is a key skill for beginners. Uniqueness comes from the rolling style, since it trains your timing without the stress of high bounces. Personalize your practice by using themes, like “movie stars” for one zone and “space ships” for another, so you stay excited. Tennis balls cost little, and you can reuse tape many times.
Keeping your eyes on the roll path gives you a clear visual cue, like a little arrow showing where your ball is going. Many trainers also like low-impact drills like this because they reduce frustration and let you practice more consistently.
8. Balance Beam Footwork With Ball Drops
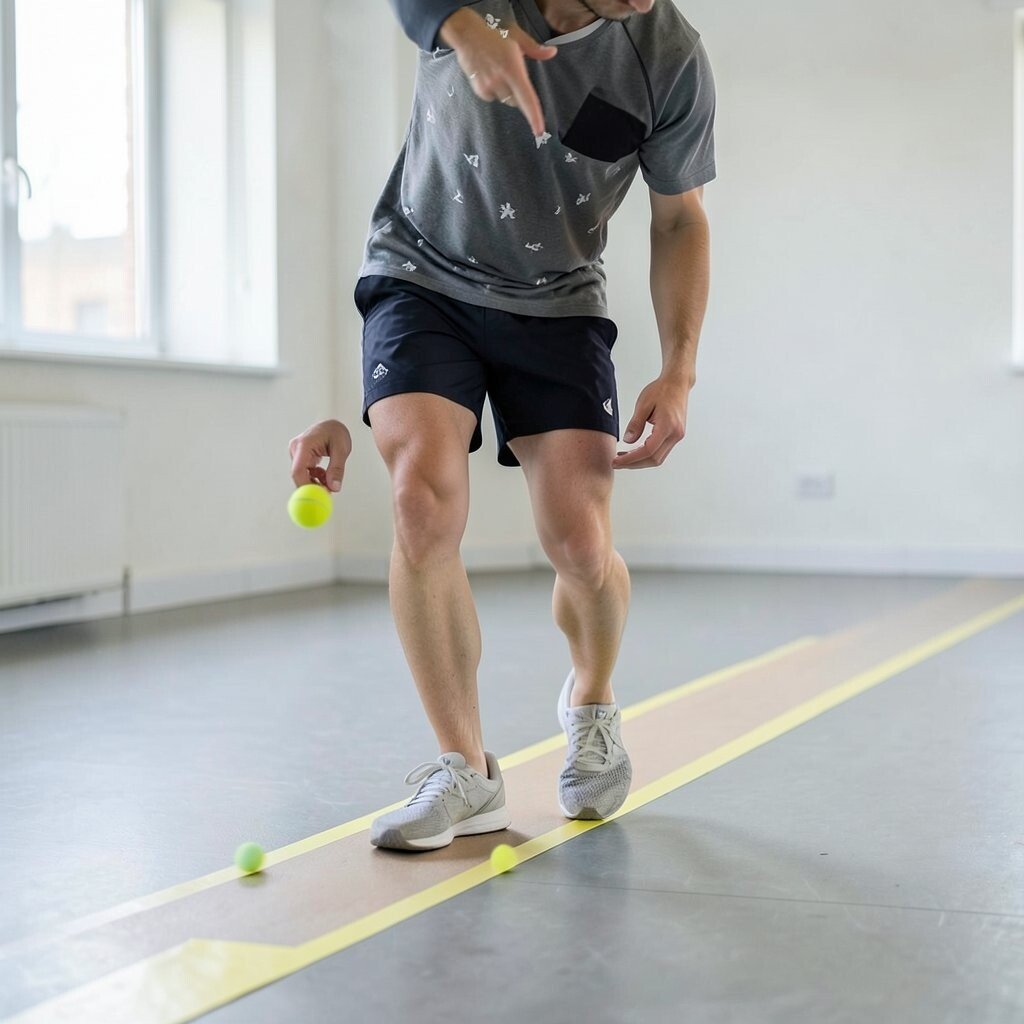
Set two lines on the floor with tape so they act like a narrow “beam” for your feet. Stand on the lines, then drop the tennis ball lightly and catch it after each step.
This builds balance and coordination because you must stay steady while your hands track the ball. For practical tips, keep the ball drop small at first and catch with your body slightly leaned forward. Personalize it by adding a pattern, like step-step-catch, then step-step-step-catch, so your brain stays engaged. Cost is basically tape and a tennis ball, and you can do it indoors.
The visual part is fun because your feet look like they’re dancing along a runway. If you want to follow a current coaching trend, combine balance with small timed reps, since that mirrors real tennis movement where stability matters. Use your phone to check posture, and aim for quiet feet instead of heavy stomps.
9. Cone Knockdown With Controlled Pace
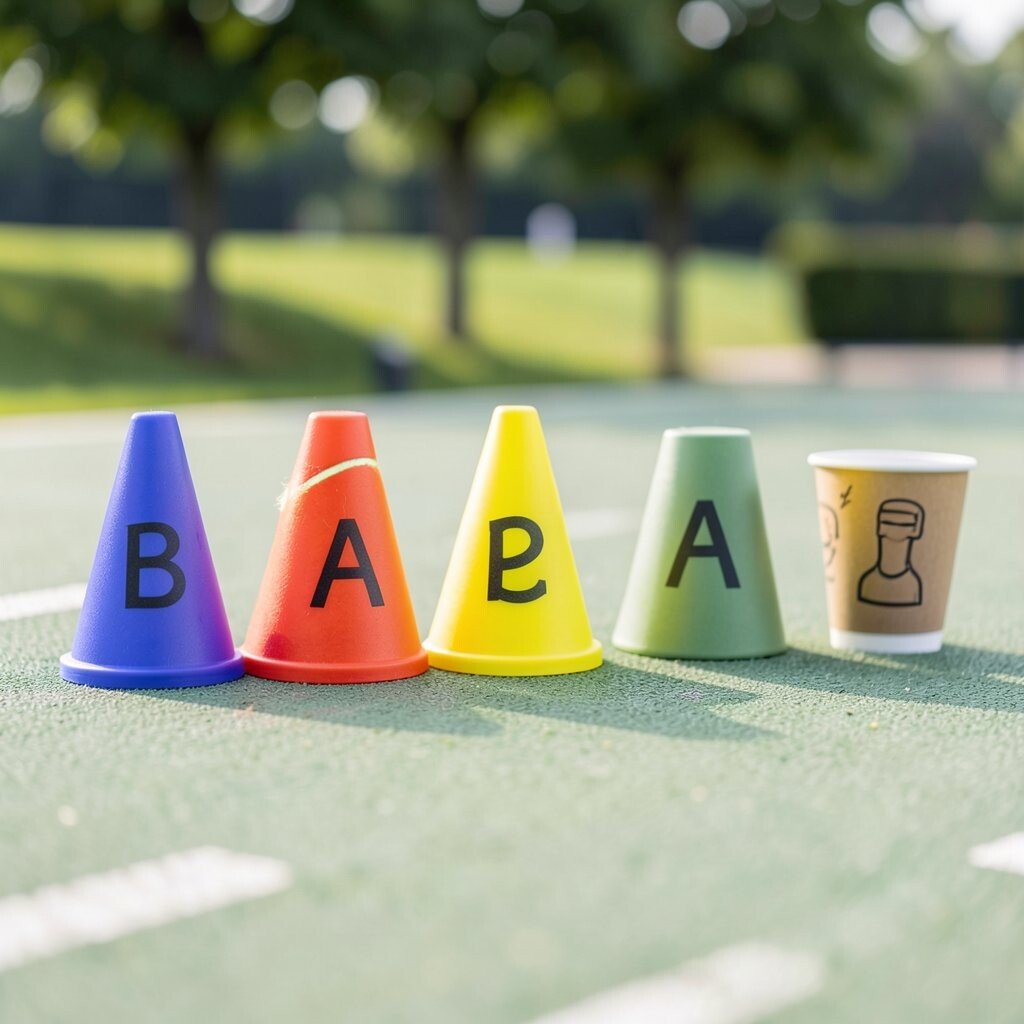
Place a few small cones or household objects in a row and practice rolling or tossing the tennis ball to knock only one at a time. Start gently so you can see exactly how your throw affects the target.
When you’re accurate, increase the speed just a little, aiming for clean knocks rather than big chaos. This improves control and decision-making because you learn how to “choose the outcome” with your pace. The uniqueness comes from the challenge of knocking one object at a time, which feels like a mini game. Personalize the targets by labeling them with letters or points you invent, so it turns into a story. Tennis balls are inexpensive, and you can use old bottles or paper cups as targets.
10. React-Then-Throw Mini Challenge
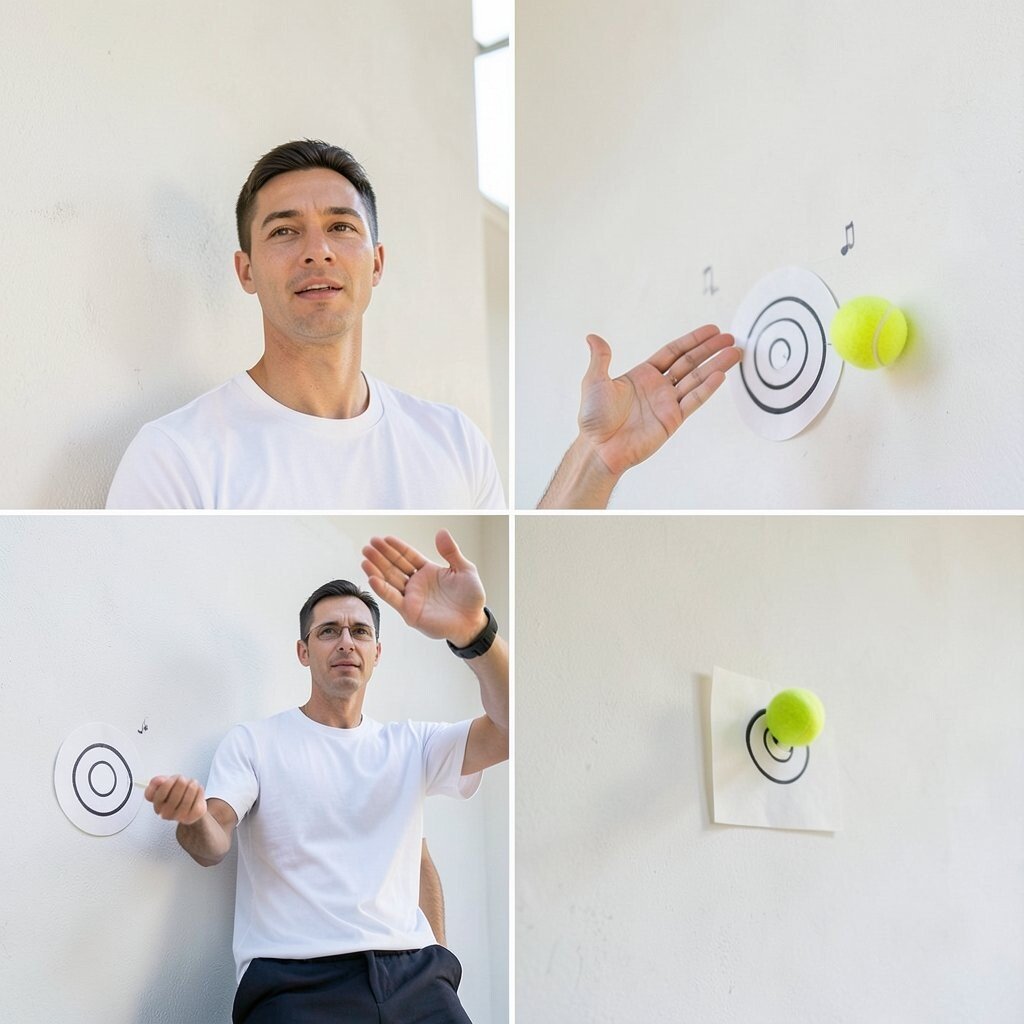
Stand facing a wall and hold the tennis ball in your hand. Give yourself a simple cue like a clap, then immediately throw the ball to a taped target spot.
This strengthens reaction time and teaches you to start your movement quickly without rushing your technique. For practical tips, keep your throwing arm loose and let your legs help with the first step. Personalize it by making cues with music from your phone or with different clap rhythms, so you practice under slightly different “pressure.” The cost is almost nothing because tape and a tennis ball are enough to set it up.
Seeing how your accuracy changes after each cue is a great feedback loop. Many beginner programs now emphasize reaction drills because tennis is fast and unpredictable. Once you do well with one target, add a second target at a different height and practice choosing the right one.
11. Household Net Bounce Timing
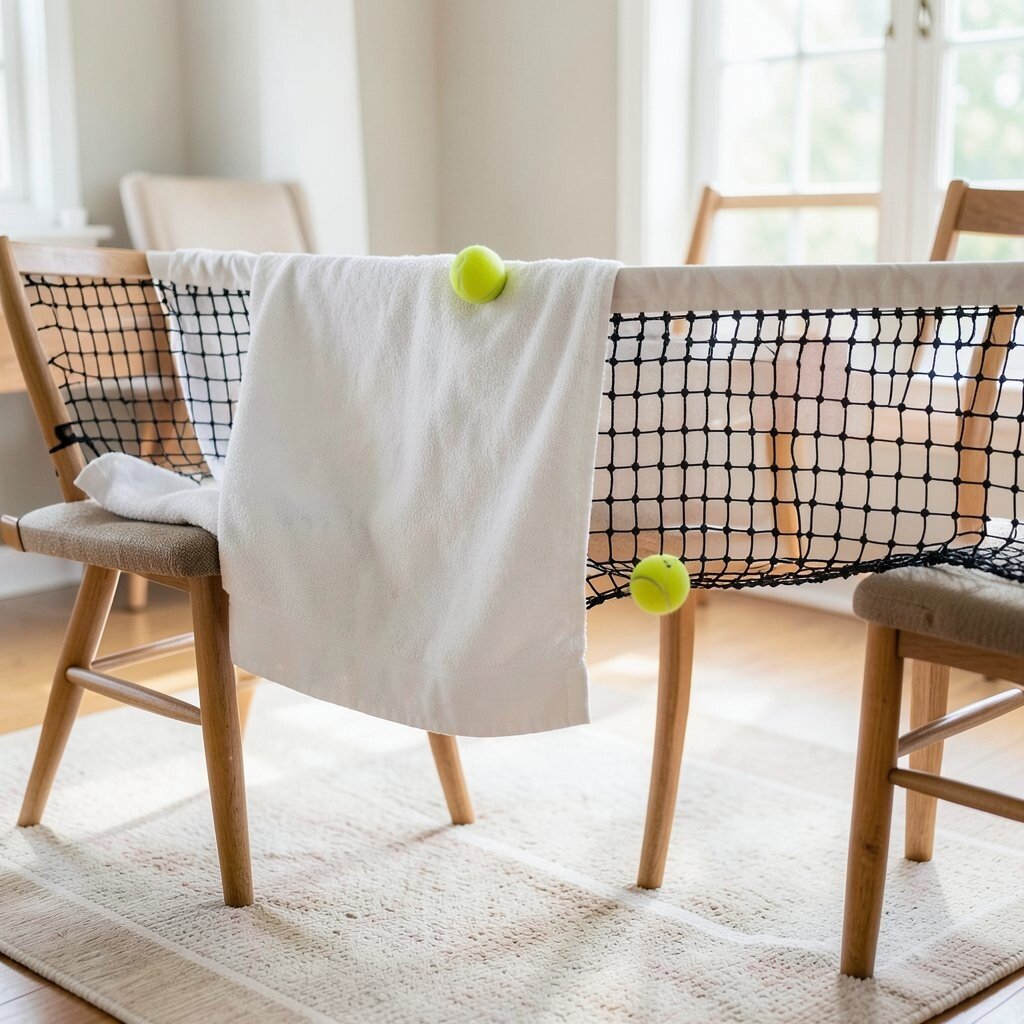
Set up a low barrier like a towel across two chairs, making a safe “net” height. Bounce the tennis ball so it crosses the barrier and lands in a marked landing spot.
Work on consistent bounce height and timing, because crossing the barrier forces you to think about trajectory. This builds the same kind of rhythm you need for volleys and net play, just with training wheels. The visual description matters here, since you can clearly see the arc of the ball as it passes over the towel. Personalize the setup by changing the “net” height a little to match how your swing or throw is improving.
Cost is low because you use household items, and tennis balls are affordable. A current trend is using improvised equipment when learning, because it keeps practice moving and reduces setup stress. If the ball keeps landing short, try a slightly firmer bounce or move closer to the barrier for a better angle.
12. Ball Texture Find-and-Feel Control

Hold a tennis ball and look at the surface, then practice controlling where your palm rests before you throw. Roll it between your fingers while you stand still, then toss it with the same hand position each time.
This project feels unique because it builds touch and consistency through feel, not just sight. Over time, you’ll notice your throws settle into a pattern because your grip is repeating accurately. For practical tips, try the same toss speed each round and only change one detail at a time, like your arm angle or your follow-through. Personalize it by comparing how your dominant hand feels versus your other hand, which is a great confidence booster.
There’s almost no cost beyond the tennis ball, and you can practice anywhere. Current training ideas often mention mindfulness and body awareness because beginners learn faster when they feel calm and consistent. If you can, stand near a mirror or record a quick clip so you can link your hand position to your results.
13. Mini Rally With Partner or Wall Rhythm
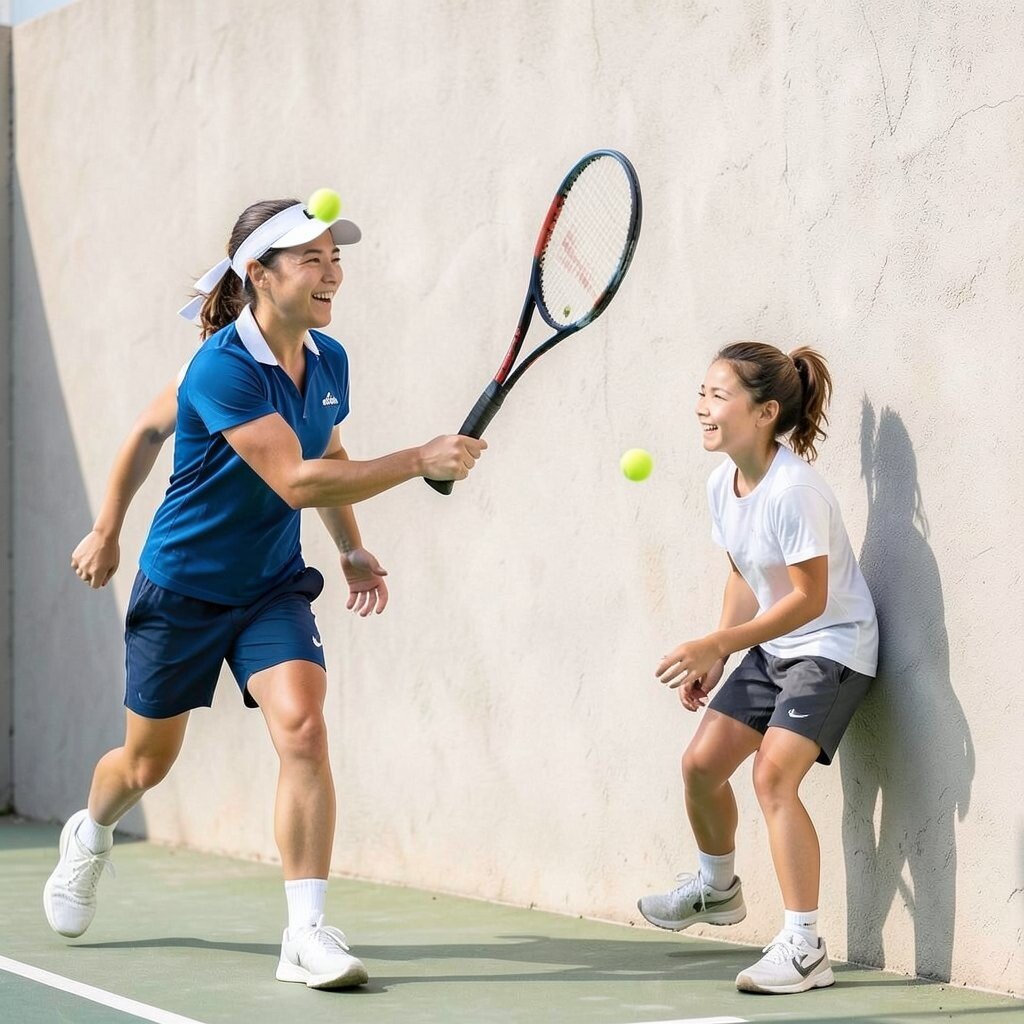
Choose a wall or a partner and aim for short, friendly rallies. Toss or tap the ball so it returns gently, then practice keeping the rhythm steady rather than trying to win instantly.
Call out your own goal like staying in control for a set amount of time, and adjust your pace to match your skill. This improves timing and communication when you have a partner, and it teaches spacing and angle when you use a wall. Uniqueness comes from building a “rhythm routine” that can change day to day, like fast taps on energetic days and slow, careful returns on calmer days.
For personalization, match the rally to a music beat and try to time your taps to the sound. Tennis balls are low cost, and a wall is free, so this is a budget-friendly way to practice often. Many beginners love this because it feels like real tennis, but without the complexity of full strokes at speed. If the ball feels too hard to manage, slow the toss and focus on gentle contacts, since clean technique beats rushed power.