The world feels sharper when your space matches your imagination. An art board can turn scattered thoughts into bold visual plans.
Below are practical ideas you can set up quickly and keep improving as your style grows.
1. Floating Collage Board With Tension Strings

Visualize a cork or foam backing panel with thin tension strings stretched across it like a web. Every time you add paper pieces, they hover slightly and cast soft shadows.
Use binder clips, small hooks, or clothespins along the strings so you can swap layouts fast. This makes it easier to test color moods, pose references, or sticker experiments without committing. Keep a small kit nearby with scissors, tape, and a glue stick so changes happen in seconds.
2. Tiny Budget Moodboard Using Recycled Packaging

Grab old cardboard, food boxes, and paper envelopes to build a moodboard that looks quietly textured. Layer the scraps so the creases and print marks become part of the design.
You get a unique look while saving money, and that matters if you make boards often. Try sorting by color on one side and by theme on the other, like “cozy,” “sharp,” or “future.” Add a few torn bits of fabric for extra depth, and photograph it in daylight to pick your favorite angles.
Keep a marker legend on the back to remember why each scrap belongs. When you change themes, you can reuse the board base for a new batch without starting from scratch.
3. Color Swatch Rail With Paint Chips and Markers

Imagine a long board section packed with small swatches, each one labeled by feeling rather than brand. Your palette looks like a neat train of colors that you can rearrange any day.
Use card stock pockets or washi-tape borders so chips stay in order but still move. This helps you plan paintings faster because you can build a palette before you mix anything. For personalization, include skin-tone mixes, sky gradients, and “ink only” sets for quick studies.
If you use markers, add a row for line tests so you can see ink behavior. Keep a tiny budget plan by using leftover sample cards from hardware stores or craft kits.
One current trend is creating “limited palettes” that repeat across a series, and swatch rails make that easy. Photograph the rail and note which combination you want to revisit next week.
4. Vision Board Inspired by Street Signs and Notices
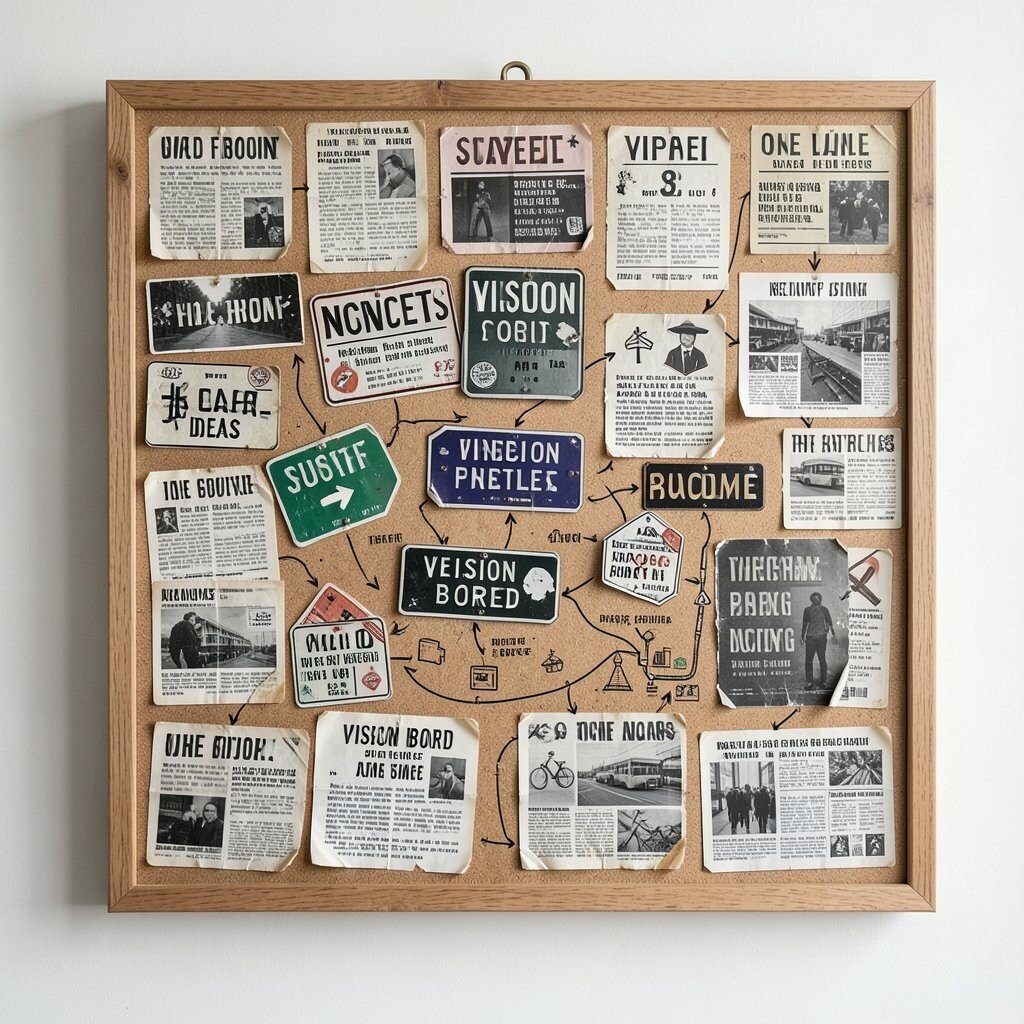
Picture a board filled with photocopied street signs, bus notices, and torn posters arranged like a mini city. The mix of fonts and worn edges gives your ideas instant personality.
This kind of board feels unique because it borrows real-world energy instead of generic pictures. Add hand-drawn arrows, route lines, and tiny icons to connect concepts. To keep it practical, choose one neighborhood theme at a time, so gathering references stays simple.
5. Transparent Layer Board With Overlays and Vellum
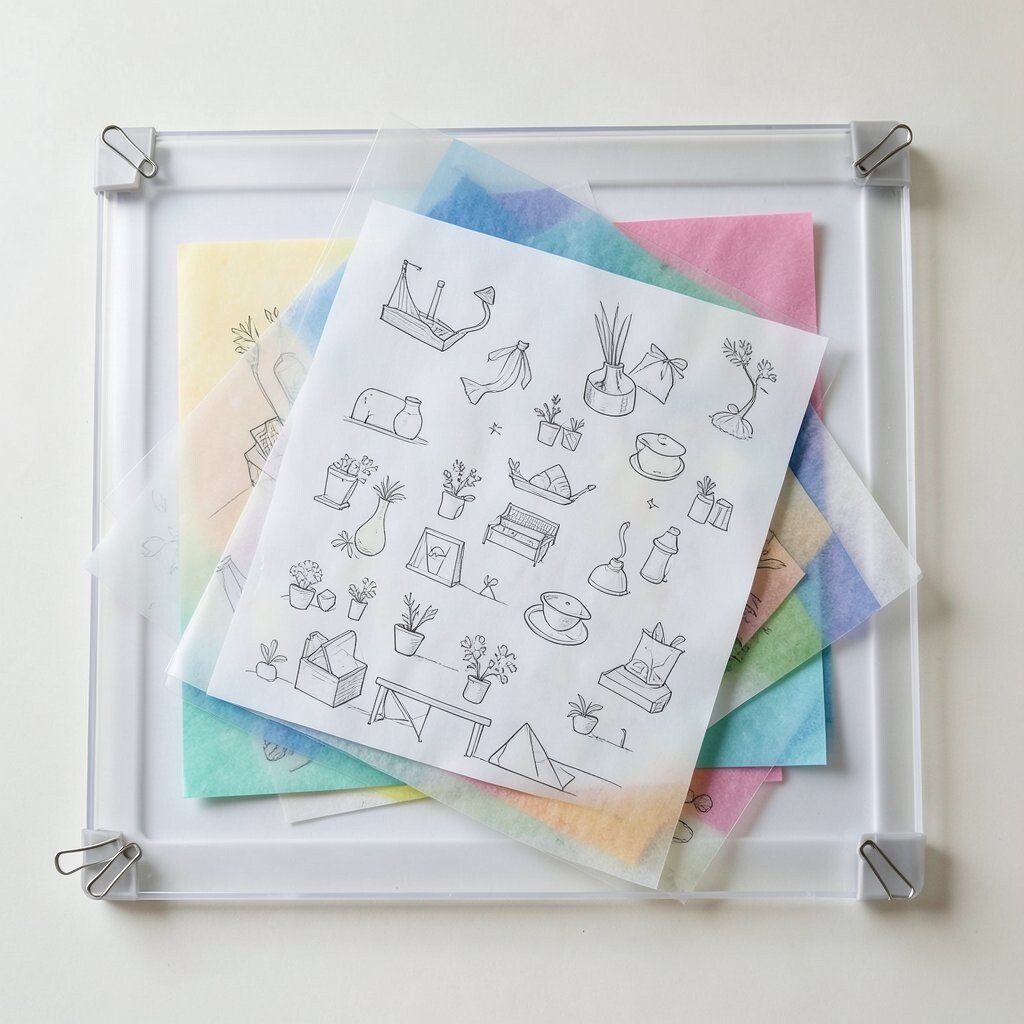
Imagine several clear overlays stacked on top of a base scene, like a light box you can rearrange. With vellum sheets, colors soften and overlap into new patterns.
Layer your own sketches on transparent paper, then slide them to test composition. This supports creativity because you can try alternatives without erasing the original. Use a few binder clips at the corner edges so nothing shifts while you work.
For personalization, add one “mystery layer” each week, filled with shapes you can interpret later. Cost stays low when you reuse clear folders, shipping sleeves, or cheap transparency sheets.
6. Art Board Built Around a Weekly Theme Prompt

Think of your board as a weekly stage where every element points back to one prompt. One week could be “quiet mornings,” and the next could be “loud shapes.”
Pick one theme and pin sketches, photos, and material samples that match it. The benefit is focus, because you stop collecting random references and start building a clear direction. Set up a quick routine by adding new pieces on the same day each week, so your board feels alive.
7. Fabric and Thread Board for Texture Studies

Picture swatches of fabric stitched or pinned in tidy rows, with thread trails connecting them like tiny maps. The board becomes a tactile library for your next drawing or craft idea.
Texture boards are great for realism and pattern work because you can match weave, pile, and stretch. Add cutouts from old shirts, scarves, and bedsheets to keep costs down. Try a practical system where you label textures by how they might look in charcoal, watercolor, or ink.
For personalization, include one “sound” section by associating textures with words like “crisp,” “soft,” or “grainy.” A current trend is using mixed media, and fabric textures give your art board instant modern energy.
8. Magnet Board With Character-Style Silhouettes

Imagine a sleek metal sheet covered with bold character silhouettes cut from paper and held by strong magnets. You can shuffle them into scenes the way you play with figurines.
Magnets offer a fast change loop, which is helpful when you’re storyboarding or experimenting with poses. Add small caption tags that you write after you arrange, so your scenes evolve as you think. Keep it practical by using foam board behind the magnet sheet to prevent slips and protect the surface.
9. Scraps-to-Story Board With Sequenced Panels
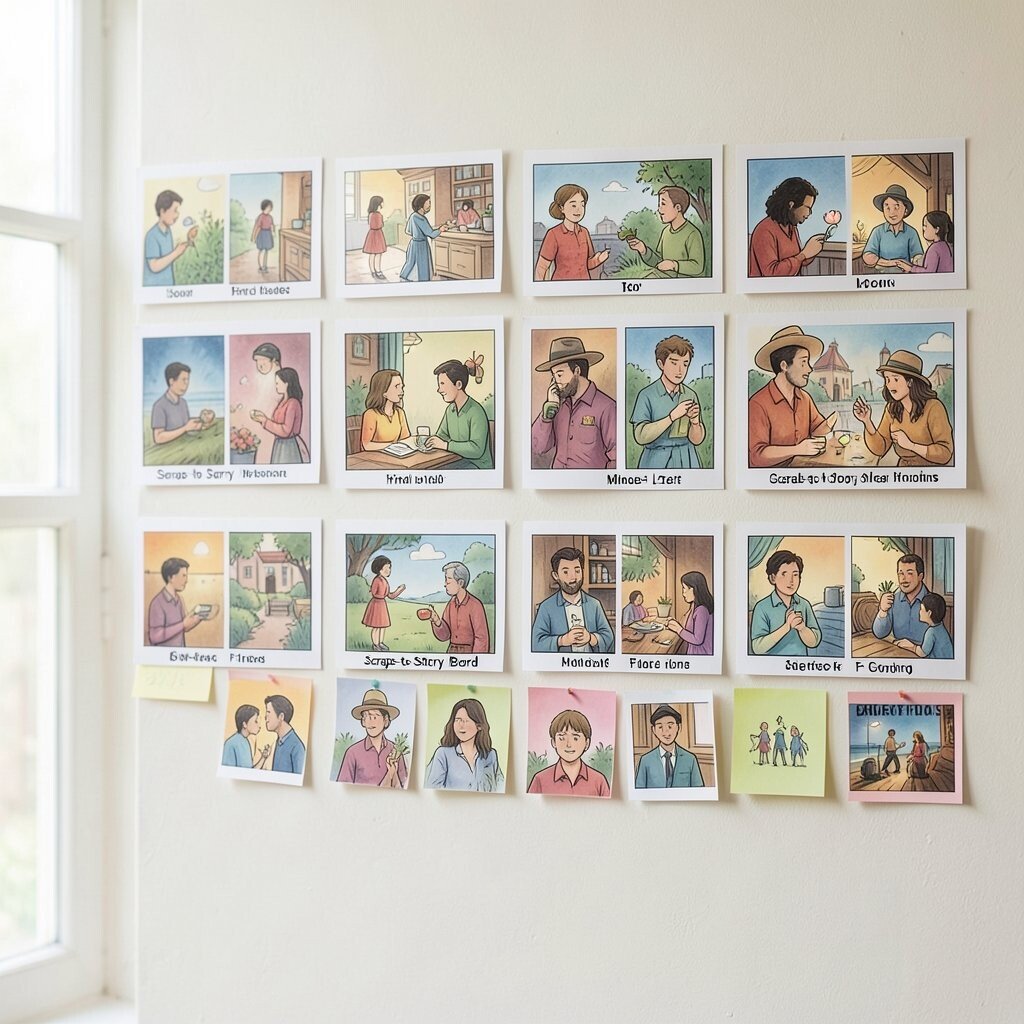
Picture your art board as a storyboard wall where tiny images line up in a loose sequence. Each scrap becomes a “panel,” and you can move the order when the story changes.
This approach helps you plan narratives for comics, animation practice, or even picture-book style art. Use sticky notes for timing, then replace them with final labels later. For cost considerations, focus on printing a few key images and then drawing the rest from memory.
To personalize, assign each panel a color mood and keep the mood consistent across your story. A fun trend is making mini “micro films” for social media, and this board makes those scenes easier to organize.
When you rearrange panels, take quick photos so you can keep the best version. Over time, your board becomes a catalog of your storytelling habits.
10. Chalkboard or Dry-Erase Board for Daily Sketch Prompts

Imagine a smooth chalkboard or dry-erase surface covered with quick thumbnails, arrows, and tiny reminders. The board feels instantly playful because you can erase mistakes without regret.
Daily prompts keep momentum strong, and the benefit is that your sketch skills build steadily. Use colored markers for different categories like faces, hands, and objects. Add a corner “parking space” for ideas you want to revisit so nothing gets lost.
Personalize by writing one friendly rule to yourself, like keeping lines light or trying one new perspective. If you want low cost, borrow a board, use reusable sleeves, or try window-marker drafts that wipe clean.
11. Photo Transfer Board With Old Images and New Lines
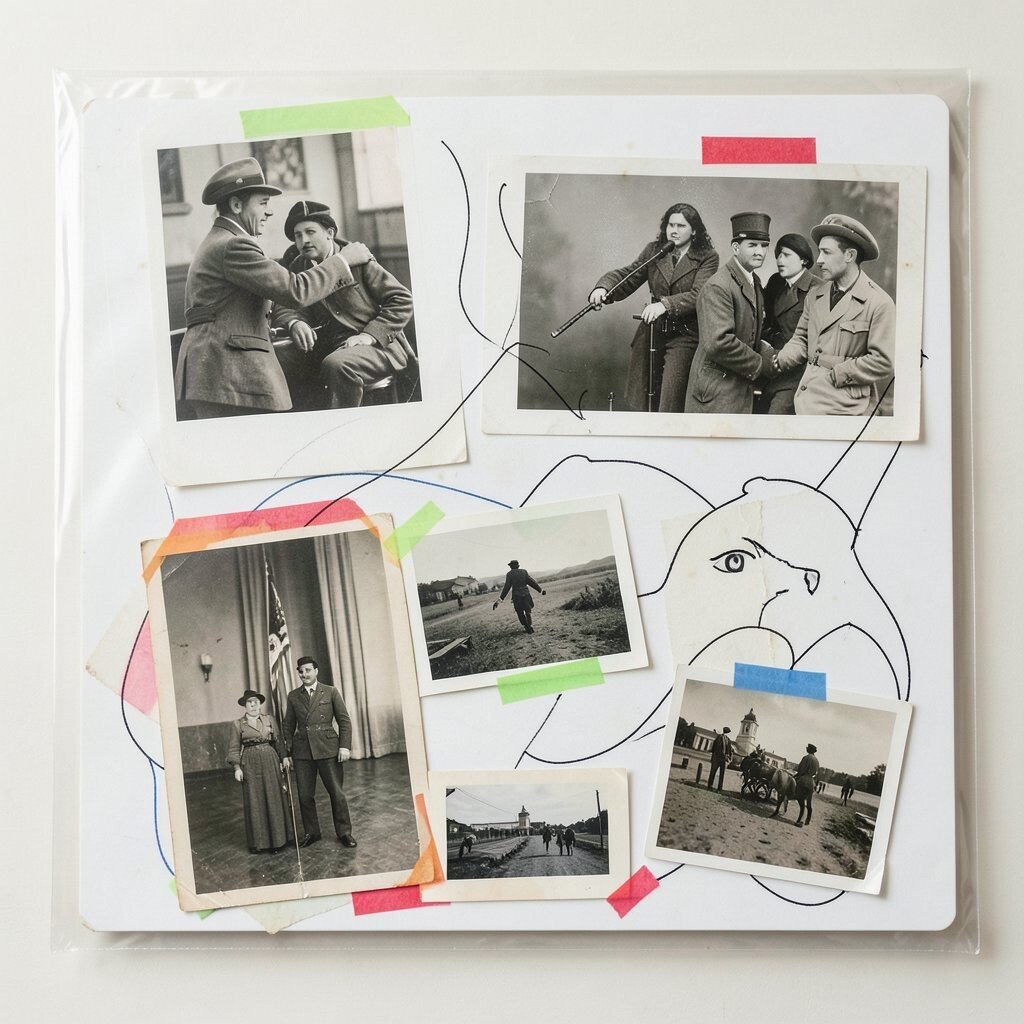
Picture faded photos arranged beneath a layer of translucent paper where you draw new shapes. The contrast makes your ideas look both nostalgic and fresh.
Photo transfer boards are unique because they blend past memories with your current style. The benefit is that you get ready-made composition and can practice redesigning it. Use simple printouts or thrifted photographs, then protect everything with a clear cover sheet.
To personalize, add “redraw zones” using colored tape so you know which parts you’ll reinterpret. Cost stays manageable when you use old magazines, library discards, and budget printers for copies.
12. Museum-Style Board With Curated “Exhibit” Sections

Imagine your art board set up like a small exhibit wall with neat spacing and a “featured artwork” center. Surround it with supporting sketches that feel like placards and supporting pieces.
This setup helps you practice curating, which improves how you present your work and choose a consistent style. Add small slips of paper with dates and one sentence about what you learned, then swap them as you grow. For practical tips, keep the center for your current project and rotate the edges weekly.
13. Interactive Pinboard With Routing Lines and Decision Paths
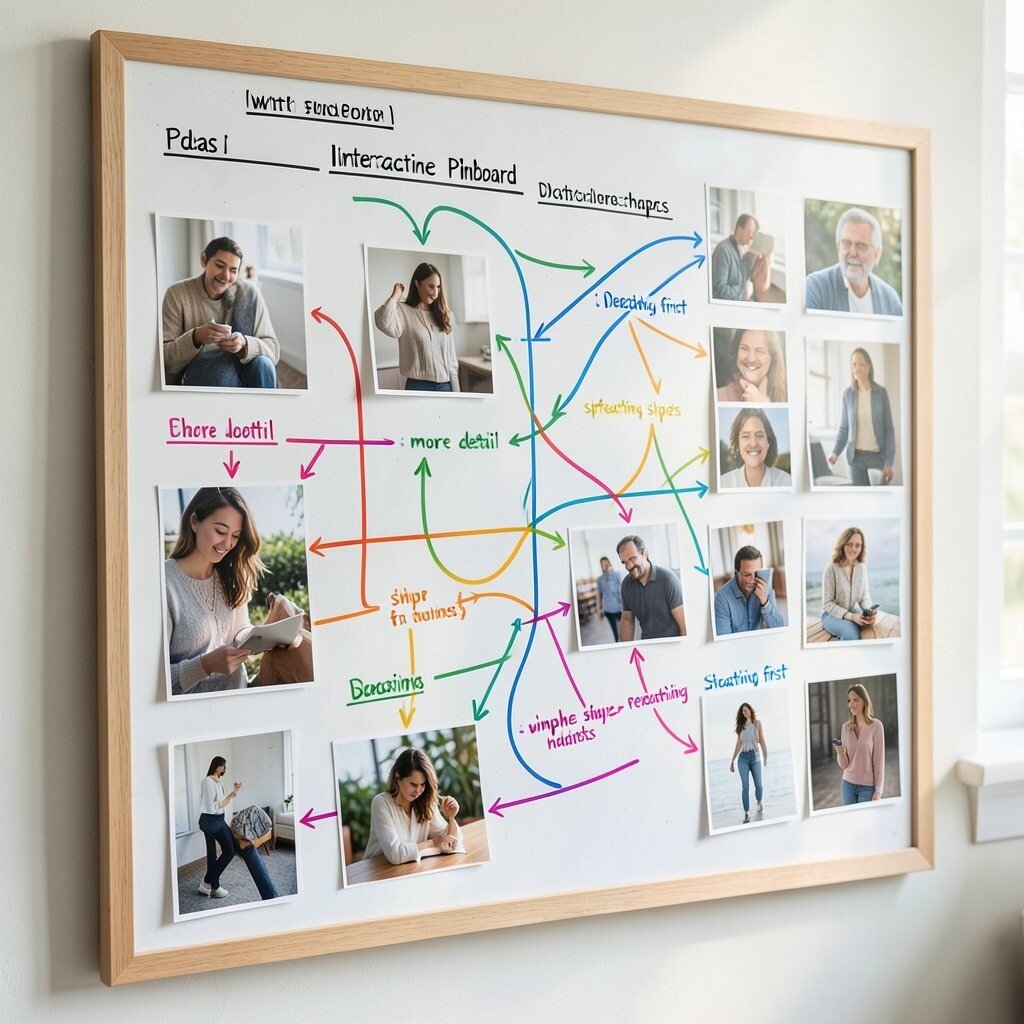
Picture your board covered in photos, and then drawn routing lines that connect ideas like a diagram. Instead of a simple grid, you create decision paths for style choices.
The benefit is clarity, because you can see what leads to what. Use colored pens to represent different outcomes, like “more detail” or “simpler shapes.” Personalize by building paths around your creative habits, such as choosing references first or sketching first.
14. Typography Board With Letter Cutouts and Word Collages
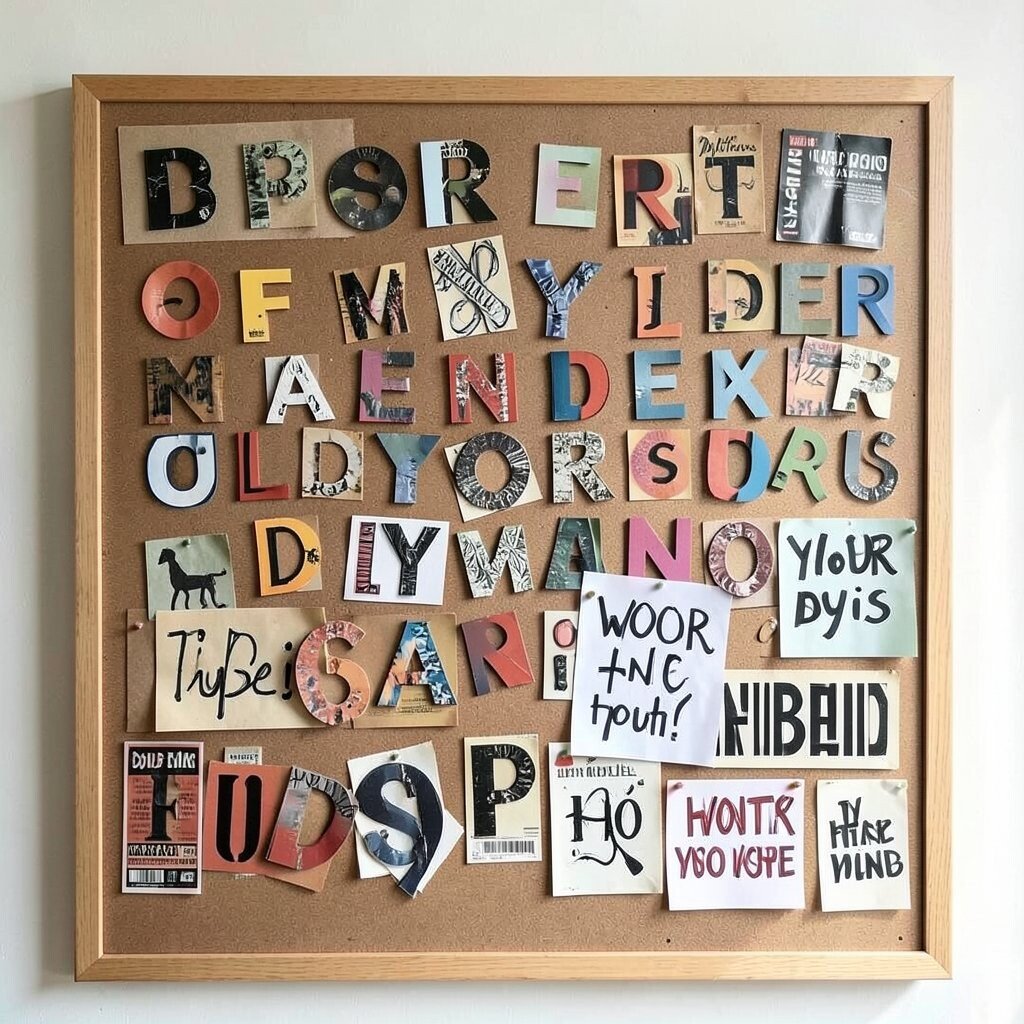
Imagine a board filled with letter cutouts from packaging, books, and old flyers. The letters overlap like sound waves, forming shapes that suggest emotion.
Typography boards are great for visual rhythm and composition because letters force you to think about spacing and flow. Add a few hand-lettered words that match your mood, then pin them near your sketches. For practical tips, keep a small envelope of spare cut letters so your board grows quickly.
Cost considerations are easy here since you can harvest letters from free print sources. Current trends often lean into bold type and imperfect letterforms, and your board will match that energy naturally.
15. Nature-Inspired Board With Leaves, Seeds, and Weather Notes
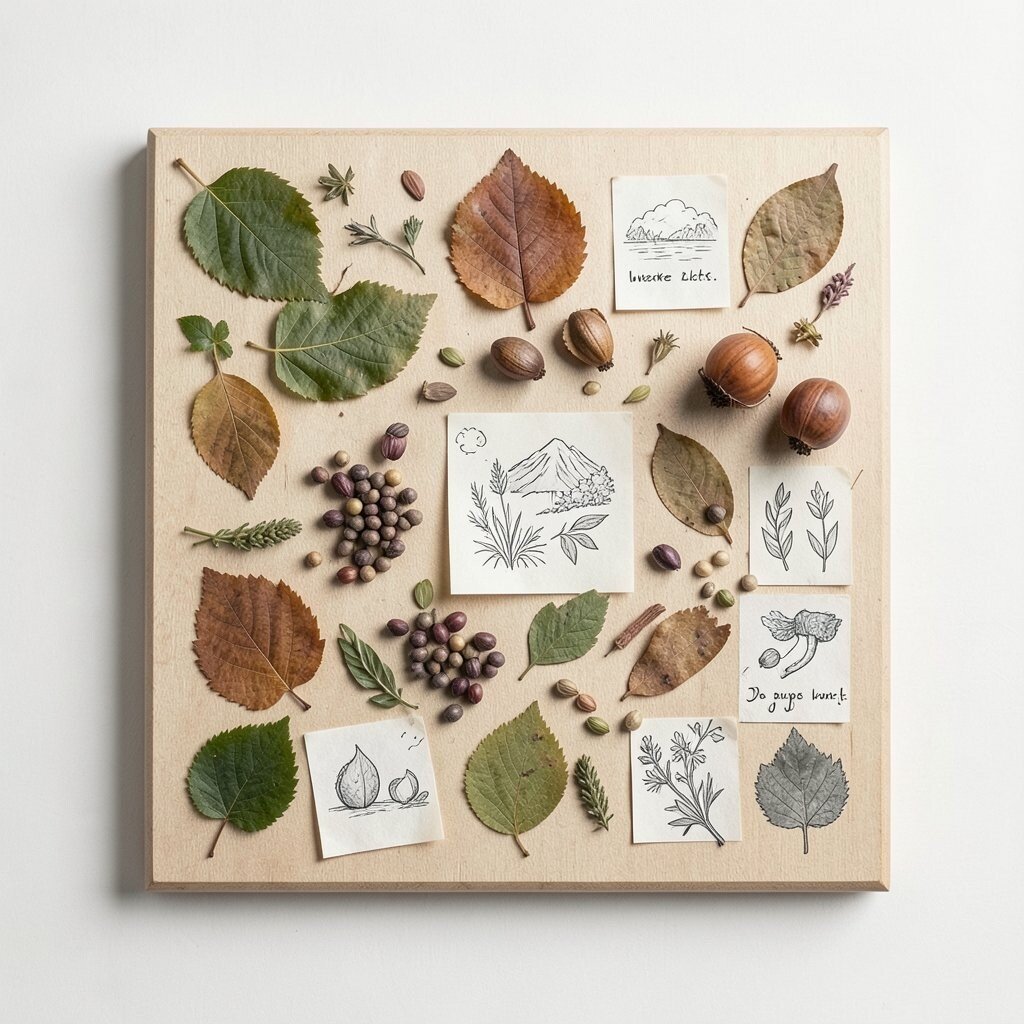
Visualize a board decorated with pressed leaves, seed pods, and small paper slips marked by weather feelings. Each sample looks like a tiny fossil of a day you noticed.
This kind of board is unique because it turns observation into art material. The benefit is stronger realism since you train your eye to see details, veins, and shapes. For practical tips, keep a small bag for collecting, then press items quickly between heavy books.
Personalize by adding one sketch each time you press something, even if it’s messy. Cost is low when you collect locally, and the trend of mindful making makes this feel current and meaningful.
16. Board With 3D Paper Cutouts and Pop-Up Shadows
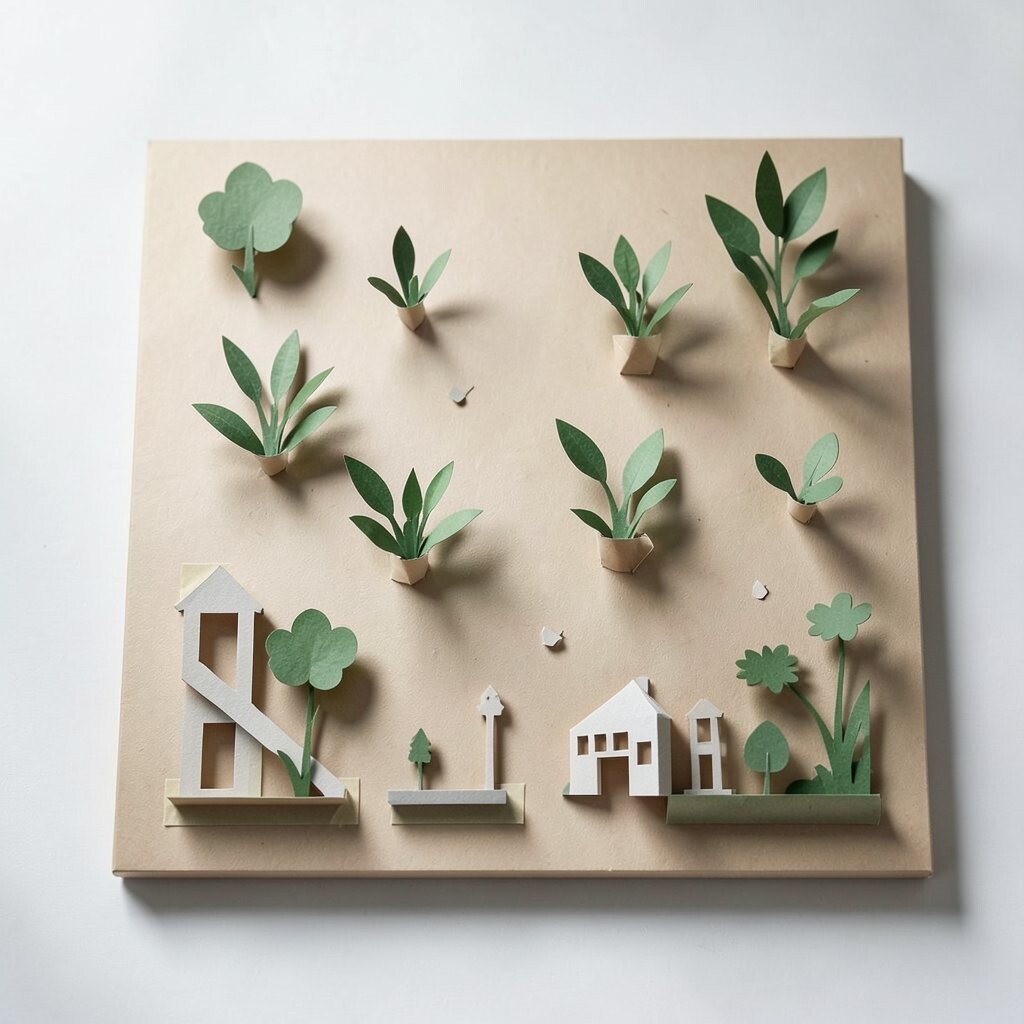
Imagine a flat board that somehow looks alive, with paper cutouts standing up and casting tiny shadows. The scene feels dimensional even when everything is made from paper.
Use foam tape or folded tabs to create gentle height differences across the board. This benefits your art because you’ll learn how light behaves and how silhouettes read. For personalization, build a mini world around your favorite theme, like floating plants or street scenes made of paper layers.
If you’re budgeting, keep to one paper type and focus on clever layering. A current trend in art boards is “paper theater,” where small scenes feel like stage sets for storytelling.
17. Recipe-Style Art Board With Ingredients as Creative Materials

Picture a board that looks like a recipe card wall, but the ingredients are art actions. One “recipe” could be graphite, smudging, and bold shadows, while another is watercolor, salt, and loose edges.
This format is unique because it turns making into repeatable steps while still leaving room for surprise. The benefit is that you can recreate results without guessing. Personalize each recipe with your own constraints, like using only cool colors or limiting to three textures.
Cost considerations are friendly because most ingredient lists use what you already own. For practical tips, keep a small checklist so each session ends with one finished experiment to pin back onto the board.
18. Sketch Rotation Board With “Try Next” Slots

Imagine your board divided into sections labeled by effort levels you choose, then filled with small sketches and photos. Along one side, a row of “try next” slots holds items you plan to attempt later.
This structure makes it easier to start, because you always have a next step ready. The benefit is momentum, especially on busy days when inspiration feels slow. Personalize by using your favorite mediums for the try-next list, like marker faces, ink bottles, or quick color studies.
Keep cost low by using index cards for each sketch idea, then swapping them as you improve. A trend you’ll notice in creator spaces is keeping works in progress visible, and rotation boards fit that mindset well.
19. Color-Story Board With One Dominant Color Per Week

Imagine a board where every element shares one dominant color, making the whole space feel consistent. A deep teal week could include teal pens, sea photos, and matching fabric scraps.
This approach is unique because it trains your eye to see harmony, not just variety. The benefit is that your art series starts to feel connected, even if each piece is different. For practical tips, choose the dominant color first, then limit supporting colors to two small accents.
Personalize by adding a tiny “mood sentence” beneath each week’s setup. Cost considerations are easy since you can borrow colors from your existing supplies and reuse printed references.
20. Board With Framed Drawings and Rotating Clips

Picture small frames or frame-like cards attached to your board with sturdy binder clips. You can swap drawings in and out without tearing tape or messing up edges.
This makes your space feel like a living gallery, which motivates you to keep producing. The benefit is organization, since completed pieces stay visible and your in-progress sketches stay separate. For personalization, include one “favorites” frame where you pin a piece that best matches your current style.
Cost considerations can be kept low using thrift-store frames, cardboard backing, or leftover display clips. Current creator culture often values process, and rotating clips show both drafts and finals clearly.
21. Transportable Roll-Up Art Board for Storing References
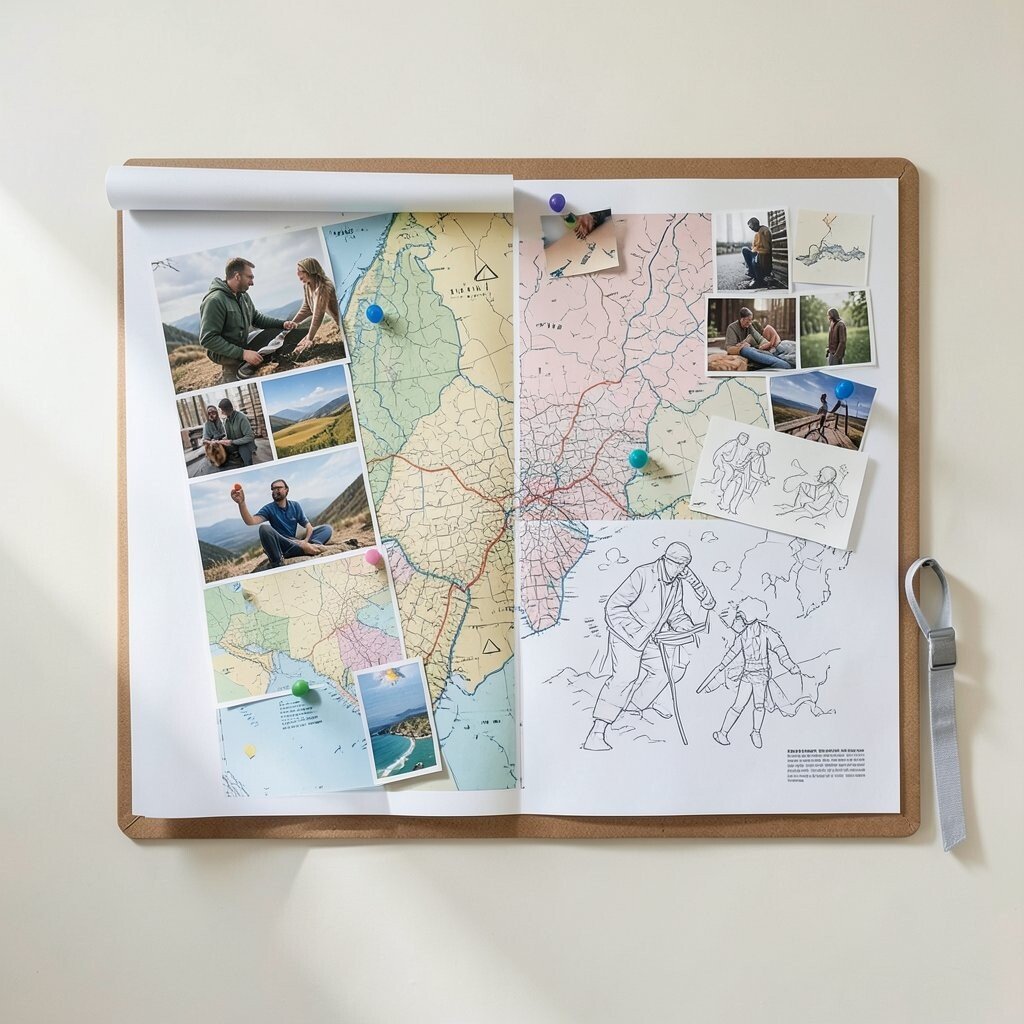
Imagine a roll-up board that keeps your references protected while still letting you unroll quickly. When you need inspiration, you spread it out like a map and pin new pieces in minutes.
This idea is unique because it solves the storage problem many artists face. The benefit is that your inspiration stays safe from dust while traveling between workspaces. Personalize by making one side for images and the other side for sketches, so you can work in a consistent flow.
For practical tips, use a sturdy mat, a clear sleeve, and a simple strap so it rolls tight. Cost is moderate, but you can build it with a cheap poster tube and clear folders to keep spending under control.
22. Interactive Lightboard With Backlit Paper and Clips

Imagine a board that glows softly, with paper sketches pinned on top so shadows stretch across the wall. Backlighting makes even simple shapes look dramatic.
The benefit is seeing your composition in a new way, since light reveals negative space. Add practical controls by using clips for quick swaps and keeping a small stack of pre-cut shapes for fast experiments. For personalization, place a few translucent papers to create gradients and turn your board into a calm, creative atmosphere.
Cost considerations vary based on the lighting setup, but cheap LED panels and reused light sources can work. A current trend is using ambient lighting in studios, and a lightboard turns that vibe into hands-on inspiration.
When you set it up, try a short routine where you sketch one silhouette, move it slightly, then observe the new shadow direction. Over time, you’ll learn how placement changes the feel of your whole scene.
To keep it practical and safe, use heat-friendly LEDs and avoid placing heavy materials directly on the light source. With a lightboard, every new idea feels instantly testable, like you’re staging it for an audience.