
Those everyday shelves can look magical in photos. With a few choices of light, texture, and styling, your background can feel like a whole scene.
Here are practical, creative ideas you can try right away, with ways to personalize each setup so it looks like you.
1. Soft Fabric Drapes for Cozy Depth

Hang a light fabric behind your shelf to create a gentle, creamy background. Choose linen, cotton, or gauze and let it fall in relaxed folds.
Place small items in front of the fabric so they pop without looking flat. Keep the fabric slightly wrinkled for texture, and adjust it until the folds guide the viewer’s eye.
2. Painted Cardboard Backdrop With Color Blocks
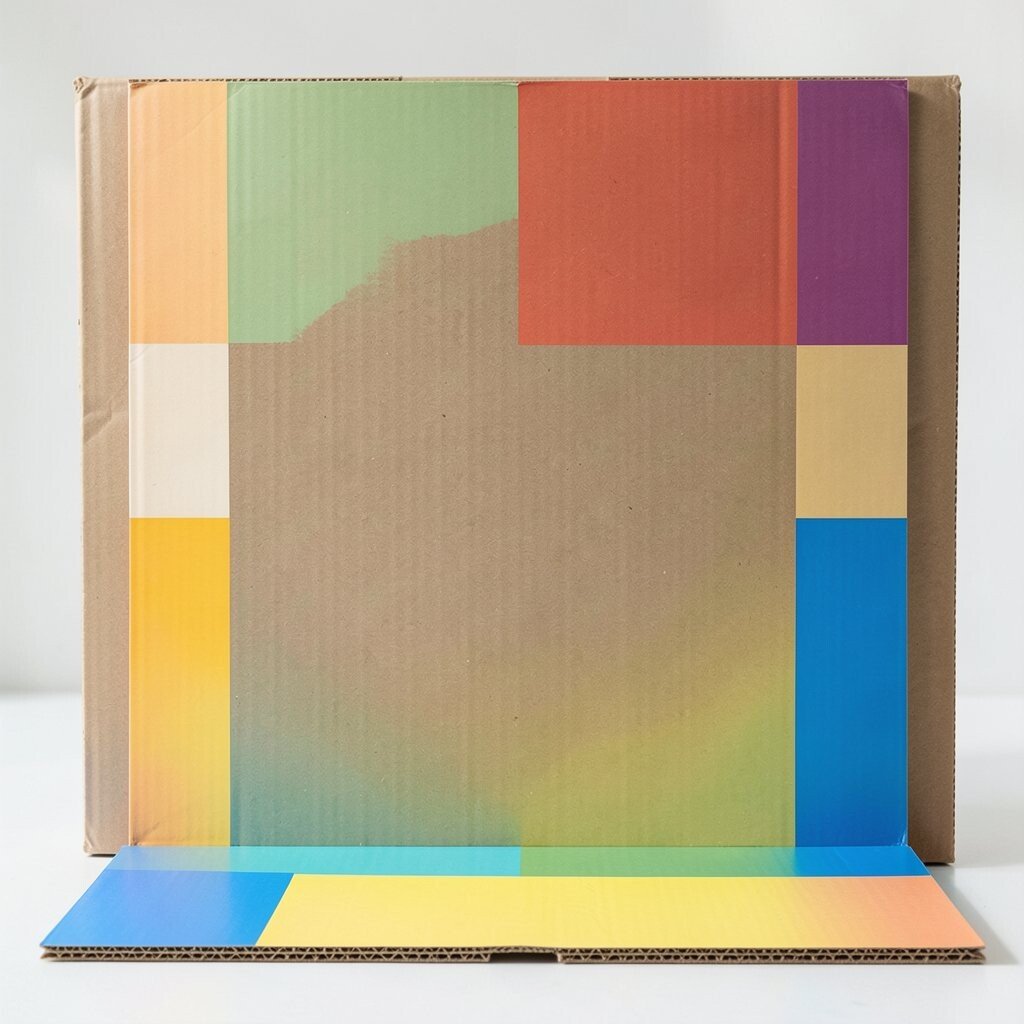
Use thick cardboard and paint simple color blocks that match your subject. Bold blocks work great for product shots because they add energy without clutter.
Try two or three colors only, then leave space near the center so the main item has room to breathe. Keep the surface matte to reduce glare, especially under bright lamps.
For personalization, stencil a tiny pattern or add a soft gradient with a sponge. If you want budget-friendly options, use poster board and acrylic paint from a craft store.
3. Vintage Books Stacked at Different Angles

Stack a few books and tilt them at different angles to form a layered background. The spines add color bands, and the pages create natural shape.
Set your camera so the shelf stays in focus enough to show the covers, but your main subject remains the clear star. Use a small support card under one end of a book so it holds its angle.
Mix old and new styles for uniqueness, like pairing a worn paperback with a crisp hardcover. To keep it tidy, limit the palette to two or three main tones.
4. Framed Prints That Match the Mood

Lean framed prints against the back edge of the shelf to create an instant story. Choose art with simple shapes so your subject still stands out.
For a warm mood, pick landscapes or soft florals, and for a modern vibe, use minimal line drawings. Try photographing from slightly off-center so the frames add movement across the image.
5. Ceramic Tiles for a Clean, Modern Backdrop

Place small ceramic tiles behind your setup for a crisp, architectural look. Even a single row can give photos that polished feel.
Keep the tiles close enough to show texture, but not so close that they overwhelm your subject. If you shoot in daylight, use a sheer curtain to soften highlights on glossy tiles.
Personalize by choosing tiles in colors you already own, like seafoam, cream, or terracotta. This option can be affordable if you repurpose spare craft tiles.
6. Dried Flowers and Greenery for Organic Texture
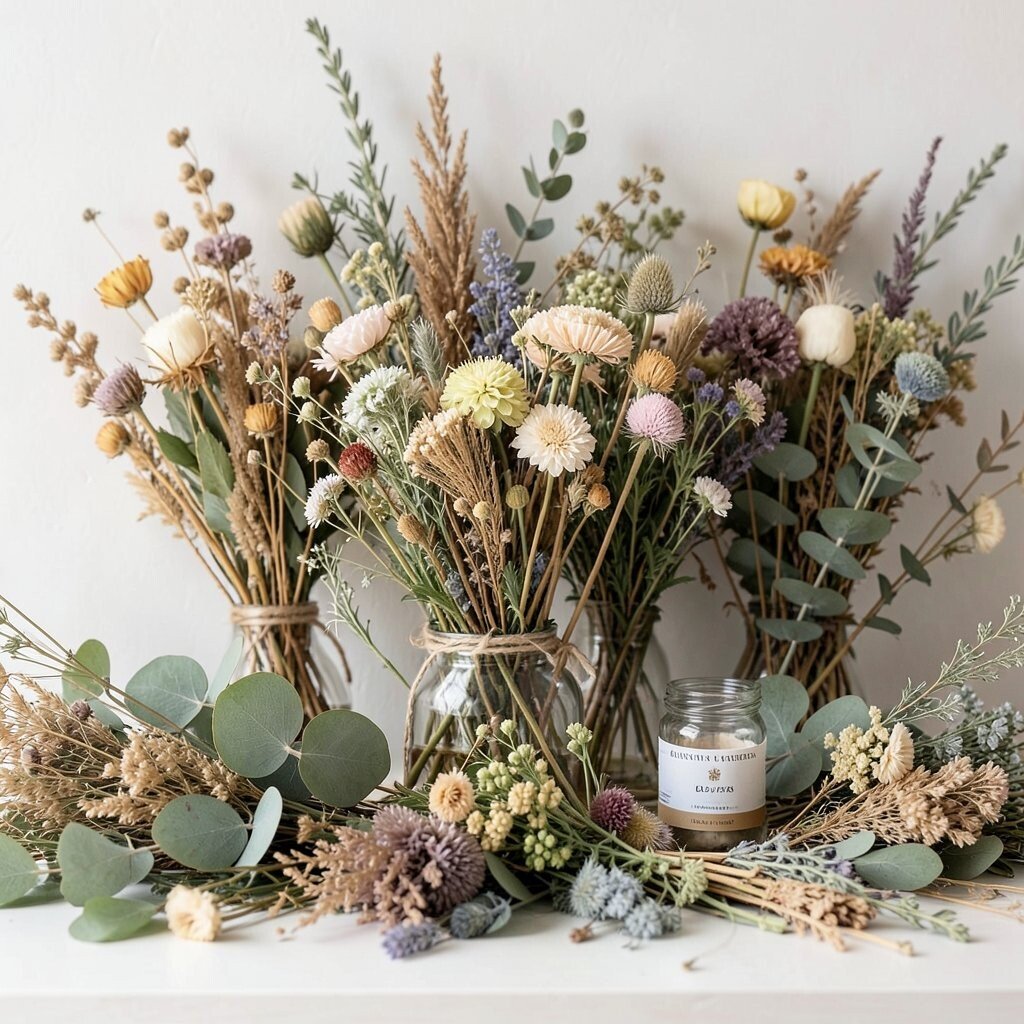
Build a background using dried flowers, eucalyptus, or sprigs of greenery. Their muted colors make photos feel grounded and calm.
Layer stems at different heights, then tuck small pieces behind items so the edges look natural. Use a little florist tape or a tiny jar to hold everything in place.
7. Twinkle Lights for Soft Bokeh Sparkle

Wrap fairy lights around the shelf supports or in a shallow jar near the back. In photos, the lights turn into gentle sparkles that feel dreamy.
Turn off the ceiling lights and use a low, steady light source so the twinkle points show as bokeh. If you want the light to look tidy, choose warm white and keep the cords hidden behind objects.
For personalization, swap in tiny star-shaped bulbs or colored strands for seasonal themes. This can cost more at first, but a single strand goes a long way across many shoots.
8. Decorative Paper Rolls Like a Studio Set

Stand up craft paper rolls or wrapping paper tubes to form vertical stripes behind your subject. The repeating lines make a simple background feel designed.
Cut the rolls to a few matching heights so the composition looks intentional. Choose colors that complement your product, such as neutral browns for creams or deep greens for gold accents.
9. Mirror Panels for Light and Dimension

Lean a small mirror panel against the back of the shelf to bounce light into the scene. This can make even a simple setup feel larger and more dimensional.
Watch for reflections of your camera or room, then reposition until the mirror reflects mostly your styled items. Use a diffuser light or shoot near a window for softer results on the glass.
To keep it unique, try an antique-style mirror or a frosted acrylic sheet instead of a clear mirror. Acrylic can be cheaper and safer if you’re moving things often.
10. Linen Placemats for Natural “Stage” Feel
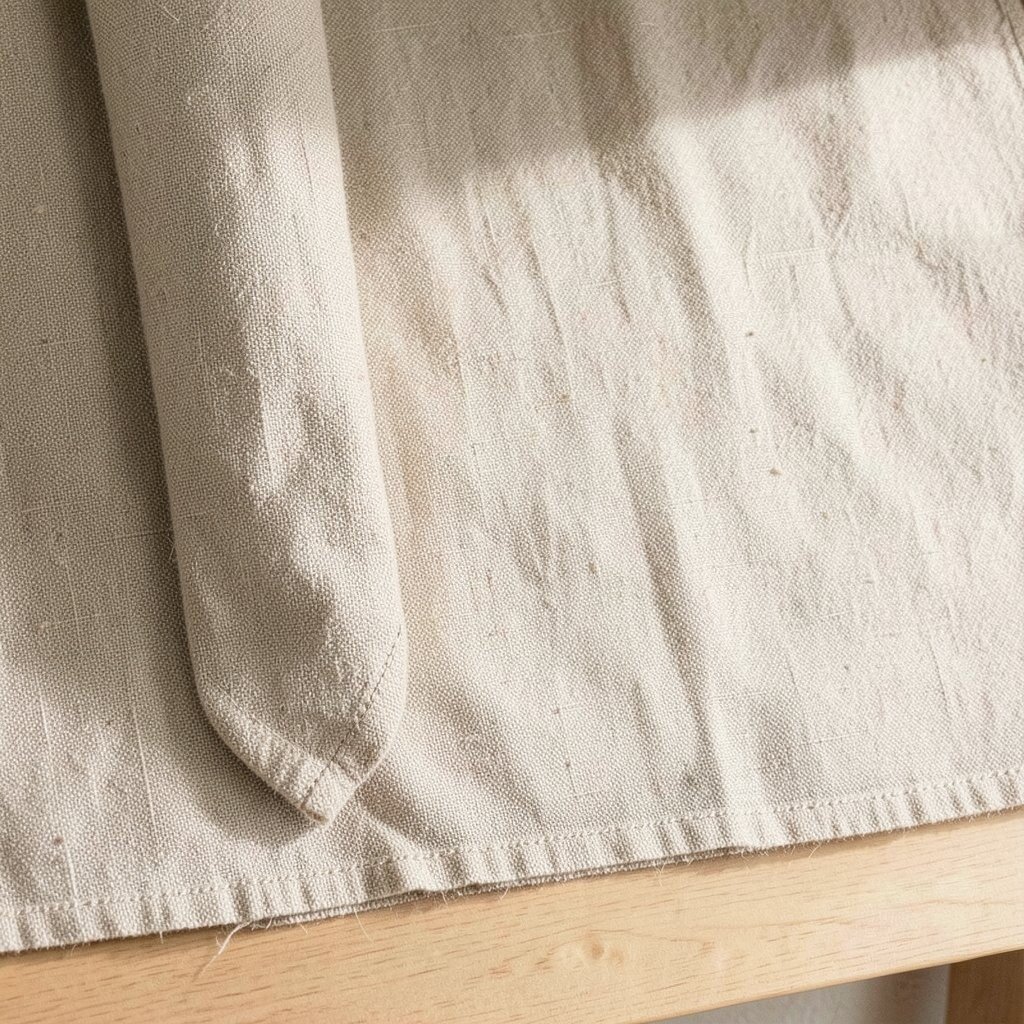
Slide a linen placemat into the back layer, like a subtle wall of texture. It makes backgrounds look warm and handsomely uneven.
Place your subject in front of the placemat and keep the camera angle slightly lower. The weave shows up beautifully without needing extra props, and it helps hide shelf clutter.
11. Spilled Paint or Ink Stains in a Controlled Way

Create a background by letting a little watered ink or paint wash onto smooth paper placed behind the shelf. The effect should look intentional, like watercolor weather patterns.
Use a limited color set, then let the wash dry fully before styling on top. When you want stronger contrast, photograph closer so the texture fills more of the frame.
12. Minimal Stone or Pebble Grouping for Calm Weight

Arrange smooth stones, river rocks, or small slate pieces in a tight cluster behind your subject. The surfaces add quiet texture and a sense of weight.
Keep the arrangement slightly off to one side so the scene feels balanced rather than symmetrical. If you prefer a clean look, choose stones of similar tones and keep gaps narrow.
Personalize by adding one single accent item, like a small candle or a dried leaf. Stones cost little when you collect safely, but store them in a dry container to avoid dust.
13. Layered Fabric Squares With Matching Patterns

Use fabric scraps, like patterned squares or checker cloth, stacked behind your shelf items. The overlapping shapes create a playful background that still reads clearly.
Try one main pattern and one supporting solid color so the look stays simple. For practical control, use small fabric clips to keep layers from slipping during shoots.
14. Paper Fans and Folded Shapes for Light Graphic Interest

Make a background with folded paper fans, accordion folds, or simple pleated paper. These shapes catch light and add a rhythmic feel behind your product.
Position the folds to form a gentle curve so they lead toward your subject. If your shelf has a busy edge, the folded paper can soften it by covering lines and gaps.
To personalize, match the paper colors to your current season, like pastel for spring or deep jewel tones for winter. This is usually very budget-friendly because paper fans can be made from scrap sheets.
15. Kitchen Herbs in Small Jars for Everyday Charm

Place small jars of herbs behind your setup, like rosemary sprigs or dried thyme. The earthy greens feel fresh even when the background is simple.
Use jars with different heights to create a natural skyline across the shelf. For best results, keep labels facing away from the camera so the look stays clean.
If you want uniqueness, mix herbs with one unexpected item such as a cinnamon stick bundle or a citrus peel strip. This idea is also easy on cost since herbs can come from your pantry.
16. Books With Visible Sticky Notes for “Real Life” Texture

Style a few books so pages show sticky notes, bookmarks, or tabs near the top edge. The background looks lived-in and adds personality instantly.
Keep the sticky note colors consistent, like all warm neutrals or all muted pastels. If you shoot close, the notes add color without needing extra props.
For practical tip, place one “anchor” prop in front of the books to prevent the background from feeling too busy. This approach also recycles items you already have, which helps keep costs down.
17. Color-Coordinated Kitchenware for Instant Styling

Group matching kitchen items, like pastel cups, cream bowls, or coordinated ceramics, as a background layer. The repeated shapes create a tidy look that feels intentional.
Arrange them so some pieces are partially blocked, which adds depth while avoiding clutter. Lightly clean and dry everything so the surfaces look smooth and photo-ready.
To personalize, rotate in one hero piece that matches your shoot theme, like a small spoon for warm tones or a patterned mug for contrast. If you shop slowly, you can build a set over time without buying everything at once.
18. Shadow Play With Cutout Shapes on the Backdrop

Make silhouettes using simple cutout shapes placed between a light source and the shelf backdrop. The shadows can form leaves, stars, or geometric shapes that feel artistic.
Try using thicker paper or thin card so the shadow edges look crisp. Move the cutout closer or farther from the light to control how sharp the shapes appear.
For uniqueness, use cutouts inspired by your favorite patterns, like scallops, waves, or tiny grids. This is a low-cost setup because all you need is paper, scissors, and a steady light.
19. Seasonal Props With One Main Theme Color

Style your shelf with seasonal items, like autumn leaves, spring blooms, or winter pine sprigs, while keeping one main theme color. When everything shares a color direction, the background looks cohesive.
Choose one “hero tone” and let other items be supportive, like neutrals or shades that sit close to it. For practical results, keep textures varied, such as matte leaves with one glossy accent for contrast.
To personalize, add a small handmade element like a note card, a ribbon, or a tiny ornament that reflects your own taste. This approach also scales to your budget since you can use fresh finds, thrifted items, or gentle DIY touches.