The room suddenly feels alive when ideas have a home. A craft board turns everyday materials into a clear path for your next project.
You can make it stylish, useful, and personal without spending much money. Once you start pinning, sorting, and planning, your creative momentum sticks around.
1. Pegboard With Color-Coded Cubbies
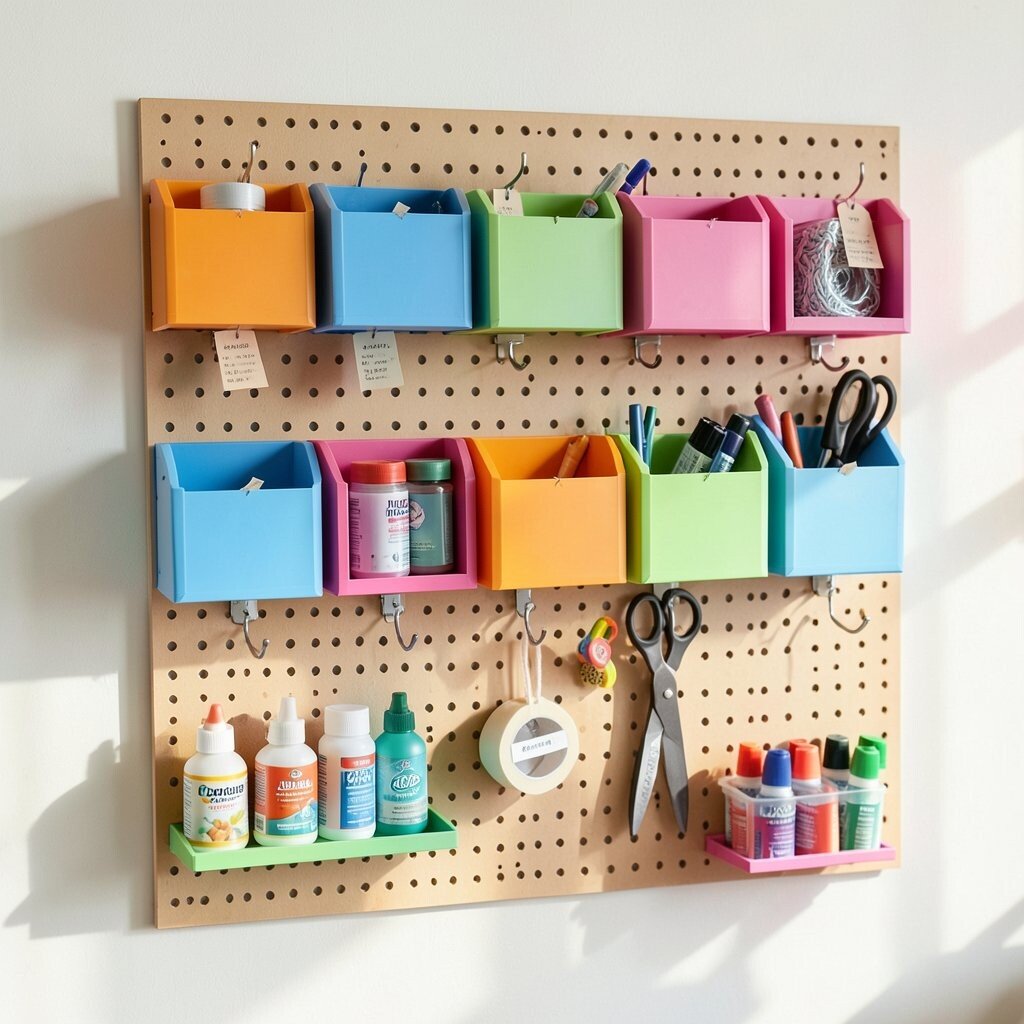
A pegboard makes your wall look tidy and energetic at the same time. Add small cubbies in bright colors so tools and supplies have an easy spot to land.
You’ll see what you need in seconds, and that saves time on busy days. Use hooks for scissors and tape, and label with simple paper tags so you can swap categories later. Choose sturdy cubbies that can handle glue bottles, markers, and paint pens without tipping.
For personalization, match the cubby colors to your favorite craft theme, like ocean blues or warm sunset tones. A practical trick is to group items by how often you grab them, with daily-use supplies at eye level. If you want cost control, start with only the cubbies for your biggest clutter spots, then add more as your collection grows.
2. Cork Board With Layered Fabric Backdrops
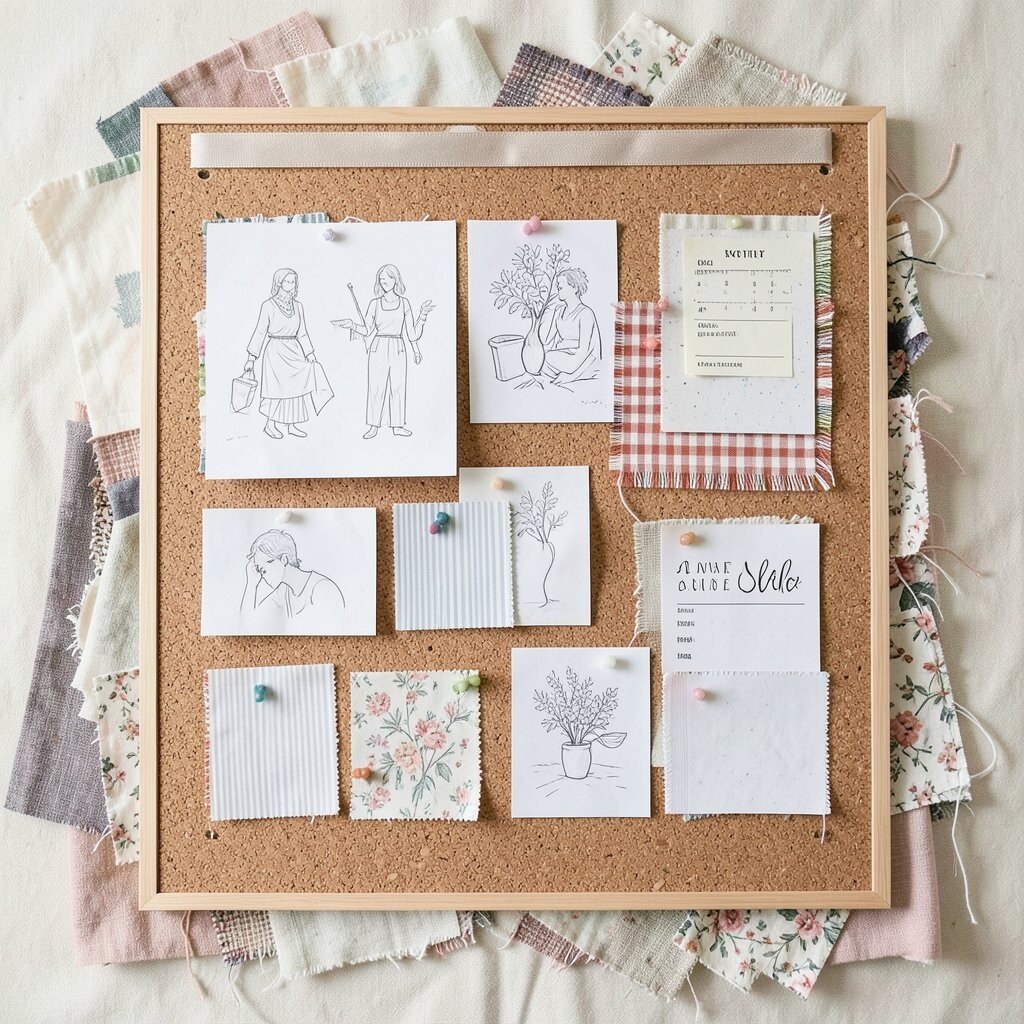
A cork board already feels warm and handmade. Cover the background around it with scraps of fabric so the board looks softer and more decorative.
When you pin sketches, photos, and fabric swatches, the whole display feels like a mood board. You’ll also notice projects stay organized because fabric edges create neat boundaries for each cluster.
To make it unique, weave in patterns like gingham, stripes, or tiny florals and let a few threads hang for charm. Try adding a thin strip of ribbon at the top for hanging mini notes and supply checklists. Keep costs down by using leftover curtain panels or old T-shirts, and seal rough edges with a quick fabric glue pass.
3. Magnetic Pantry Board For Craft Inventory
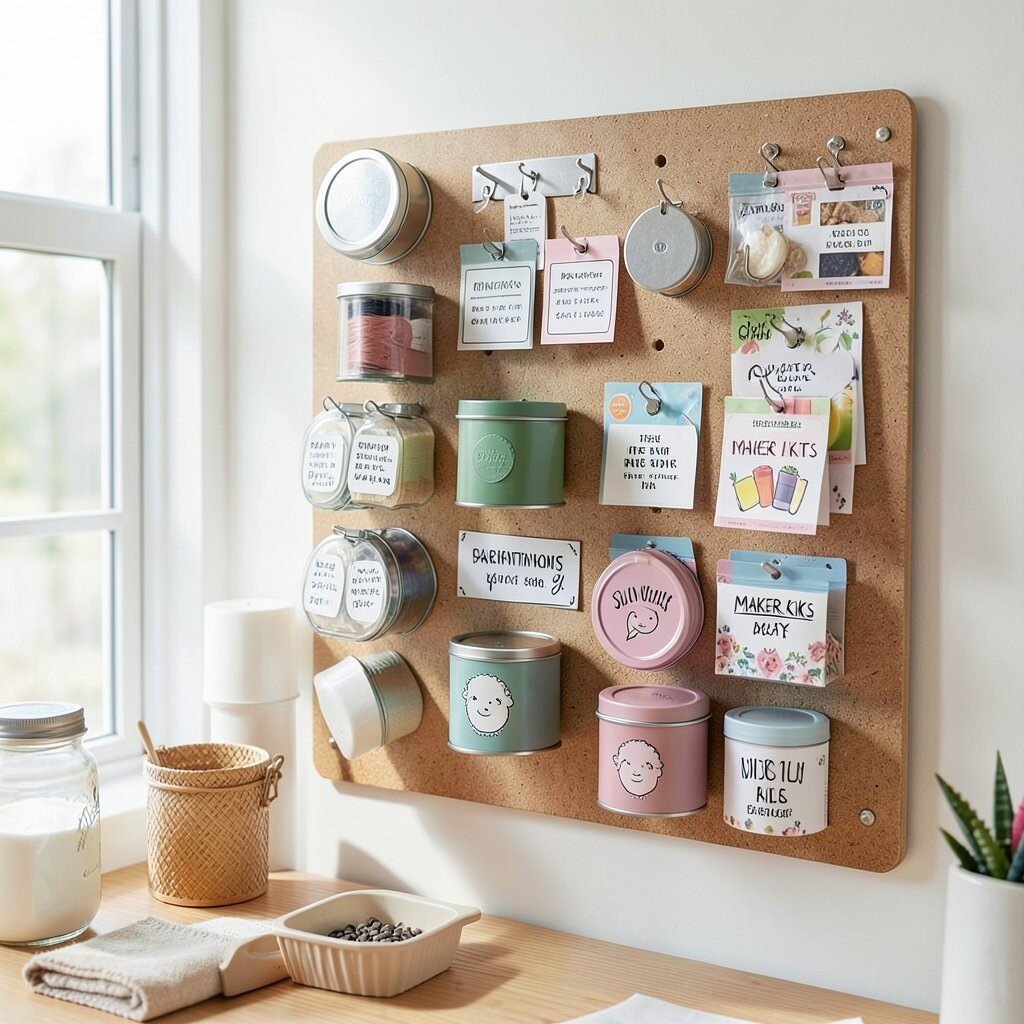
A magnetic board can look sleek while still being fun to use. Put it near your craft area and attach small metal tins, labels, and magnetic clips.
Instead of hunting for thread, stickers, or paper, you can see your inventory at a glance. Moving items to the board encourages you to restock before you run out of key supplies.
For practical tips, choose strong magnets for heavier items and lightweight clips for paper labels. Use erasable marker on label cards so you can update counts and colors as your stash changes. If you want budget-friendly options, reuse tin lids from jars and spray paint them in matching shades for a uniform look.
This is also a great place for current trends, like organizing by “maker kits” with theme-based refill packs. When you build one kit at a time, the board helps you plan what to use next. Keep the board at a reachable height so it becomes part of your routine, not a chore.
4. Chalkboard Planner With String Grid
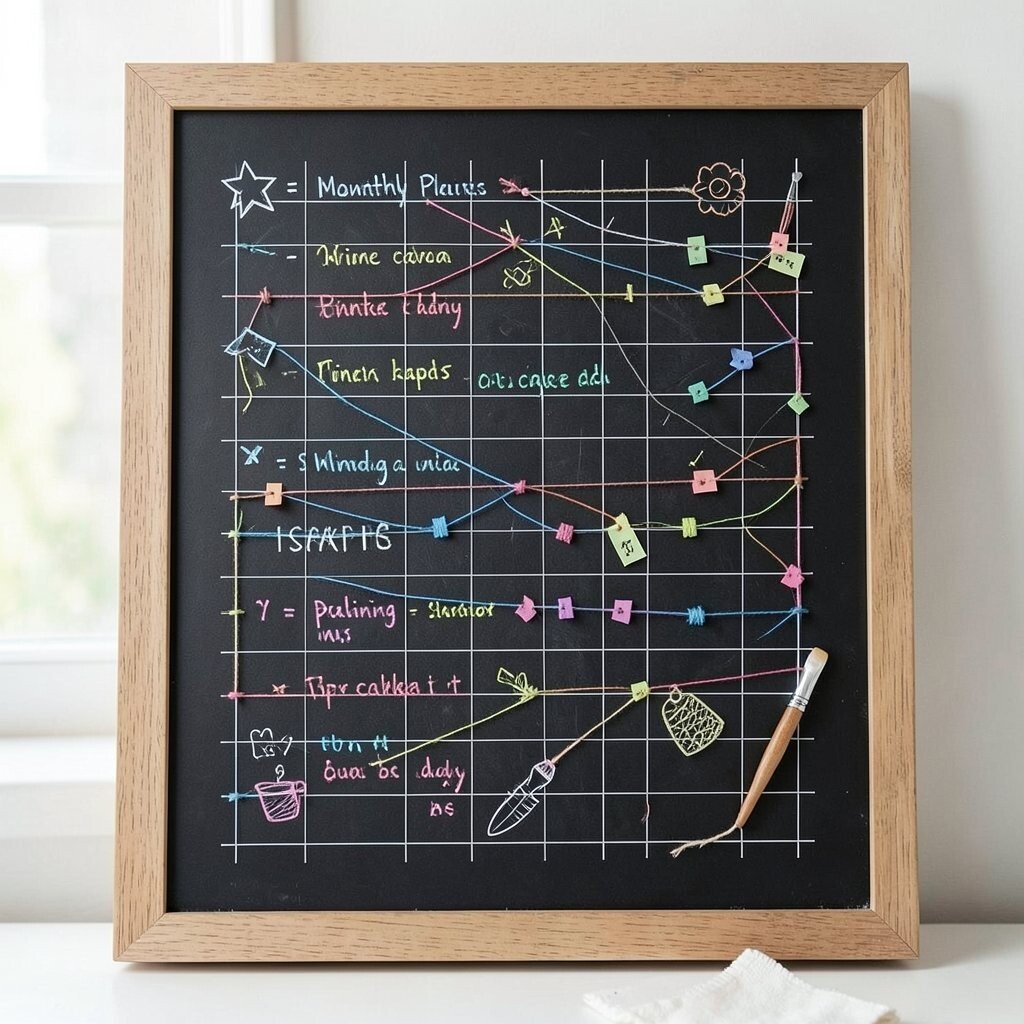
A chalkboard planner feels classic and creative the moment you write on it. Add a string grid over the board so you can map out steps, deadlines, and material connections.
As you move pieces of string or slide small tags along the lines, planning becomes visual and playful. You’ll stay motivated because you can literally see progress forming day by day.
To make it personal, draw icons next to each craft category, like a little star for scrapbooking or a paintbrush for mixed media. Use colored chalk for each project so your board looks lively instead of messy. For cost considerations, you can build the board from a thrifted frame and a thin chalkboard panel, then update it whenever your tastes change.
Many makers enjoy “at a glance” planning right now, and a string grid fits that style perfectly. Try adding a monthly rotating theme, like winter cards or spring collage ideas, so the board always feels fresh. Keep a small rag nearby and wipe gently to avoid dust buildup.
5. Wooden Frame Board With Sliding Recipe-Card Notes
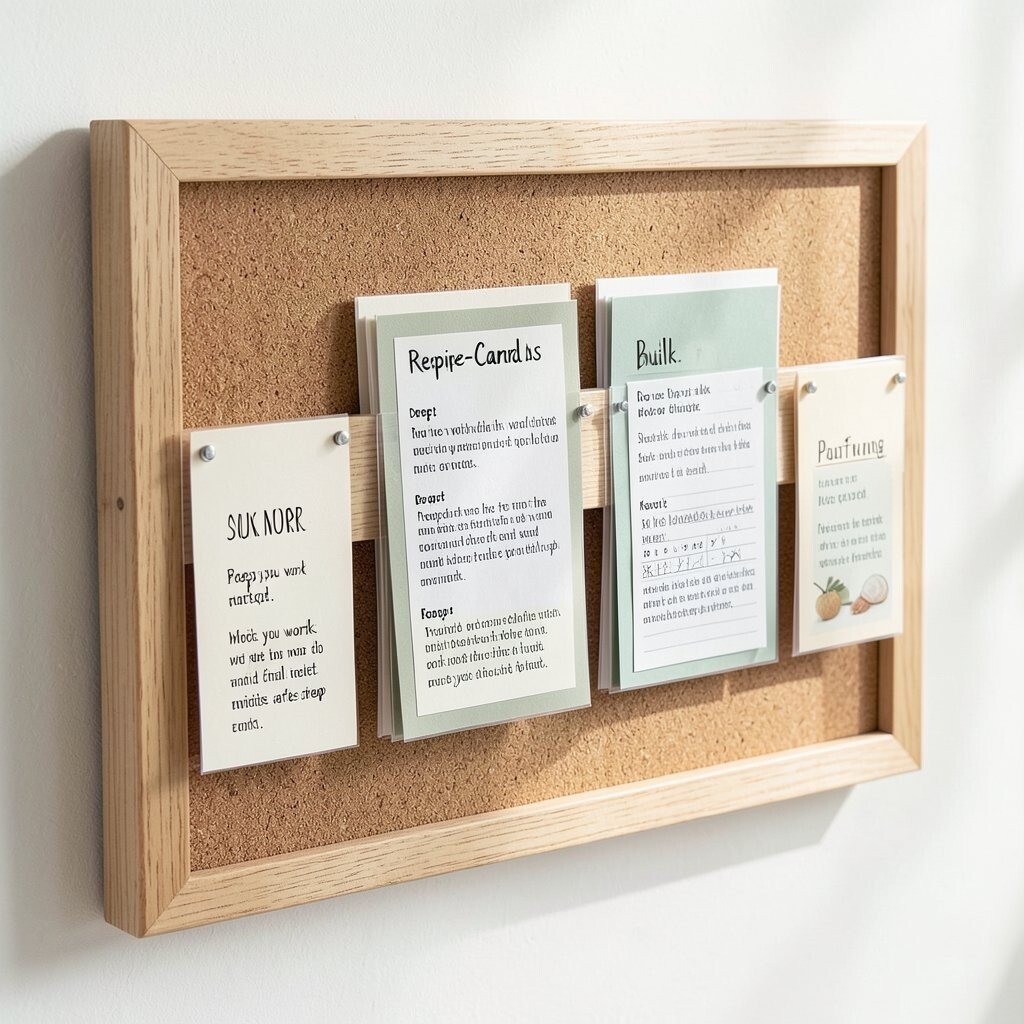
A wooden frame board can look like a cozy farmhouse display. Back it with cork or felt, then mount a simple rail for sliding recipe cards.
Write step ideas, stitch patterns, or paint mixing notes on the cards so you keep instructions where you work. This layout helps you repeat what went well and avoid the mistakes you’d otherwise forget.
For uniqueness, choose card colors that match your craft style, like cream and sage for calm projects. Add tiny magnets at the corners of the frame so cards can hold extra mini swatches. If you’re watching costs, repurpose an old magazine rack or picture frame and use inexpensive foam board behind it.
A fun trend in crafting is “process sharing,” where you document what you did, not just the final result. Sliding cards make that kind of documentation easy, because you can update notes after each attempt. Keep your rail organized by using one card per stage, like prep, build, and finishing.
6. Clear Acrylic Board For Hanging Templates
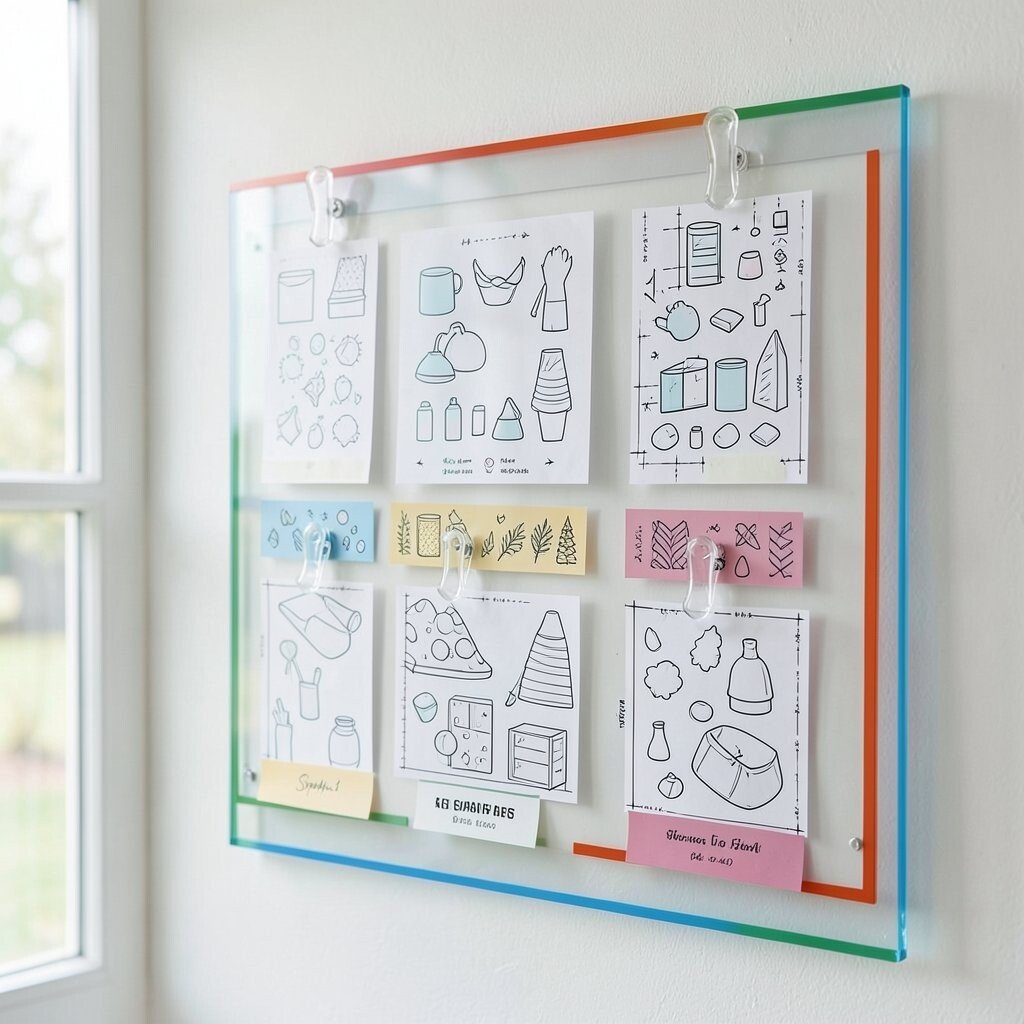
A clear acrylic board looks modern and bright, especially when you add colored borders. Attach transparent clips so templates, patterns, and outlines can hang without getting wrinkled.
The visual benefit is huge because you can browse shapes and layouts instantly. You’ll also keep your workspace cleaner since paper won’t get scattered across tables.
To personalize it, print small pattern labels in your favorite colors and place them under the clips. Use a fine-tip marker to draw measurement lines directly onto removable tape, so the board can grow as your skills grow. For cost considerations, you can use clear report covers and a basic frame instead of buying full acrylic panels.
This style fits current maker habits because many people now keep “template libraries” for fast repeat builds. When you store patterns on the board, you’ll be more likely to try new designs with less stress. Keep clips spaced so thicker templates don’t bend and scratch.
7. Tissue Paper Collage Board With Pinned Art Tiles
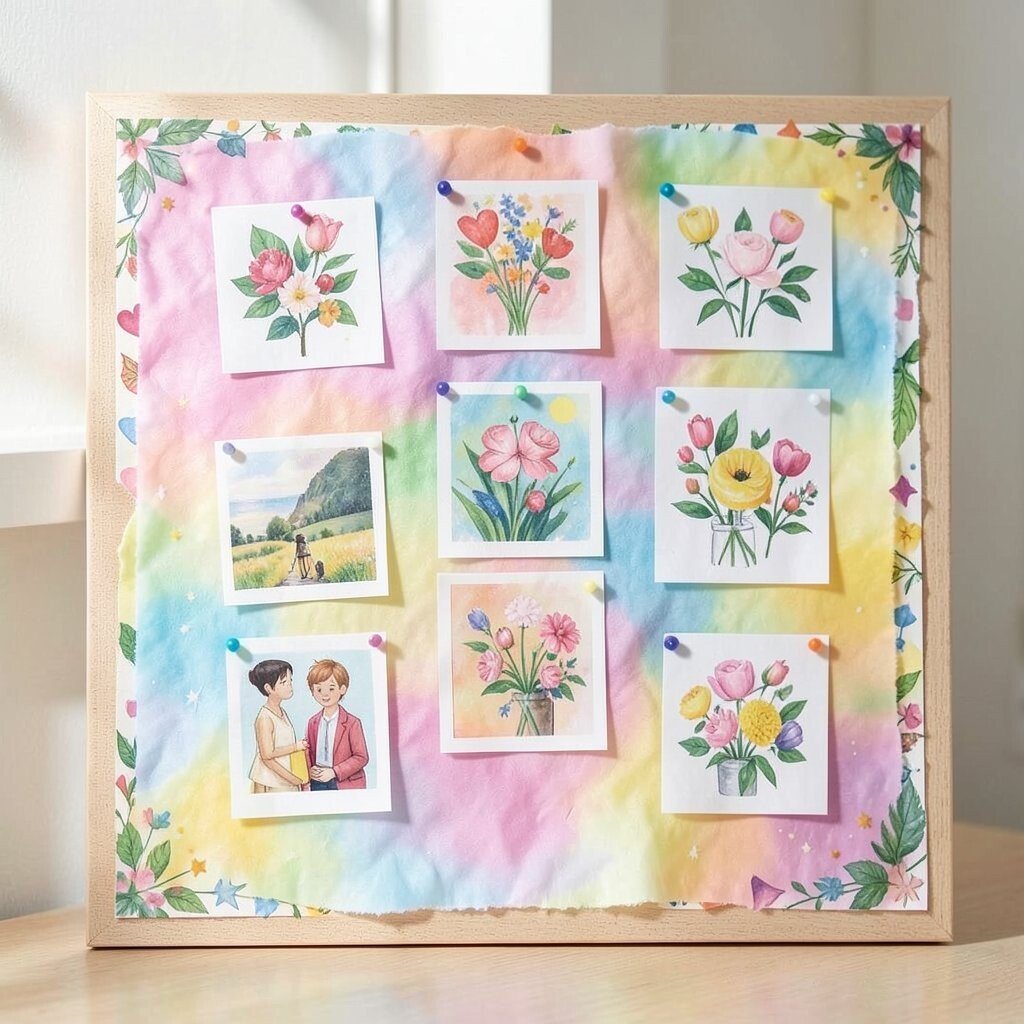
A collage board can feel like a mini gallery in your craft corner. Use tissue paper layers behind a base, then frame small art tiles with pins.
The bright colors look dreamy, especially when light hits the tissue and makes it glow. This kind of board motivates you because every pin feels like adding a new piece to your story.
For practical tips, seal tissue paper with a thin layer of decoupage medium so it holds up over time. Choose tile sizes that match your usual notes, like small squares for quick ideas and larger pieces for project snapshots. Keep costs low by saving tissue paper from gift bags and wrapping paper instead of buying new sheets.
Uniqueness comes from how you layer, since each tear edge and fold becomes part of the texture. To personalize, add a repeating theme like hearts, leaves, or tiny stars in a consistent corner placement. This pairs well with current craft trends like “texture first” design, where materials are as important as the final look.
8. Fabric Slat Board With Velcro Sections
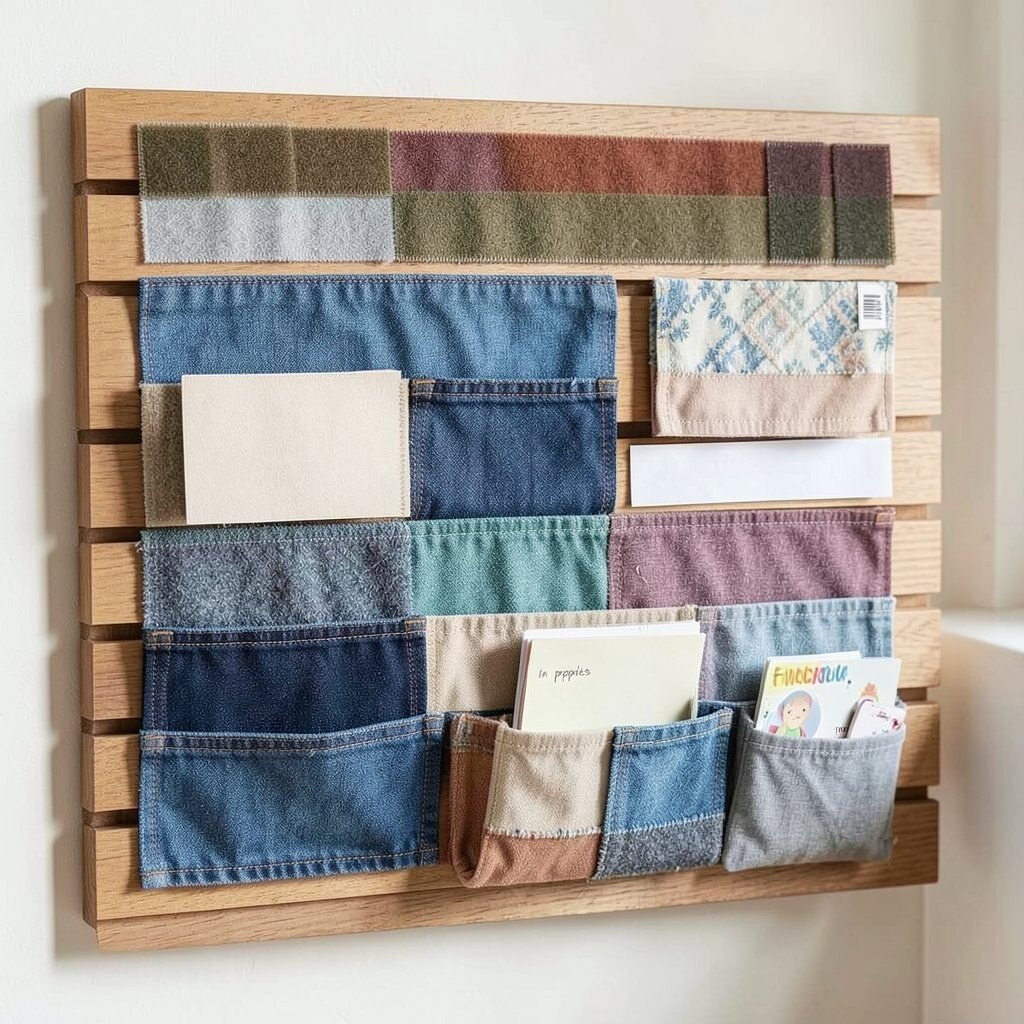
A fabric slat board looks soft and cozy, like your craft space is giving you a warm welcome. Attach horizontal fabric strips and use Velcro to hold interchangeable sections.
When you can swap sections, your board stays useful even as your interests change. You’ll also spend less time reorganizing because the system adapts with quick changes.
Try personalization by using different fabric textures for each zone, such as denim for sturdier pockets and cotton for light note cards. Add small pouches for washi tape and stickers so the board reduces clutter naturally. For cost considerations, thrift fabric scraps or use old bedding, and keep seams simple with basic straight stitching.
This is a great option for makers who love flexibility, a trend that shows up in modular organization everywhere. You can dedicate one Velcro strip to “in progress,” one to “supplies,” and one to “finished.” Keep the board close to where you sit so swapping pieces feels effortless.
9. Blackboard Labels On A Storage Panel
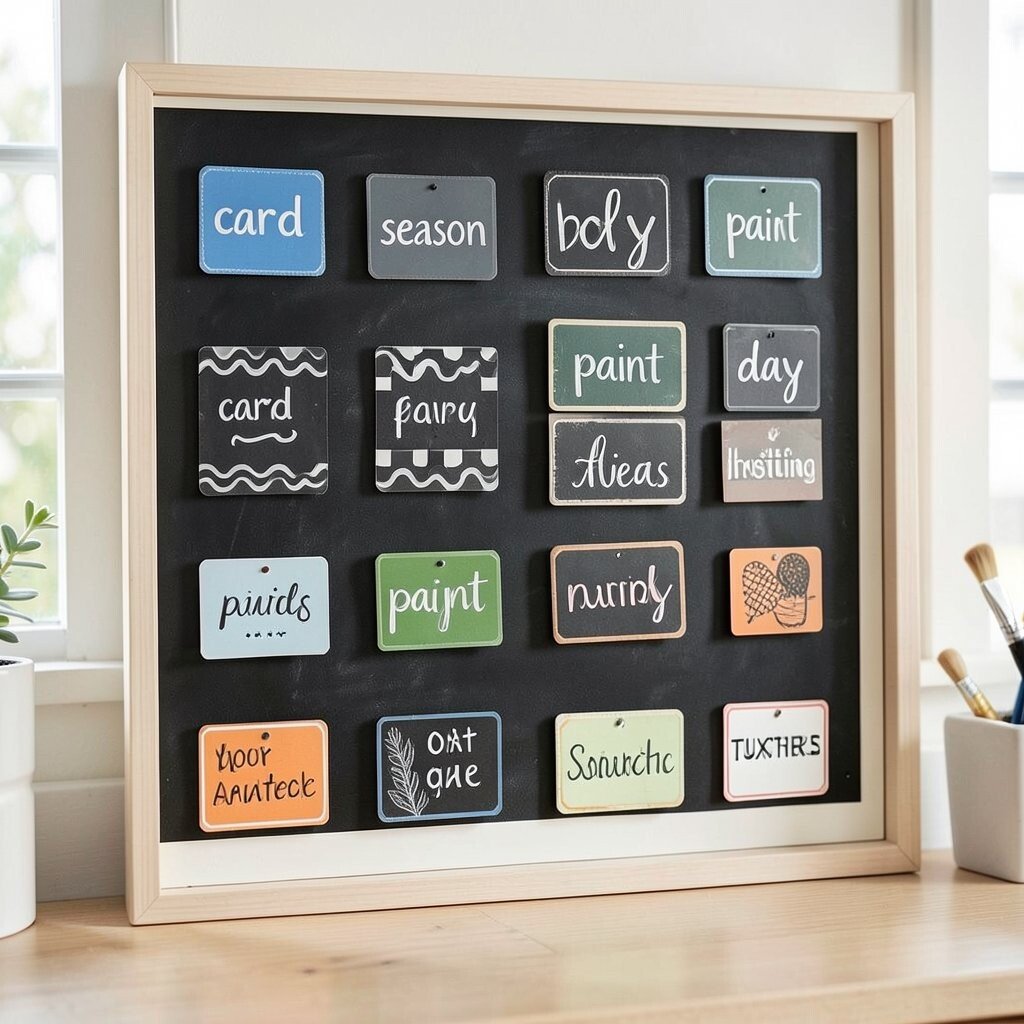
A storage panel with blackboard labels makes your craft area feel organized and playful. Use a plain panel, then add small chalkboard squares where each square holds a rotating label.
Instead of handwriting the same label over and over, you can wipe and rewrite as your projects change. This helps you stay consistent while still having room for new ideas.
For uniqueness, arrange labels in patterns like waves or checkerboard rows. Write titles that feel friendly, like “card season” or “paint day,” so the board reads like your personal style. If you want budget-friendly upgrades, make the label squares with thrifted small signs, or buy adhesive chalkboard sheets.
A practical tip is to keep labels grouped by category and color, such as blue for paper, green for tools, and orange for textures. This makes it easy to resupply and spot gaps in your stash. It also matches a current trend of “seasonal crafting,” where people rotate themes regularly instead of keeping everything the same.
10. Metal Screen Board With Clothespin Gallery
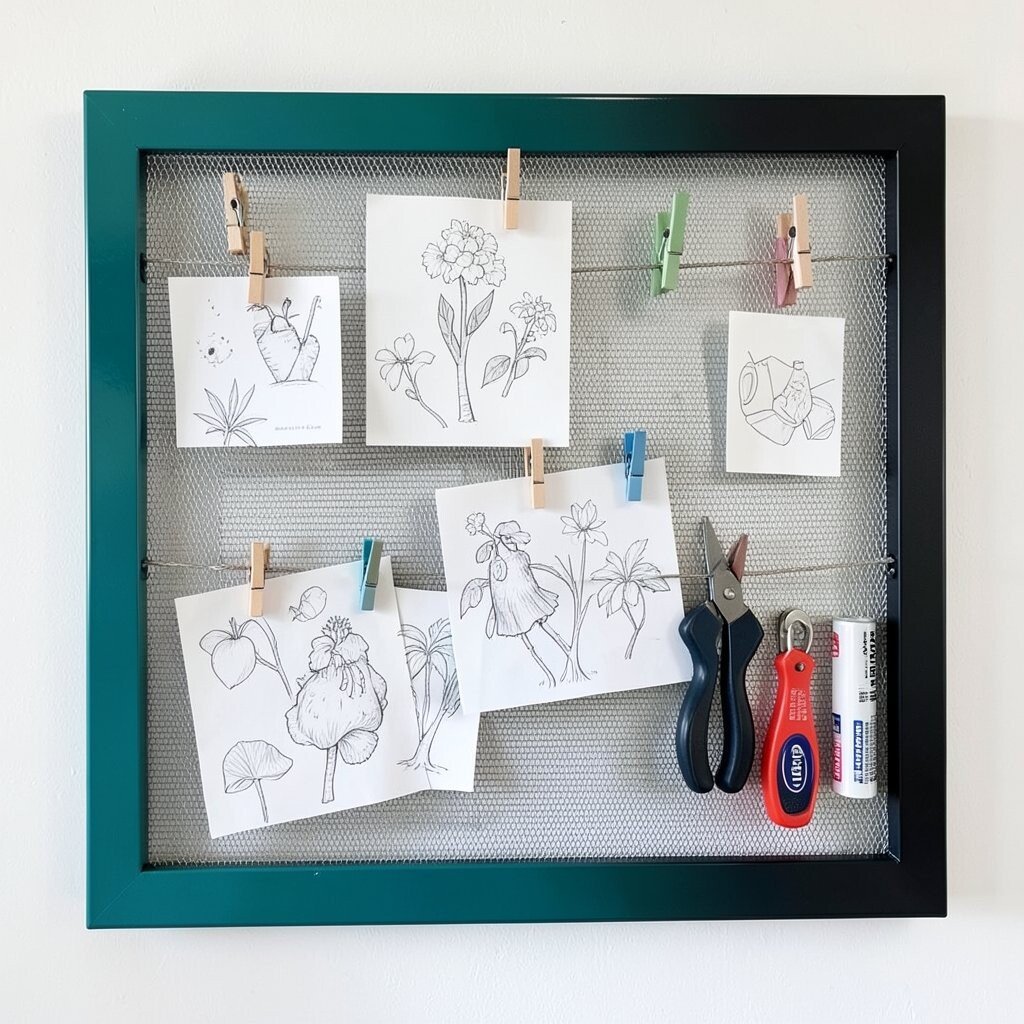
A metal screen board feels airy and industrial, and it instantly turns storage into display. Add clothespins across the screen so you can hang paper, fabric scraps, and lightweight sketches.
The benefit is that your creative work stays visible, which encourages you to keep going. You can also swap materials quickly without using lots of adhesives or tape.
To personalize it, paint the frame in a favorite shade, like glossy teal or matte black. Use different clothespin colors for each project category so your board becomes easy to scan. For cost considerations, reuse a window screen or old radiator cover and combine it with inexpensive clothespins from a craft store.
This style is popular right now because it supports “work in public” thinking, where drafts and pieces are part of the process. Add small paper pockets behind the screen for backups like extra pattern pieces or spare batteries for tools. Keep magnets or hooks on the sides for quick-grab items like tape rolls and ruler cases.
11. Tile Mosaic Board With Pin-On Spaces
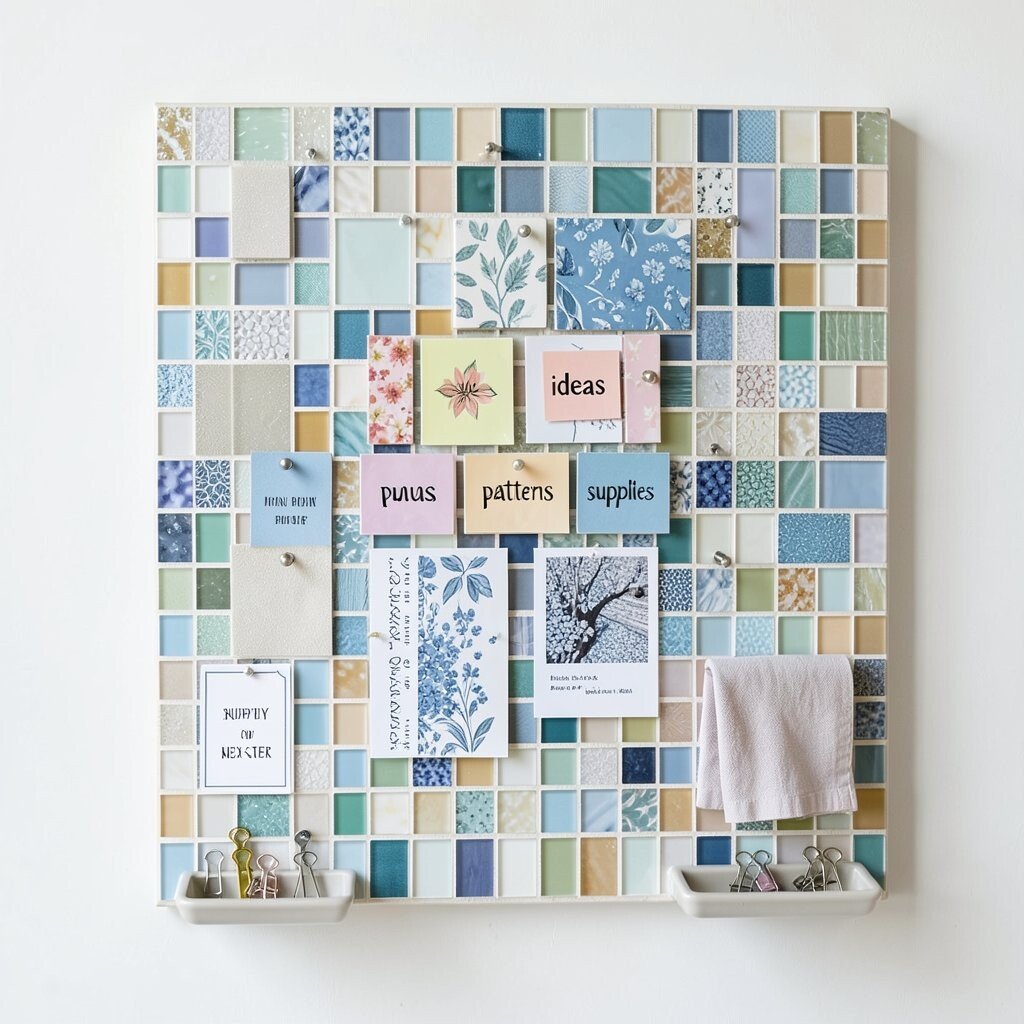
A tile mosaic board looks bright, durable, and full of personality. Use small ceramic or glass tiles to create sections, then add pin-on surfaces where you can attach cards and fabric swatches.
The visual rhythm of repeating tiles makes your craft area feel designed instead of random. You’ll also enjoy how easy it is to clean, since tile surfaces handle dust and splashes better than many boards.
For uniqueness, mix tile finishes, like matte and glossy, to create a gentle shimmer. Personalize by placing your most important categories in a center cluster, like “ideas,” “patterns,” and “supplies.” If cost is a concern, buy clearance tiles, use broken tile pieces for accents, and rely on sturdy backing instead of expensive mosaics.
When you follow current trends, you might notice more people using art-like materials in organization, not just plain boards. This mosaic approach fits that vibe while still being practical. Add a small tray at the bottom edge for clips so you never lose the pieces that hold your work.
Make it actionable by mapping a simple routine, pin one idea, then pin one next-step, then pin the supply check for the same project. Over time, your board becomes a calm system that guides your creativity.
12. Book Spine Board For Storing Craft Scripts
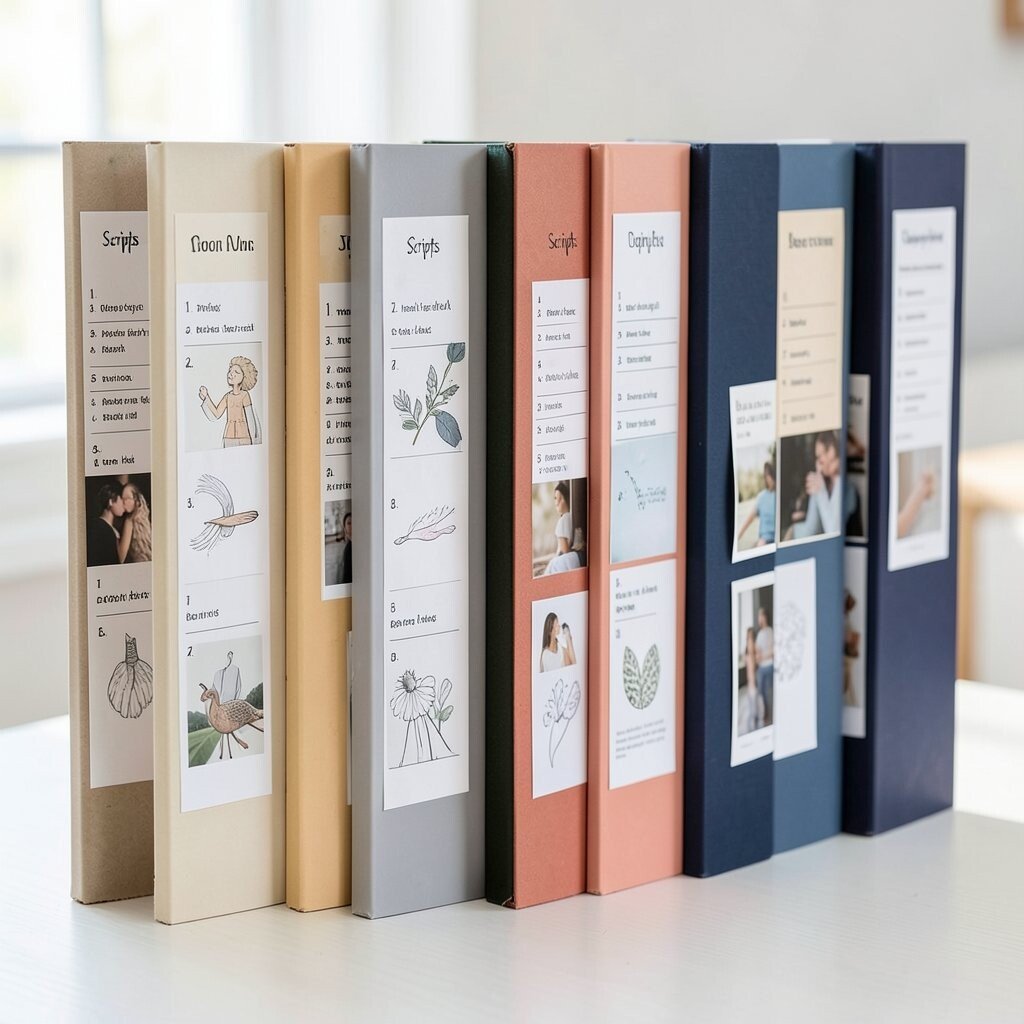
A book spine board looks clever and organized, like your craft plans are lined up like reading shelves. Create narrow panels shaped like book spines and attach them in a row, then add labels and page-like inserts.
This helps you keep “scripts” for your projects, such as step lists, timing notes, and photo references. You’ll feel less overwhelmed because everything you need for a single idea stays together.
For personalization, match the spine colors to your favorite paper tones, like warm beige, muted coral, or deep navy. Add small openings for inserting printed photos, so you can rotate images as you refine each design. For cost considerations, you can build spines from cardboard, foam board, or old cereal boxes covered in craft paper.
A practical tip is to store only one project per spine, which keeps your board from turning into a clutter box. Use a simple numbering style on the inserts so you can find the next step quickly. This fits a current trend of process journaling, where makers share planning details and reuse their notes for future attempts.
To keep the board bright, finish the covers with a light layer of matte sealant so colors stay crisp even with frequent handling.