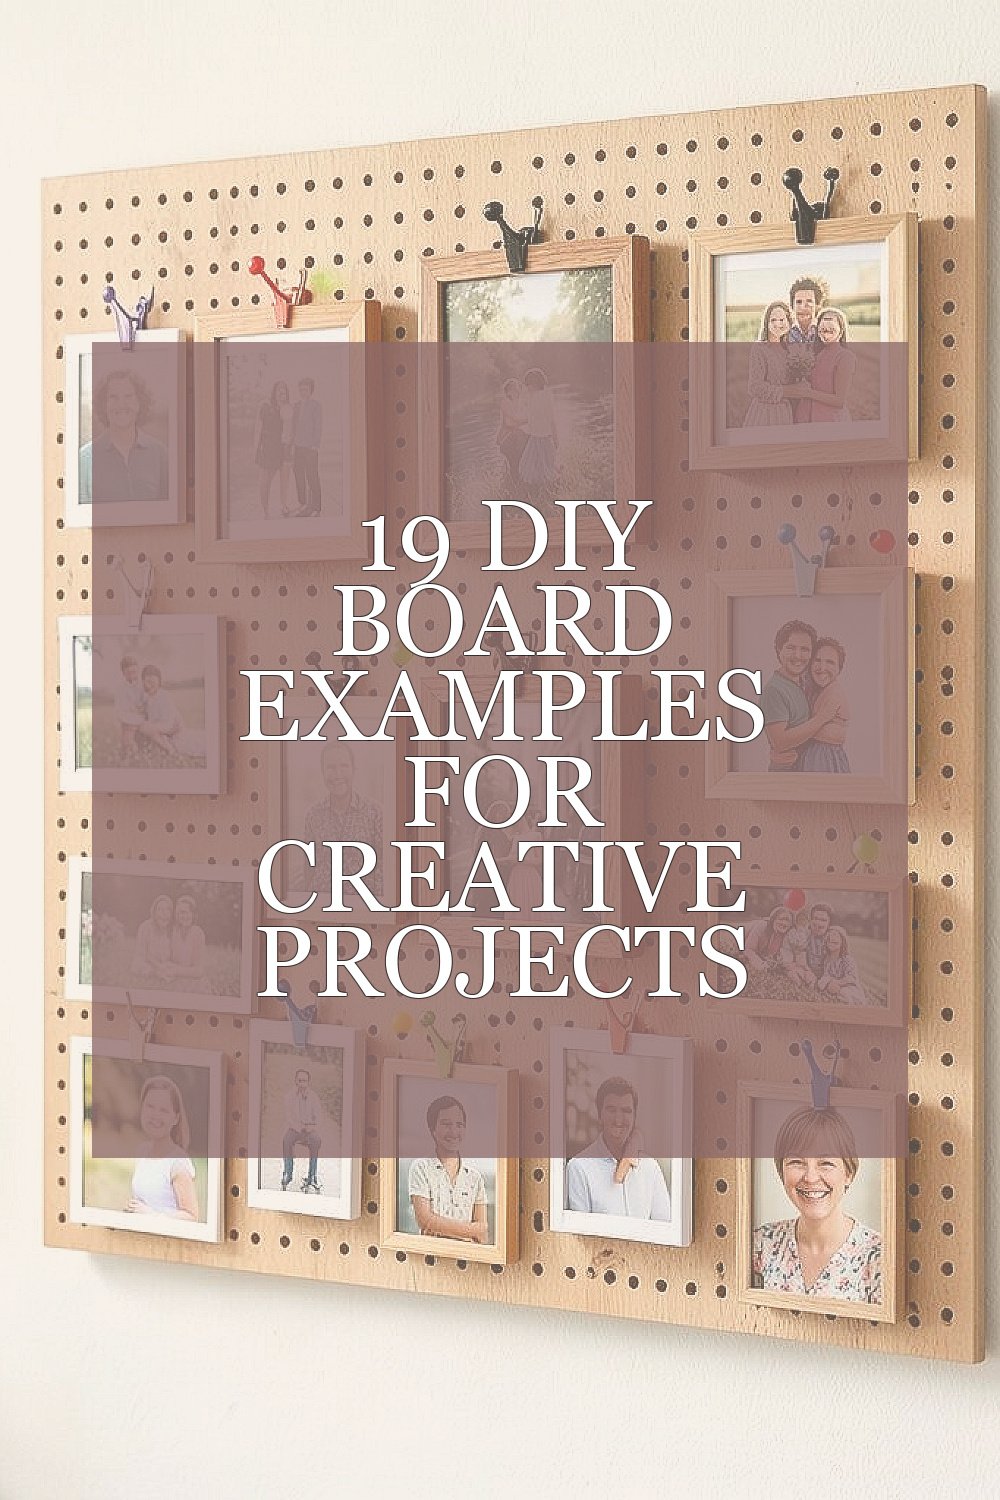
Your next favorite craft might start with a simple board and a bold idea. The right setup can make your creativity feel organized, personal, and ready for action.
1. Pegboard Photo Display for Instant Charm
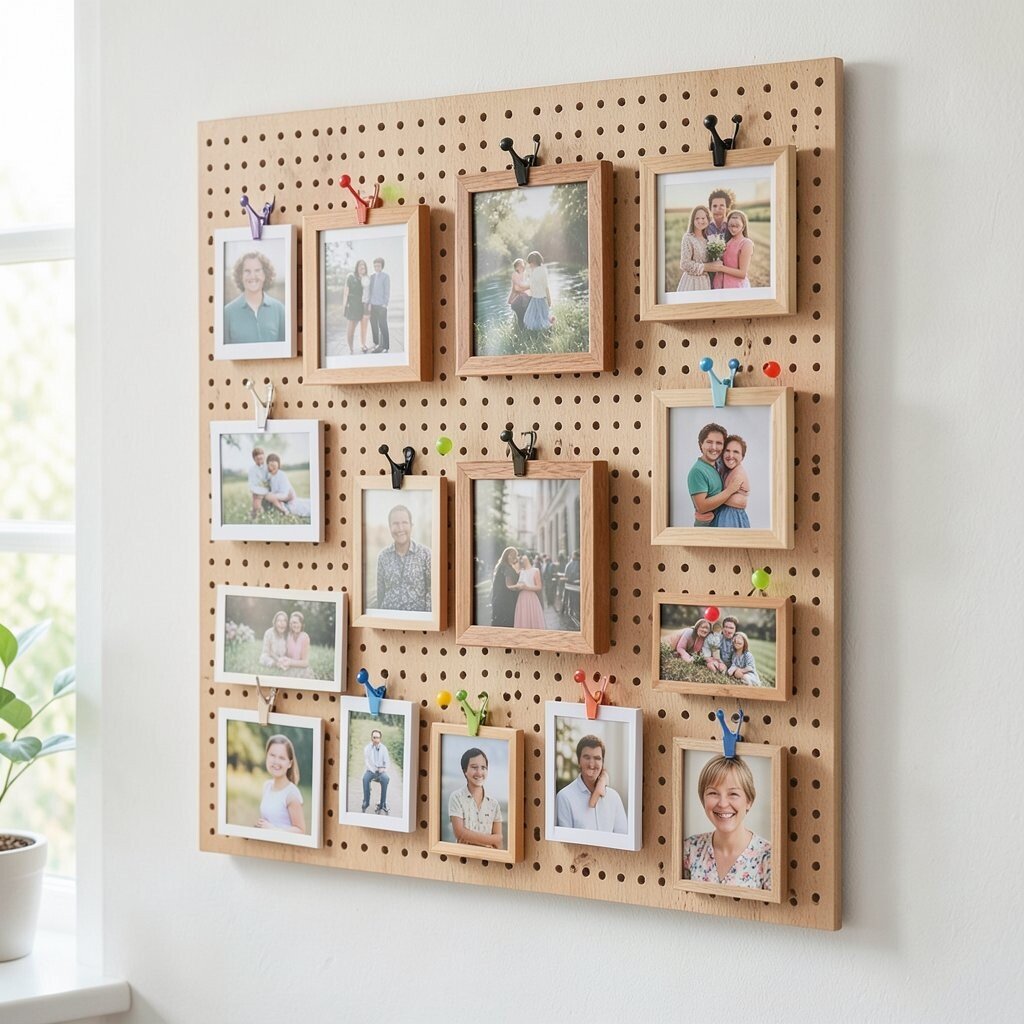
Hang a pegboard and let it become a playful photo station that feels light and modern. You can picture tiny clips holding pictures at different heights, with colorful pins acting like little accents.
This project keeps your memories visible without taking over a room. It also lets you swap photos fast when seasons change or when you want a new vibe.
Start with a pegboard sized for your wall space, then plan a layout before you drill anything. Use strong hooks for heavier frames, and choose clips that won’t scratch glass. For personalization, mix finishes like black pins with warm wood frames, and match the colors to your everyday decor.
2. Corkboard With a Floating Edge for Memo Magic

A corkboard with a floating edge looks tidy but still warm. Imagine a thin frame that lifts the cork slightly off the wall, making your notes look like they’re on display.
You get an easy way to manage reminders, invitations, and sketches without cluttering a desk. It’s also great for keeping tasks visible, which helps many people stay on track.
Use spray adhesive or a trim kit to secure cork evenly, then add a simple border with paint or stain. Consider using watercolor paper pieces and pinning them with matching thumbtacks for a soft, current look. If you want budget control, buy cork rolls during sales and cut to size rather than purchasing a pricey board.
3. Magnetic Art Board for Quick Swaps and Clean Lines
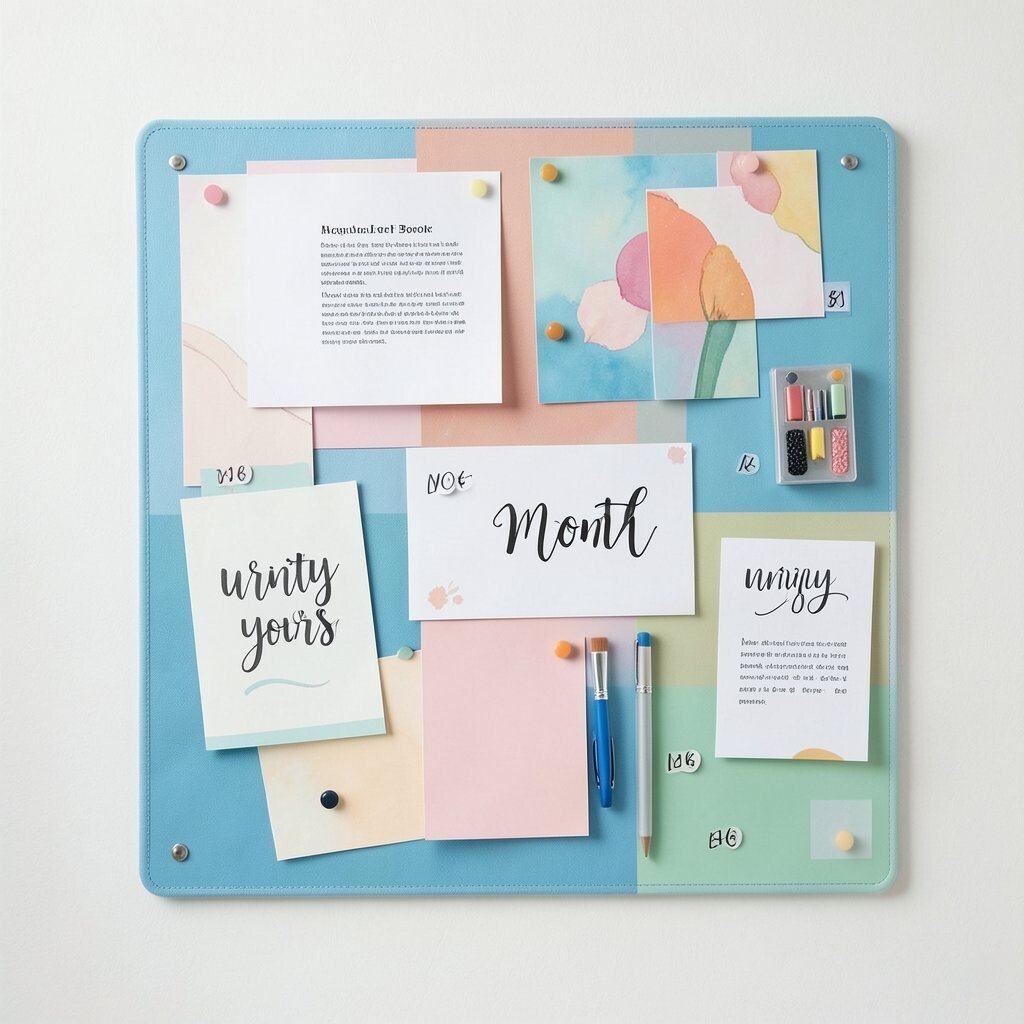
A magnetic board can turn everyday supplies into a neat, moveable system. Think of smooth sheets holding paper, cards, and tiny tools that pop on with a satisfying snap.
It keeps the space around you calmer because items sit flat instead of stacking. You also can switch layouts anytime, which makes it perfect for changing schedules.
Choose a strong magnetic backing, then cover it with fabric, vinyl, or paintable laminate so it looks good in any room. Use small neodymium magnets inside craft labels to create a clean grid. For personalization, paint sections in soft colors and add hand-lettered month names so it feels uniquely yours.
To keep it practical, stick to lightweight paper and thin magnets so the board stays easy to use. If cost matters, start with a smaller sheet and add sections later as your ideas grow.
4. Driftwood Inspiration Board for Coastal Vibes
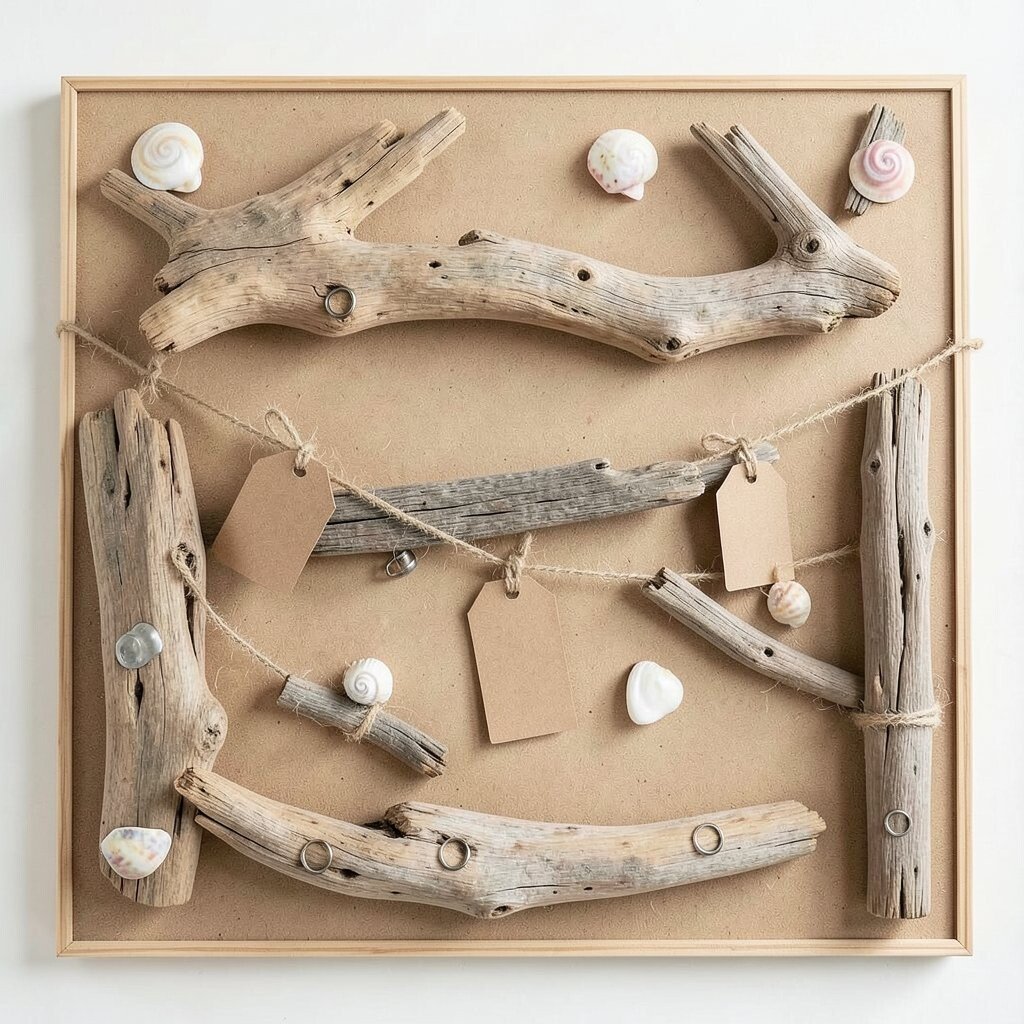
Build an inspiration board using driftwood pieces that look sun-warmed and naturally textured. Picture irregular shapes arranged like a puzzle, with twine and small tags hanging between them.
This design brings a relaxing, beachy feel to your projects and your daily routine. It’s also a satisfying way to use materials that feel one-of-a-kind.
Collect safe, clean driftwood, then sand edges smooth to avoid splinters. Attach pieces to a sturdy base and use waterproof glue for durability, especially if you live in a humid area. Personalize with seashells, small paint swirls, or even tiny metal rings that hold cards.
For trend momentum, many people are leaning into natural textures and slow, handmade styling. You can keep costs low by collecting wood yourself and using only a simple backing board you already have.
5. Layered Fabric Board for Soft, Cozy Organization

A fabric-covered board makes your wall look warm and inviting. Imagine a quilt-like surface where pins and magnets hold photos, fabric swatches, and little notes.
This option is gentle on the eyes and adds comfort to creative spaces. It also helps you categorize ideas without using harsh lines or bulky shelves.
Stretch cotton or linen over a board, then secure edges neatly with staples. For personalization, add pockets made from contrasting fabric strips so you can tuck pens, labels, or small paper pieces inside.
Use colorful pushpins for quick updates, and keep fabric swatches handy for future color matching. If you’re watching spending, check thrift stores for leftover yardage and use a plain board you can cover yourself.
6. Wood Slat Planner Board With Chalk-Friendly Surface
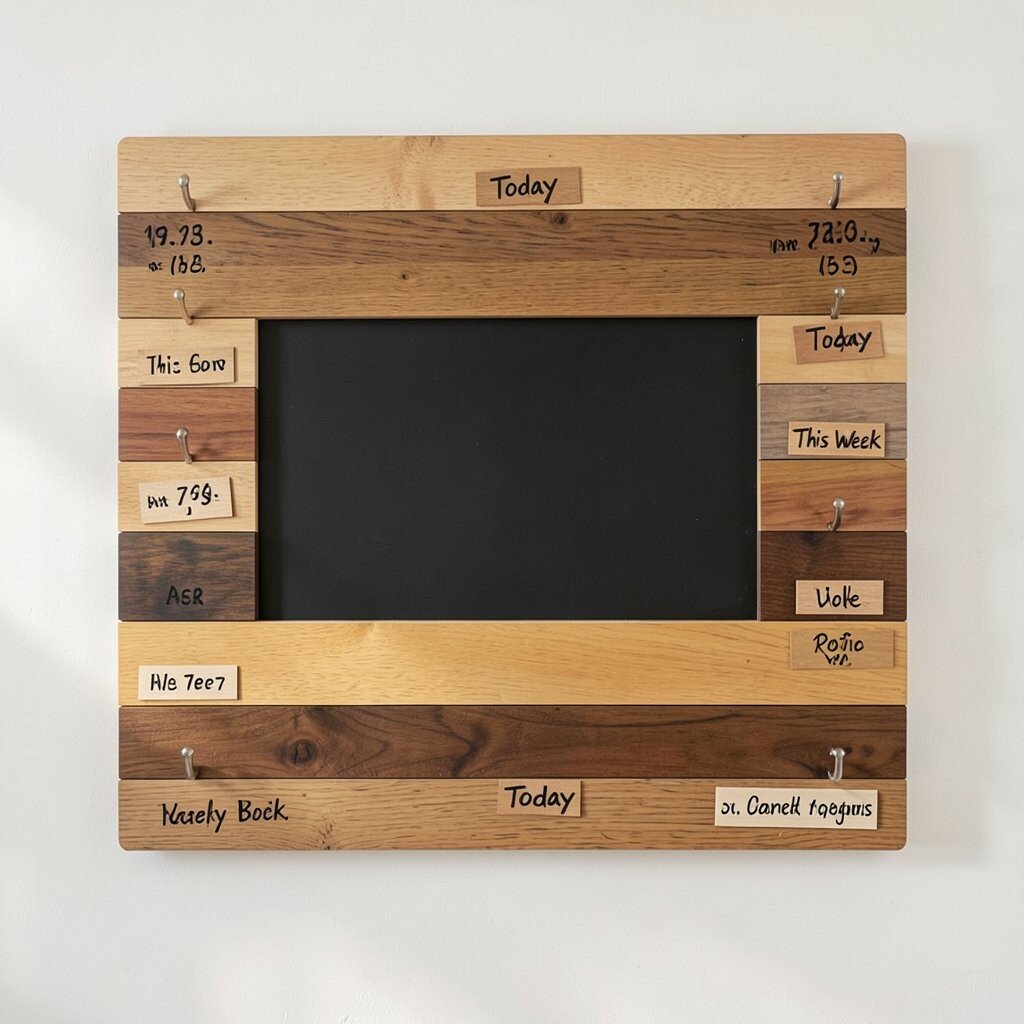
Wood slats can become a planner board that looks simple but works hard. Picture horizontal strips with a clean chalk-friendly panel in the center and tiny hooks along the sides.
Write dates, reminders, and weekly goals without needing sticky notes everywhere. The slats also create visual rhythm, so your plans feel organized at a glance.
Sand the wood, then apply a chalkboard coating or chalk paint where you’ll write. Add small labels made from scrap wood or cut vinyl so your categories stay consistent.
For personalization, stain the slats in two tones and use stencils for names like “Today” or “This Week.” Keep costs under control by using offcuts and choosing matte finishes that hide minor wood marks.
7. Index Card Bulletin Board for Recipe and Craft Swaps

Turn a board into a system for quick recipe and craft exchanges using index cards. You can picture cards sliding into slots, each one holding a neat step, ingredient list, or pattern note.
This helps you keep ideas readable and easy to sort, which makes cooking and crafting smoother. It also supports sharing because you can pull a card out and hand it to someone instantly.
Build a simple grid with thin wood strips or use a backing with evenly spaced clips. Personalize each card with a tiny color dot, so you can find the right idea fast.
For practical use, keep card sizes consistent and label your board with themes that match your routines. If you want to stay budget-friendly, repurpose a store-bought card holder or build from leftover wood and cheap clear pockets.
8. Hanging Ruler and Thread Board for Sewing Studio Flow
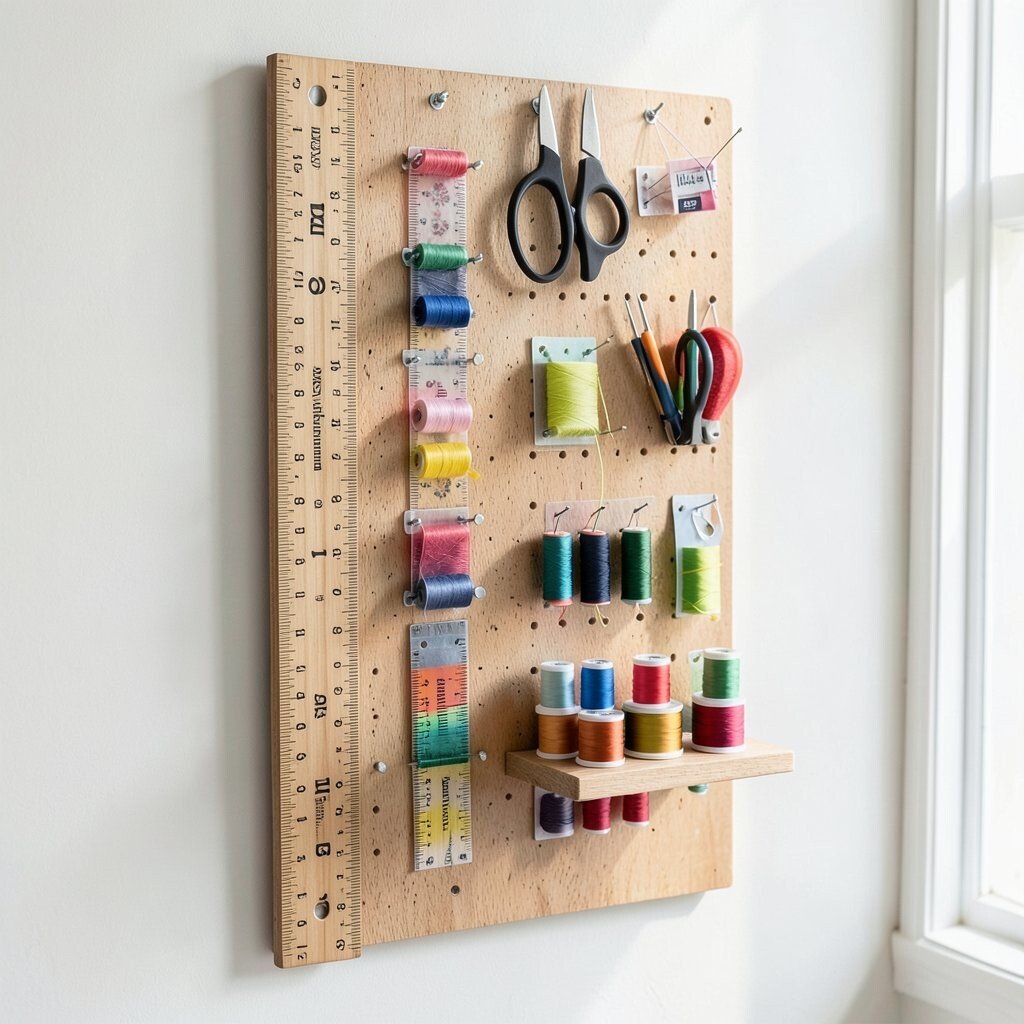
A hanging ruler and thread board can make a sewing space feel like a workshop. Imagine a sturdy vertical board with real rulers for measurement and small shelves for spools, all within easy reach.
This setup saves time because tools stay where your hands expect them. It also keeps fabric supplies from becoming scattered across tables.
Mount rulers securely using strong anchors, then add magnetic strips for scissors or needle packets. Use small hanging organizers or pegs for threads so you can see colors at a glance.
Personalize with a color-coded system that matches your thread brands, or add a mini pocket for a seam ripper. For cost, start with a small board and add sections as your collection grows.
9. Letter and Note Display Board With Stencil Style

Create a letter and note display board that highlights messages like part of your decor. Picture a smooth surface painted in matte color, with stenciled patterns behind a simple pin grid.
This keeps important mail and cards from piling up and hides clutter behind neat organization. It also gives your messages a special “featured” feel.
Paint the board, then stencil shapes that frame your pin area. Use pushpins or small clips with decorative heads so each note feels intentional.
For personalization, add a name or short quote in your own handwriting style, keeping it subtle for a clean look. If you want a cheaper approach, use leftover paint from prior projects and buy one roll of cork or mesh for the tack area.
10. Scrap Wood Showcase Board for Mini Art Gallery

Use scrap wood to build a showcase board that feels like a tiny gallery wall. You can picture small planks arranged with spacing, each one holding a framed mini print or card.
This approach is great because it reduces waste and turns leftovers into something meaningful. It also gives you a flexible place for rotating art so your display never feels stuck.
Cut planks to varied lengths, then sand and stain them lightly for a matching set. Mount with spacers or brackets so each frame sits evenly and looks balanced.
Personalize by adding small hangers for postcards or creating themed rows like “Sketched Ideas” and “Client Notes.” To keep cost low, scavenge wood from old pallets or hardware store cutoffs and use simple picture clips instead of expensive frames.
11. Tin Can Organizer Board With Visible Tool Storage

A board with repurposed tin cans can look surprisingly stylish and very functional. Imagine a grid where each can holds paintbrushes, markers, or small craft tools, with the board acting like a clean backdrop.
This helps you see what you have, which cuts down on buying duplicates. It also keeps small items from getting lost in drawers.
Attach cans to a base board with strong screws or brackets, then paint the board and cans to match your studio. Add small labels using sticker paper or handwriting on painter’s tape for a practical sorting system.
For personalization, try a limited color palette like muted terracotta and cream, which is popular in modern craft spaces. If cost matters, use cans you already have and buy only a few needed brackets or fasteners.
12. Nature Leaf Mood Board on Laminated Paper

Make a nature leaf mood board that uses laminated paper sheets as your creative canvas. Picture pressed leaves tucked under clear laminate, with notes and color samples pinned over them.
This design turns everyday inspiration into something tactile and pretty. It also works well for planning projects because you can reorganize pages whenever your taste shifts.
Laminate printed backgrounds, then place pressed leaves or leaf-shaped cutouts under the clear layer. Mount the laminated sheets onto a board with corner mounts so they can be swapped.
For personalization, add hand-drawn veins with colored pen and include a few favorite quotes or project names. To stay budget-friendly, press leaves yourself and use basic laminate sheets rather than buying specialized craft supplies.
13. Seed Packet Display Board for Gardening Plans

A seed packet display board helps you keep gardening dreams in one place. Imagine a board with a grid of slots where packets stand upright, with twine labels marking seasons and bed areas.
This setup reduces chaos during planting time because you can find varieties quickly. It also supports planning by letting you track what you sow and when.
Use a strong board backing, then attach small holders made from cardstock sleeves, wooden strips, or repurposed plastic pockets. Personalize with a color system for sun needs, like bright tags for full sun and muted tags for shade.
For current trends, many gardeners now mix organization with aesthetic styling, using coordinated labels and natural materials. Keep costs low by using scrap wood for dividers and printing labels at home.
14. Magnetic Spice Route Board for Flavor Mapping
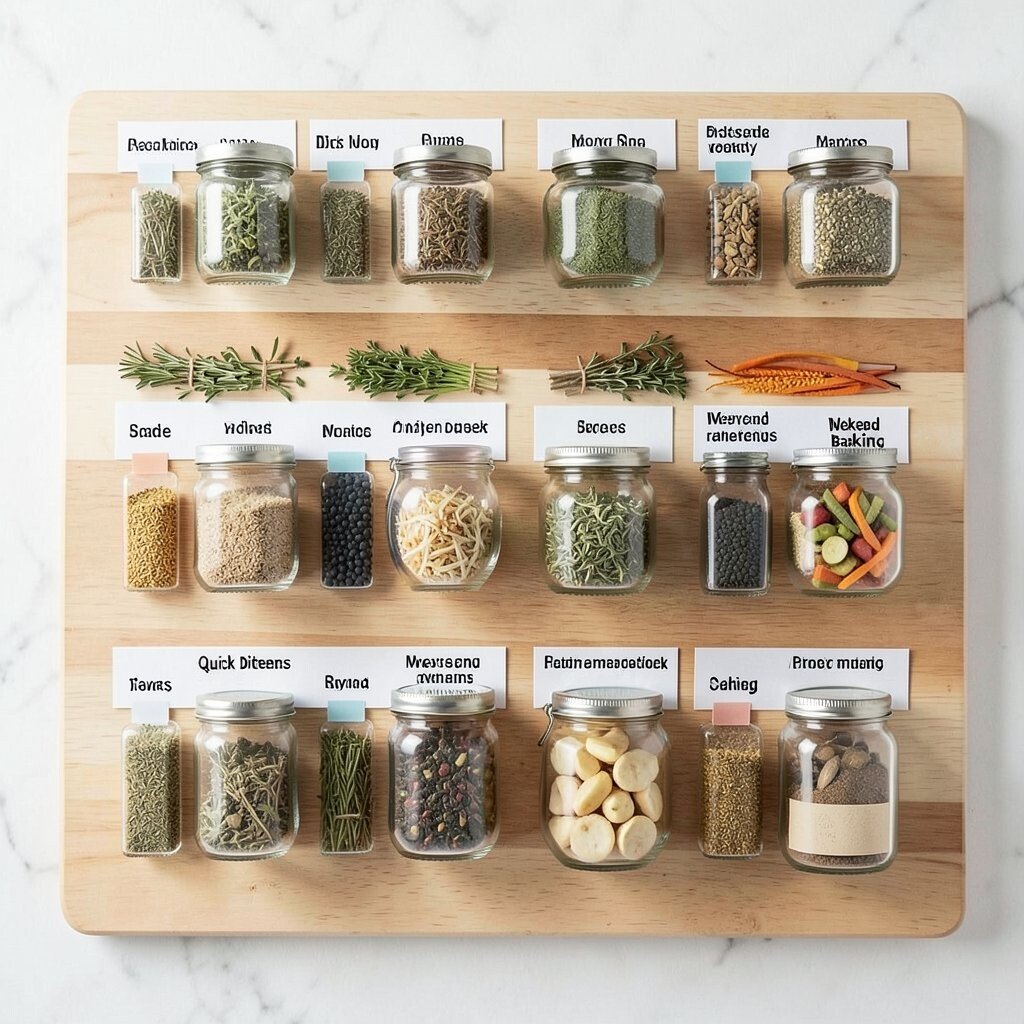
Turn a board into a “flavor map” using magnets and labeled strips. Picture a smooth board with rows for herbs and spices, where each label sits beside the magnetic jar guide.
This makes meal planning easier because you can see what ingredients you already use. It also helps you create repeatable recipes without digging through cabinets.
Label small jars or sachets, then attach a magnetic strip behind each label holder. Personalize with a layout that matches your cooking style, like a section for quick dinners and another for weekend baking.
For practical use, keep the strongest magnets for heavier items and use light ones for paper labels. If you’re cost-conscious, start with pantry staples and only expand the board when you finish a jar.
15. Washi Tape and Pinboard for Pattern Lovers

A washi tape pinboard is a fun way to show off patterns while staying organized. Imagine layered tape borders around a cork or mesh center, with pins holding paper, tickets, and small sketches.
This project is easy to refresh, which makes it ideal for people who love changing decor often. It also helps you build a visual system that feels playful instead of strict.
Cover the edges and key shapes using tape, then add a grid of pins or small clips where you’ll place items. Personalize using tape colors that match your favorite notebooks or art supplies.
To keep it practical, press tape firmly and avoid putting tape over textured surfaces that won’t stay smooth. For cost, buy a few versatile tape rolls and reuse older tape for borders rather than replacing everything.
16. Tile Mosaic Inspiration Board for Colorful Goals

A tile mosaic board adds bright personality and makes ideas feel permanent. Picture small tiles arranged in a pattern, with grout lines guiding the eye toward a central cork or magnetic center.
This design is durable and handles everyday use, especially in creative rooms. It also gives you a strong visual anchor that makes your projects feel more intentional.
Choose tiles that share a theme, then set them in a pattern using tile adhesive. Leave space for the pin area, then mount cork or metal where you’ll attach notes.
Personalize by blending matte and glossy tiles, which is a popular look in modern craft spaces. For cost, use a mix of full tiles and small scraps so you get a big effect without buying an entire set.
17. Reclaimed Door Board for Big Statement Creativity

A reclaimed door board can become a dramatic creative hub with real character. Imagine the grain showing through paint, with pegs and hooks arranged like a workshop wall.
This kind of board feels unique because every door has its own marks, dents, and history. It also gives you lots of space for projects, tools, and inspiration all in one place.
Sand the door, then decide where the cork, magnets, and hooks should go. Add a coat of sealant to protect the surface, especially if you’ll use it often for pinned papers.
For personalization, paint only parts of the door in a bold color and keep the rest natural for contrast. If budget matters, salvage a door from a reuse shop, then spend money mainly on good anchors and sealing supplies.
18. Bathroom Vanity Board for Self-Care Routines

A vanity board can organize self-care routines without feeling clinical. Picture a board above the sink holding small cards with steps, plus hooks for brushes and a neat place for face masks.
This helps you follow routines because everything is visible and easy to grab. It also adds a cozy design element that makes everyday habits feel special.
Use moisture-friendly backing like sealed cork or laminated fabric so it stands up to humidity. Add small cards in clear sleeves so you can update routines and seasonal products.
Personalize with colors that match your towels and jars, and include quick checkboxes for a gentle “done” feeling. For cost considerations, focus on a small board first and add upgrades only when you notice what you use most.
19. Blackboard Cabinet Door Board for Tiny Treasures

Use a cabinet door with a blackboard surface to create a clever board for tiny treasures. Imagine the door mounted like a small wall cabinet, with chalk writing, hooks, and a few shelves holding small craft finds.
This setup is great because it hides extra items while still letting you see what matters. It also lets you change the message anytime, which keeps the display fresh.
Paint the door with chalkboard paint, then add hooks for keys, lanyards, or lightweight tools. Personalize by writing a rotating “today” message or a mini menu of craft ideas you want to try.
For practicality, seal any wood edges so the board stays smooth, and use light accessories to avoid sagging. If you want to keep spending low, search for old cabinet doors at thrift stores or reuse a door from a disassembled shelf.