Your cabinets can feel like a puzzle with missing pieces. Small changes can make everyday routines smoother and calmer.
Below are practical, good-looking ways to organize so everything has a home and you can find it fast.
1. The “Zones” System for Any Cabinet
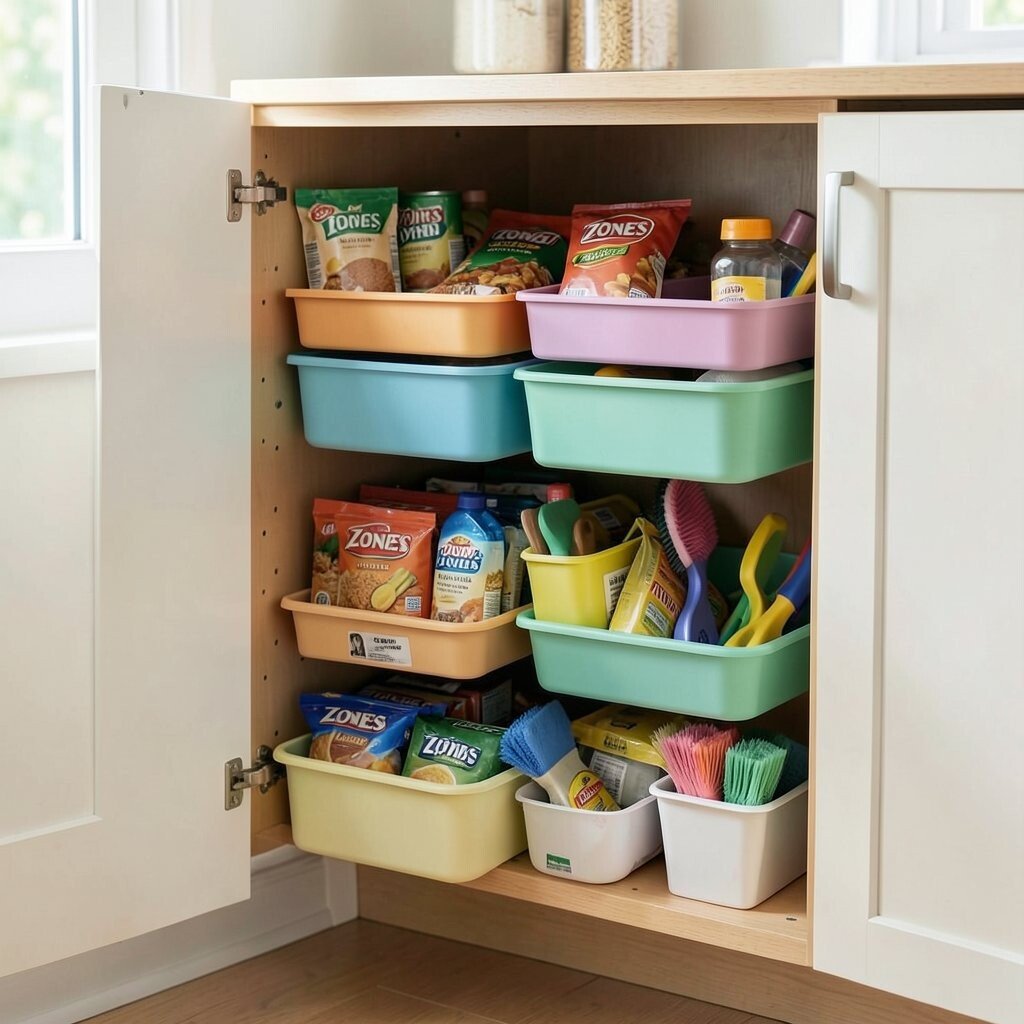
Start by picturing your cabinet as a set of zones instead of one big jumble. Food items can live together while cleaning tools stay separate.
Use visual cues like two-tone bins or drawer labels to help your eyes do the sorting. Keep the most-used zone at hand height so you do not reach or bend every time. When you personalize the zones to match your household habits, the system stays effortless instead of annoying.
2. Clear Containers With Matching Lids
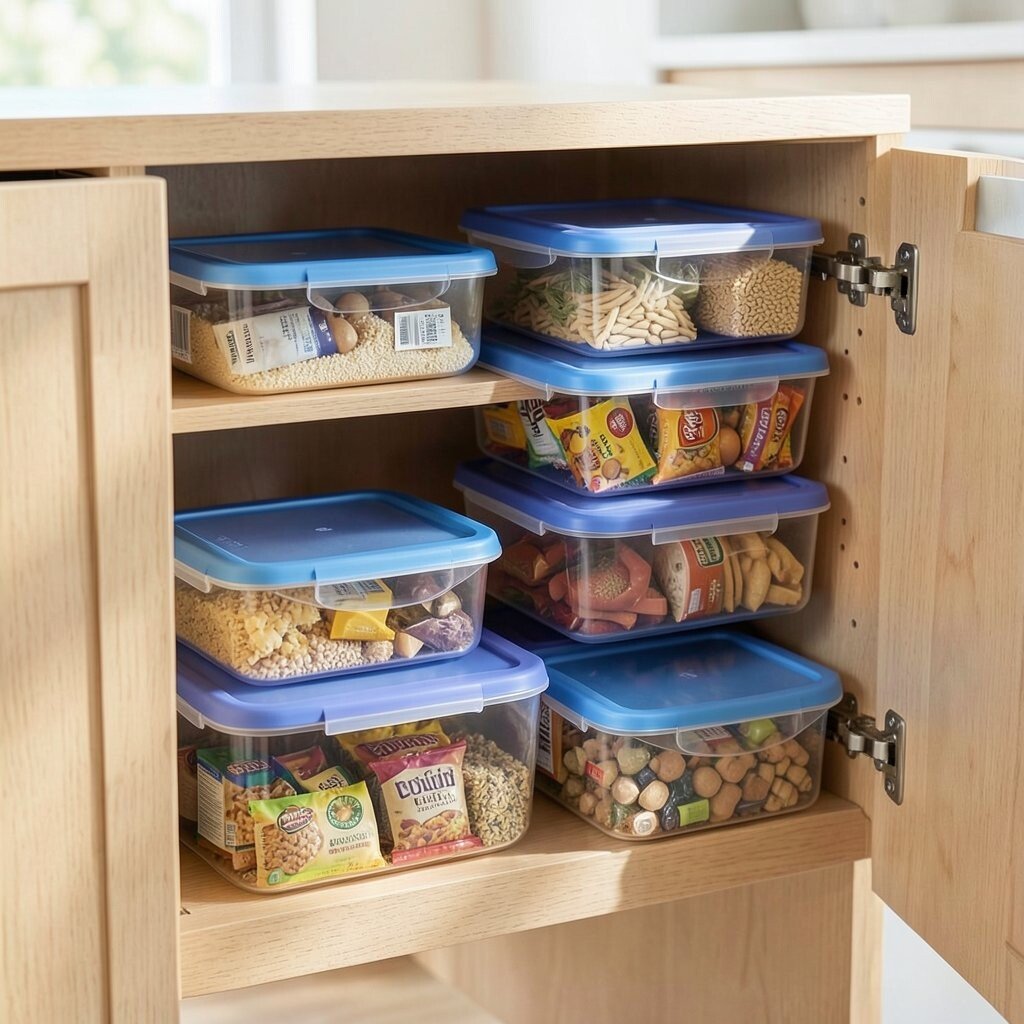
Swap random boxes for clear containers so you can see what is inside at a glance. When you open the cabinet, you immediately spot the item you need.
Match lids across the set to create a tidy look and reduce lids that vanish. Choose shapes that fit your cabinet shelves snugly, which saves space without needing extra shelves.
To keep it from feeling expensive, start with one category like snacks or baking supplies. Buy a small batch now, then add more containers over time as you finish what you already have.
3. A Lazy Susan for Corner Cabinet Chaos
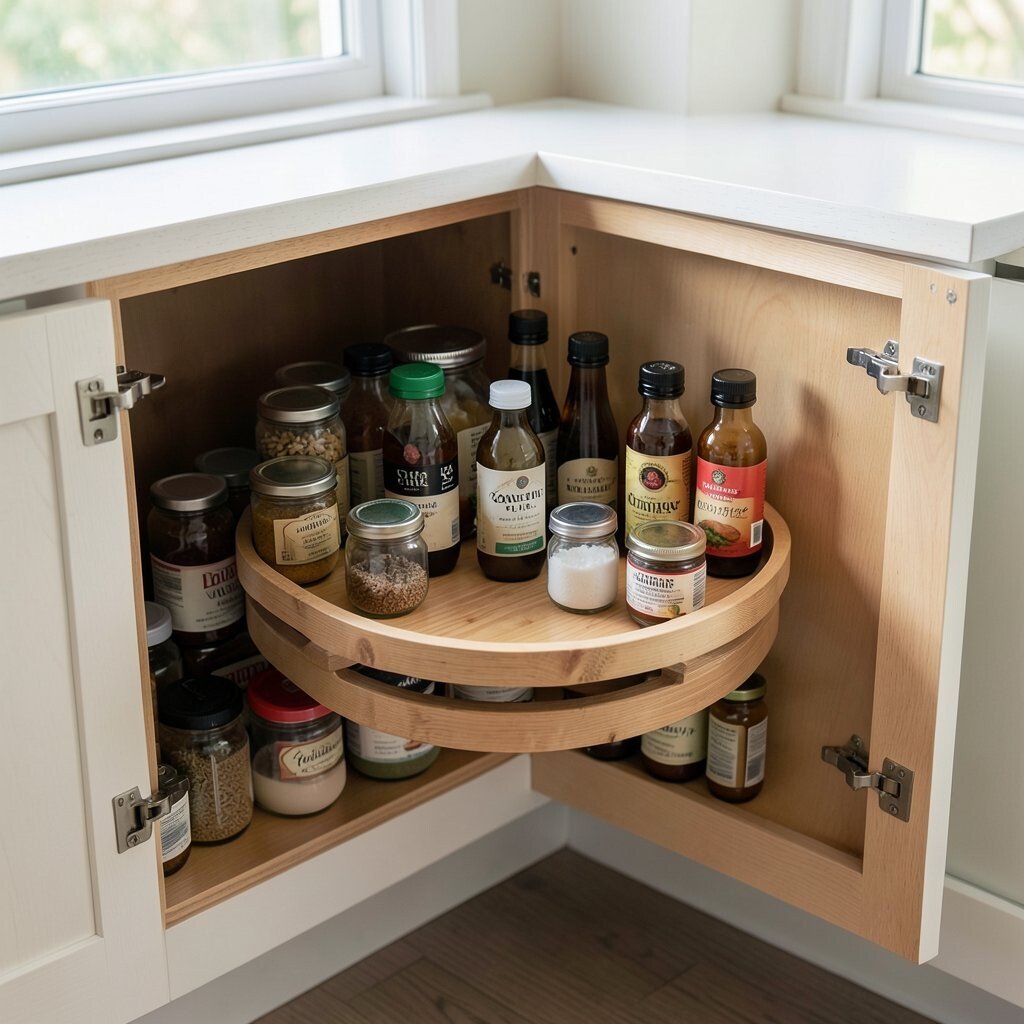
Corner cabinets are notorious for lost jars and forgotten sauces. A Lazy Susan turns that dead space into a spin-and-grab station.
Watch how quickly items stop stacking behind each other when you rotate the platform. Put heavier items on the outer ring and lighter items near the center so the motion stays smooth.
Measure your space first and look for models that match your cabinet depth. You can personalize it by using small risers so bottles stand neatly instead of tipping.
4. Shelf Risers for Vertical Visibility
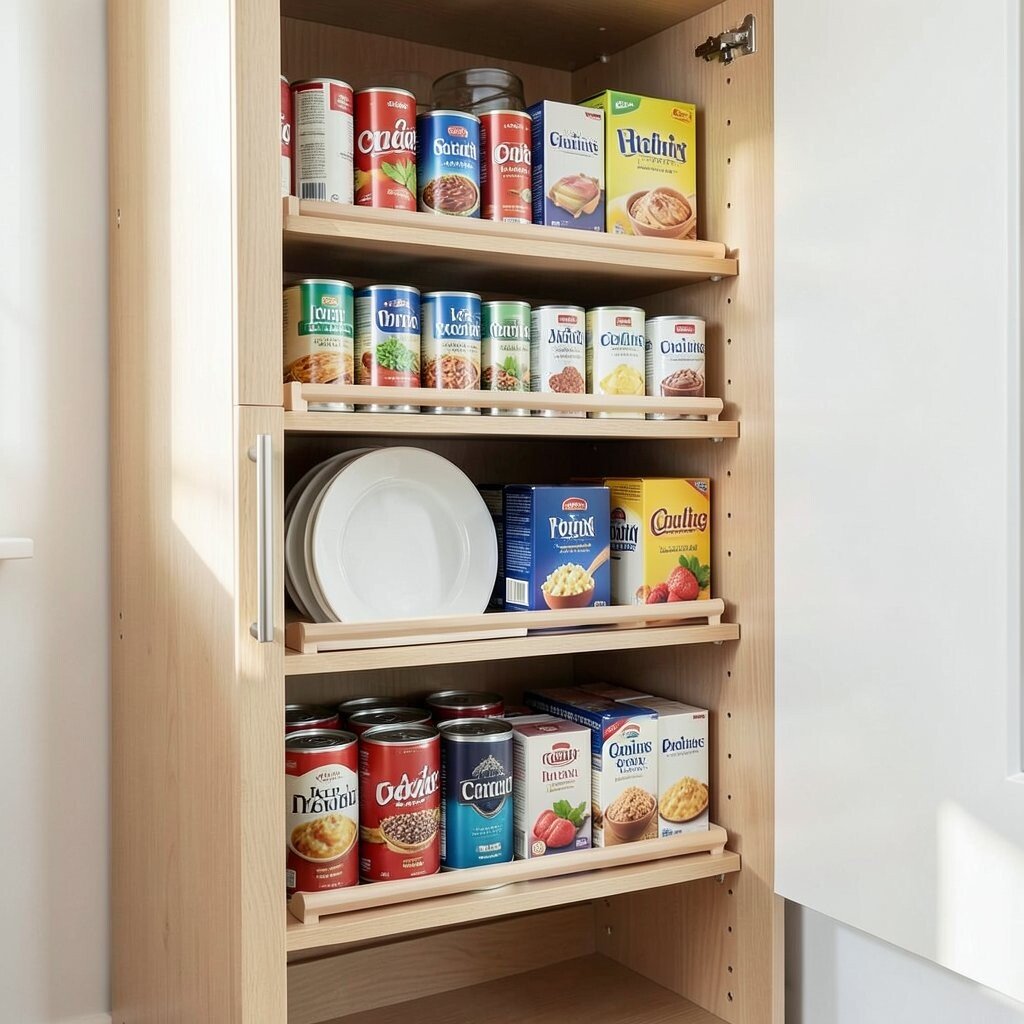
Vertical organization is one of the easiest upgrades because it uses what you already paid for. Shelf risers let you store items like cans, baking sheets, or tea boxes without hiding them behind taller things.
By raising products to different heights, you make room for more and keep each item visible. This is especially helpful for narrow shelves where everything looks the same from the outside.
5. Door-Side Storage With Hooks and Pouches
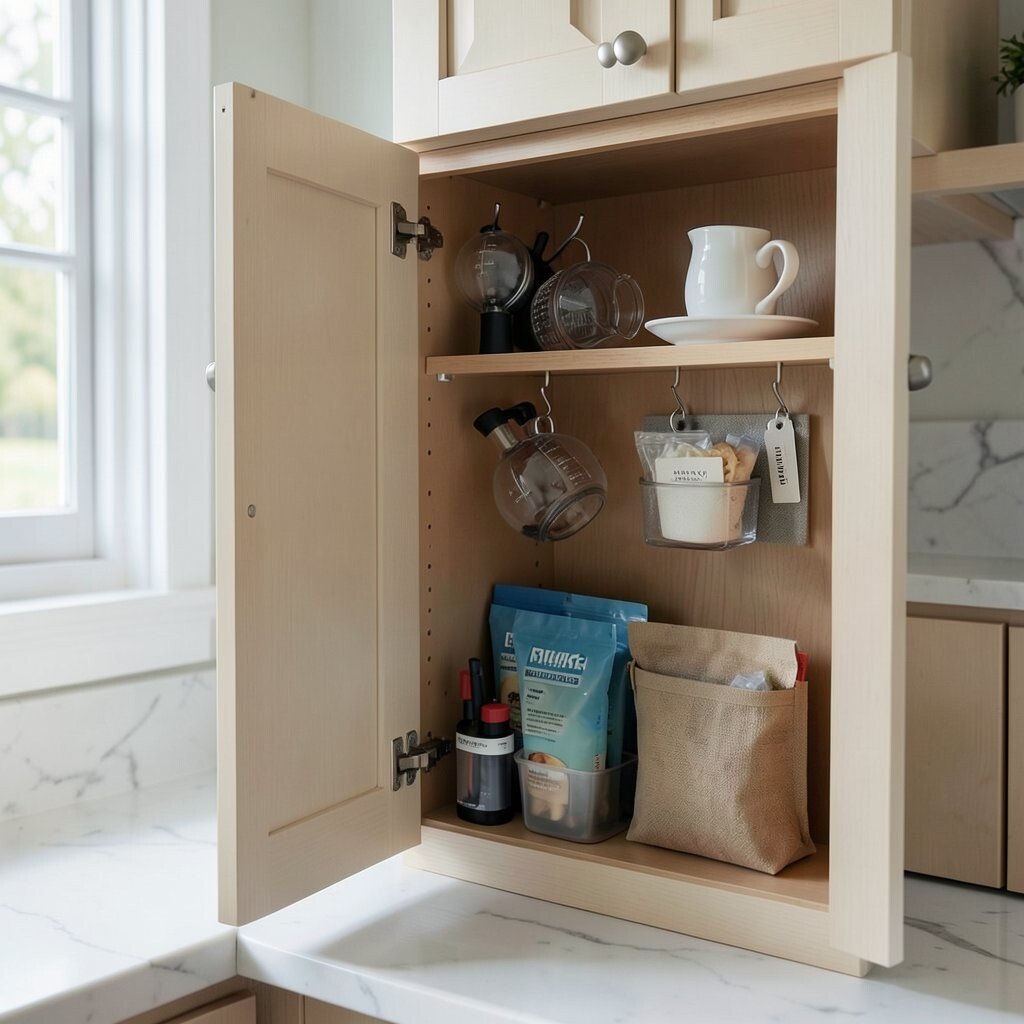
The inside of cabinet doors is prime real estate that usually stays underused. Add hooks for measuring cups or a pouch for packets you reach for often.
You get a cleaner countertop feel because small tools and refills do not keep migrating. Choose organizers that match your door style so the look stays neat, not cluttered.
For personalization, group items by person, like a set for one coffee routine and a set for another. Start with one door and build from there as you find what you actually use.
6. Use a “Home” Tray for Daily Essentials
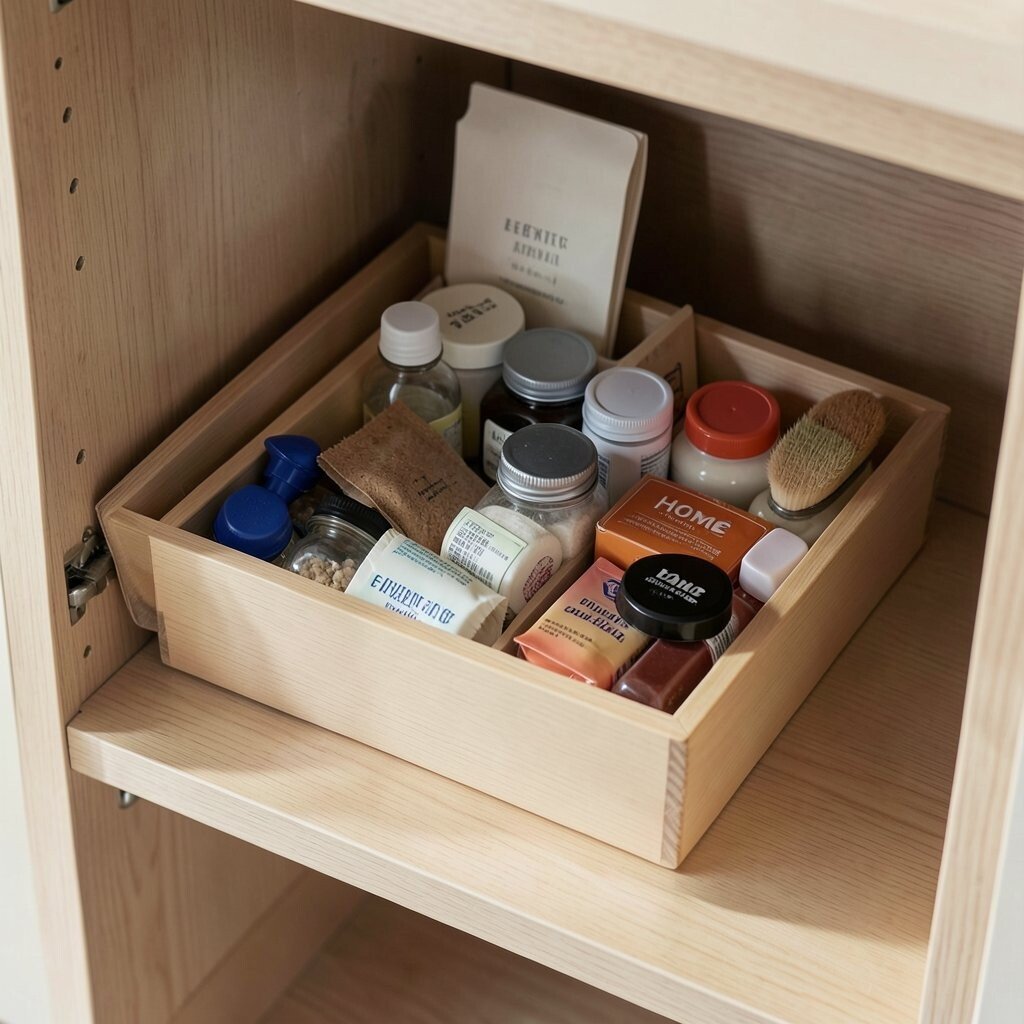
Pick a single tray and keep your everyday items there so you always know where to look. Think of it like a mini station for the things that go missing first.
Inside a cabinet, place that tray where you naturally start your routine. Keep it consistent by adding only the essentials and leaving the rest for deeper storage.
7. Drawer Dividers That Match Real Life
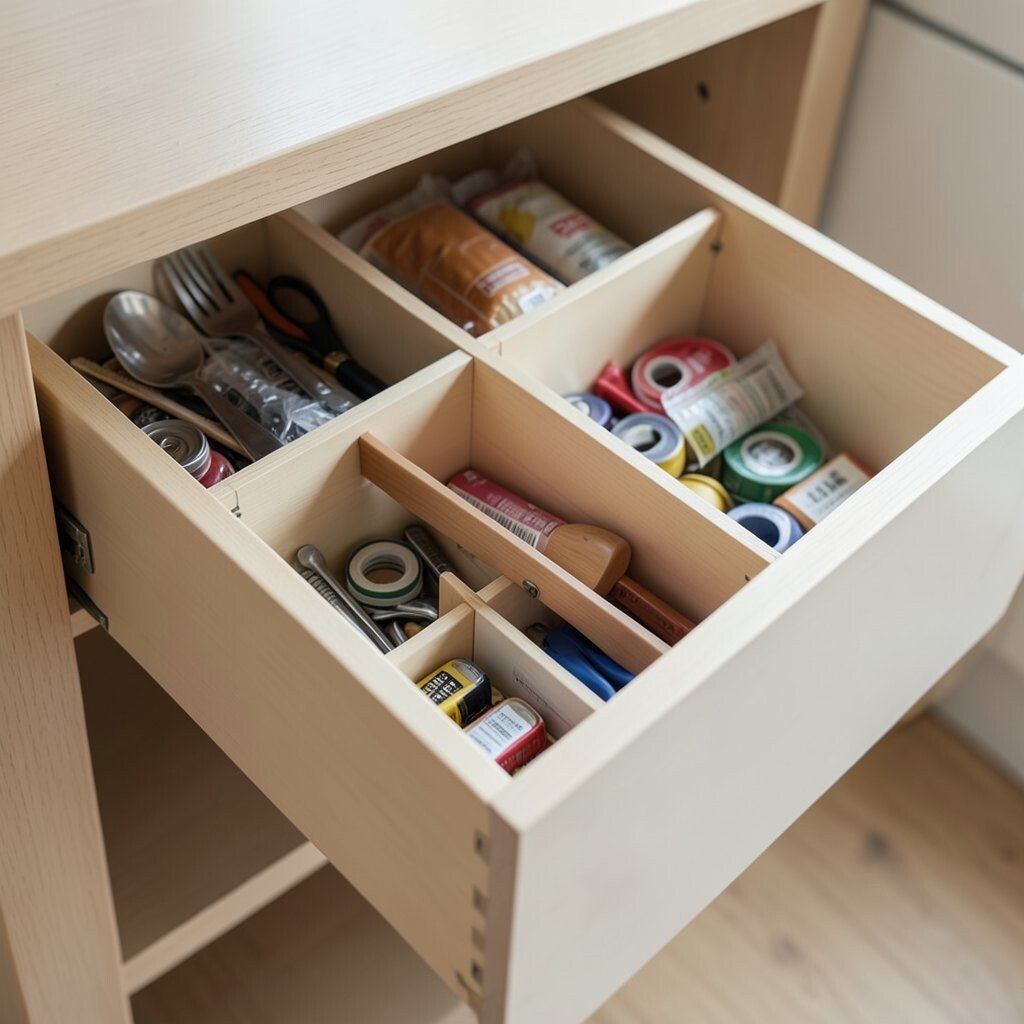
Plain drawers often turn into a mixed pile of utensils, wraps, and tiny tools. Dividers help you separate items so you do not have to untangle them every time.
Choose adjustable dividers so you can fit them around your actual tools instead of forcing everything into one layout. Add a separate section for things like tape, scissors, and batteries if they live in the cabinet.
To keep costs under control, start with dividers for one drawer and focus on the most frustrating mess first. Once the first drawer feels great, the rest of the cabinet usually becomes easier to tackle.
8. Label-Free Organization Using Color and Shape
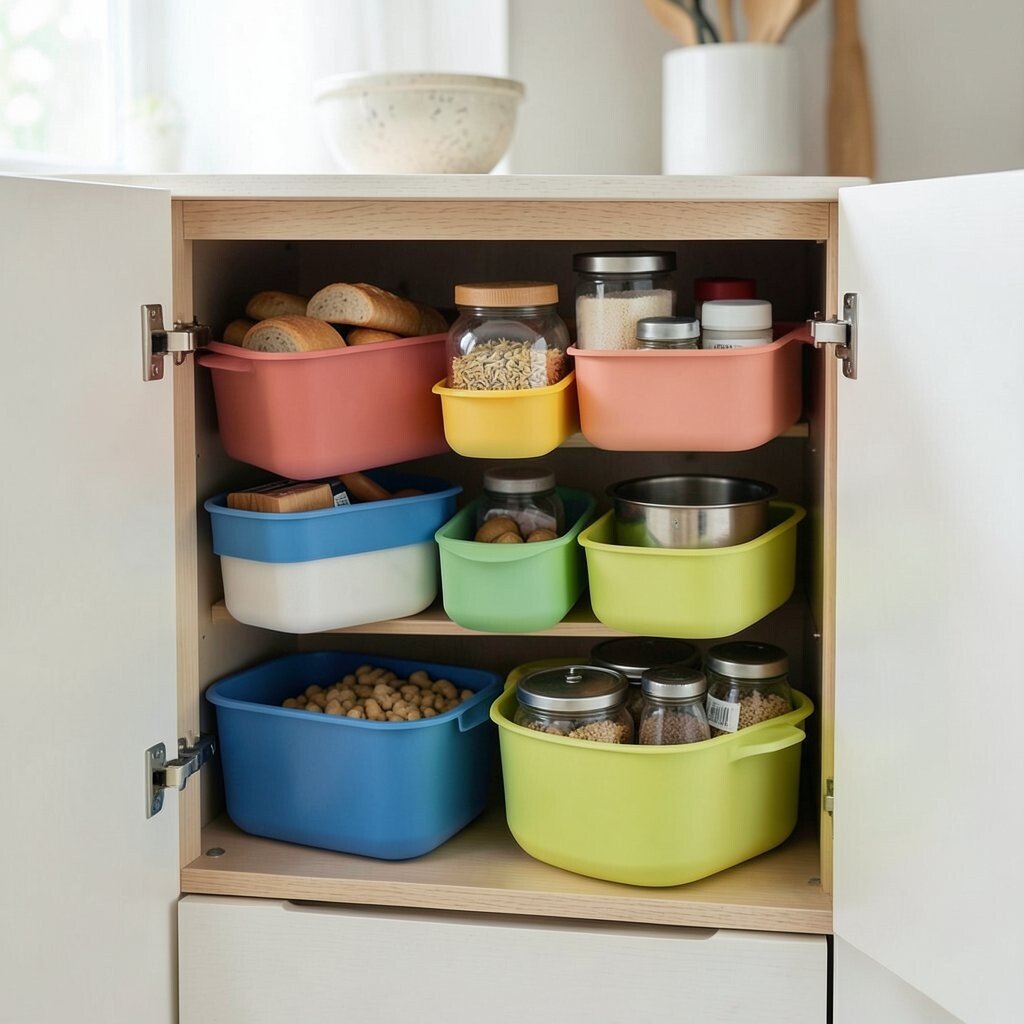
Labels can be helpful, but a calm cabinet can also come from visual sorting. Use color-coded containers or consistent shapes so you can identify items without reading.
For example, keep breakfast items in one color set and cooking items in another. This approach fits current trends toward simple, clean interiors where everything looks coordinated.
9. Keep Lids Flat With Vertical Lid Holders
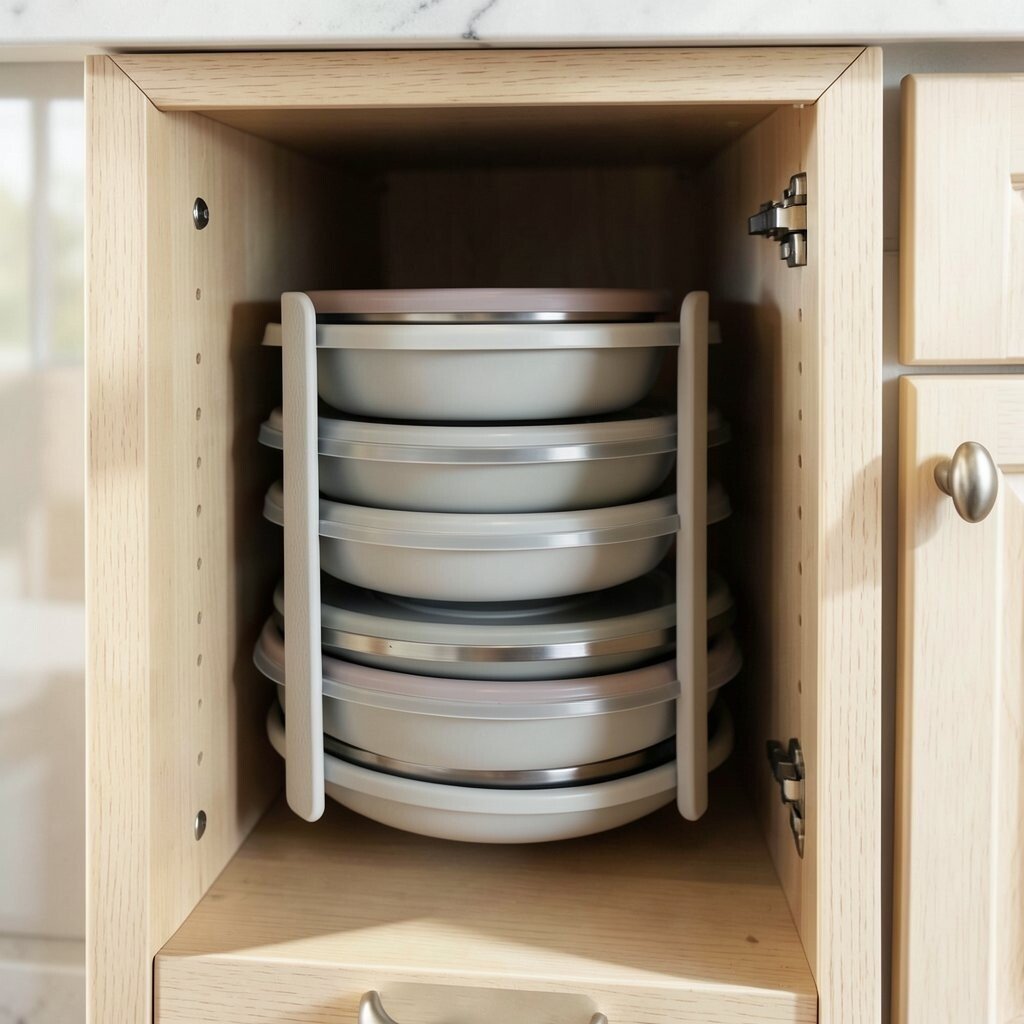
Pan lids love to stack at odd angles, making cabinets feel squeezed and messy. A vertical lid holder keeps lids upright and easy to grab.
Your cabinet space feels more open when lids stop sliding behind each other. It also reduces the time you spend hunting for the right size when you are mid-cook.
10. Group Items by How Often You Use Them
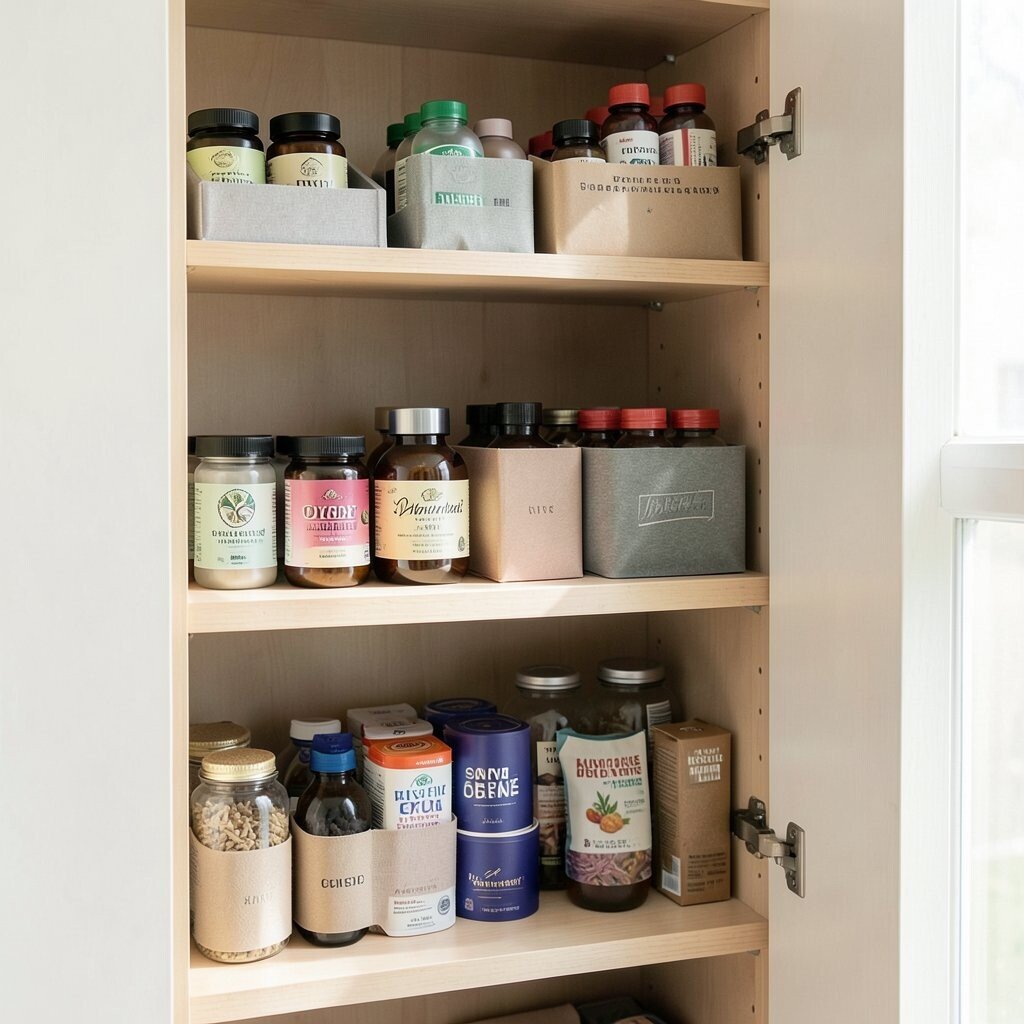
Instead of organizing by type only, organize by frequency so your daily needs are easiest. Put the items you grab most in the most reachable spots and store less-used items higher or deeper.
This simple shift helps you stop rearranging everything just to reach one bottle. You can personalize it by checking your routine for a week and placing the usual suspects at eye level.
If you want a budget-friendly method, use paper or cloth bands on shelves to mark the zones temporarily. Upgrade to matching organizers when you feel confident about what you want to keep where.
11. Wrap and Bag Storage for Cling Film and Foil
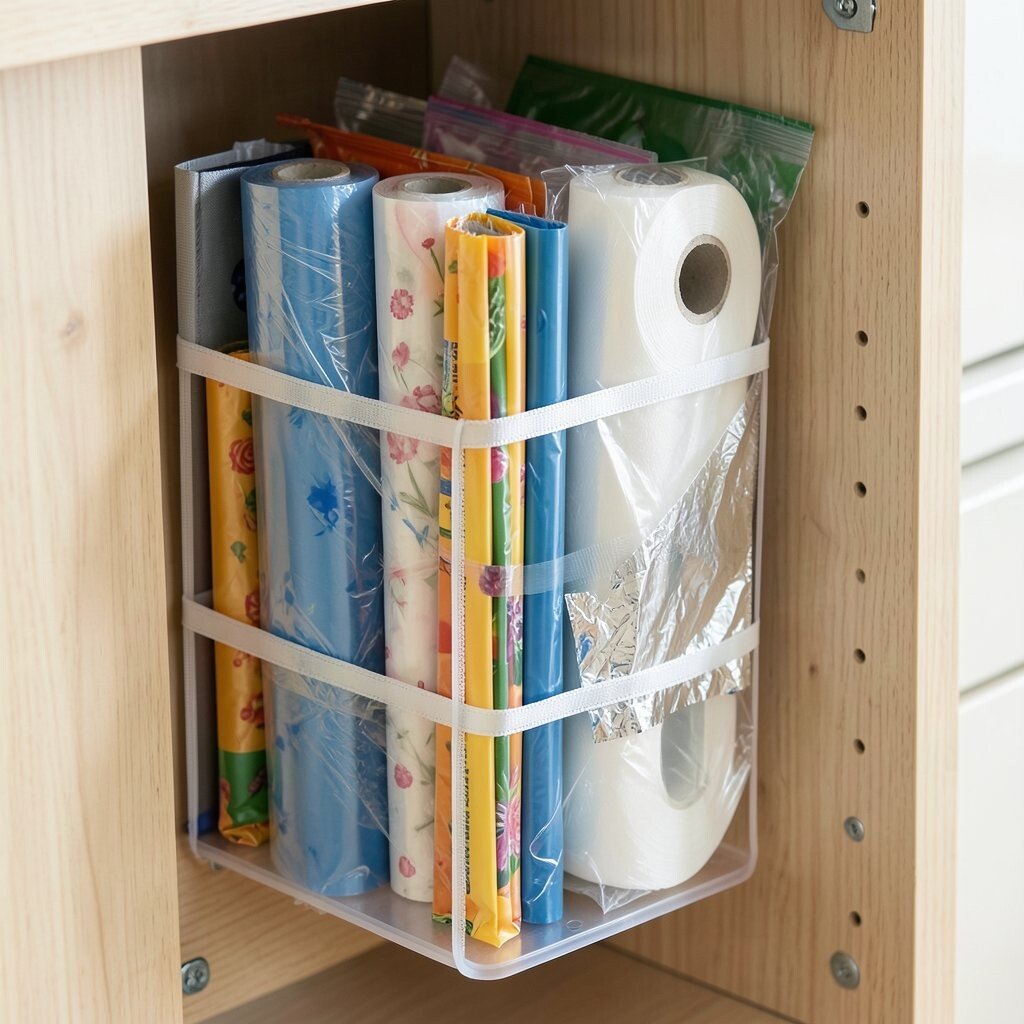
Cling film, foil, and bags are small, but they can create big clutter. Store them upright in a slim organizer so rolls do not unspool and scatter.
When the rolls are held in place, it looks tidy and it also saves time. Add a small elastic strap system so each roll stays aligned with the others when you pull it out.
12. Clear Under-Shelf Bins for Frequently Used Packets
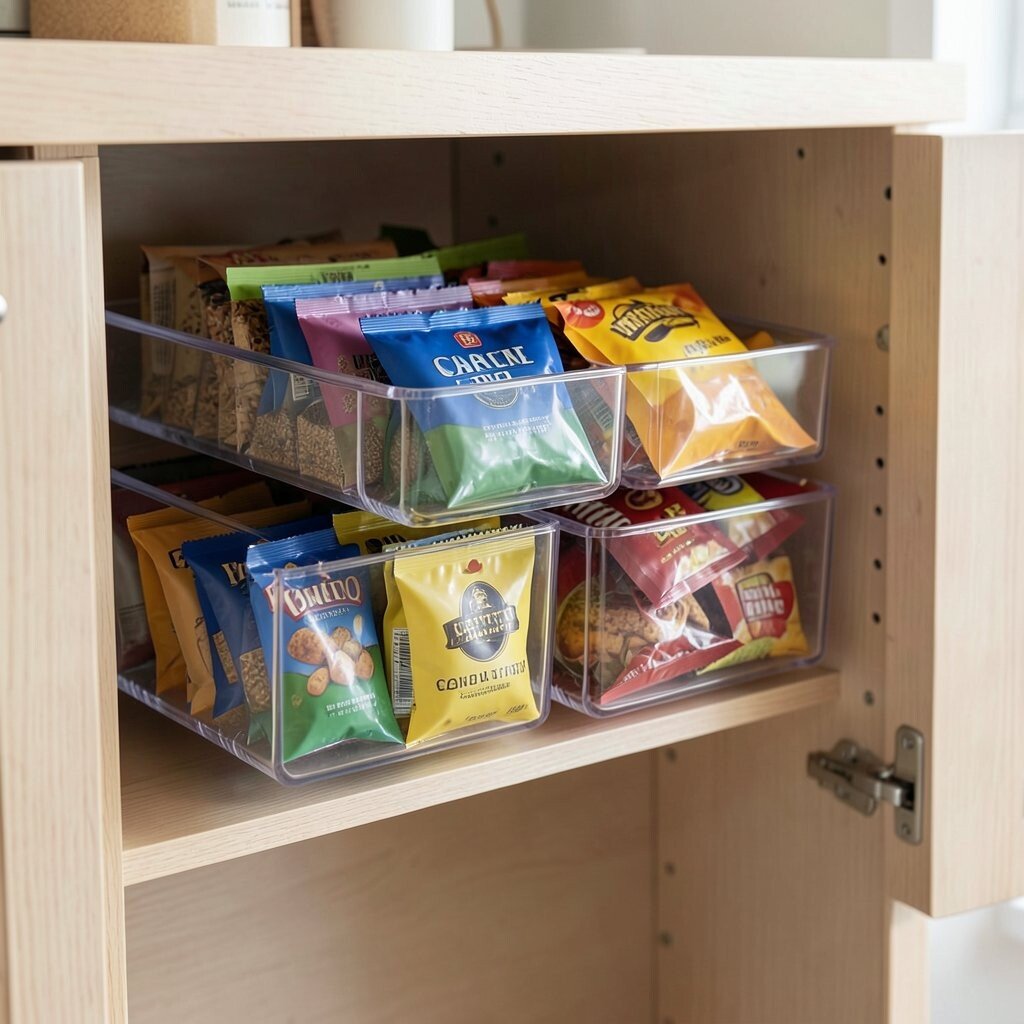
Under-shelf bins are a smart way to use the space beneath shelves for small items. You can store tea bags, spice packets, or snack packs where they are still visible.
This method creates a layered look that feels organized instead of cramped. It is also great for renters because many under-shelf organizers stick or sit without heavy tools.
13. Cabinet “Rules” for One In, One Out
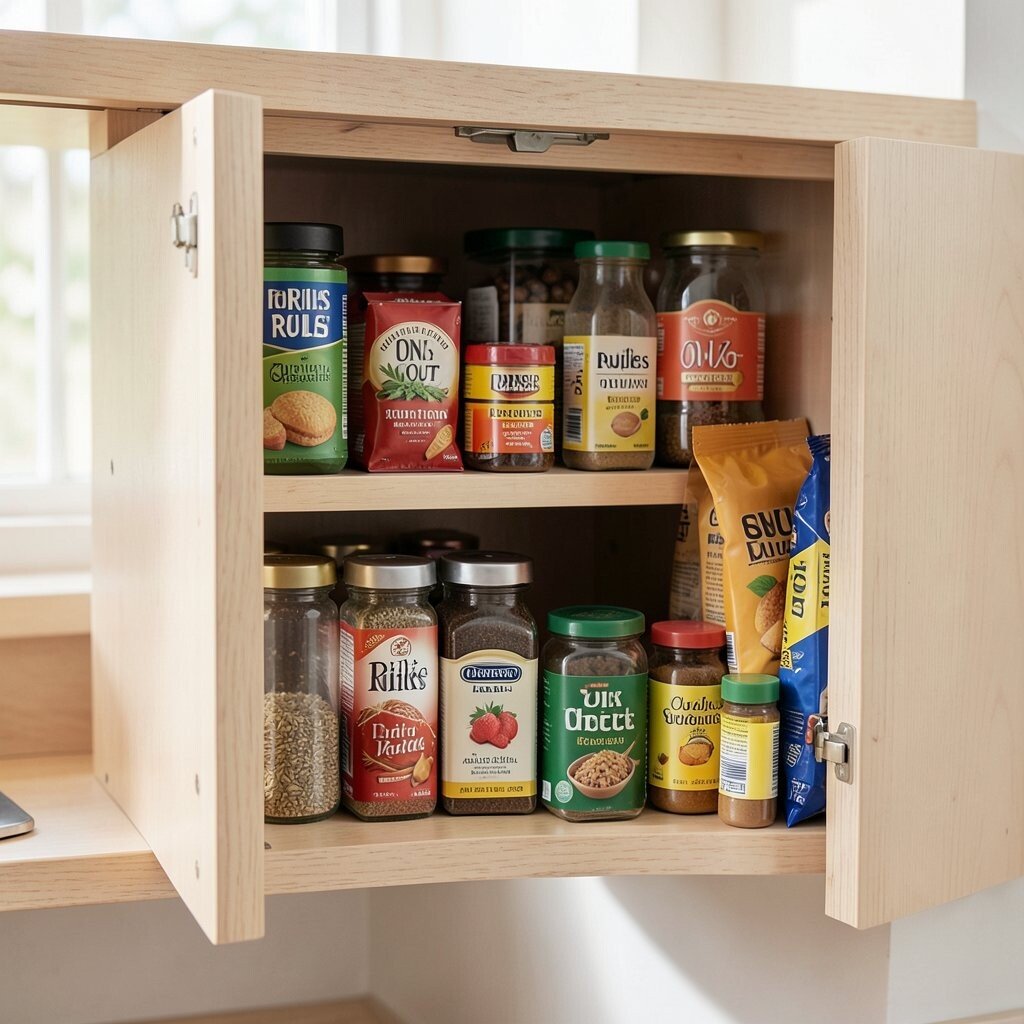
If your cabinet keeps filling back up, the problem is usually not the layout. A simple rule makes the organization last even when you buy new items.
When you add something new, remove something that you do not use anymore. This keeps your inventory realistic and makes it easier to maintain the system you built.
Make it personal by doing the rule around your favorite categories, like spices you truly use or snacks you actually finish. Pair it with a quick yearly check so expired items do not keep taking up space.
14. Stackable Containers for Small Spaces
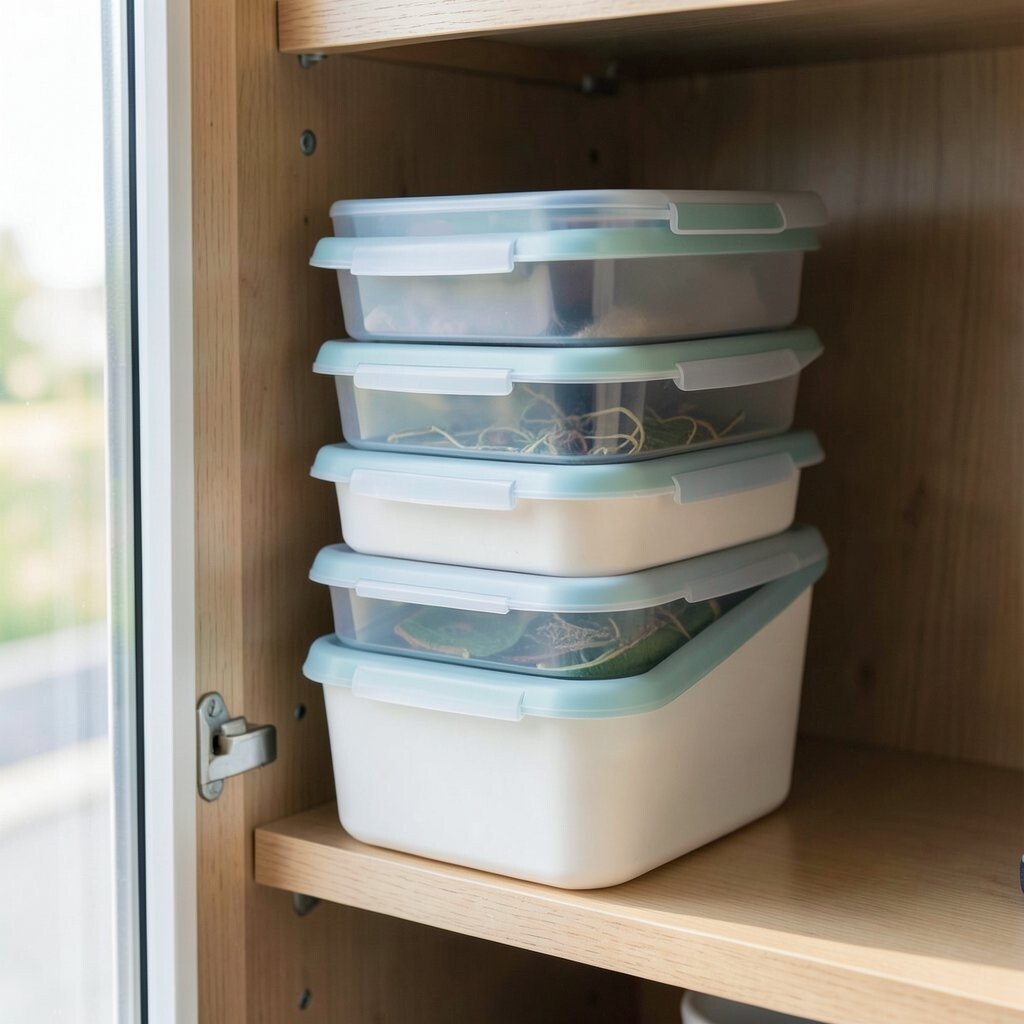
Stackable containers help you turn a single shelf into a neat series of levels. You get a clean visual line instead of a cabinet full of uneven boxes.
Look for containers with lids that lock in place or align well so the stacks feel stable. This is especially useful for cabinets with deep shelves where items can otherwise slide around.
15. Pull-Out Racks for Spices and Baking Tools
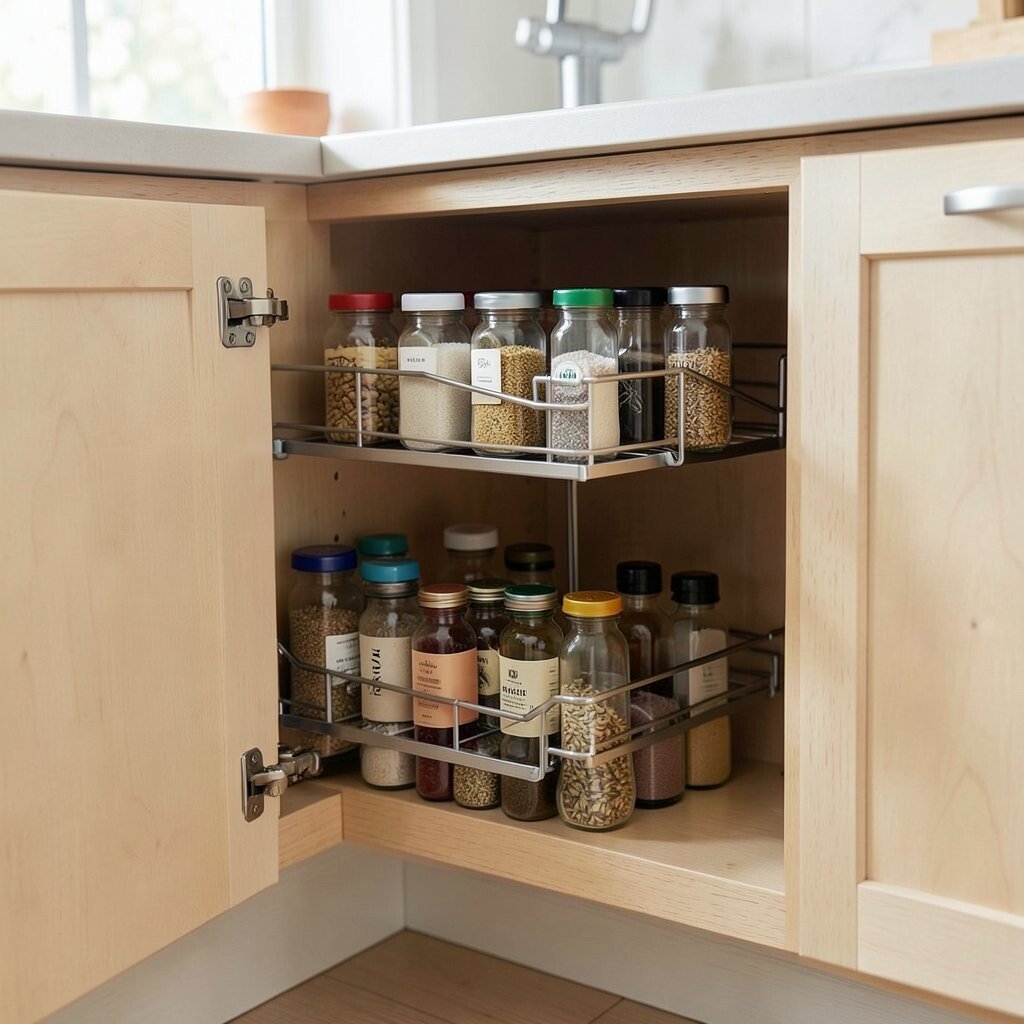
Pull-out racks make it easy to reach items without digging through the back. Spices, small bottles, and baking tools feel much more accessible when they glide out smoothly.
You can personalize the setup by arranging spice bottles in the order you cook, not just alphabetical order. If you want to keep costs down, install a rack only in the cabinet you use daily and prioritize that space first.
This type of upgrade matches a growing trend toward functional storage that improves flow in real kitchens. The payoff is big because your tools stay where you can see them and grab them quickly.
16. Add a Soft Liner to Prevent Sliding and Scratches
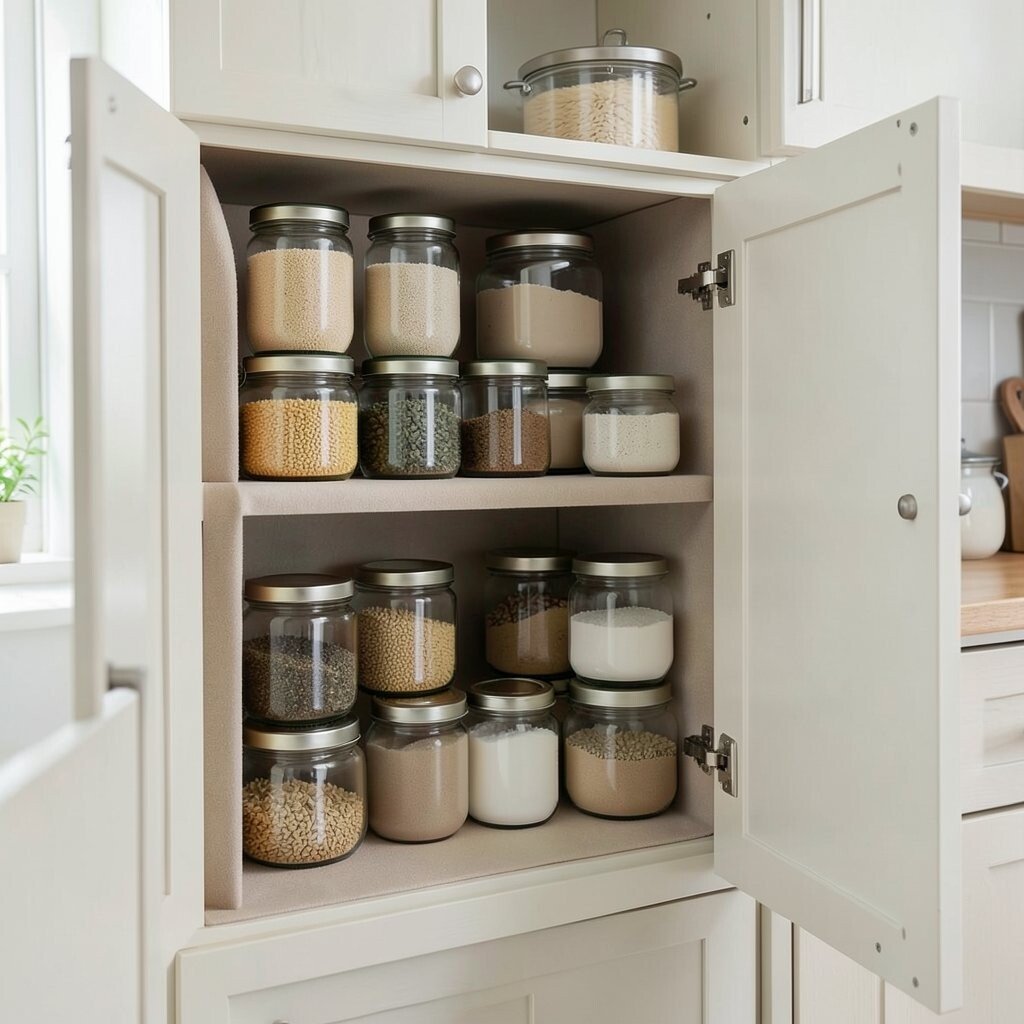
A simple cabinet liner makes everything feel more stable and protects shelves. When jars and containers grip the surface, they stop sliding and the cabinet looks calmer.
Choose a non-slip liner for best results and trim it to fit neatly so edges do not curl. Pair it with organizers so items stay put even when you open and close the cabinet often.
For a personalized finish, use a liner color that matches your kitchen vibe, like warm beige or light gray. You can upgrade gradually since liners are usually an affordable step that improves the look right away.