A photo board can make a room feel like yours in minutes. The right mix of images, texture, and layout turns everyday walls into something special.
Use these ideas as building blocks, then tweak them until they match your style, your light, and your budget.
1. Gallery Wall With a Theme
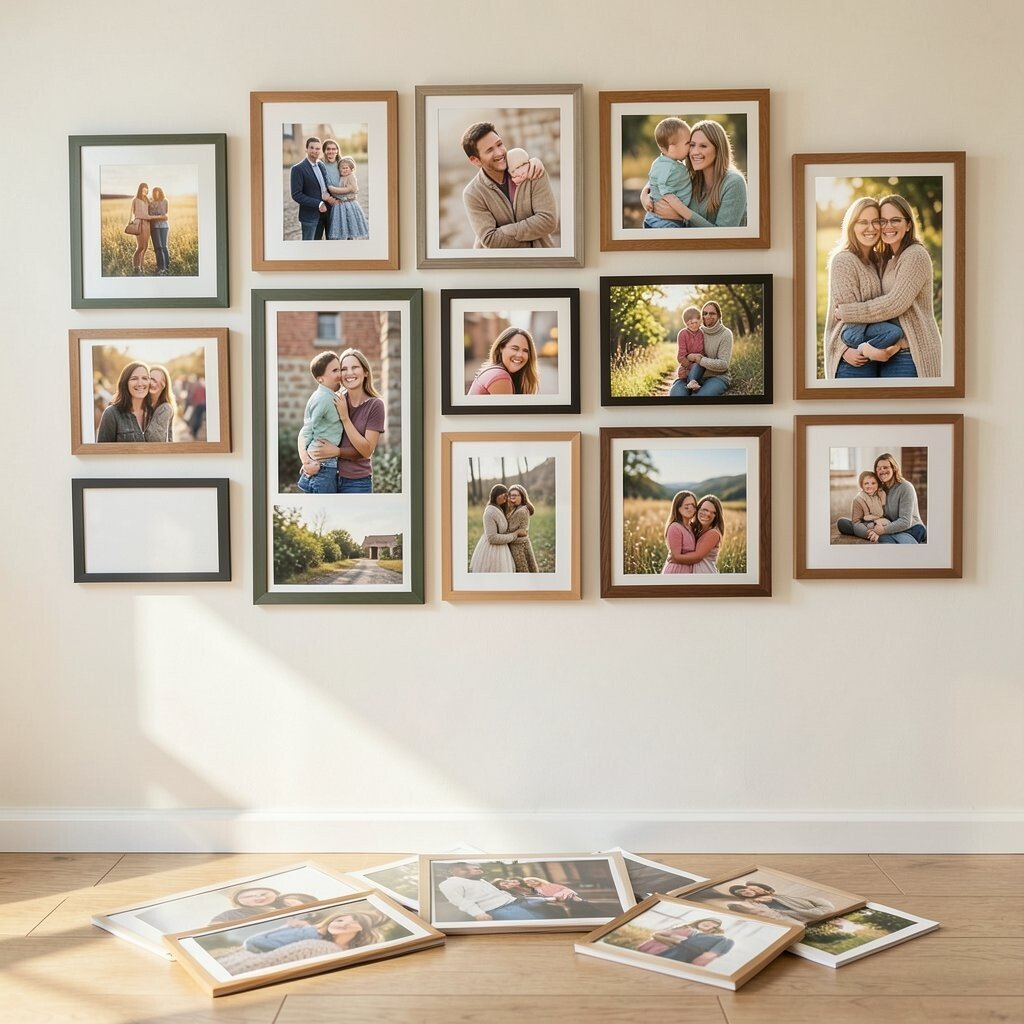
Pick one clear vibe, then let every photo follow it. Think of warm travel snapshots, family portraits, or cozy home moments that all share similar tones.
Start by laying photos on the floor so you can see how the colors talk to each other before you hang anything. Use matching frames or consistent mat colors to make the wall look neat and intentional, even if the photos are different.
2. Polaroid-Style Board With Sticky Tabs
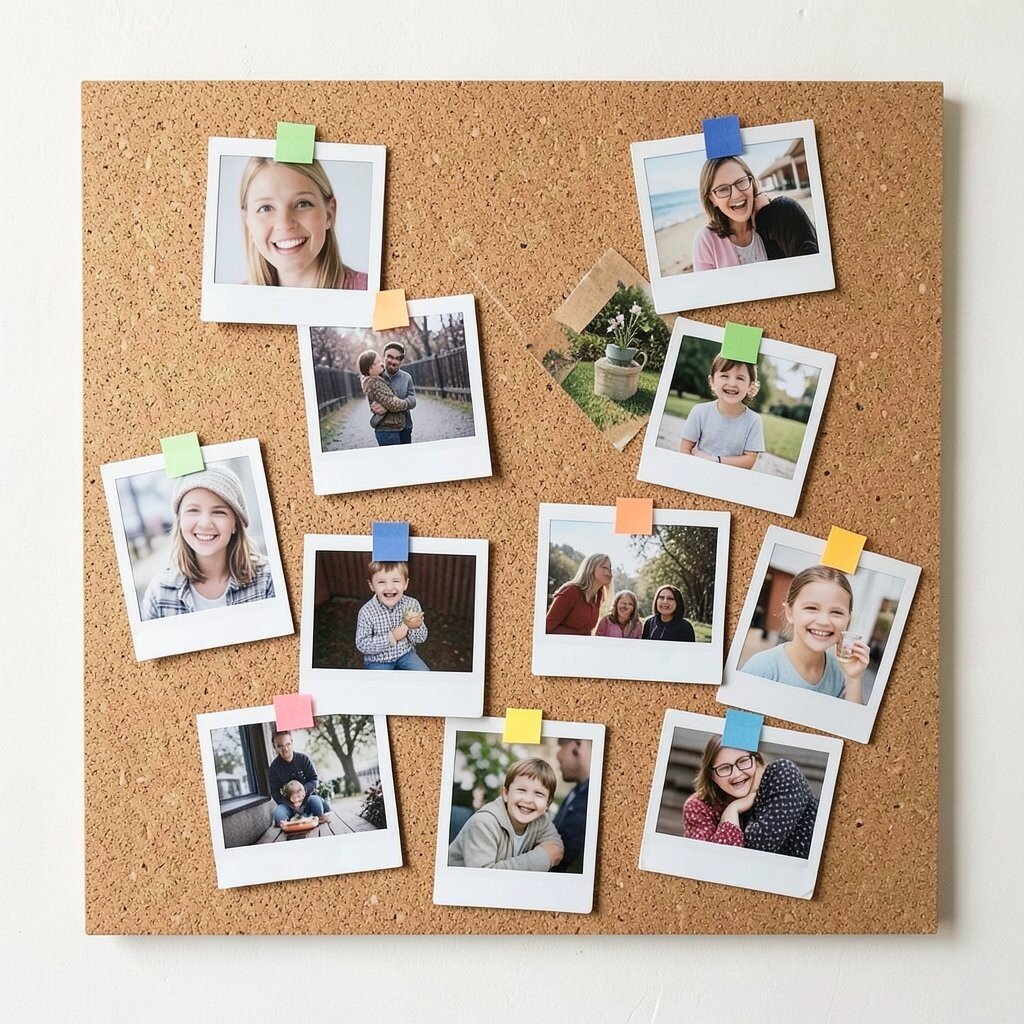
Imagine a board that looks playful and lived-in, like it’s constantly updating. Polaroid-style prints plus small sticky tabs give you that casual, slightly messy charm.
Choose a cork board or a textured backing, then attach prints with small clips or removable squares. You can swap pictures seasonally, and the whole board stays flexible without starting over.
For a budget-friendly approach, print your favorites at home or order a small batch online, then keep extras for quick changes. Use tabs in two or three colors so the board looks planned, not random.
3. Fabric-Strung Photo Board
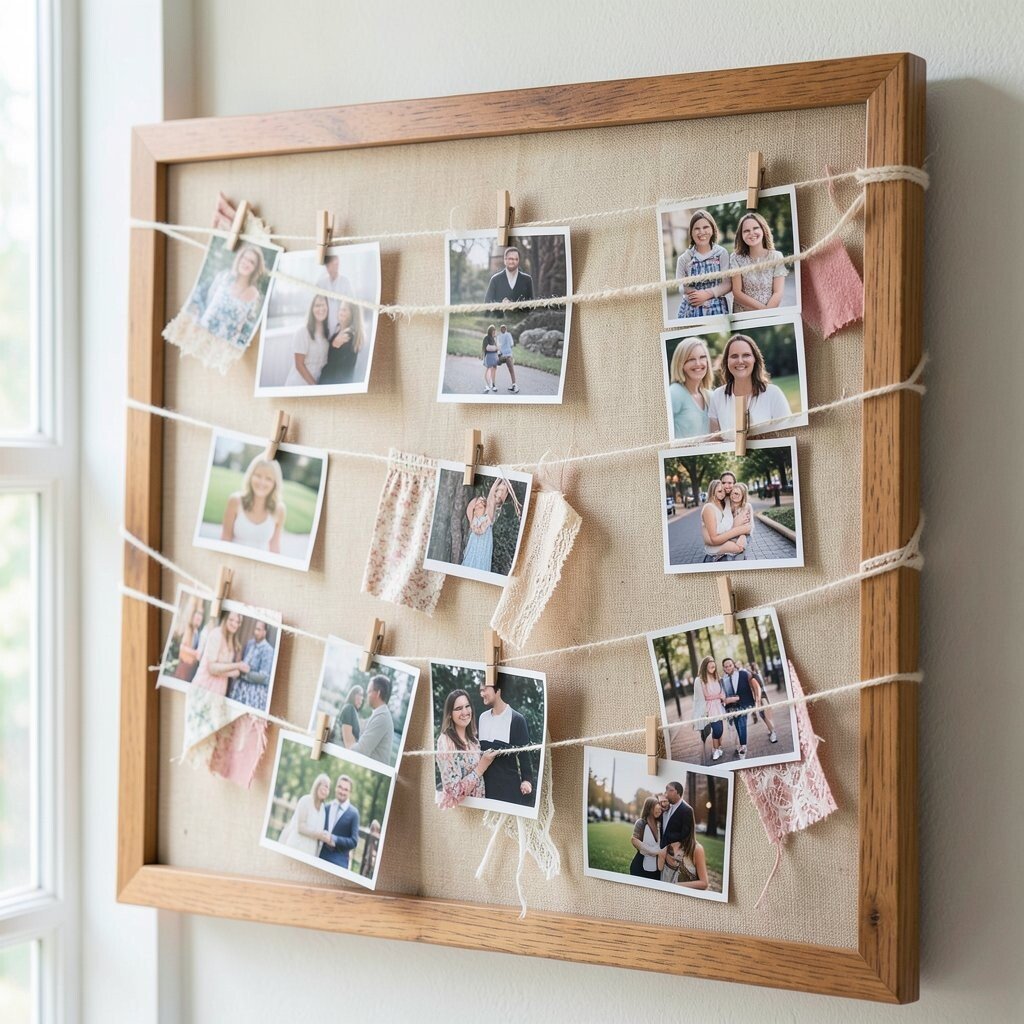
Picture a soft board where photos hang from thin fabric lines instead of rigid pins. The look feels airy, especially in rooms with natural light.
Stretch lines across a wooden frame, then attach photos with clothespins or small clips. This method works great for art prints, tickets, and mini photo strips because you can space them however you like.
To personalize it, mix in fabric scraps, lace ribbons, or even a subtle pattern that matches your curtains. If you’re handy, stain the wood for a warm tone, and if you’re not, a pre-made frame makes it easy.
Cost-wise, you can keep it simple with a thrifted frame and cheap cotton cord. The benefit is that you can rearrange photos often without damaging anything.
4. Black and White Board With One Accent Color
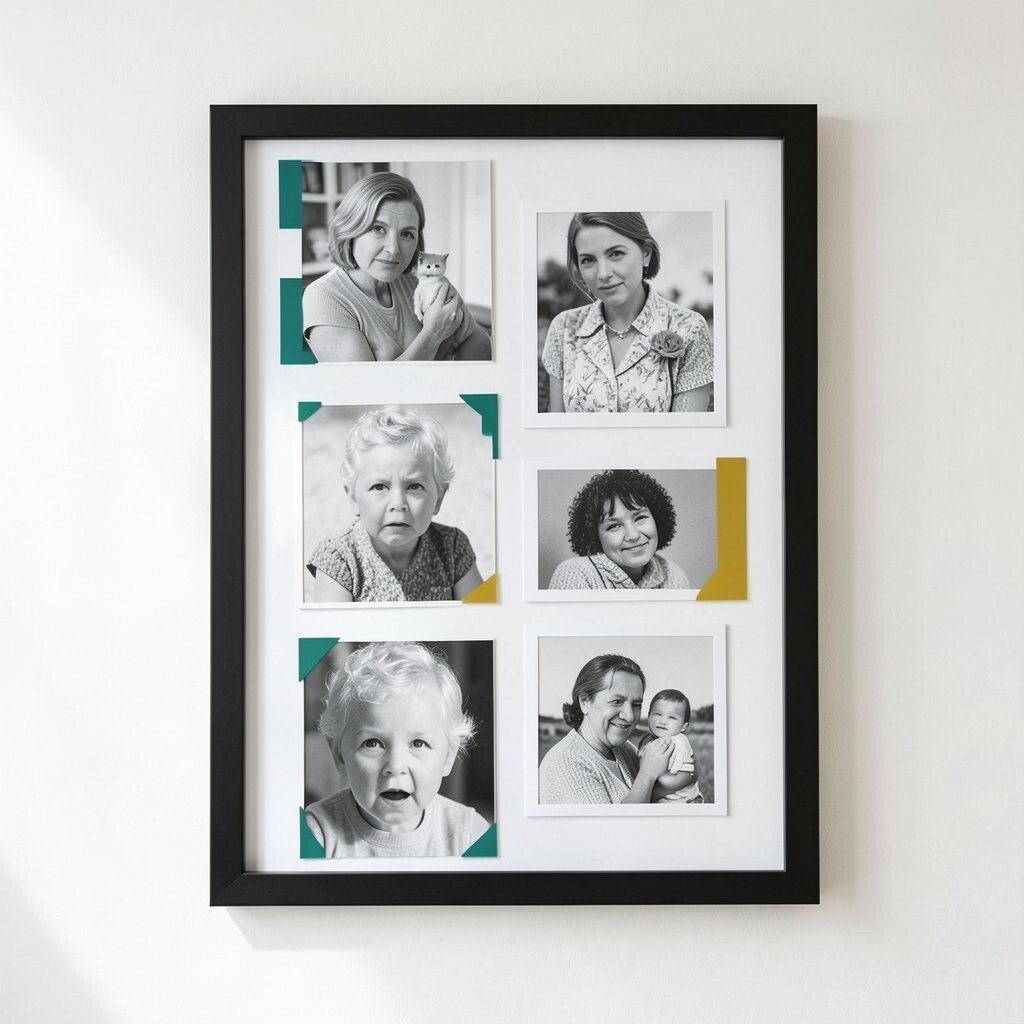
Seeing everything in black and white can make your space feel classic and calm. Add just one accent color like teal, mustard, or blush to keep it from feeling too quiet.
Print your photos in grayscale, then select a few frames or corners to match the accent color. This trick helps busy rooms feel balanced because the eye knows where to land.
5. Color Block Board Using Photo Swatches
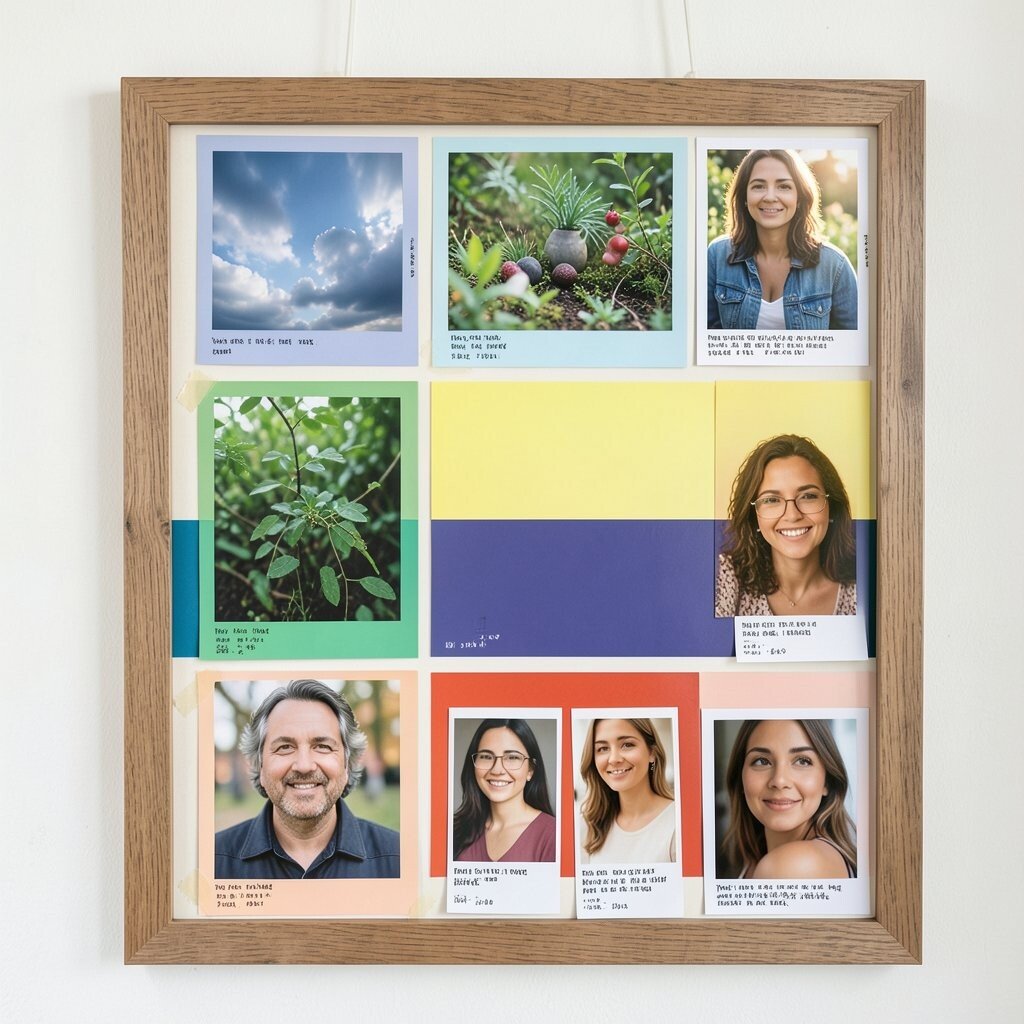
Think of your photo board like a rainbow made from real memories. You can group images by shade so each section looks crisp and satisfying.
Choose a few photo categories, like sky photos, greenery, and skin tones, then arrange them by color families. Add small notes on the back of prints so you remember why each one matters, then tape them neatly behind or on the edge.
To keep it budget-smart, reuse frame mats you already own and just swap photos as your taste evolves. A popular trend right now is using bold color sequencing instead of random collage chaos.
6. Bulletin Board With a Ribbon Divider
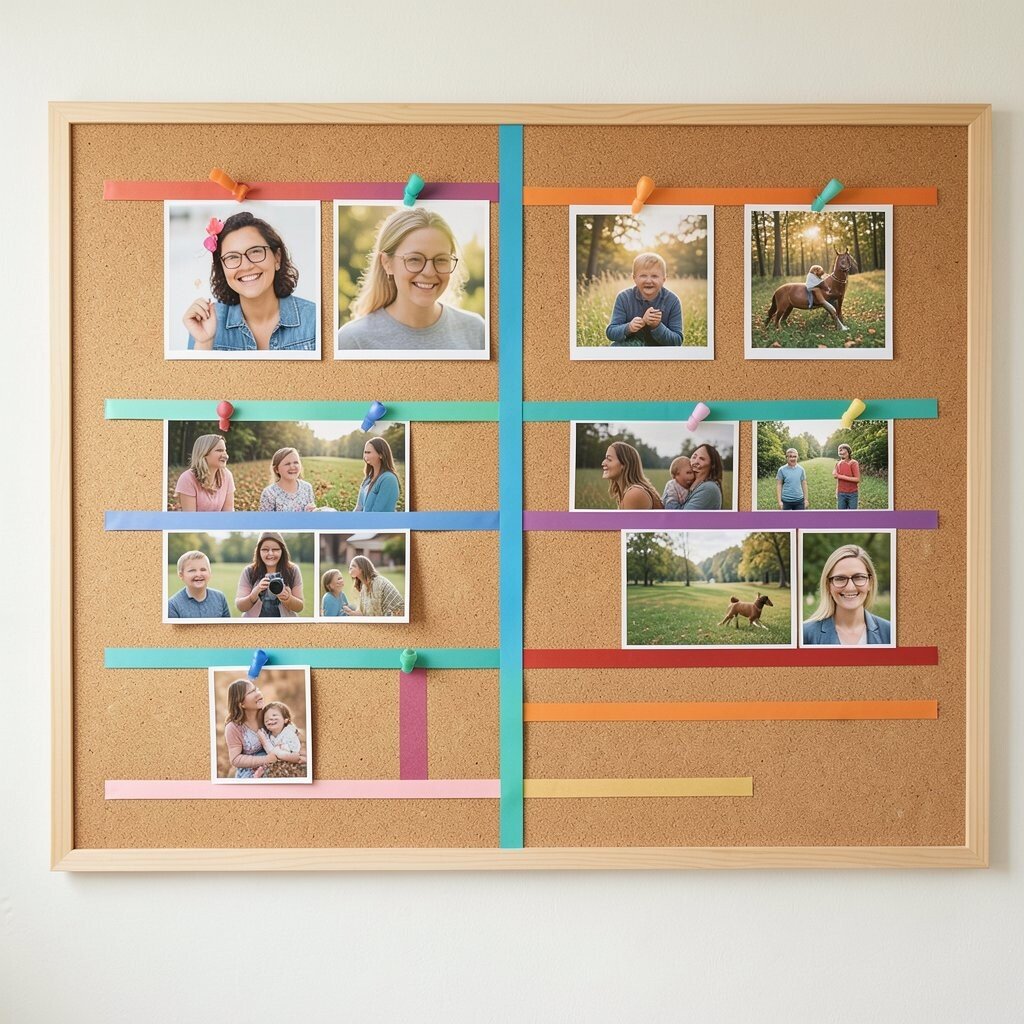
Picture a board that’s organized but still creative, with ribbons carving out sections. It gives your photos a clear structure without making the display stiff.
Use a large cork board, then tack or glue ribbons across it in a grid-like pattern. Hang different kinds of photos in each space, like portraits on one side and landscape shots on the other.
If you want it extra personal, use ribbon in the color of your favorite paint or sofa fabric. This helps the board feel tied to the room instead of floating on its own.
7. Mirror-Adjacent Board for Light and Depth
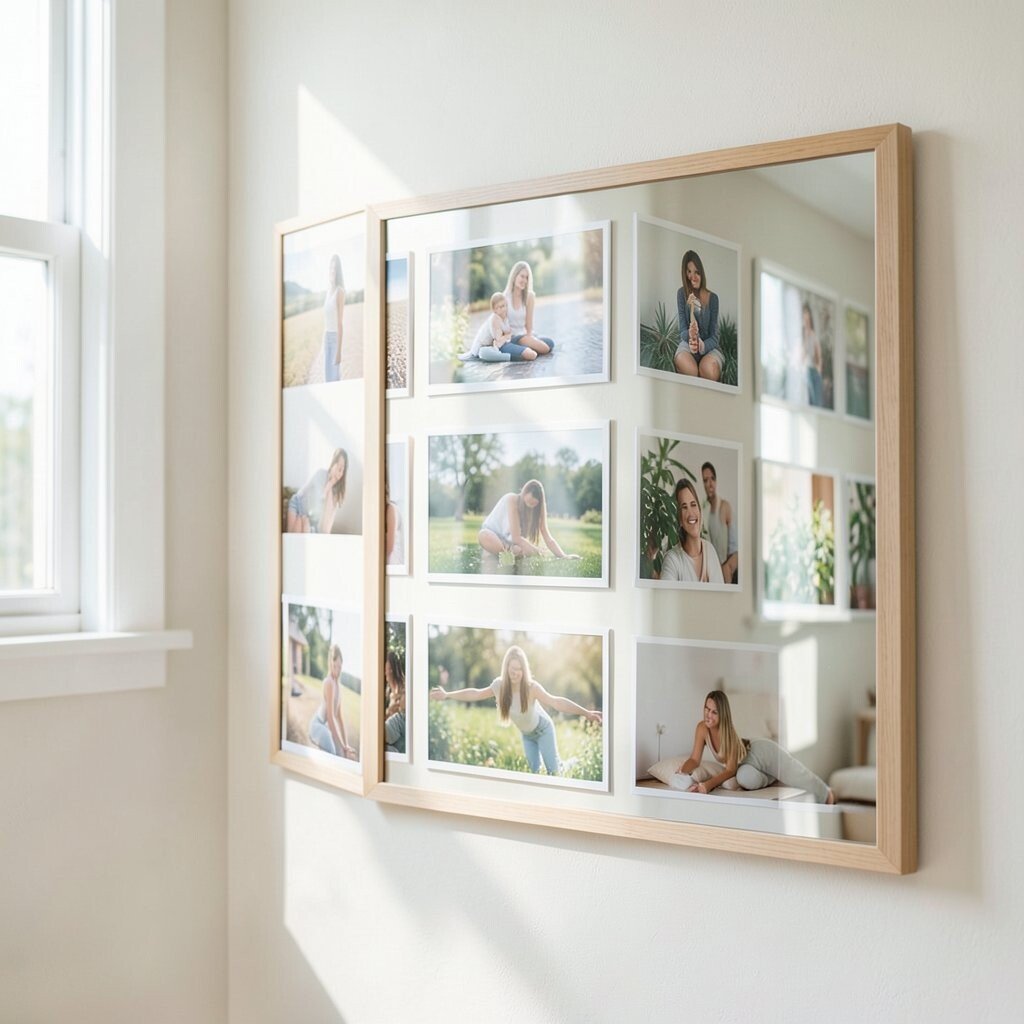
Put your photo board near a mirror so the room gets visual “extra” light. When photos reflect, the display looks bigger and more layered.
Choose images with bright highlights, like window light, pale walls, or sunlit scenes, so the reflection feels soft. Keep frame styles consistent so the mirror and board look like a matched set.
This setup is great for small spaces because it adds depth without adding clutter. If you’re worried about cost, start with fewer photos and add more only when you’re sure of the layout.
8. Wood Slat Board With Clips and Chains
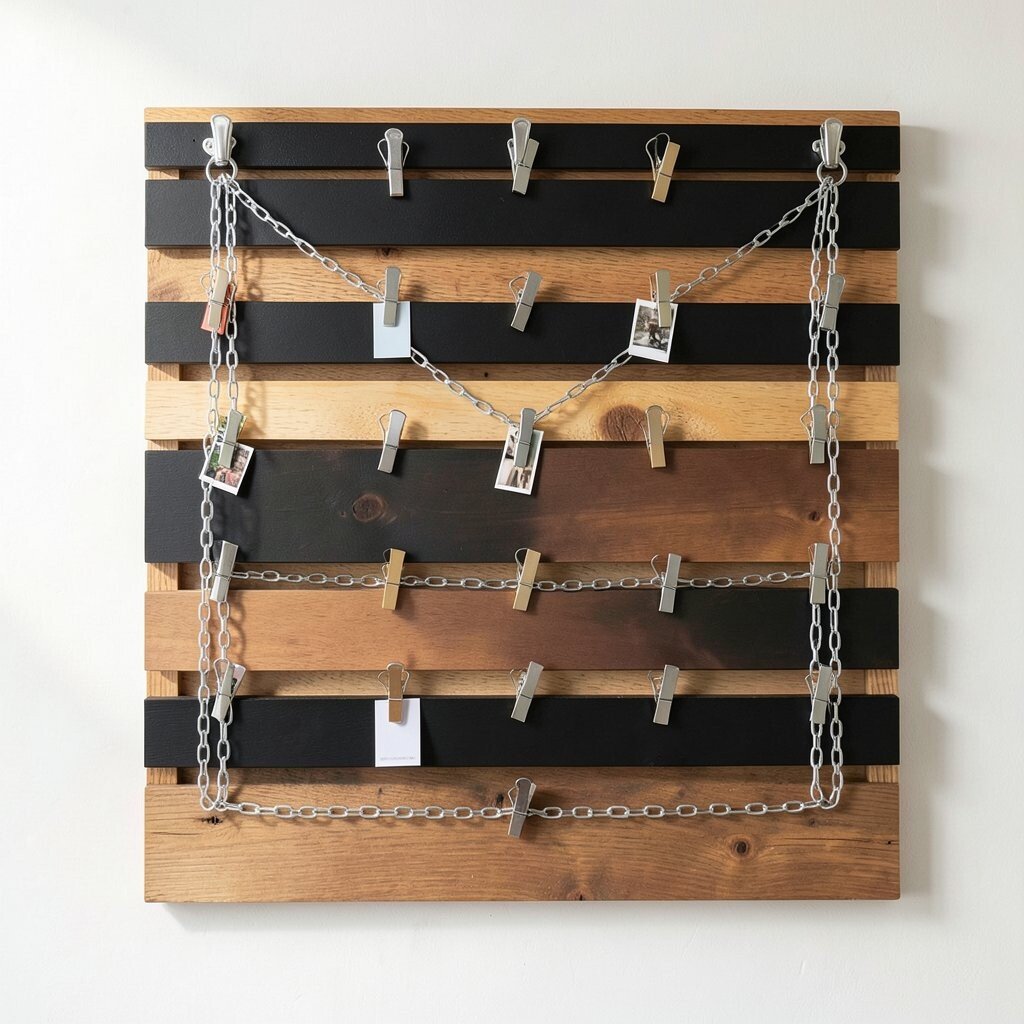
Imagine horizontal wood slats with small photo clips that hold prints like mini flags. The texture makes it feel modern, and the chains add a little edge.
Attach slats to a backing board, then hang chains that support photo frames or directly clip photos to the chain links. You can create a clean top-to-bottom rhythm while still changing pictures anytime.
Personalize it by painting slats in matte black or leaving them natural for a warm look. For practicality, use metal clips instead of magnets if you want sturdy holding for heavier prints.
9. Stair-Step Photo Board for a Cozy Corner
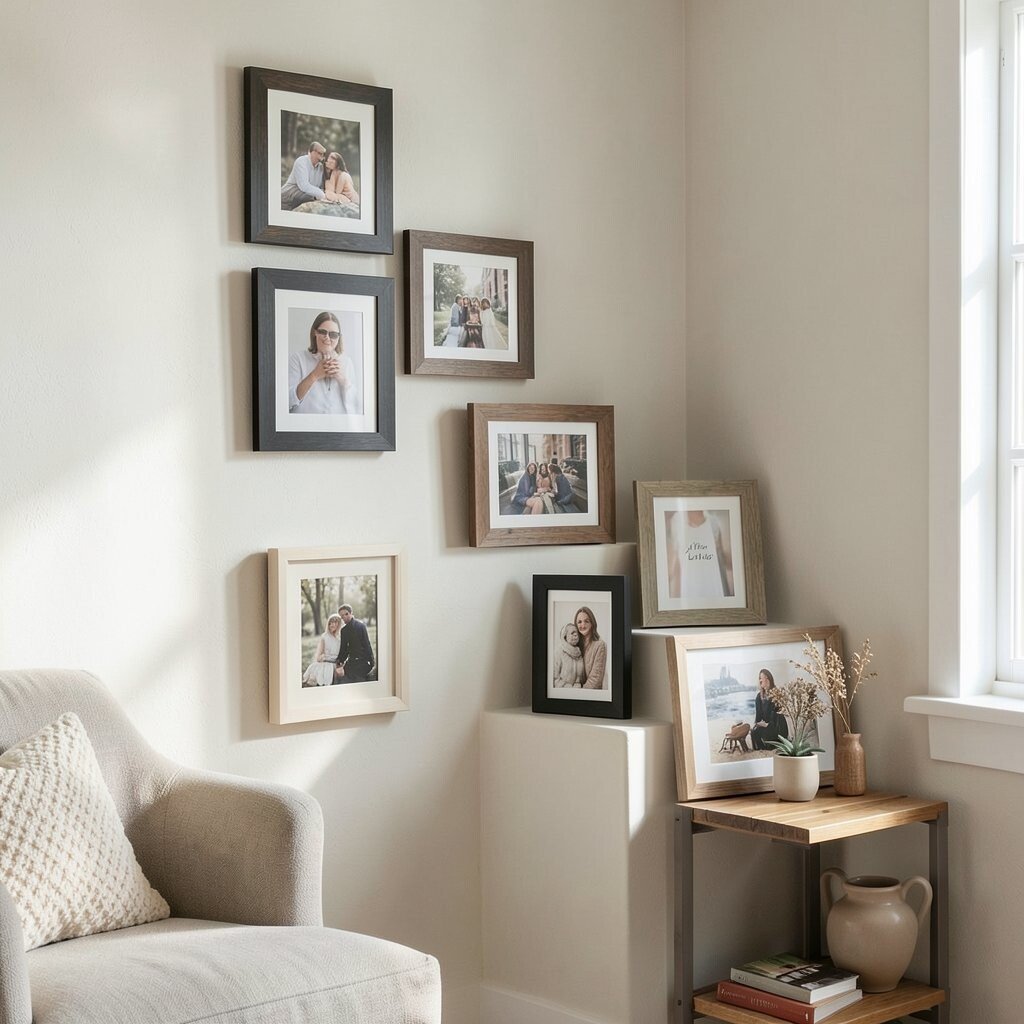
A stair-step layout turns your board into a little “photo staircase” that draws the eye upward. It feels welcoming and makes even a plain corner look designed.
Arrange frames so each row steps slightly higher than the one before. Keep the sizes close together so it looks intentional, then vary photo themes across the steps for interest.
Cost can stay low because you can use a mix of frame sizes from thrift stores. The benefit is that you get movement on the wall without needing extra furniture.
10. Magnetic Photo Board With Shape Choices
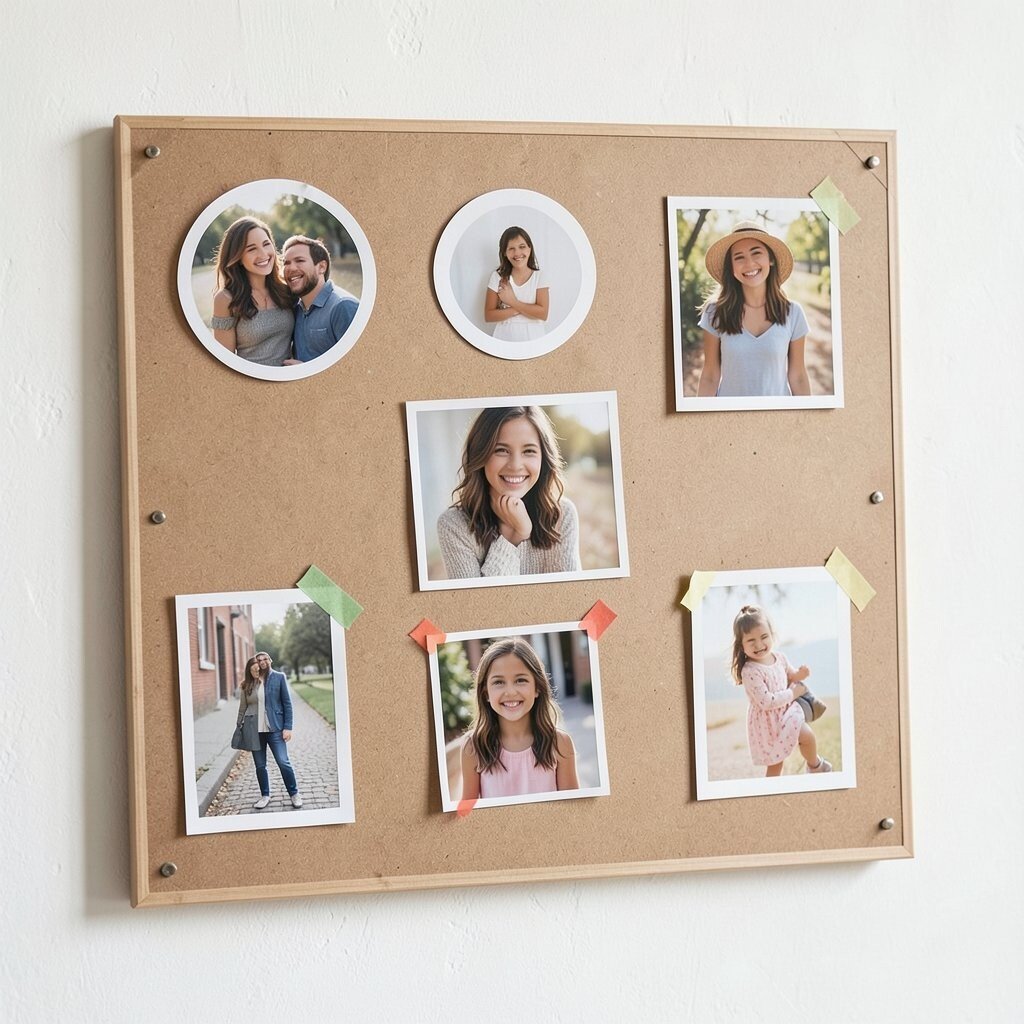
Use magnets to make your photo board playful and fast to update. Photos can be rearranged in seconds, which is perfect when your style changes over time.
Choose magnetic frames or photo corners, then cut small shapes from cardboard or foam to guide spacing. You can try circles for a soft look or squares for a tidy vibe, and both options feel current.
11. Envelope and Letter Photo Board
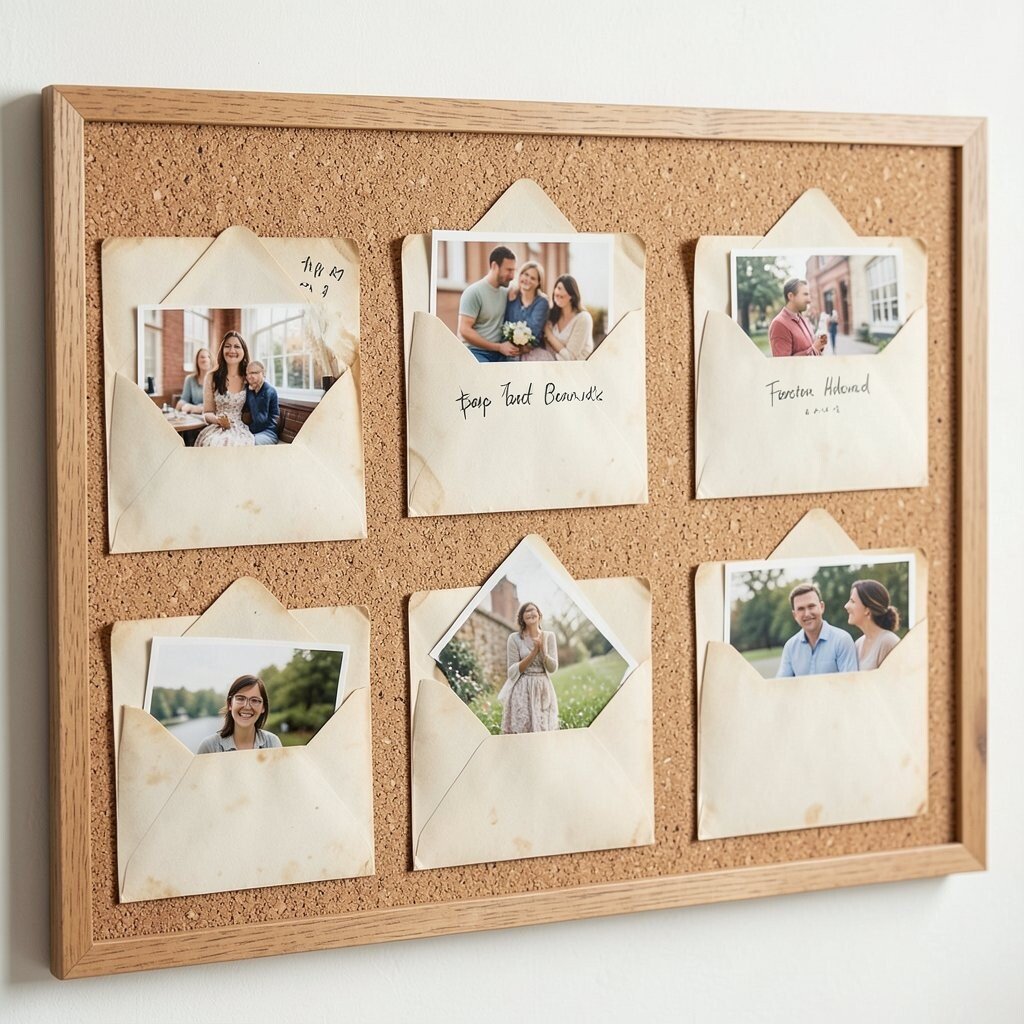
Picture a board that blends photos with small notes, like a memory mailbox. Instead of only hanging pictures, you tuck prints into envelopes for a neat surprise effect.
Attach vintage envelopes to a cork board or wooden board, then slip photos inside. Add one visible photo per envelope flap so you always see what’s there while still keeping everything organized.
This idea is unique because it mixes photography with storytelling in a simple, hands-on way. If you want personalization, write short dates or names on the front, and keep a few blank envelopes for new memories.
12. Sticky Notes Photo Board for Daily Moments
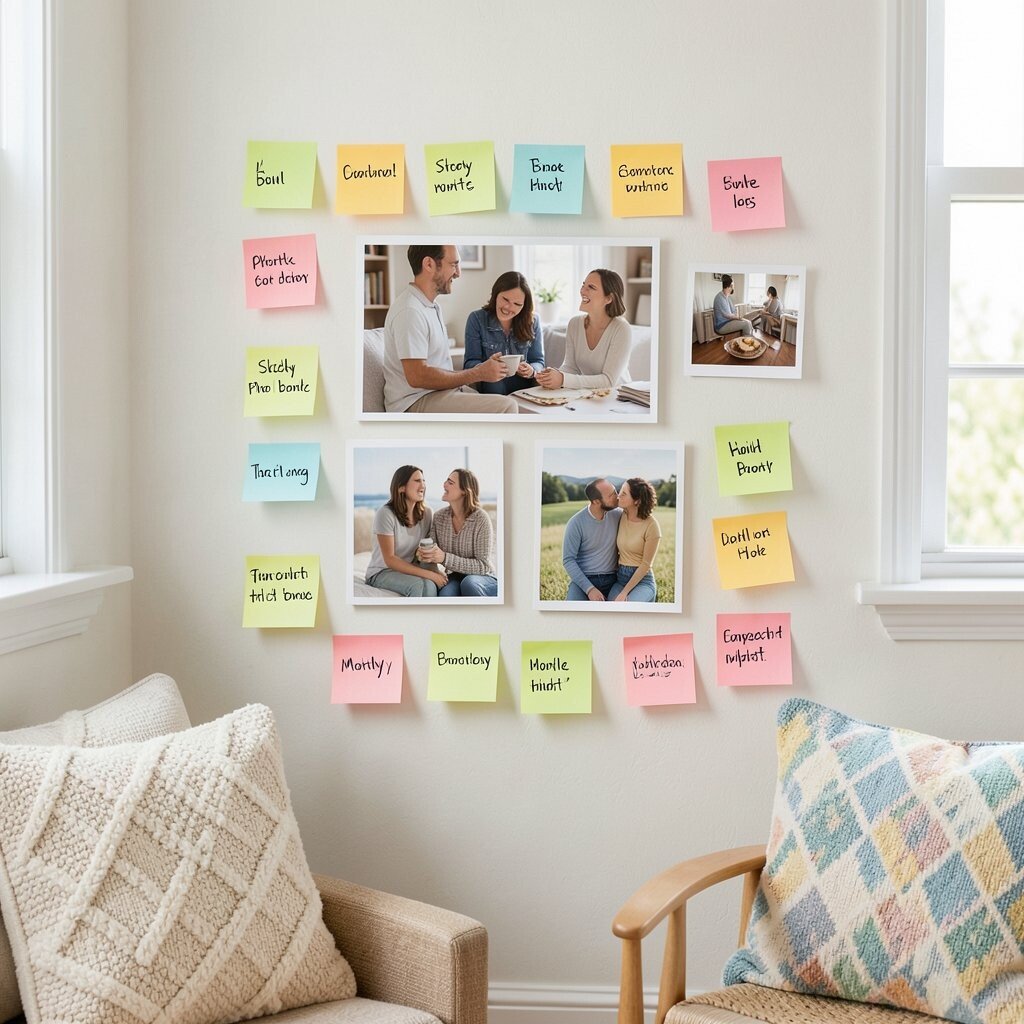
Some spaces need energy, not perfection, and sticky notes deliver that feeling. Put a few photos in the center, then surround them with little captions and colored notes.
Choose bright note colors that match your room accents, like a pillow or rug. It’s a trendy style right now because it looks casual, honest, and easy to keep up with.
To keep it from becoming messy, limit the number of photos and rotate the notes monthly. If your budget is tight, sticky notes and printed snapshots are one of the cheapest ways to refresh a wall.
13. Photo Board With a Map Background
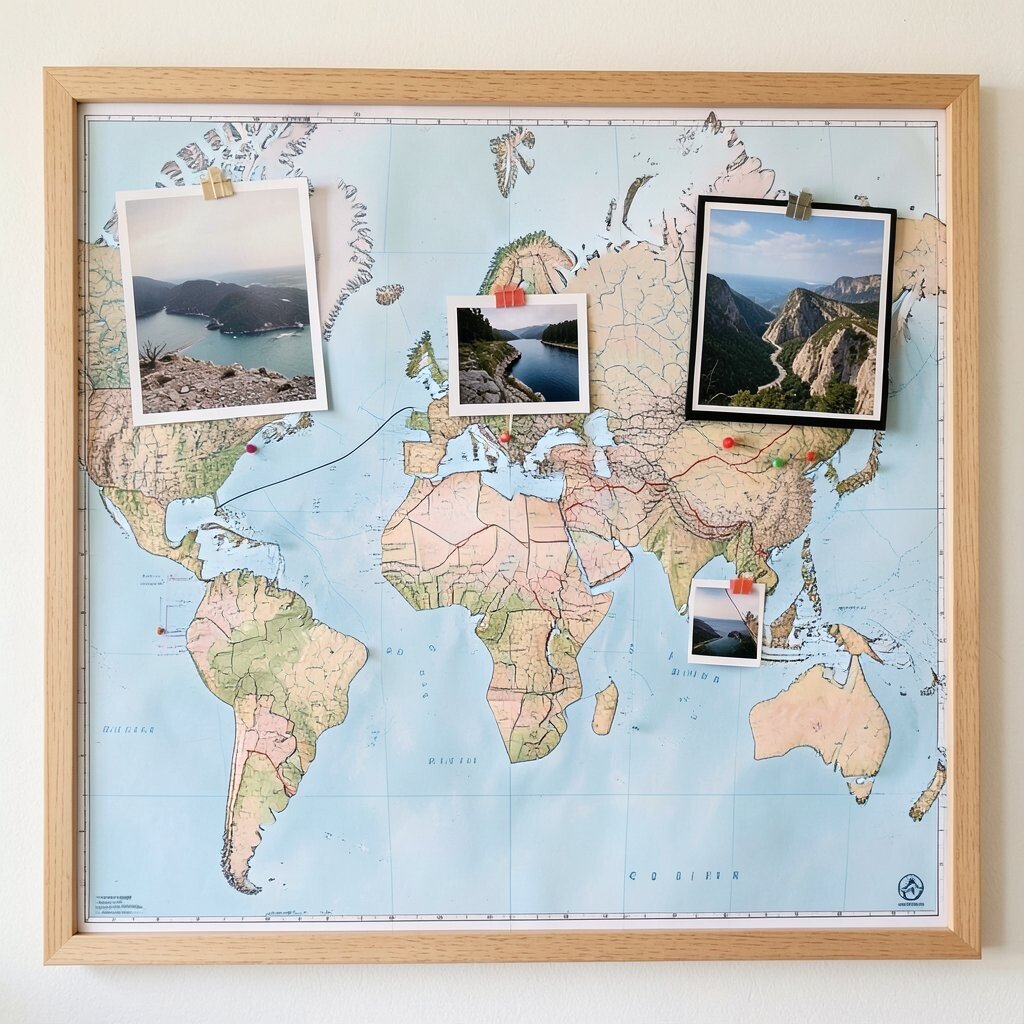
Imagine a photo board grounded in place, like a world map under your memories. It’s a strong visual base that makes travel photos feel even more meaningful.
Use a map print as the backing, then place photos on top with pins, tape, or clips. Choose frames that don’t overpower the map, like thin black or natural wood borders.
Personalize it by marking routes with a simple line in a pen or using small pushpins. This setup offers a great benefit because it keeps your theme consistent even as you add new photos over time.
If you want a cost-friendly path, print a map page at home and use photo corners instead of expensive frames.
14. Botanical Photo Board With Pressed Leaf Frames
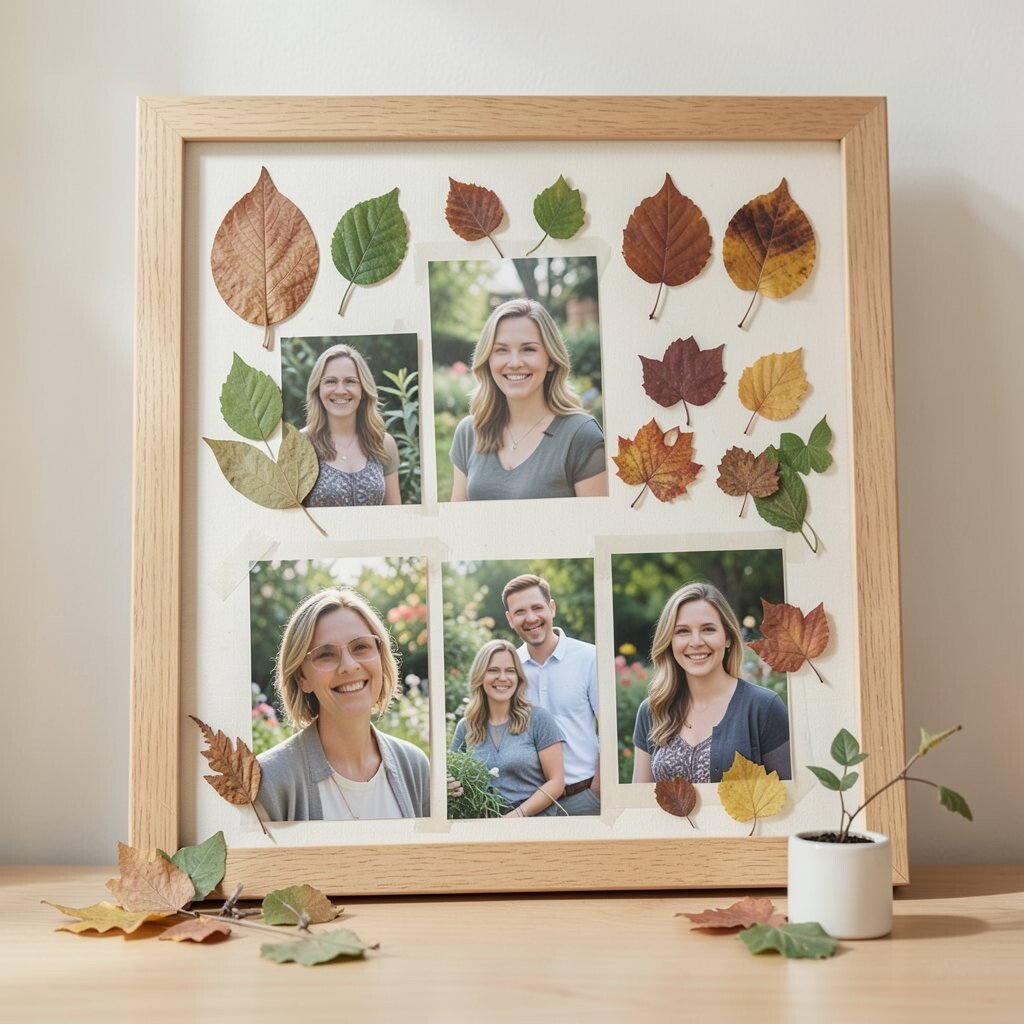
Bring a soft, natural mood into your room with photos plus tiny pressed leaves. The texture looks delicate, and it instantly makes the display feel handcrafted.
Place small botanical elements around your favorite portraits or garden photos, then frame everything behind glass if possible. If you don’t have glass, protect delicate items with clear adhesive strips and keep leaves away from areas that get direct sun.
To personalize it, press leaves in shapes that match the season, like spring green or autumn browns. This is a current trend because people love tactile decor that feels calm and grounded.
15. Theme Memory Board for a Hobby
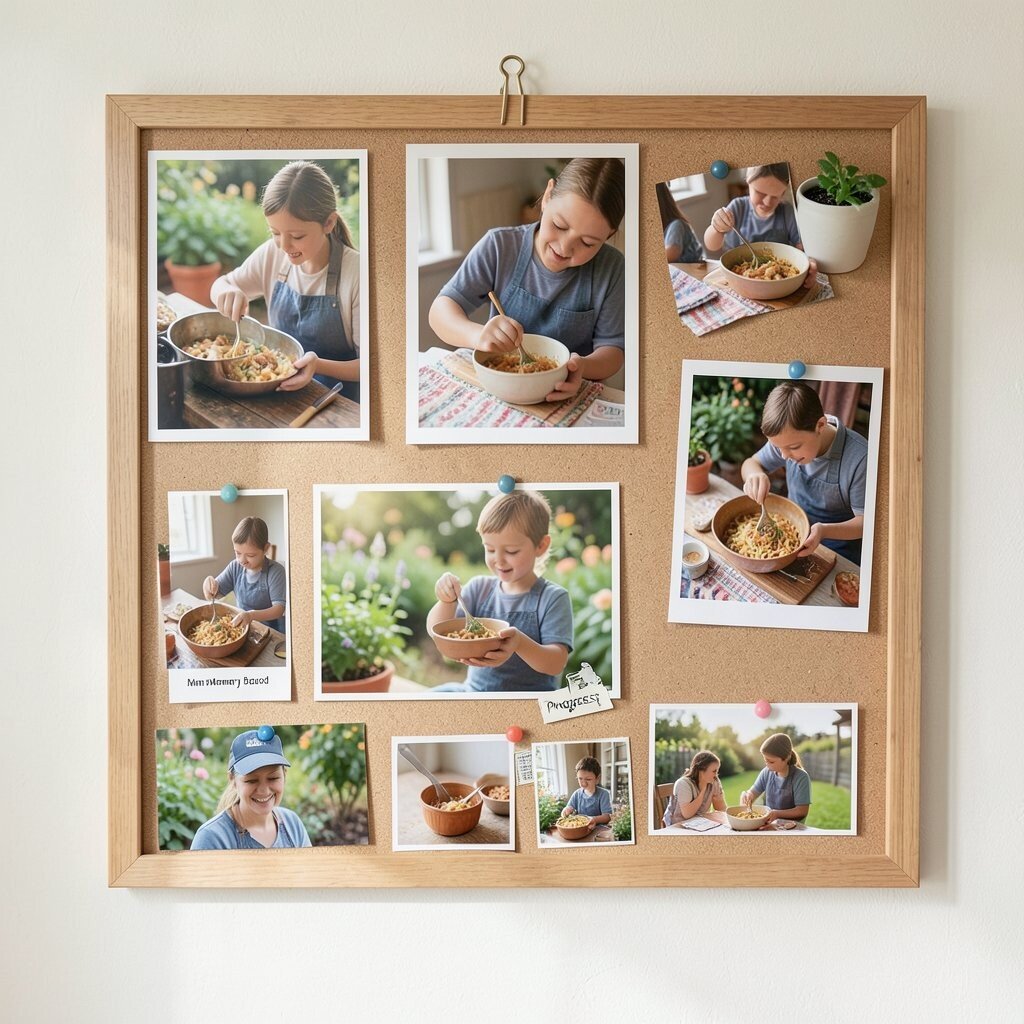
Show your passions through a photo board centered on one hobby. Whether it’s cooking, gaming, gardening, or crafting, the wall becomes a fun reminder of what you love.
Pair photos with small objects, like recipe cards, fabric swatches, or ticket stubs, then pin them right near the matching image. The benefit is that your board becomes useful, not just pretty, because it sparks ideas for what to do next.
For cost considerations, you can use free printouts for background textures and borrow frame ideas from online photos. Keep it unique by mixing photo sizes and adding one small “progress” section with before and after pictures.
16. Oversized Single Photo Board With Surrounding Frames
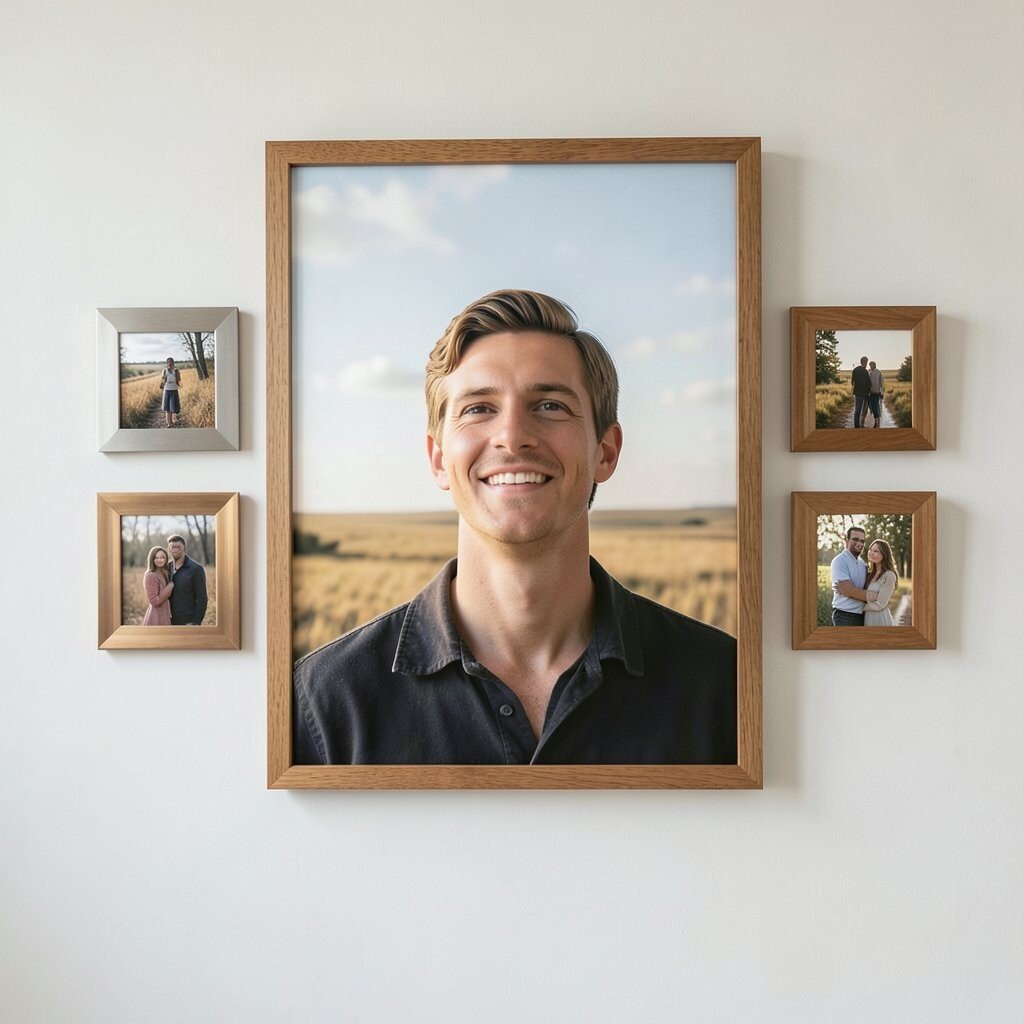
Instead of many photos, anchor the board with one oversized image and surround it with smaller frames. This approach makes your display feel bold and intentional.
Pick a photo with strong composition, like a portrait with clear focus or a landscape with a clear horizon. Use smaller frames to support the story, such as snapshots that show details of the same trip or event.
To personalize, choose a frame finish that matches your room hardware, like brushed metal or warm wood. This layout also helps budget planning because you don’t need to print a large number of photos to make an impact.
17. Patterned Tape Photo Board Like a Scrapbook Wall
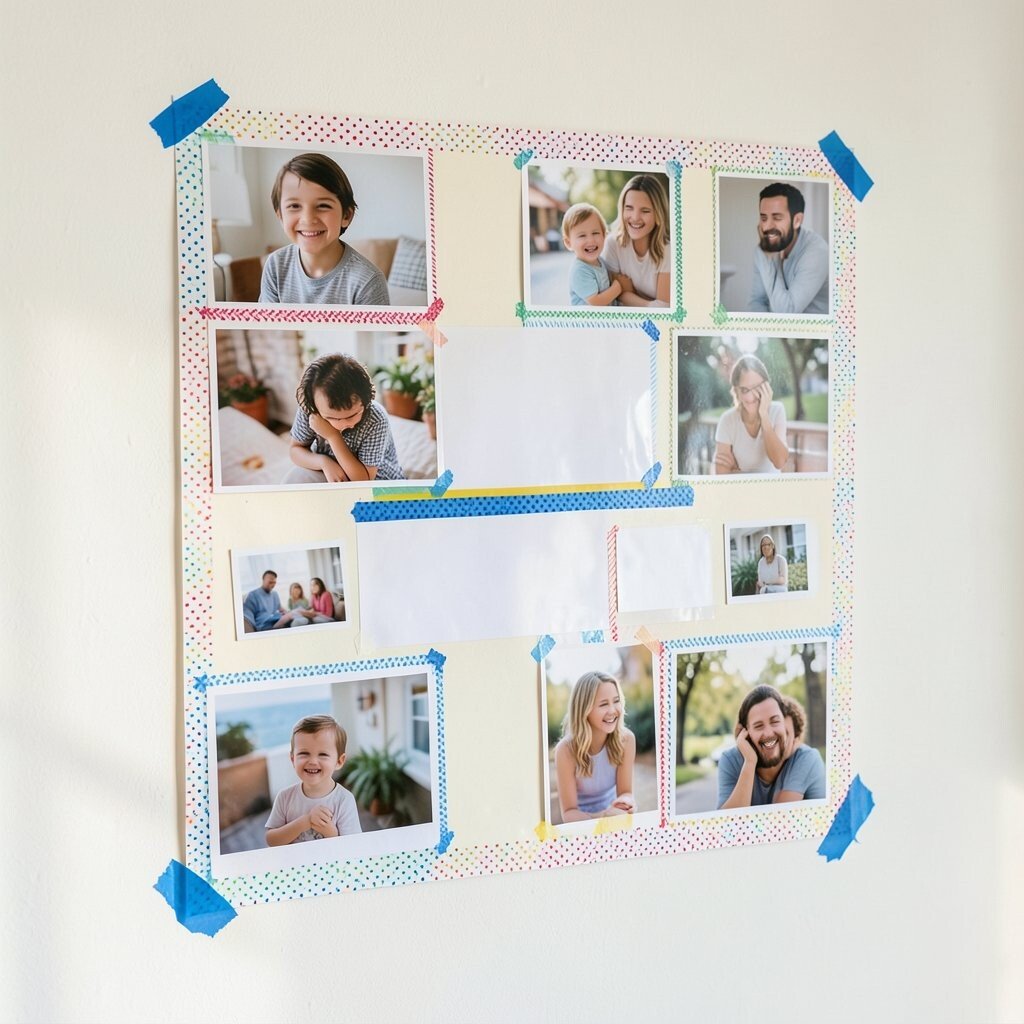
Think of a photo board that uses colorful patterned tape to create borders and shapes. It looks like a scrapbook page, but it stands on your wall.
Use painter’s tape or decorative washi tape to outline photo corners, then attach prints with photo tape or removable adhesive. Keep the pattern consistent, like tiny dots or thin stripes, so the board feels cohesive.
This idea is unique because the tape becomes part of the artwork, not just a tool. If you want a trend that feels modern, try clean tape lines with one bold color near the center.
18. Color-Coordinated Frames in a Grid
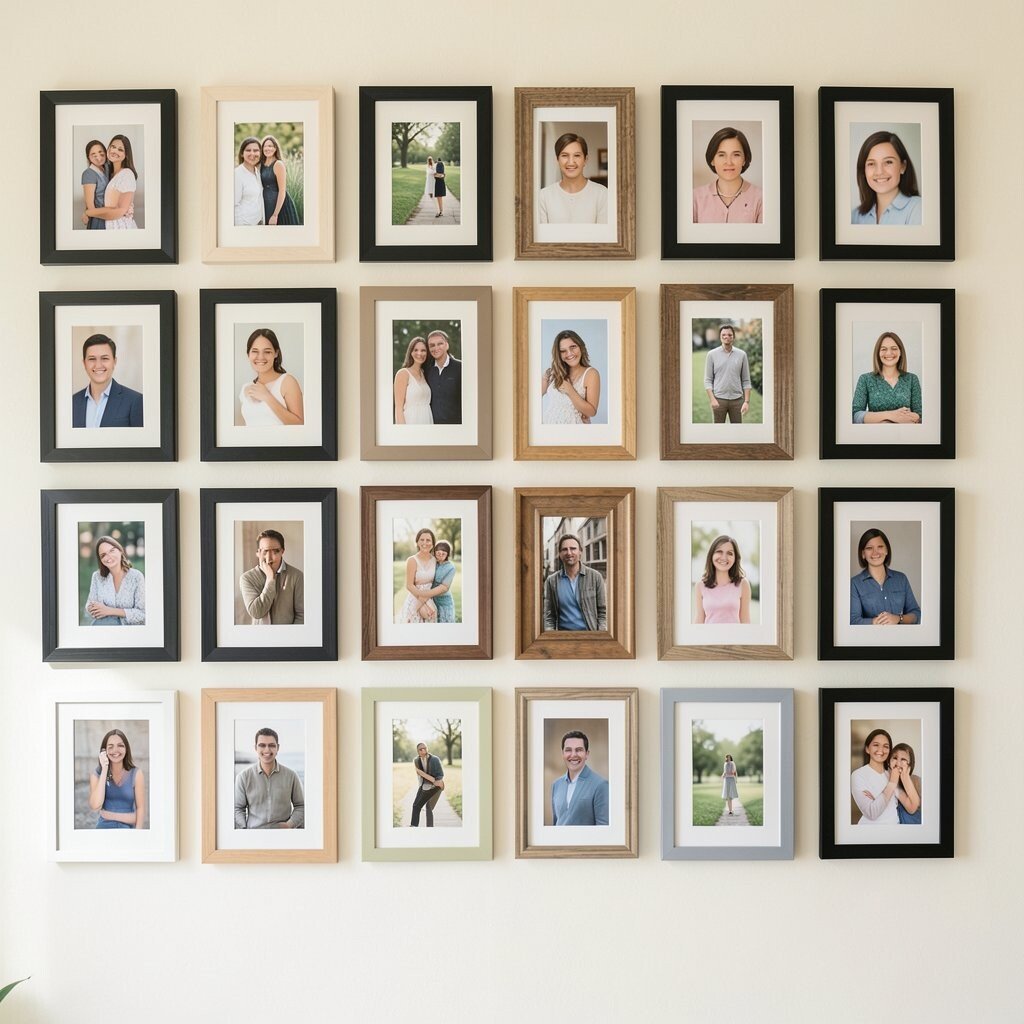
A grid of color-coordinated frames makes your photo board look neat even when you use many images. It’s perfect if you like order but still want personality on the wall.
Choose a limited palette, like cream, black, and one accent shade, then match each frame to that palette. Arrange photos so each row has similar brightness, which helps the wall feel calm rather than cluttered.
Cost-wise, mix new and thrifted frames so you stay within budget without losing style. The benefit is that the structure makes it easy to swap one photo at a time without changing the whole layout.
19. Rotating Photo Board With a Clip Rail
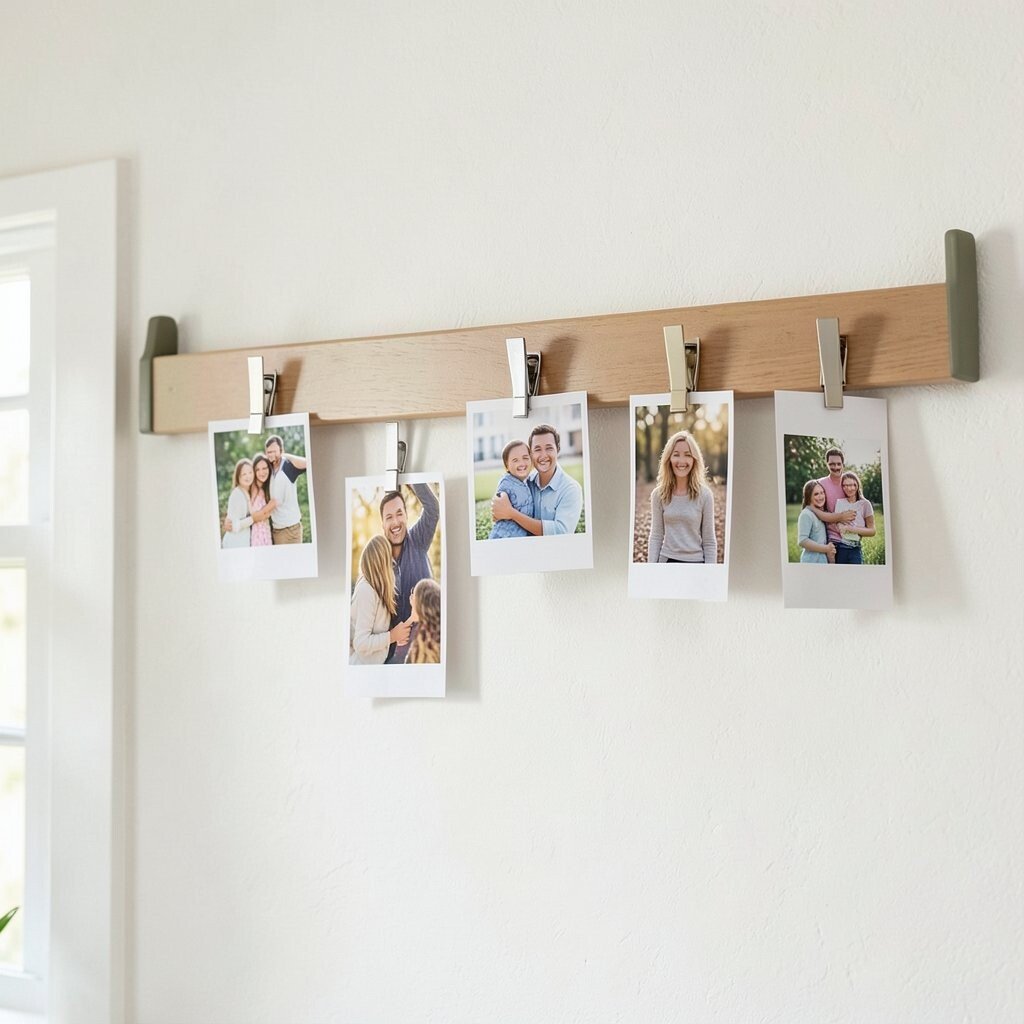
Set up a clip rail so photos can rotate like a mini slideshow on your wall. It keeps your space feeling fresh without needing to redo your setup every time.
Install a simple rail, then use uniform clips for photos, tickets, or small prints. Leave space between clips so the images breathe and look crisp, even when you change them often.
Personalize the rail by painting it the same color as your shelf or door trim. This is a practical choice because you’ll always have a place to put the newest memory, and the style stays consistent.
If you want a budget-friendly start, use a basic wooden rail and lightweight prints printed at home. The setup also fits the current trend of interactive decor that feels lived with rather than finished forever.