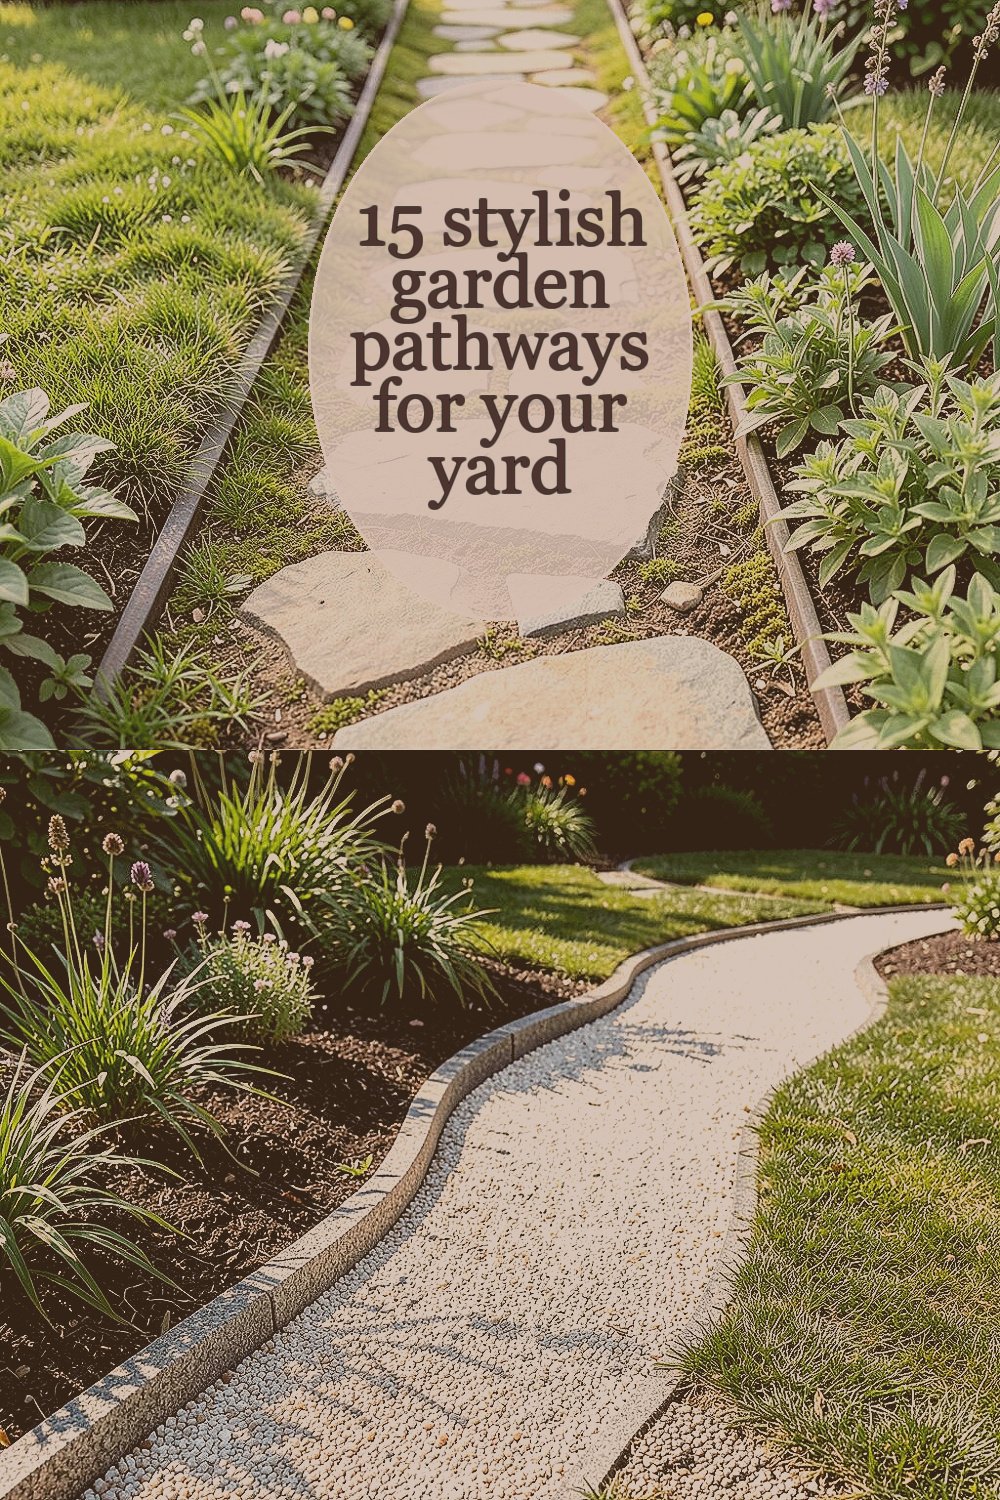
The right path turns a plain yard into a place you want to linger. A well-chosen route also makes daily walks feel smoother and safer.
1. Stepping-Stone Mosaic With a Soft Border
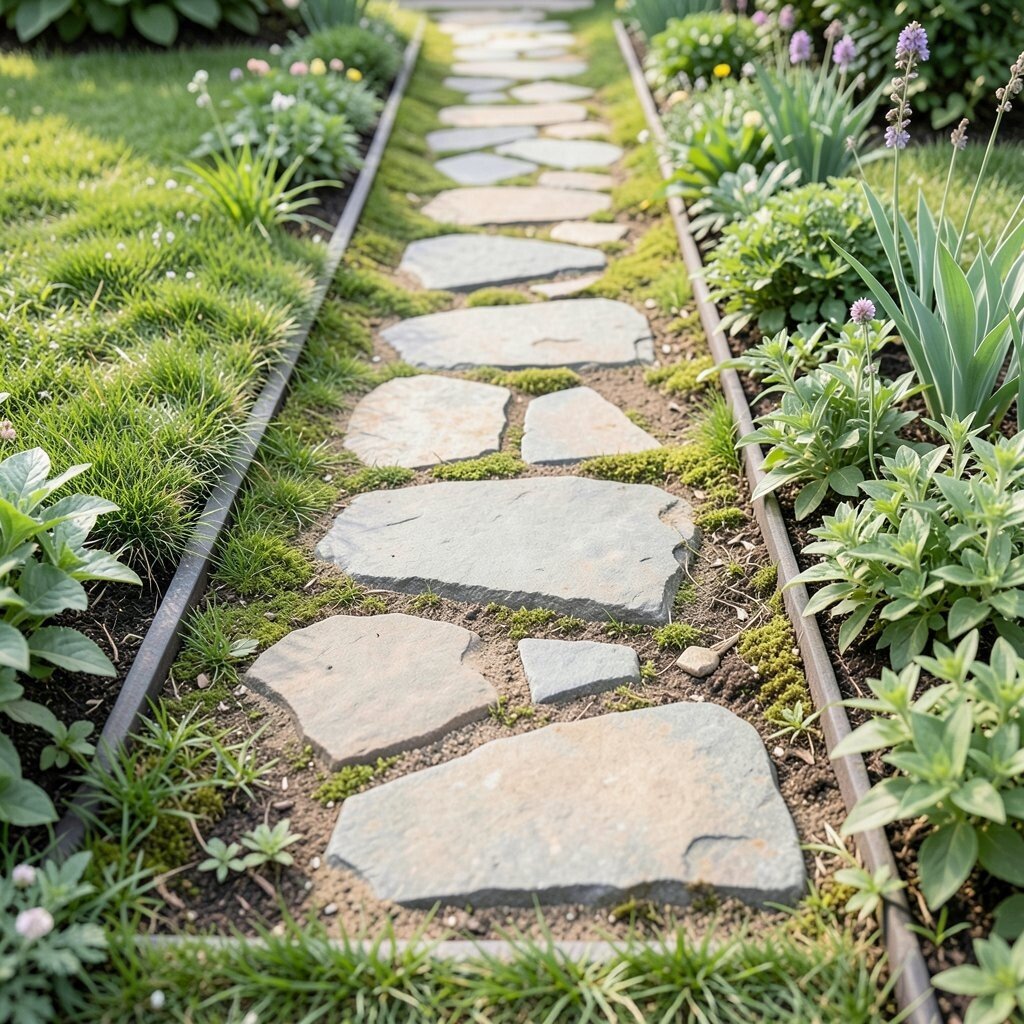
Think of a trail of stones like little tiles, set into grass so the walk feels light and airy. The border can be made from low edging plants, creating a gentle frame that looks tidy from every angle.
Choose stepping stones with different shapes but consistent colors, like warm gray with a touch of sand tone. This helps the path look designed instead of random. For best results, set each stone so it sits firmly and stays level, and fill gaps with fine soil or moss-friendly filler to keep weeds down.
Use larger stones where you expect your feet to land most, and smaller ones near curves to guide the eye. A simple personalization idea is to place one standout stone slightly bigger near the entry so it feels like a natural “welcome” moment. As for cost, you can start small with a narrow path and expand later, using salvaged stone or affordable precast pieces to keep the budget friendly.
2. Crushed Granite Ribbon in Curves
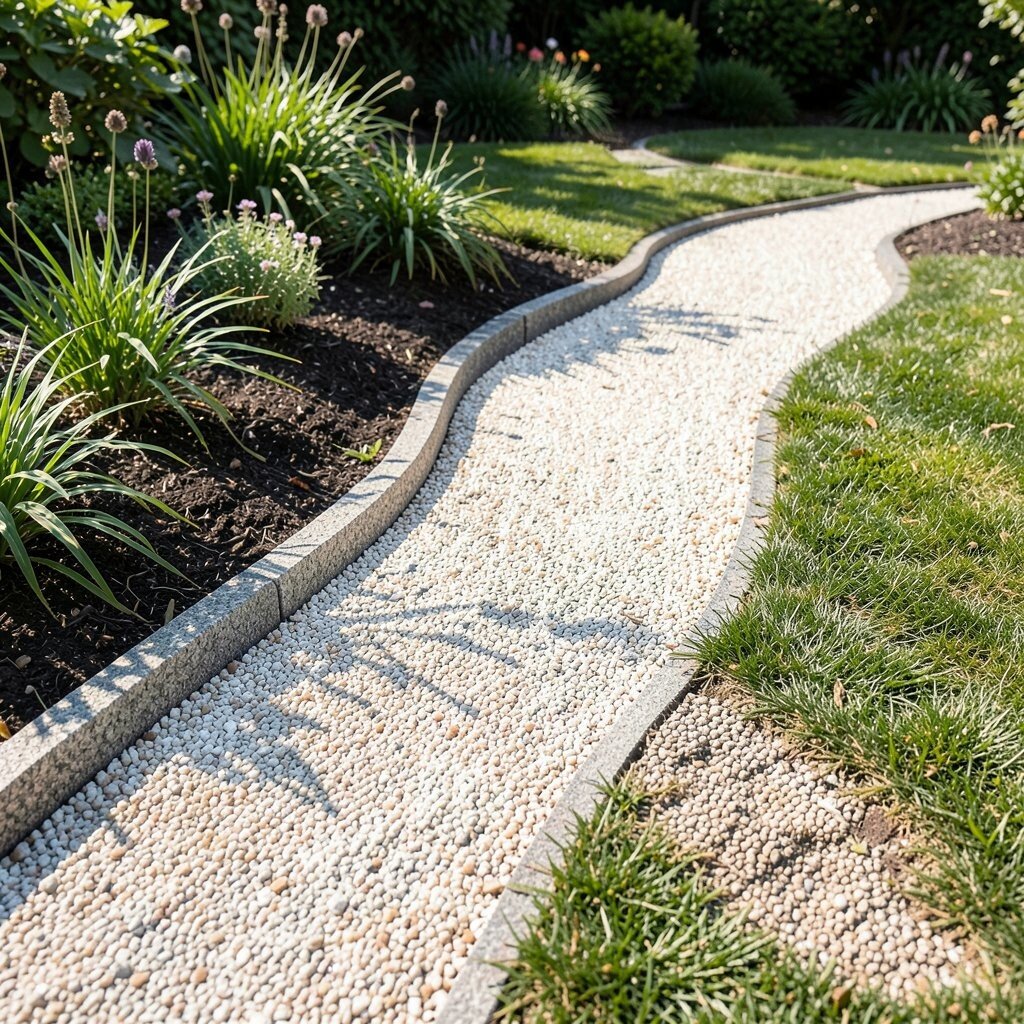
Imagine a ribbon of pale crushed granite sliding through your yard in a smooth curve. When sunlight hits it, the surface sparkles just enough to feel stylish without looking flashy.
Crushed granite is easy to shape, so you can match your garden’s natural lines instead of forcing everything into straight lanes. It also drains well, which means fewer puddles after rain. To keep it looking sharp, build a shallow edging border and compact the base layer before adding the top dressing.
If you want a more personal look, mix granite tones for a gentle gradient near beds or add a darker line to trace the curve. A practical way to tailor the feel is to set the path slightly higher than the surrounding soil so grass doesn’t creep in. Costs usually land in the mid range, and you can save money by widening only the most walked section.
3. Wooden Plank Walkway for a Cozy Look
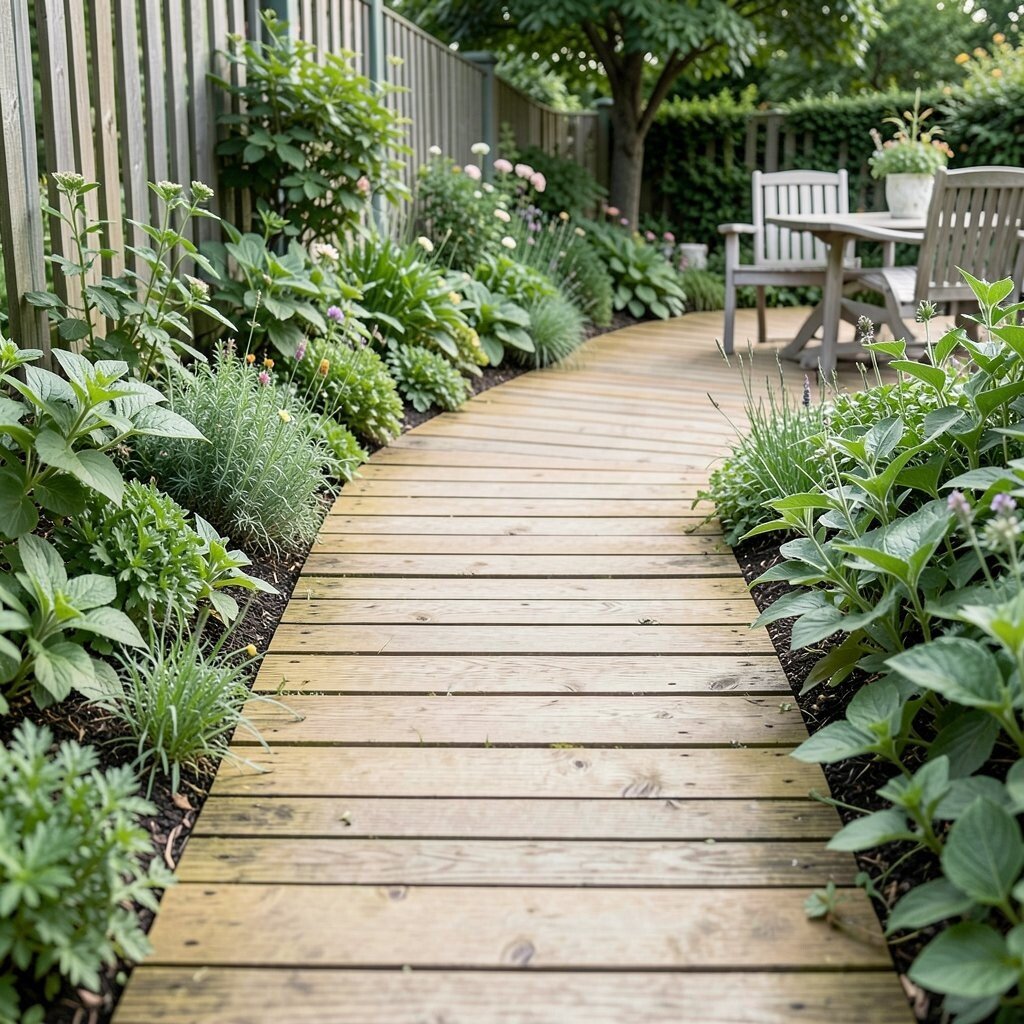
A walkway made of wood planks feels warm underfoot, even when the air is cool. The grain patterns add texture, and the gaps let greenery peek through like living decoration.
For durability, pick pressure-treated wood or use naturally rot-resistant options and seal them with a clear outdoor finish. Space the planks for easy stepping and make sure the base is compacted and level, since uneven ground will show quickly. This style looks especially great beside cottage gardens, shade-loving plants, and seating areas.
To make it uniquely yours, try a staggered plank layout that creates a small rhythm as you walk. You can also paint a narrow strip in a muted color to echo your fence or garden furniture. Budget-wise, wood can be either a bargain or a splurge depending on your choices, so measure your layout carefully and buy extra for future replacements.
4. Slate Flagstone With Straight-Lined Precision
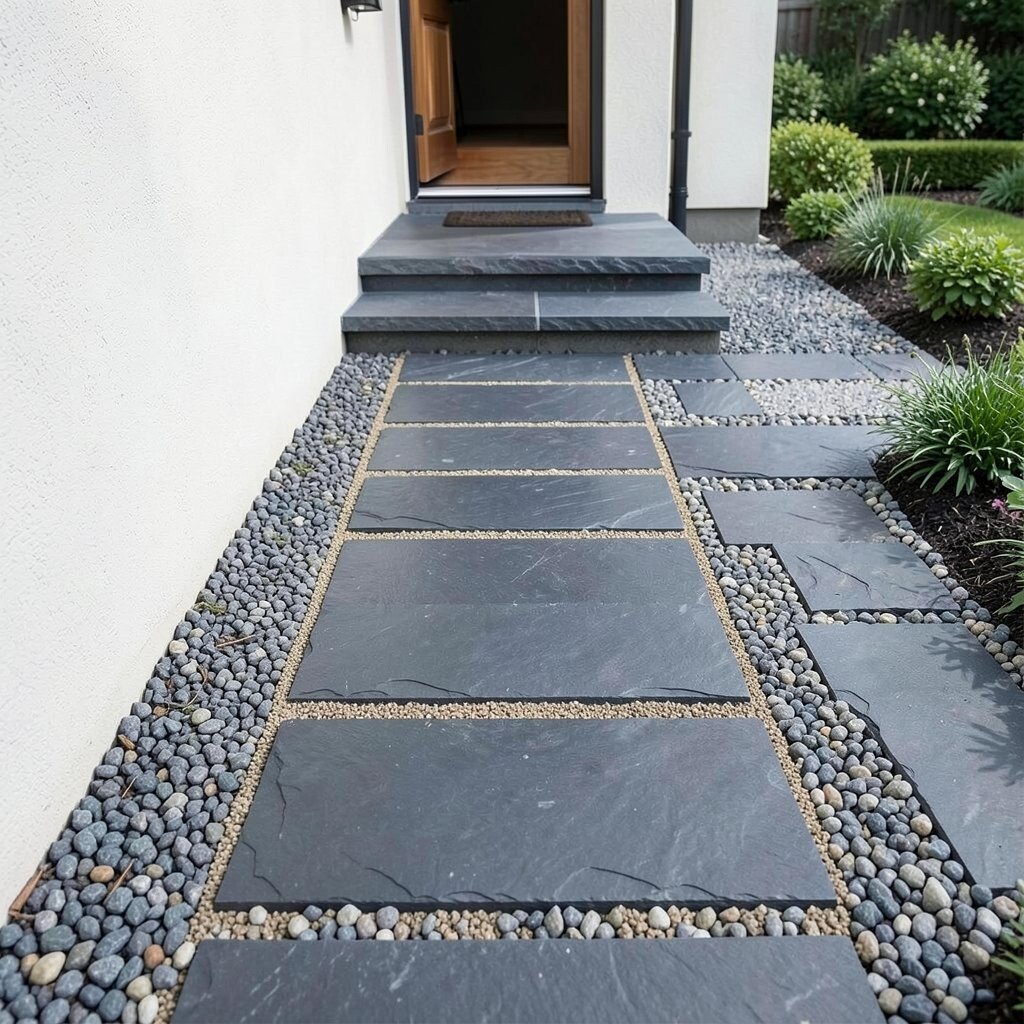
Slate flagstones bring a crisp, modern mood, especially when you place them in neat rows. Their dark, cool tones look stunning next to light walls, and they handle shade without losing charm.
This pathway is sturdy and stays attractive for years when the subbase is done right. Start by leveling the ground, then use a compacted gravel base and set stones firmly so they do not rock. Add a thin layer of polymeric sand between pieces to reduce weed growth and keep maintenance simpler.
For personalization, choose slates with slightly varied sizes, but keep the edges aligned for a tailored look. A practical tip is to include a wider landing at a doorway or patio so you can pause without stepping off the path. In terms of cost, slate can be pricier than some materials, but buying a smaller section first often gives a big visual payoff.
5. Brick Path With a Herringbone Twist
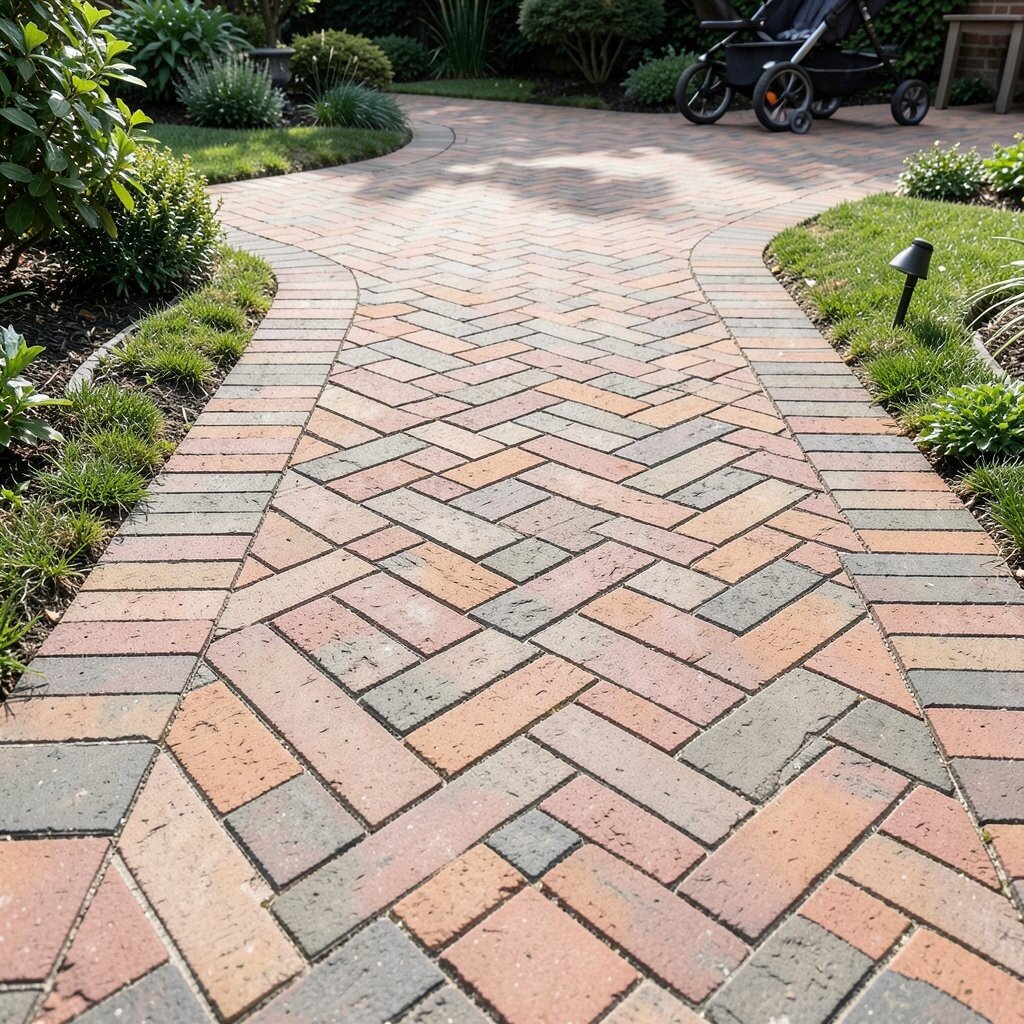
Brick paths have a classic feel, and herringbone patterns make them look like they belong in a storybook. The interlocking shapes catch light in little ways, making even a simple yard feel styled.
Brick works well for long-lasting durability and works with many landscaping styles, from traditional to modern. It also offers clear footing in most weather. To build it well, use edging, lay bricks on a proper base, and keep the lines straight for a clean, professional look.
If you want a personal touch, blend brick tones by mixing in a few darker or lighter units, or add a border of contrasting pavers. A practical upgrade is to slightly widen the turning area so chairs, strollers, or bikes can pass more easily. Costs can vary widely, so compare price per square foot and factor in delivery and any base prep you choose to do yourself.
6. River Rock Border With Concrete Path Core
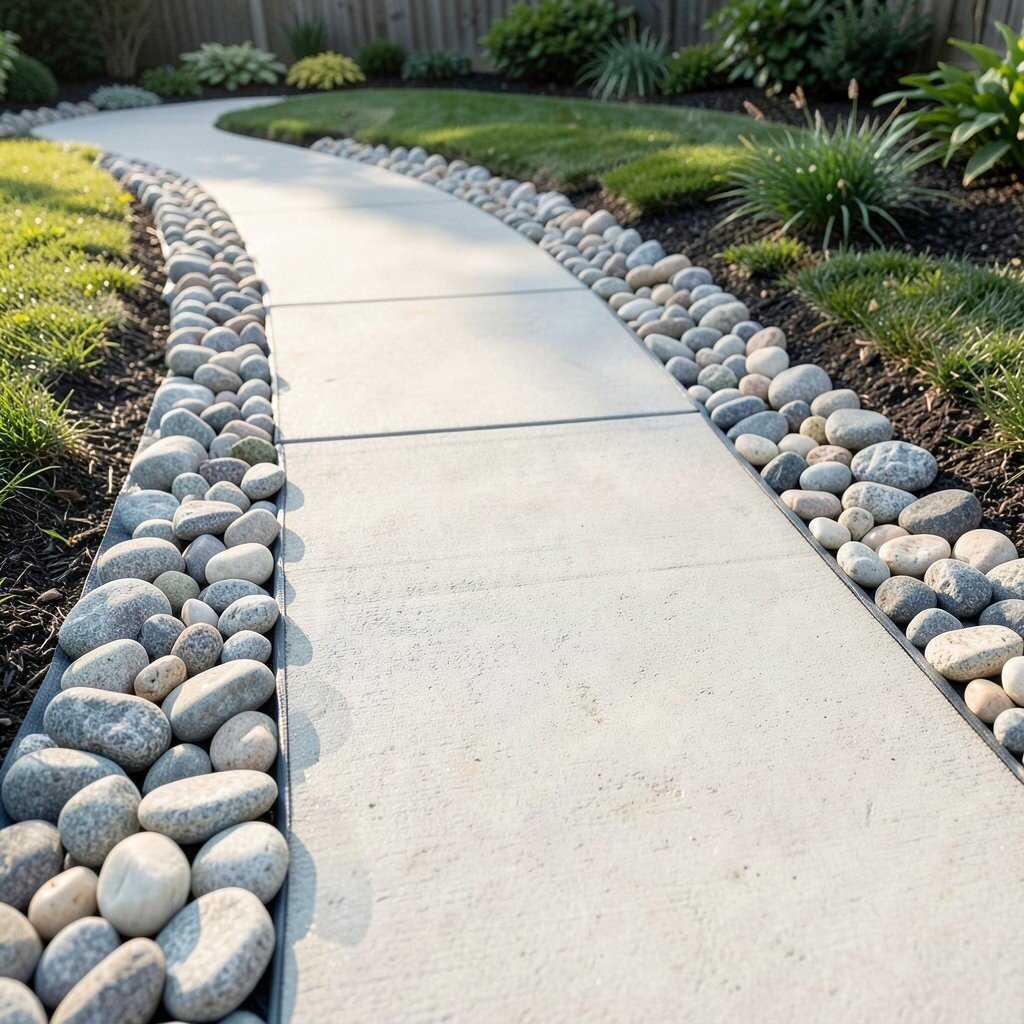
Picture a smooth concrete walkway trimmed with river rock, like a creek edge that stays neatly in place. The contrast looks crisp, and the stones create a gentle sparkle when the sun is low.
Using a solid core helps with straight, low-maintenance walking while the rock border adds natural texture. River rock also helps keep soil from spilling onto the walkway. For a clean finish, set the rock in a controlled border area using a landscape fabric strip under the edge.
Personalize the look by choosing river rock in one family of colors, such as light gray and cream, or go deeper with charcoal tones for a dramatic vibe. A practical tip is to clean and rinse stones before installation so you avoid dusty residue. Budget-wise, you’ll spend less than building a full rock path, yet you still get a high-end look at the edges.
7. Gravel Path With Pine Bark “Footprints”
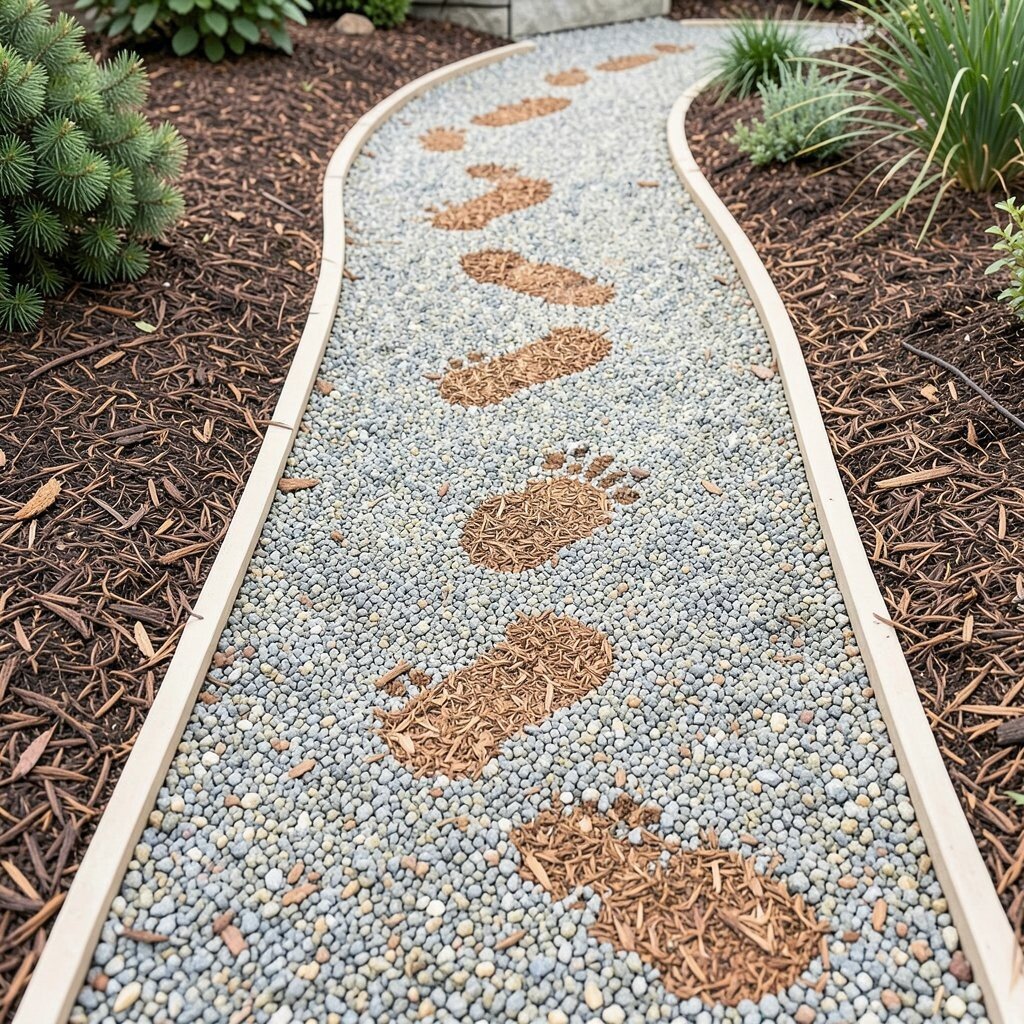
A gravel path can feel relaxed, and adding pine bark patches gives it a lived-in, earthy charm. The contrast between crisp stones and soft bark makes the walking route look warm and welcoming.
Gravel is easy to maintain and drains quickly, which is helpful in rainy climates. You can also adjust the width seasonally if you like, since the material can be topped up easily. For the best look, keep the gravel depth even and use a light-colored edging so the path stays defined.
If you want something truly unique, arrange bark patches like footprints along a gentle curve, then refresh bark each season. A personalization idea is to match bark tones to mulch in your planting beds for a cohesive look. Costs are usually friendly, especially if you choose local gravel types and only cover the special design areas with bark.
8. Natural Fieldstone With a Forest Feel
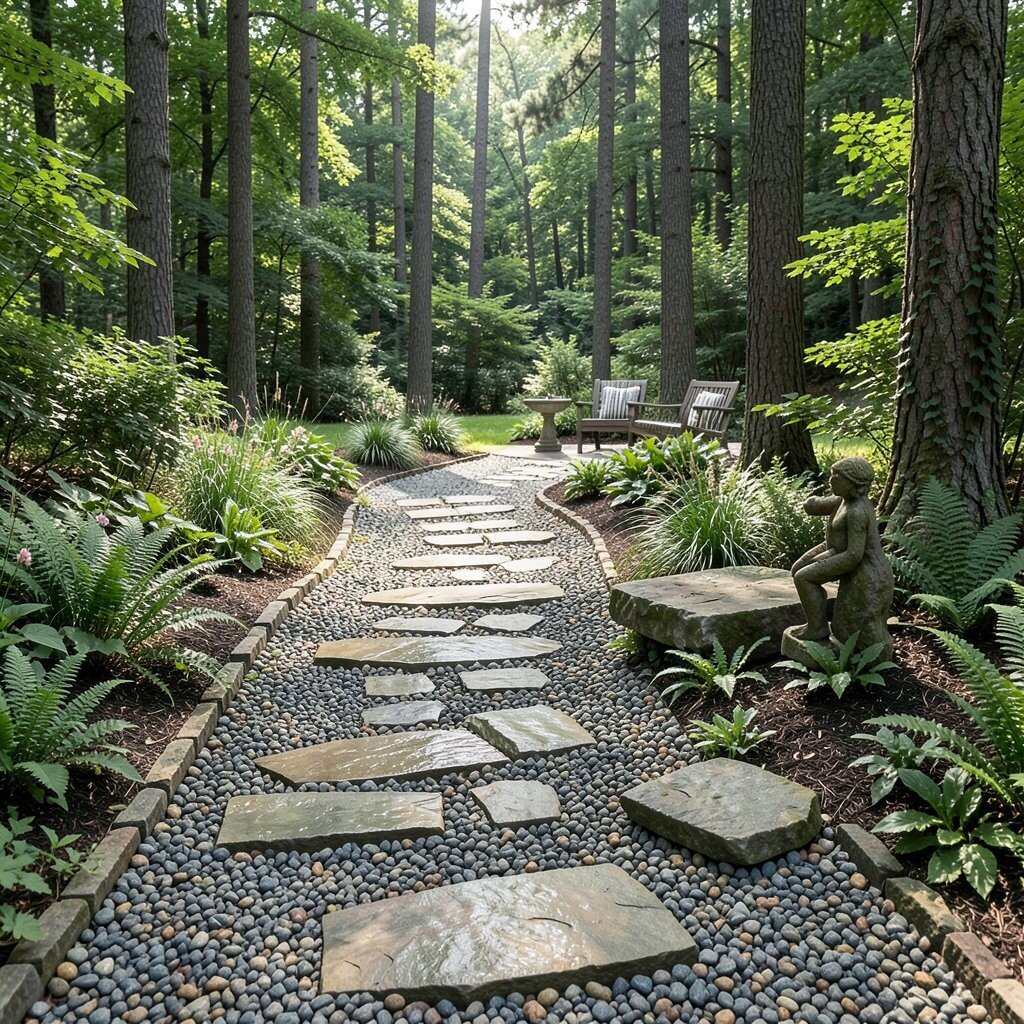
Fieldstone paths look like they have always been part of your yard, especially when they wind through trees. The uneven textures and irregular shapes make the landscape feel more natural and less built.
This style is great for outdoor spaces that include shade, woodland plants, or cozy seating tucked into greenery. Fieldstone also provides strong traction, which helps in wet weather. To install it well, use stones of similar thickness where you need stable stepping, and set them firmly with gravel underneath for consistent height.
A practical tip is to keep the path edges slightly rough, so the stones fade into garden beds instead of feeling cut from a cookie sheet. For personalization, add one larger flat stone near a planting focal point, such as a small sculpture or birdbath. Fieldstone prices vary, so ask about local availability and compare delivery costs before committing.
9. Garden Tile Path in a Single Color Theme
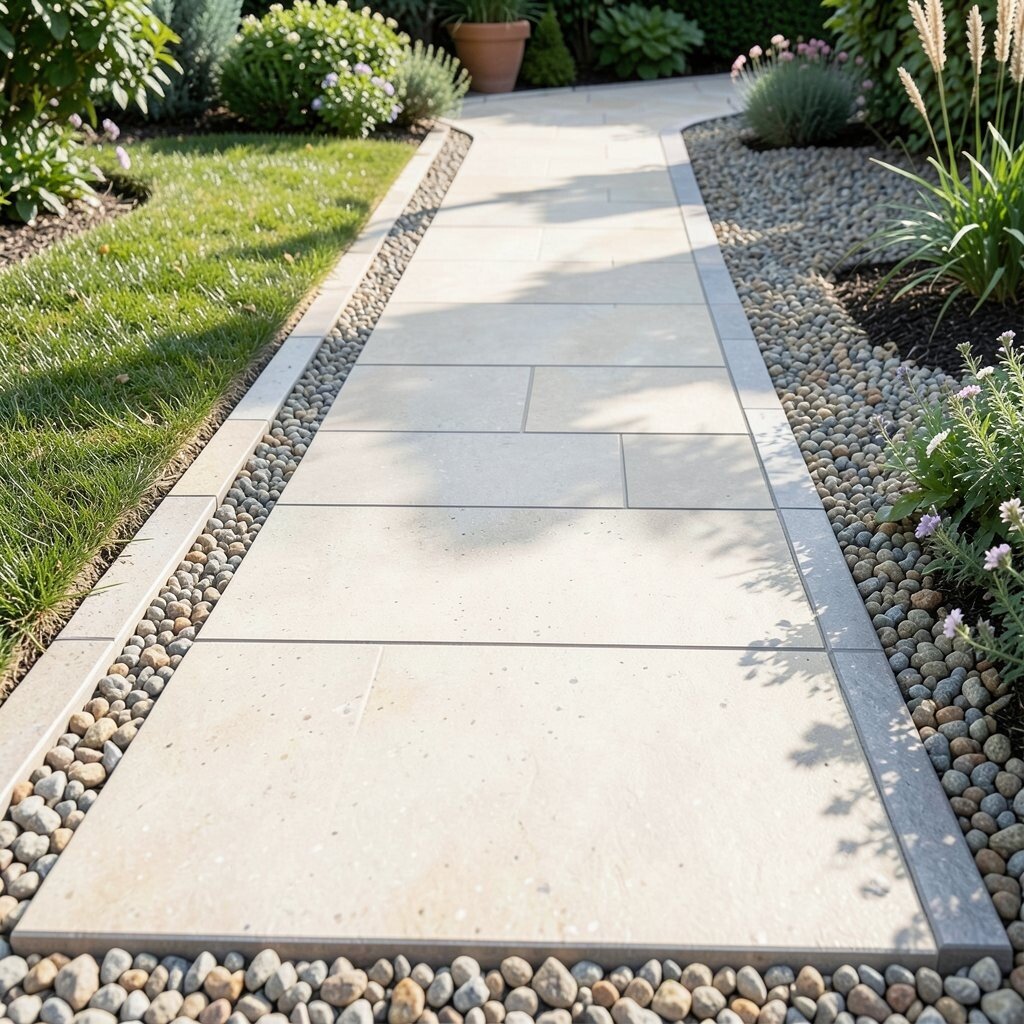
Tile pathways can look artistic, especially when you stick to one color theme. Imagine a smooth, clean path with subtle speckles, echoing the tones of your patio furniture or outdoor decor.
Tile is comfortable to walk on and can create a bright, polished look even in a small yard. It also works well for tight layouts where you want clean lines. Use an outdoor-rated tile and set it on a stable base with proper waterproofing materials so it does not shift.
Personalize by using a narrow tile border around the edges to make the path feel intentional. A practical tip is to choose slip-resistant tile surfaces, since some glossy finishes can be slick. Costs can be moderate to high depending on tile type, but you can stretch your budget by using tile only in the main walking strip and filling the sides with gravel.
10. Grass-Lined Mowed “Wave” Path
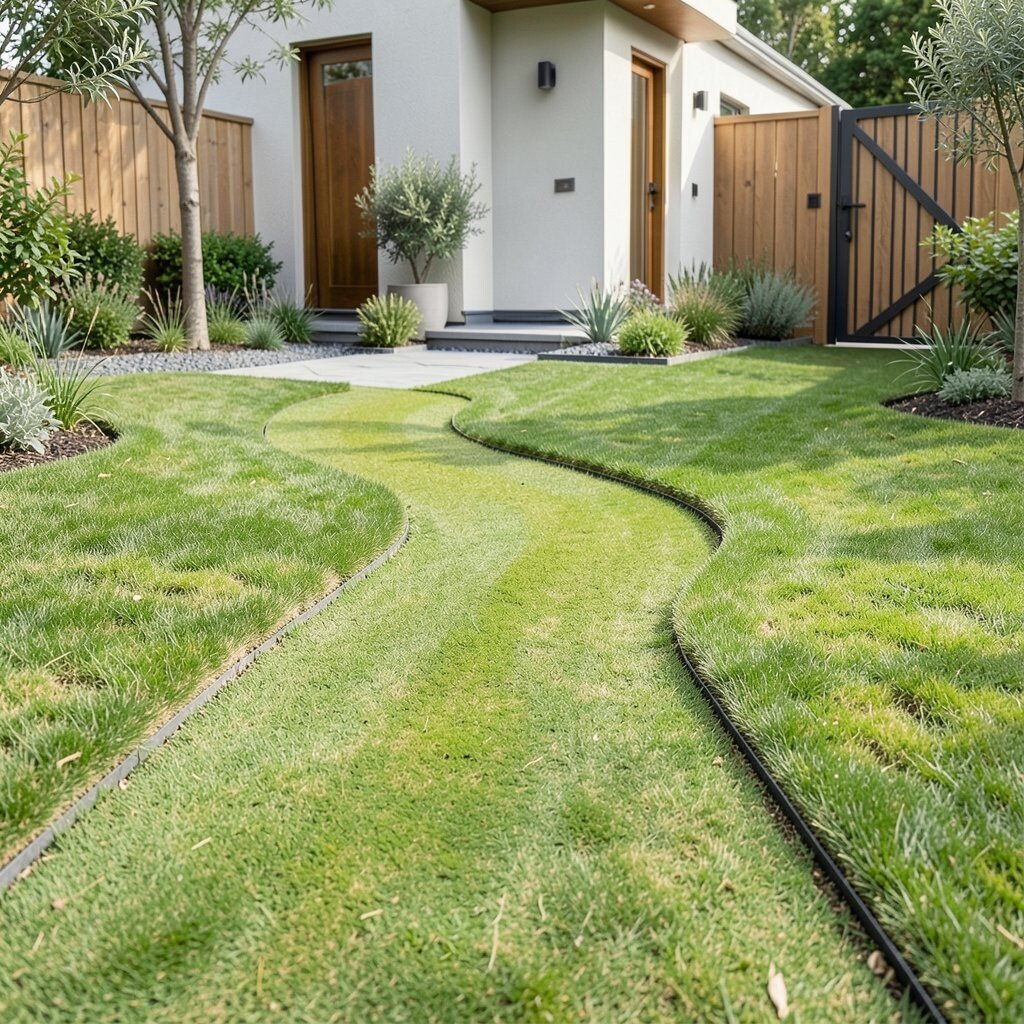
A grass-lined wave path is simple yet stylish, especially when you mow in a smooth pattern. It feels soft and natural, like your yard is gently guiding you forward.
This approach is budget-friendly and great for homeowners who want a low material setup. It also fits modern minimalist designs, where less structure creates a calmer look. For best results, define the wave with an edging tool and mow consistently so the line stays sharp.
To personalize, decide where the wave starts and ends, then align it with key views like a front door or garden gate. A practical tip is to use a slightly different grass texture or overseed the path area to make it visually distinct. Costs are usually minimal since you’re mainly working with trimming, but it does require regular lawn care to keep it looking crisp.
11. Paver Path With Raised Edges and Soil Beds
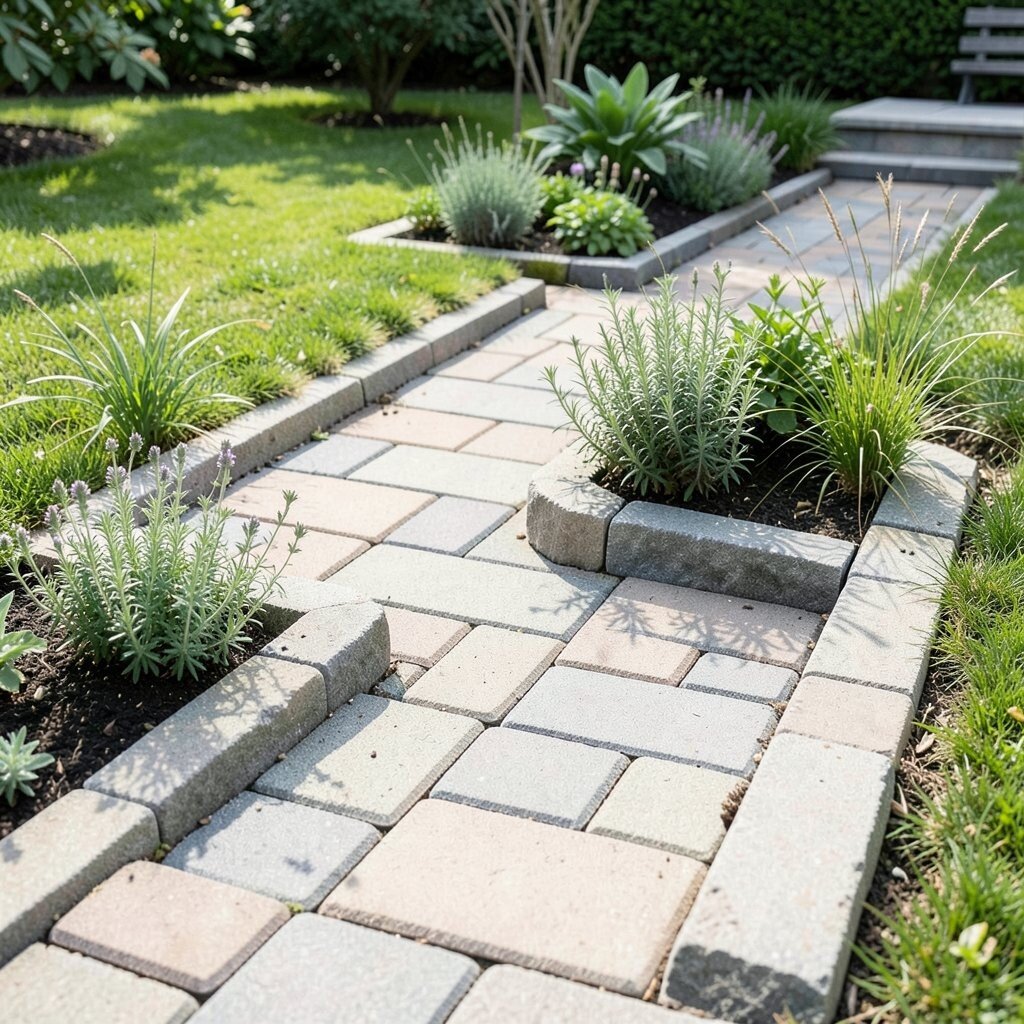
Pavers with raised edges make a pathway that looks structured and tidy. The lifted border can hold small plants or decorative moss, giving you a living frame along the walkway.
This style is popular in current landscape looks because it blends hardscape and greenery in one clean design. Raised edges also help prevent paver settling and can reduce soil from washing onto the walkway. For installation, place a solid base, set pavers carefully, and secure the raised border so it stays aligned over time.
Personalize by planting herbs like thyme or small ornamental grasses in the border, which adds color and a soft texture. A practical tip is to keep plantings low near steps and turns for safer visibility. Cost considerations are often good because you can choose mid-range pavers and spend more only on the visible border section where it matters most.
12. Whitewashed Step Stones With Black Metal Inlays
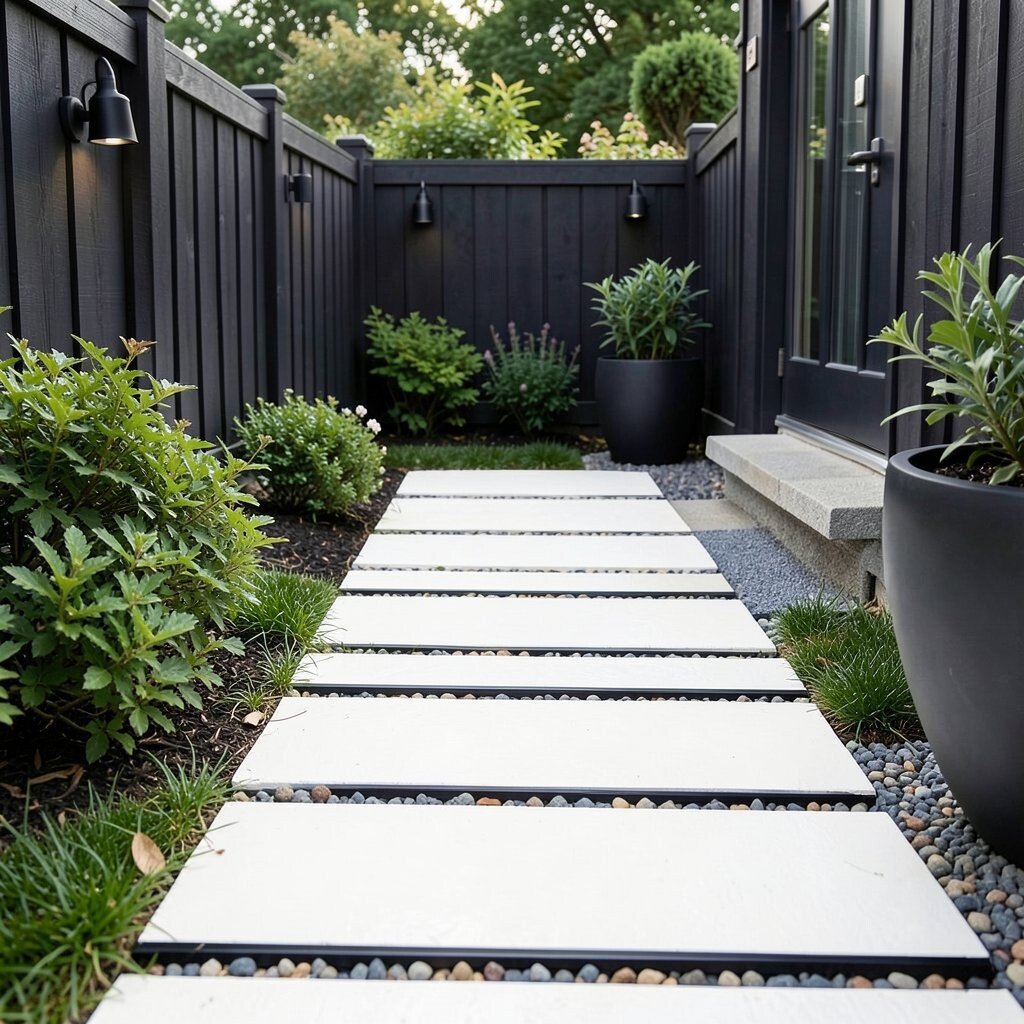
Whitewashed step stones can brighten a garden and make shaded spots feel more open. Pairing them with thin black metal inlays adds a modern contrast that still feels down-to-earth.
The look is especially striking in yards with dark fences, black outdoor lights, or sleek planters. This pathway also gives you an easy way to personalize, since you can place the inlays in patterns that match your style. For practical installation, set stones level and use a stable base so the metal strips sit snugly without wobble.
To keep it looking crisp, clean the stones after install and refresh white tones periodically as needed. A practical tip is to use weather-rated sealant for both stone and metal components. Costs can be higher due to specialty materials, but focusing on a short, high-impact stretch near the entrance often makes the spend feel worth it.
13. Corrugated Steel “Crown” Path Over Gravel
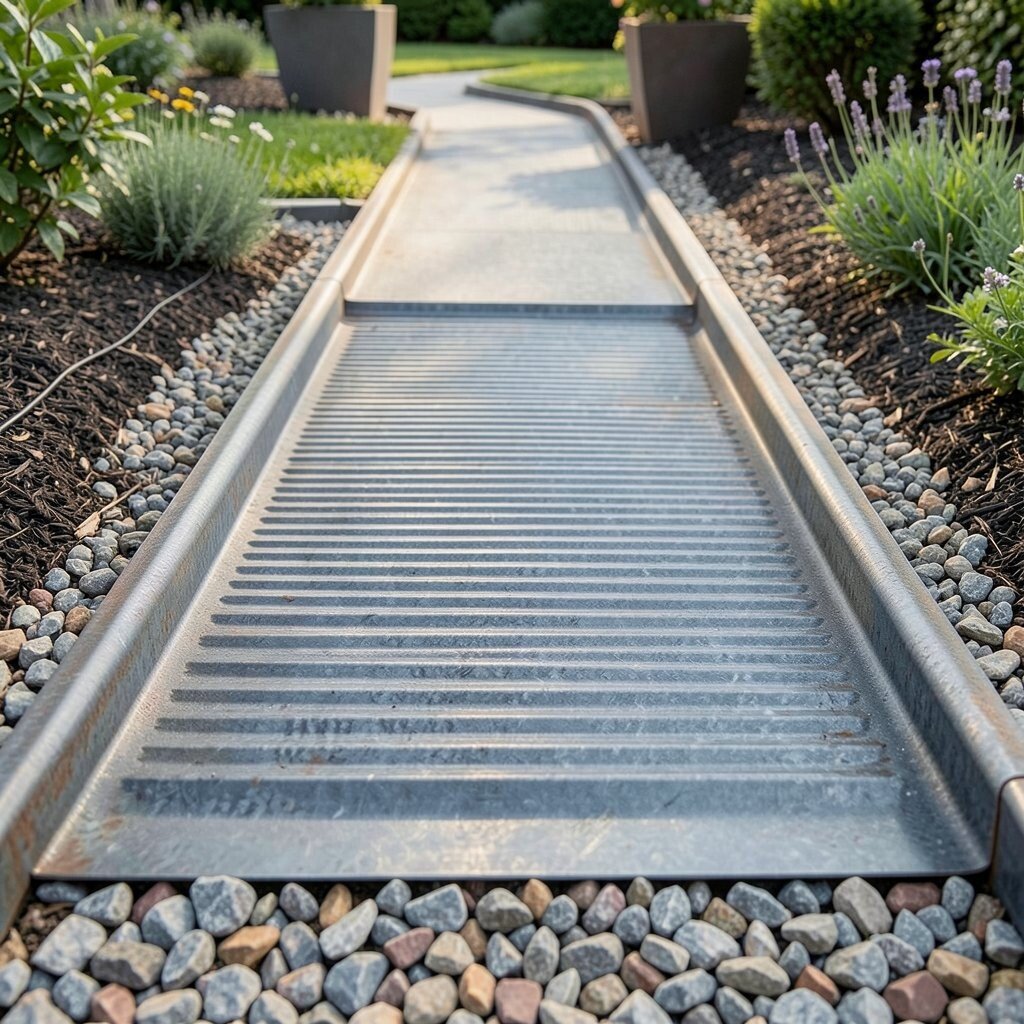
A steel-crowned path over gravel brings a bold industrial twist that looks surprisingly stylish. The slightly raised surface helps with drainage, while the metal adds a clean, architectural line.
This is a great choice for modern yards and for homeowners who want something durable and low fuss. Gravel underneath also keeps the base flexible and helps with water movement. For safety and comfort, choose textured metal or add a slip-resistant coating and ensure edges are secured firmly.
Personalize by selecting steel tones that match your garden hardware or planters, such as charcoal gray or warm weathered brown. A practical tip is to keep the width comfortable for full steps, especially if you plan to carry tools or move between beds. Cost considerations can be favorable since steel sheets may be more affordable than premium stone, but you’ll want to budget for proper installation materials.
14. Mulch Path With Curved Edging and Embedded Logs
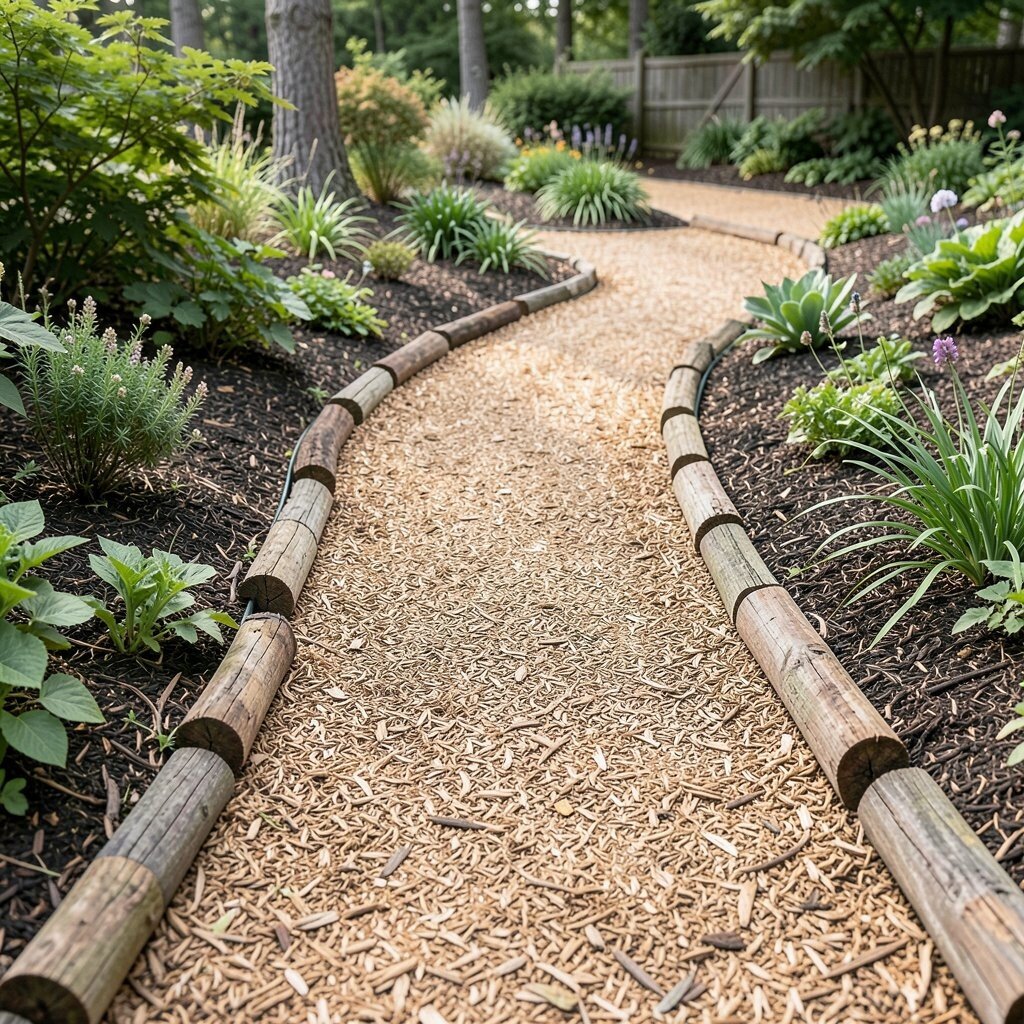
A mulch path feels cozy and natural, and embedding short log segments adds a playful rhythm. The texture looks great in gardens with woodland plants, and the soft surface feels gentle on bare feet in dry weather.
Mulch paths are easy to reshape, which is helpful if your garden layout changes over time. They also support plant life near the edges when you keep the mulch depth consistent. For a neat look, install curved edging first, then add mulch in layers and place logs securely so they do not shift.
Personalize by choosing logs with similar thickness and arranging them like stepping “beats” along the curve. A practical tip is to keep mulch a little away from plant stems to avoid rot, and refresh mulch as it breaks down. Costs are often low, though you may spend a bit on quality edging to keep the line clean and lasting.
15. Bamboo or Reclaimed Timber Border Path With Seating Loop
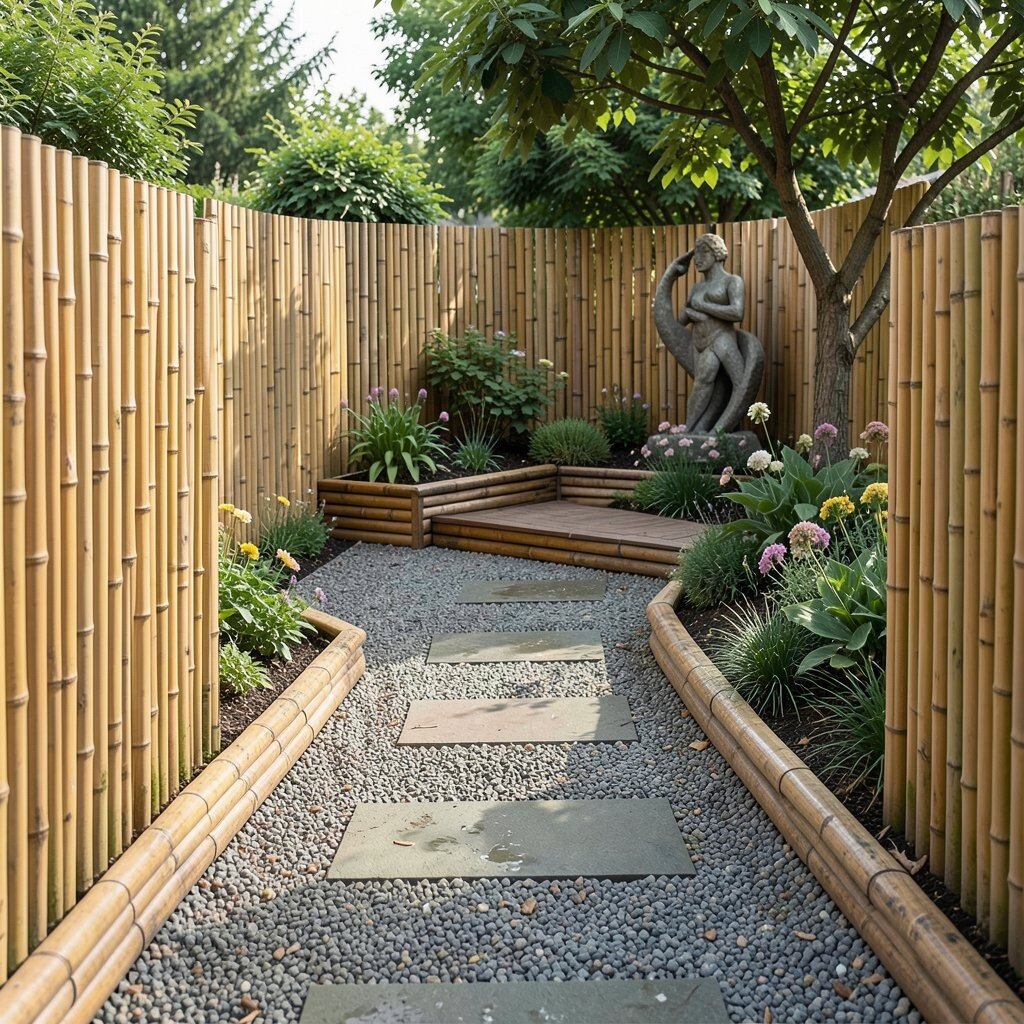
A pathway framed by bamboo or reclaimed timber feels calm and inviting, especially when you weave it into a seating loop. The materials add warmth, and the loop makes it easy to enjoy different spots in your yard without doubling back.
This style stands out because it blends function with comfort, turning walking into part of the experience. It also supports current outdoor living trends, where yards are treated like outdoor rooms. For practical results, secure the borders into the ground and keep the path surface consistent so the loop feels smooth.
Personalize the loop by adding a small seating platform at one corner and aligning it with a view, such as flowers, a tree, or a garden sculpture. A practical tip is to use a durable path surface like gravel, pavers, or flat stepping stones so the loop stays usable even after rain. Cost considerations depend on your material choice, so you can often save money by using reclaimed timber for the border while using affordable gravel or pavers for the center.