
Your next great product idea might start with a simple, hands-on session. The right workshop can turn messy thoughts into objects you can hold.
Industrial design grows faster when you build with your eyes, your hands, and a curious team. Each workshop below gives you a practical path from inspiration to a testable design.
1. Materials Mashup Studio
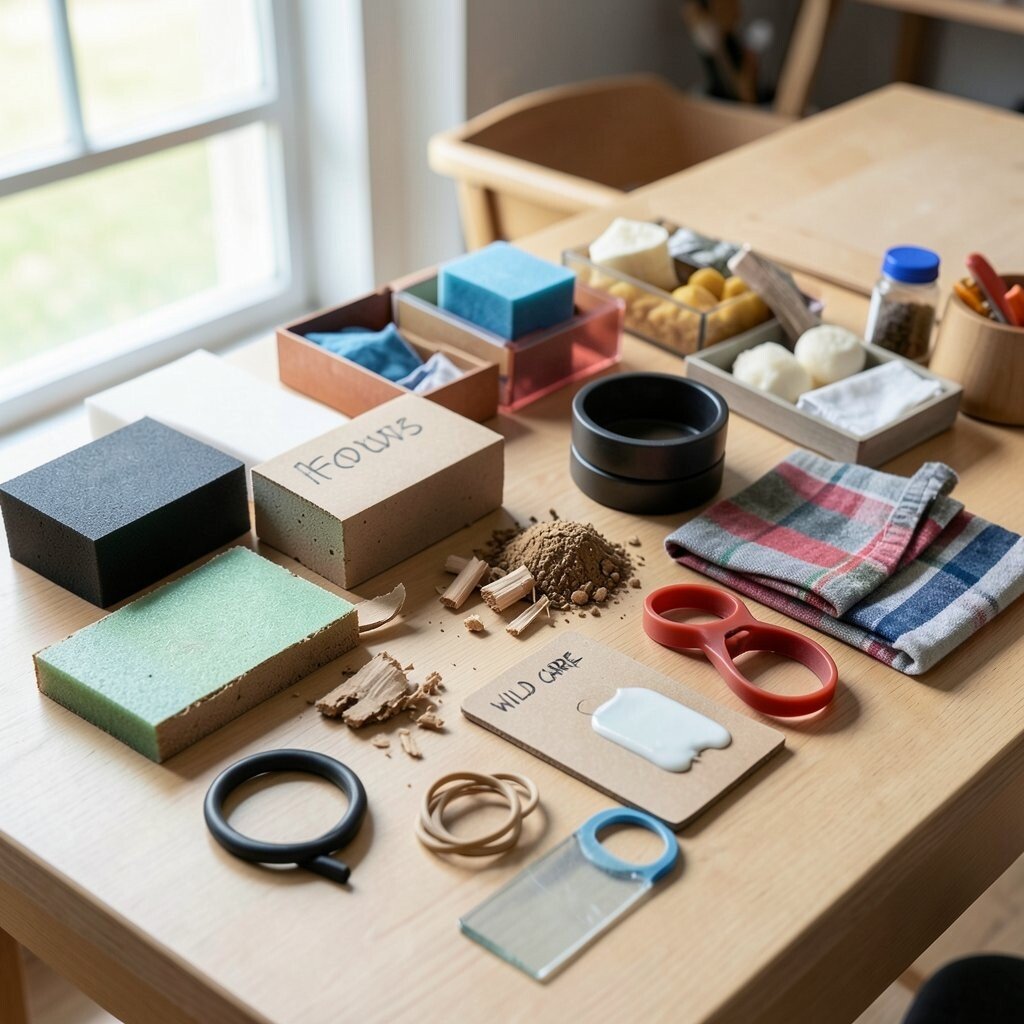
Gather small samples from foam, cardboard, wood scraps, fabric, acrylic, and rubber bands. Arrange them on a table like a snack bar for your imagination, then pick two materials at random and force yourself to build a mini object.
Watch how colors, textures, and stiffness change your options as you work. You will get quick feedback because materials either behave nicely or make you adjust. Keep a photo log of what you tried, since that visual record becomes your personalization tool later. When you test the piece, note what felt comfortable, what looked sharp, and what failed fast.
To make it practical, set a short build time and give your object a job, like a desk organizer, a toy hinge, or a phone stand. For cost, use mostly reclaimed items and buy only one “wild card” material each session. A current trend you can borrow is using low-tech prototyping to speed decisions, which is popular in studios that work with lean teams. If you like personalization, stamp your initials into cardboard, swap colors for a new mood, or coat parts with safe, easy finishes.
2. Human-Scale Comfort Workshop

Bring tape measures, rulers, paper, and simple tools, then design for the way people actually move. Start by choosing one activity such as gripping, reaching, or sitting, and observe how your own body naturally handles it.
Create a “comfort map” on plain paper, then sketch where pressure gathers and where fingers need space. Use foam strips or folded paper to mock grip shapes, and adjust until it feels natural in your hand.
Include a quick benefits check by asking friends to try the mock and describe what feels easy and what feels awkward. Keep it unique by tailoring the shape to your own preferences first, then refining it for the next person. For a practical tip, measure twice, but also feel twice, because comfort is not only math. When you think about cost, choose reusable materials like foam and tape so you can run the workshop again and again.
3. Packaging and Unboxing Sprint

Grab everyday items, tape, scissors, kraft paper, and a few decorative papers. Design packaging that protects the product and also teaches a story before the first touch.
Build a prototype that includes an opening moment, like a tab pull, a sliding tray, or a flap that snaps. Let yourself get visual right away by choosing bold colors and clear labels that guide the hands.
Focus on benefits such as safe transport, quick access, and clear instructions without clutter. Make it unique by borrowing details from places you love, like museum ticket shapes or snack box windows, then mixing them into your own style. For personalization, print the name of the user on a small card insert and change the graphics for each prototype round. Keep an eye on current trends like minimal, recyclable packaging and clean layouts, and aim for fewer parts that still open smoothly.
To manage cost, use scrap boxes and test your design with one real item. A practical tip is to run a “drop test” on the table edge and check where dents happen. You will learn faster when your packaging prototype has consequences.
4. Ergonomic Tool Redesign Lab
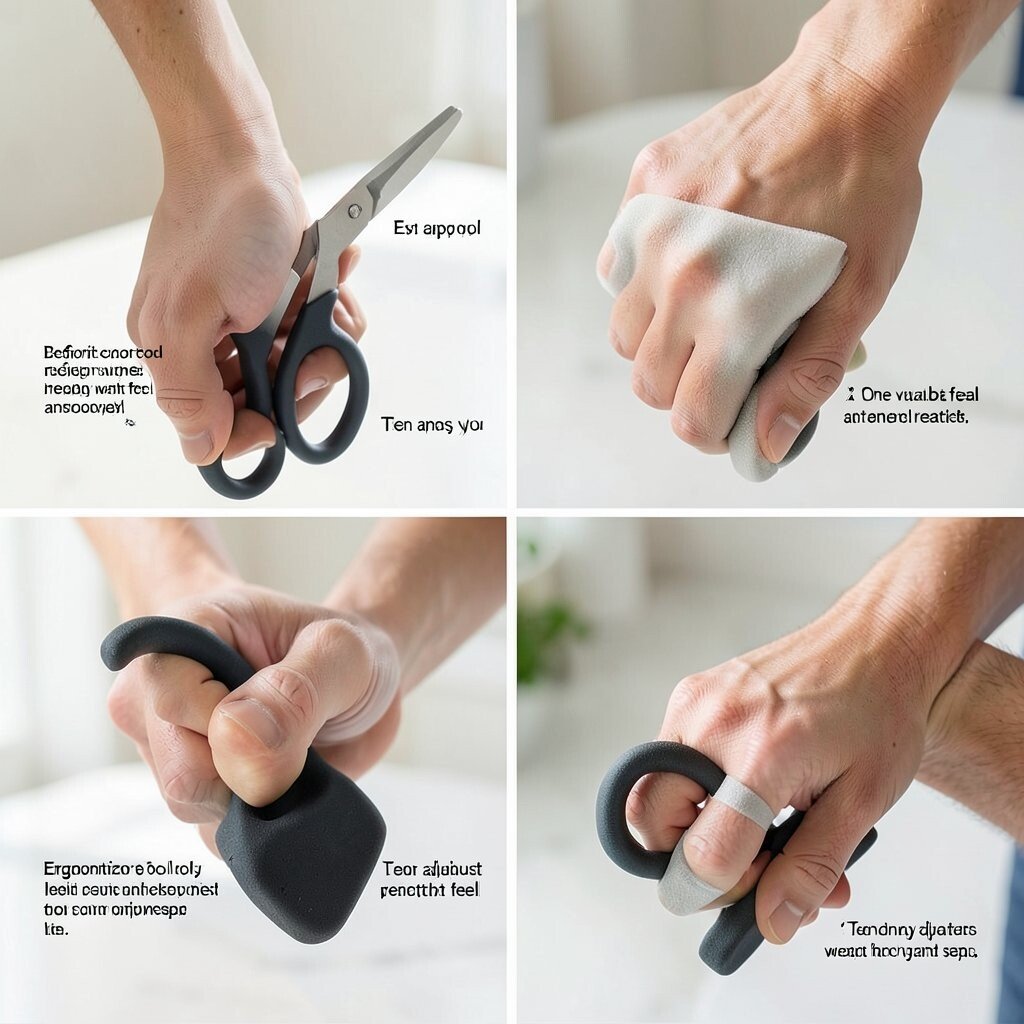
Pick a tool you use often, like scissors, a garden handle, or a kitchen utensil. Then list what annoys you, such as slipping grip, heavy weight feel, or awkward reach.
Sketch several grip variations and build quick foam prototypes that you can wrap around your hand. Aim for a clear visual change, like thicker edges, a softer zone, or a subtle curve that matches finger spacing.
Benefit comes when the redesign reduces fatigue and improves control during real tasks. Keep the project unique by noticing small cultural preferences, such as how different people like to hold tools or how styles vary by region. For practical tips, test one variable at a time, like grip diameter first, then adjust weight feel later. Consider cost by using modular parts and reusing the original tool body whenever possible.
Current trends you can use include human-centered design and iterative prototyping, which help teams reduce mistakes early. Personalize by tailoring the grip to your dominant hand or creating a version for someone with a smaller hand span.
5. Shape Grammar and Pattern Studio
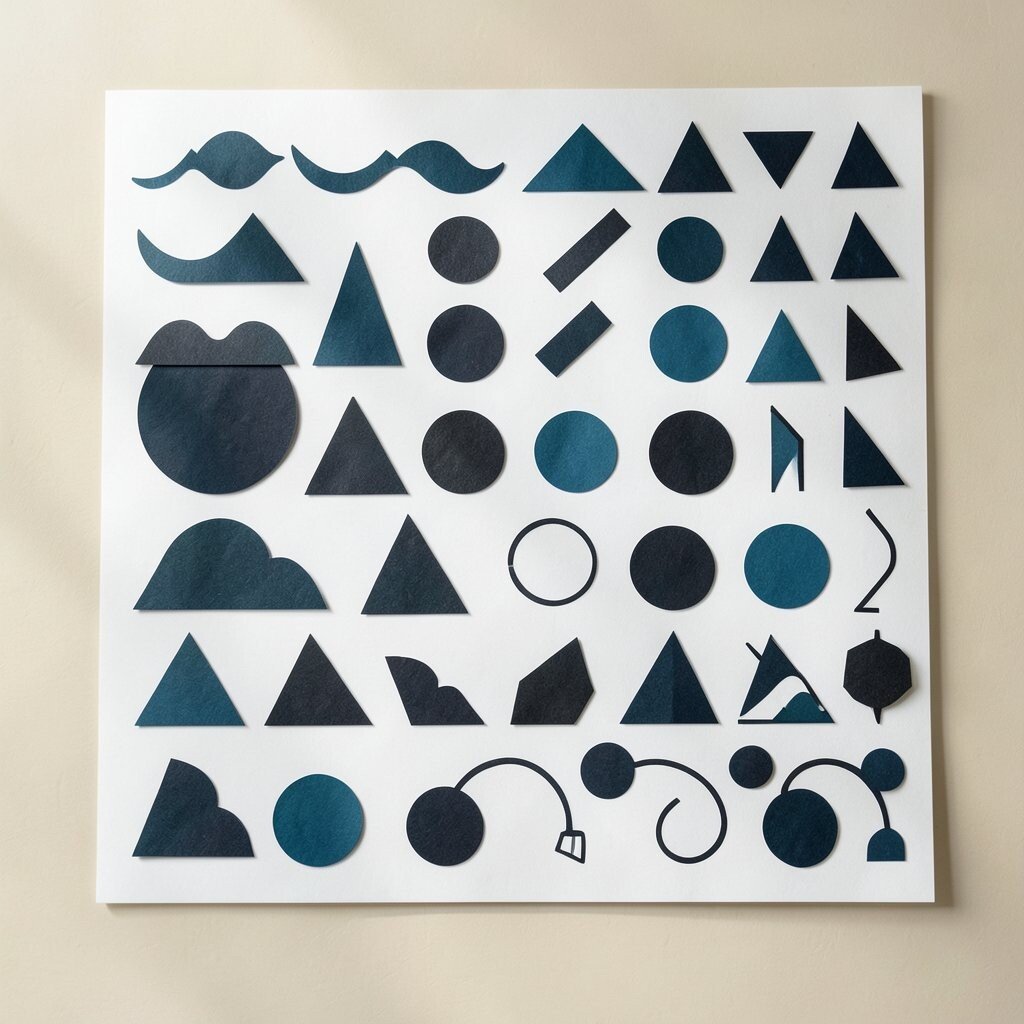
Choose a theme, like “waves,” “urban lights,” or “forest branches,” and turn it into simple shapes. Cut paper into triangles, circles, bars, or curves, then recombine them into a product shell or pattern panel.
As you build, pay attention to how shape rules affect everything, from silhouette to how light reflects on the surface. Use a simple “grammar” you create, such as alternating thick and thin lines, and apply it to multiple prototypes.
Let the benefits show up as faster design decisions, because rules help you avoid random wandering. Keep uniqueness by making your pattern rules personal, based on your favorite textures or symbols from hobbies. For practical tips, scan your designs and print them on cardstock so you can try new layouts quickly. Cost stays low if you rely on paper, markers, and basic scanners instead of expensive materials.
Personalization is easy here, since you can adjust the rule set for different users, colors, or moods. A current trend in industrial design is using bold surface patterns and parametric-like thinking, even with simple handmade methods. This workshop helps you practice that mindset without fancy software.
6. Rapid Clay and Foam Model Workshop
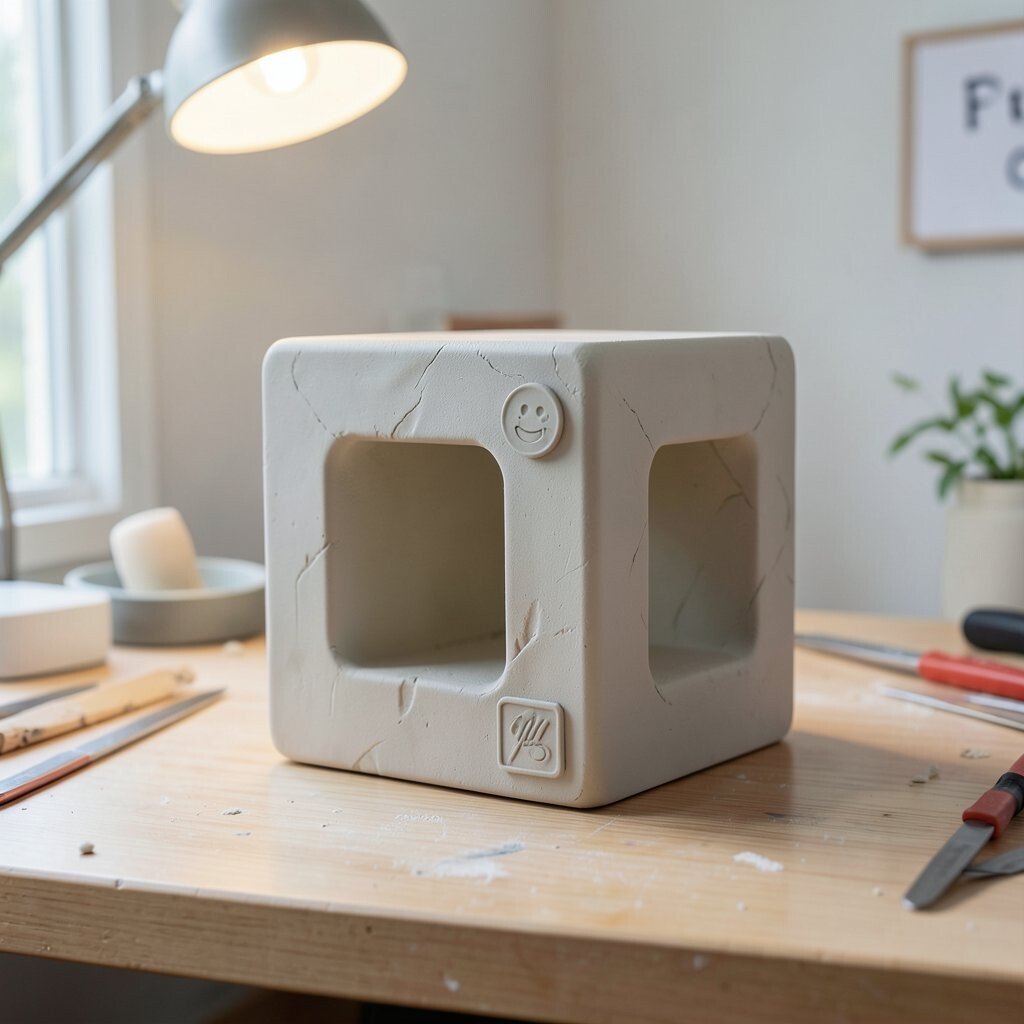
Bring clay, modeling foam, or even thick paper wrapped over a form. Give yourself one constraint, such as “only soft surfaces” or “only one opening,” and shape a full product form that fits the constraint.
Work from the outside in, because your eyes lead your hand, and your hand leads your understanding. When you smooth edges, pause and check how the piece looks from different angles under a desk lamp.
Focus on benefits like faster iteration and better 3D thinking than flat sketches alone. Keep it unique by making a form that looks friendly, strange, or playful, and then refining the reason for that look. A practical tip is to measure your proportions with simple visual tools, like comparing height to width using a scrap frame. For cost, choose reusable foam and wipe-clean clay techniques so you can run the workshop again.
Personalize the model by adding a small badge, a signature bump, or a custom grip texture. Current trends favor quick concept modeling and user testing early, and this session supports that workflow.
7. Color, Finish, and Light Behavior Session

Collect sample paints, markers, colored film, and a few finishes like matte tape and glossy clear coat. Set up a small light station with one strong lamp so you can see how glare changes the look.
Test at least three surface treatments on the same basic form, then compare them under warm and cool light. You will notice how matte hides fingerprints while glossy highlights edges, and that changes both appearance and usability.
Use benefits like better brand feel and clearer product identity, since color and finish shape what people believe. Keep uniqueness by mixing colors you don’t usually combine, such as soft gray with bright teal, then matching them to a real product context. For practical tips, label your samples with simple numbers on the back so you can repeat success later. Keep cost controlled by using tiny swatches and shared materials with friends instead of full cans of paint.
Personalize by tailoring finish choices to the user’s lifestyle, like choosing easy-wipe matte for everyday handling. This also supports current trends toward durable surfaces and honest material storytelling, where people want to know what they are touching.
8. Interface and Control Layout Workshop

Pick a simple device concept, like a desk fan, a handheld massager, or a home sensor. Then design the controls as if you only have hands and eyes, with no instructions.
Build a control board prototype using cardboard panels, push buttons, paper sliders, and string. Arrange controls so the user can learn by touch and sight, and check it by closing your eyes for a moment and feeling where things are.
Give your design benefits such as intuitive operation and fewer mistakes during daily use. Keep it unique by designing a layout that reflects your product’s character, like quiet rounded buttons for a calm mood or bold switches for a sporty feel. For practical tips, test with at least two people, because one person’s “obvious” is another person’s confusion. When considering cost, use lightweight materials and reuse them across multiple rounds.
Personalize by setting up different modes, like a color-coded learning layer for beginners. A current trend in design is making controls inclusive, so this workshop encourages clearer spacing, better contrast, and easier reach.
9. Sustainable Materials Decision Workshop

Write down the parts of a product you like, then identify what each part does and what material choices could match that job. Use scrap bins and sample sheets to compare options like recycled plastic, paper-based composites, or plant fibers.
Make a “material story” for each choice by describing how it is made, how it lasts, and how it could be recovered later. Test the idea by building a small mock that uses at least two different material approaches for the same function.
Think about benefits like lower waste, easier repair, and better long-term value for users. Keep uniqueness by choosing materials that fit your region or supply chain, and by mixing familiar items into new roles. For practical tips, focus on one design area, like a replaceable cover or a modular mounting system, so your sustainability plan stays realistic. Cost considerations matter, so choose materials that are either low-cost or easy to source locally and prototype with what you already own.
Personalization is built in when you match materials to user needs, such as comfort against skin or resistance to moisture. Current trends point toward circular design, repairability, and clear sustainability claims, and this workshop gives you hands-on practice with those goals.
10. Transport, Storage, and Modular Design Play

Design a product system that has to survive real movement, packing, and unpacking. Start with one target scenario, like taking a kit to class, packing tools for a trip, or storing accessories in a small apartment.
Prototype a modular layout using dividers, Velcro straps, elastic bands, and small boxes. Build at least two configurations so you can see what happens when parts change size or order.
Emphasize benefits such as less clutter, faster setup, and reduced damage during transport. Make it unique by designing modular pieces that connect in a satisfying way, like snap corners or interlocking tabs. For practical tips, include a “lost part” test by removing one piece and seeing whether the user can still complete the main task. Keep cost in check using reconfigurable materials that you can adjust rather than buying new containers each time.
Personalize by swapping colors or icons for different user roles, like school, work, or hobby kits. This also aligns with current trends toward modular consumer products and multipurpose accessories that reduce waste.
11. User Observation and Context Sketch Workshop

Pick one place where people use objects, like a train platform, a coffee shop line, or a sports court. Carry a notepad and sketch small scenes quickly, focusing on body posture, hand positions, and how products fit into routines.
After observing, create a set of “context sketches” that show your product in the real environment, not just on a clean table. Add simple arrows showing where the user looks first and where their hands reach next.
Benefits show up as better problem definition, since you design from real needs instead of guesses. Keep uniqueness by translating those observations into a design language, like using the rhythm of footsteps for a pattern or the angles of crowded shelves for form. For practical tips, write short quotes from what you see and bring them into your design review so the work stays human. For cost, you only need paper, a phone camera, and your attention.
Personalize the output by designing for a specific user profile you observed, like commuters with limited storage or parents managing multiple items. Current trends in industrial design highlight empathy and field research, and this session builds that habit through simple practice.
12. Design Critique and Iteration Studio

Bring prototypes at different stages, even if they feel unfinished, and invite honest feedback from friends or classmates. Use natural conversation to ask what people notice first, what feels confusing, and what they would change.
Create a “critique circle” where everyone shares one strength, one question, and one improvement, then you immediately revise based on the responses. Make the revisions quick and specific, like changing a grip radius, adjusting an opening shape, or improving contrast on controls.
Benefit here is momentum, because critique turns ideas into action rather than debate. Keep uniqueness by encouraging each person to add a small twist, such as a different color scheme or a new finish texture that fits their taste. For practical tips, photograph each iteration so you can track decisions and avoid repeating the same mistakes. Cost considerations are easy since you can reuse materials and keep changes small, focusing spending on the biggest impact parts.
Personalize by adapting the design to the feedback themes you notice, such as making the product friendlier for first-time users. This workshop also fits current trends in iterative design and user-centered processes, where frequent testing helps teams learn faster.
Finally, celebrate progress, because the goal is not perfection. The goal is a prototype that looks alive and works better after every round.